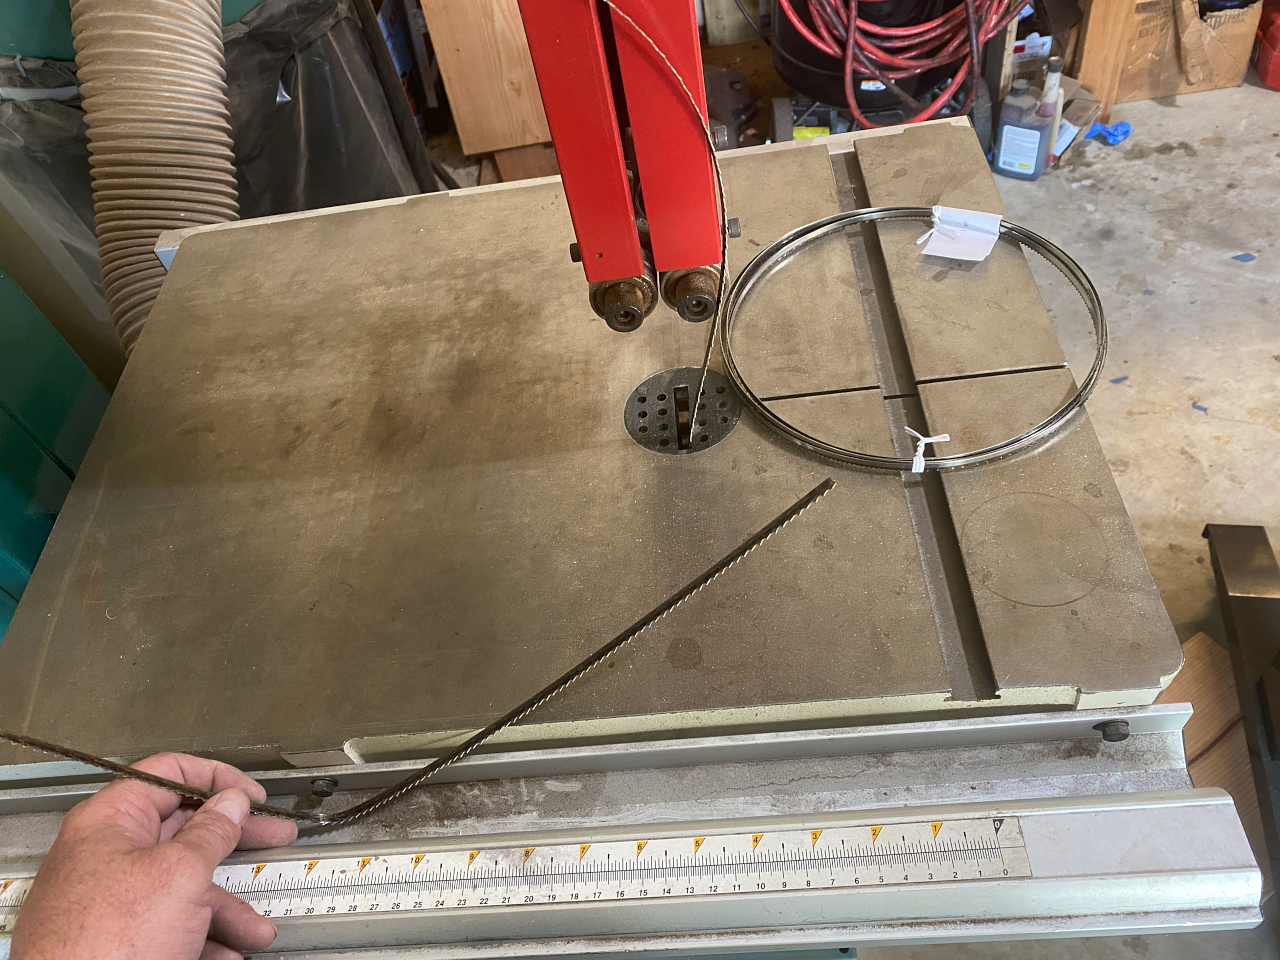
OK, to start off today I had to replace my snapped band saw blade. It suffered a catastrophic failure while cutting out the body 🙂
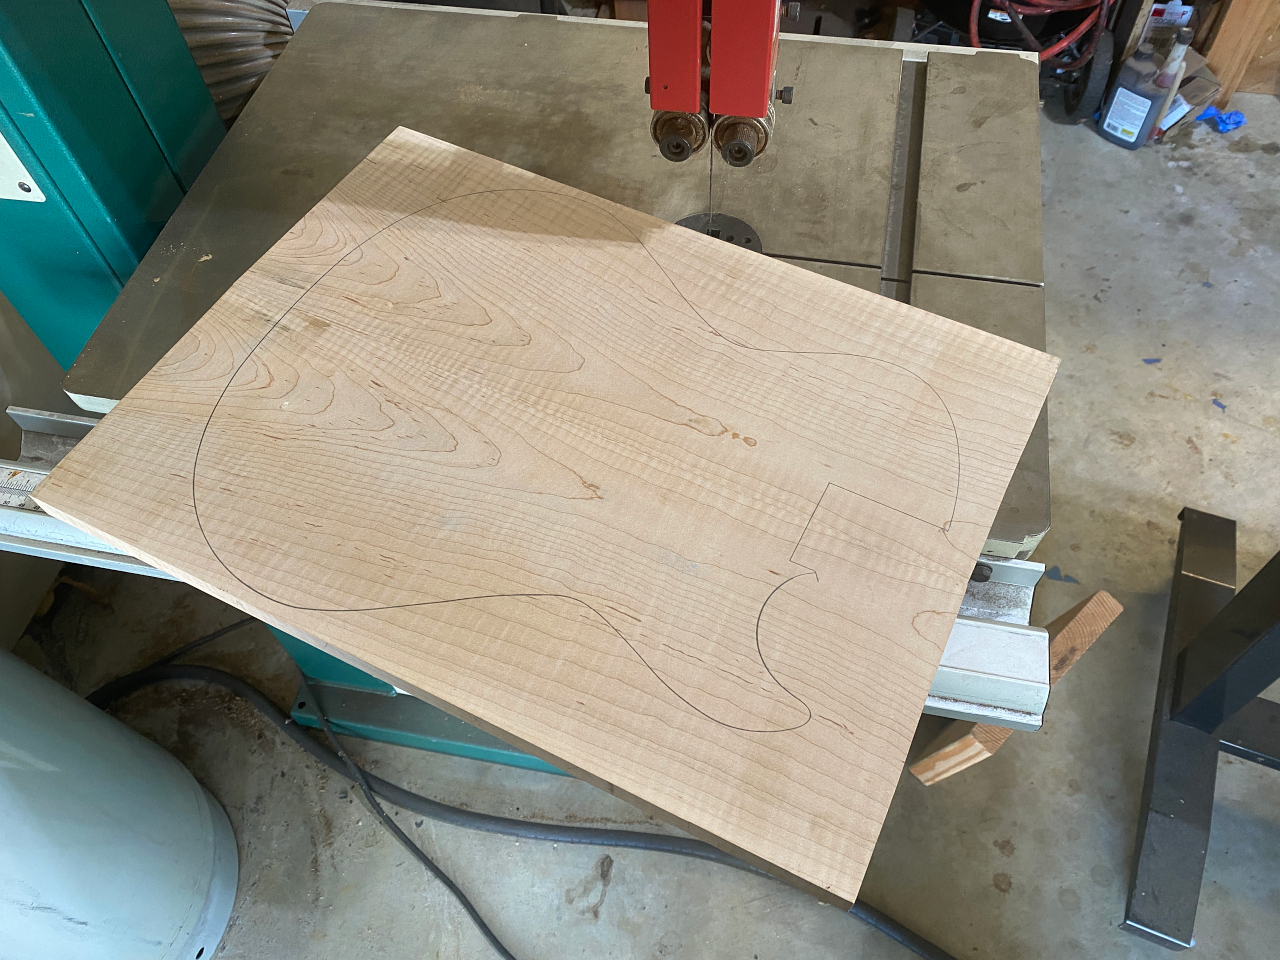
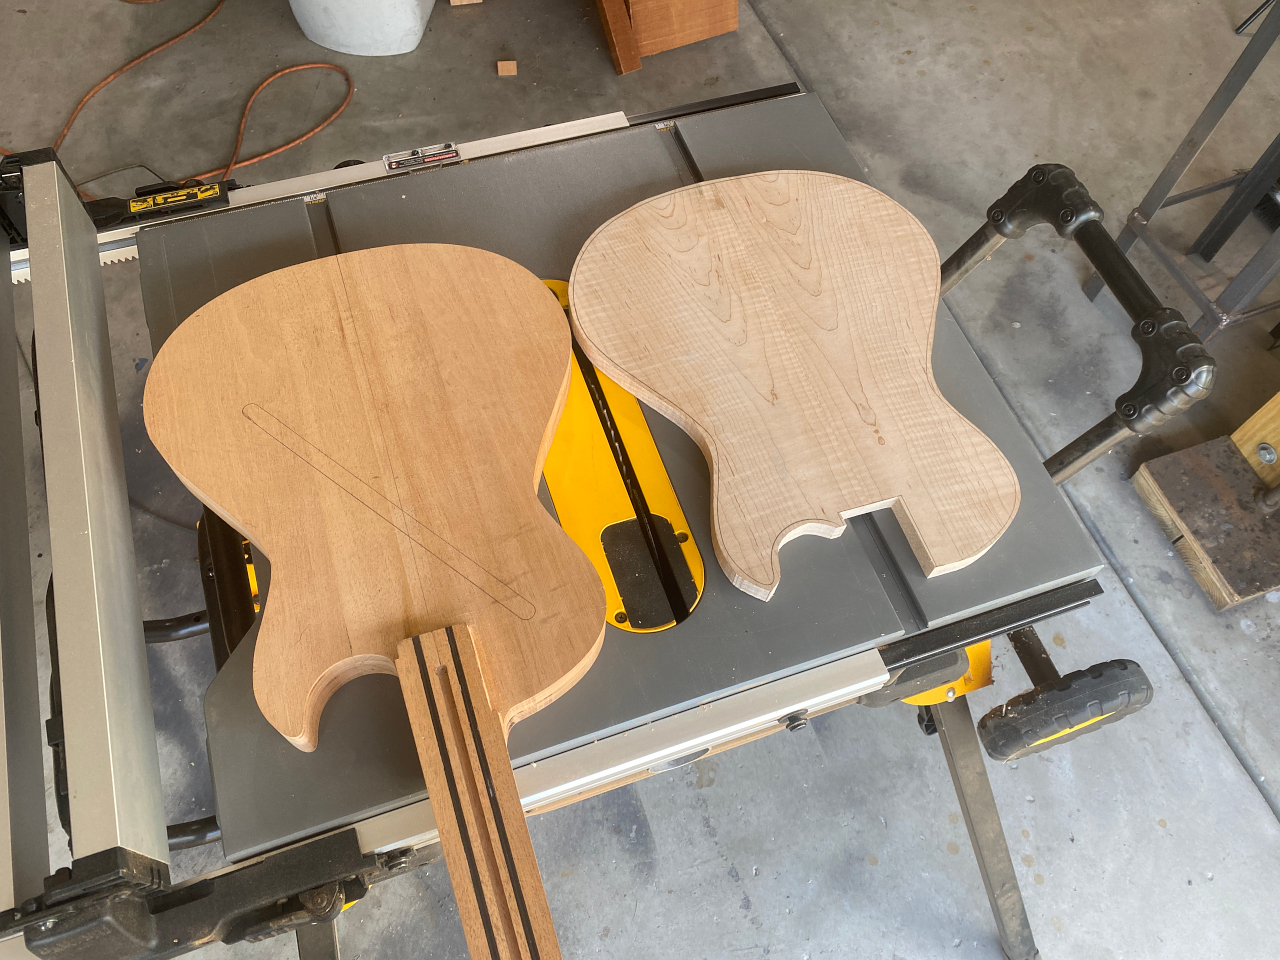
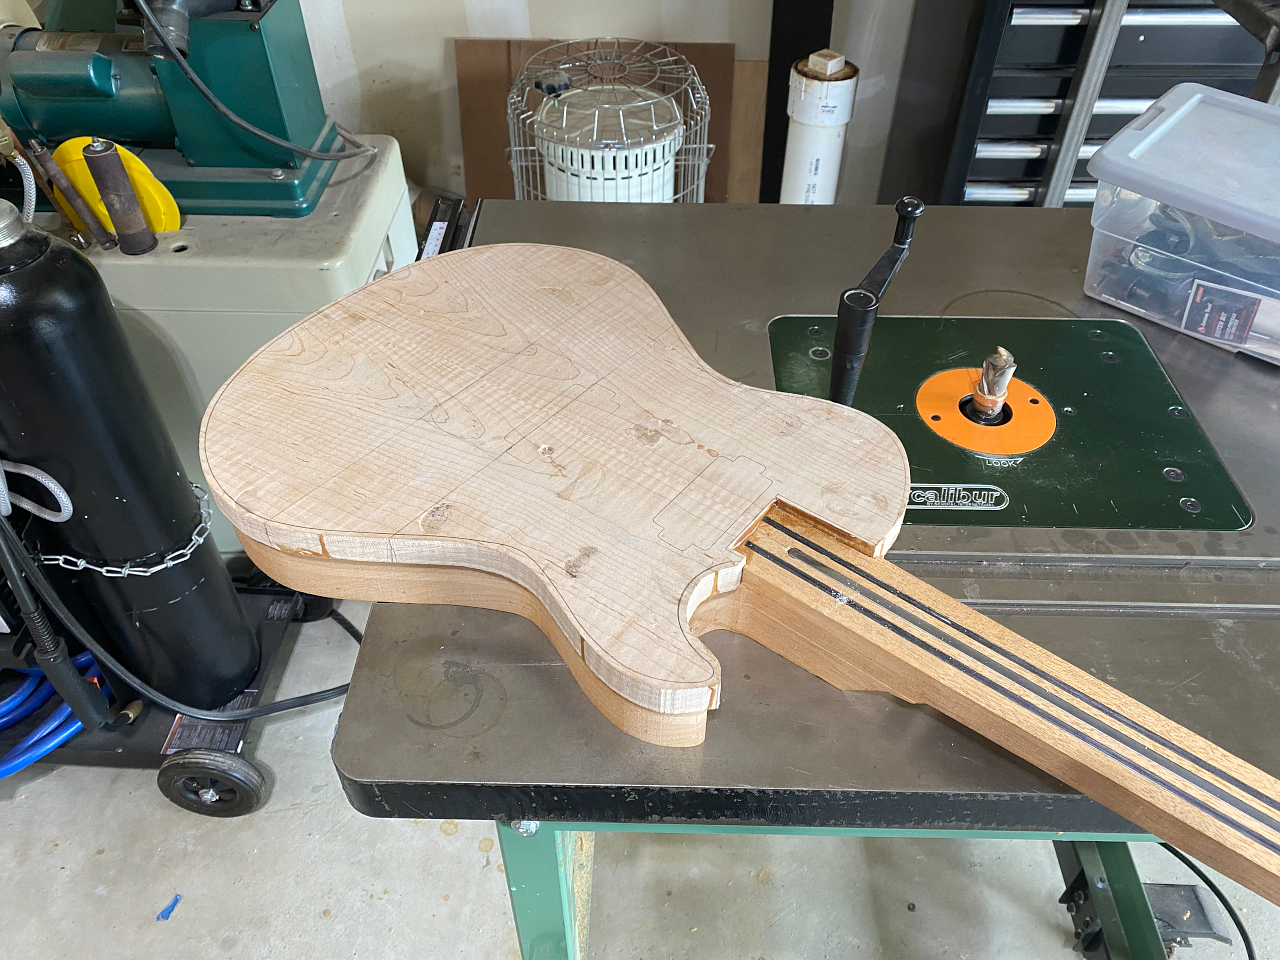
First task for the new blade was to cut out the top
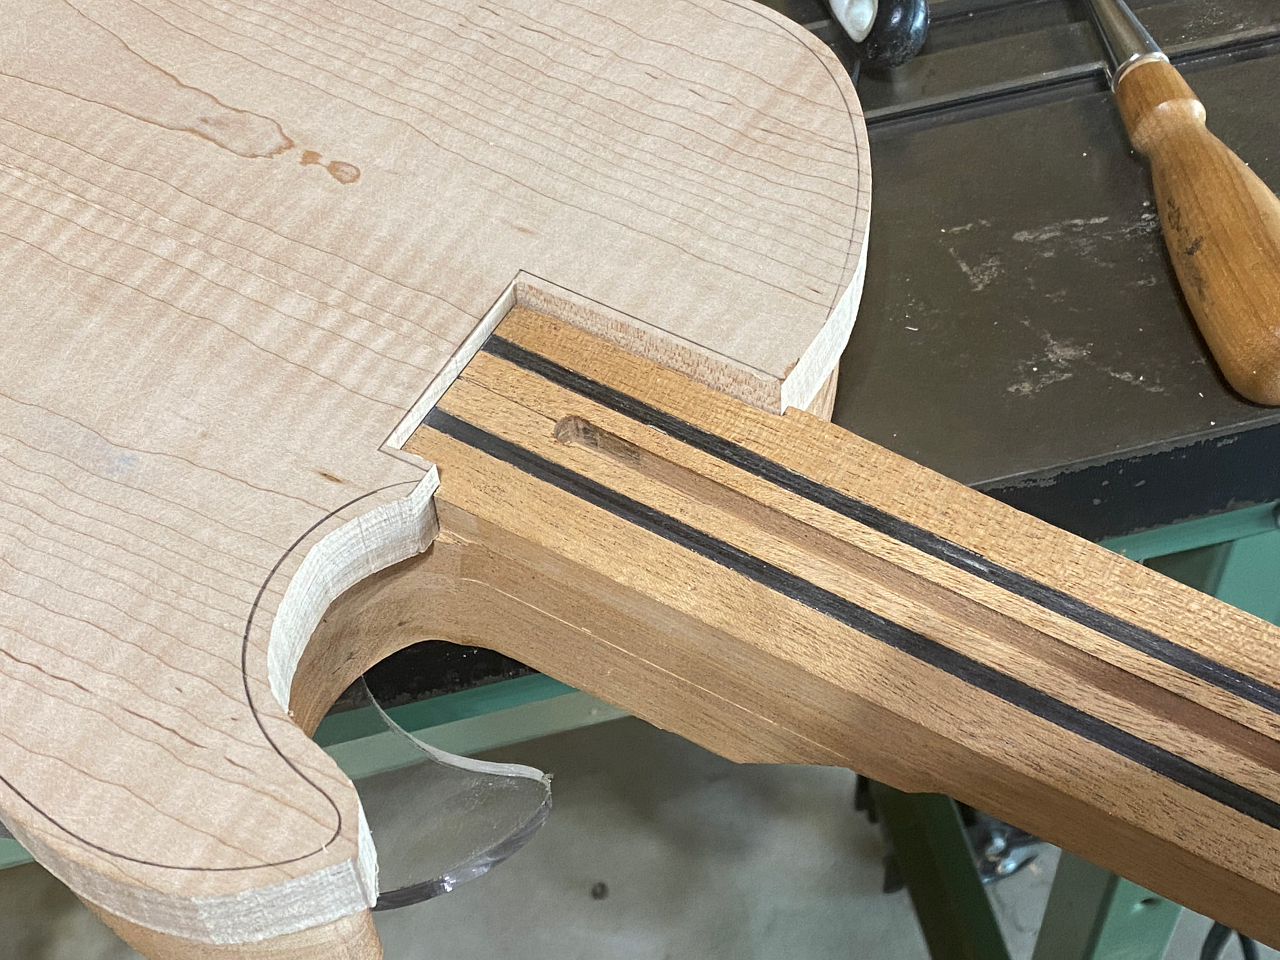
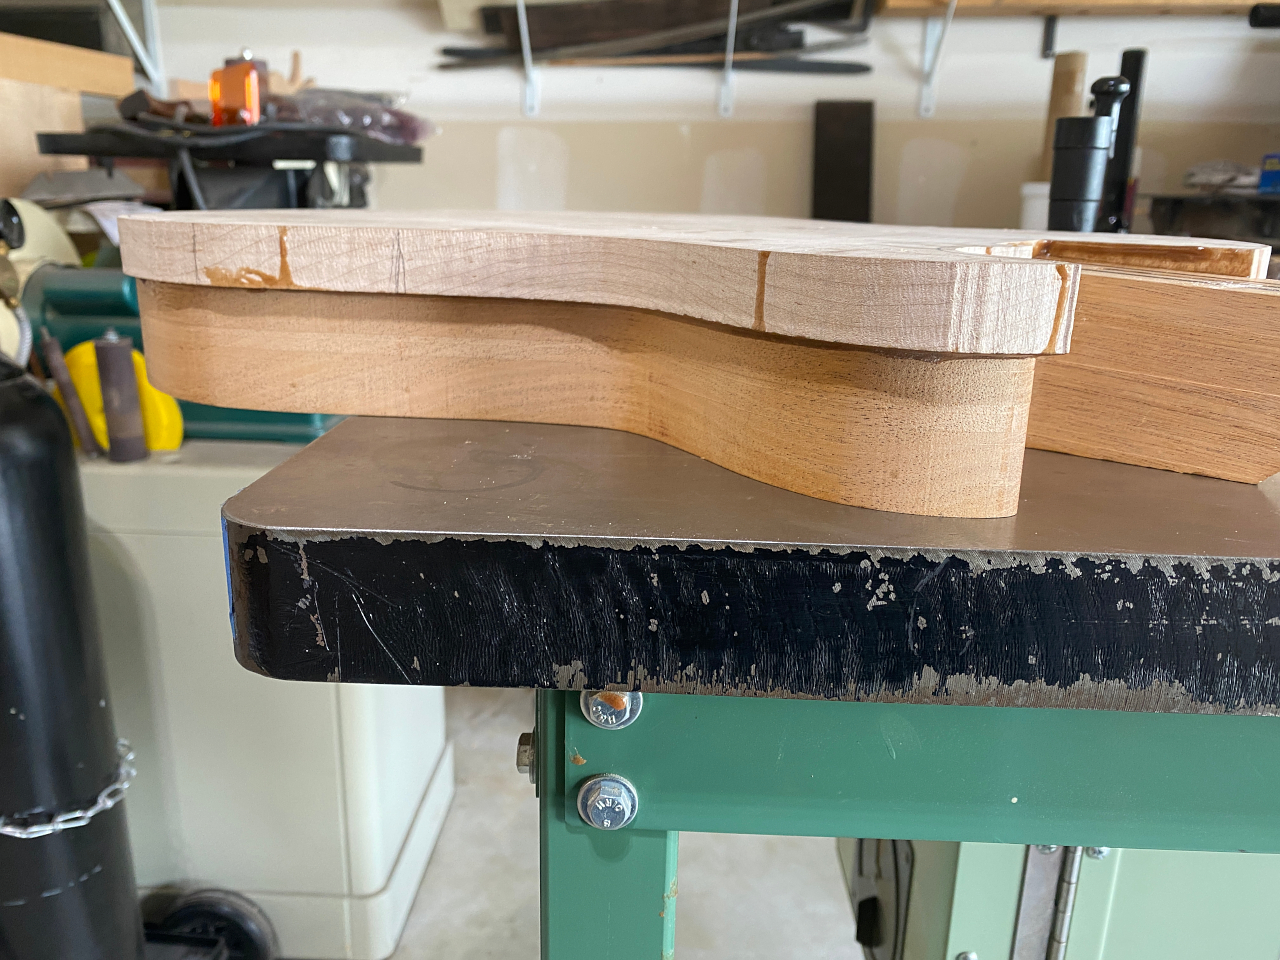
and then cut it to fit nicely around the raised neck end where I previously notched in. This fit will allow the fretboard to overlap slightly onto the maple top. This is purely an aesthetic touch so that there isnt a gap that needs to be filled around the edge of the fretboard where it lays on the body.
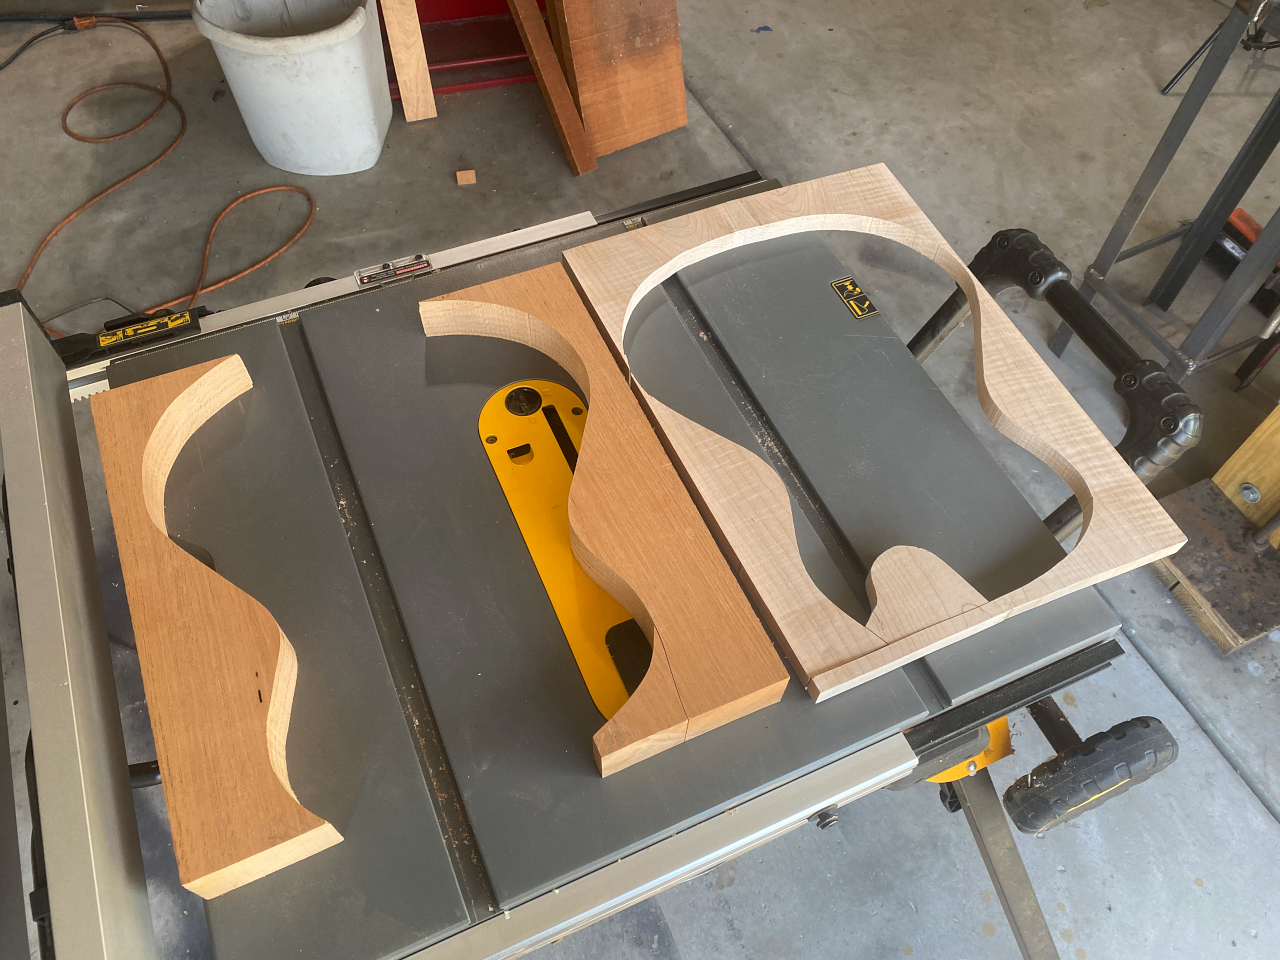
I included the next two photos because they serve no purpose, but what the heck 🙂
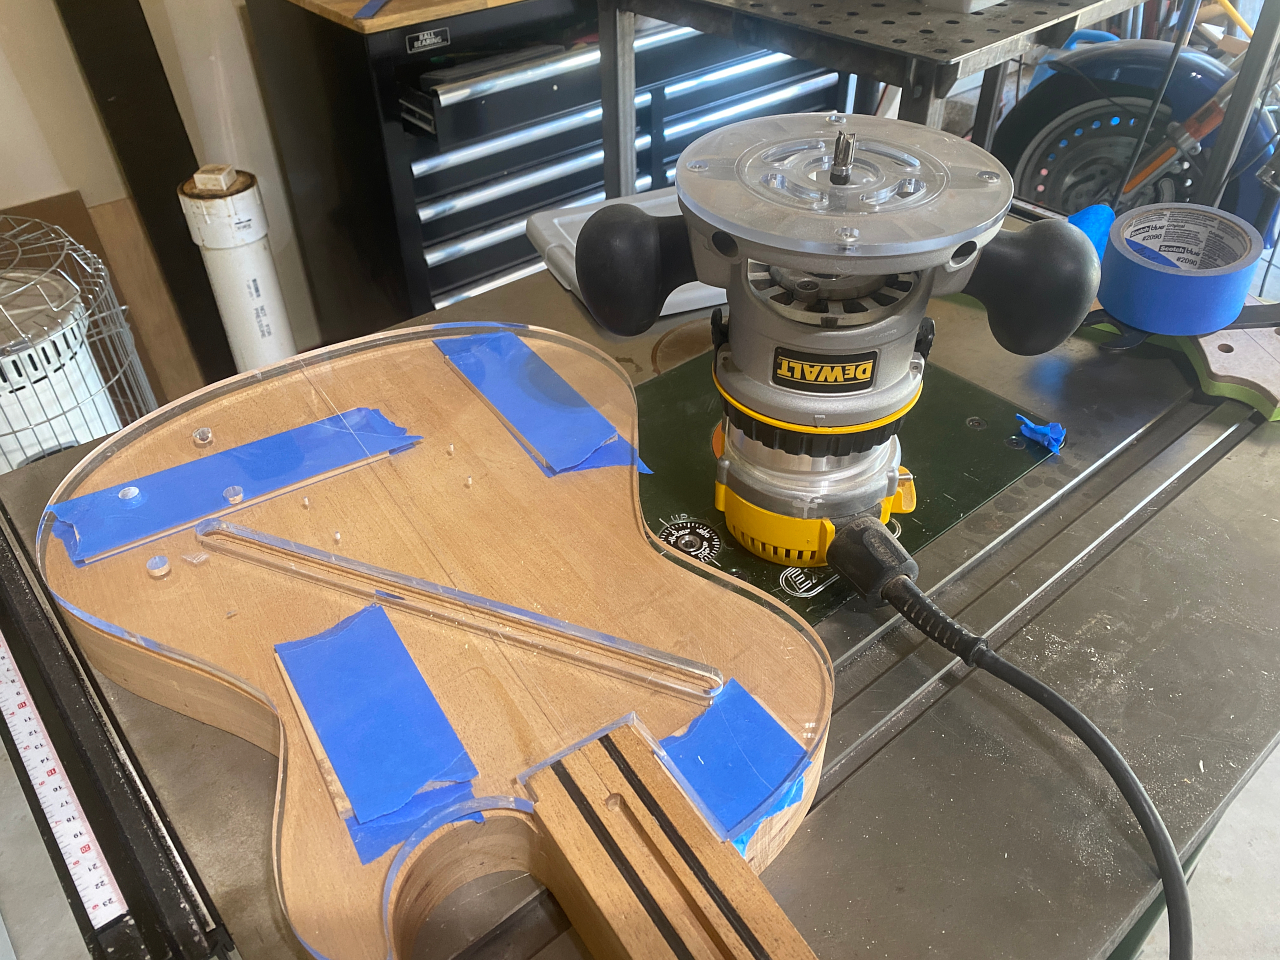
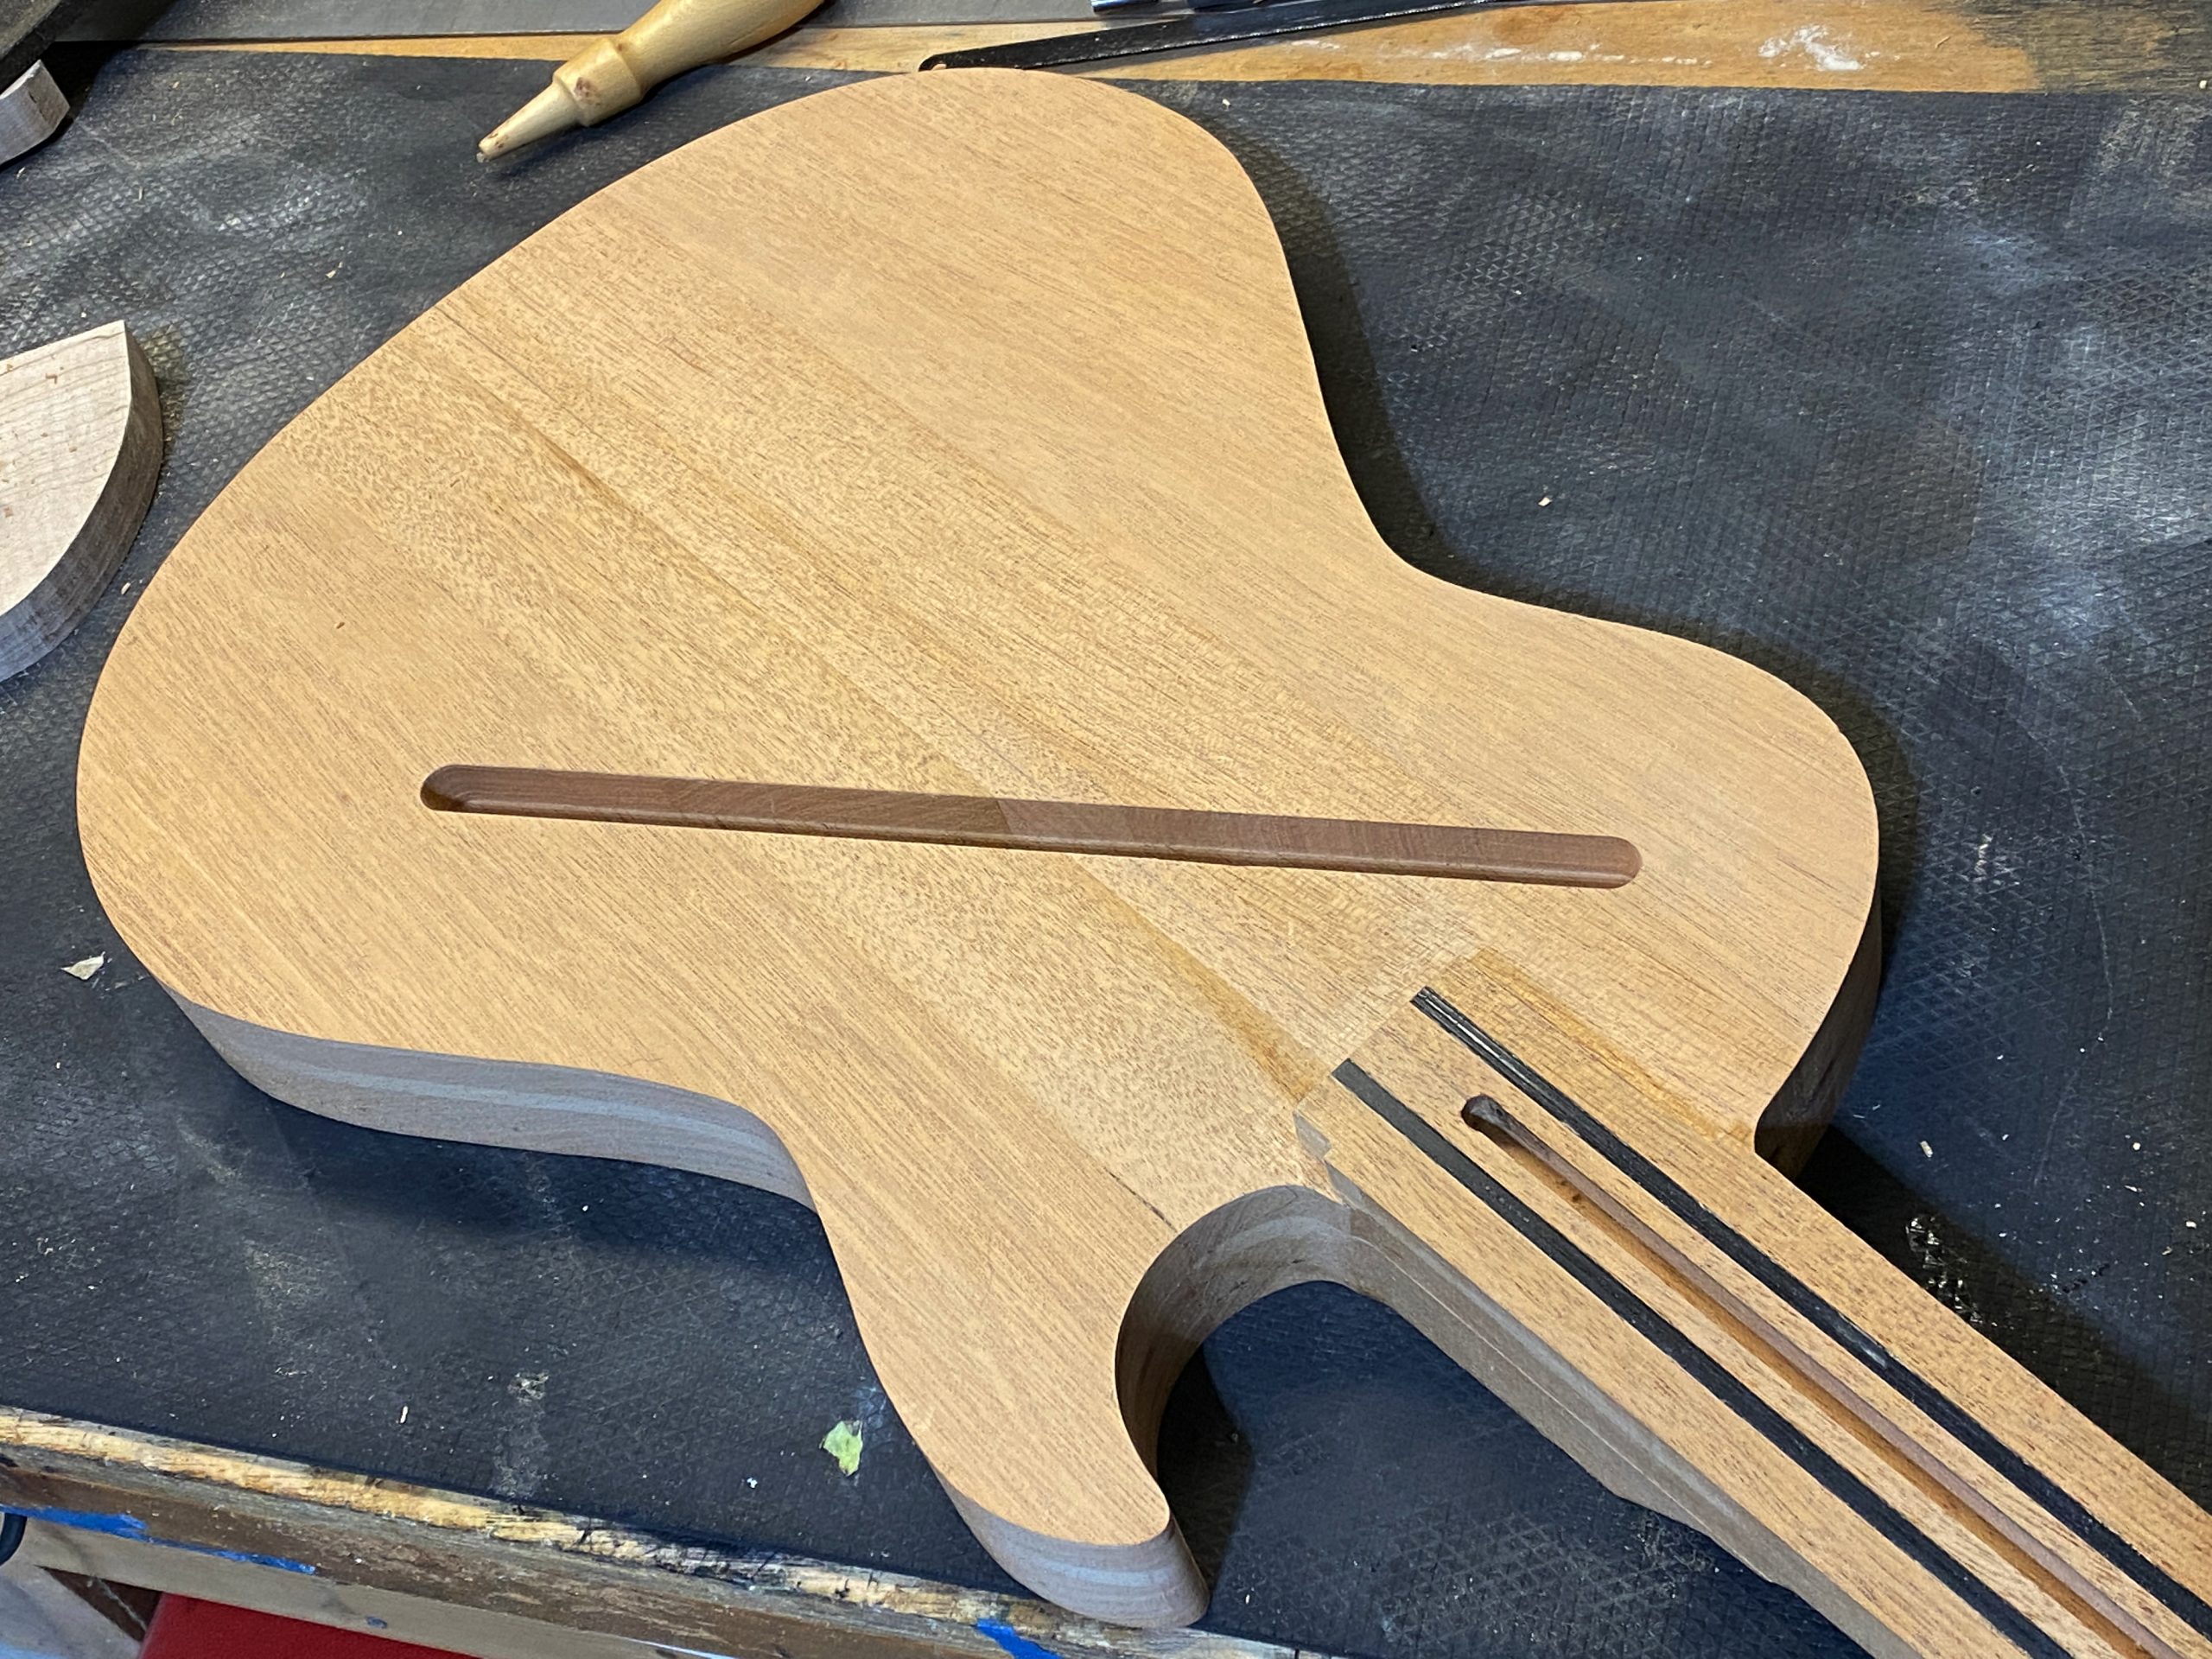
So before the top is glued onto the body there is a channel that needs to be routed. This channel is crucial as it connects all the cavities. the toggle cavity, both pickup cavities, and the control cavity.
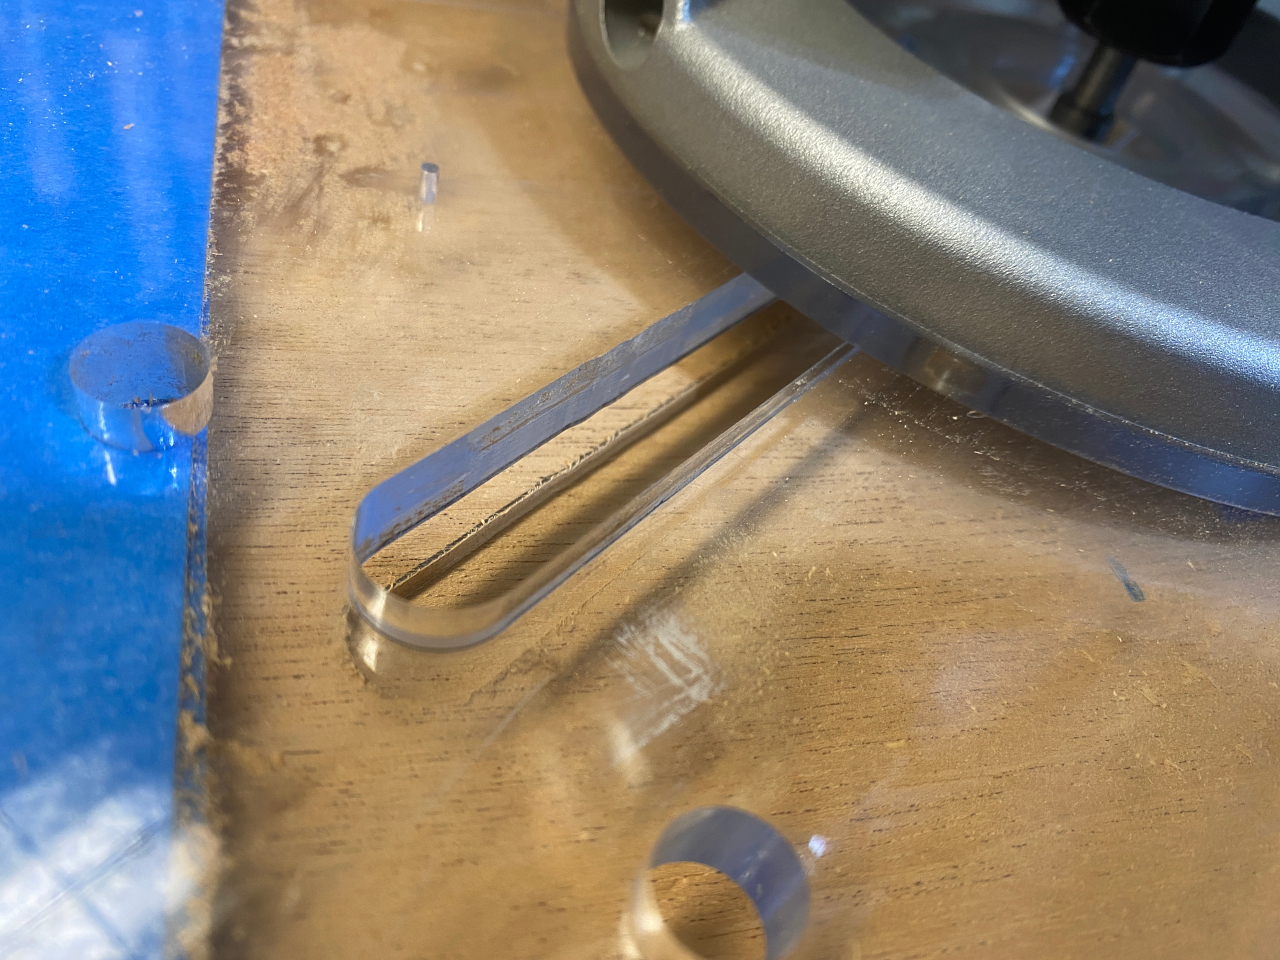
One error I made when I created the design was when I sent my blueprints to the company that cut the acrylic templates for me, I went with 3/8″ thick acrylic rather than 5/8″. It was less expensive. One unlooked for result is that the template is not as tall as the neck rise above the body, so I had to attach several shims to the body before attaching the template to route the channel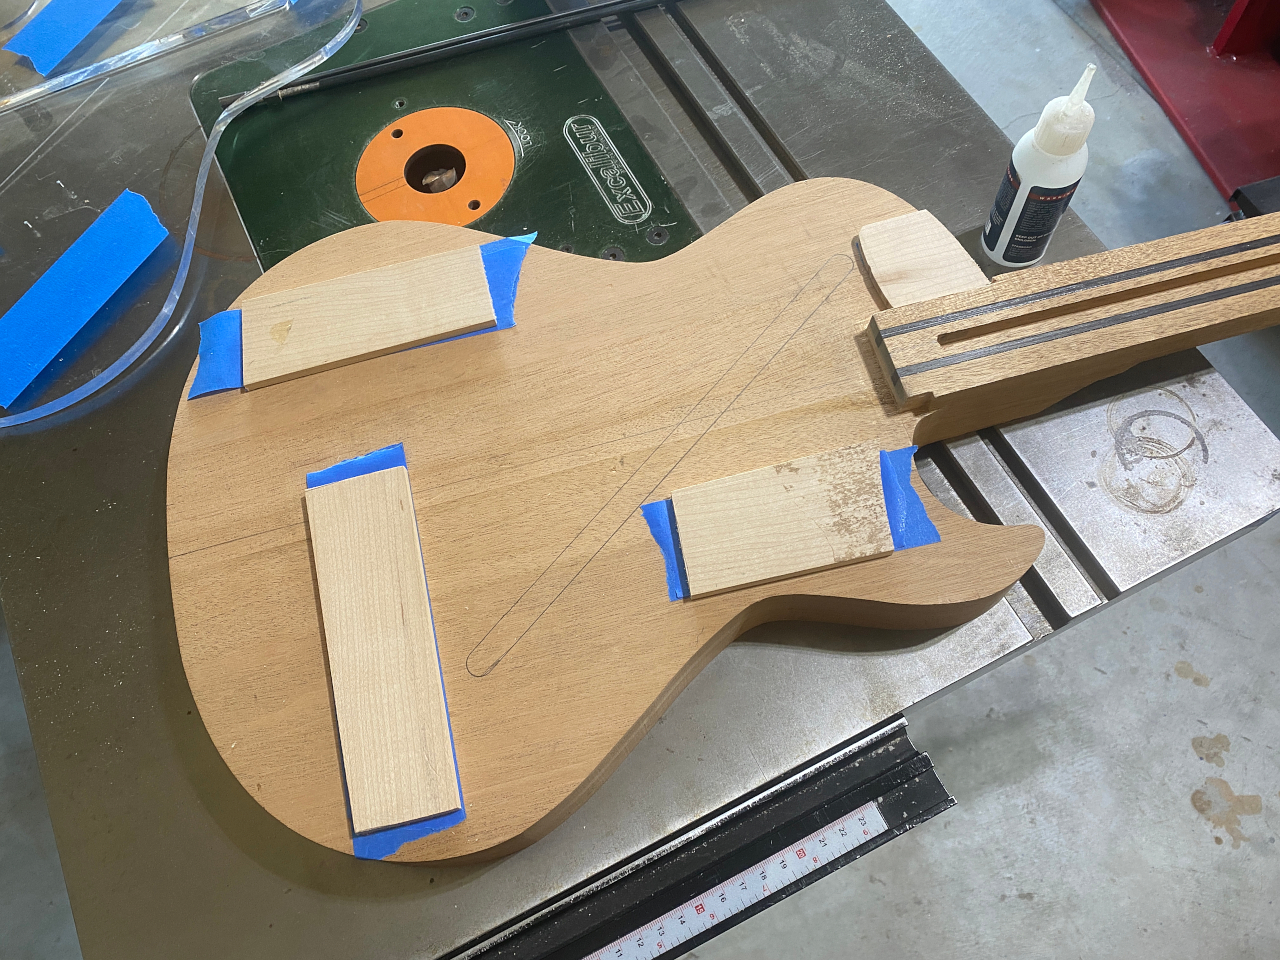
Without the shims, the neck rise would prevent the router from being able to get to the upper end where the toggle switch will go.
Well, no bog deal. the shims work fine, they are just an extra step i would not have needed if Id ordered the templates in a thicker material.
Channel routed. With the top glued on, this will be 100% sealed in and vanish completely inside the body, but later when I route the cavities, the control cavities will intersect it from the back, and the pickup cavities will intersect it from the front, and it will allow all the necessary wiring.
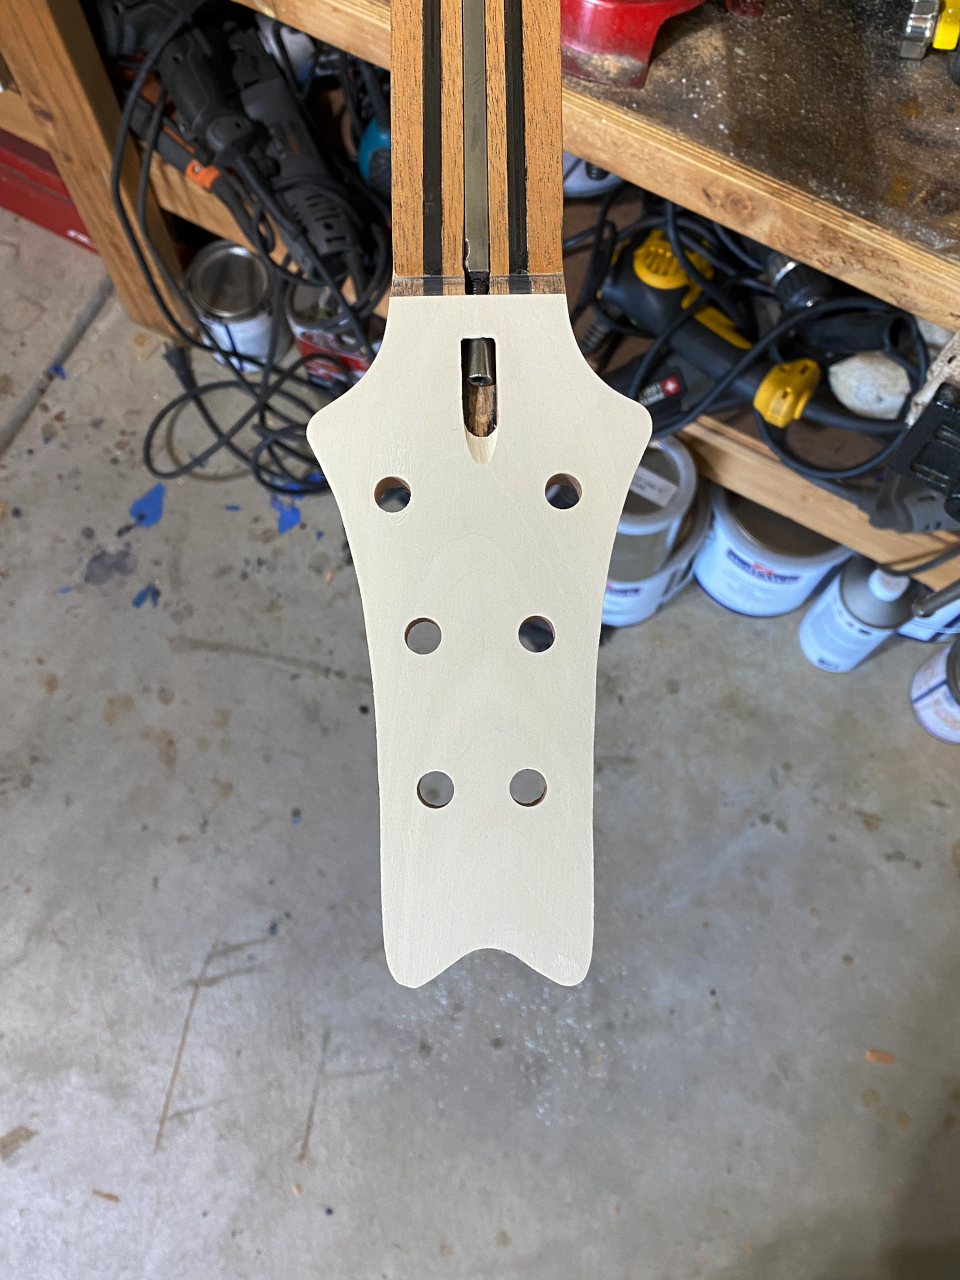
One little detail before moving on with the glue-up. I used my dremel rotary tool to cut through the headstock overlay to allow access to the truss rod adjustment.
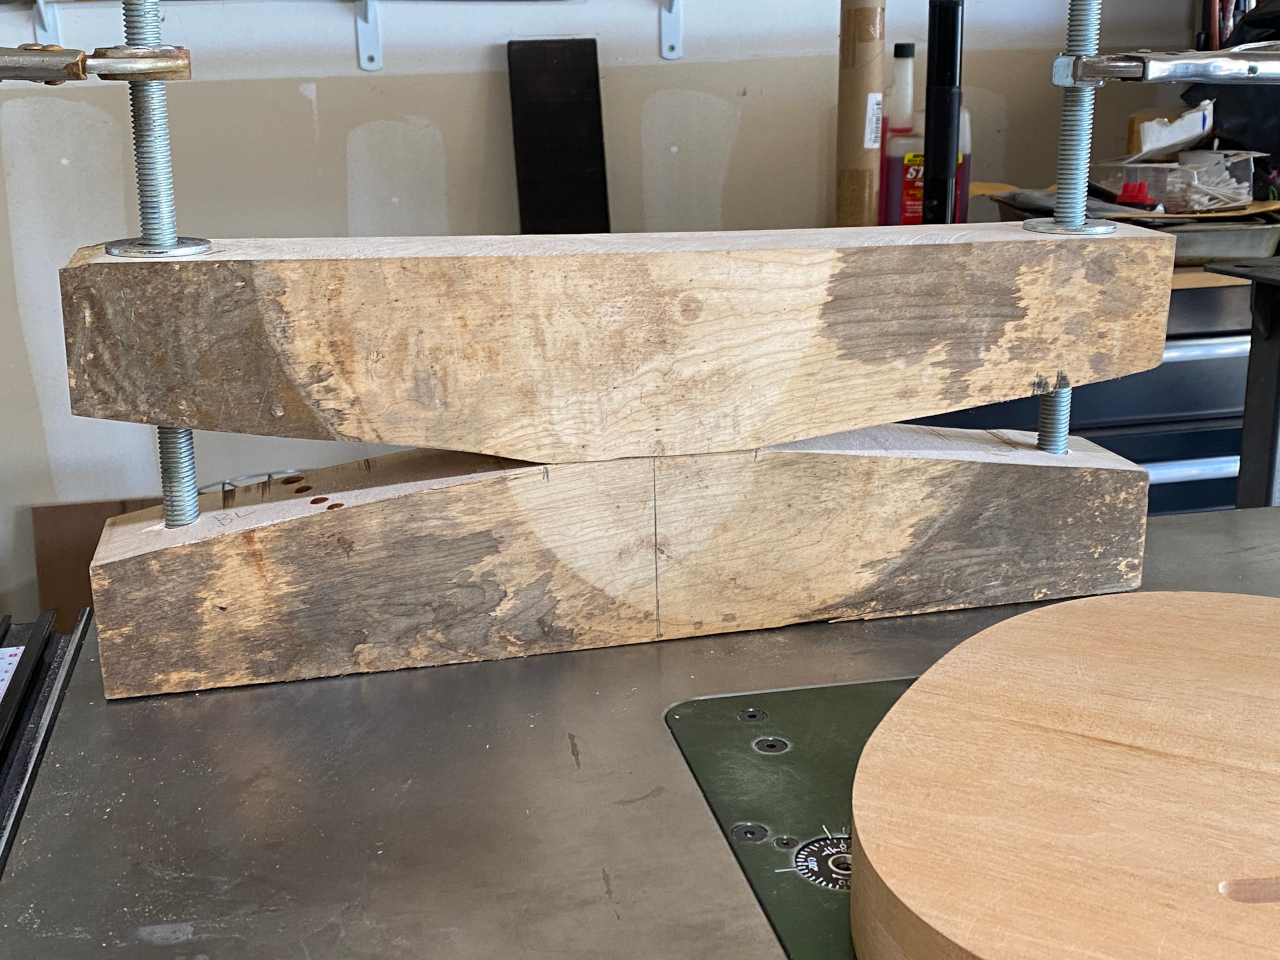
OK, I call this the giant clamp. I’m sure you can tell why. the purpose for this is simple. When I build a guitar form follows function, not the other way around. Some builders are overly concerned about the appearance of the joint between the top and the body, so when they glue it up they apply the glue, and then apply their clamps around the edge so the joint is nice and tight and looks great.
Theres a couple issue I have with this approach. One is that since the edge will be routed and binding applied, that joint will be completely covered anyway. Its appearance is irrelevant in the finished product.
What really matters is energy 🙂
A guitar, like almost any mechanical device, is all about energy. In the case of a guitar, the energy is in the vibrating string. Very often you will head the word “sustain” when talking about guitars. This is about how quickly the energy of the string dissipates as its absorbed and/or dampened by other factors. The longer it takes to dissipate, the longer it creates an audible sound. Thats sustain
Everything about my design is focused on interfering with that vibration as little as possible so that the energy, or vibration of the string, takes longer to dissipate. This means eliminating points where the vibration passes across joints between different pieces of wood, hence the neck-through-body design. No neck joint to dampen that vibration.
The other crucial join that can interfere is the joint between the top of the guitar and the body. and this is a really big joint. The bridge sits on the maple, while the nut is in the mahogany at the neck. Since we cant get rid of that joint between the two woods we want to make that joint as perfect as possible, with as much contact between the two as can be created with all that laborious flattening using hand planes mentioned earlier in the build. more perfect contact = less glue. Less glue = less dampening effect and more efficient transfer of energy.
So, back to the point. The main focus of this energy transfer is the joint between the top and body directly beneath the bridge.
What happens if you smear glue on the face, drop the top on, and apply tight clamping pressure all around the outside edge?
It will push all squeezed glue in toward the middle of the body, and cause the joint in that area to have a thick film of glue between the two pieces of wood.
No good.
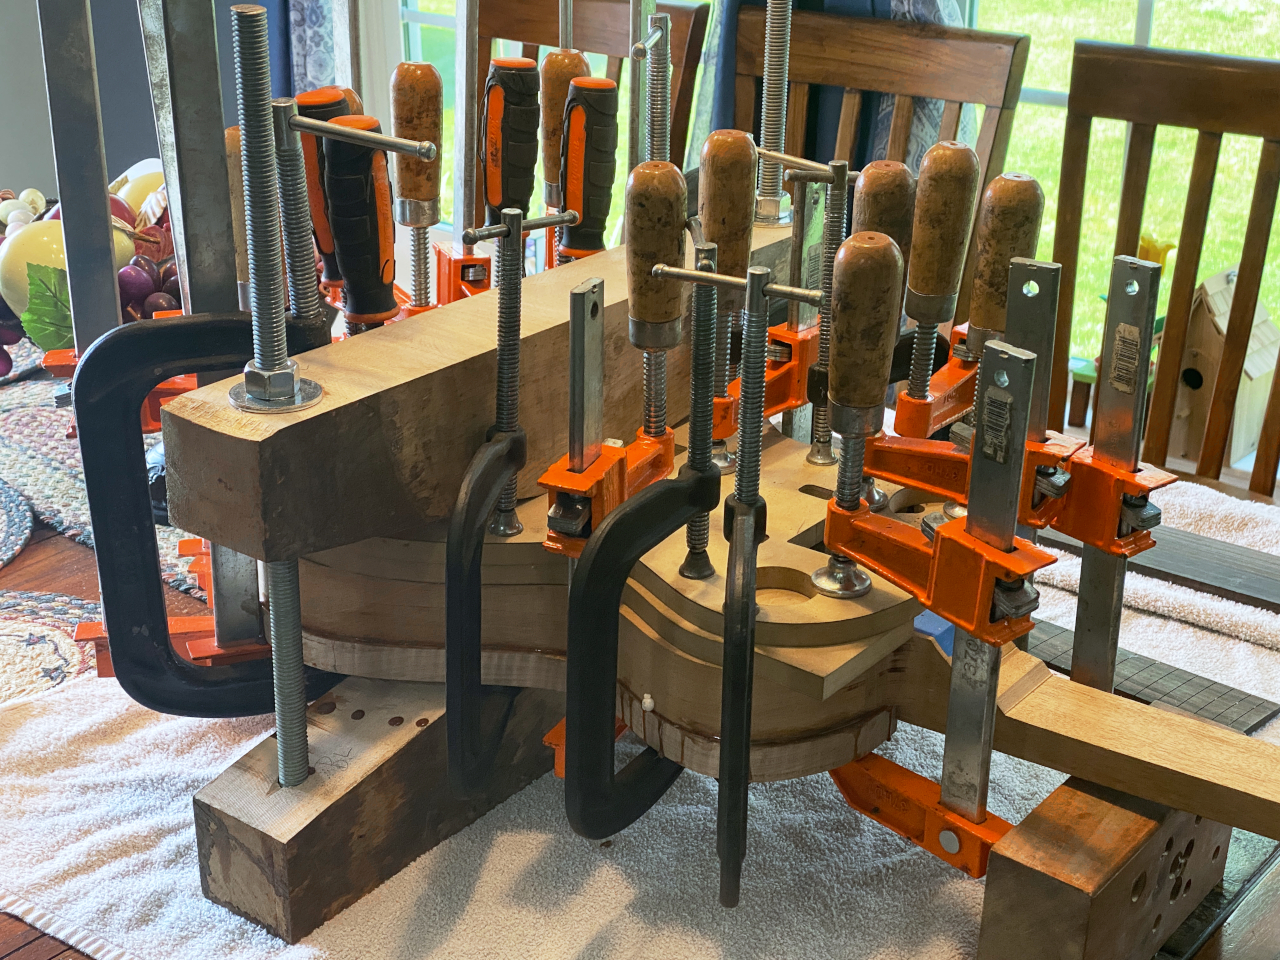
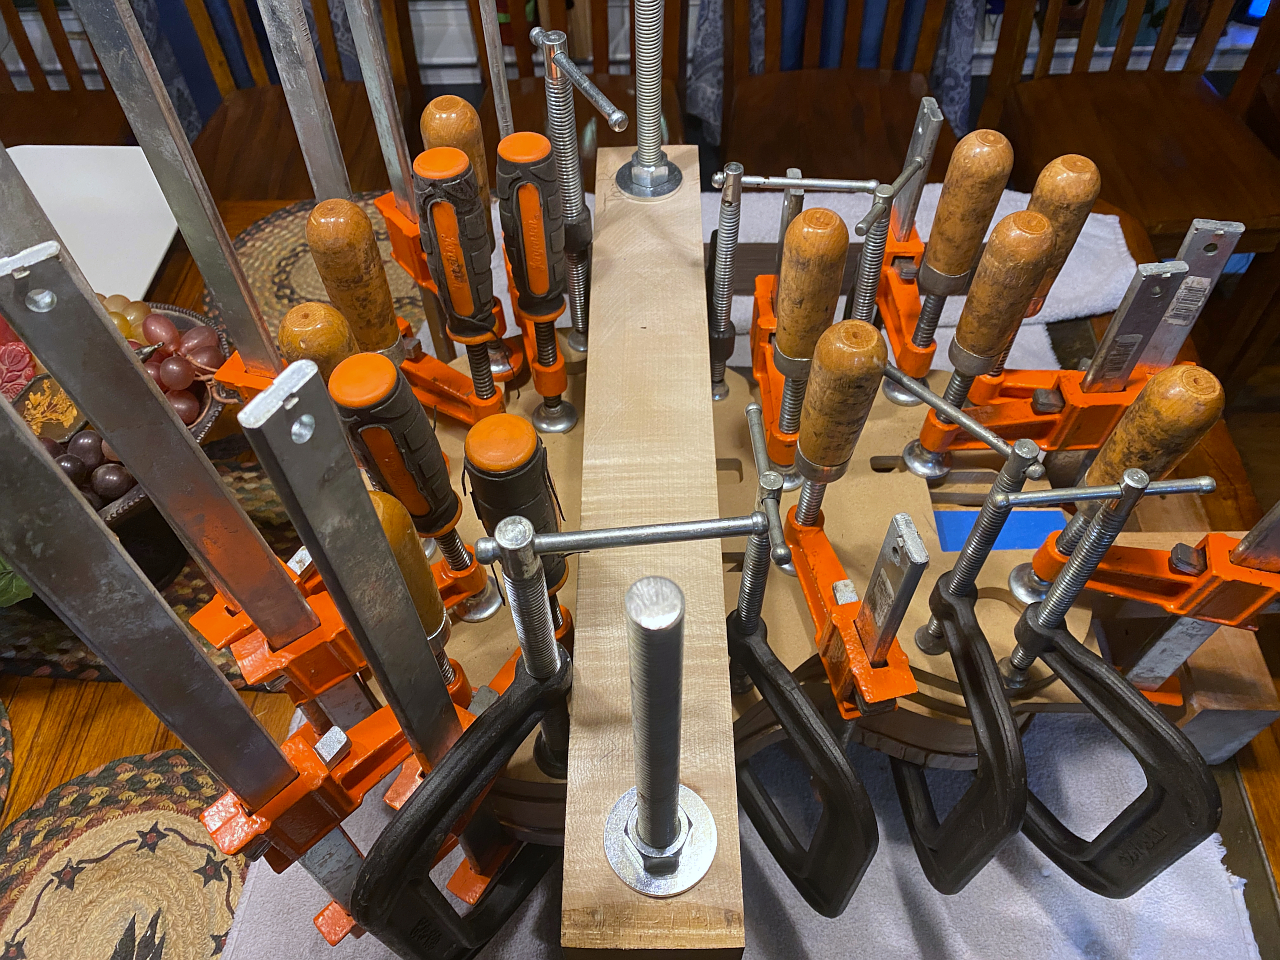
My solution was to make a giant clamp that applies a great deal of pressure to a 2.5″ x 4″ square directly where the bridge will sit. Once I apply the glue, the guitar gets placed first into the giant clamp and its tightened down firmly on the key spot.
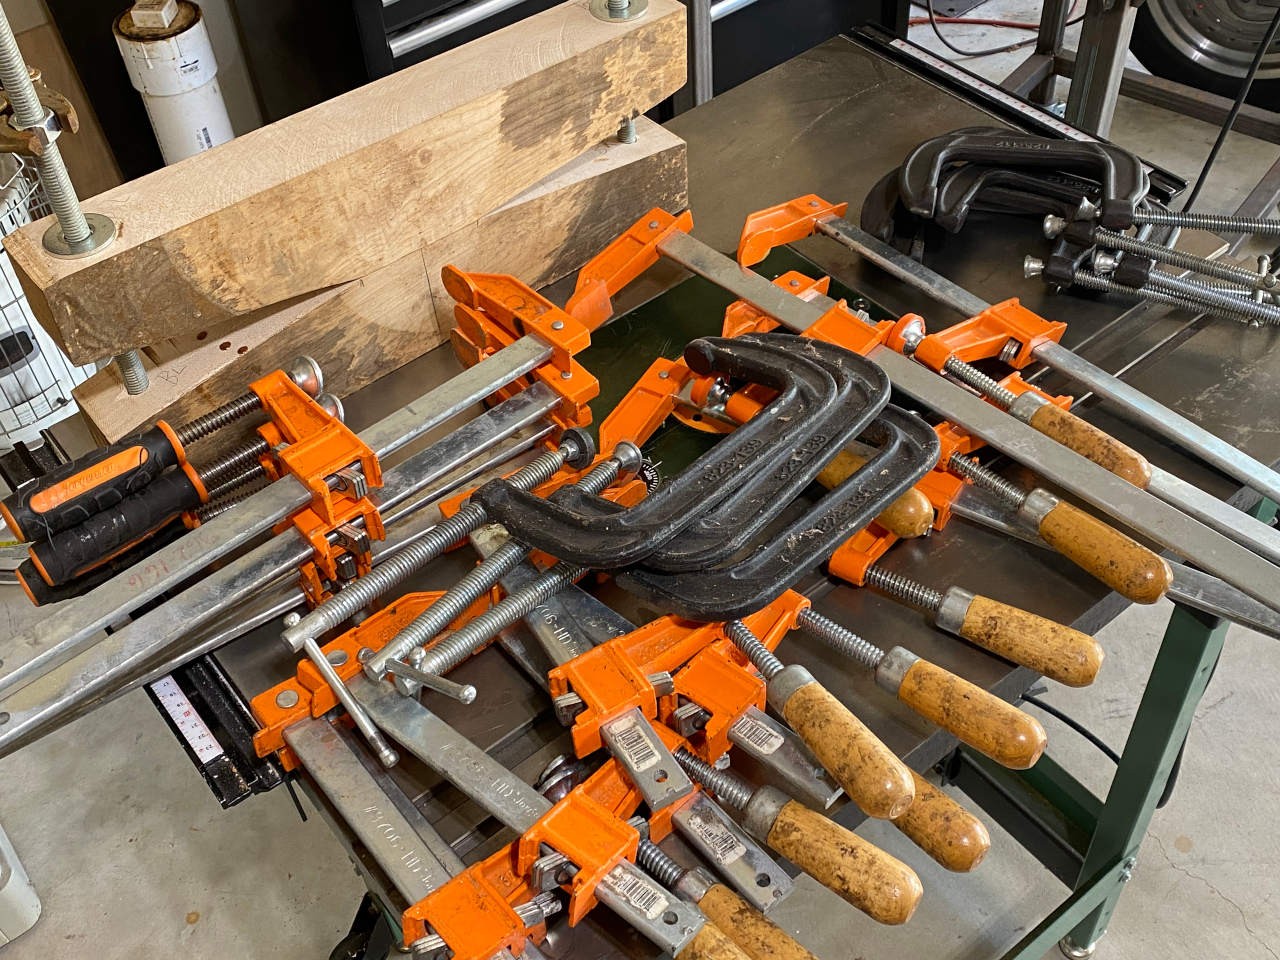
After that, all these other clamps are applied starting near the center, and working my way outward with the edge clamps going on last. This clamping order pushes any excess glue out out of the joint all together as opposed to pushing it into the middle.
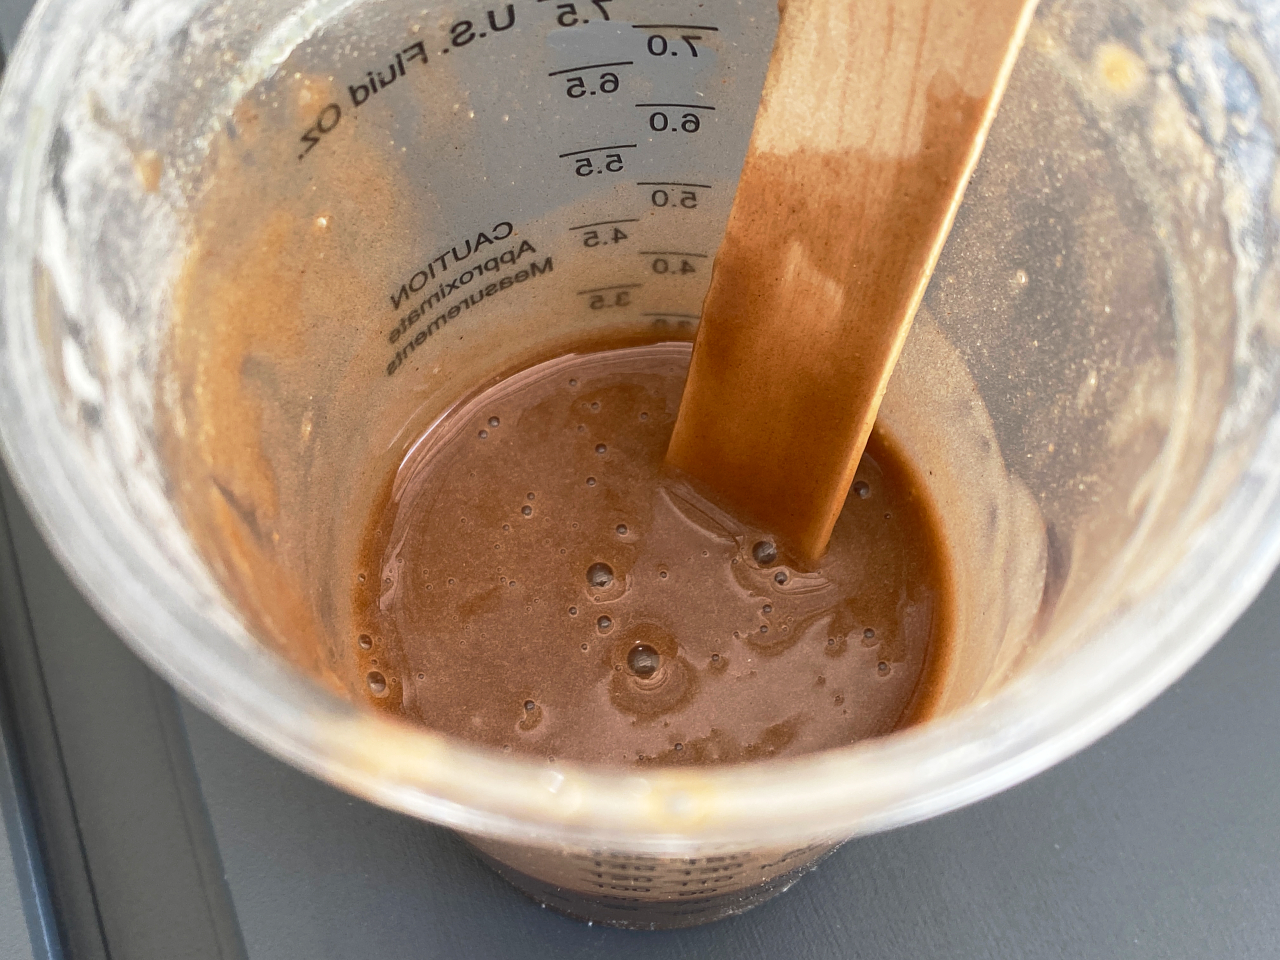
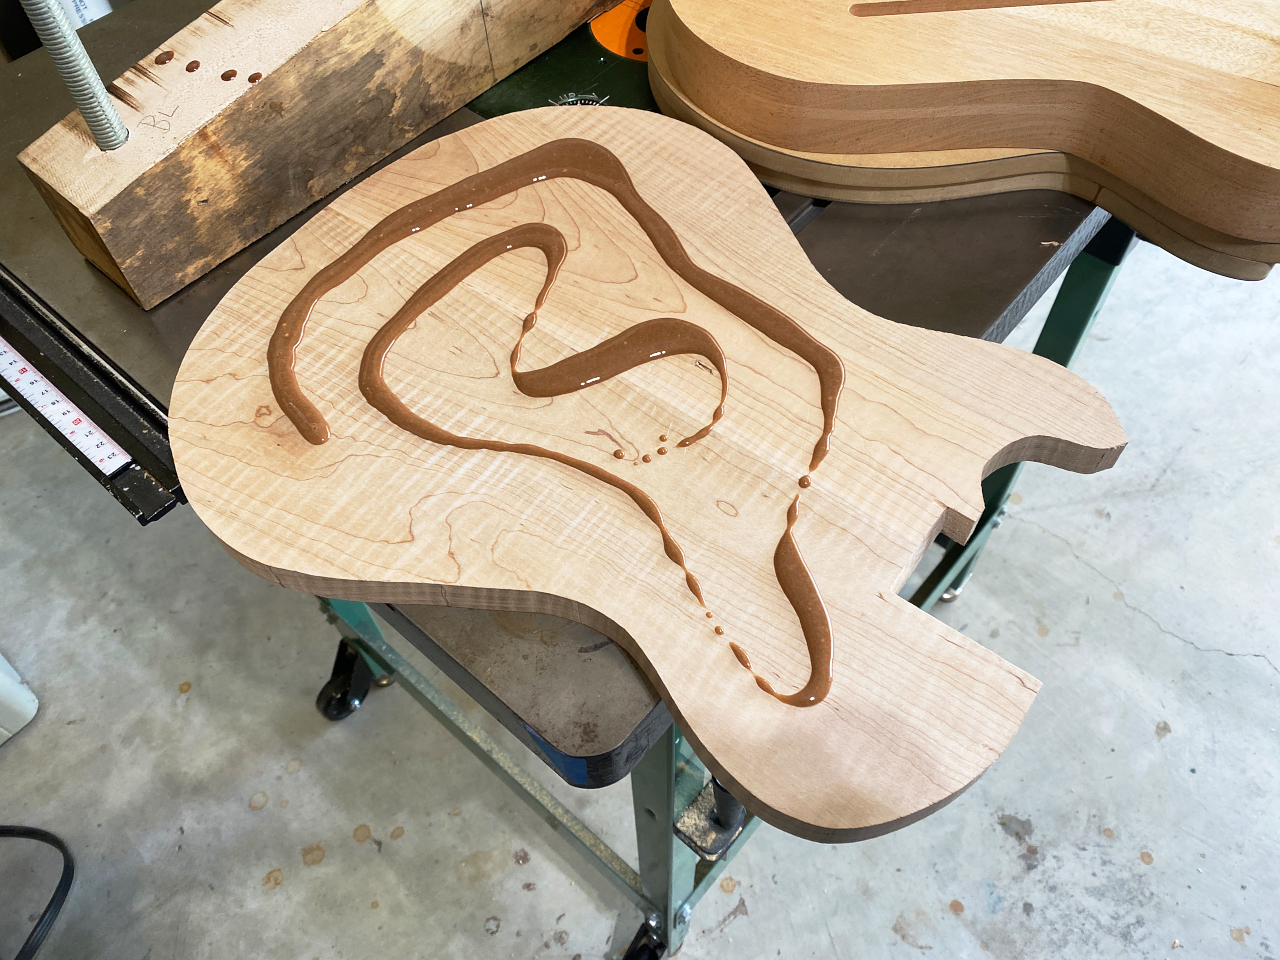
I mix up my UF glue
drizzle some onto the top, and I spread this around evenly with a credit card blank as a squeegee to leave a thin, even layer covering the entire surface
the top goes on, and into the giant clamp, with the rest being added as described above. You’ll notice the guitar is upside down in the clamp here. This is so that any glue that does squeeze into the wiring channel actually stays on what will be the top of the channel rather than running down into the channel leaving bumps, ridges, and drops that might make it more difficult to push wires through. It also keeps the squeezeout at the edge from dripping on the mahogany for reasons I’ll explain in a couple frames down.
I bring this inside the house because the UF glue requires a steady 70 F. or higher to cure properly, and its around 60 in the shop. It would still cure at that temp, but it would take several days rather than just one.
Sure hope I got enough clamps on there 😉
So, 24 hours later and I remove all the clamps. The dents and divots in the top dont matter because the top gets carved down a lot and those will just be gone. I put an MDF template between the clamps and the mahogany on the back to prevent dents there.
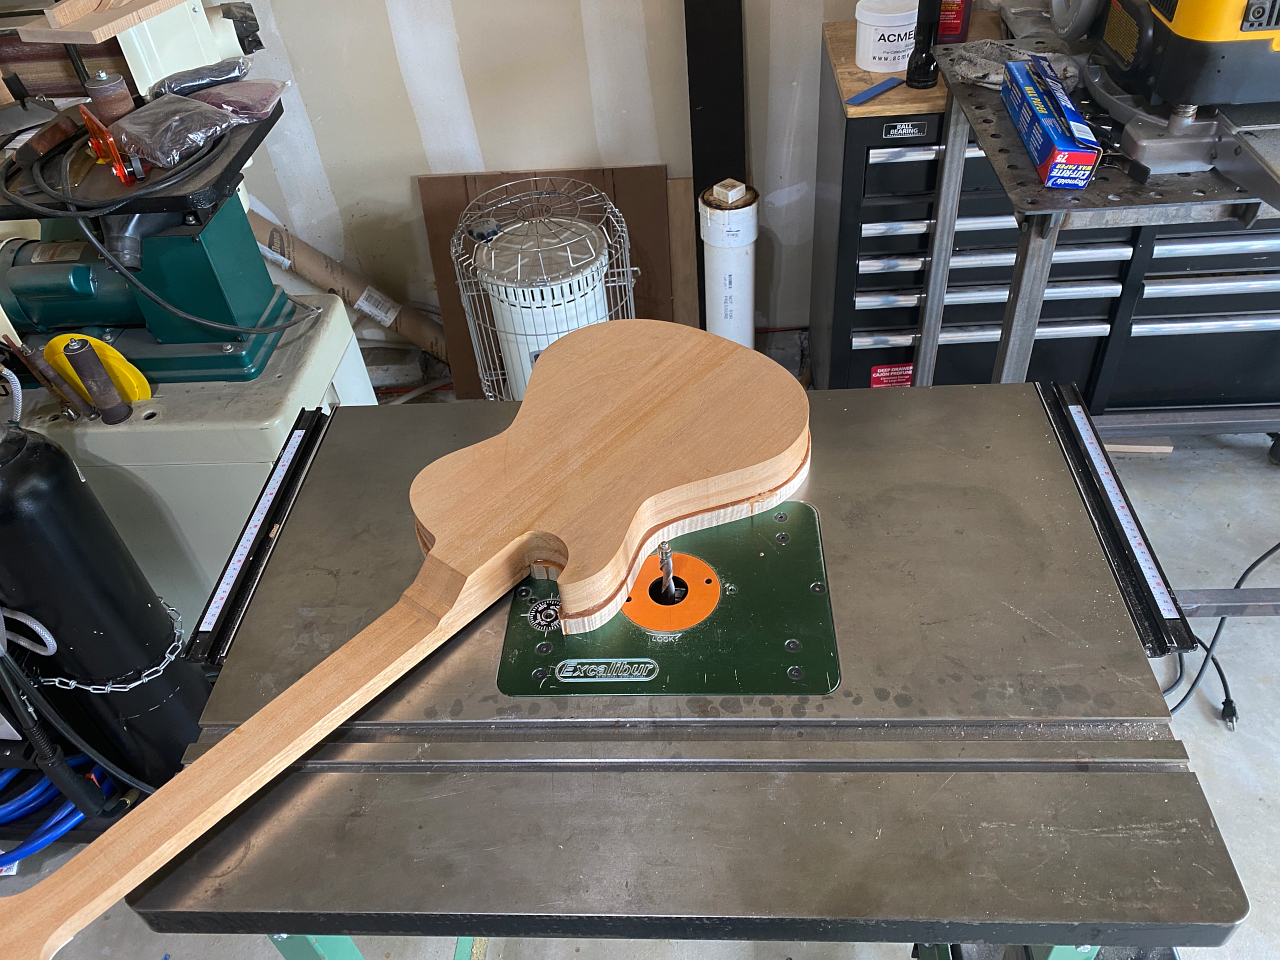
As you can see, the top is oversized and now needs to be routed back to be flush with the mahogany
Fip it over on the router table
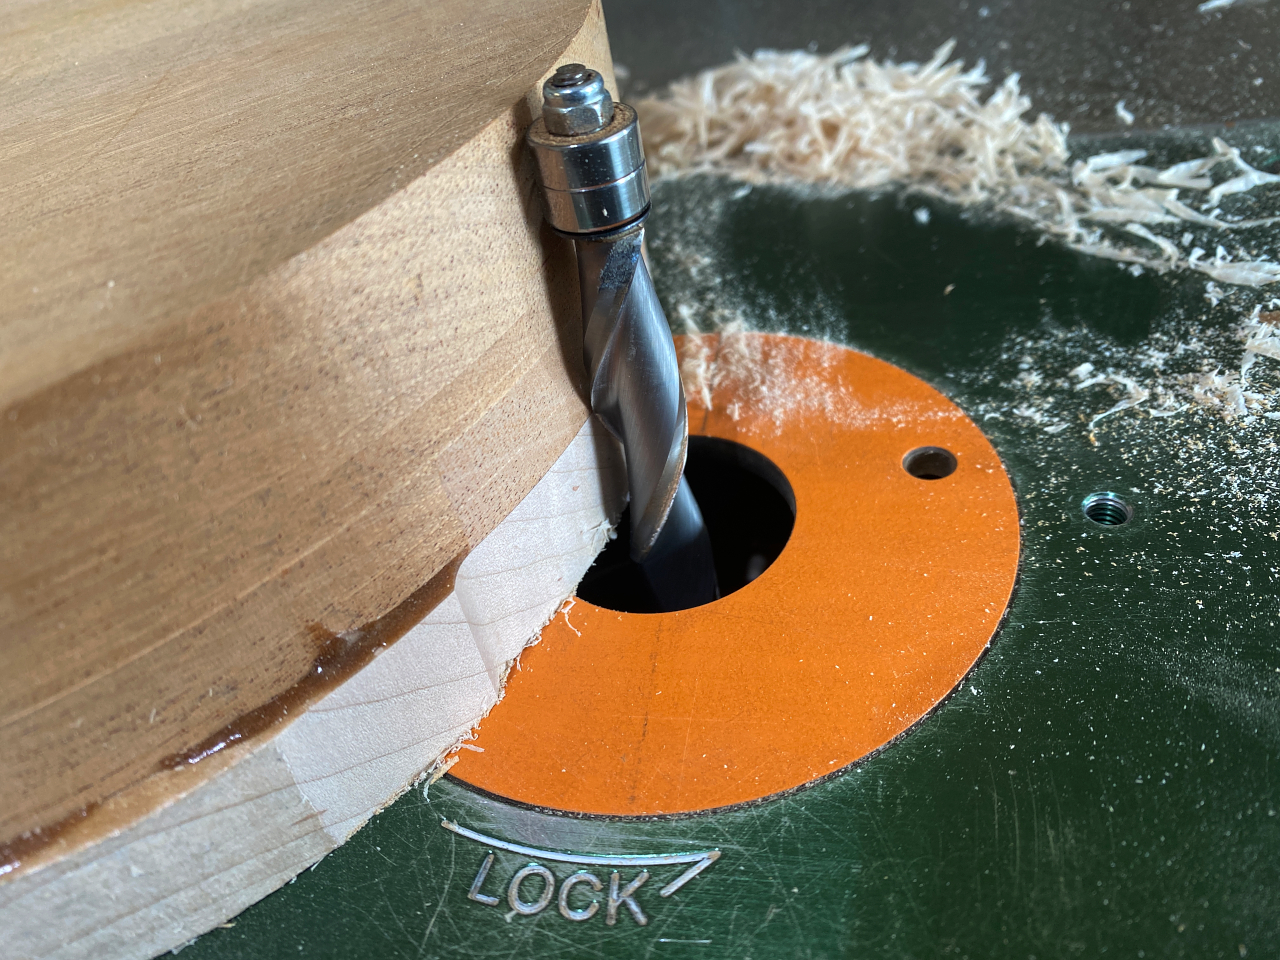
This is a different bit but with a bottom bearing, again it appears at the top here because the router table has the router upside down. Since the bearing rides along the mahogany, having runs of glass-hard glue here left over from gluing the top on would have required a lot more work to clean up before moving on. Clamping the guitar upside down just eliminates the need for that step.
A quick video clip of the routing.
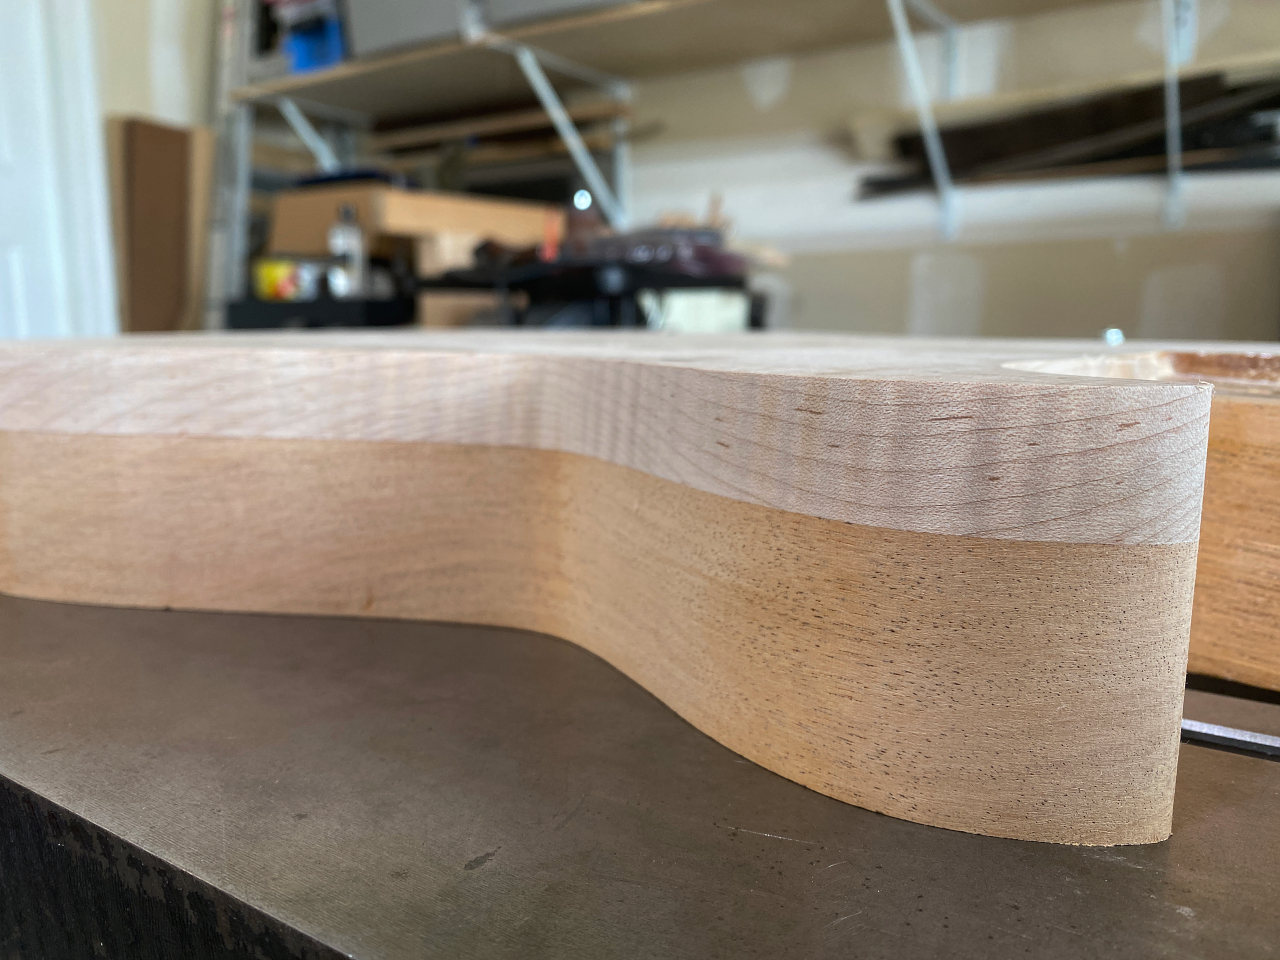
As you can see, my clamping process still winds up giving me that perfect looking joint at the edge anyway, although in the end this particular joint wont actually be visible…
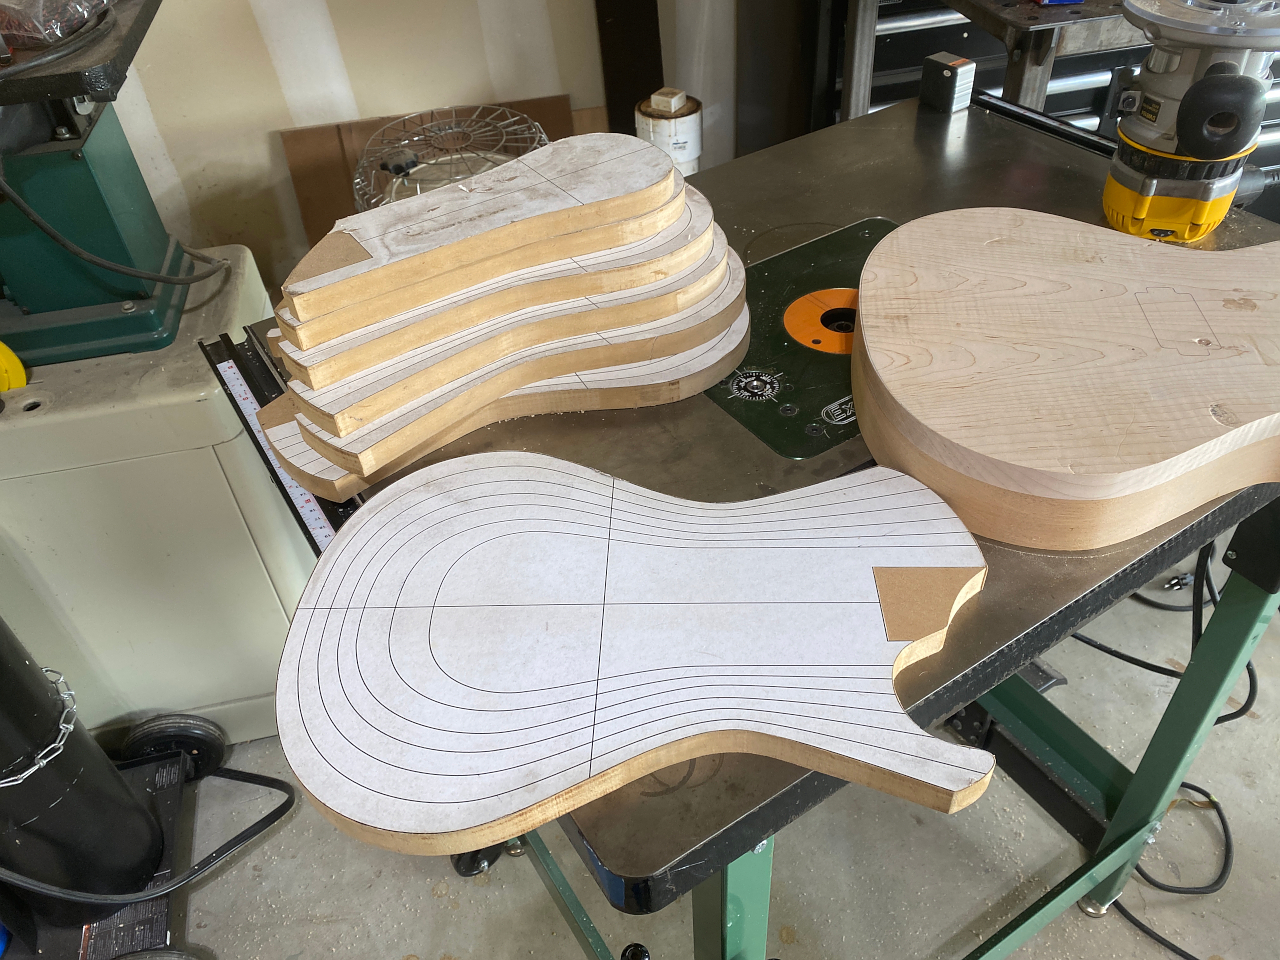
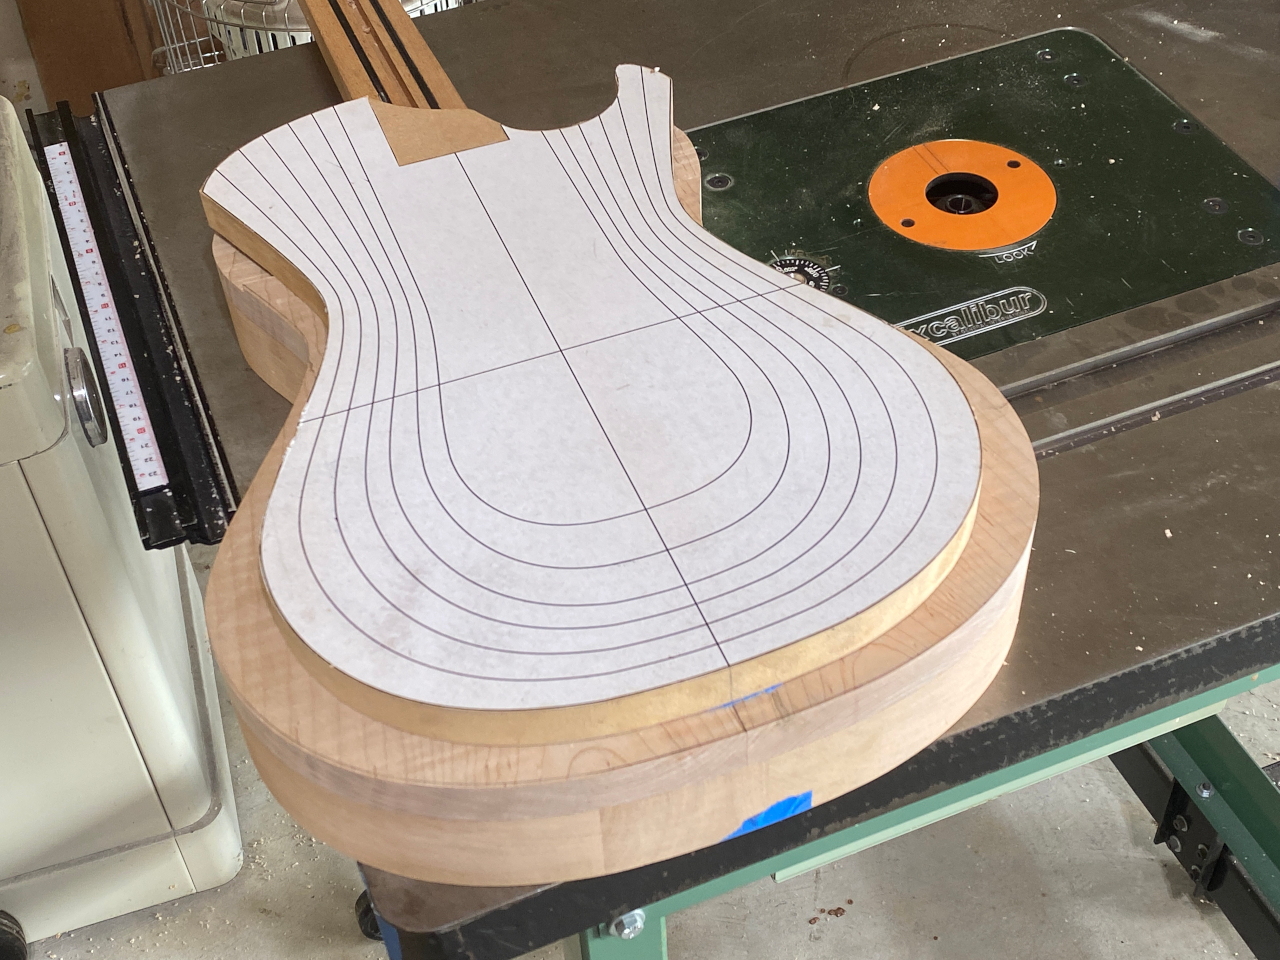
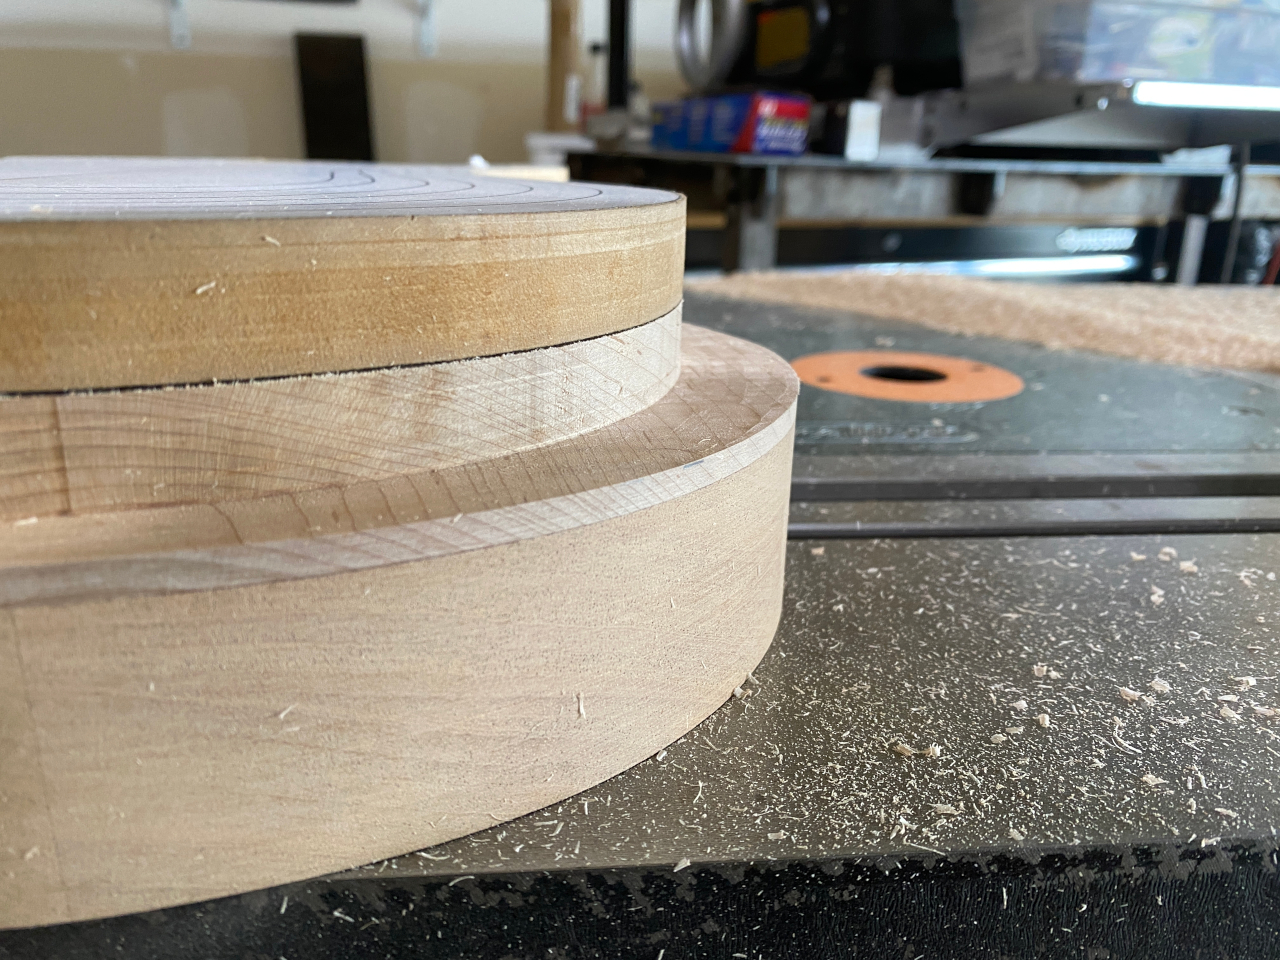
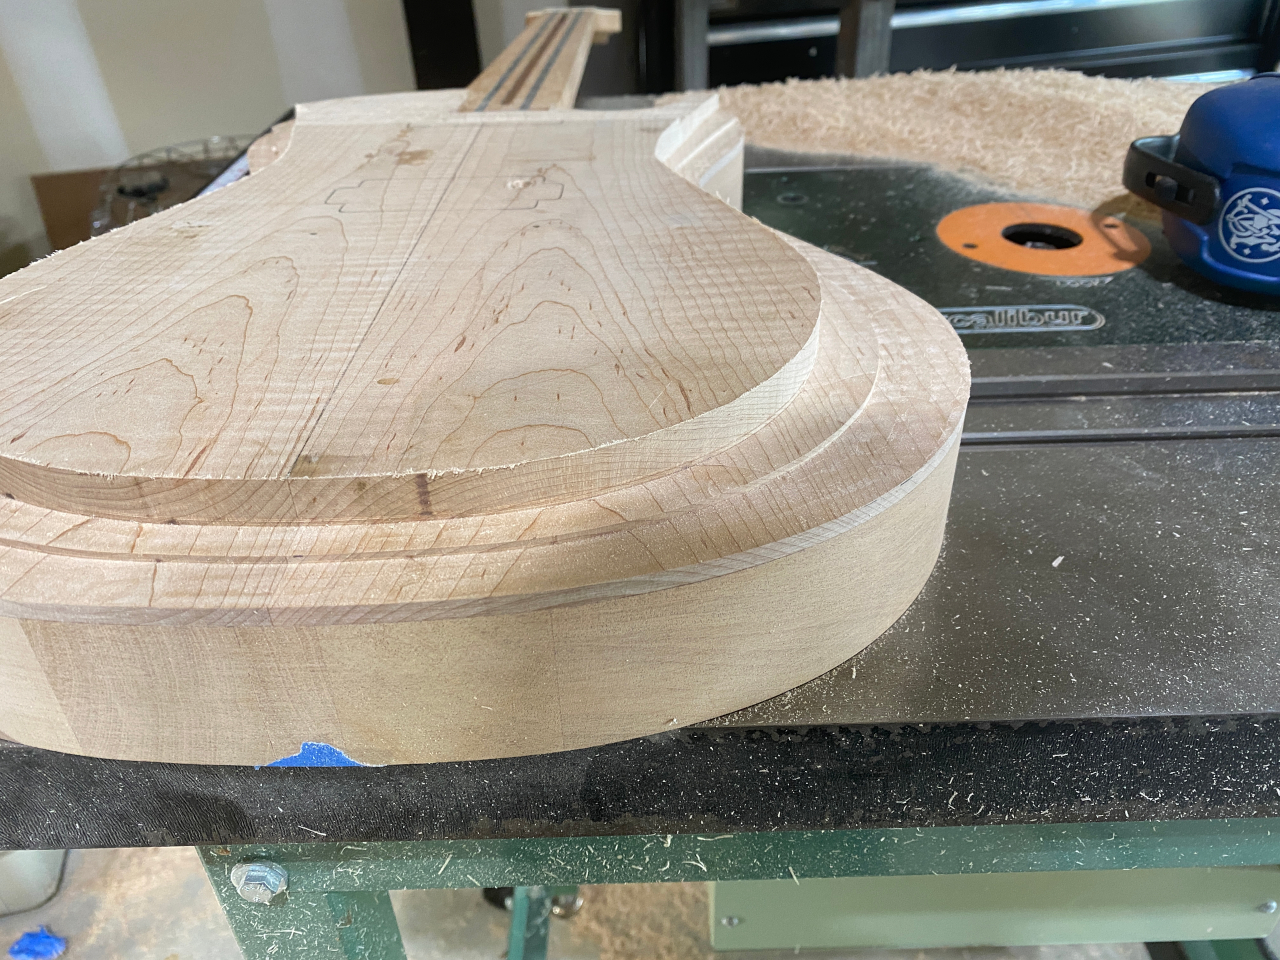
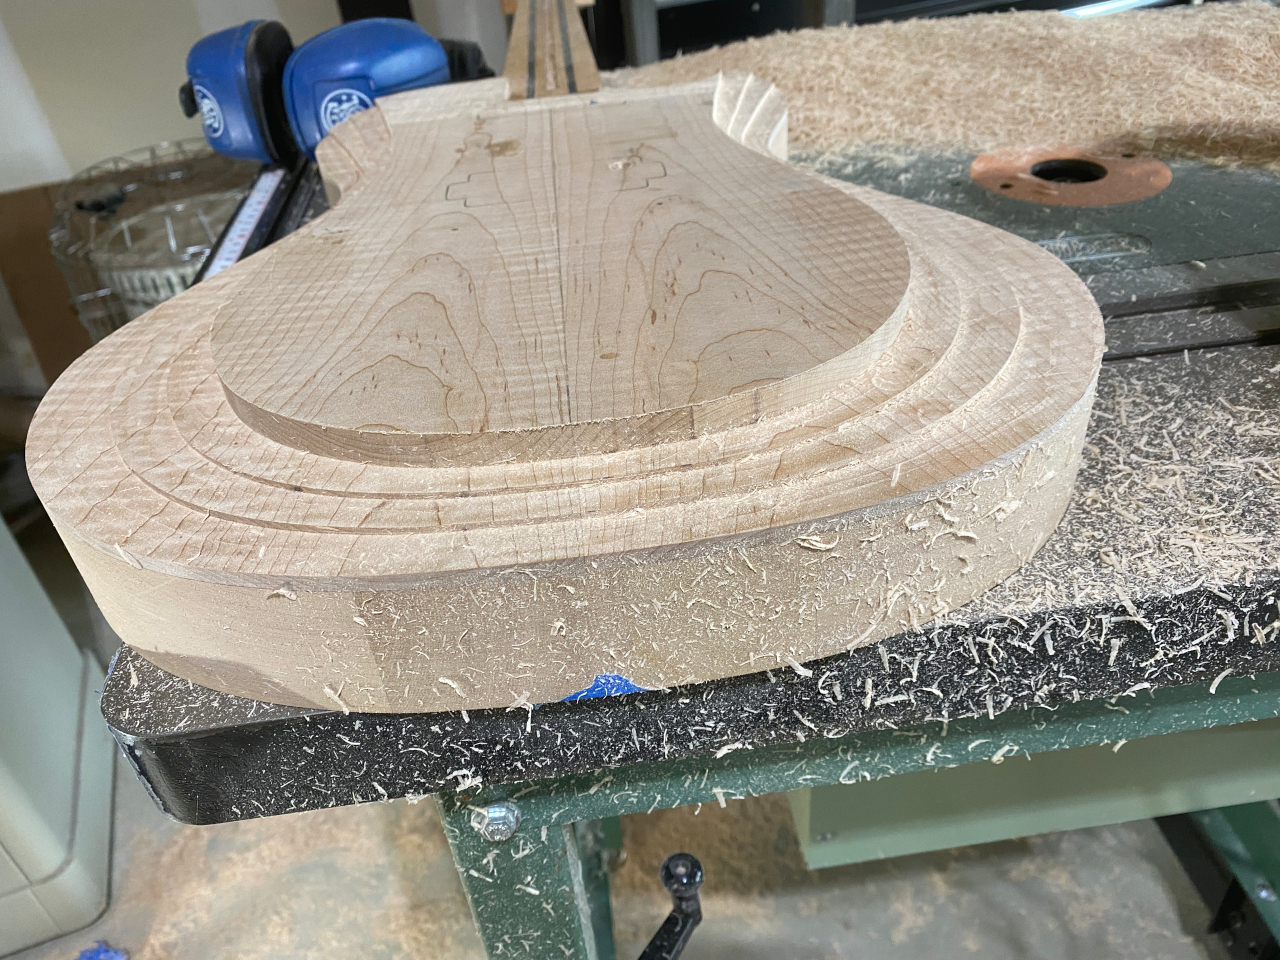
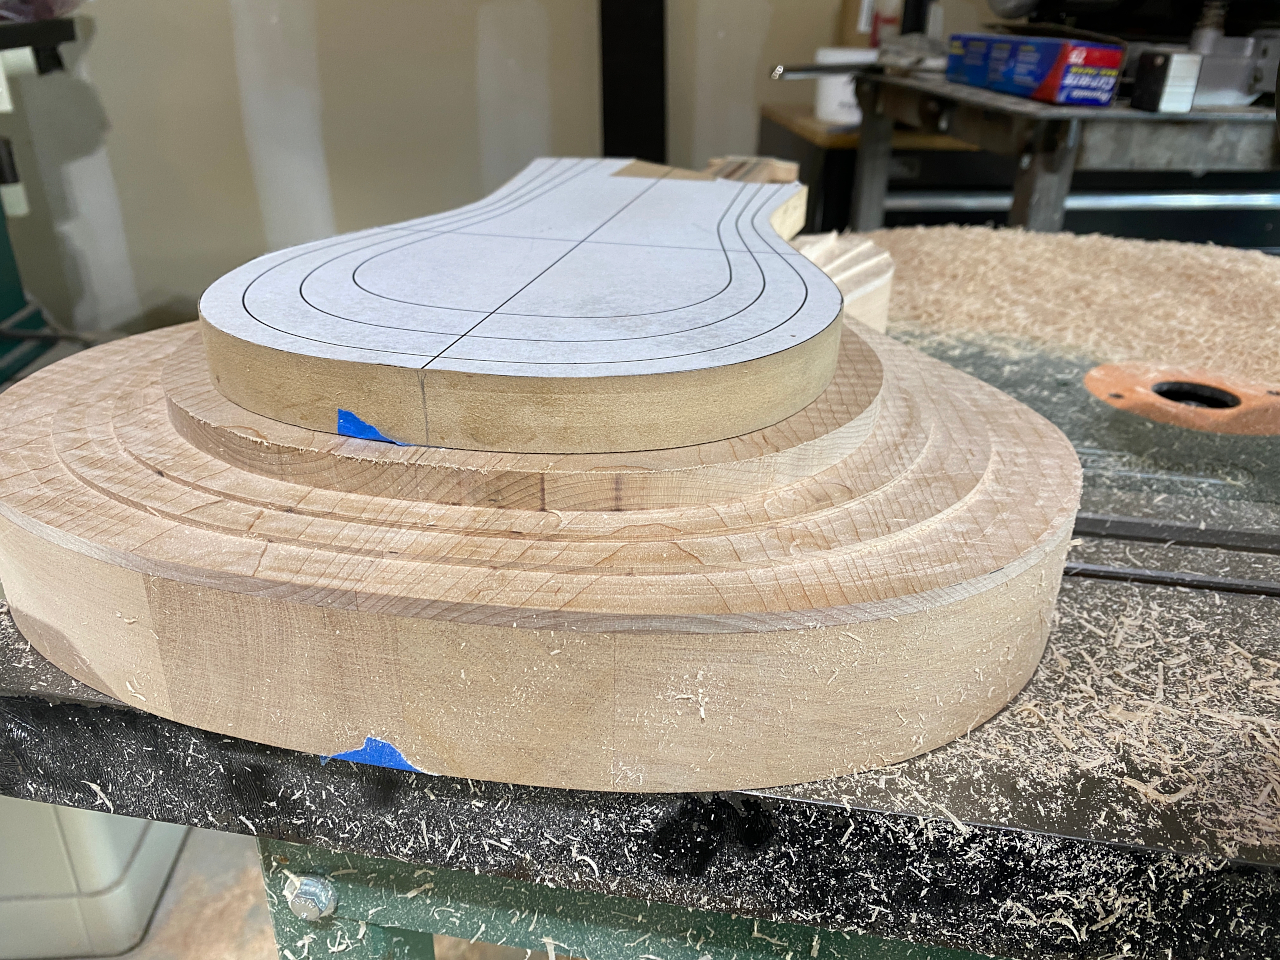
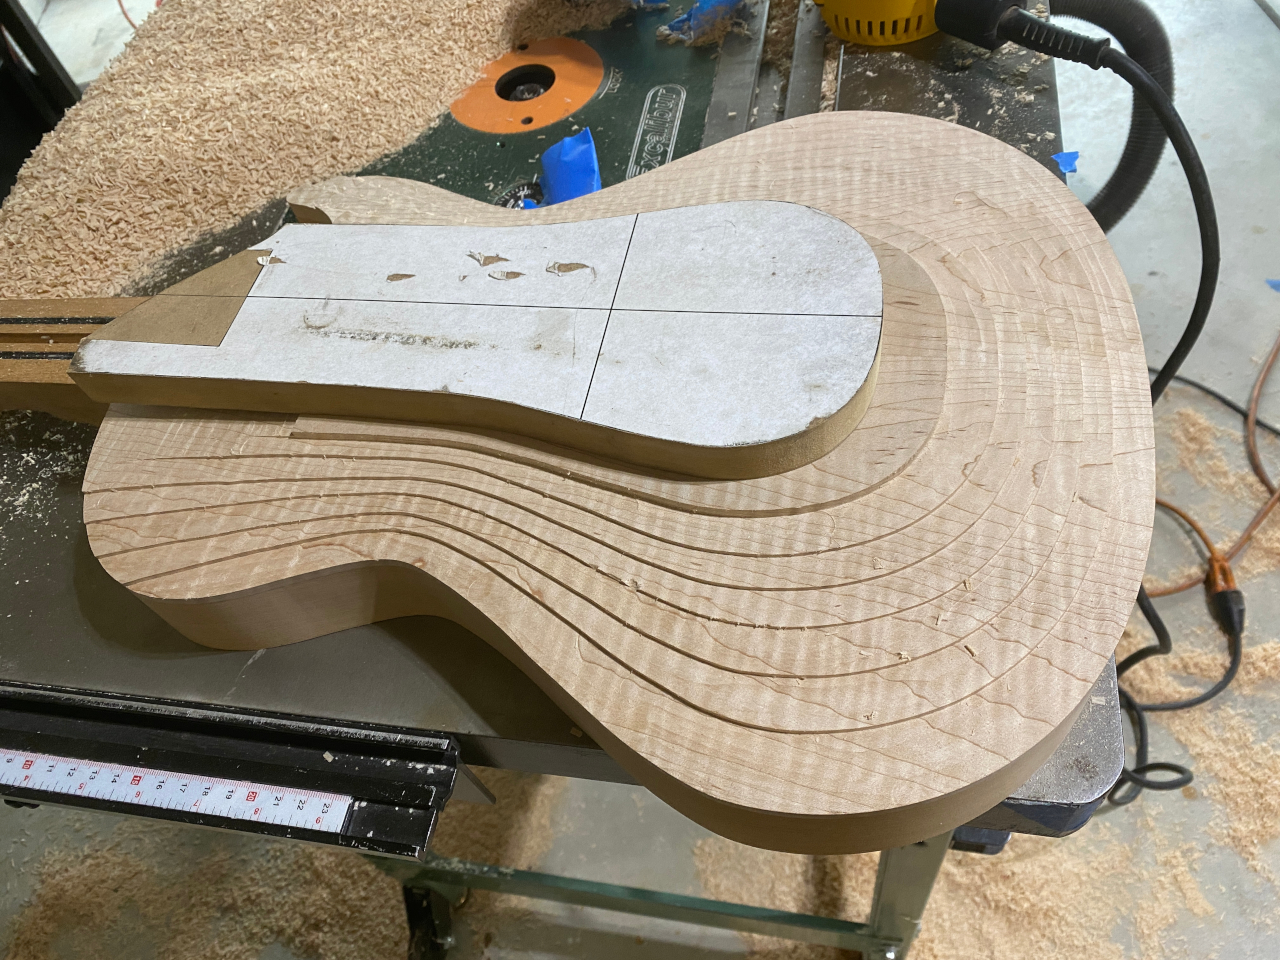
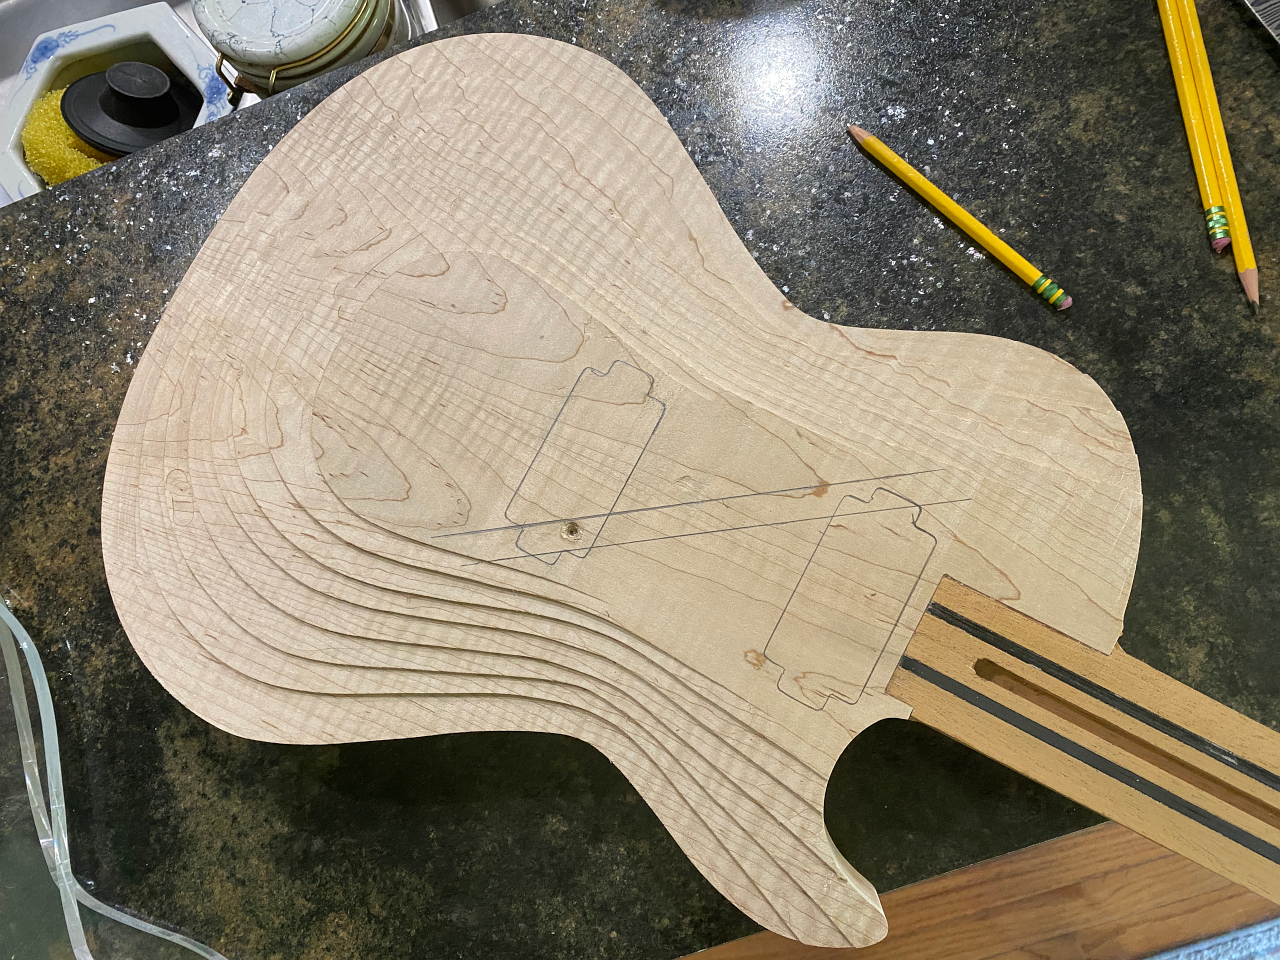
OK, now that we have the top glued on and routed flush, its time to start working on the top carve. To do this I attach a series of concentric templates to the top and route off the top, starting with the largest and working my way down in size. the next series of photo’s illustrate the process pretty clearly. The purpose is to get the rough shape of the top cut in an even and symmetrical way. I’ll finish the carve a bit later manually.
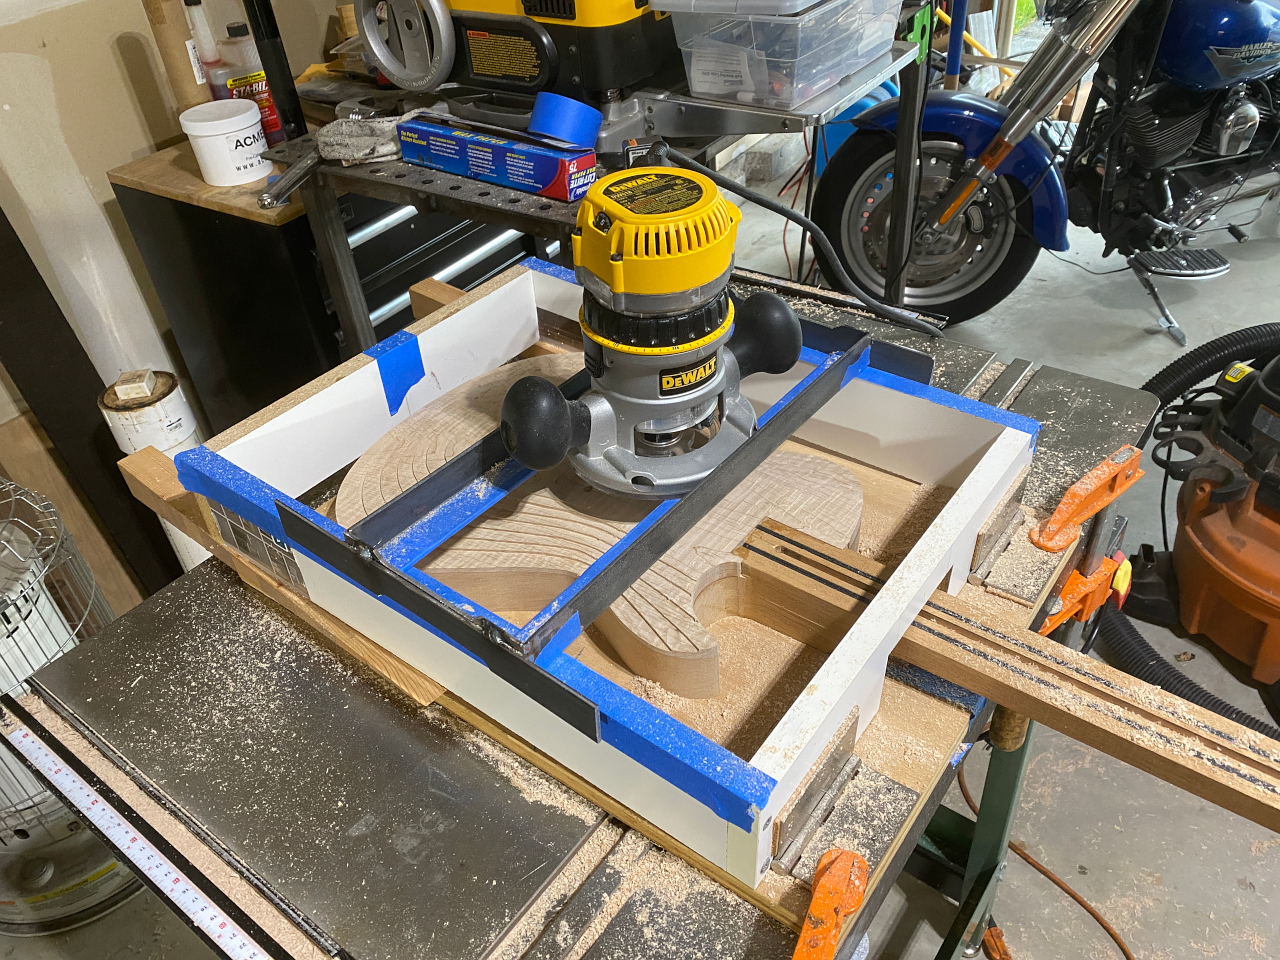
Once all the steps are routed off I use a top routing jig I made to route the neck and pickup planes. This jig allows me to adjust the angle of the router to match whatever specific angle I need.
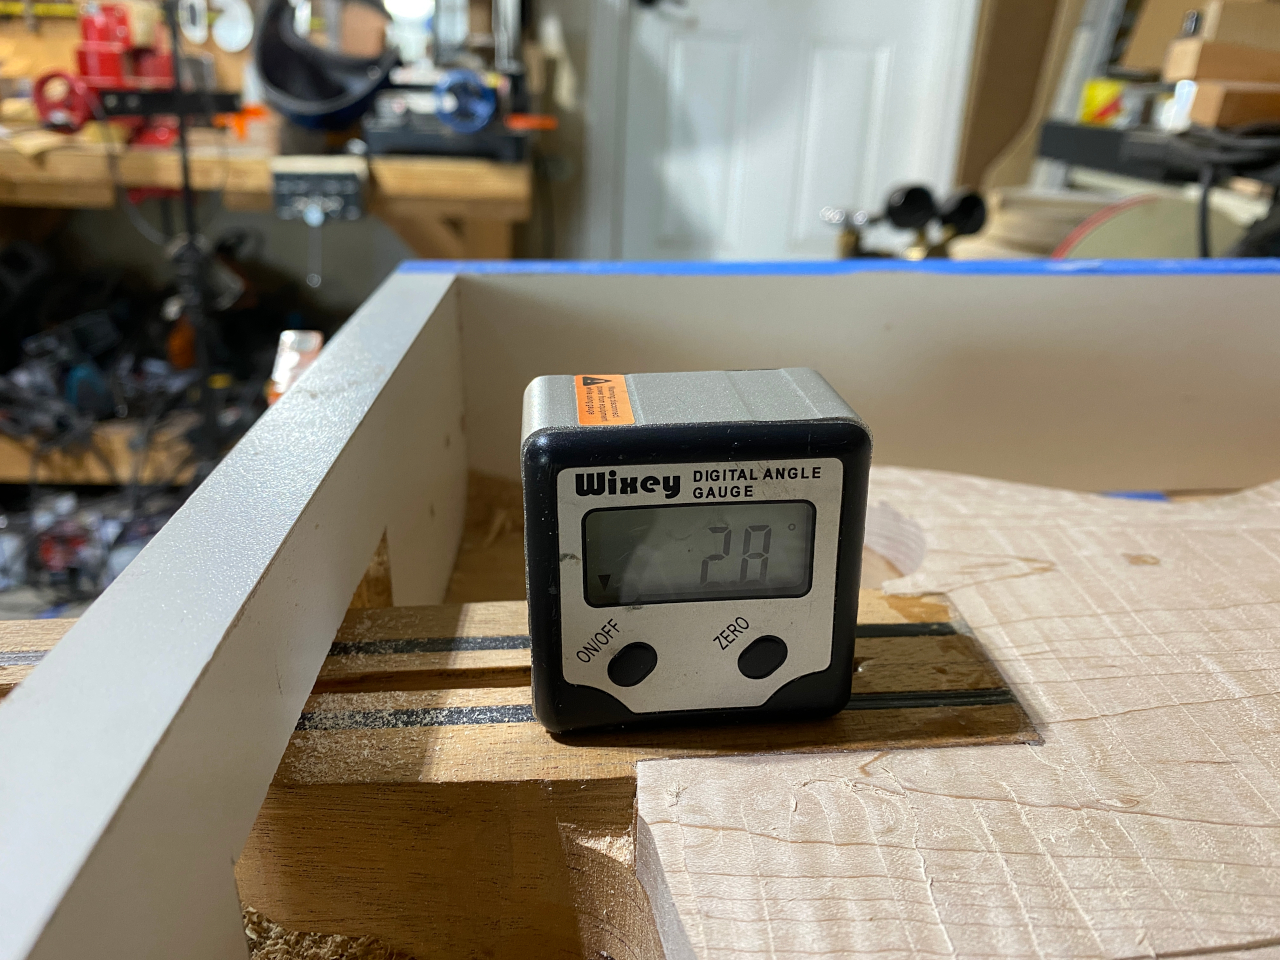
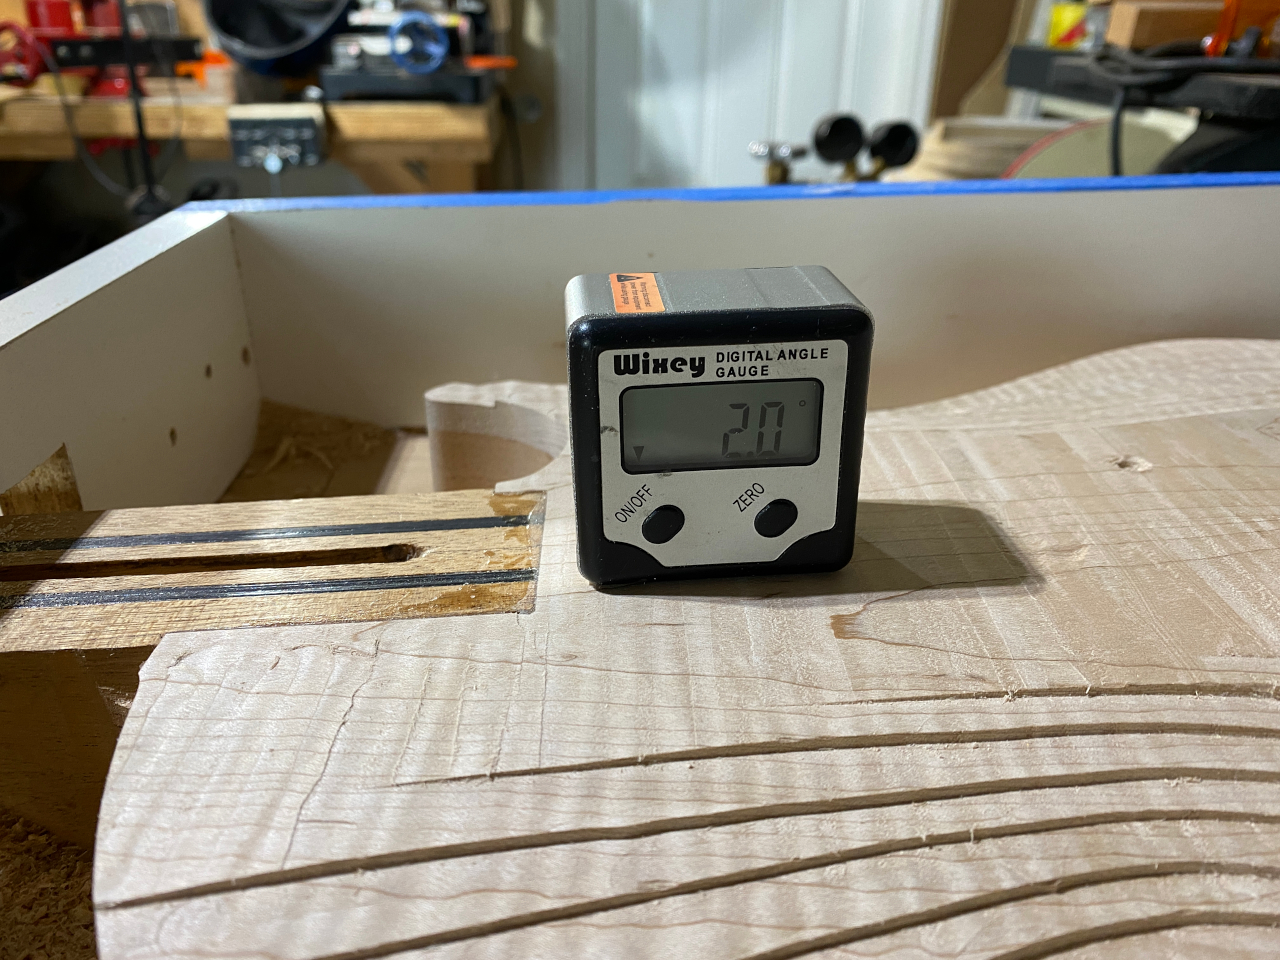
the angle of the neck is 2.8 degrees off the angle of the body, so the first part of the guitar top where the neck meets the body needs to match that angle exact. I set the jig to the same angle and route that area.
Once past the end fo the fretboard the angle of the top changes so that it meets the top center by the bridge just between the bridge and the bridge pickup.
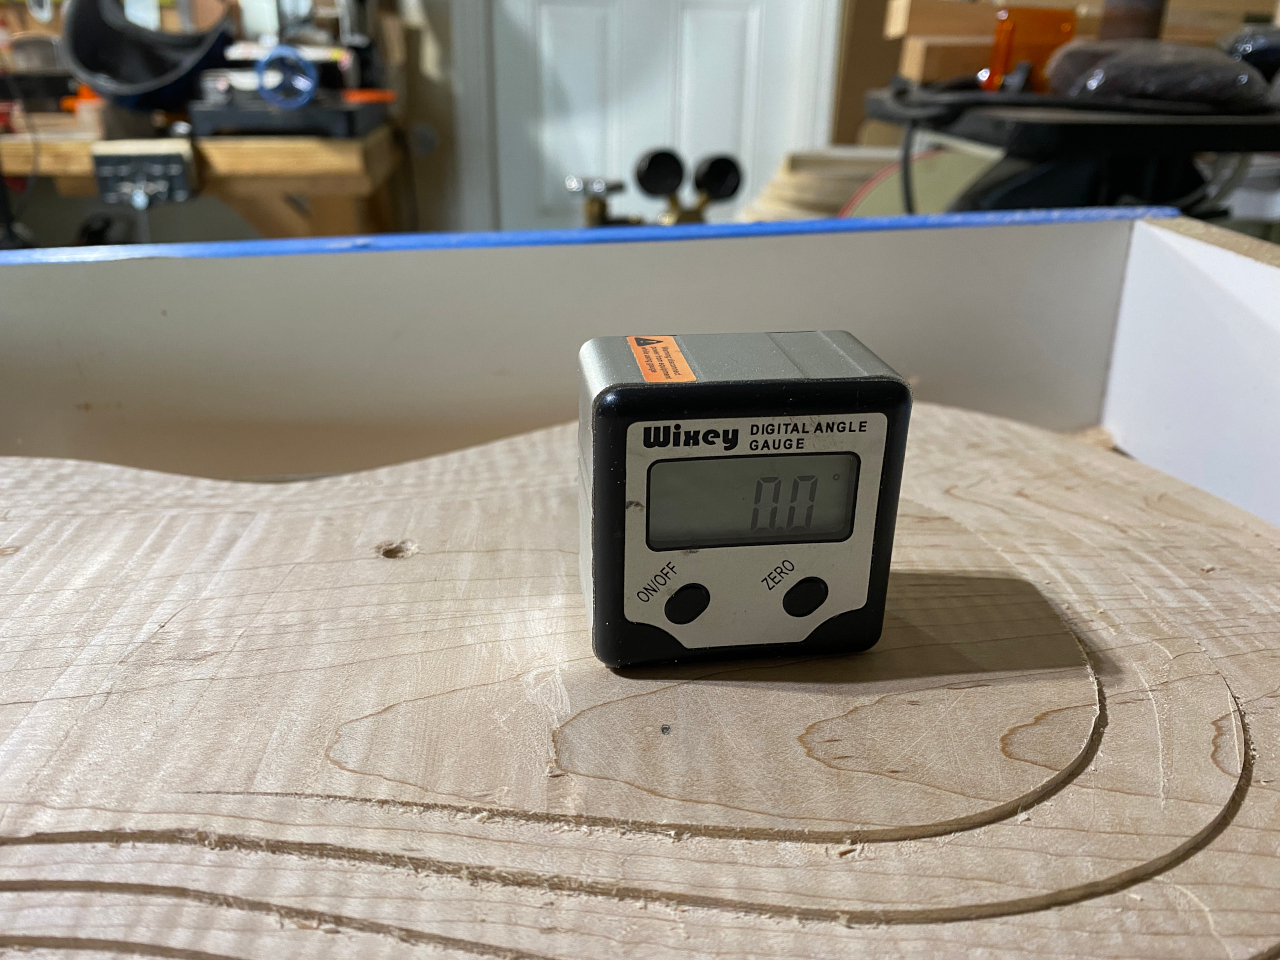
and the top center is where the bridge sits and is flat.
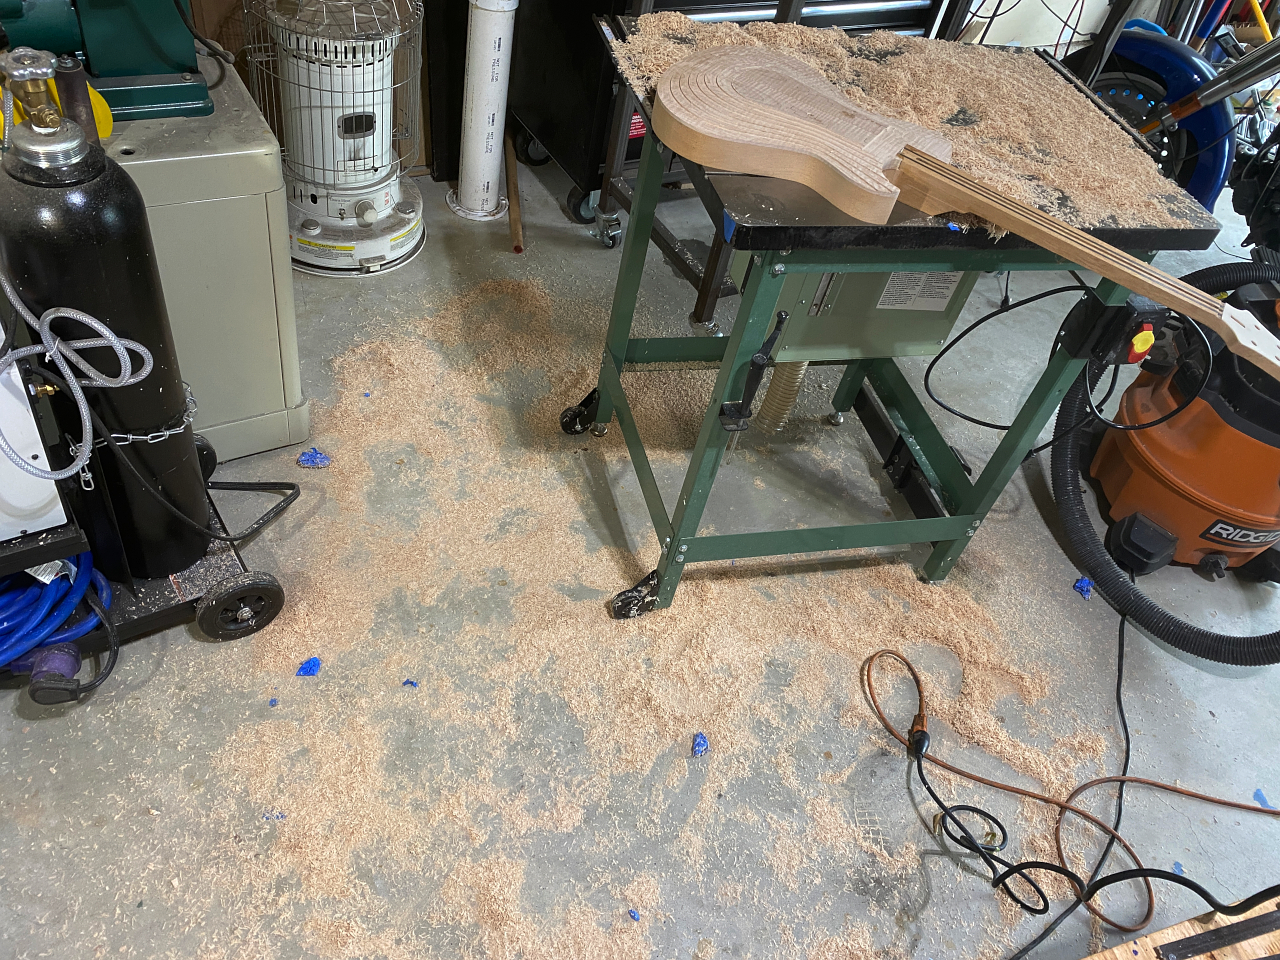
As you might imagine, this process creates rather a large mess 🙂
You may be wondering about the big, ugly screw hole in the top. The template locks in around the end of the neck rise, and I use one screw to prevent any side to side movement which gluing and clamping. Thats very important since the center line of the top is crucial to the final appearance of the guitar. a book-matched top with a center line that isnt centered looks pretty crappy so its important to make sure that top doesnt move even a fraction of an inch when its being slid into the giant clamp.
That said, who wants a big screw hole in the guitar top?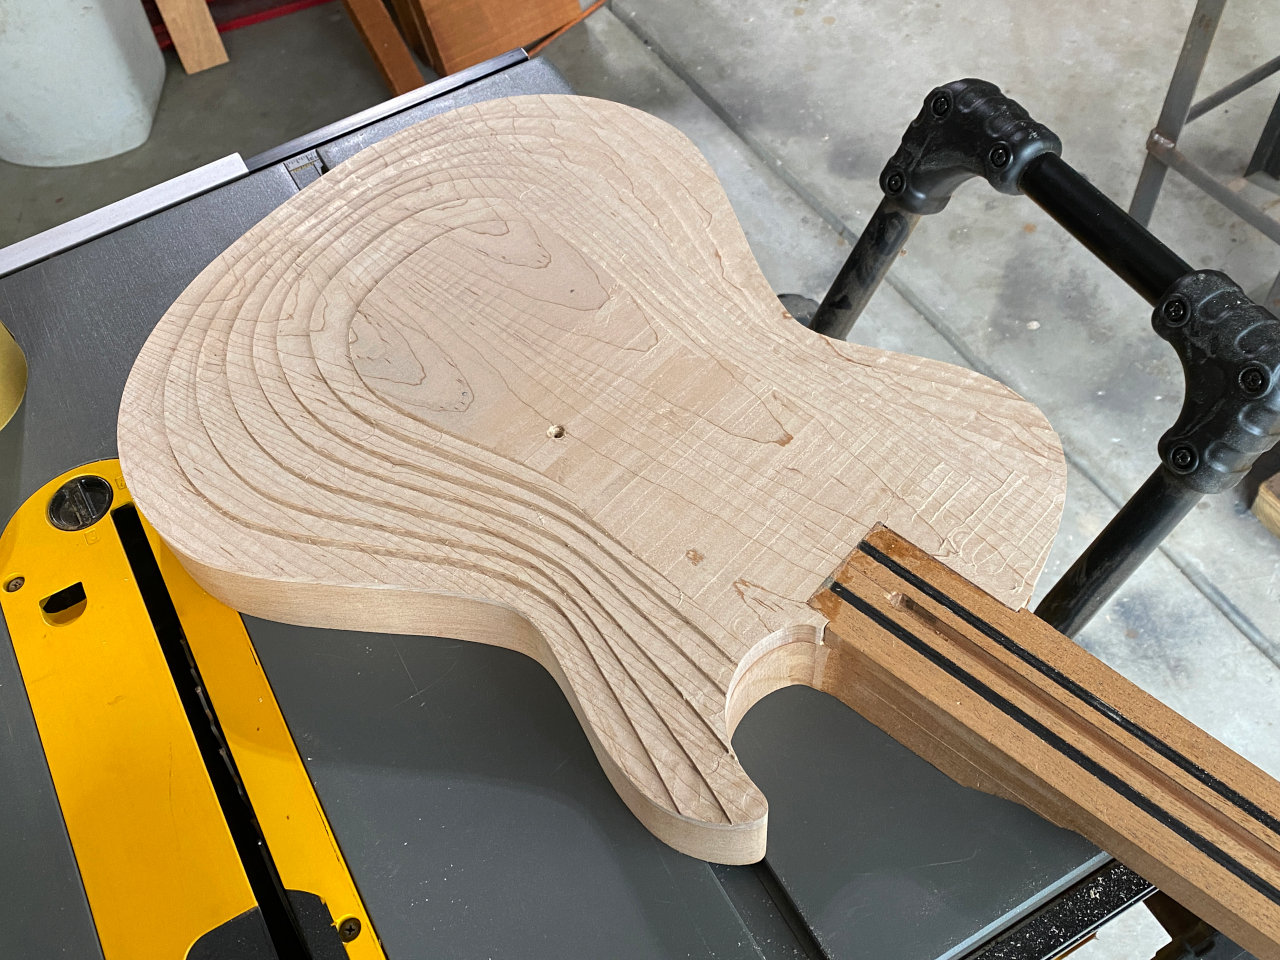
In this next shot I’ve drawn where the pickup cavity will be so you can see when I route the cavity for the pickup it will take the screw hole with it.

