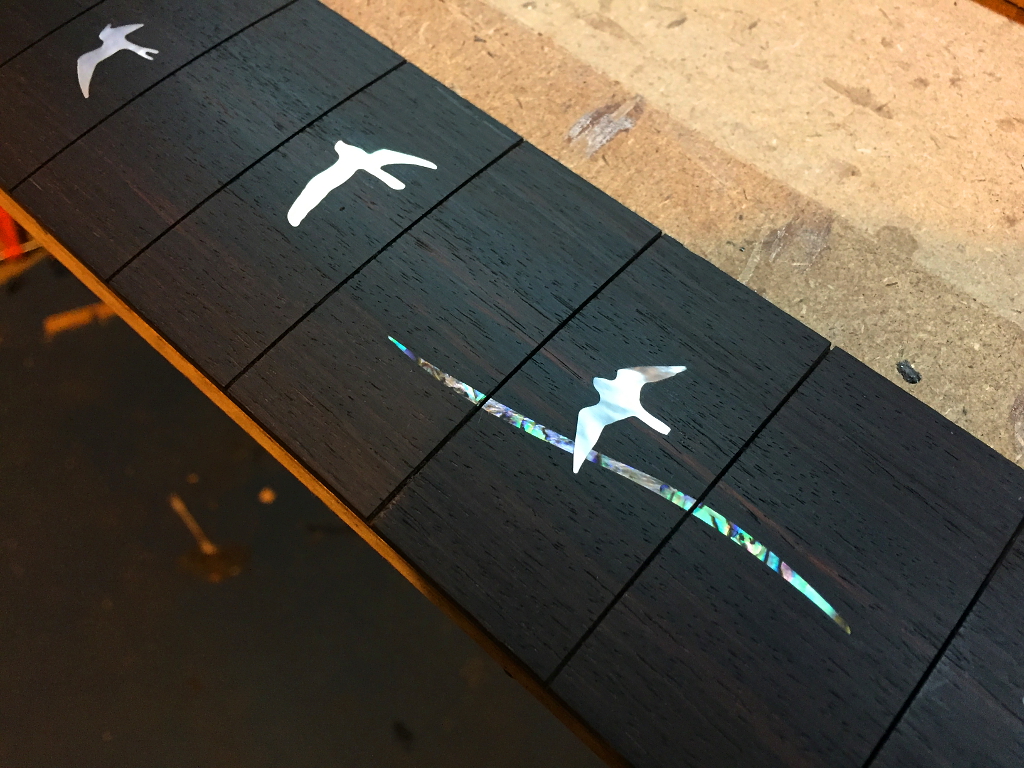
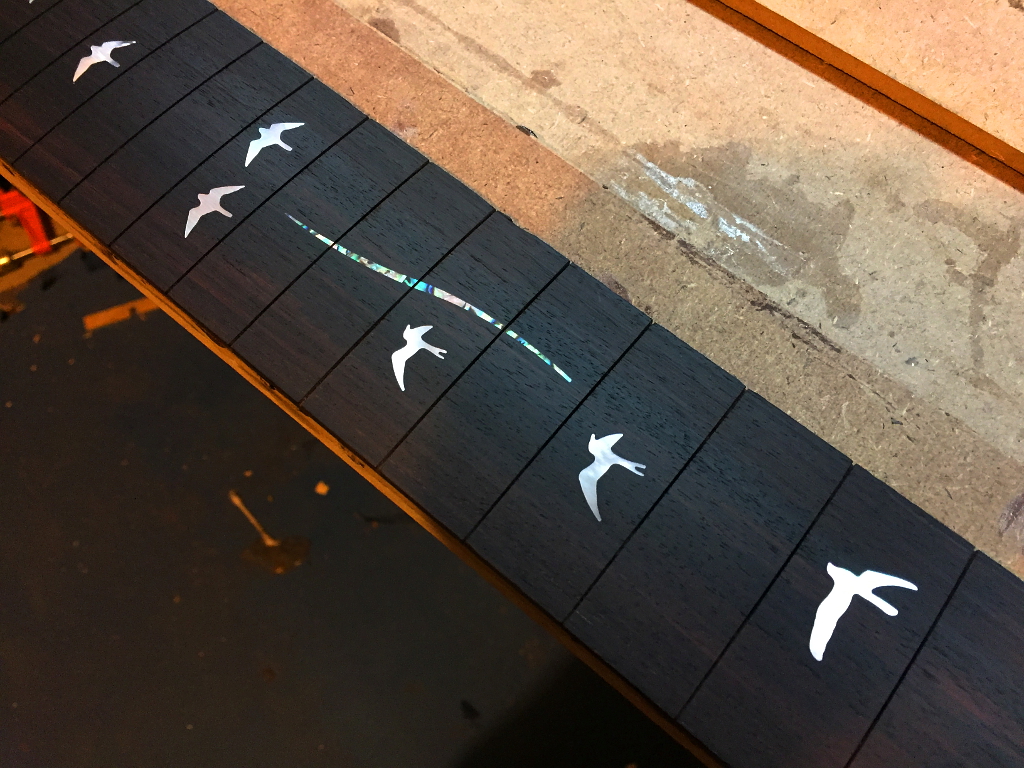
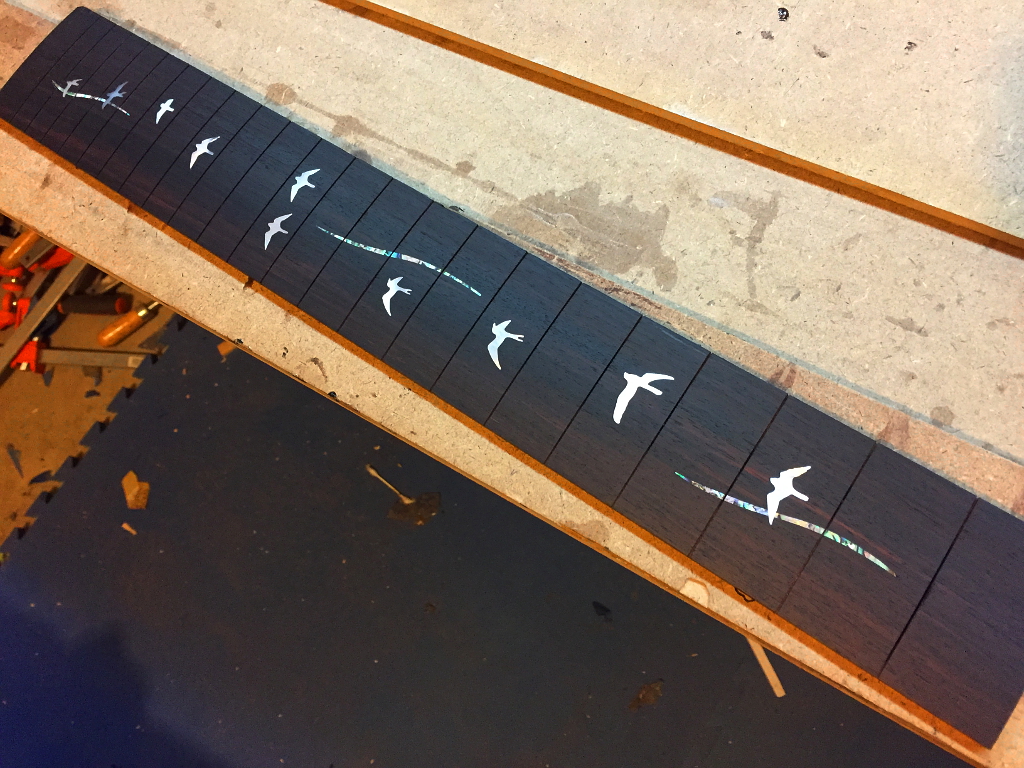
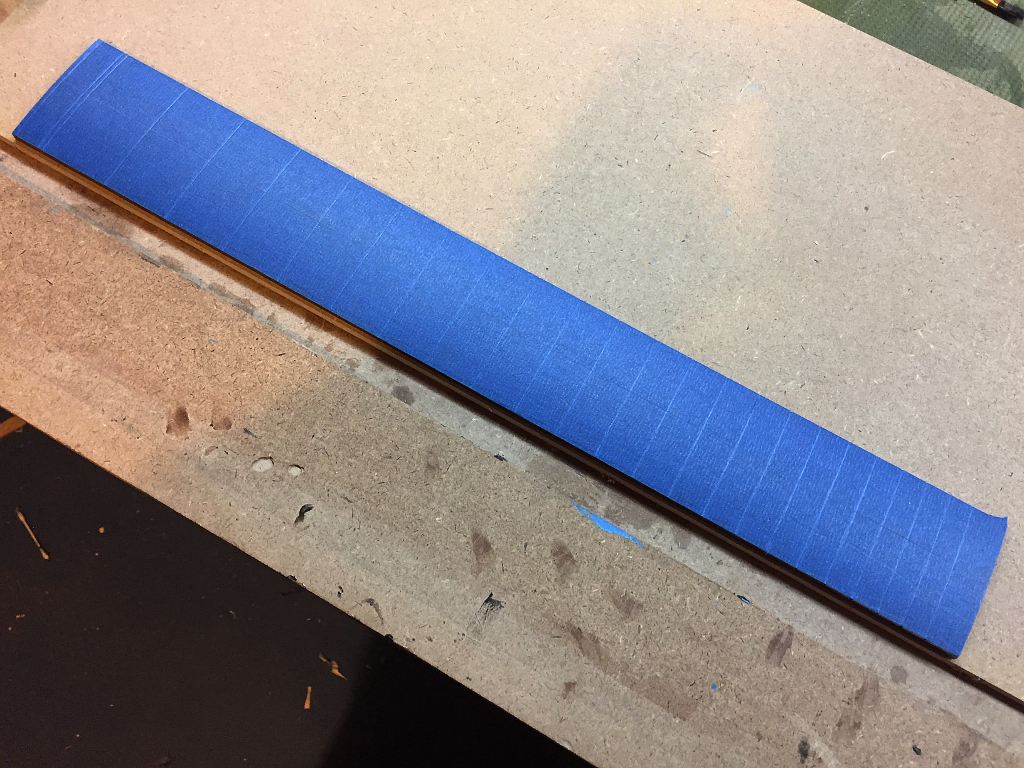
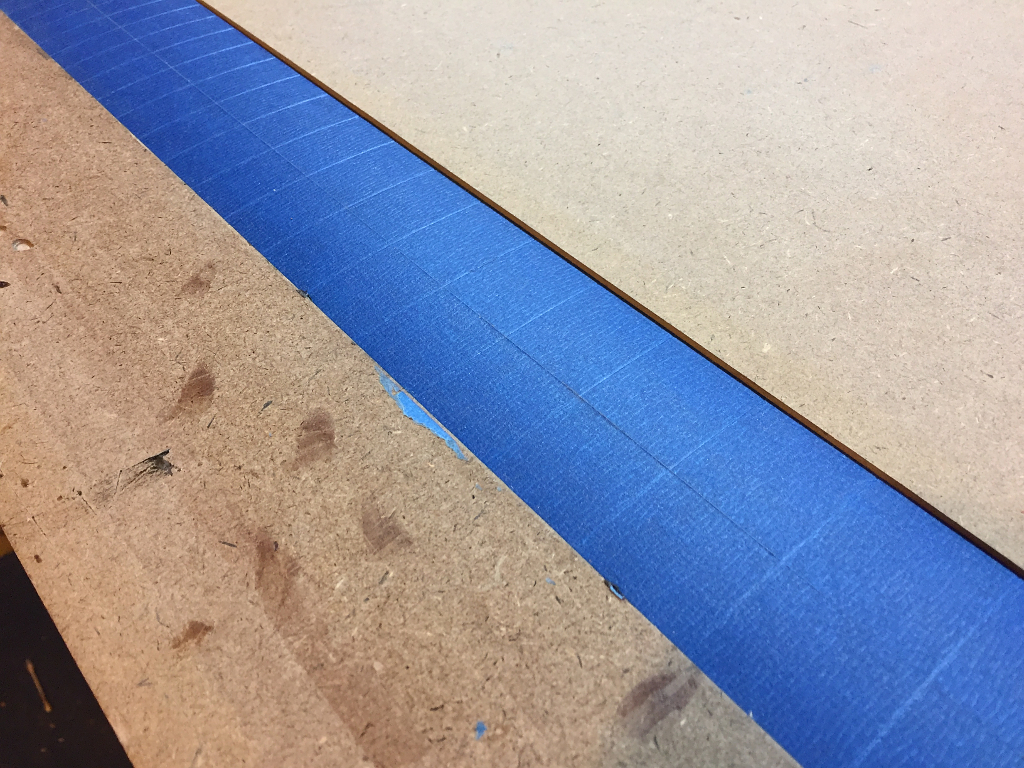
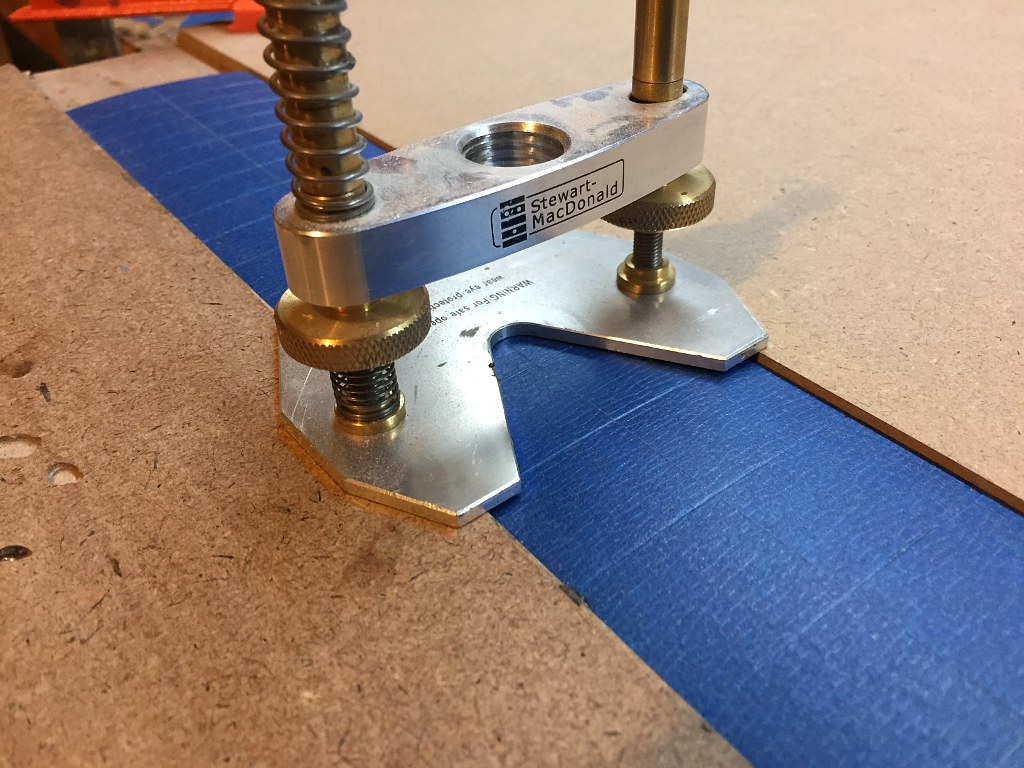
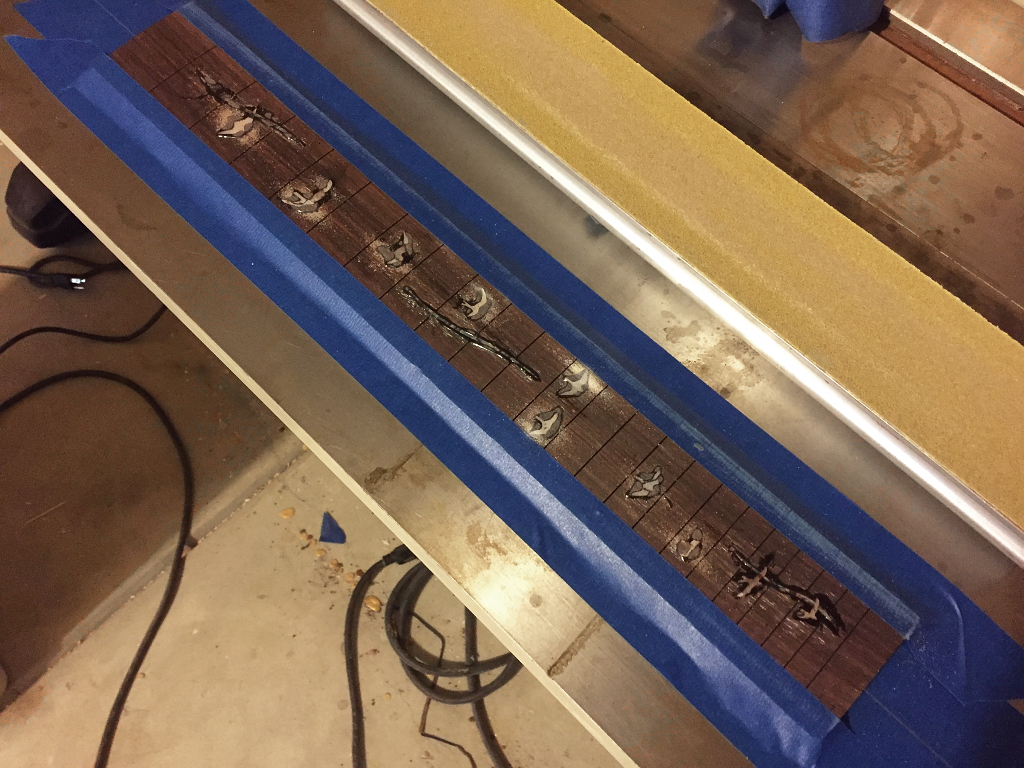
First step in doing the inlays is covering the board with masking tape, and making grooves over the fret slots.
Then I place the board in my little jig for routing inlays. Calling it a “jig” is giving it a lot of credit. Its just two pieces of 1/4″ thick MDF.
It gives me a flat surface to sit the dremel base on so I can route flat bottomed cavities for the pearl pieces.
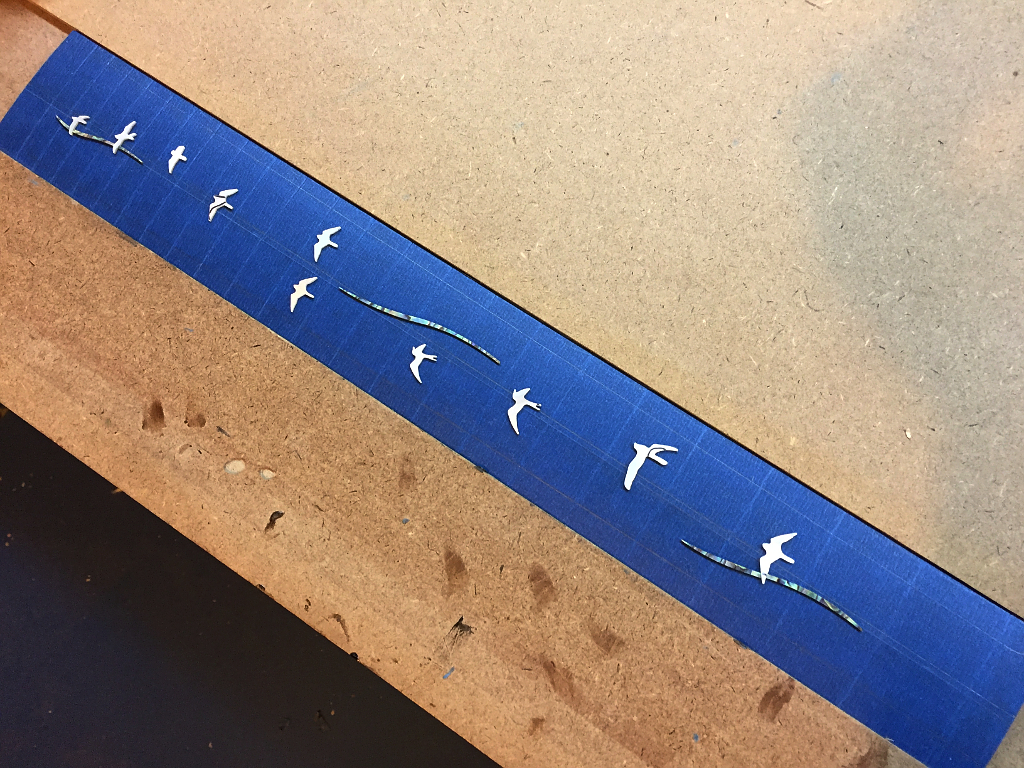
Then I need to mark out the exact centerline of the board, as well as where the edges of the fretboard will be once its cut to fit. After that its a matter of getting all the pieces placed exactly where I want them and gluing them down with a small amount of CA glue to hold them in place.
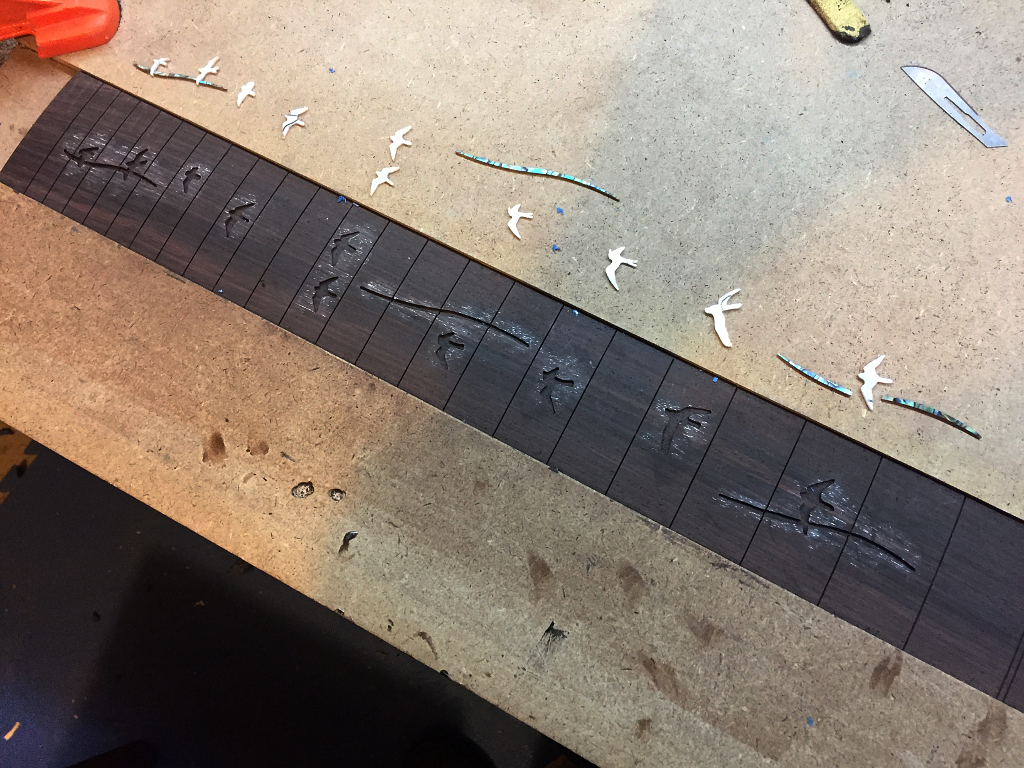
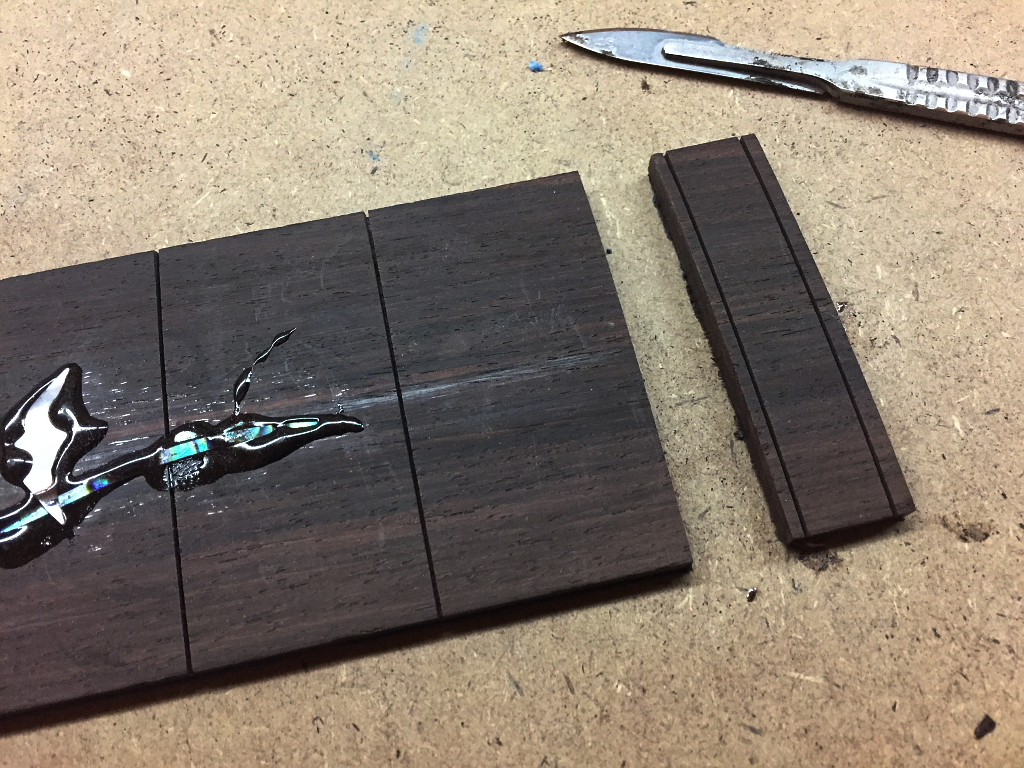
Once the glue is set, I cut around the inlays with a scalpel….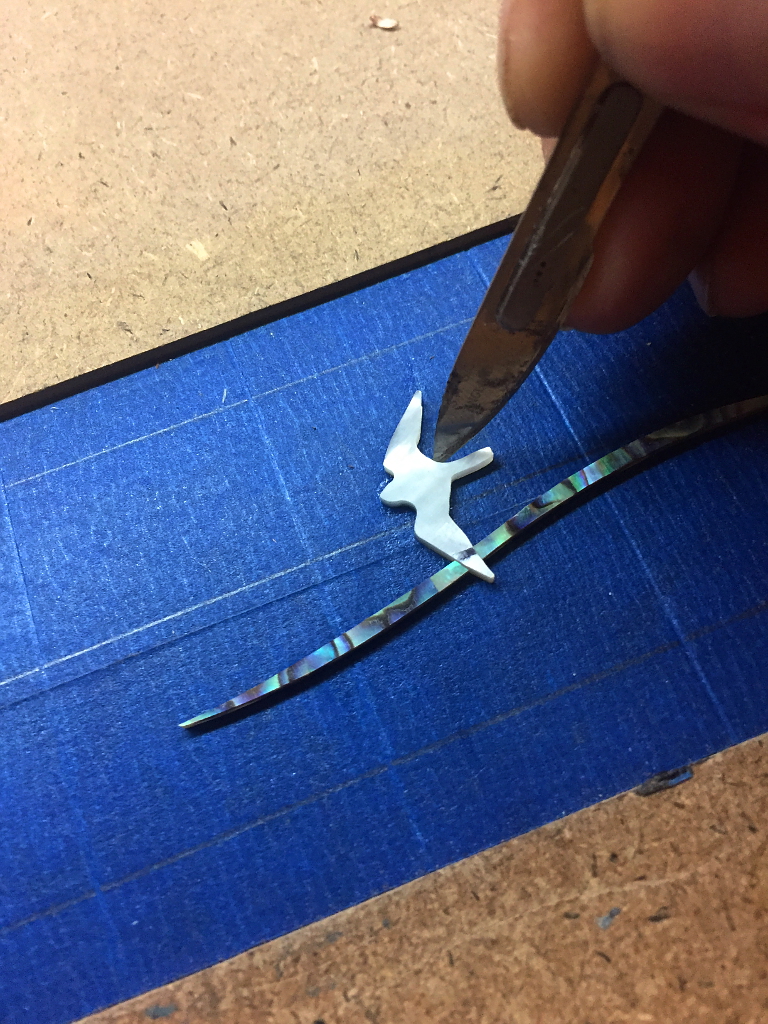
Then I set aside the inlays and remove all the tape…
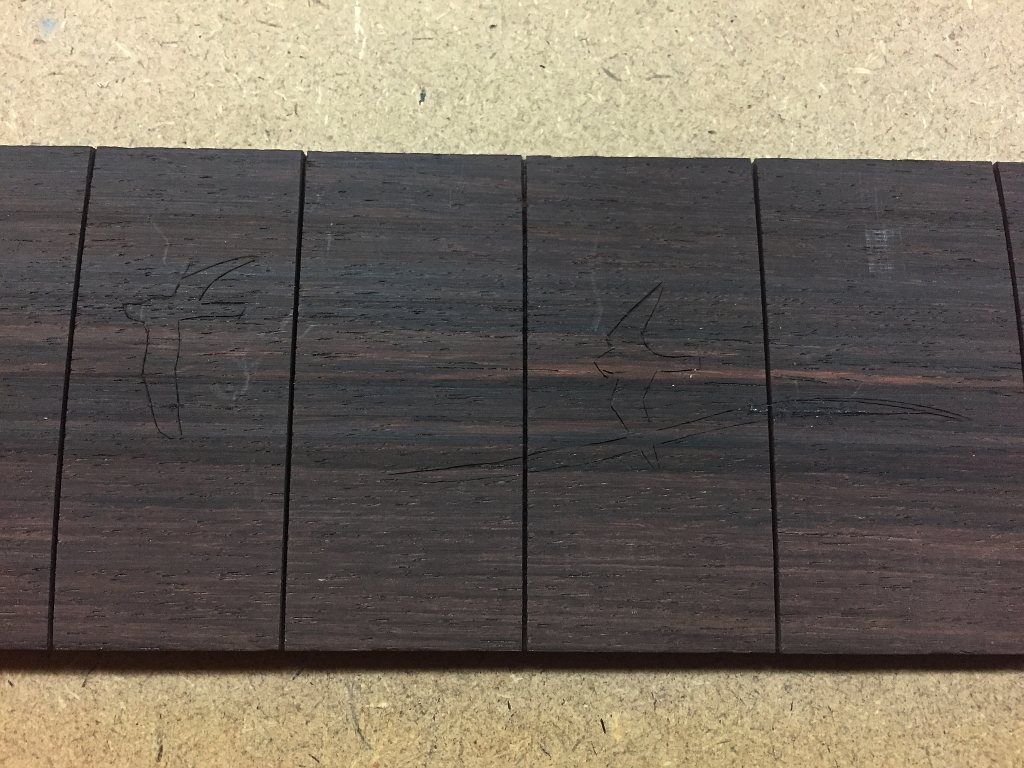
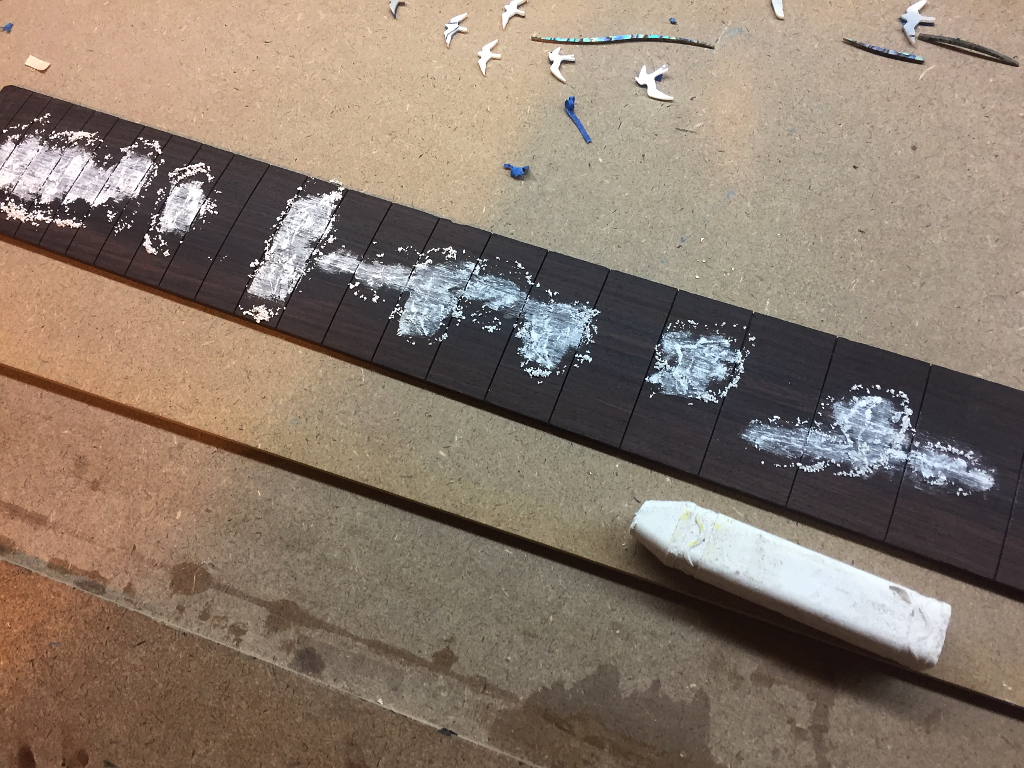
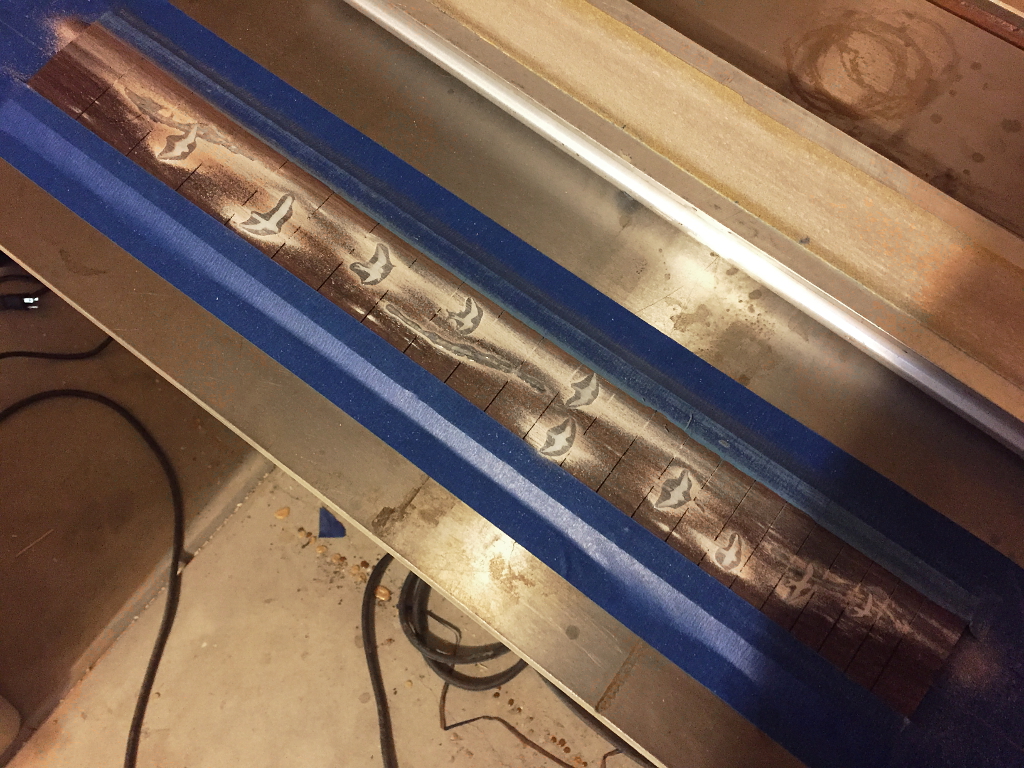
I scribble over the cuts with a piece of white chalk
This fills the cuts and makes the edges a lot easier to see…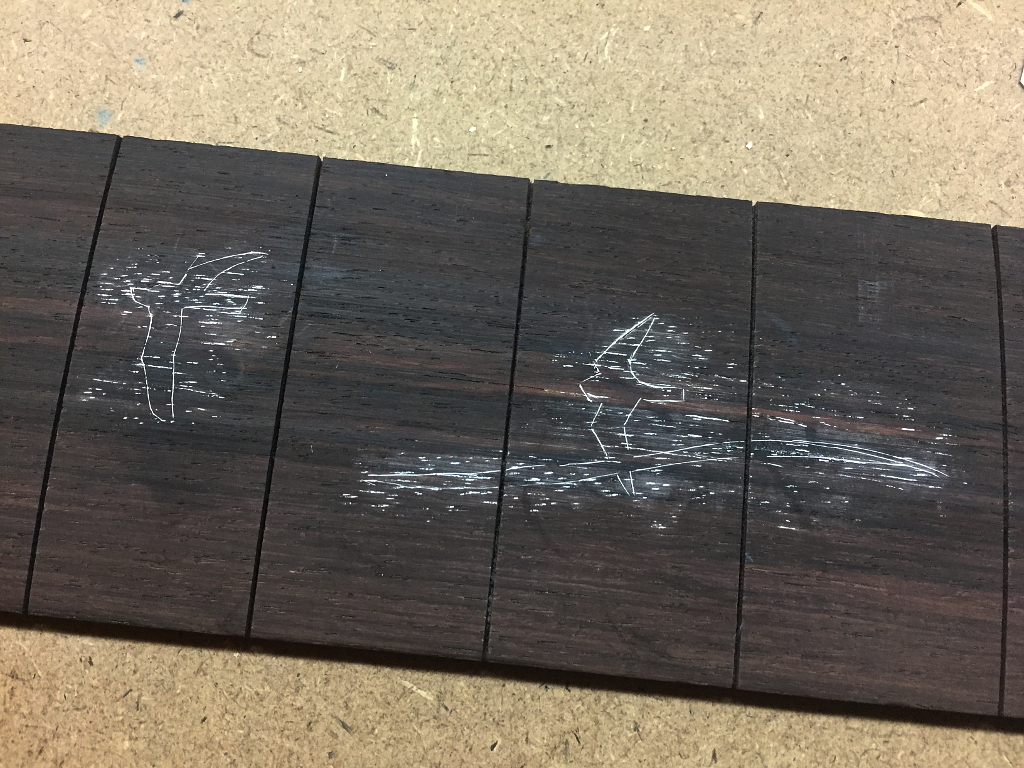
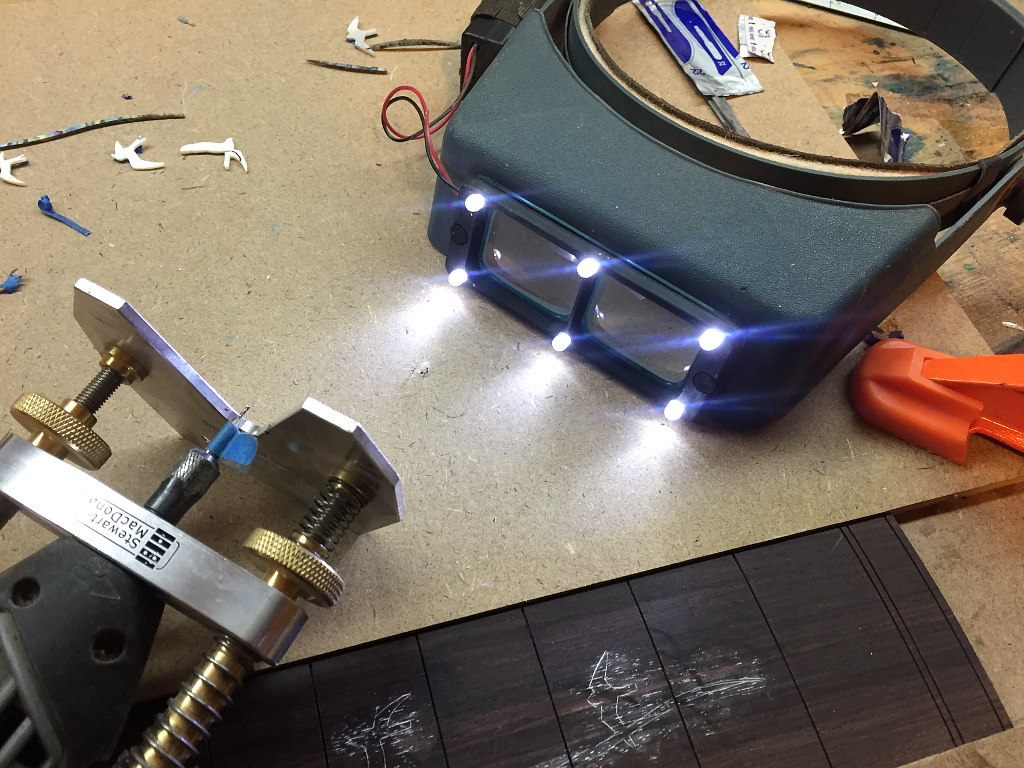
Next I whip out my handy dandy illuminated magnifying visor and my dremel…
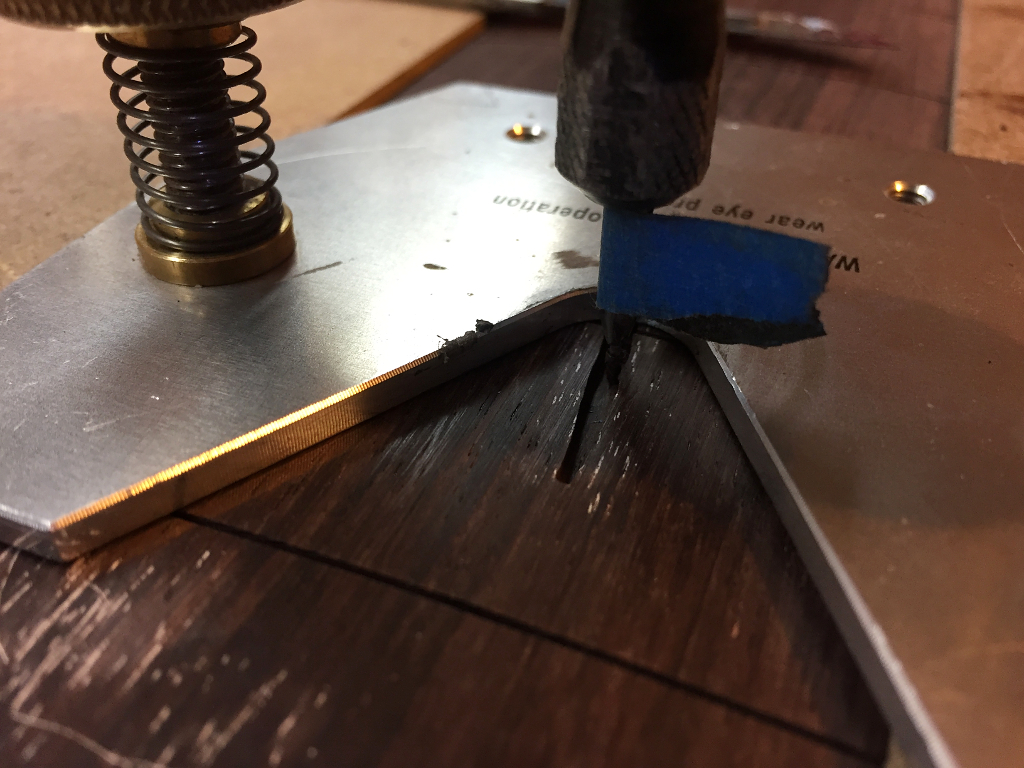
when routing these cavities the dremel itself makes the board difficult to see. Without the visor and the white chalk lines its very hard to see where to cut. In case you are wondering what the strip of masking tape is doing on the dremel cutter, it acts as a fan and blows away the dust from cutting. Without it the dust piles up immediately and obscures the work. Some companies make fancy blowers to clear the dust, and they cost a lot of money. they are nice, I’m sure, but this works just as well, and the cost of a 1″ x 1/4″ strip of masking tape is too low to bother trying to calculate it 🙂
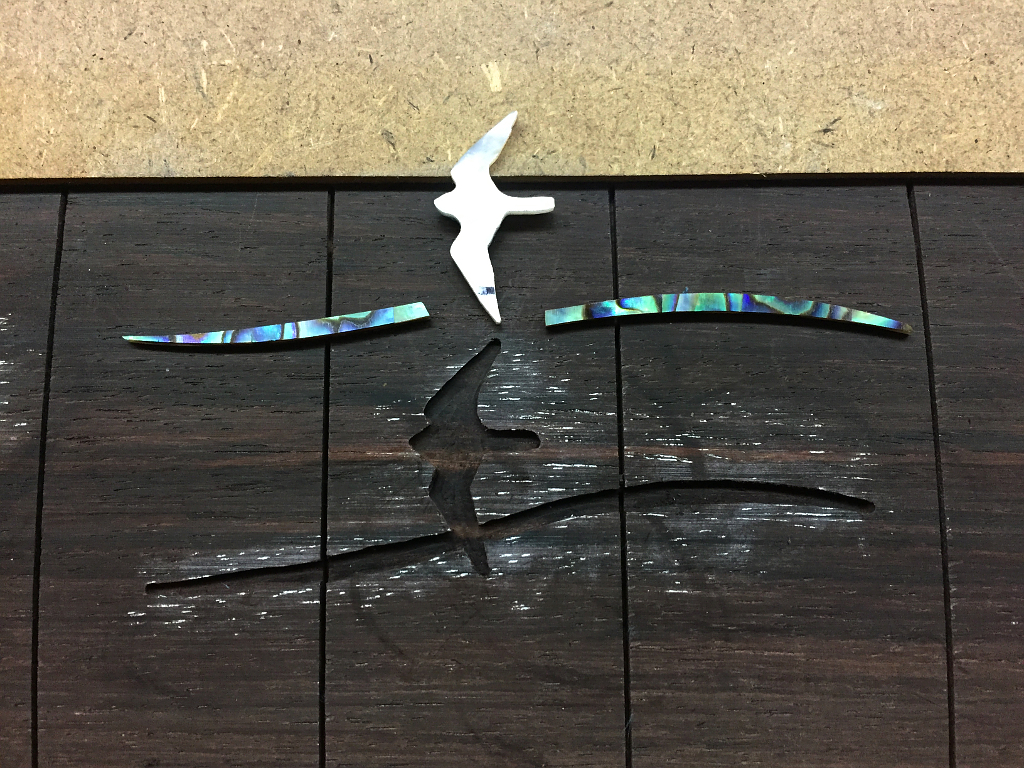
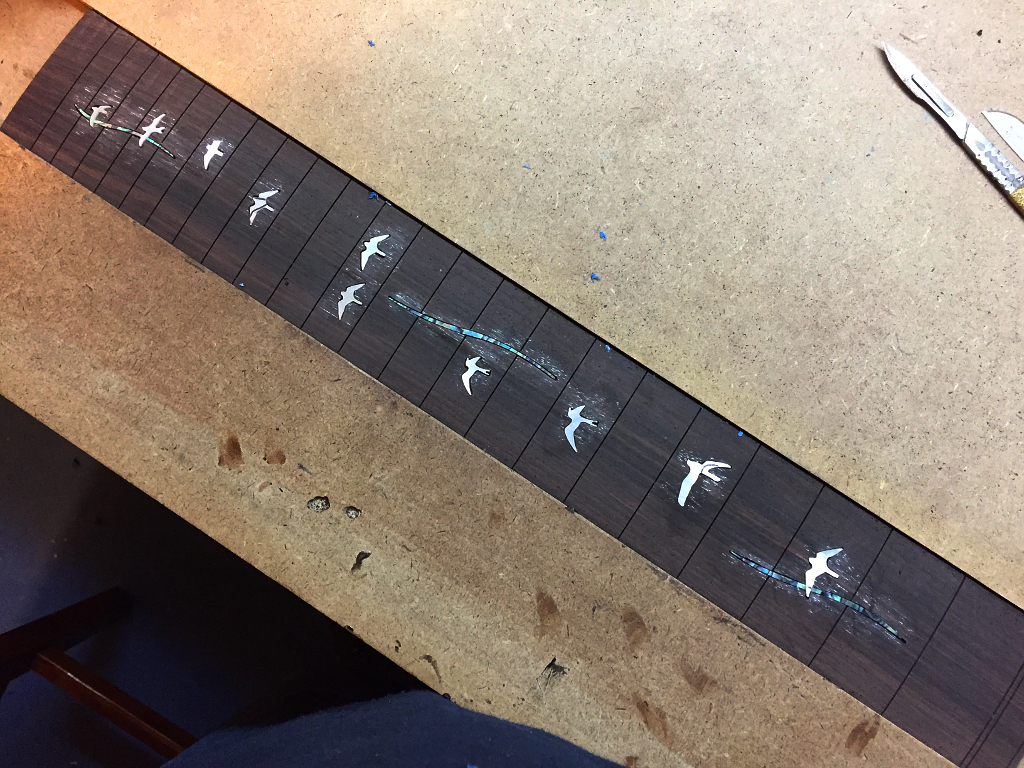
the next series of photos are fairly self-explanatory 🙂
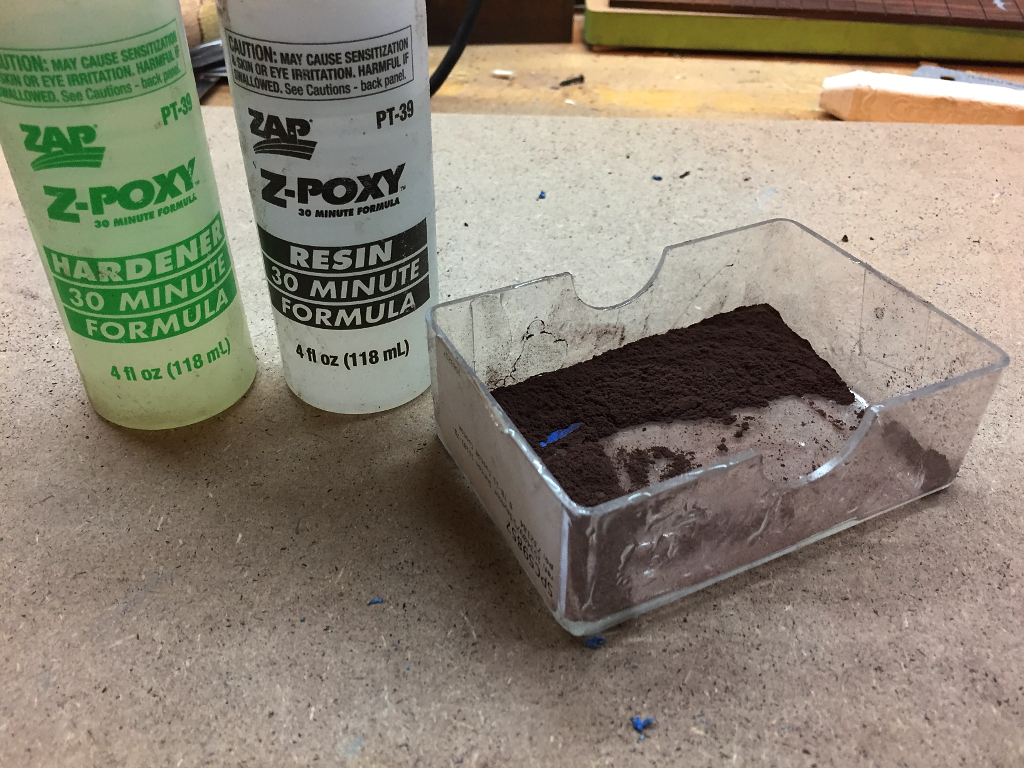
Once all the cutting and placing are done I pull out the sanding dust I had left over from putting the radius on the board and mix up some clear epoxy, and then mix in some of the dust to color the epoxy
I fill the cavities pretty well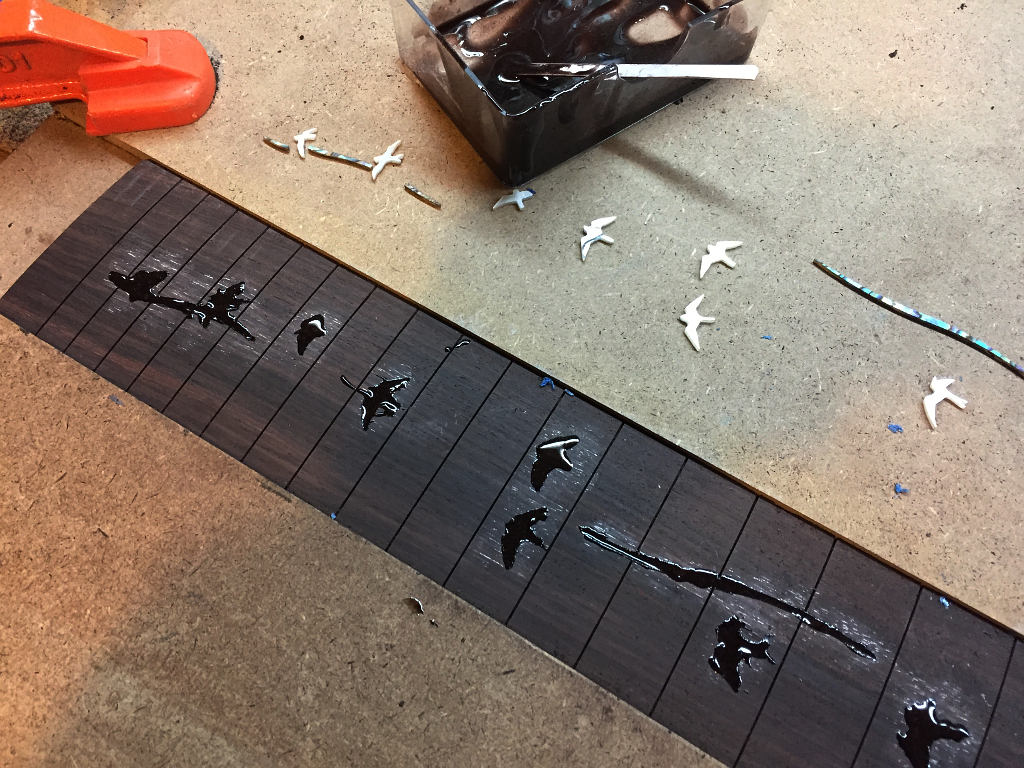
I then push the inlays into the epoxy. the reason I use so much in the cavities is because when the excess squeezes out around the inlays, it completely fills the gaps around the edges of the inlays.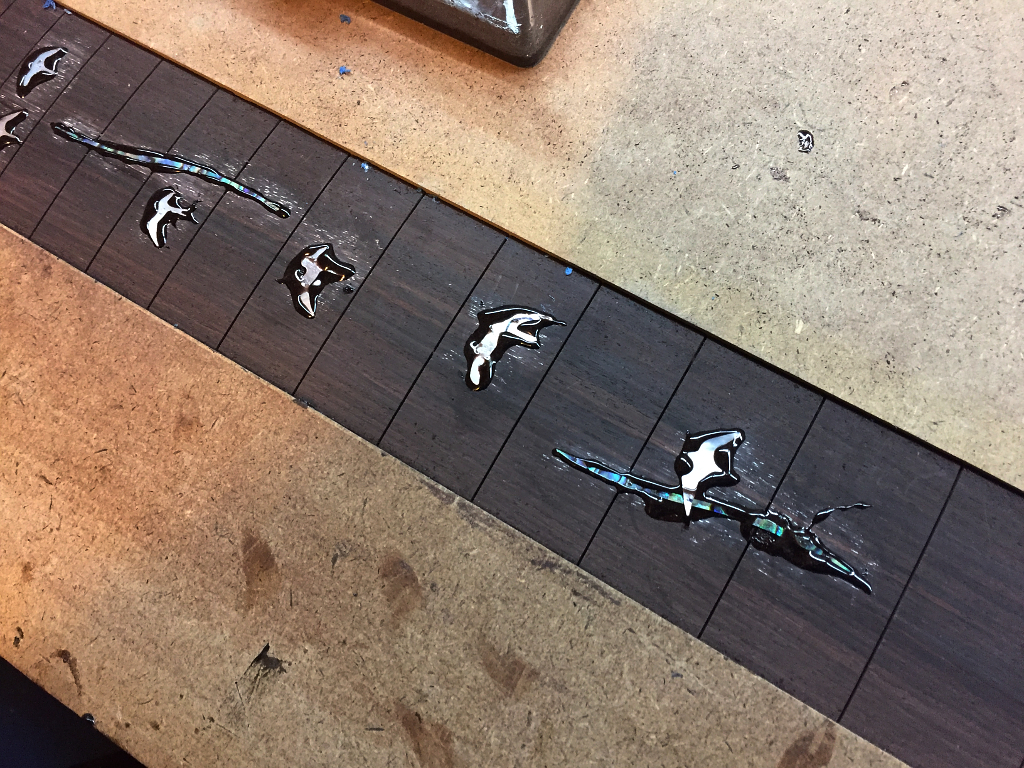
OK first, since this guitar gets a Floyd Rose tremolo with a locking nut, the end of the fretboard and slot that normally holds the nut can be removed….
Then I attach the board to my table saw and use my radius beam to sand the inlays flush.
I start with 80 grit to take down the bulk of it, then as I get closer to the surface I switch to 120, then 180, and finally 220 grit.
Until its smooth as a baby’s butt 🙂
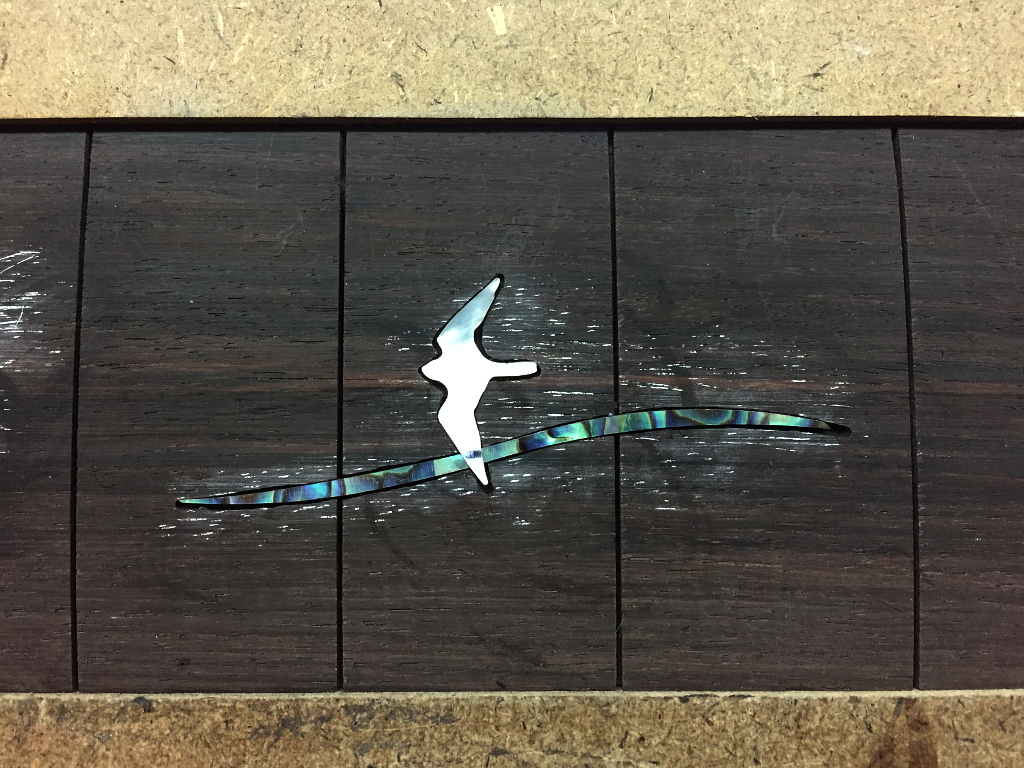
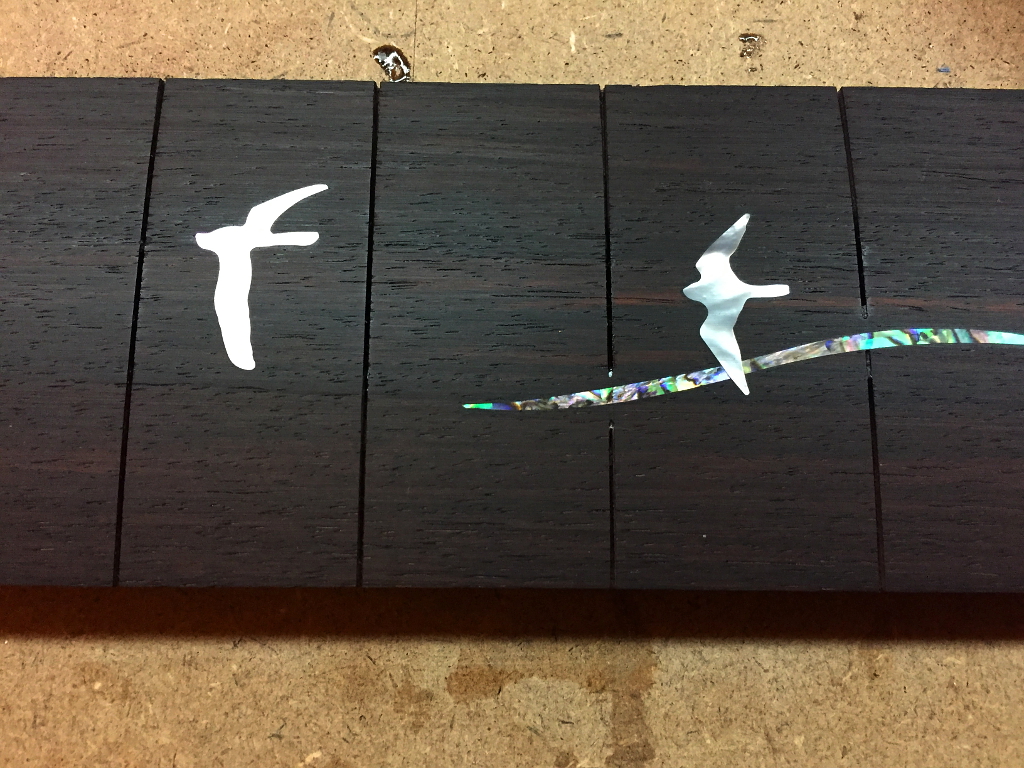
You’ll note here that some of the shell pieces cross the fret slots and also some epoxy from gluing the inlays in place has invaded the slots as well. Obviously this will make it impossible to install frets.
So I whip out my fret saw. This is a japanese style fret saw that cuts on the pull stroke and has a very fine kerf (.023″) to fit into the slots. Saws that cut on the push stroke can cut faster, but you have a lot more control cutting on the pull. It really wouldn’t do at this point to have the saw jump the slot and cut big ugly gouges on the fretboard surface.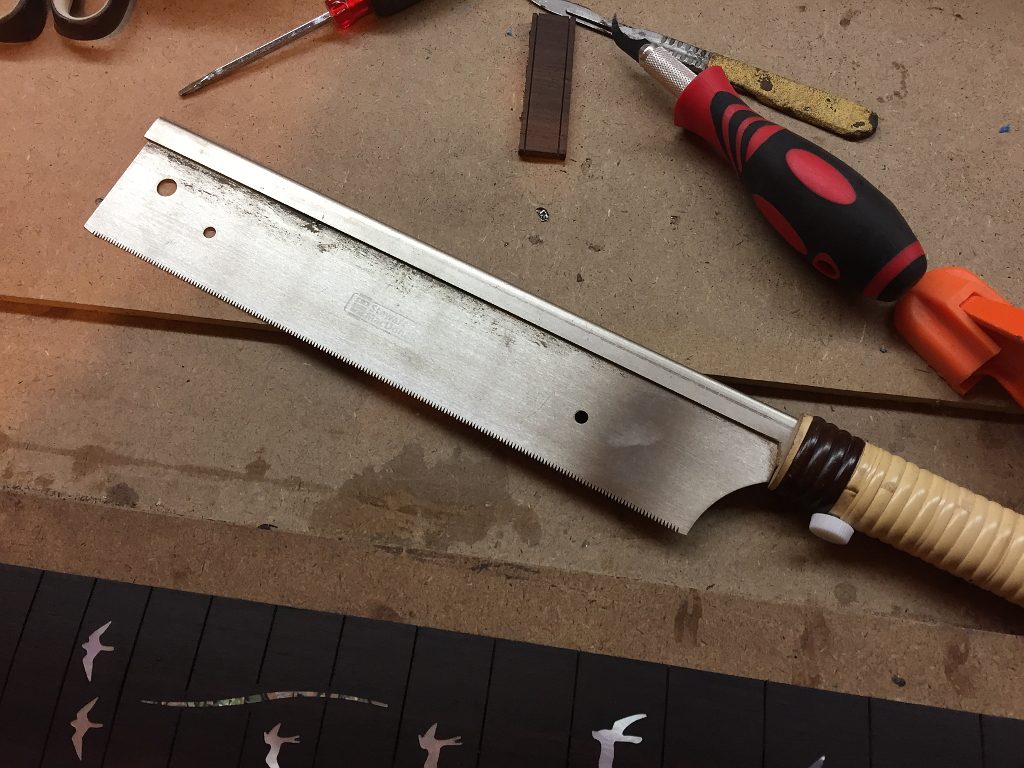 Into the slot and a few careful pulls cuts the shell and also the extra epoxy that seeped into the slot…
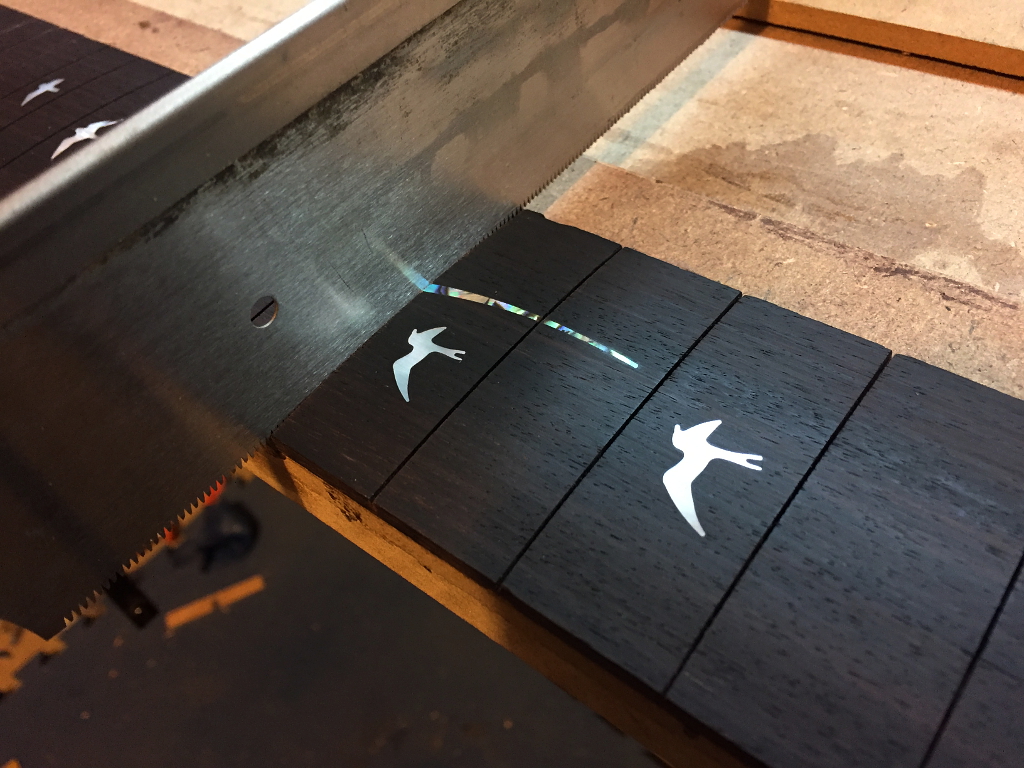
Slots are now cleared and ready to install frets. First we have to taper the board and glue it to the neck. That’ll be coming in the next installment 🙂