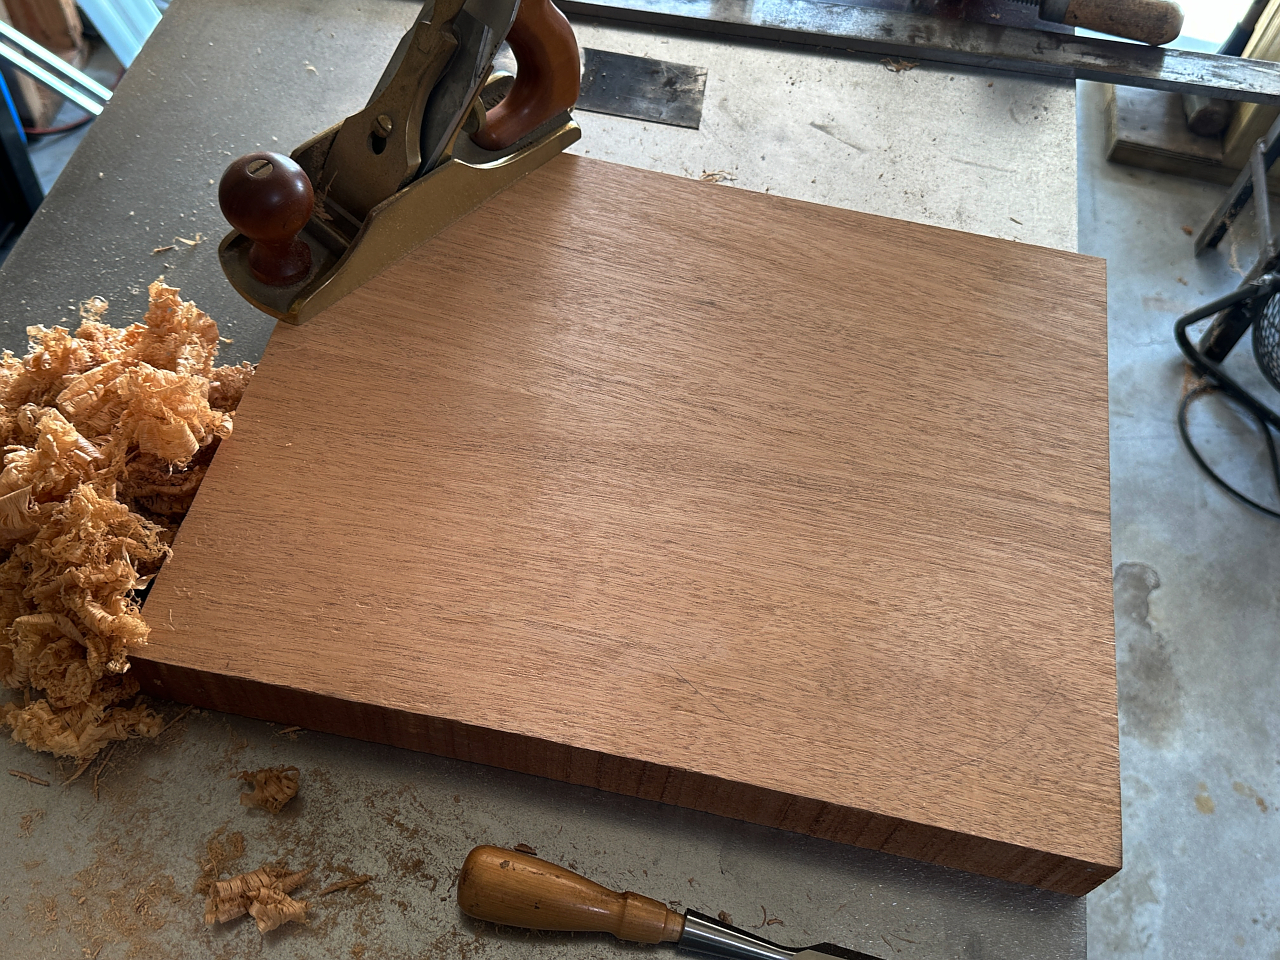
once the blank has been removed from the clamps I use my No.4 smoothing plane to make one side completely flat
then I rough cut the body shape out of the blank, and will attach the routing template to the
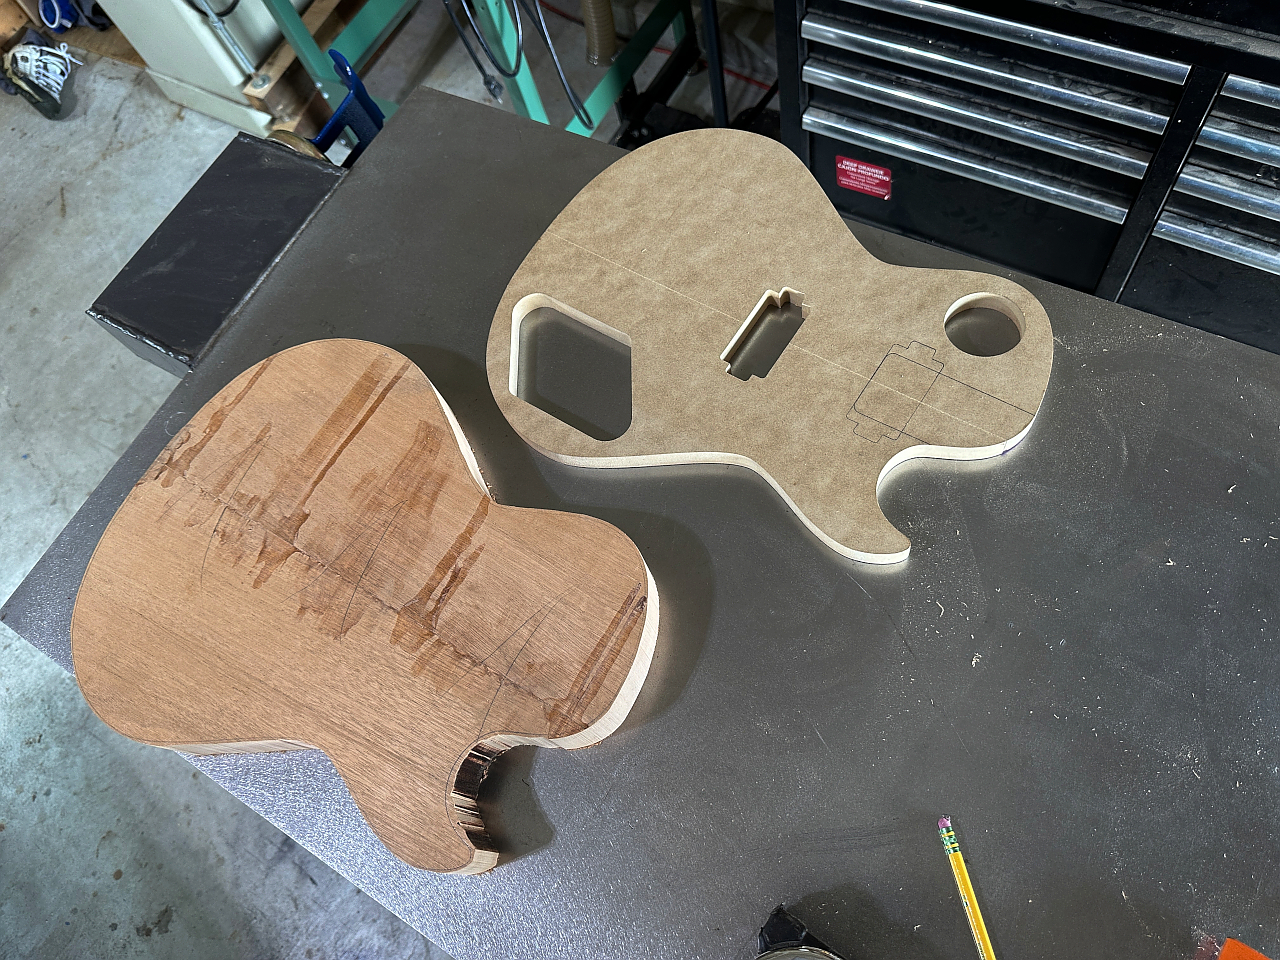
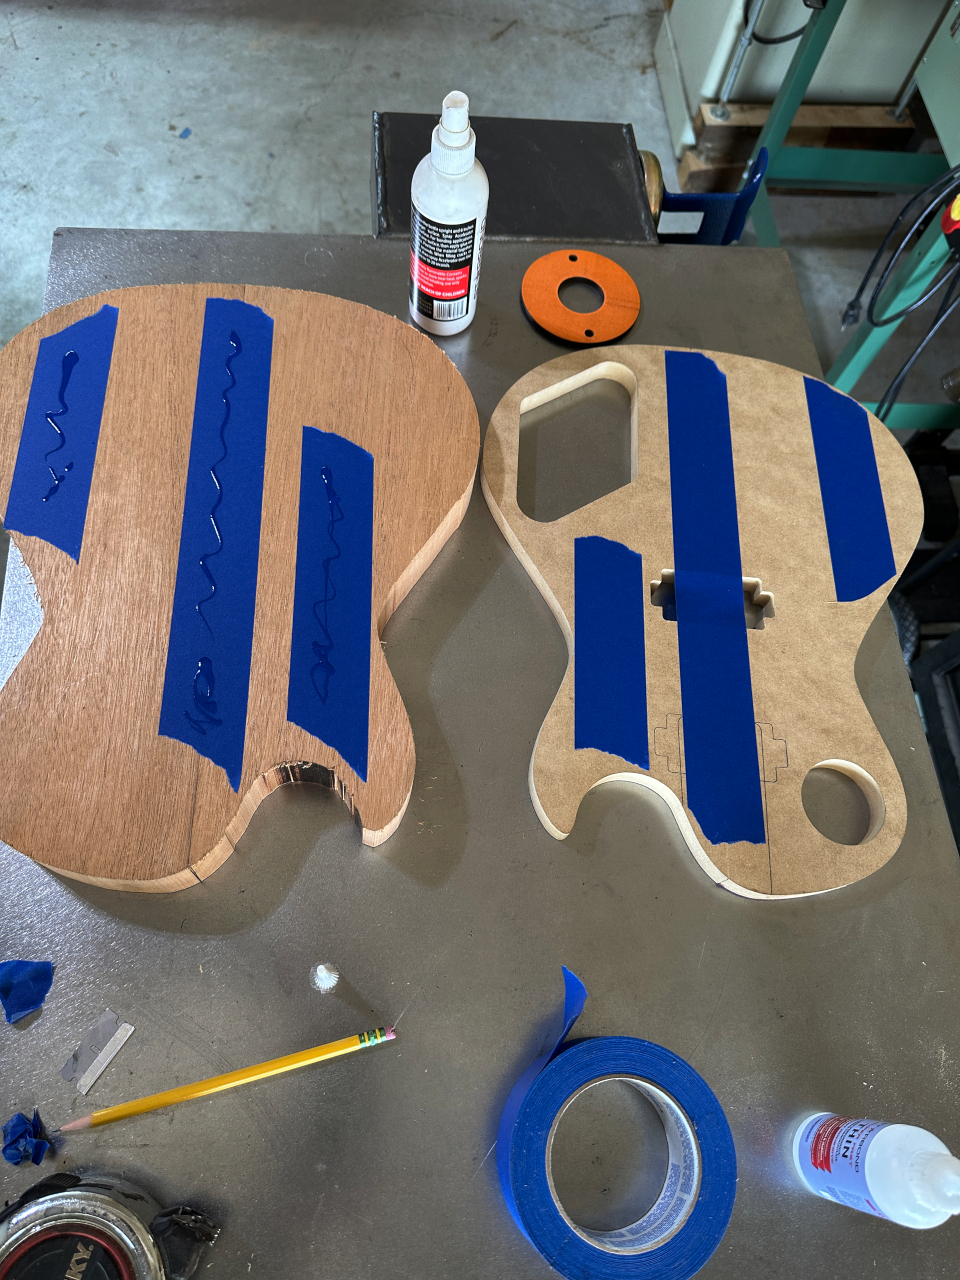
I use the masking tape a super glue trick to attach the template. I put masking tape on both surfaces, and the glue masking tape to masking tape. This holds the template very securely, but when you pull the two directly away from each other they come apart with relative ease.
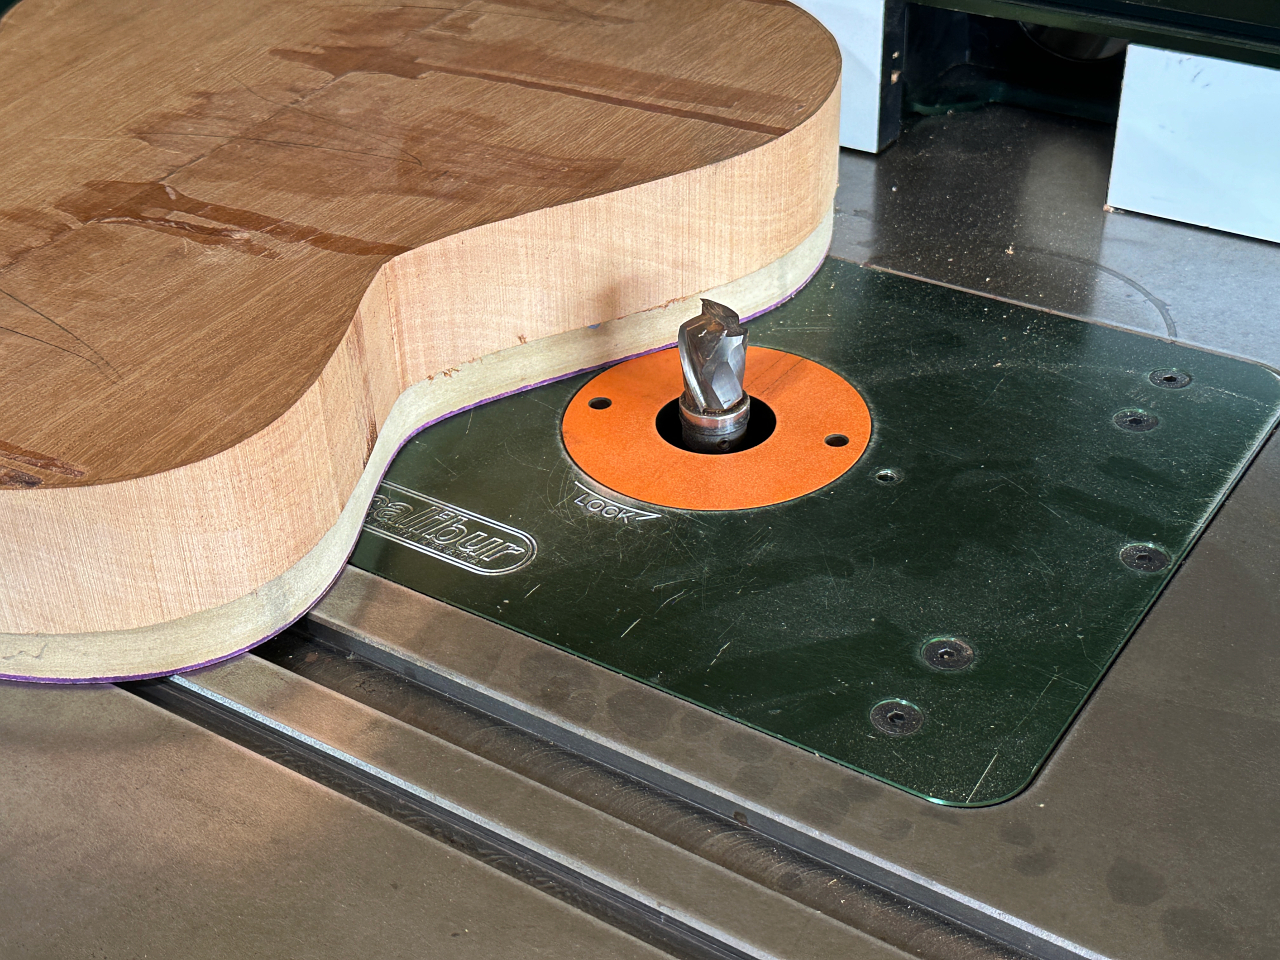
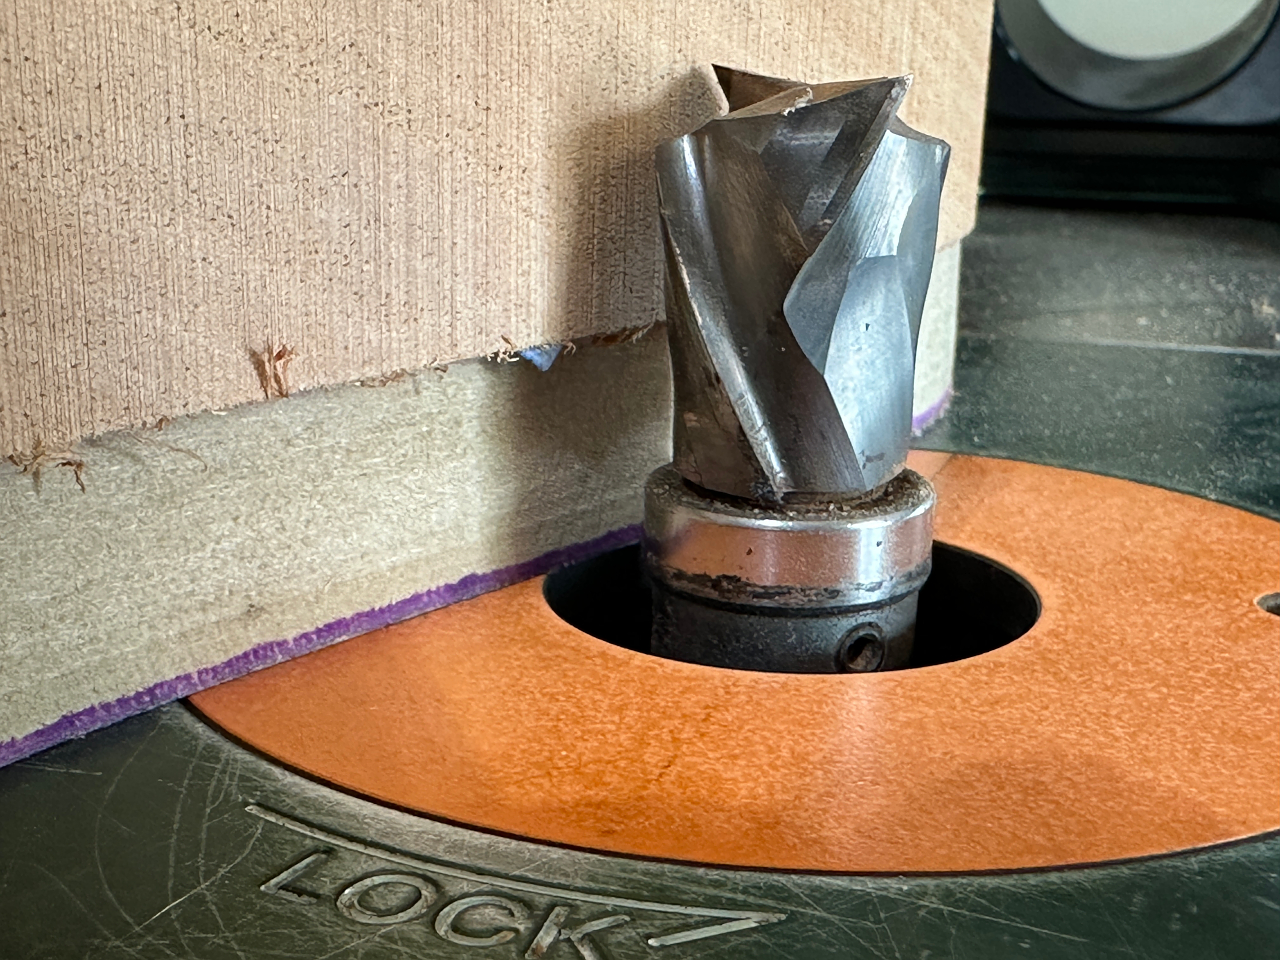
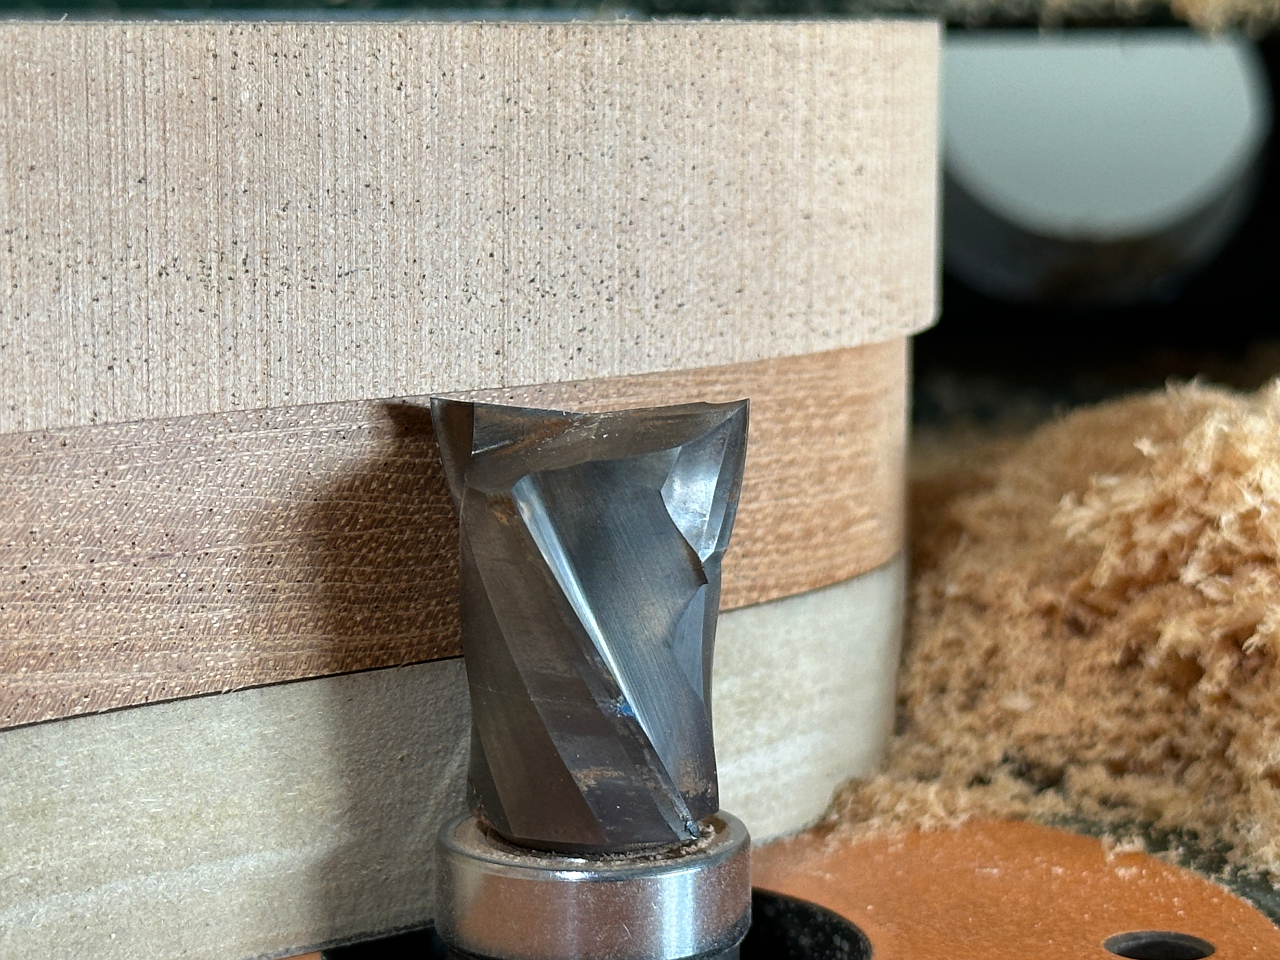
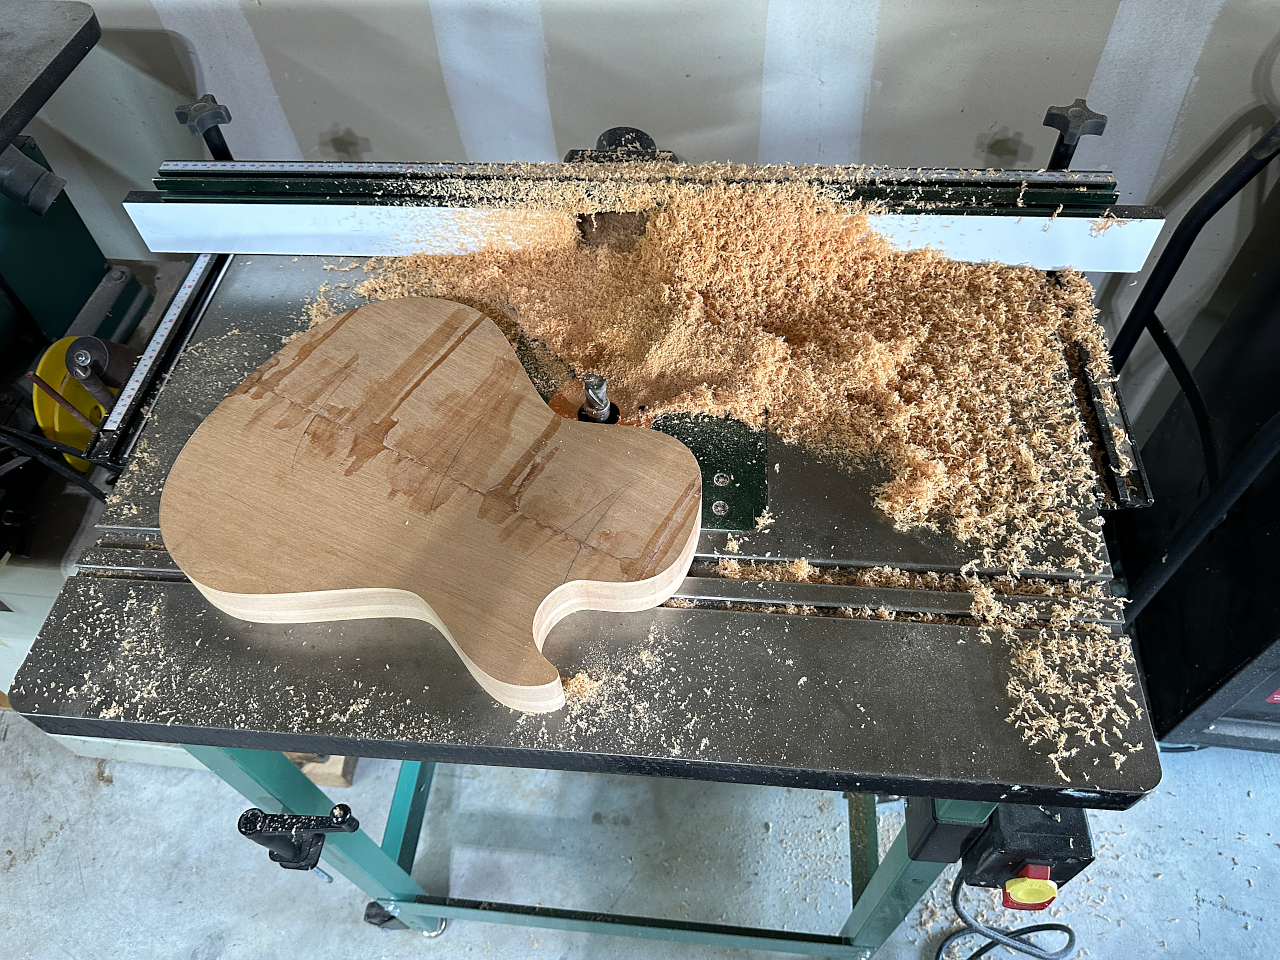
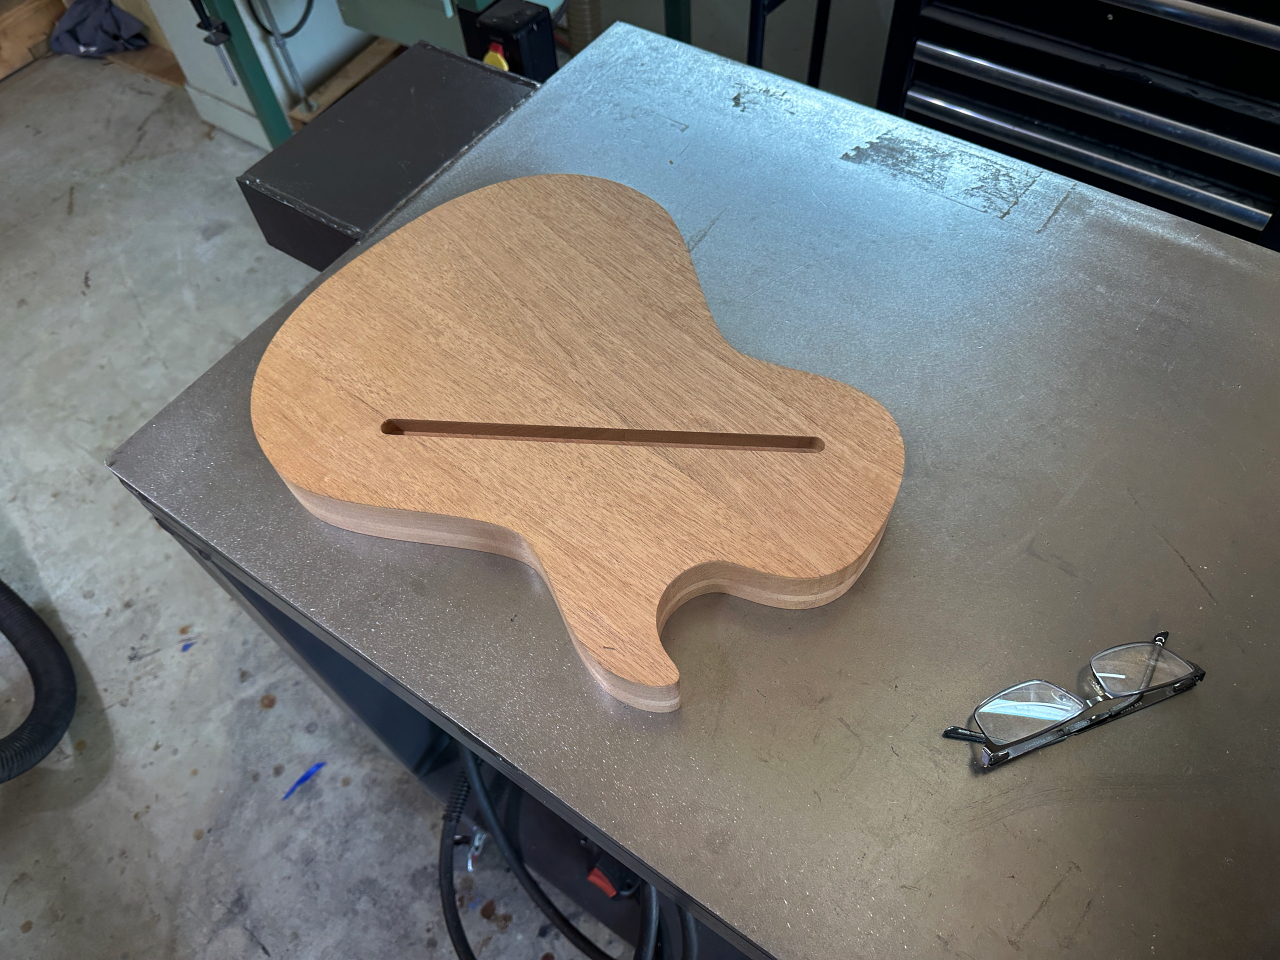
next I put it in the routing table, and a router bit with a follower bearing that runs along the edge of the template cuts the body to the exact shape of the template.
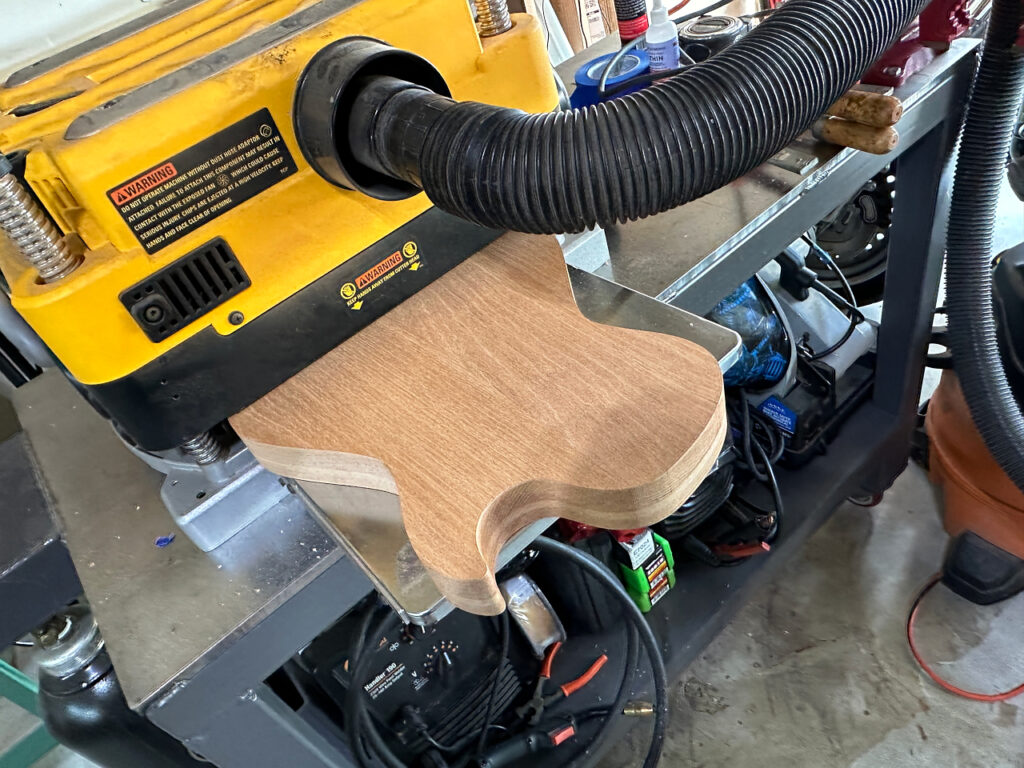
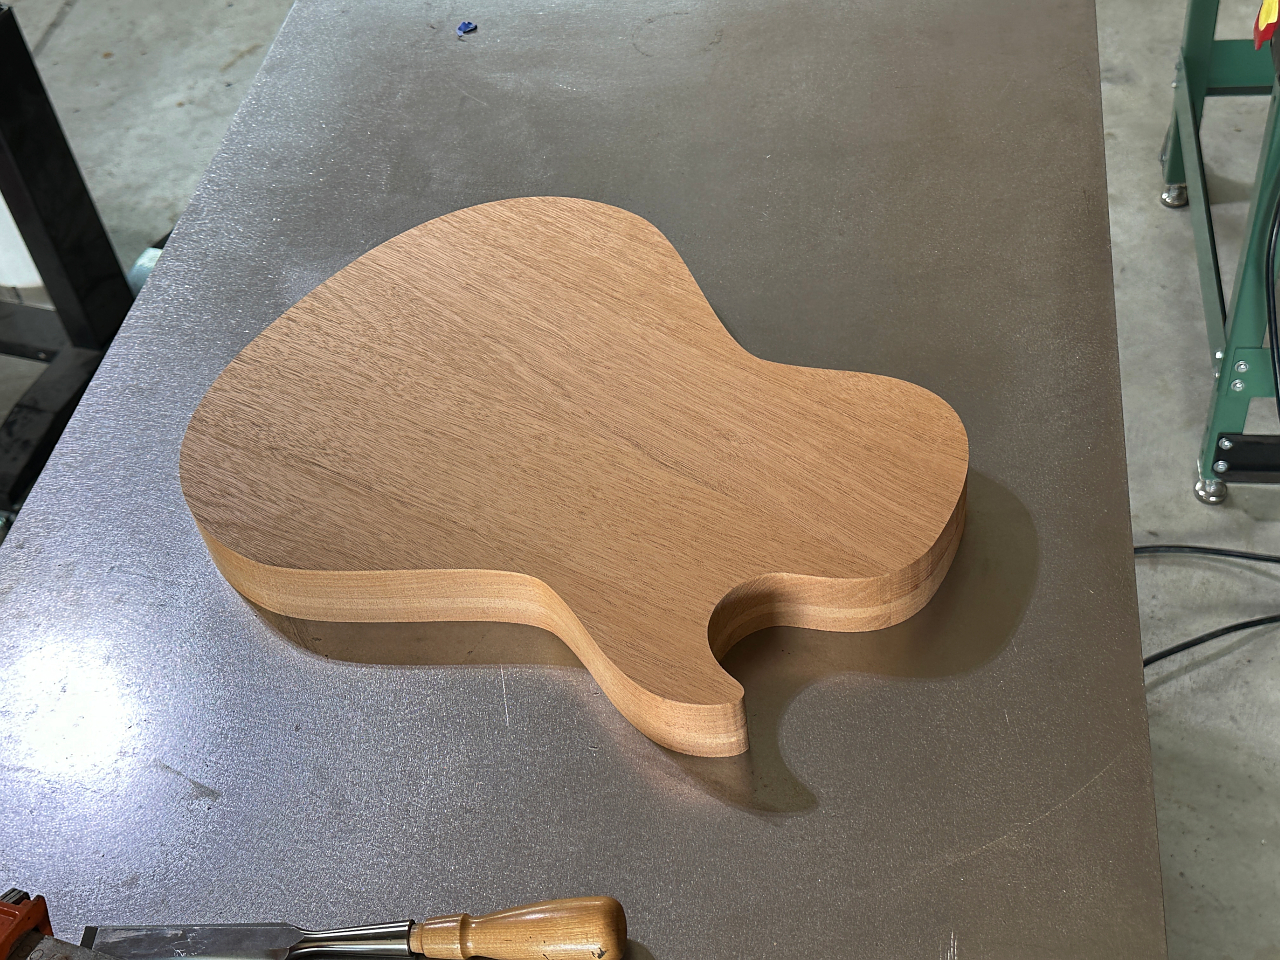
Then I can put it through the thickness planer to bring it down to the final thickness.
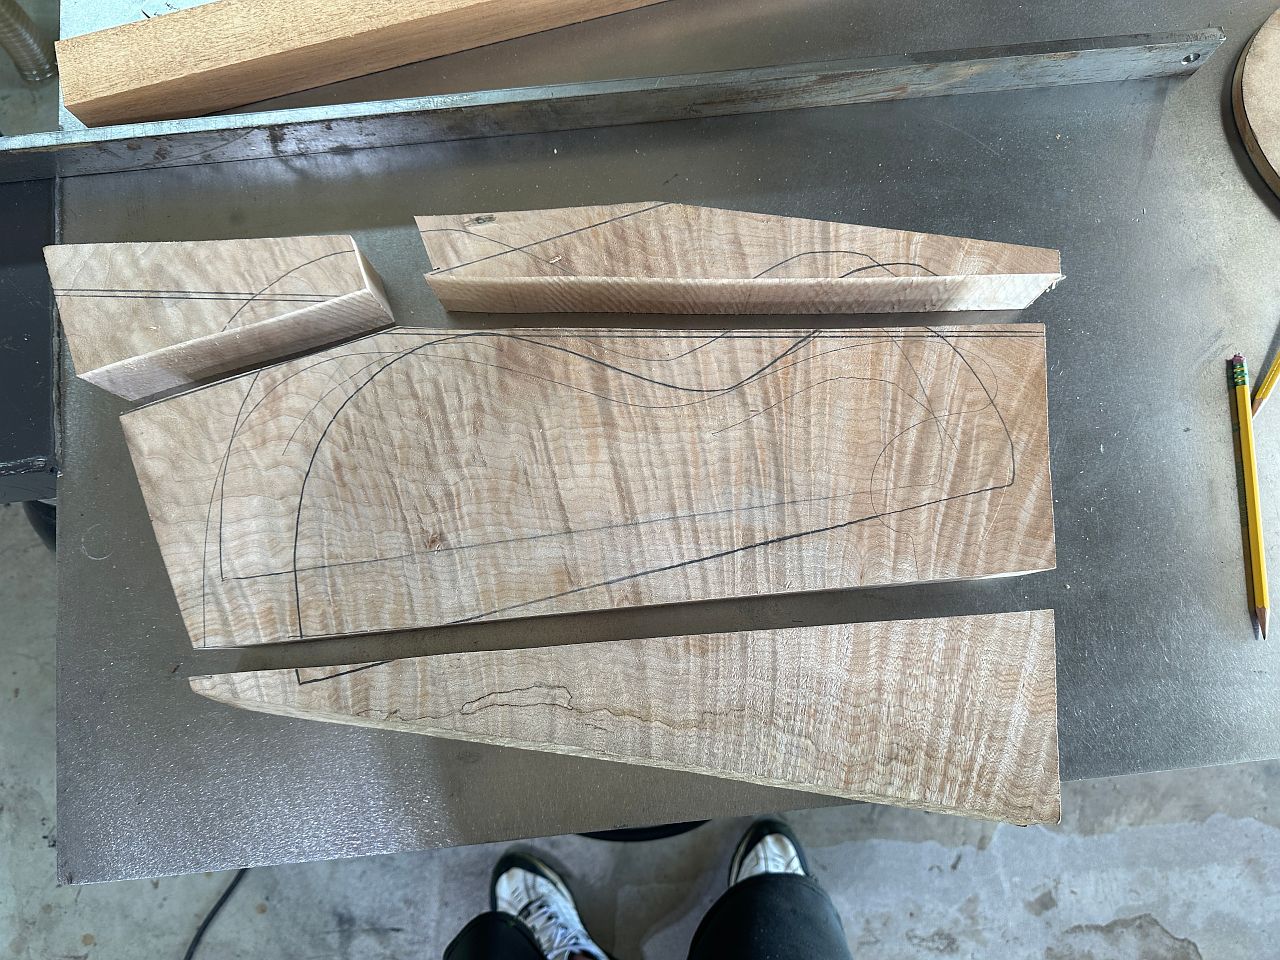
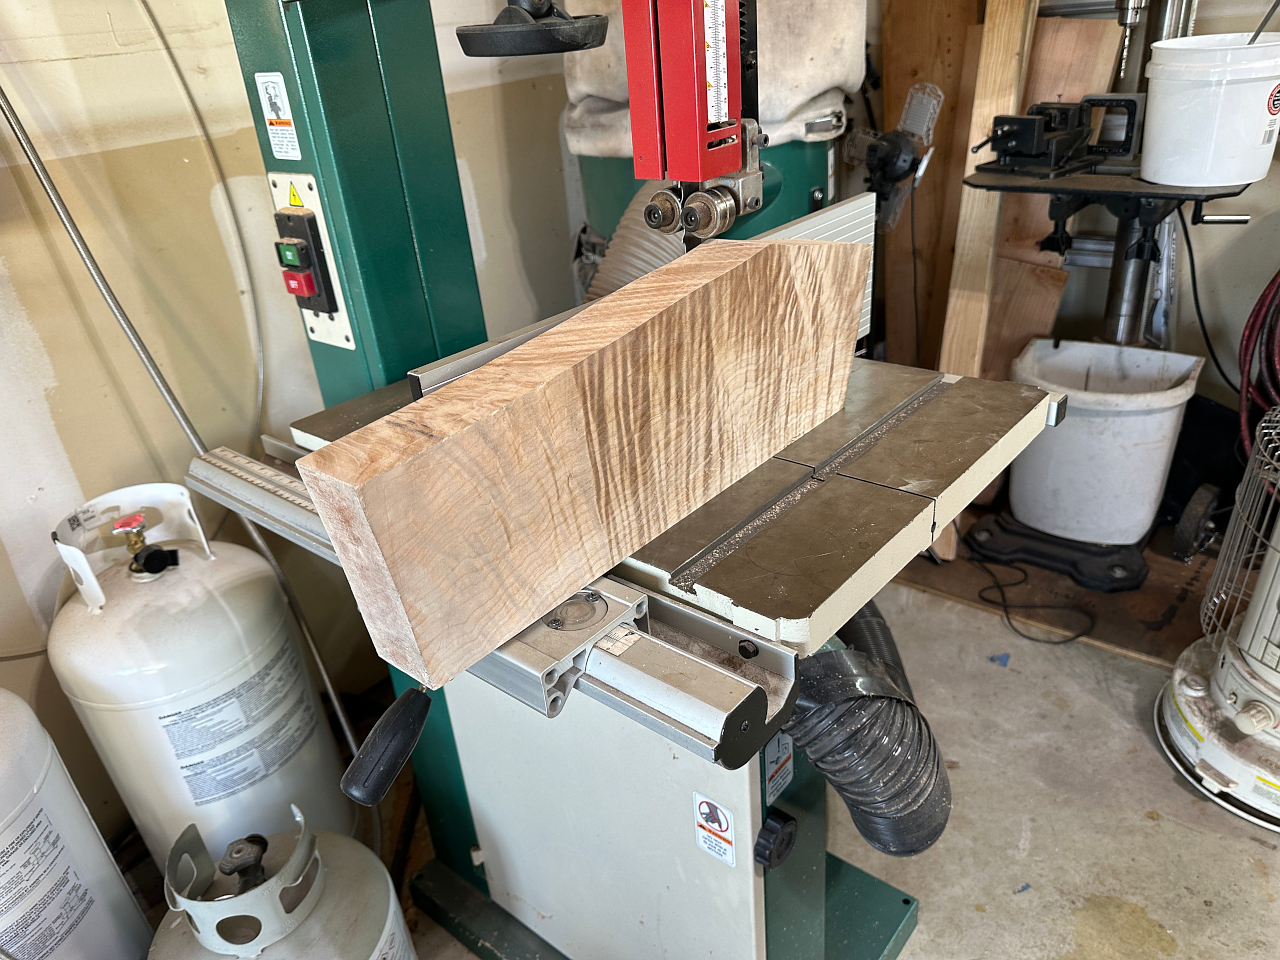
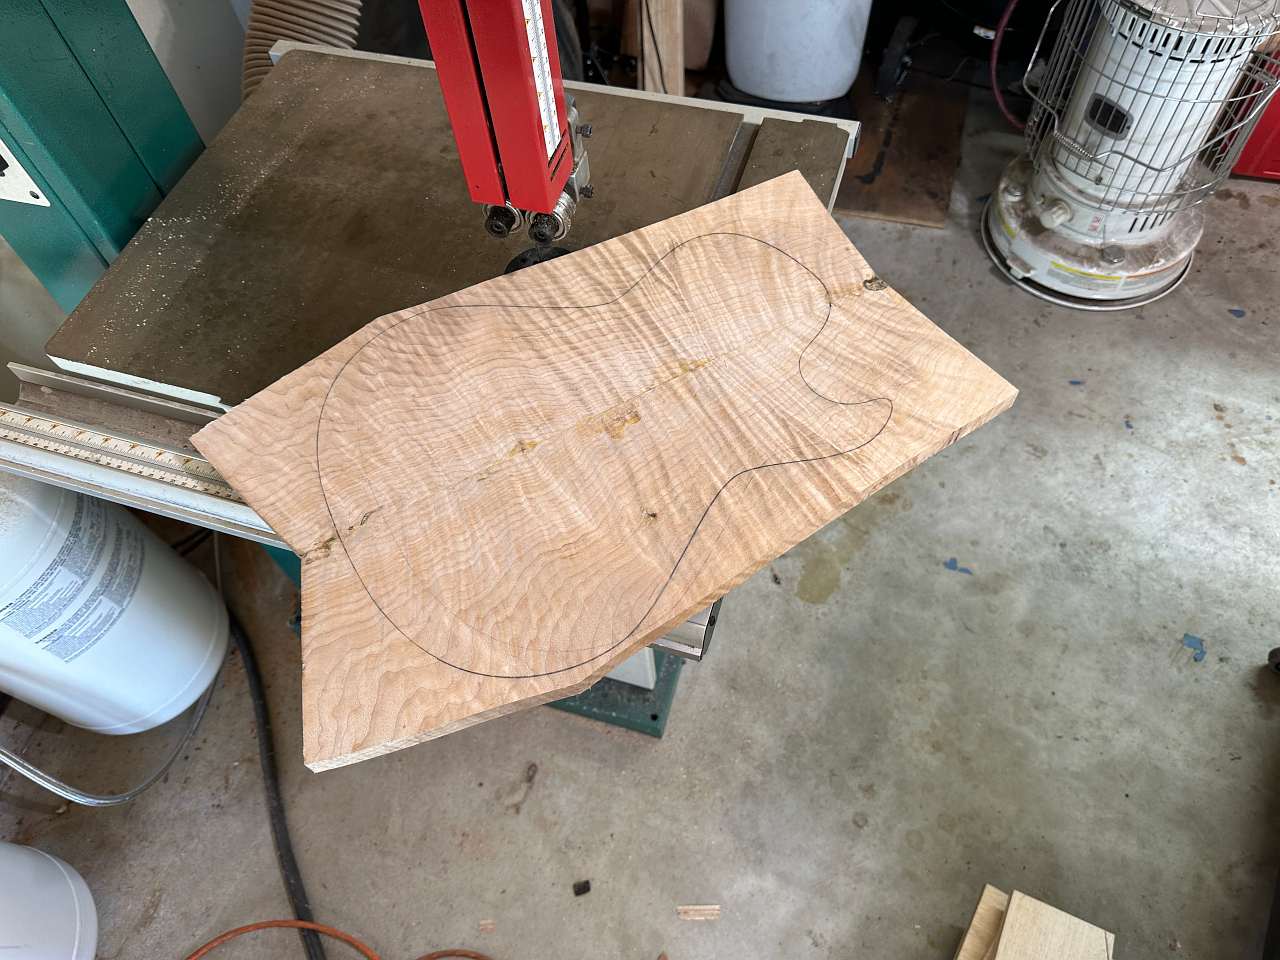
For my next trick, I remove the extra pieces from the maple blank after selecting the part of the wood I want for the best pattern.
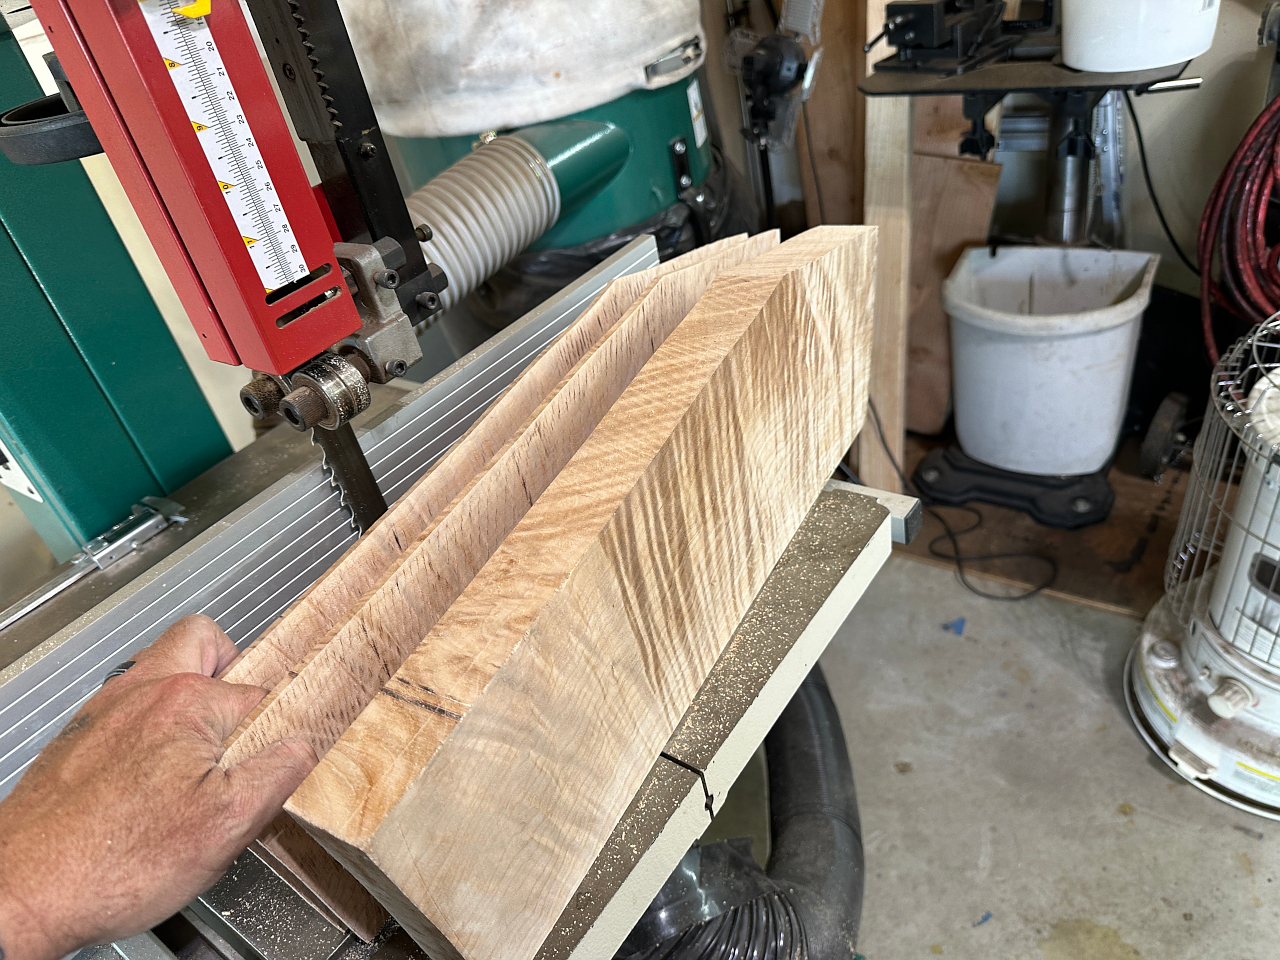
Then I “resaw” the resulting board. First I take a couple thin slices off to be used as a drop top for a different guitar. The remaining piece gets cut into two equal parts
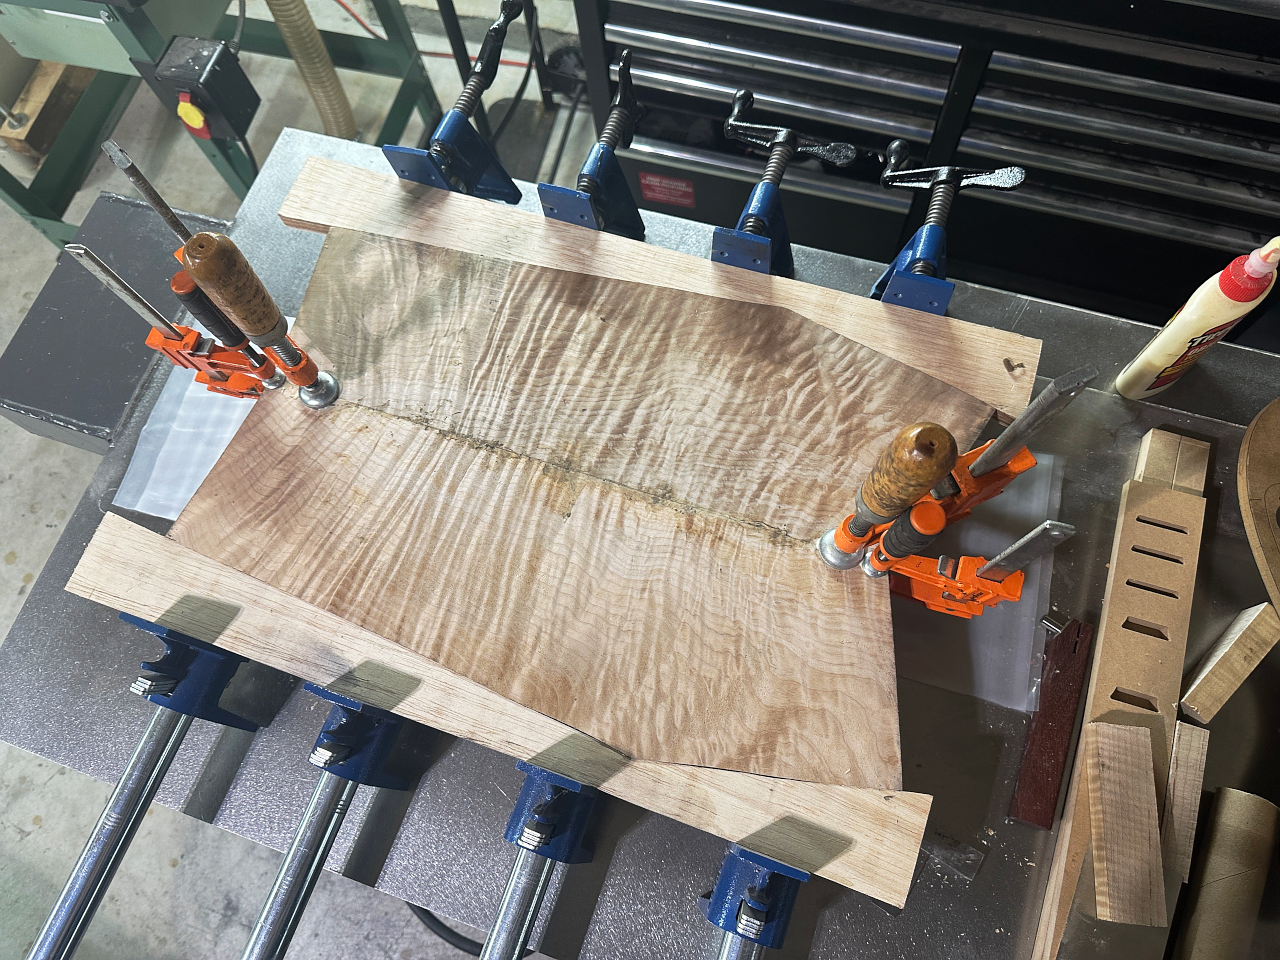
These parts are laid out like a book, hence the term bookmatched, and glued and clamped up. Since this board was not square I had to improvise a frame of plywood in order to put it in the clamps.
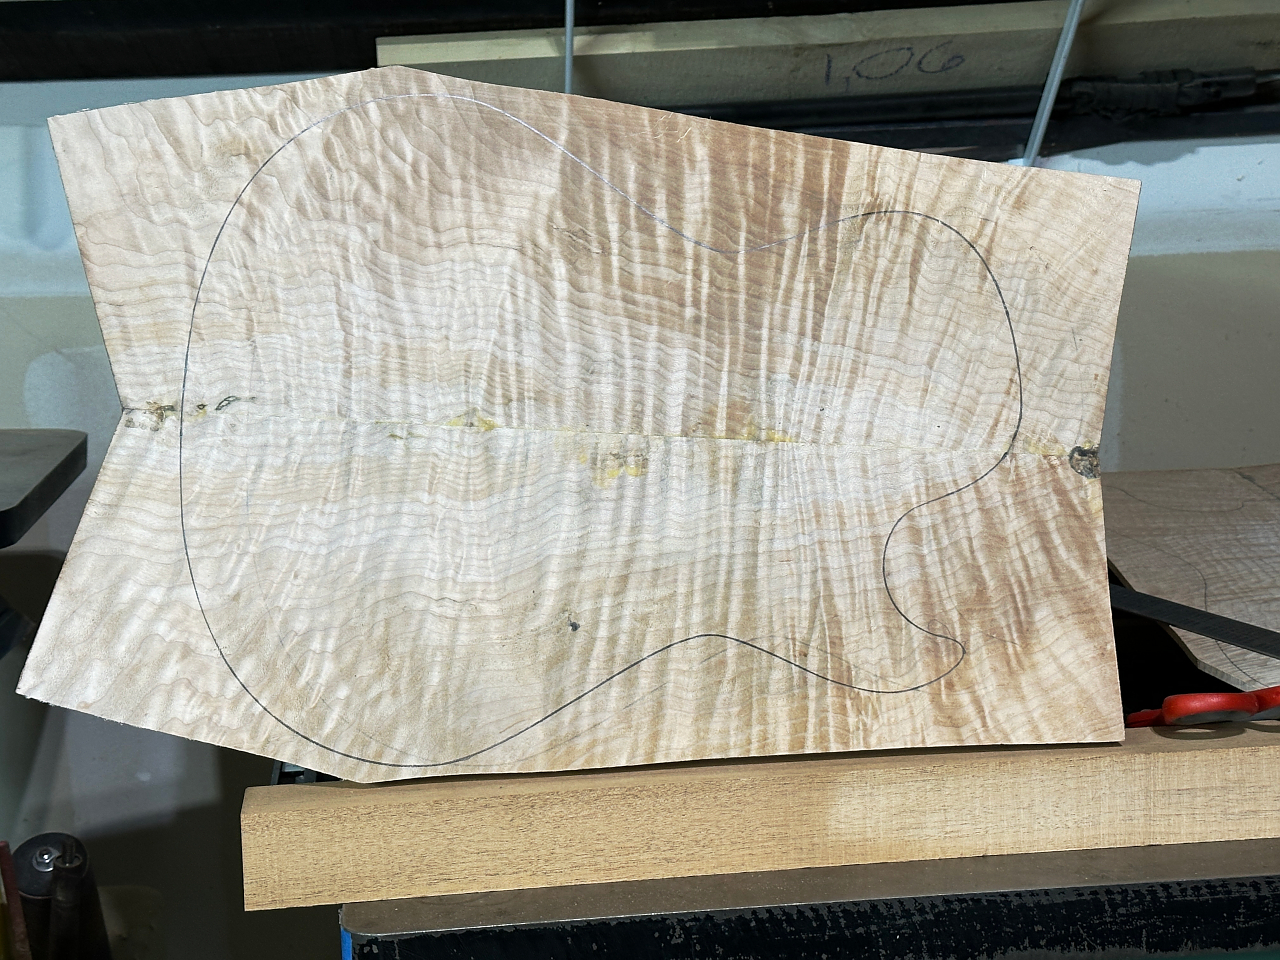
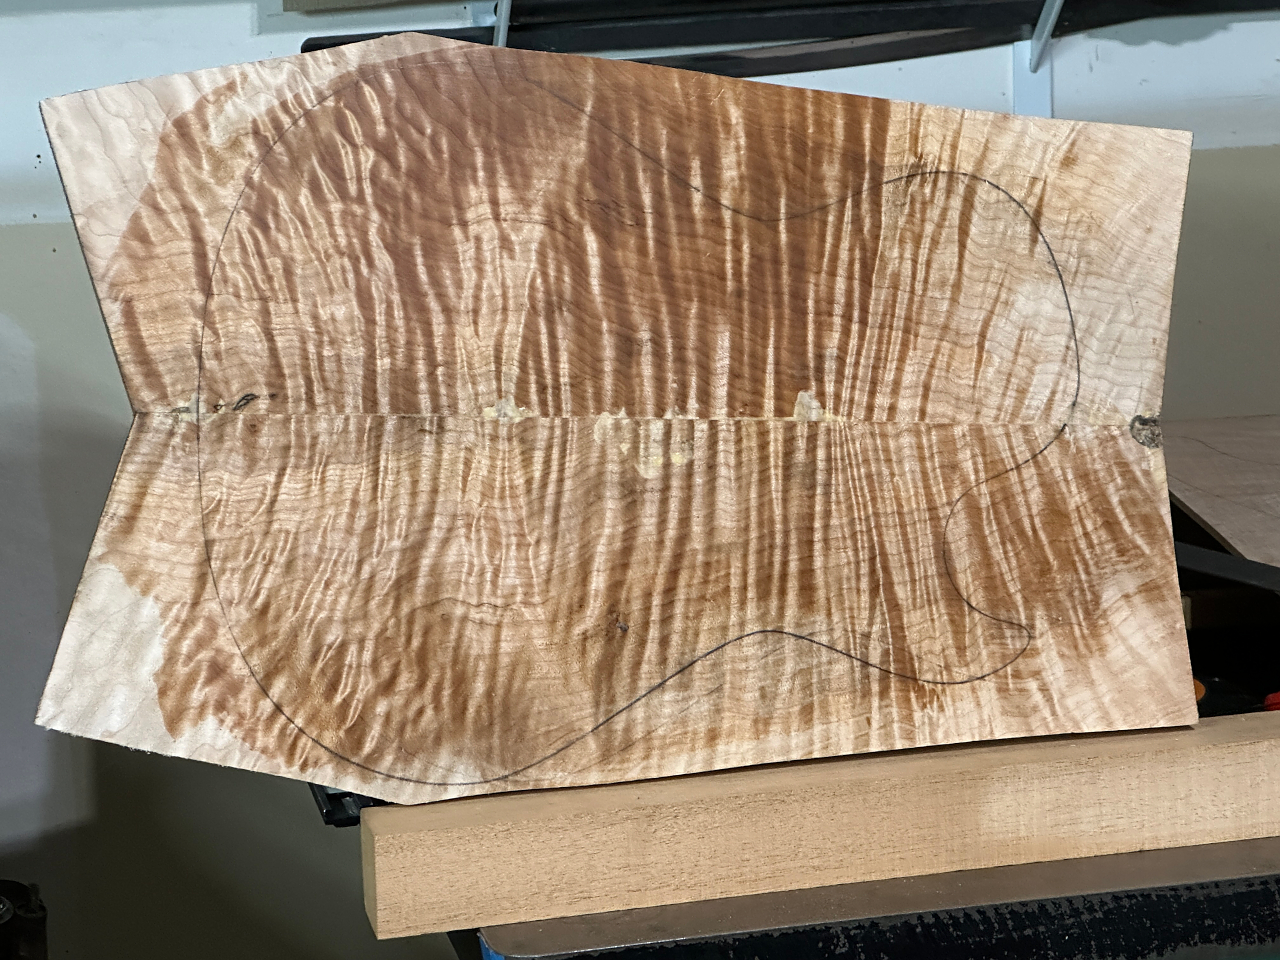
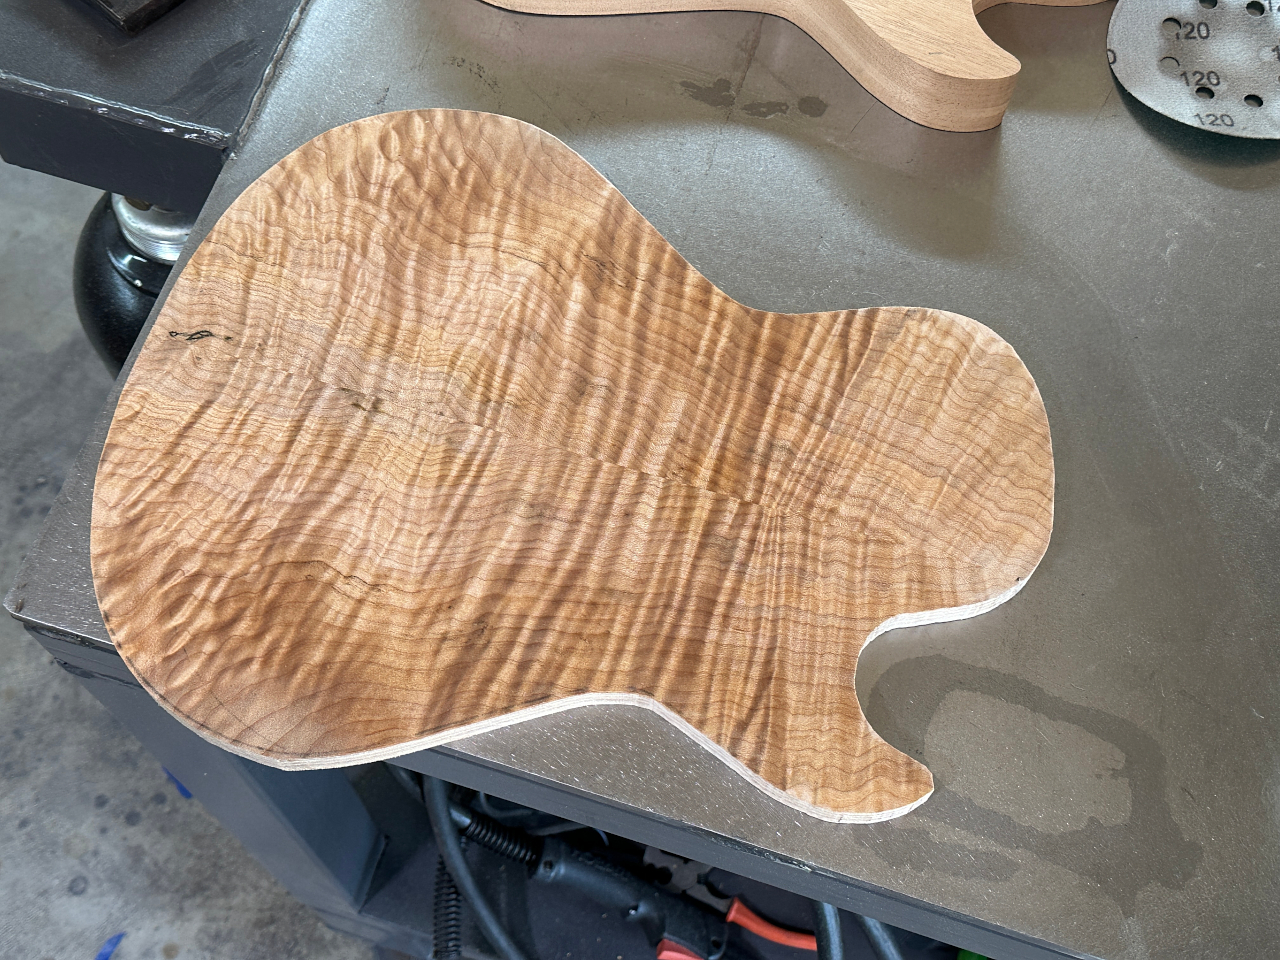
Once the glue is set I can remove it from the clamps. Drawing the guitar shape on here gives an idea what the top will look like.
Wiping some naphtha in the board makes the figure pop just to give a sneak peak.
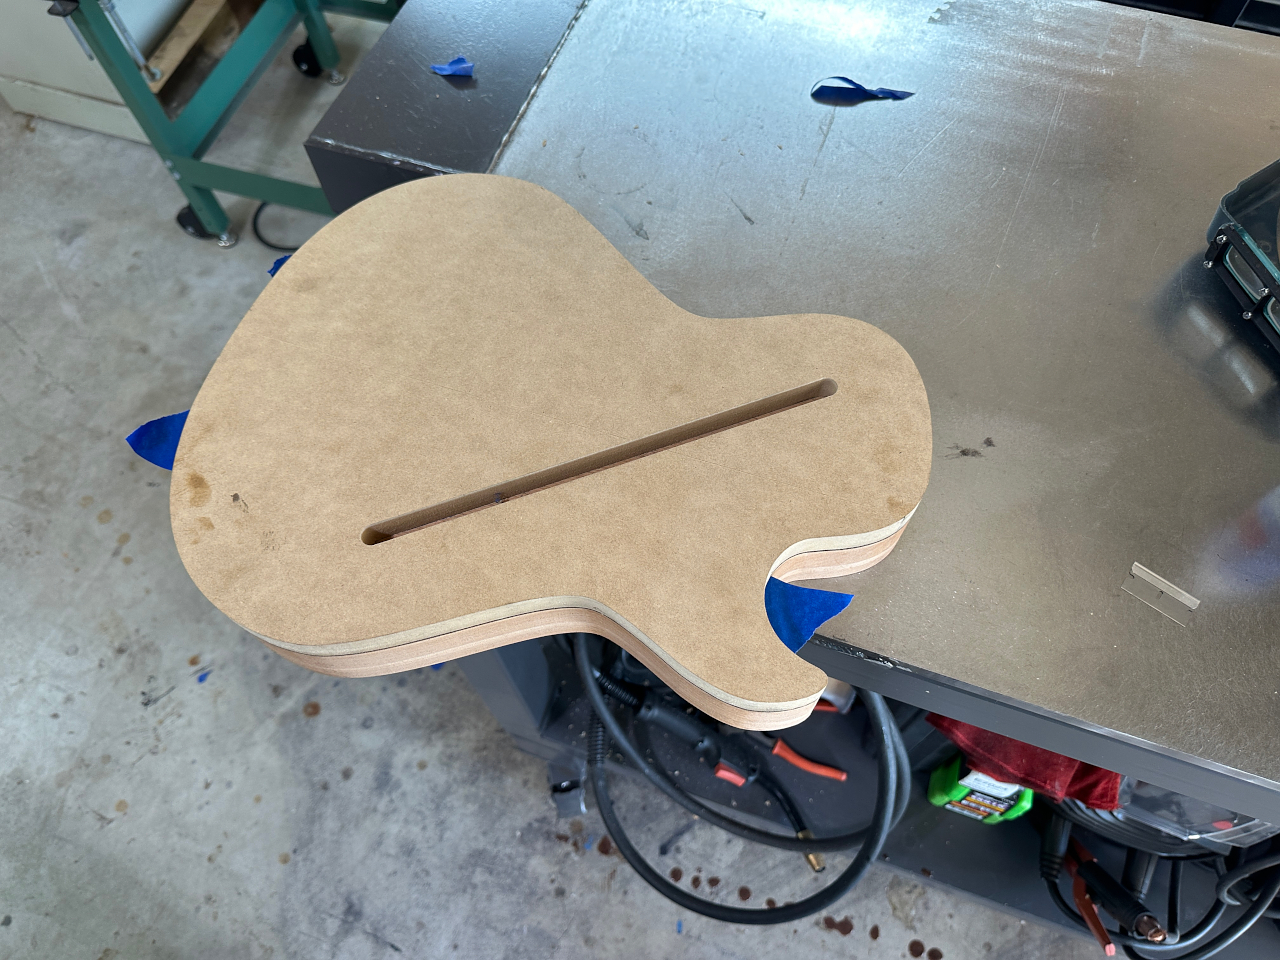
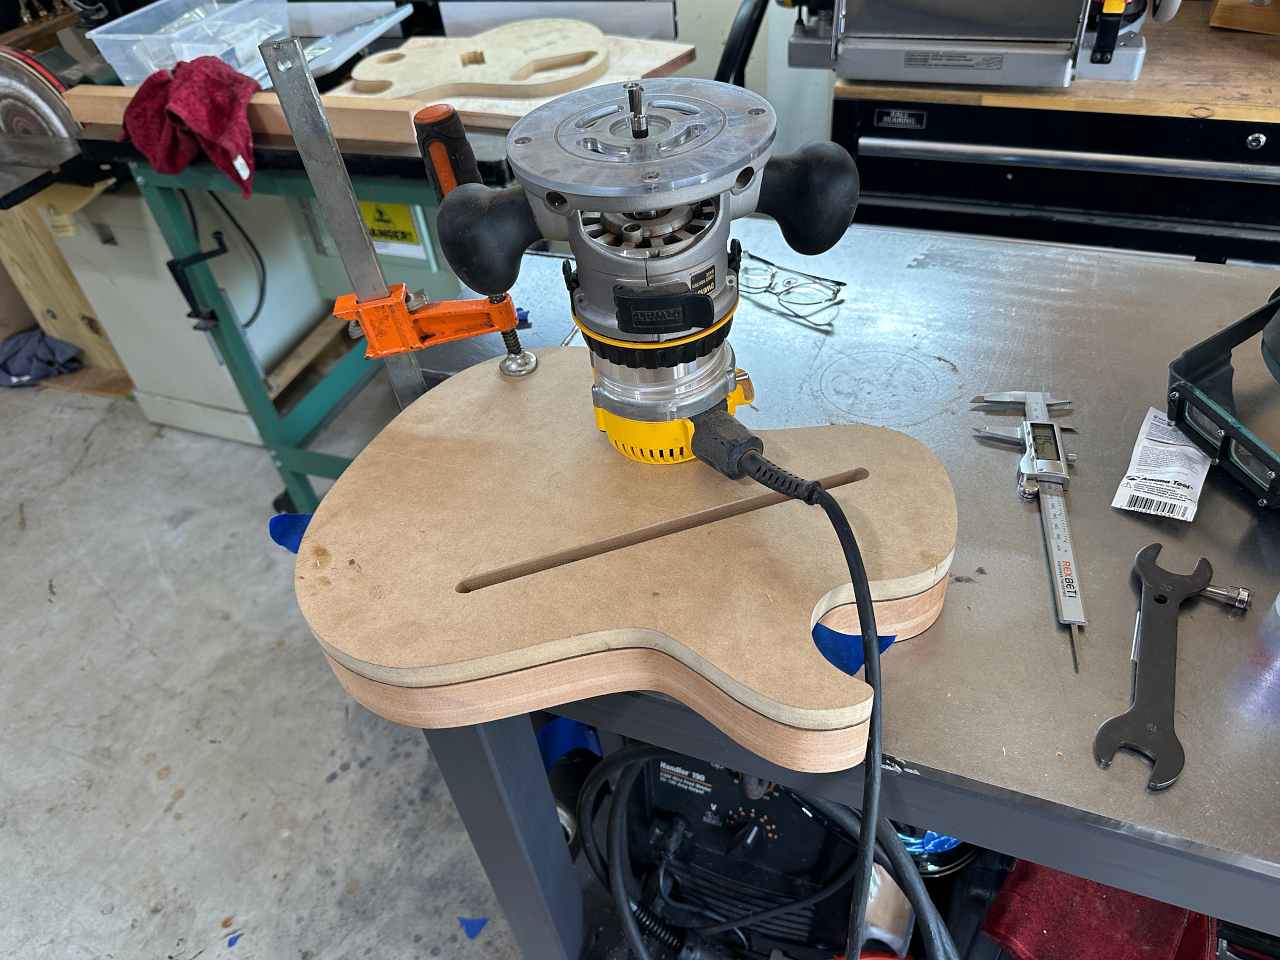
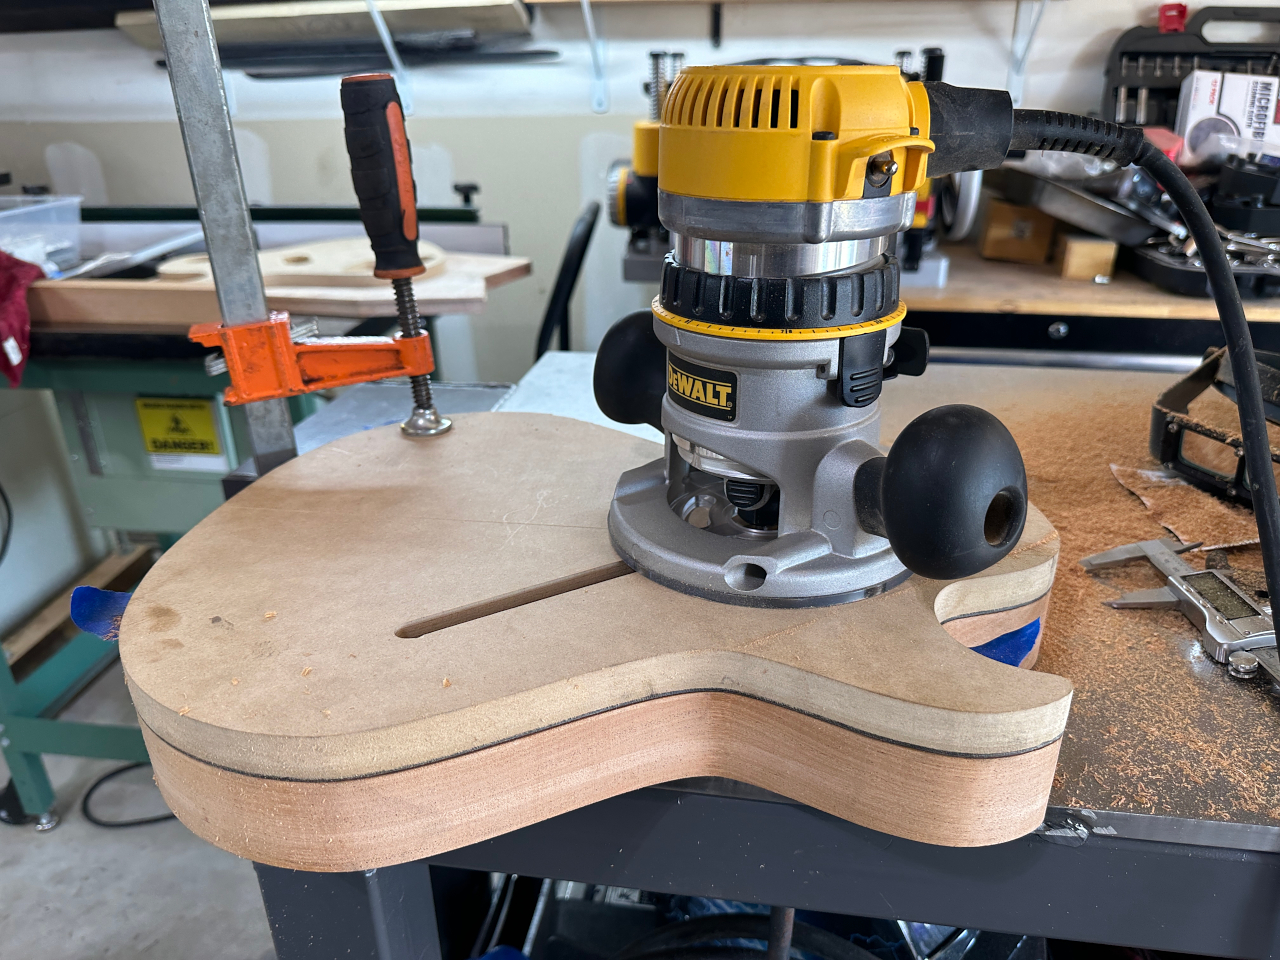
Going back to the mahogany body, my next operation is to attach a routing template that lets me route the wiring channel.
This channel, once the maple top is glued on, lets me run all the wiring between the switch cavity, the pickups, and the control cavity.
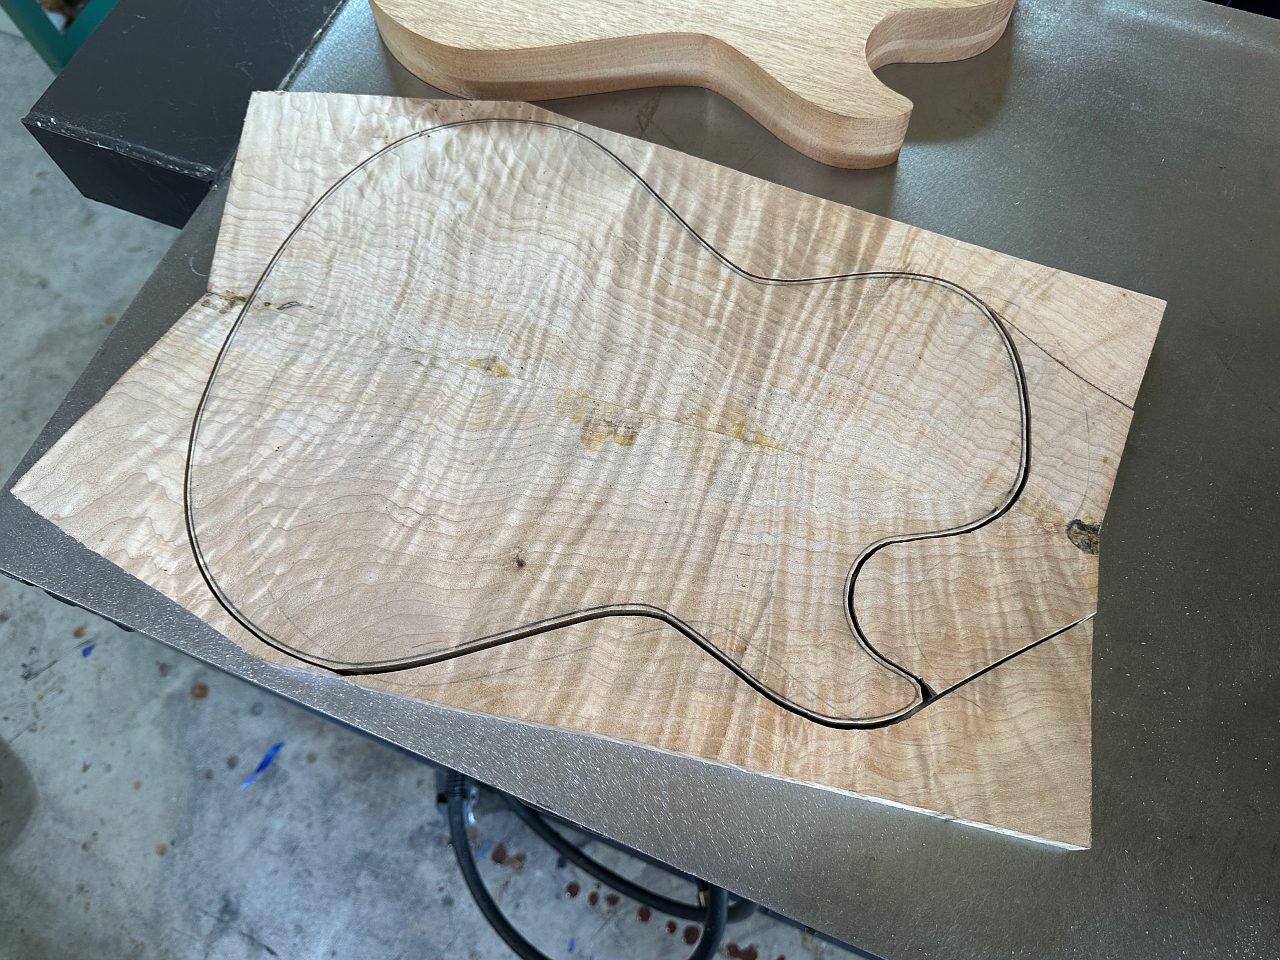
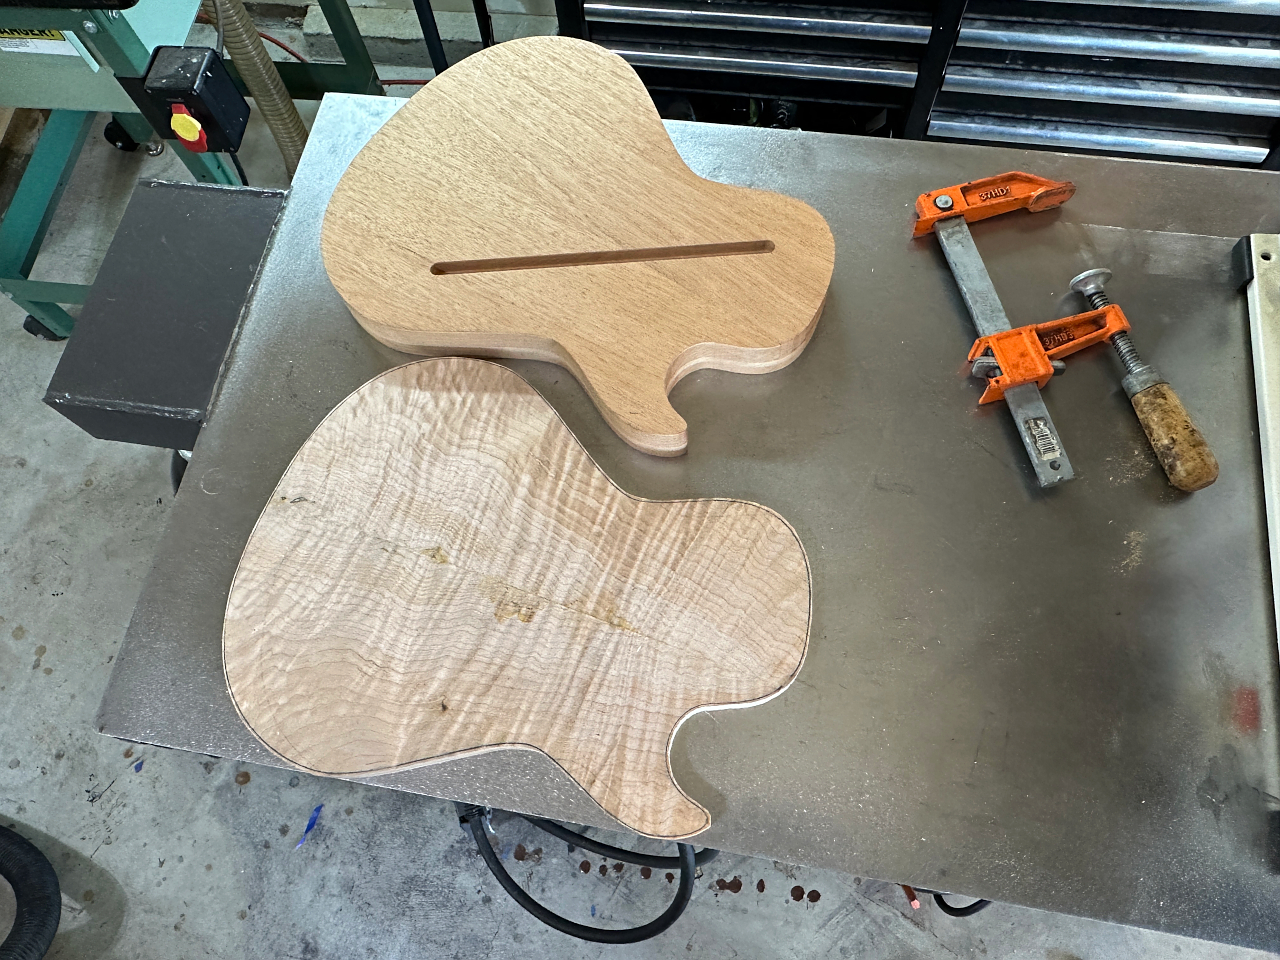
Next I’ll free the maple top from the prison of the board 😉

