Alrighty. So while we are waiting for the neck blank to acclimate and settle we can get to work on the body.
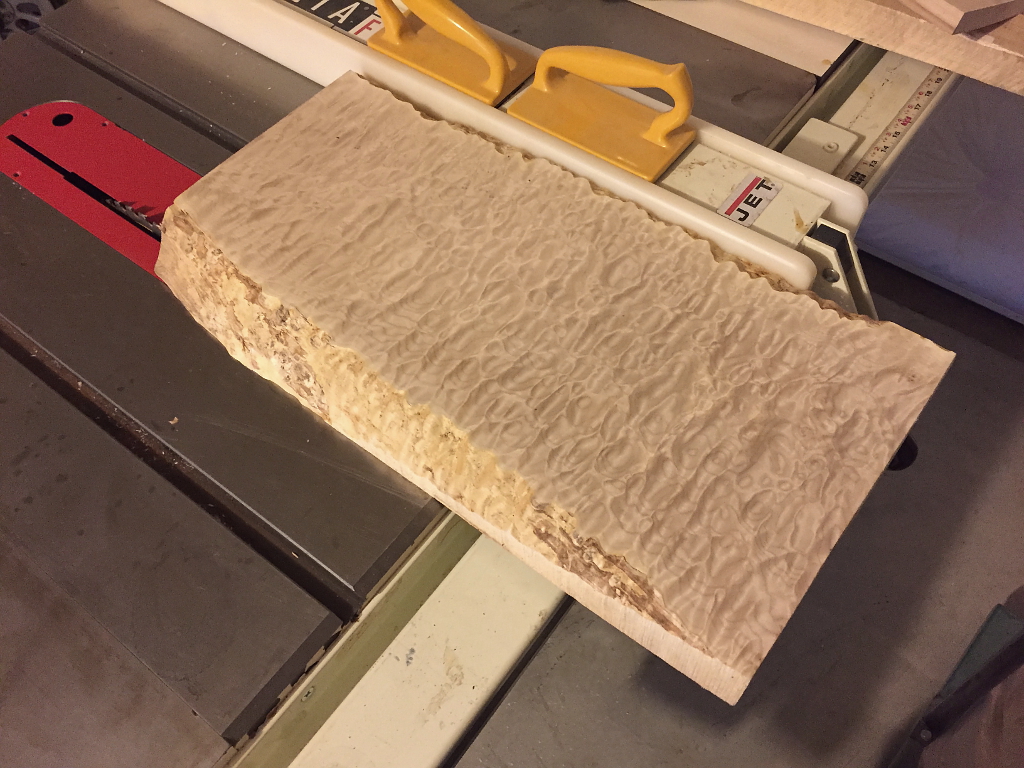
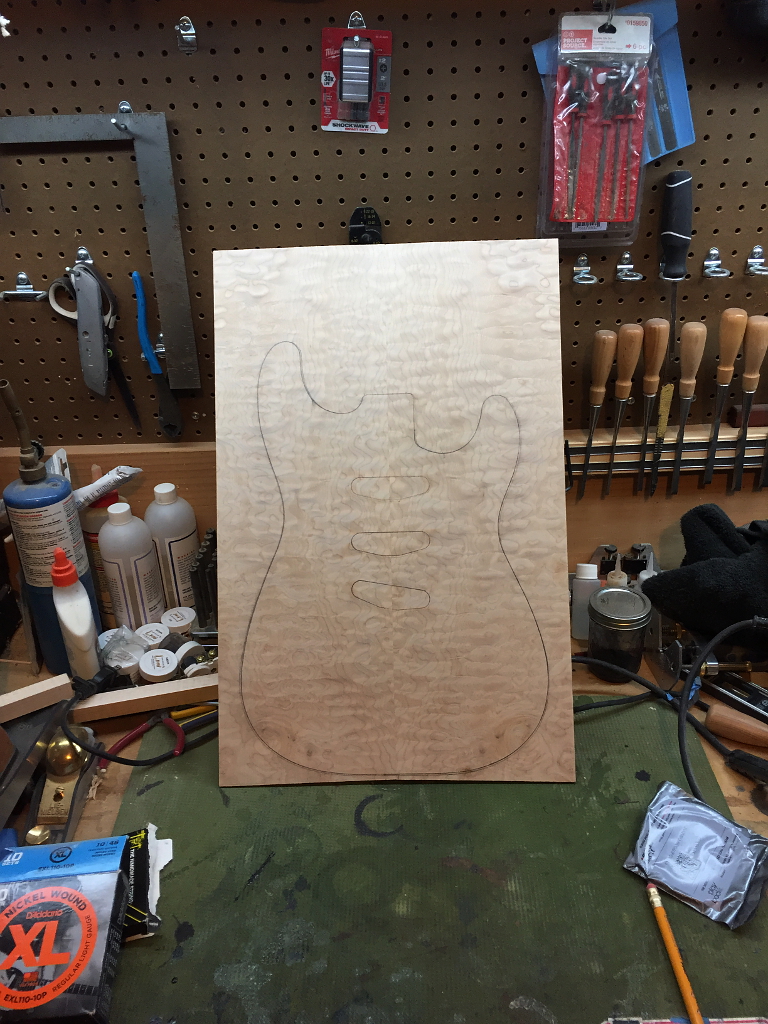
Mikes guitar gets a book matched quilted maple top. This is the piece of wood I’ll be making it from. This is a block of highly figured, quilted bigleaf maple.
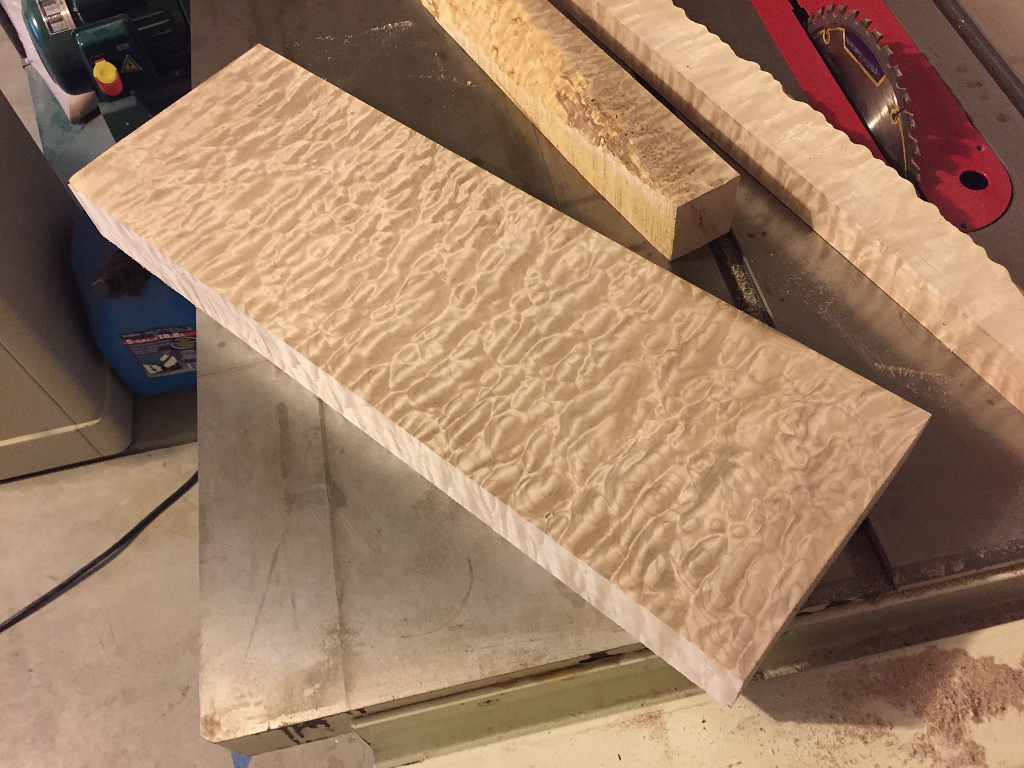
Like everything else, the pieces of wood used first have to be cut down to dimensions I can use. For a book matched top the billet must be at least half as wide as the body, preferably a bit more. A stratocaster body is 12.75″ wide at the widest point so our top wood block needs to be at least 6.375″ wide after its trimmed down to a regular shape. This piece is plenty wide. so first thing I do is cut the rough edges off on the table saw and make it an even width end to end.
Unlike other types of wood where I’d flatten it on the jointer, for this I’ll use the drum sander. With highly figured woods like this tools like jointers and planers can cause tear-out and leave big divots in the surface. Thats no good, so I use the drum sander. Its a lot slower, but it leaves a nice smooth surface.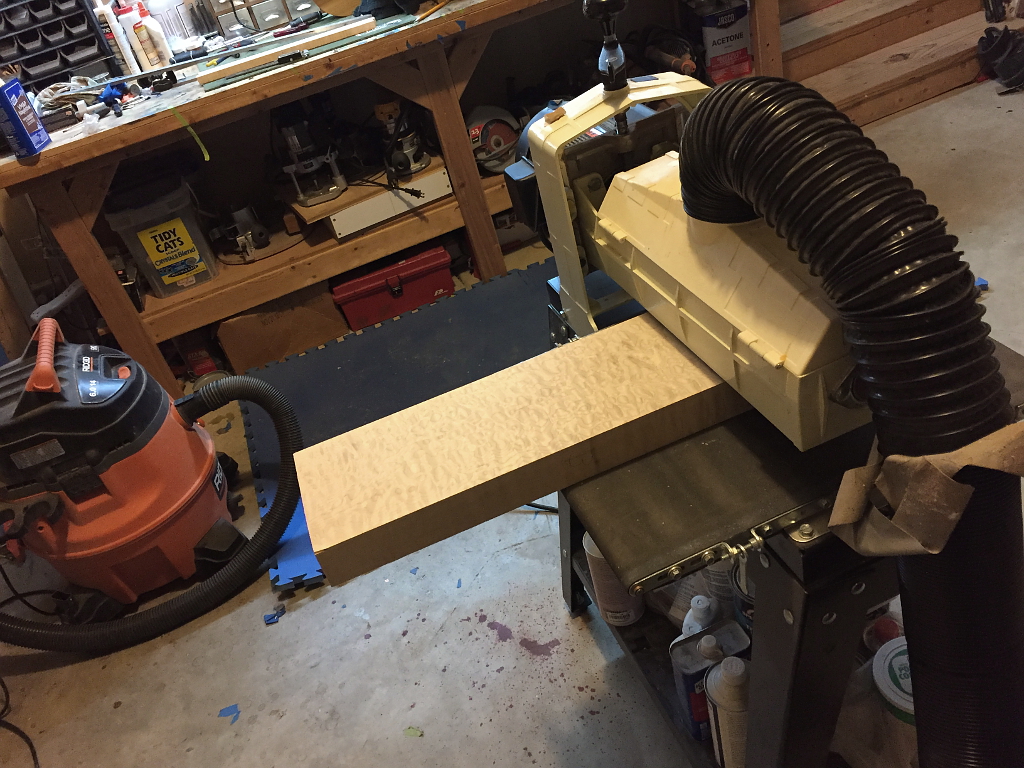
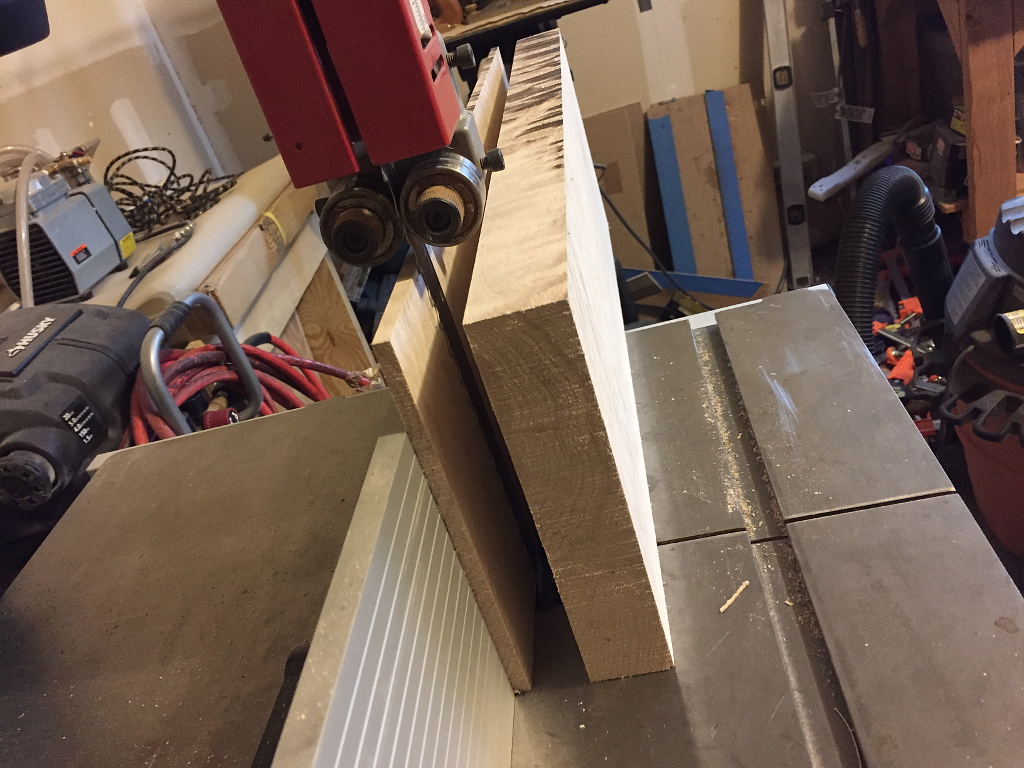
Then I stand the piece up on its edge and “resaw” it lengthwise taking off two slices approximately 1/4″ thick. The two slices are them layed out flat like a book. The figure on each face will be somewhat of a mirror image of its opposite. Hence the term “book matched”
The edges where the two pieces will be glued need to have perfectly flat, smooth faces for a seamless joint. I lay my 5 1/2 jack plane on its side and with the blade razor sharp and set to only take tissue thin slices I carefully plane the edges until they are perfect. You know when you have perfect joints when you put the two edges together and hold them in front of a bright light and you cant see even the teeniest glimmer of light between the pieces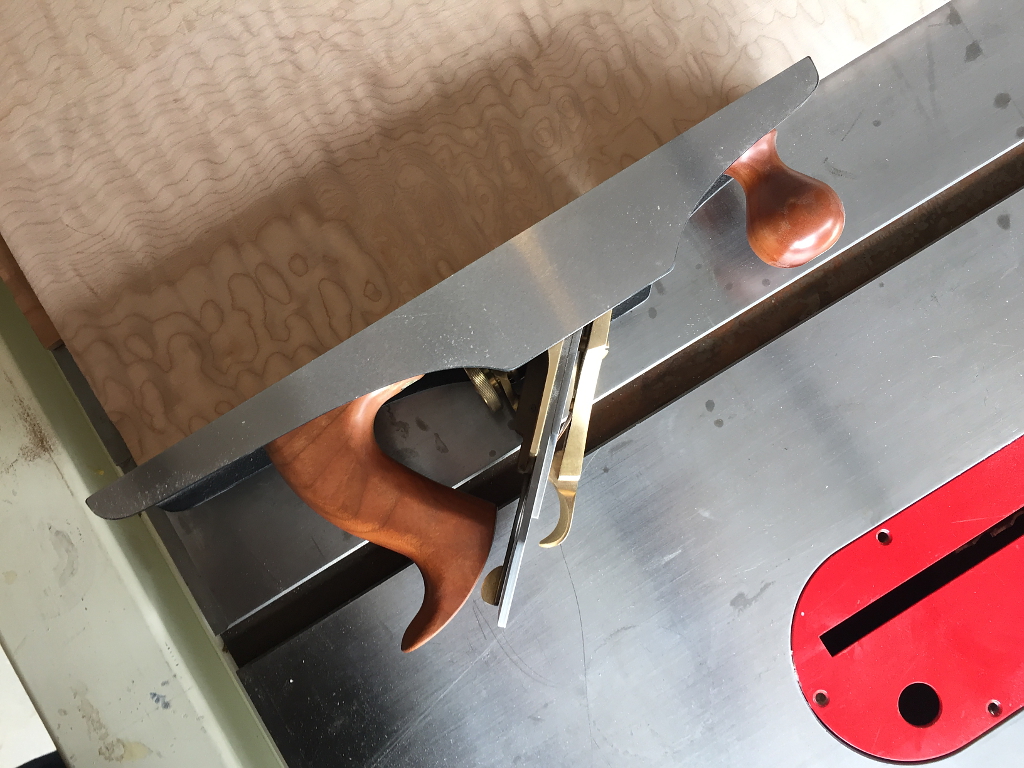
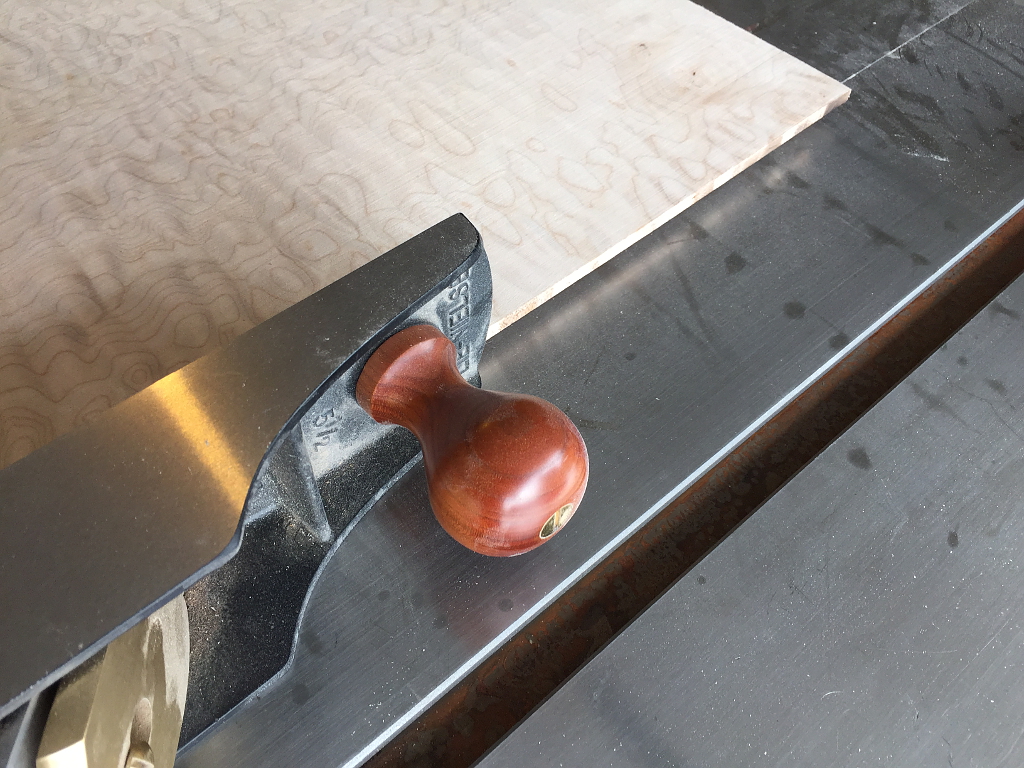
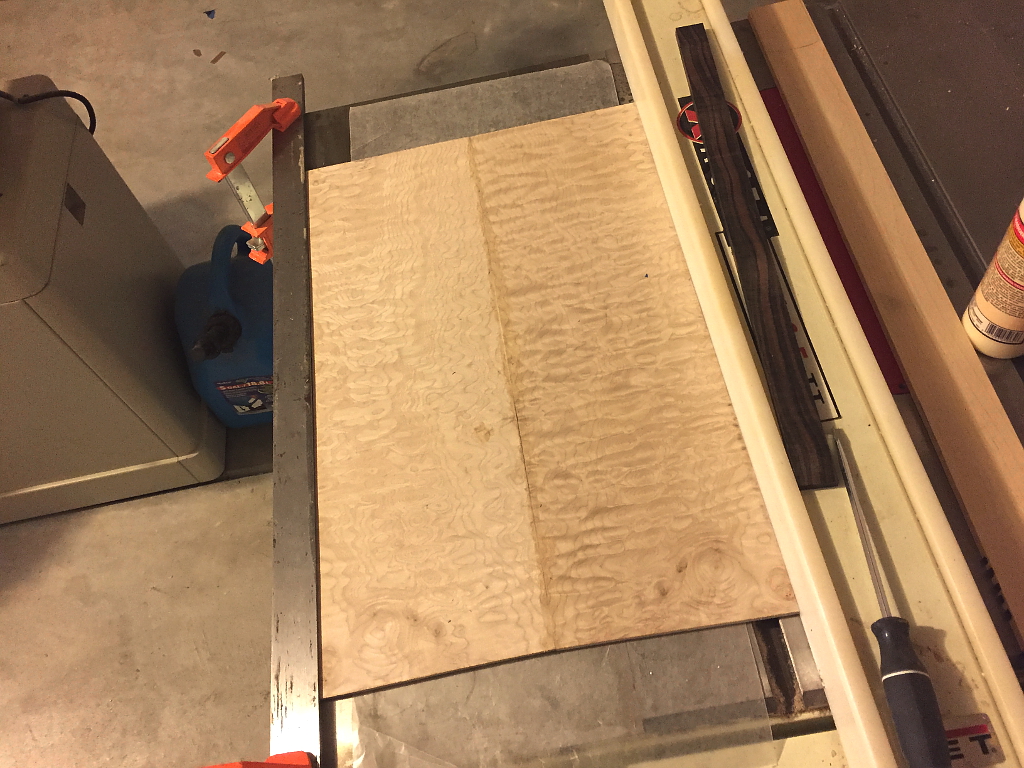
Then the edges are glued and the pieces clamped together. Believe it or not, if made properly this joint will actually be stronger than the wood. If you tried to snap this piece in half over your leg, the wood would fail before the joint would.
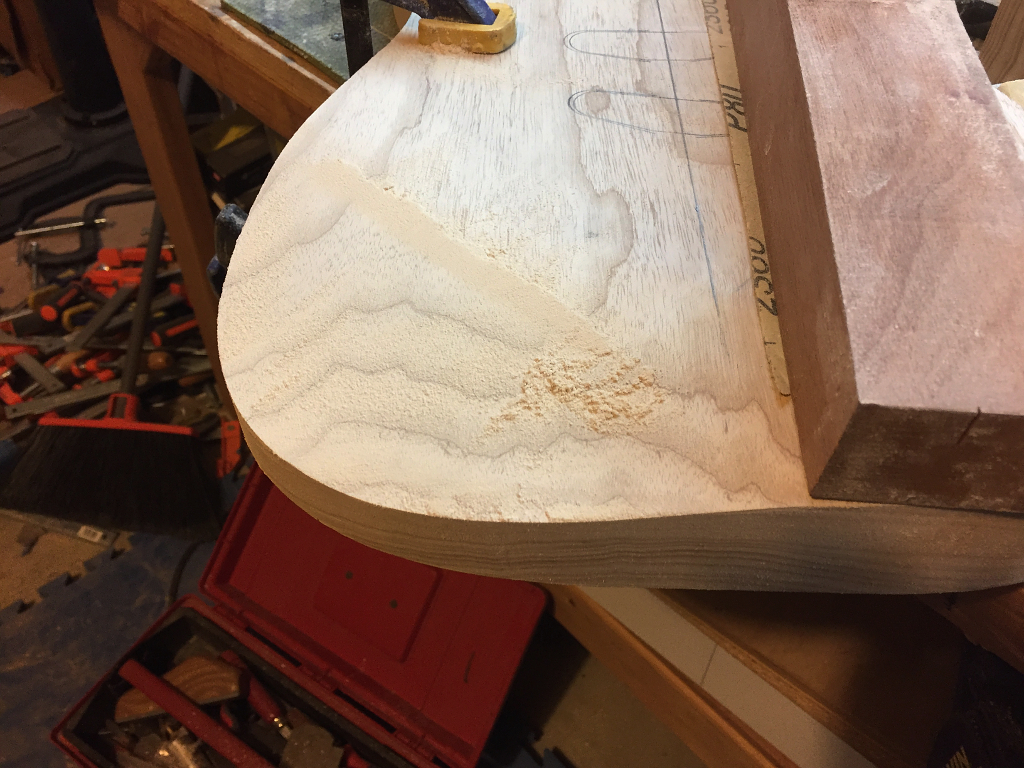
Once dry, I put the whole piece through the drum sander to clean off any glue residue and smooth out any thickness variances and theres our top. I drew on the outlines here to show where the top is in this piece.
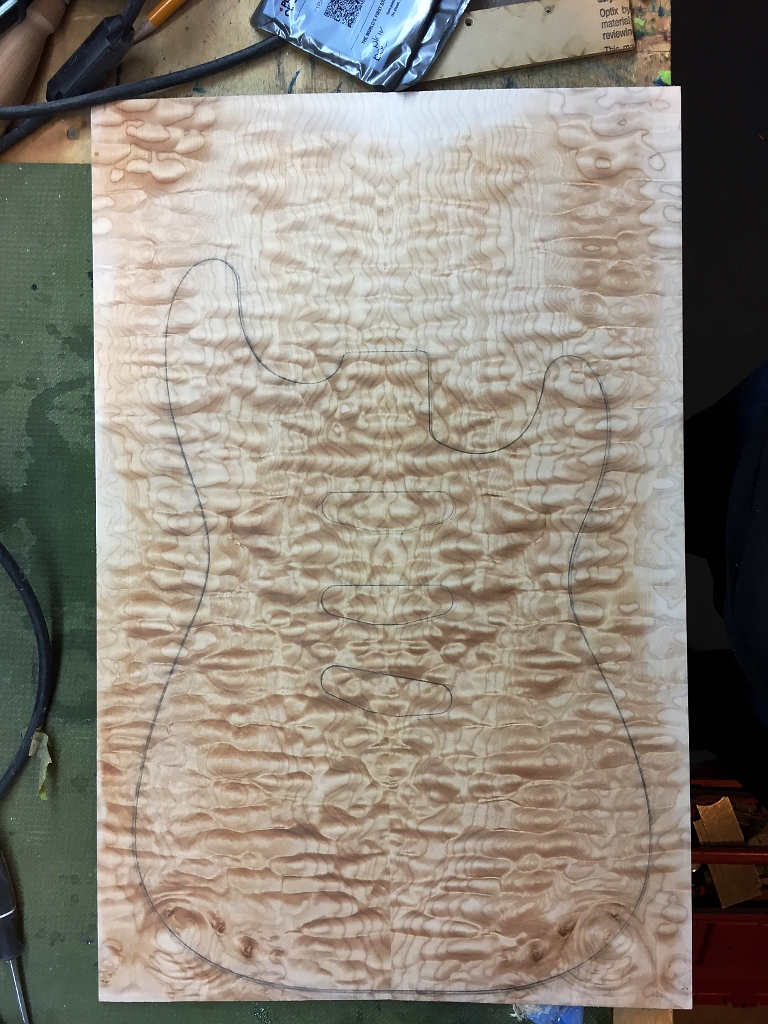
A little naphtha rubbed on brings out the figure for a look. Naphtha will dry completely leaving no residue so its better than water for a quick look. You can see how the halves mirror each other. Its a bit uneven in intensity at the moment, but thats just because its not evenly wet.
When the top is stained and lacquered this figure will be even more pronounced and clear.
Now for the body part of the body 🙂
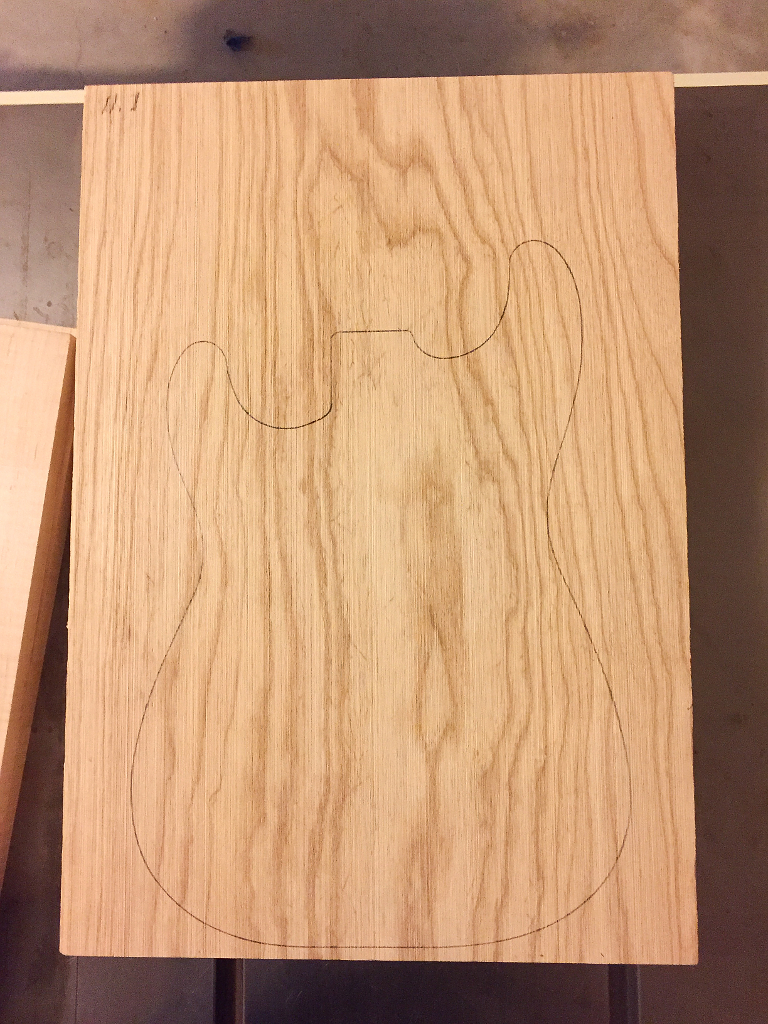
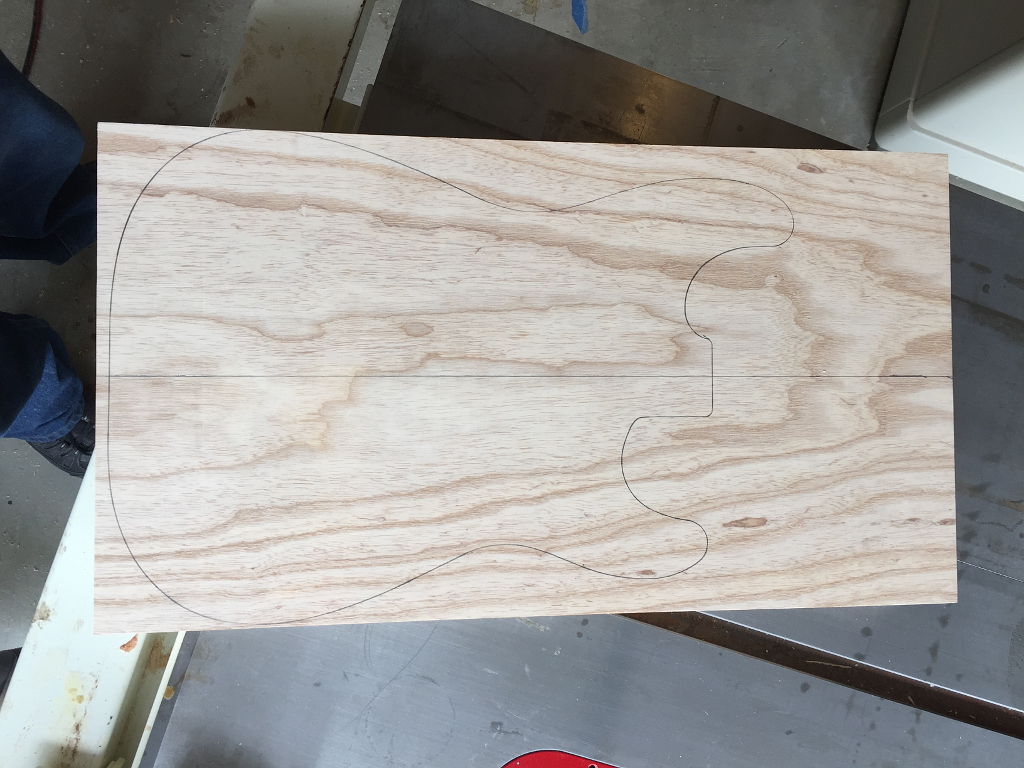
Normally I’d use the nicer looking face as the top, but in this case since we are putting that maple drop-top on, I’ll use the nicer looking face for the back since thats where you’ll actually see the ash.
So no, this is not a left handed guitar. This is what will be the back of the body 🙂
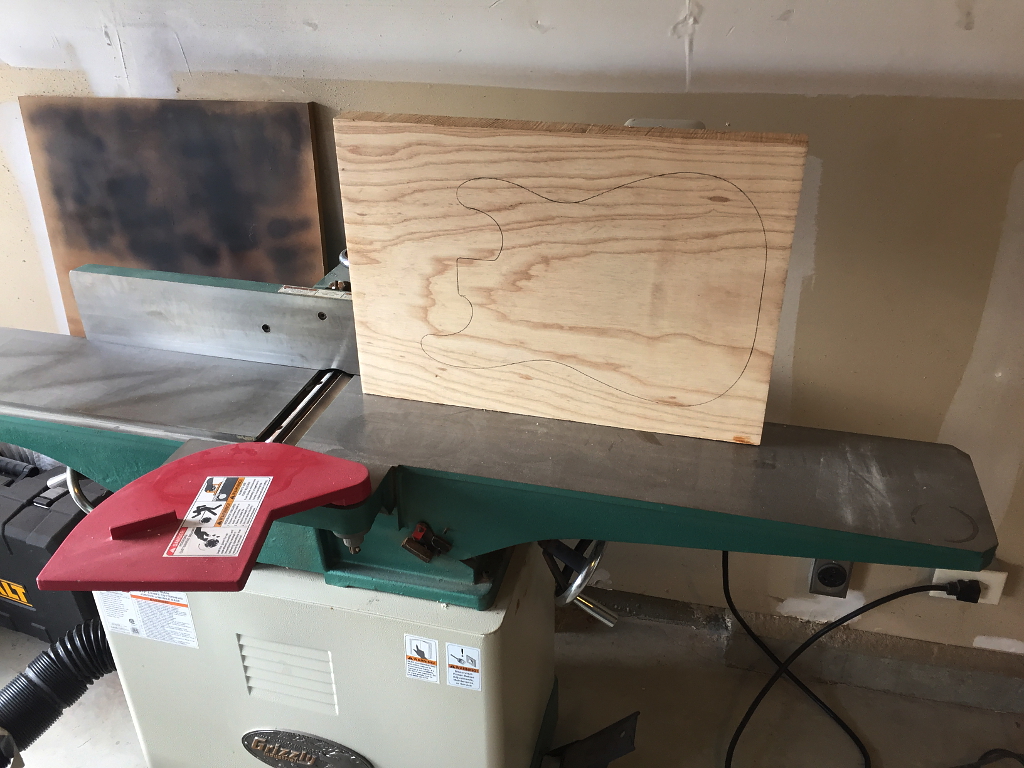
Cleaning up and flattening one edge of the Ash board on the jointer..
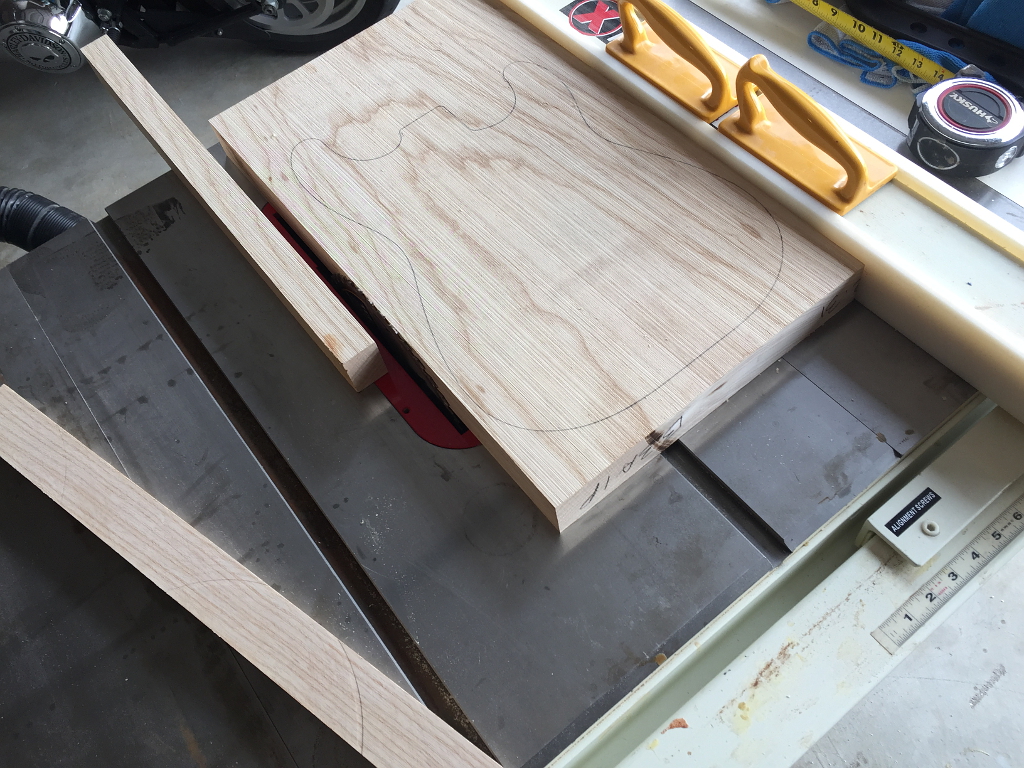
Then trimming off the excess as we did with the maple billet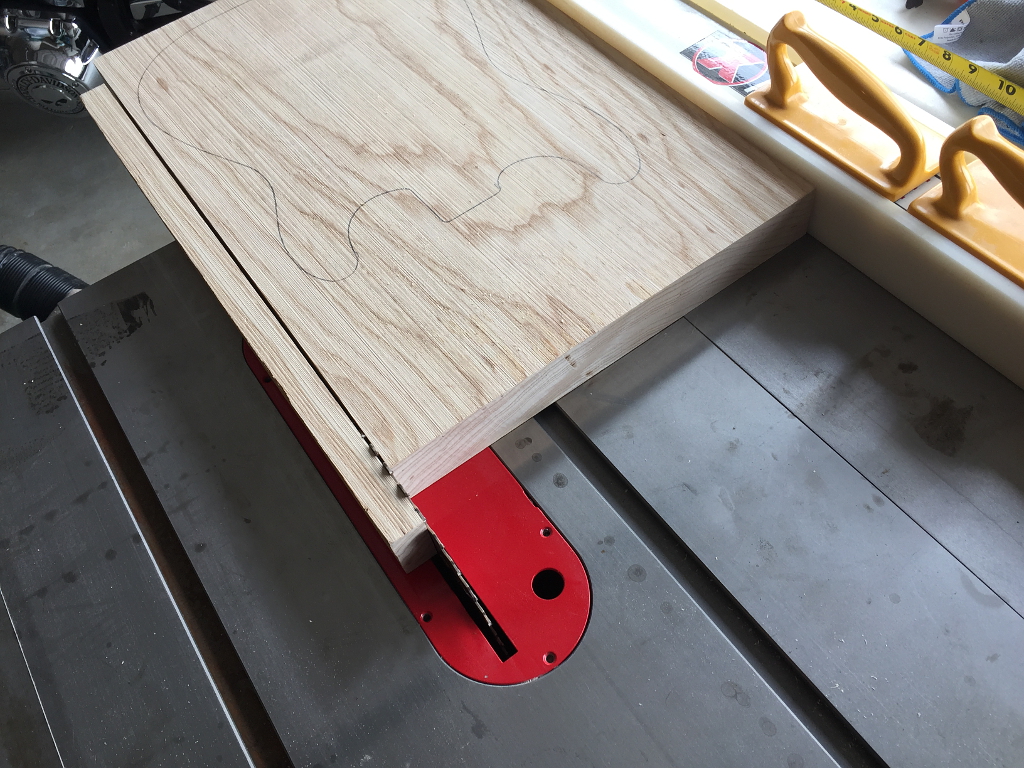
then the planer brings it down to the correct thickness and leaves a nice smooth surface in the process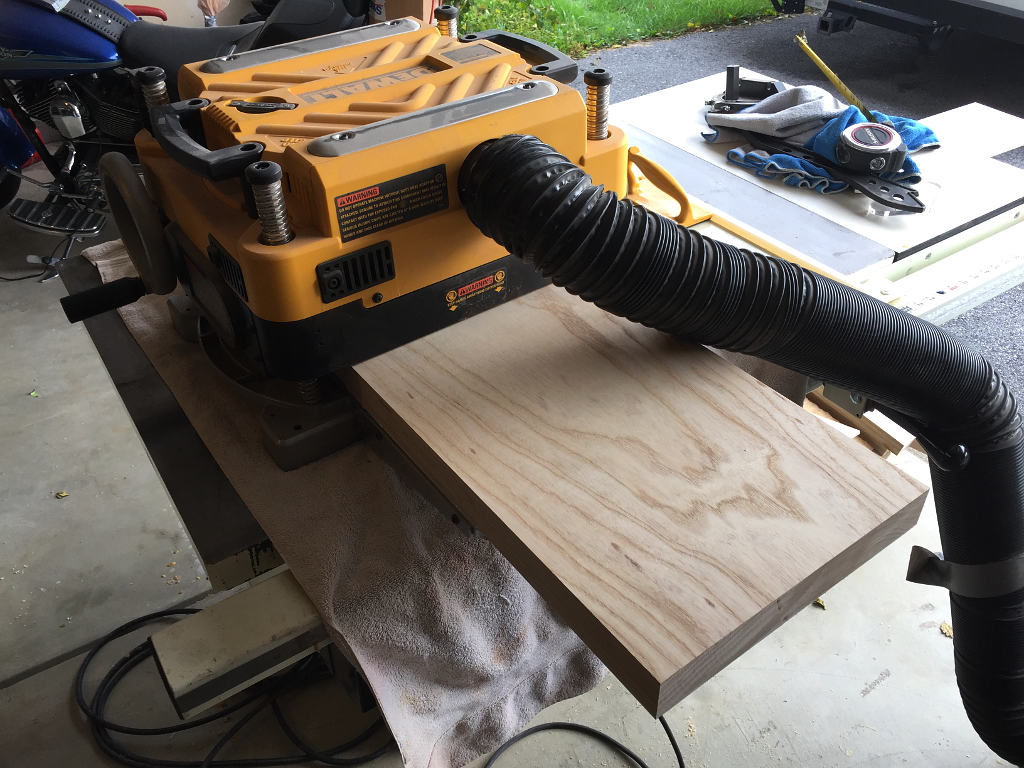
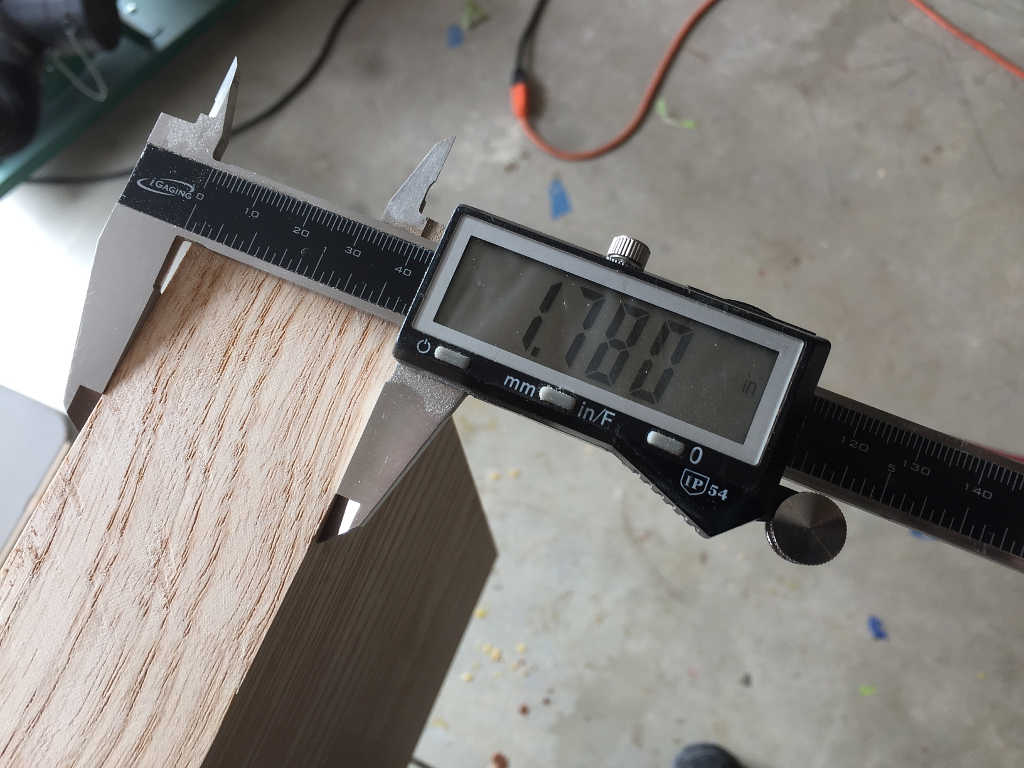
A Stratocaster body is exactly 1.75″ thick. I leave them a few hundredths thick at this stage because sanding and working the body will take a little more off. In the case of this guitar it will also have a 1/4″ drop top glued on which will leave it too thick. We want this guitar to be slightly thicker than 1.75″ but not a whole 1/4″ thicker, so once the top is glued on I’ll be planing a bit more off the back of the body
Next we just rough cut it out on the band saw.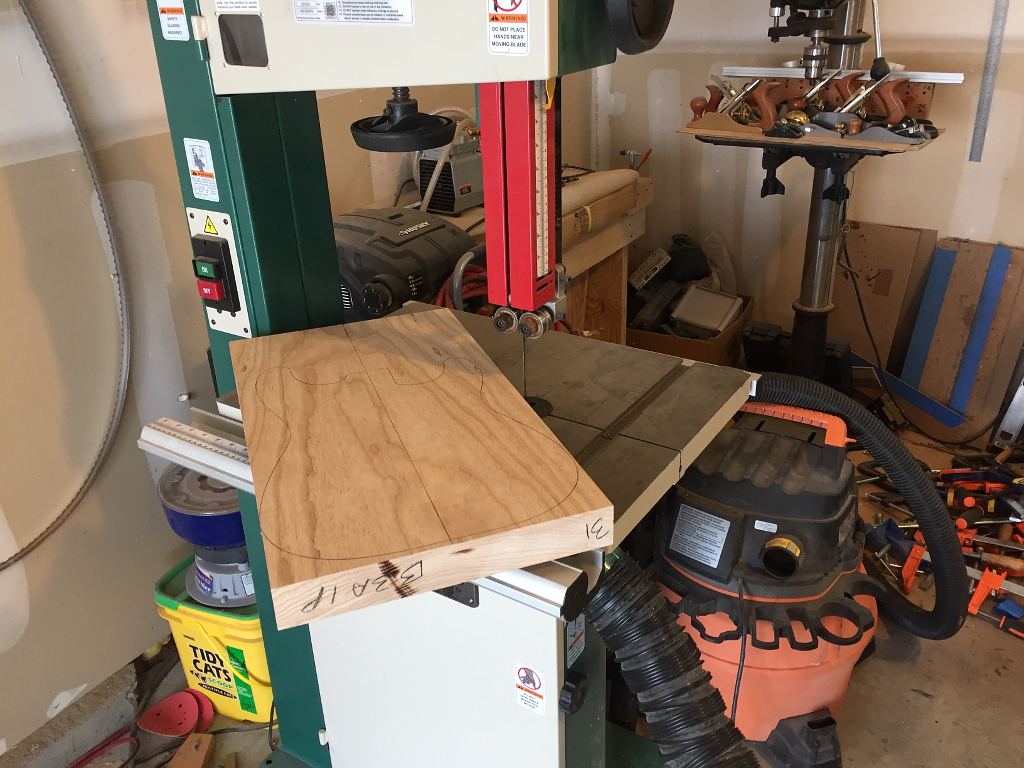
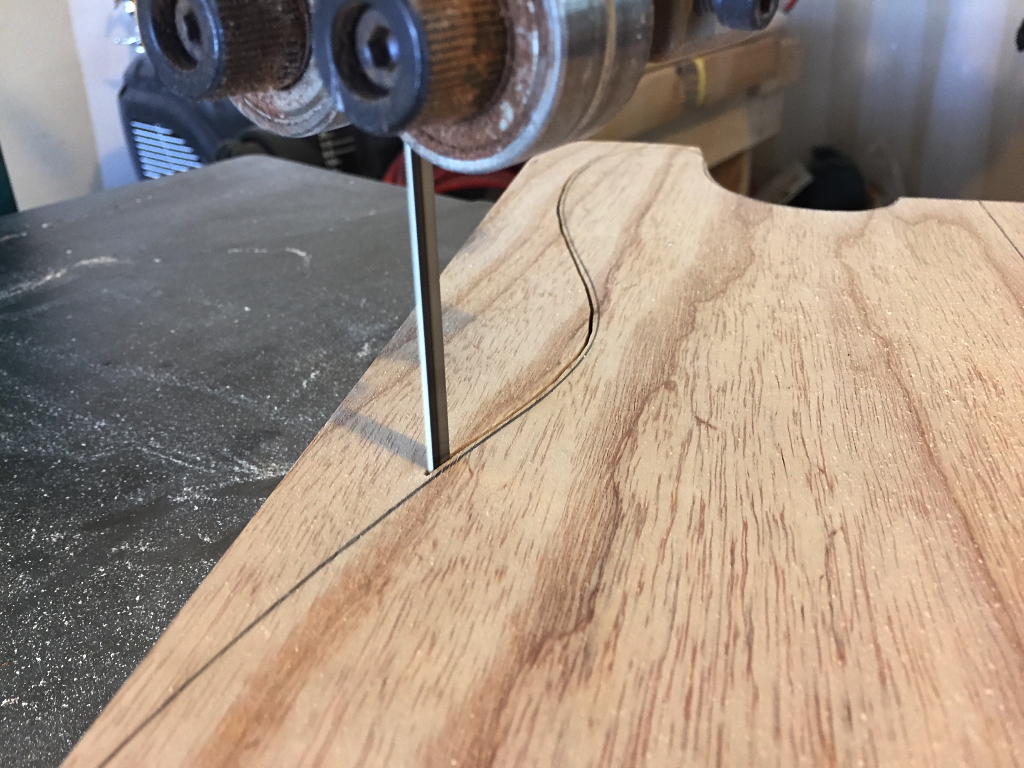
Using the disk sander I bring the edge almost to the line. We will be finishing the edge with the router table, but the cleanest edge is created when the router only has to take off a fraction of an inch. 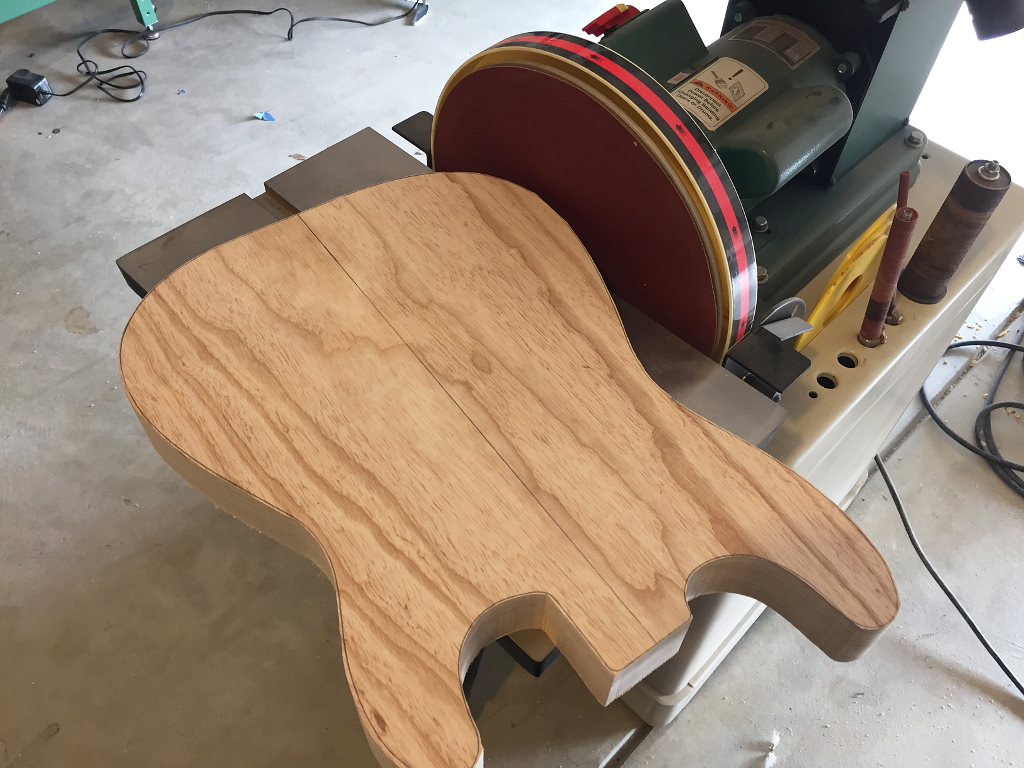
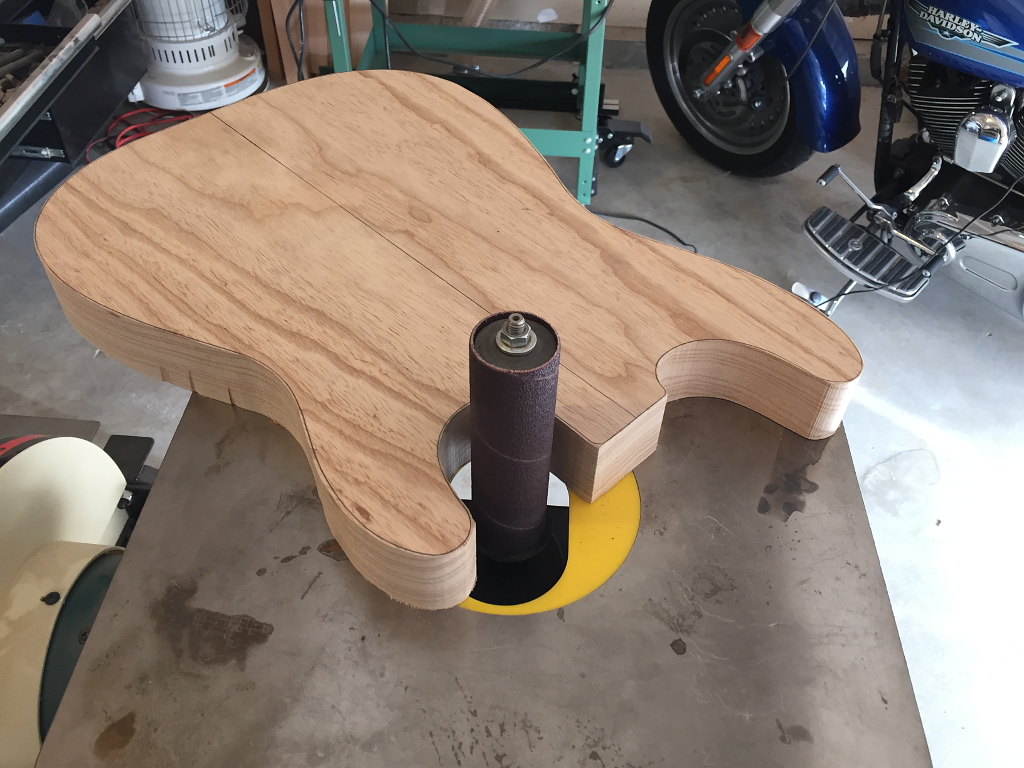
Spindle sander for the inside curves where the disk cant reach…
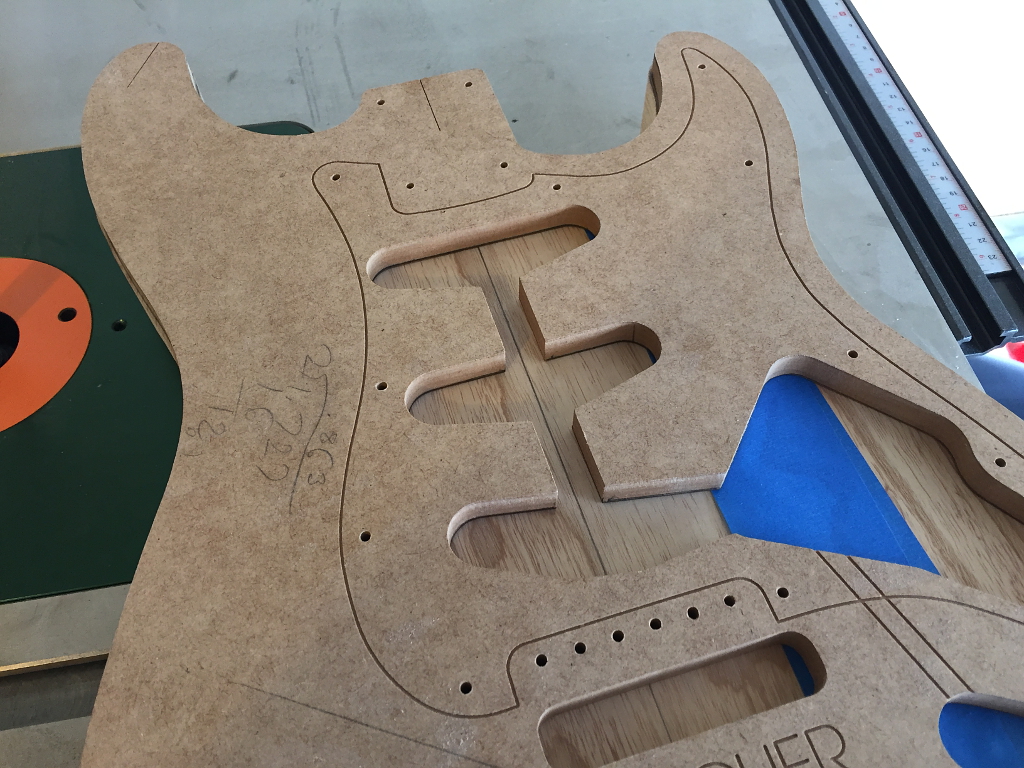
Now I attach my routing template to the body
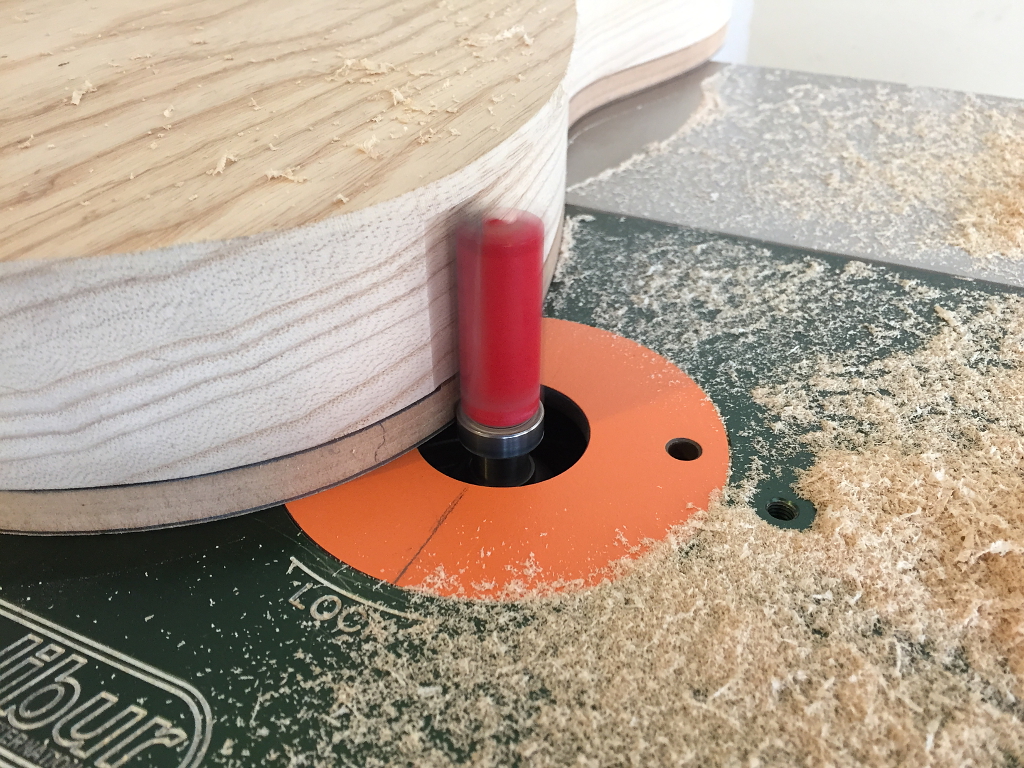
The router bit has a bearing that is the exact width of the cutter so when you roll the bearing along the template…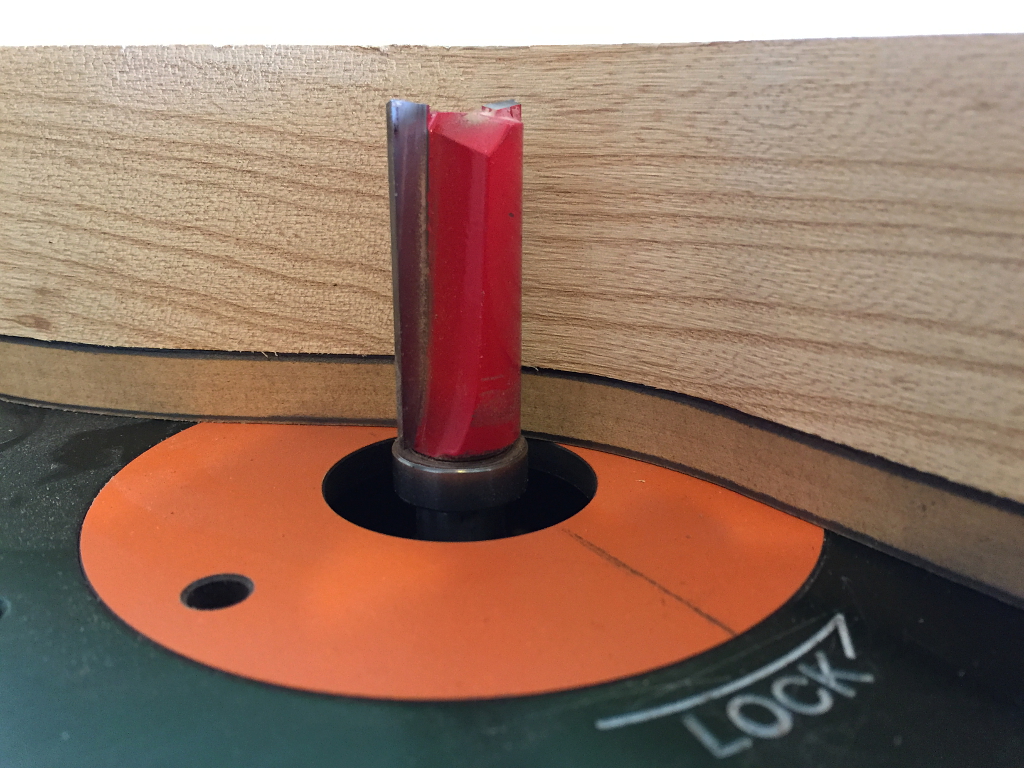
It trims the body to the exact shape of the template…
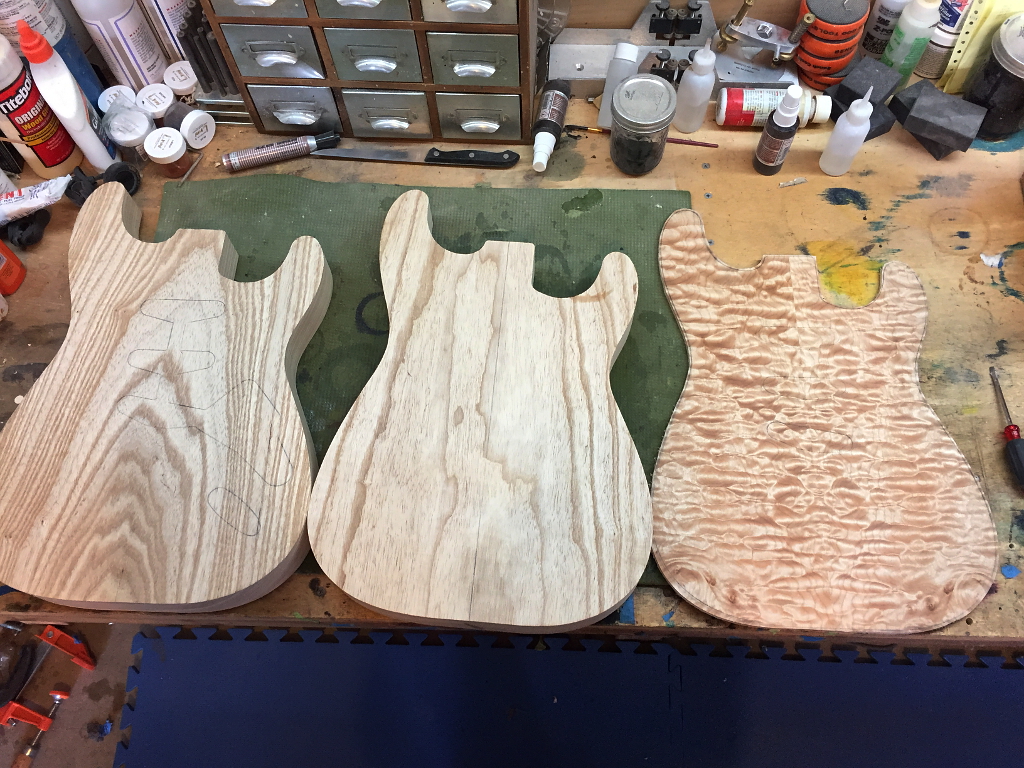
I’m actually building two Strats at once Here. One is for myself and the other for Mike. My body on the left. Mikes in the middle, and the maple top for Mikes on the right.
Big differences here. Mine will be a fairly traditional Strat. Top routed with pickups and controls mounted in the pickguard. Mikes, on the other hand isnt nearly so traditional. I traced where the routing will go on each one to show the differences. The top for Mikes isnt glued on yet and is still oversized.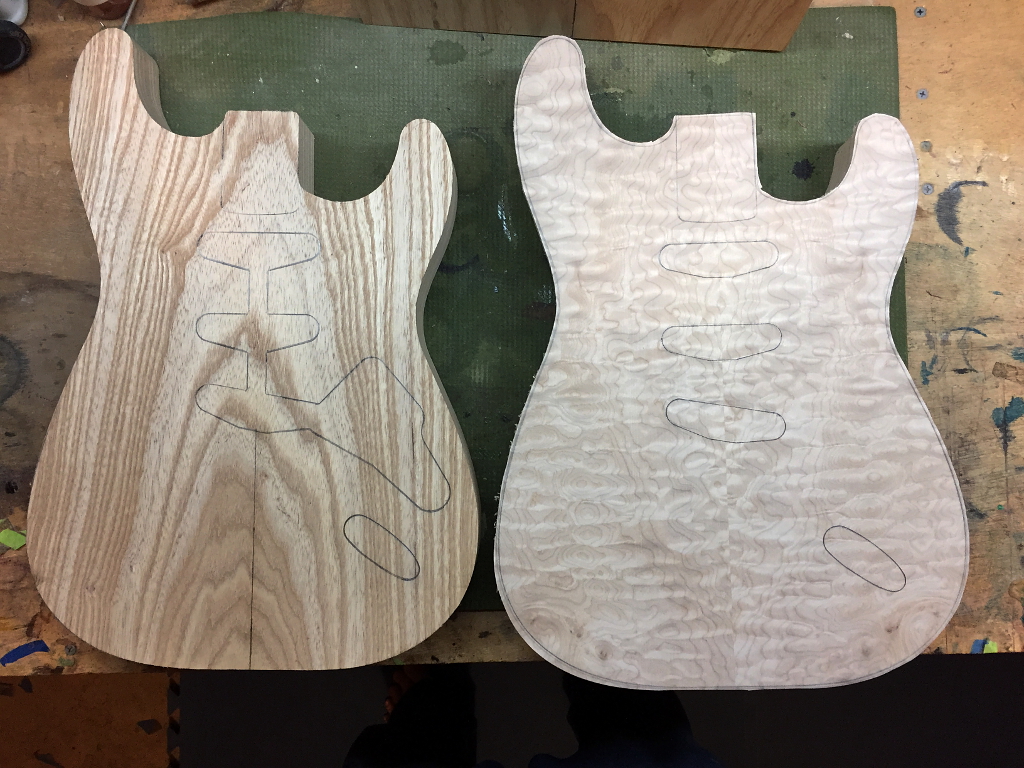
So, now that we have the top cut and bookmatched, and the body all cut and routed, we can get to work putting the top onto the body.
With a drop top being only 1/4″ thick, obviously you cant just carve the arm contour off or you’ll end up going right through the maple since the arm carve is significantly deeper than 1/4″. The solution is to carve the arm contour into the ash body underneath it, and then bend the top over that curve so your beautiful quilted top goes all the way to the edge. This is a lot harder than it sounds. Even soft maple is a very hard wood and a 1/4″ thick plate of maple is a very rigid piece of wood.
The answer is heat and moisture. You have to saturate the area where it needs to bend with water, place it on an hot pipe used as a bending jig, let the area heat up and then apply a lot of heavy slow pressure until the wood begins to bend. This is a long, tedious, and physically strenuous part of the process and its physically impossible to take photo’s while doing this, so sadly this written description will have to do 🙂
Long story short, once you have sufficient flex in the wood to wrap over the arm carve, you clamp it in that position until it dries out (overnight) and it will mostly retain that shape at that point.
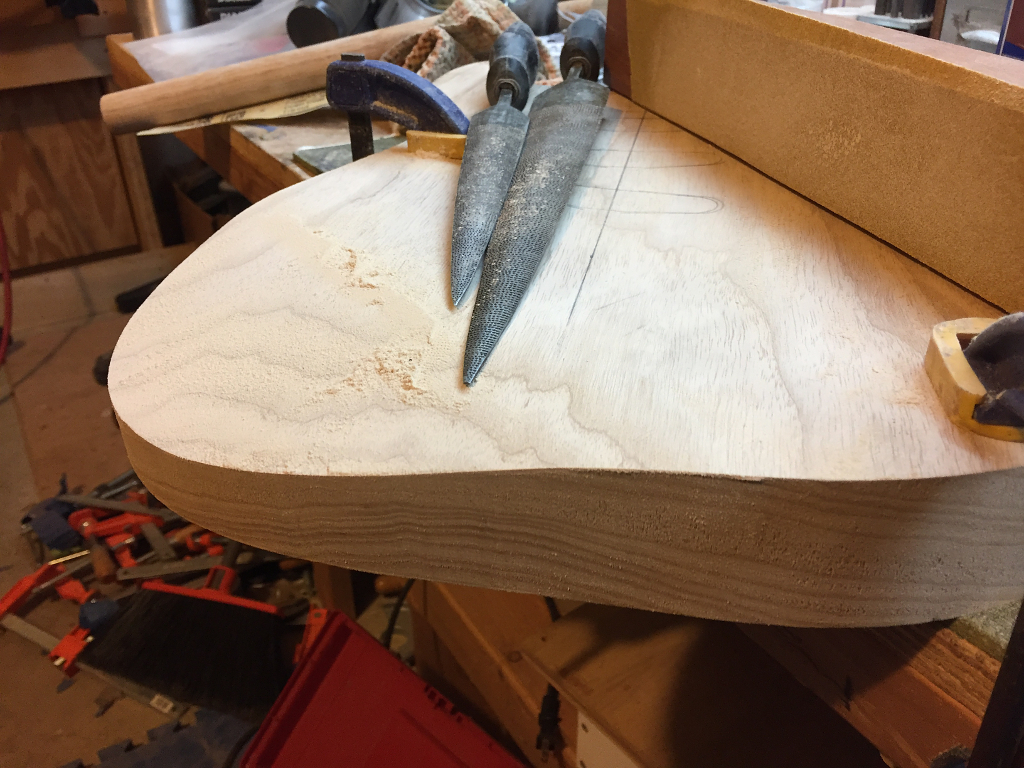
so I carve the contour onto the ash body using the rasps shown in this photo below.
then using a large, wide sanding block sand out the rasp marks and refine the curve until its even and perfectly flat side to side and will allow the bent maple top to mate with it cleanly.
Then the whole top surface of the body gets a thin, even coat of glue, is fixed in place via a couple temporary screws to keep it from sliding out of position, and the whole thing is put into my vacuum press. This is a very thick (30 mil) polyurethane bag with a stiff plastic mesh inside. This is then attached via a hose to a 1.1 CFM continuous duty vacuum pump which draws out the air and exerts roughly 1750 PSI pressure evenly over the entire top and clamps the maple top firmly and solidly to the the ash body.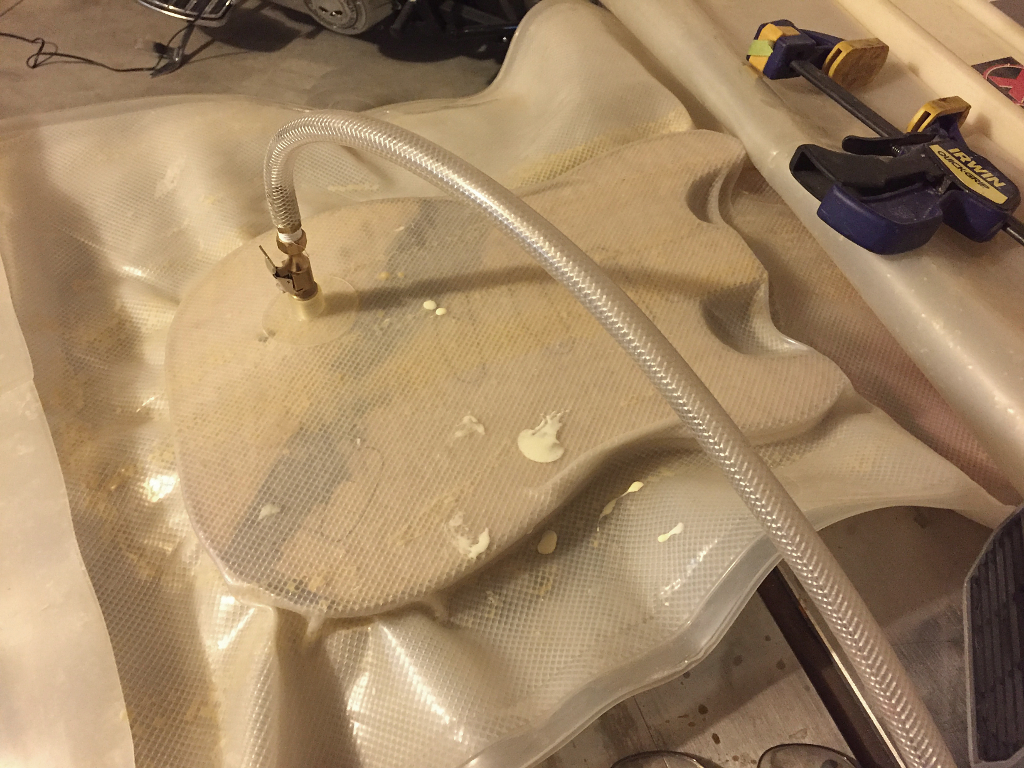
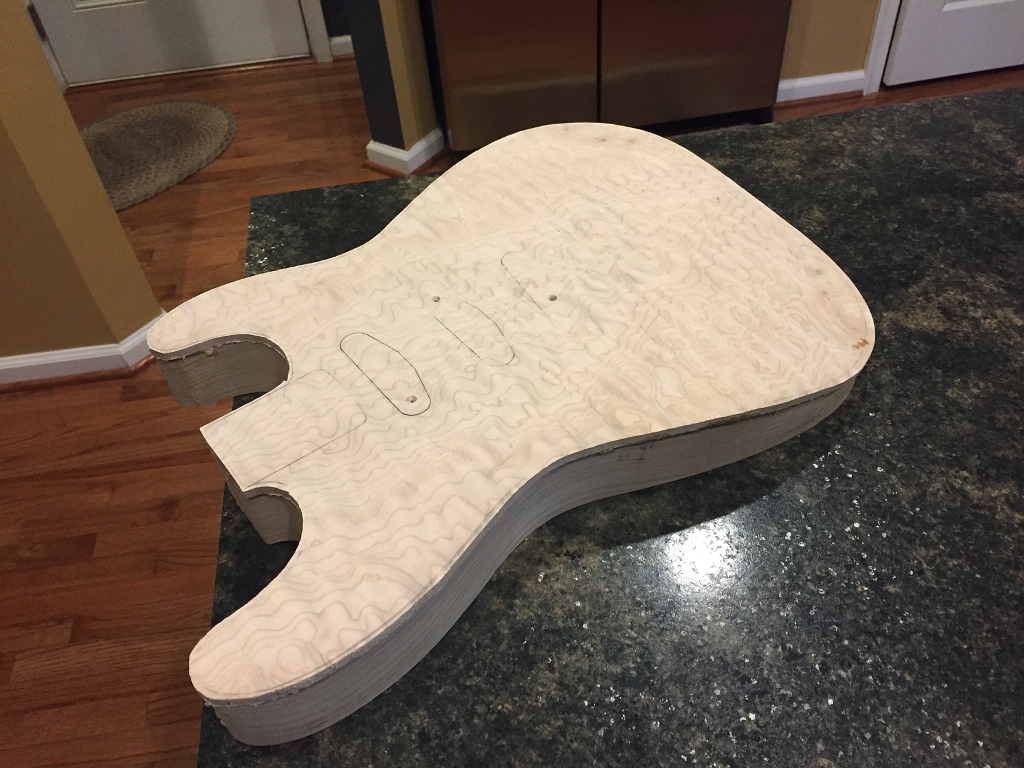
After 4 hours in the bag out comes this bad boy. A bit rough looking at the moment, but that’ll change very soon once the top is flush trimmed to the body outline, and the edges rounded over. Note the three screw holes in the top. These held the top stationary while it went into the vacuum bag. The holes will be no problem because I placed them in the spots where the pickup cavities will be, so all the wood there, and the screw holes in it, will be gone when this is done.
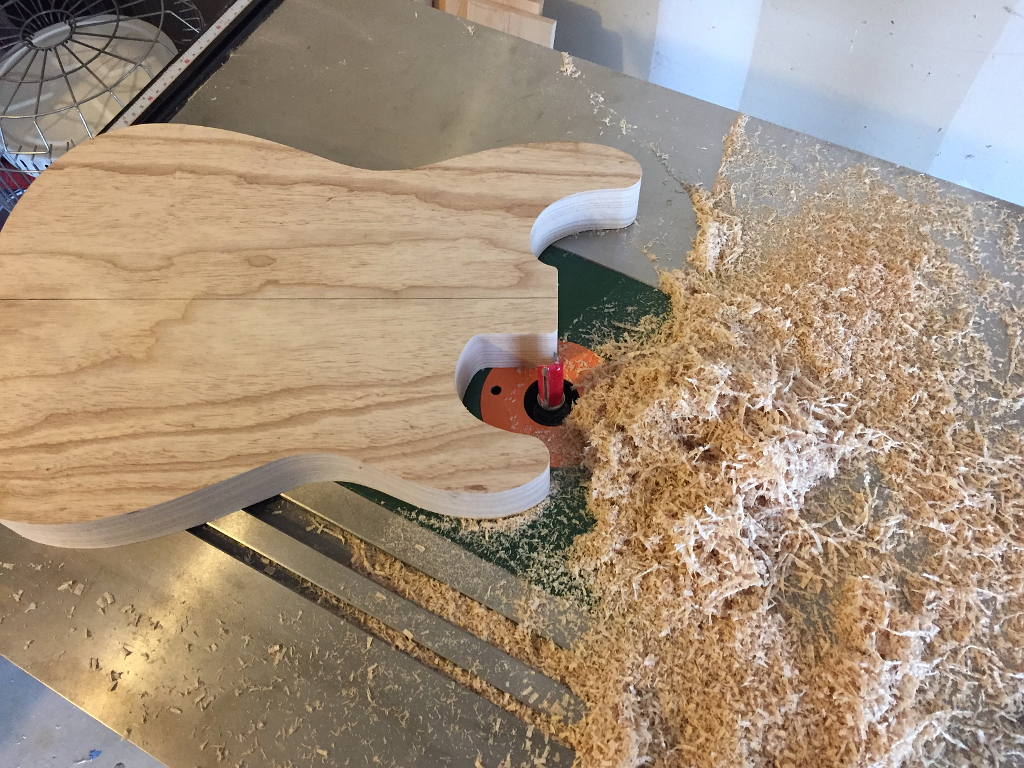
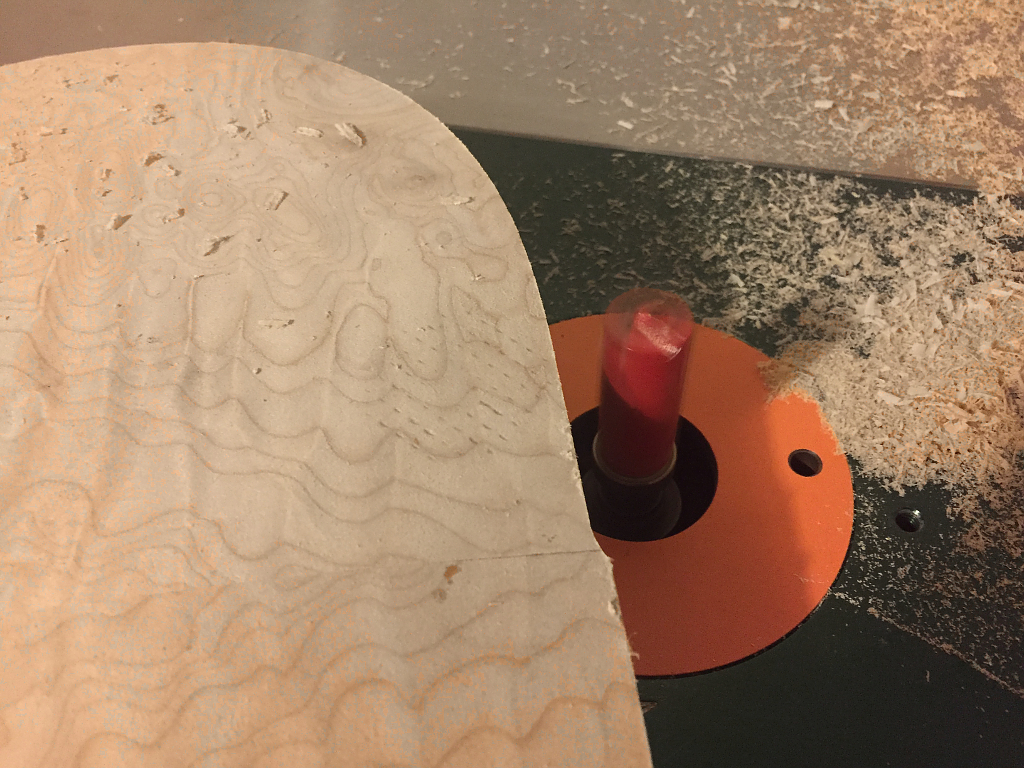
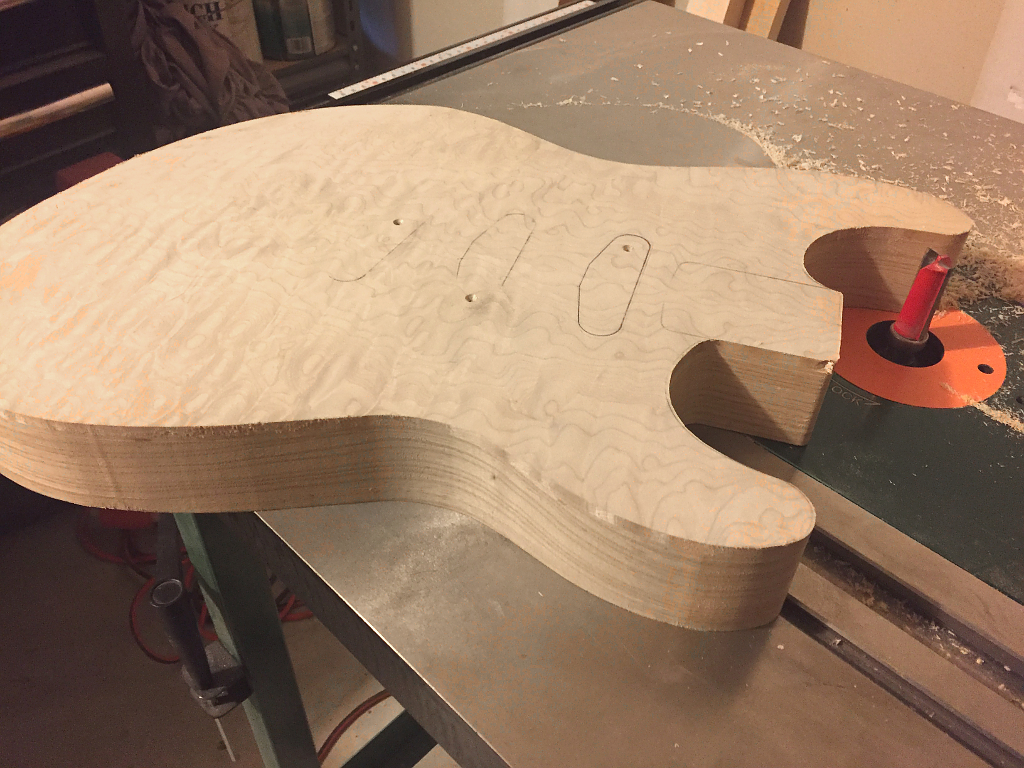
So, as mentioned in the previous shot, we need to trim the maple top flush with the body. to that end I throw it back on the router table. No need for a template this time as the bearing can run directly on the body itself which is already the right shape. This trims off the top flush with the sides.
So now the top is nicely trimmed.
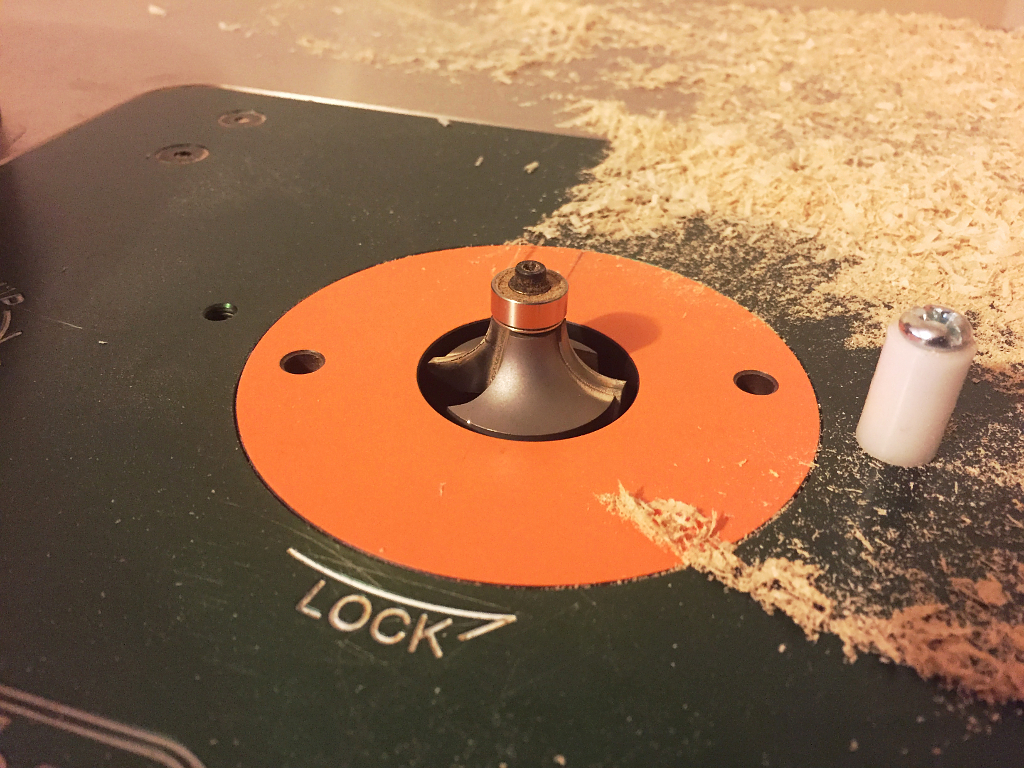
Next, we need to add the roundover to the 90 degree corners around the top and back of the guitar. This is exactly what it sounds like. Rounding over the edge. Standard roundover for a Stratocaster is a 7/16″ radius. So I drop a 7/16″ roundover bit into the router table.
In the case of a roundover bit, the bearing is on top. the body sits on the table and the cut is done from the bottom and the bearing rides along the side of the body.
It does this:
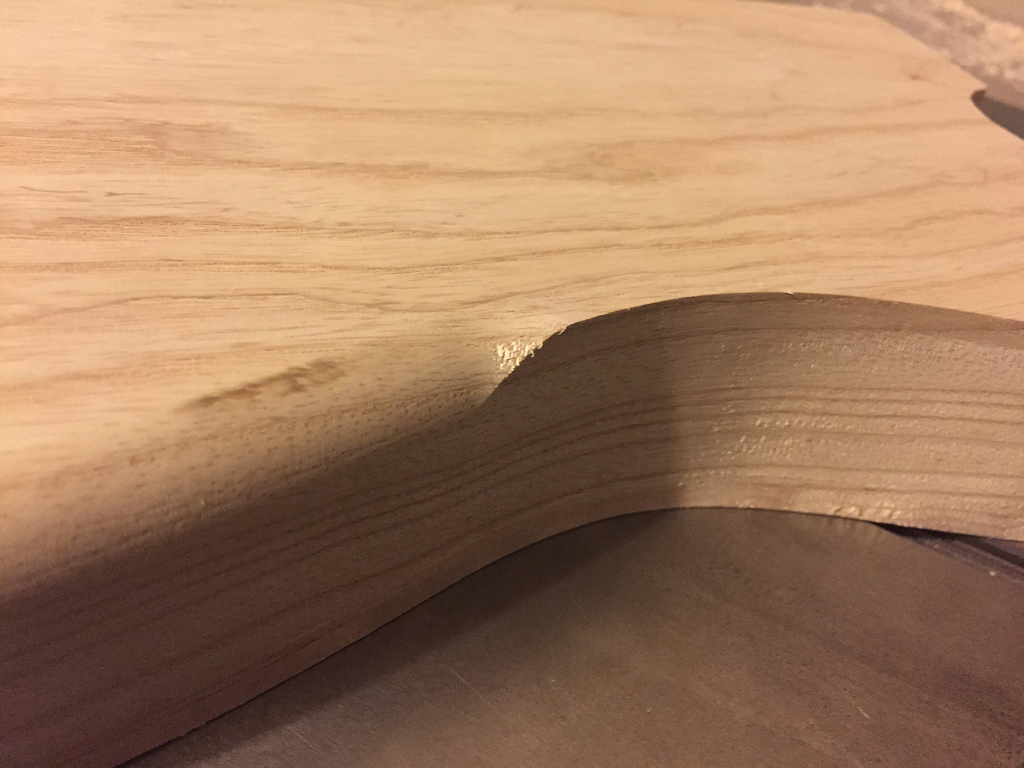
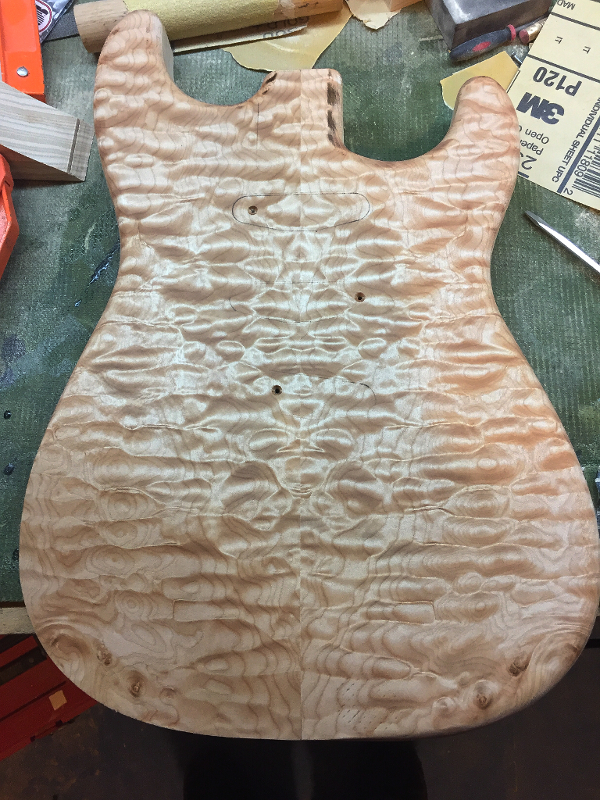
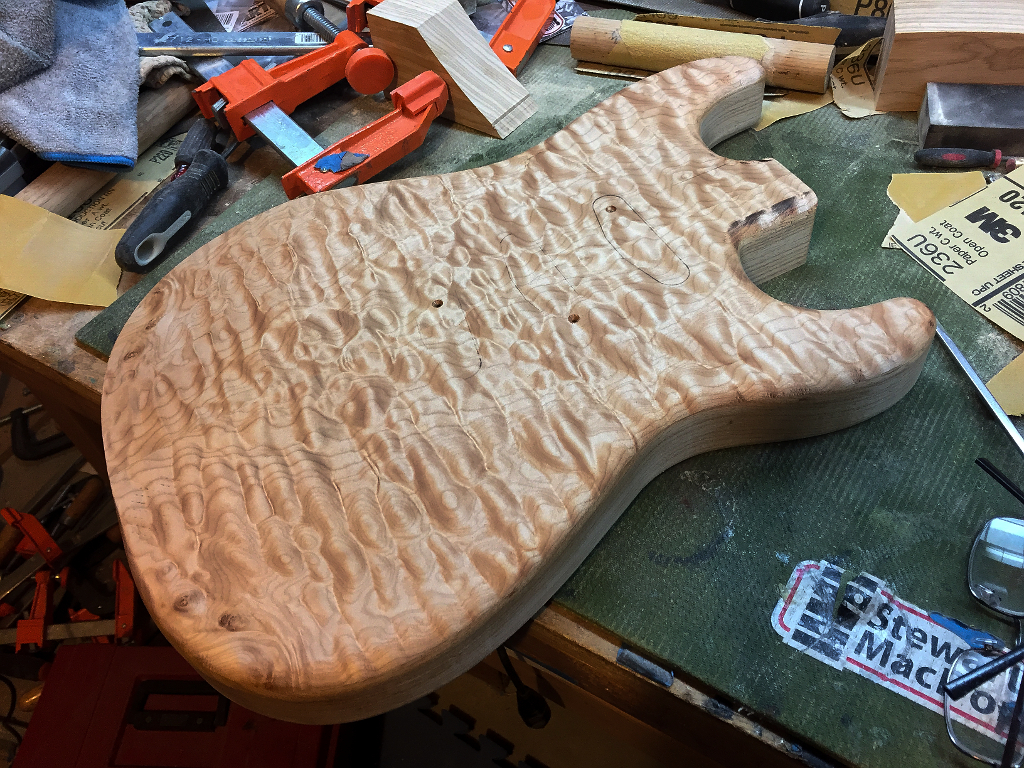
So now having done this to both the front and back edges, it gives us this. This is still rough cut and the maple has some router burns. Maple always burns from router bits. the burns and the rough spots will all be sanded away.

