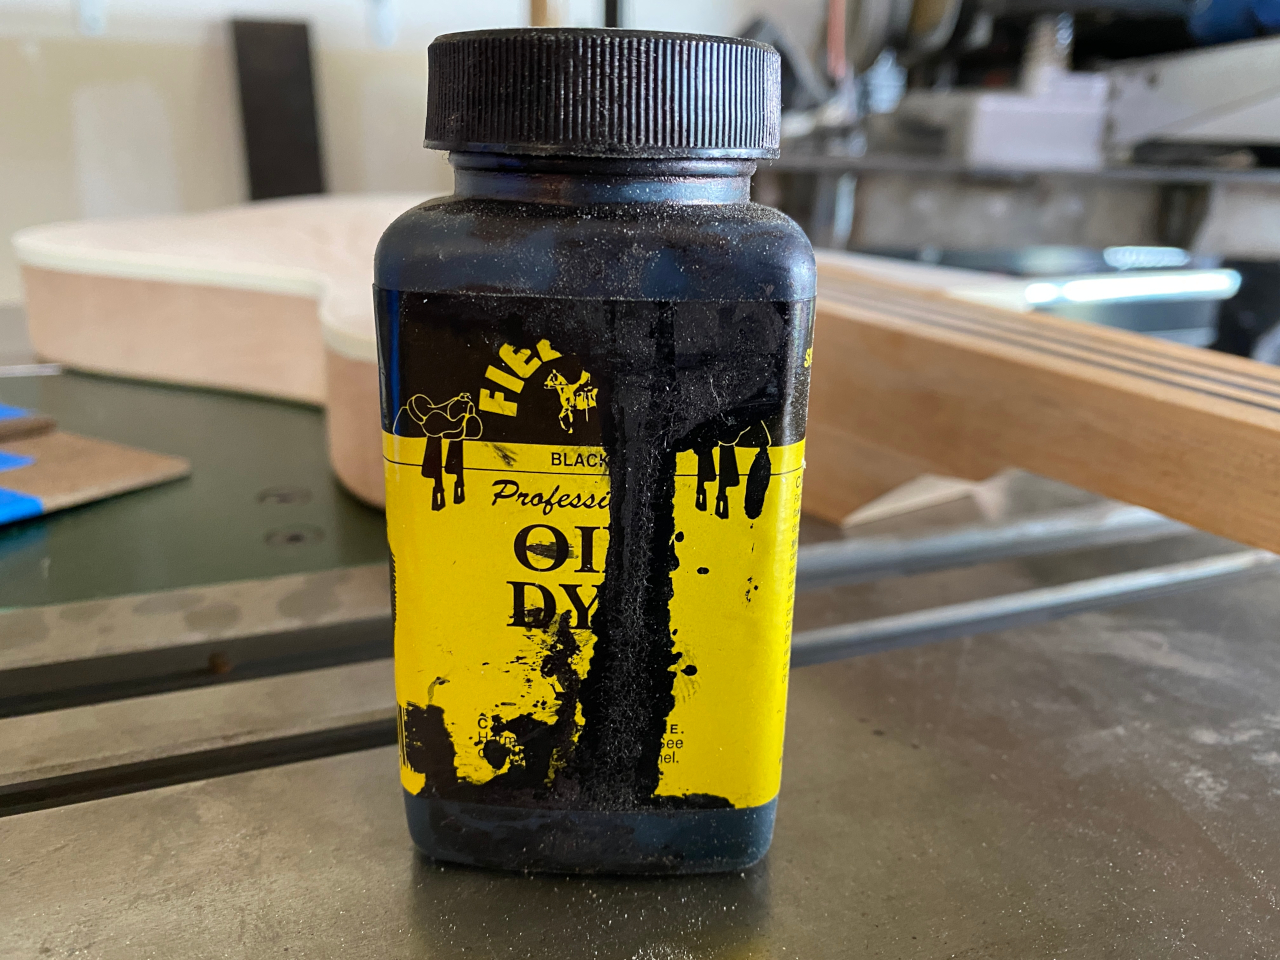
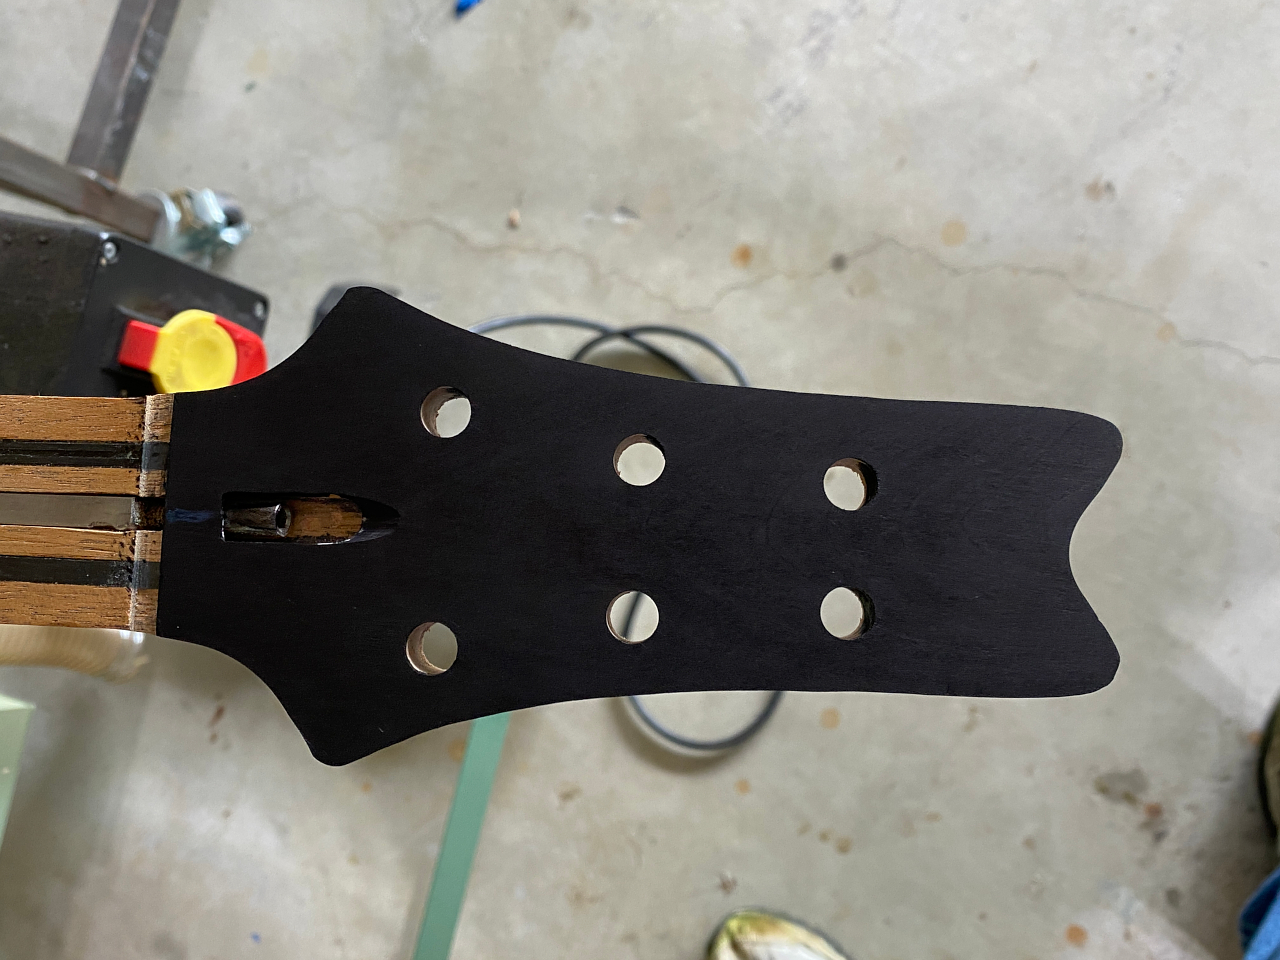
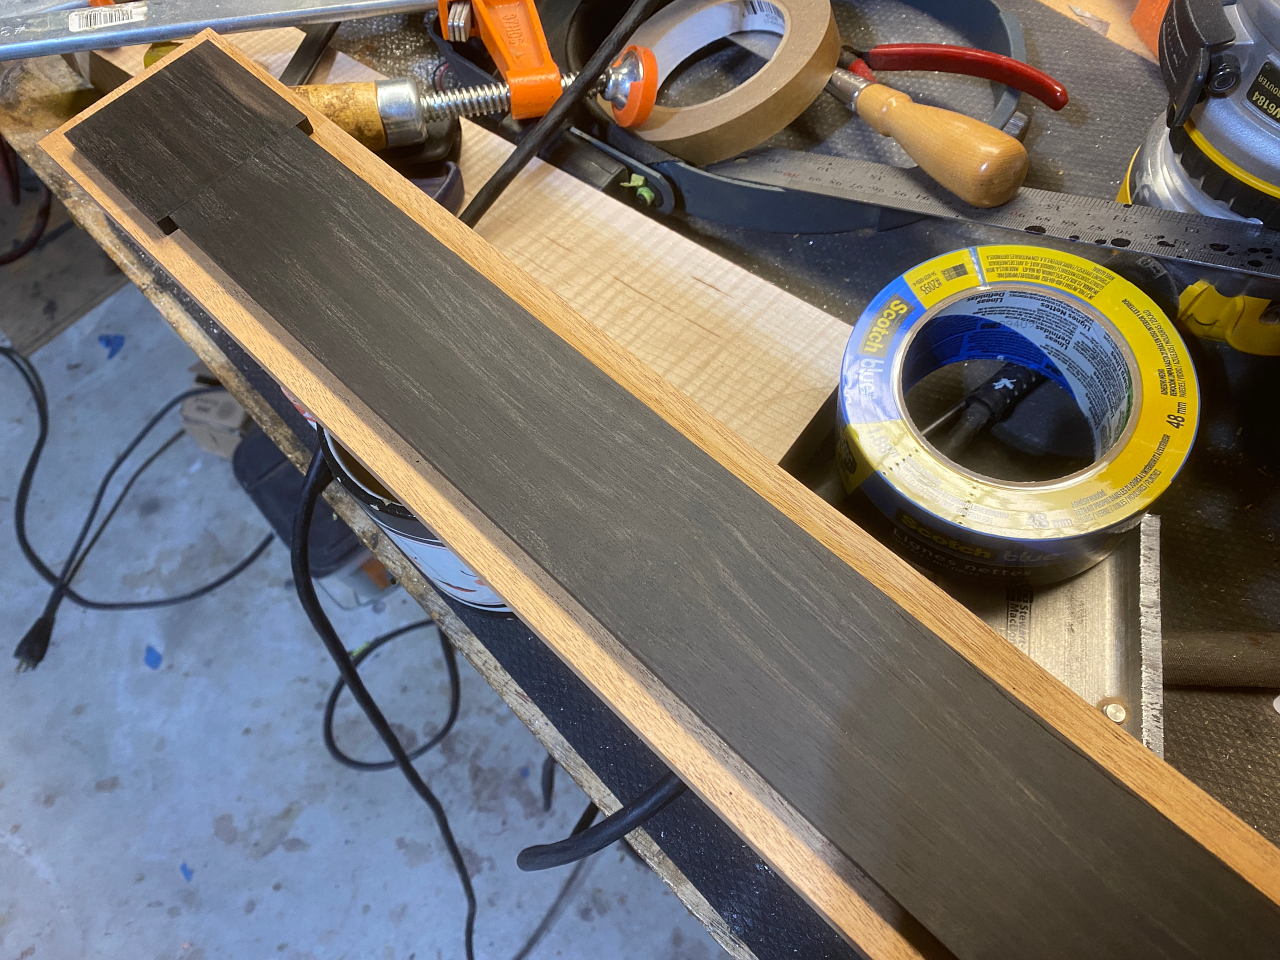
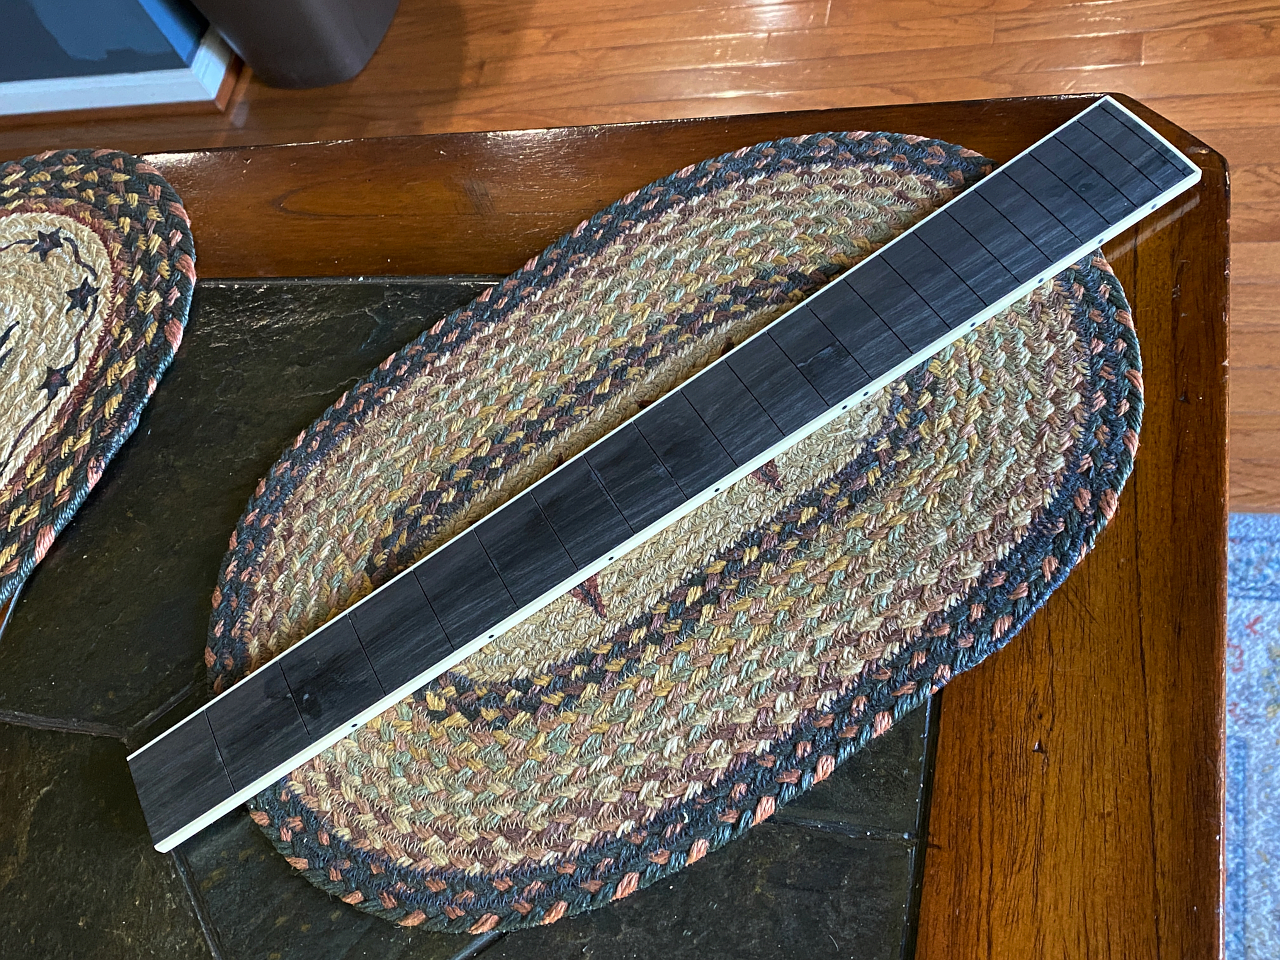
As a brief aside, I’m tired of the white headstock. This can be done at any point, I just decided to do it now 🙂
I use Fiebings oil dye.
the holly soaks it up like a sponge…
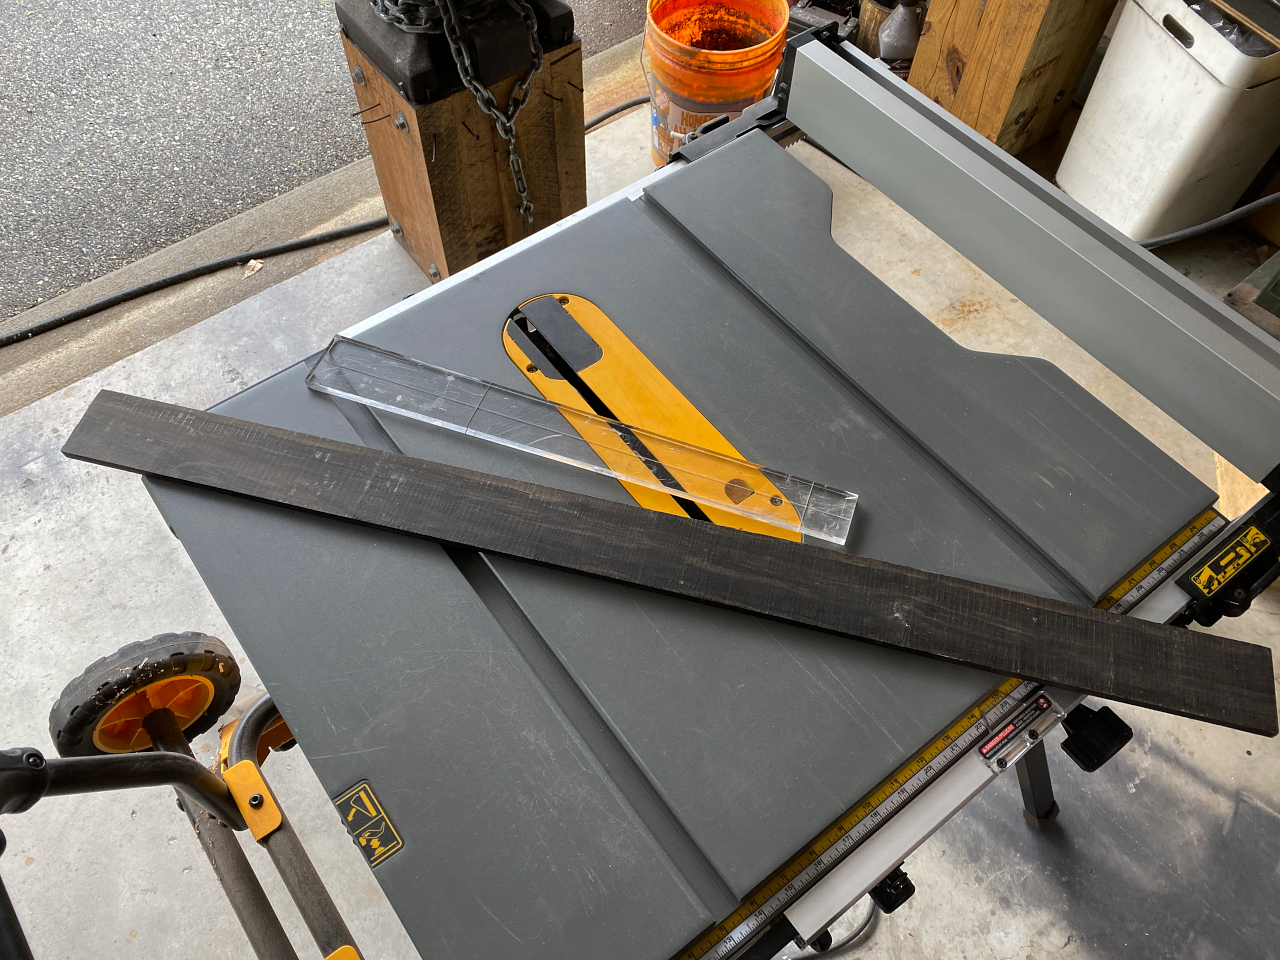
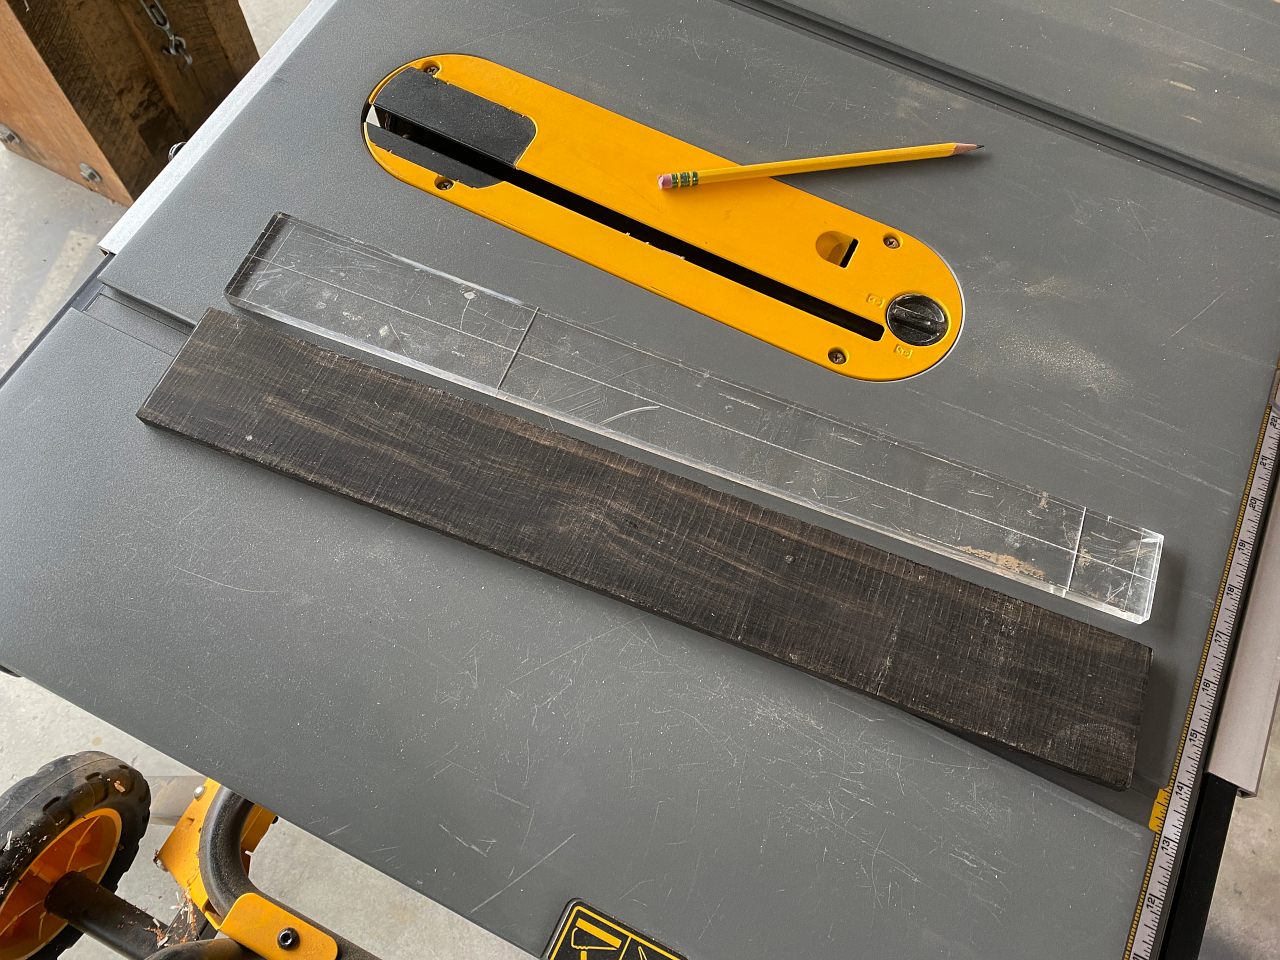
OK, back to business. Time to make the fretboard. This is a piece of Gabon Ebony, obviously way too big for the job
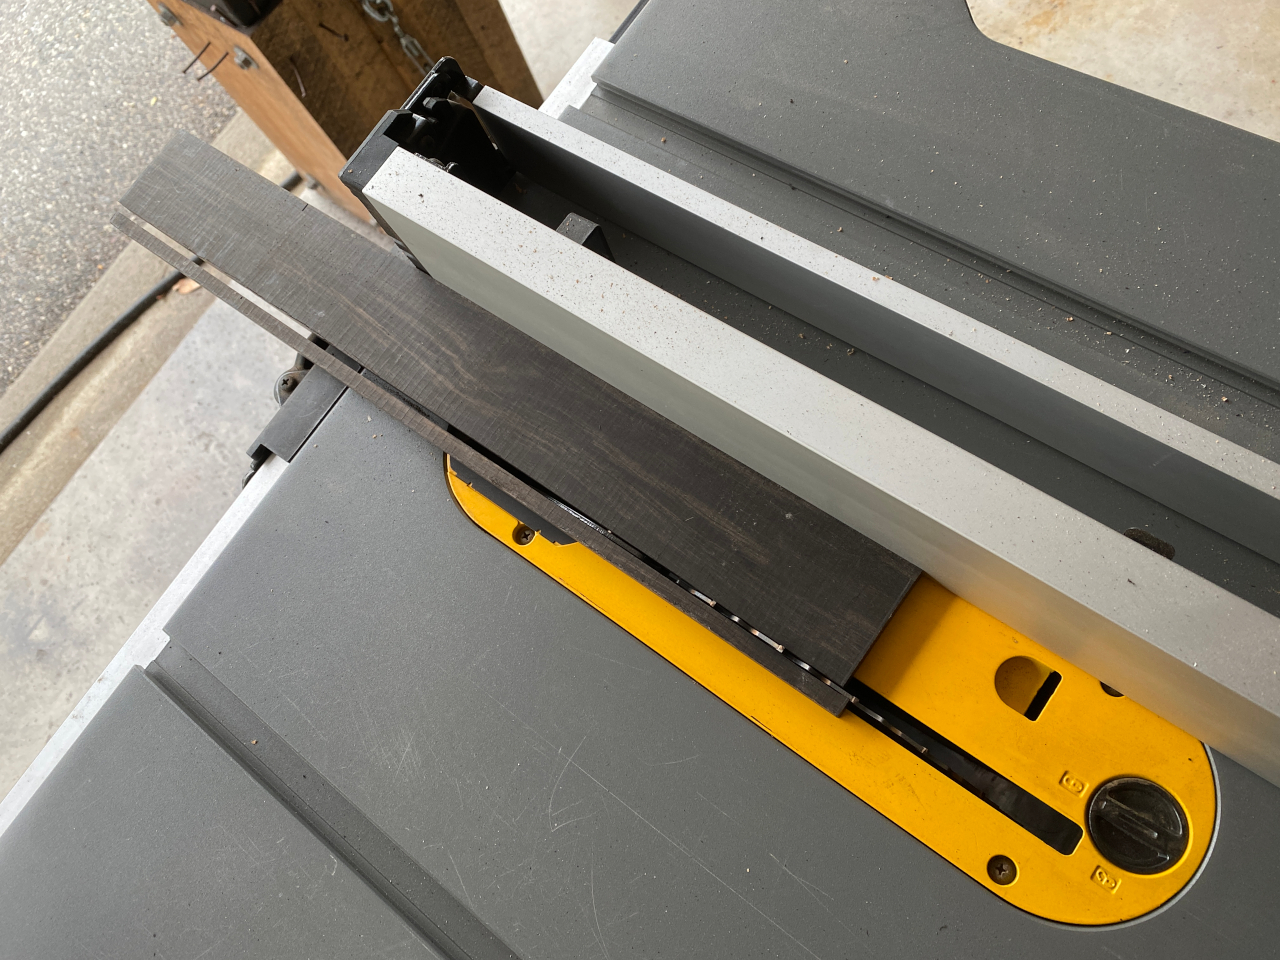
cut to length…
Cut to width (the large end)
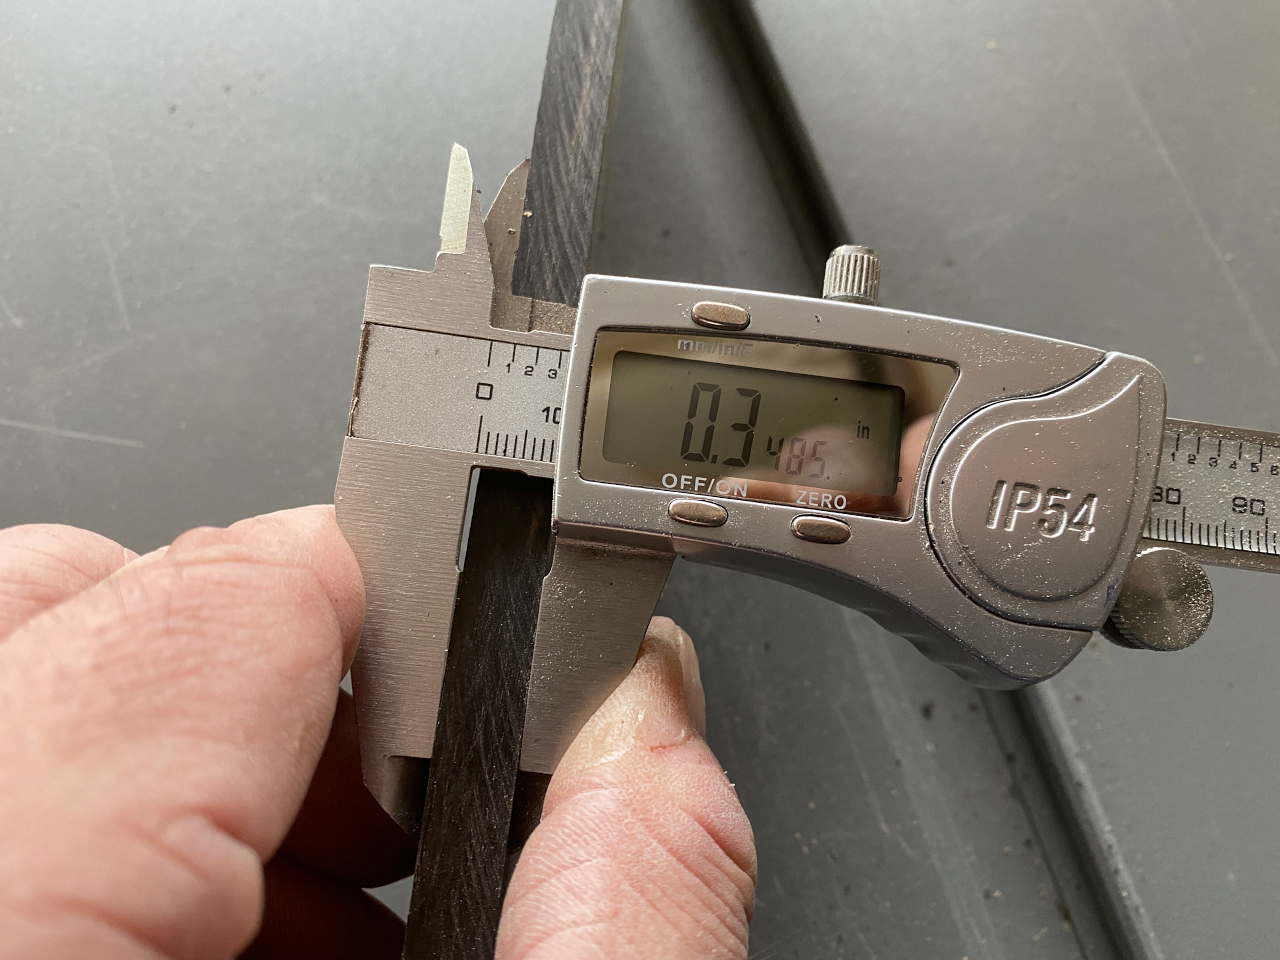
Way too thick as well. Our finished fretboard should be about 0.24″ in the center.
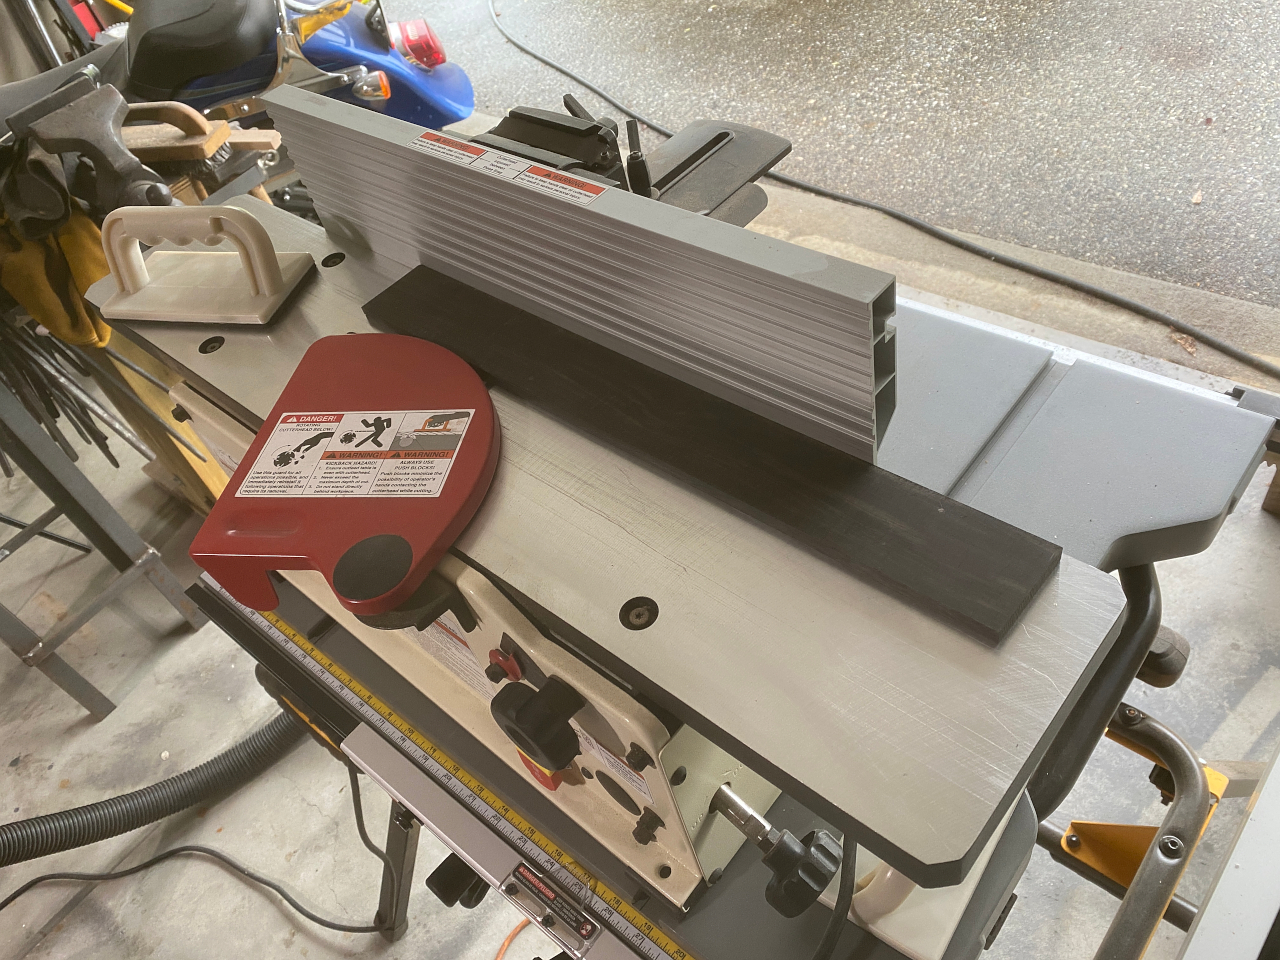
As before, flatten one side on the jointer
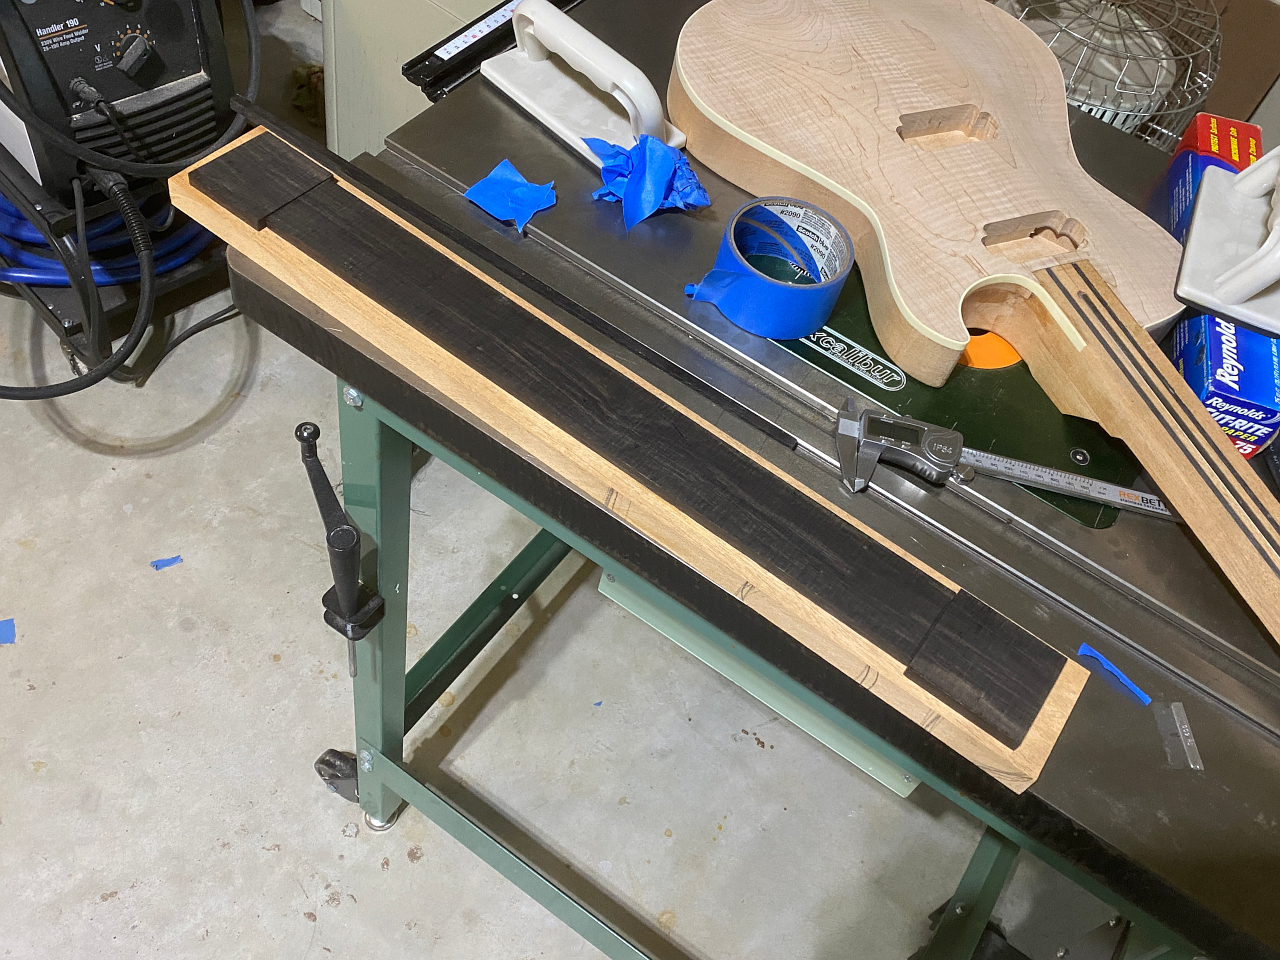
This is too thin to work in the planer, so I grab a piece of leftover mahogany that I already know is perfectly flat and even thickness, and use the tape/glue trick to attach it. now its thick enough to use the planer. To avoid planer snipe (divots near either end of a board that goes through a planer, I add a chunk at each end of the fretboard to make it longer. any snipe will be in the pieces rather than the fretboard.
passed through the planer its now perfectly even thickness at 0.26″. I left it a hair thick as it will be sanded farther.
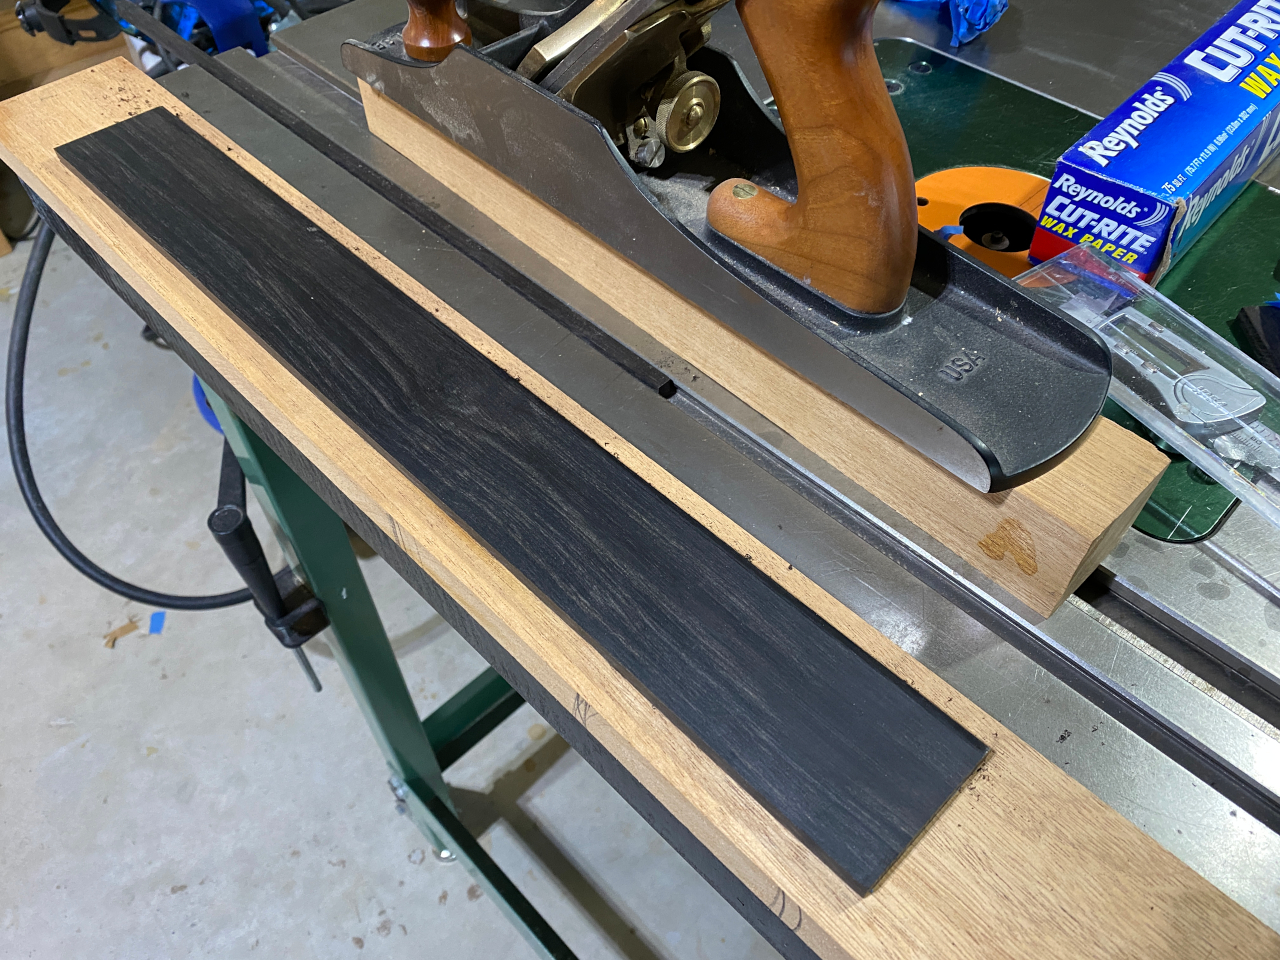
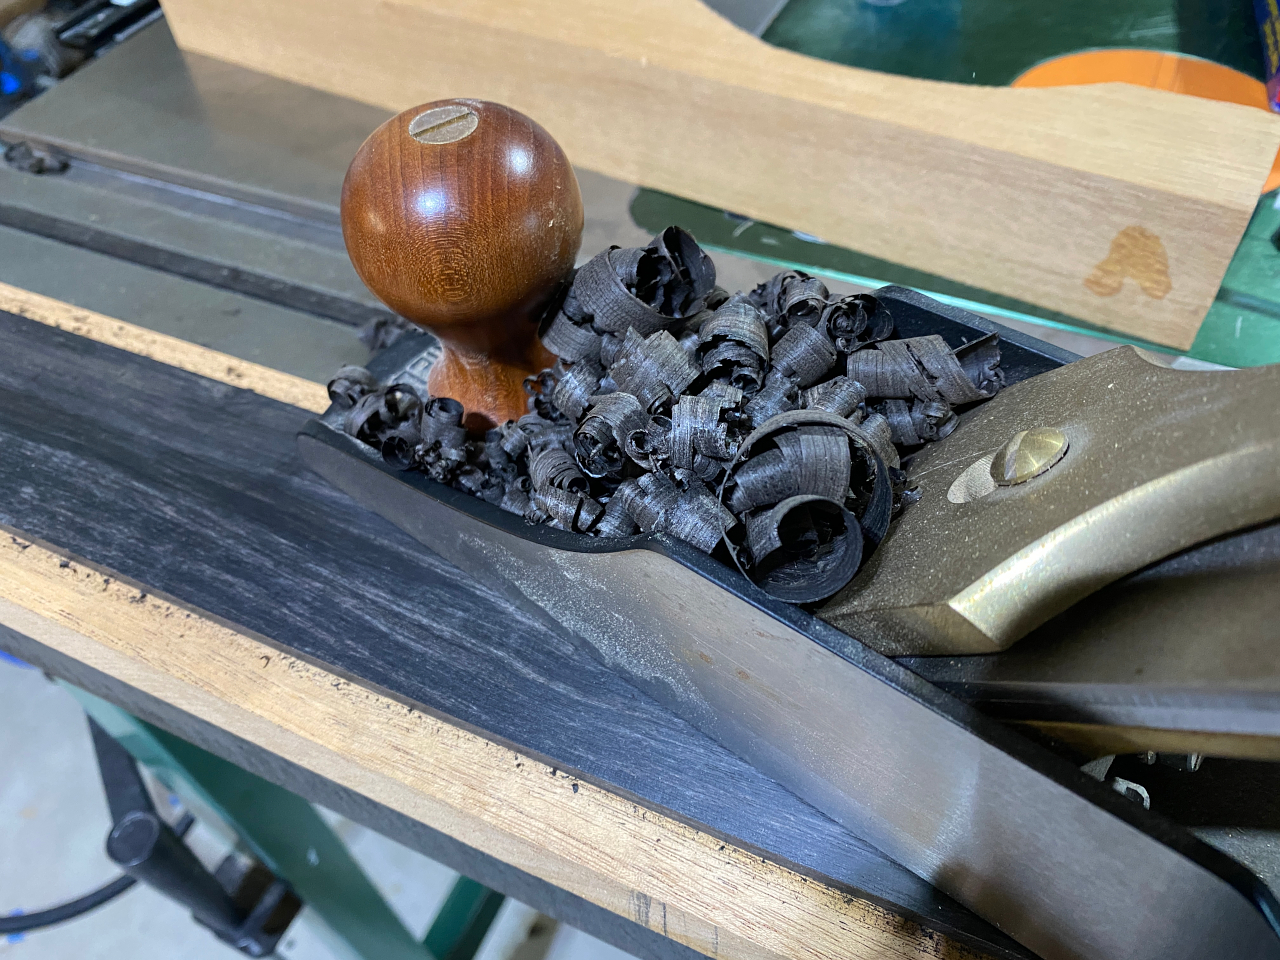
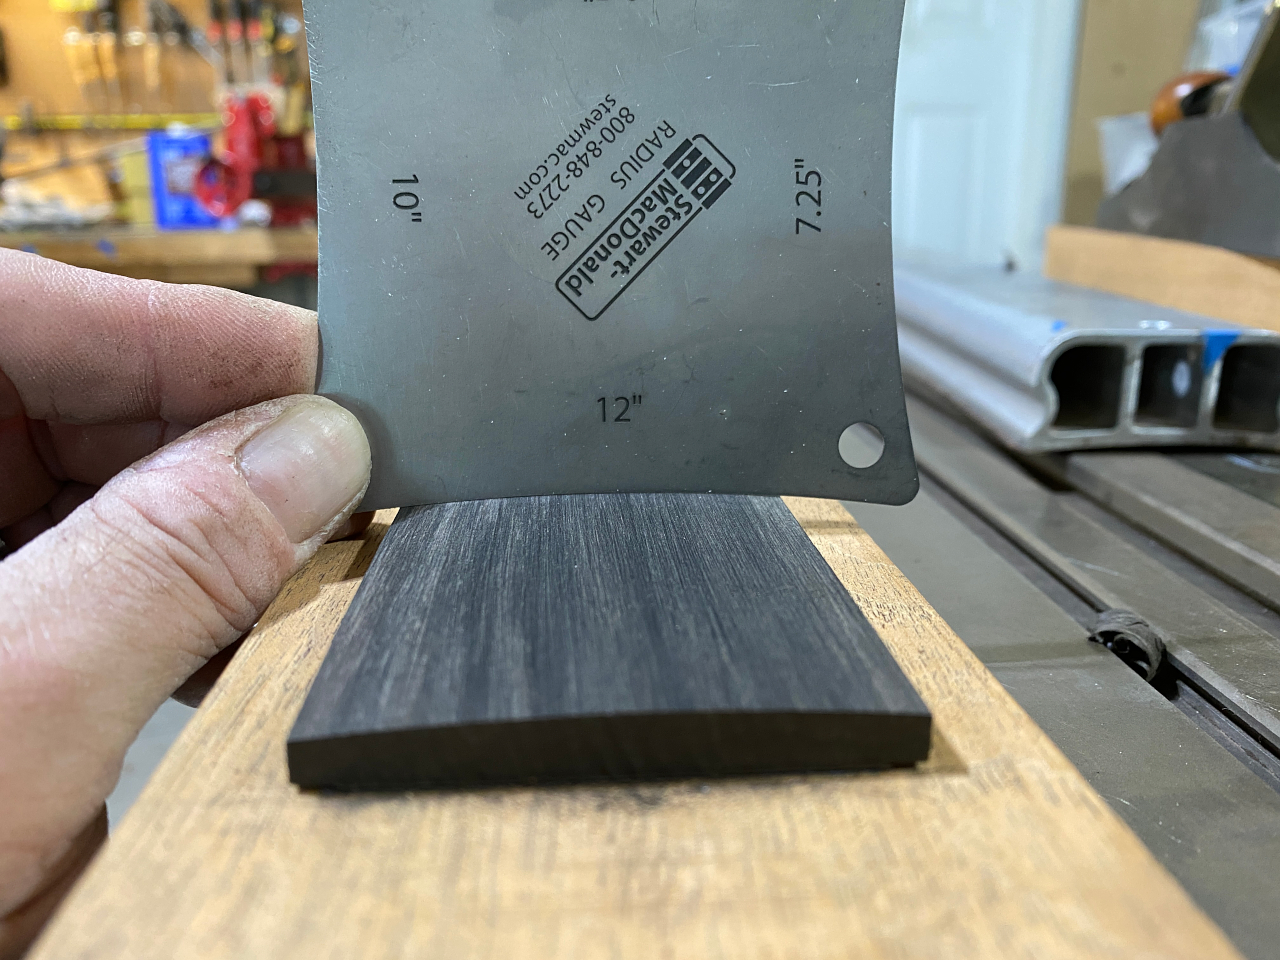
Fretboard arent flat. they have a “radius” to them. in the case of the 22 special, I use a 12″ radius. To create that curve I start out with a hand planer to quickly take off the edges.
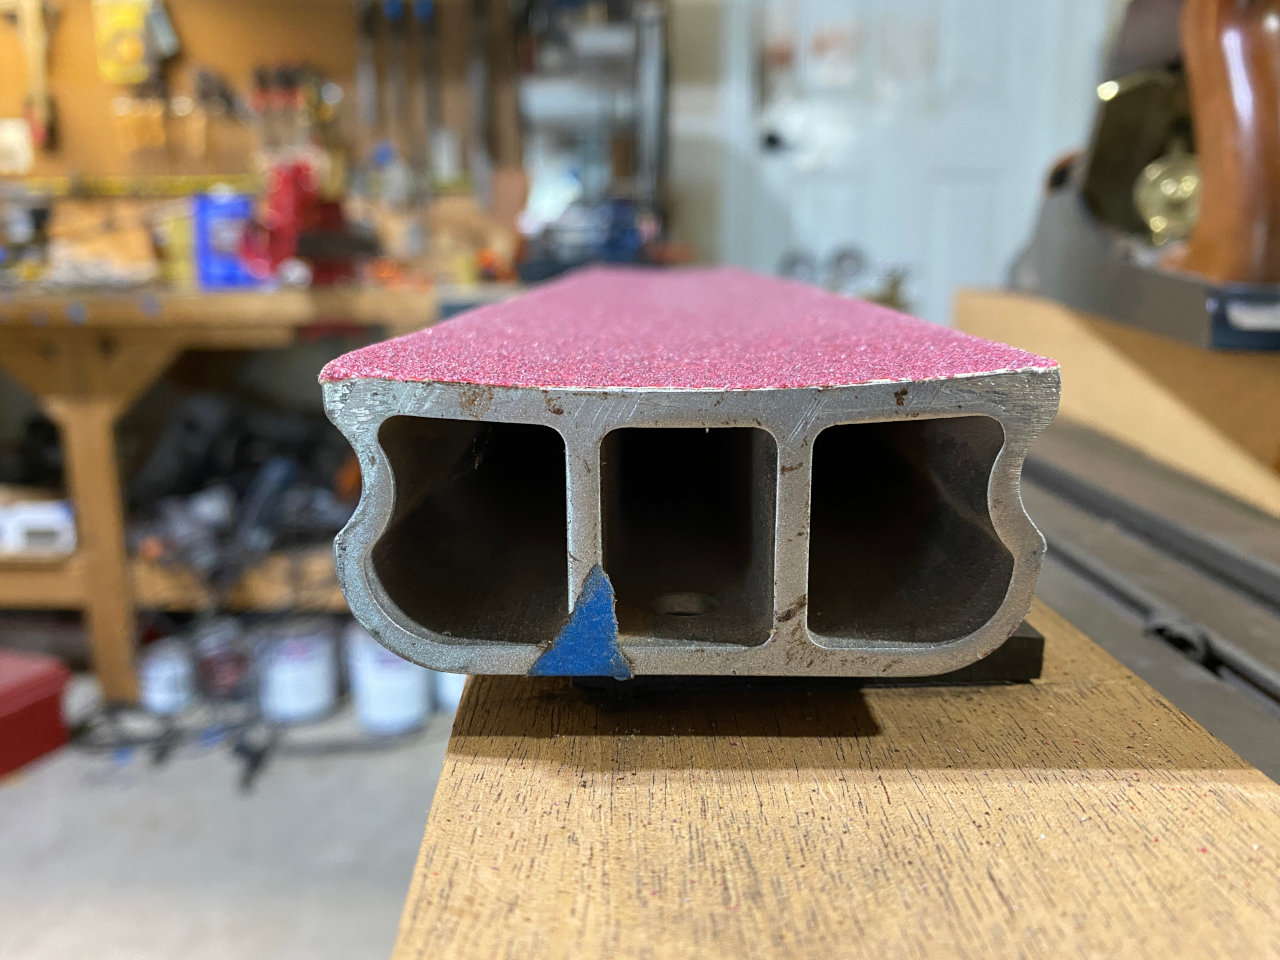
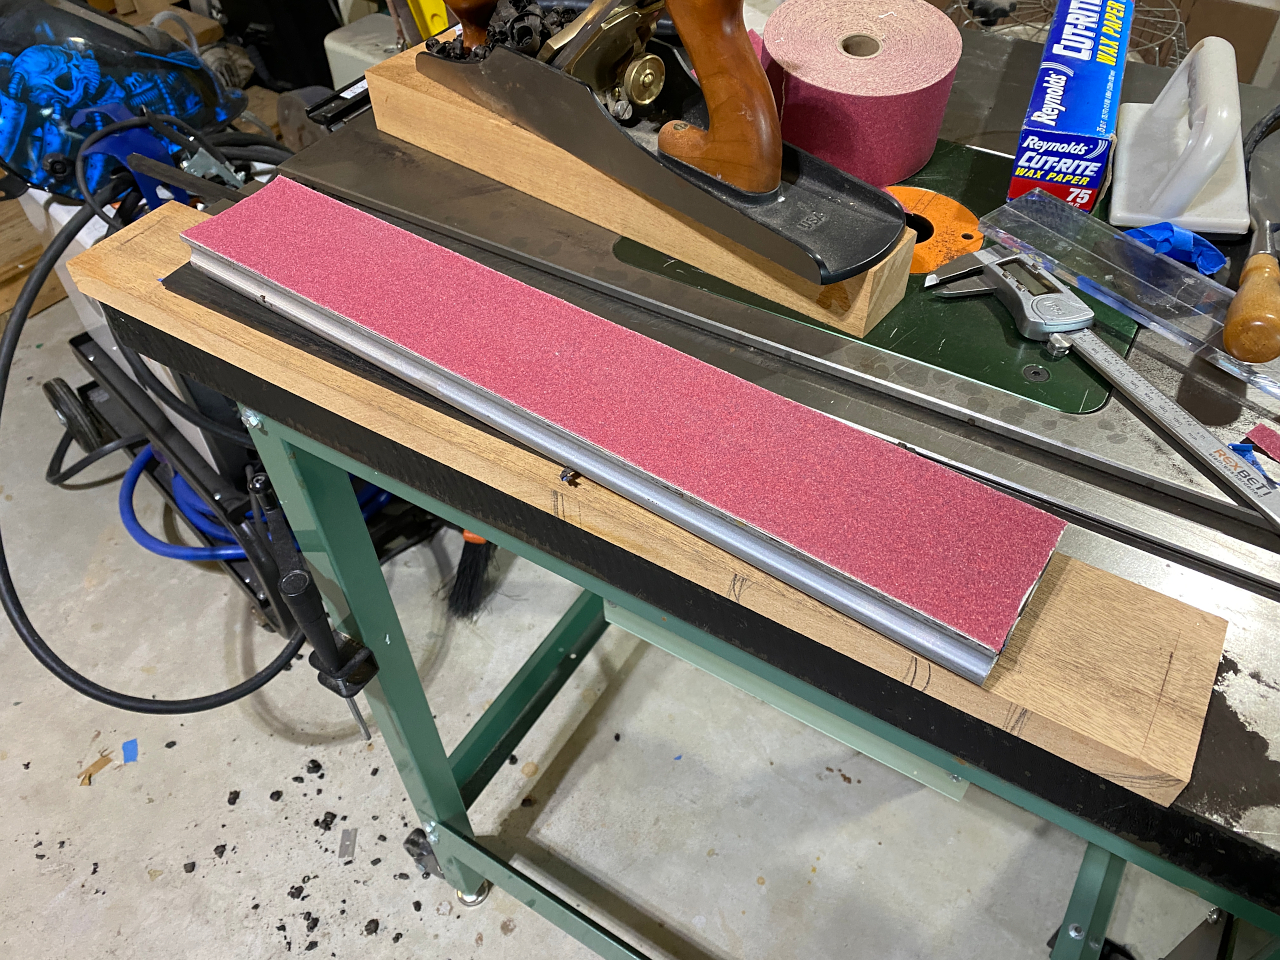
then finish with a radiused sanding beam
Perfect 12″ radius
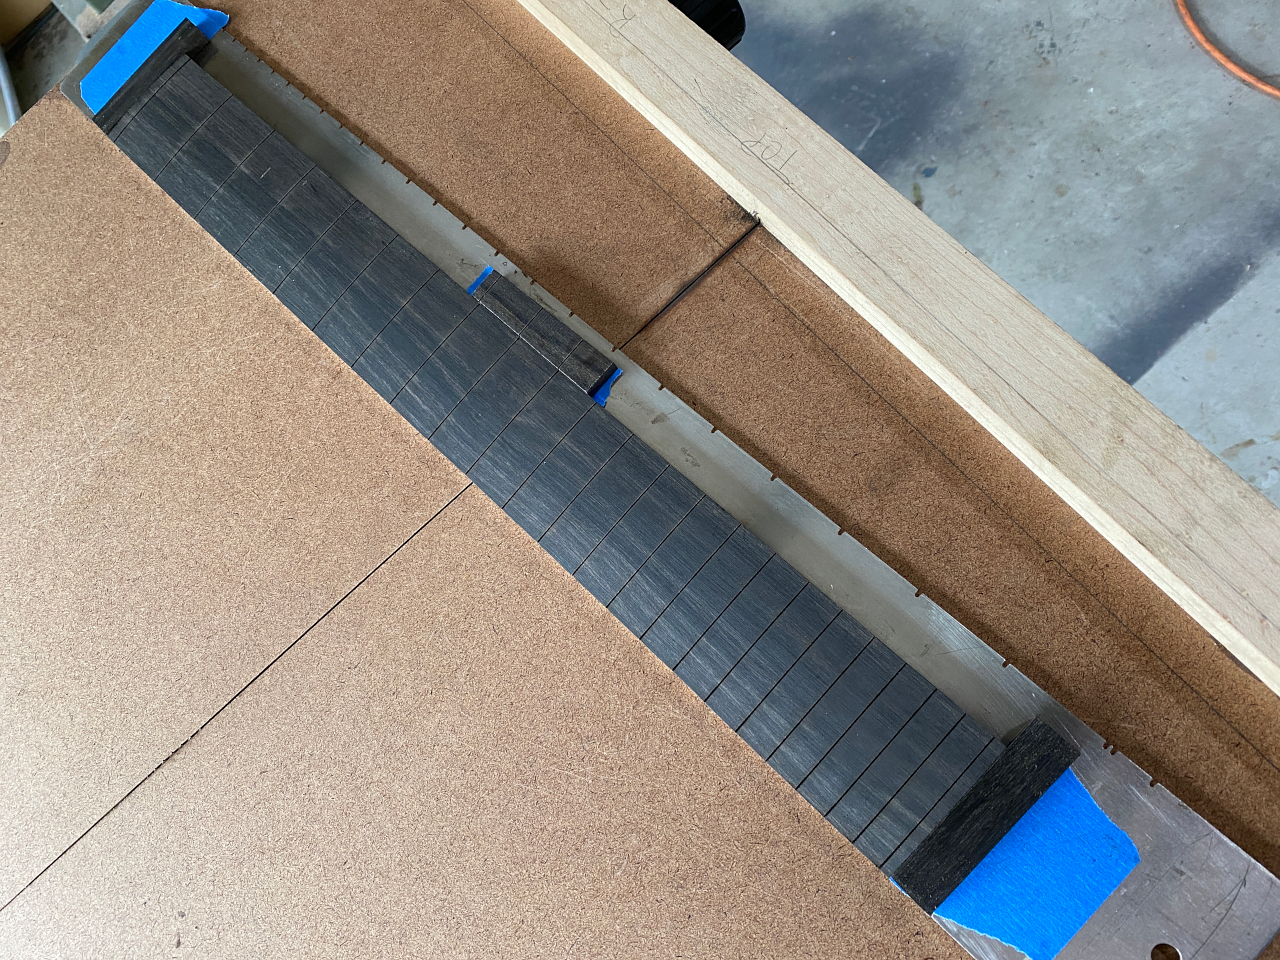
Next, I put it on my slotting jig attached to a slotting template that allows me to cut the slots quickly on my table saw. the notches in the template assure the slots are perfectly spaces for the scale length chosen. In the case of this guitar its a 25″ scale length, and 22 fret slots
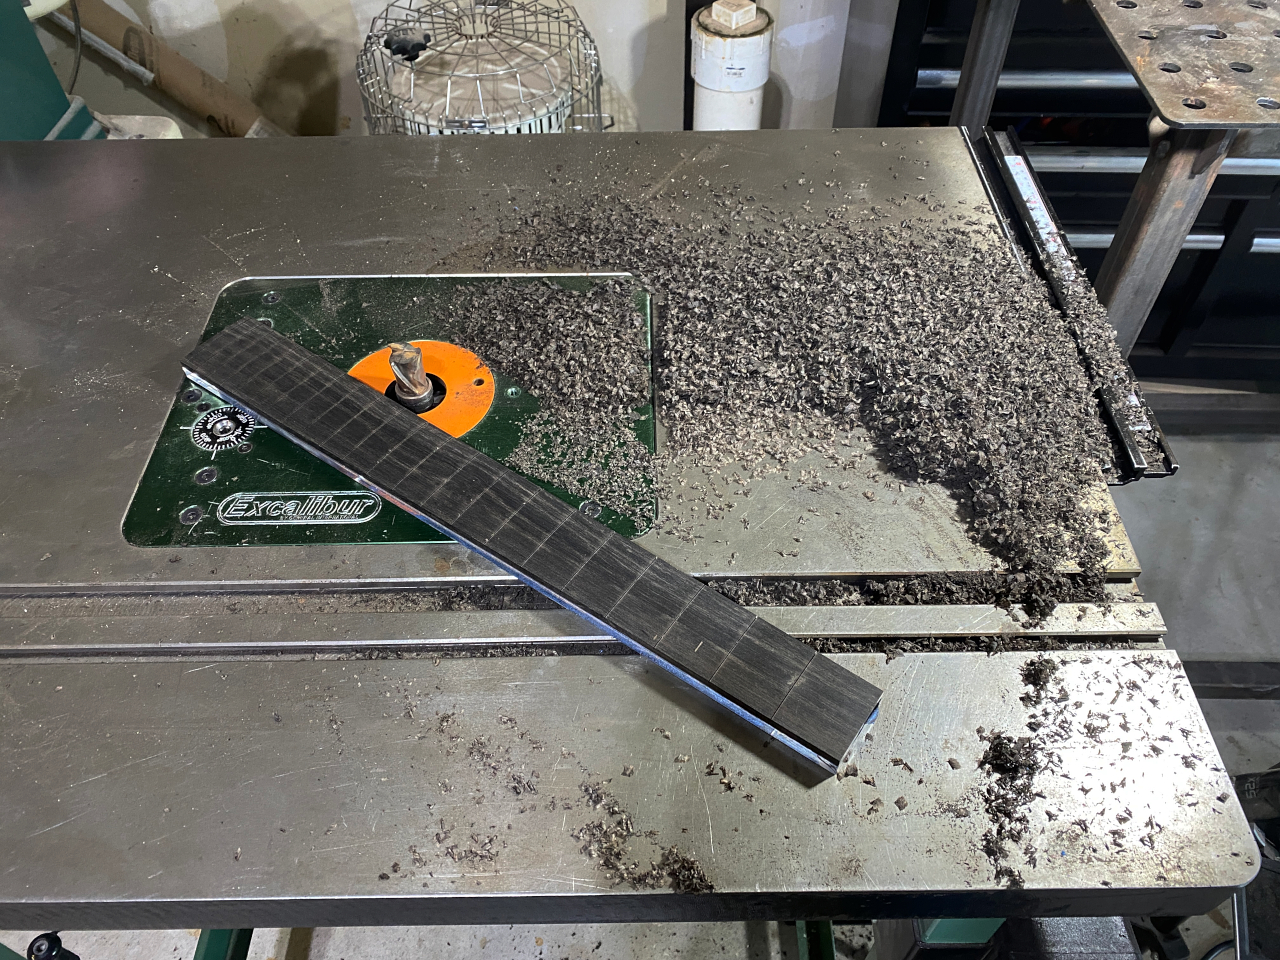
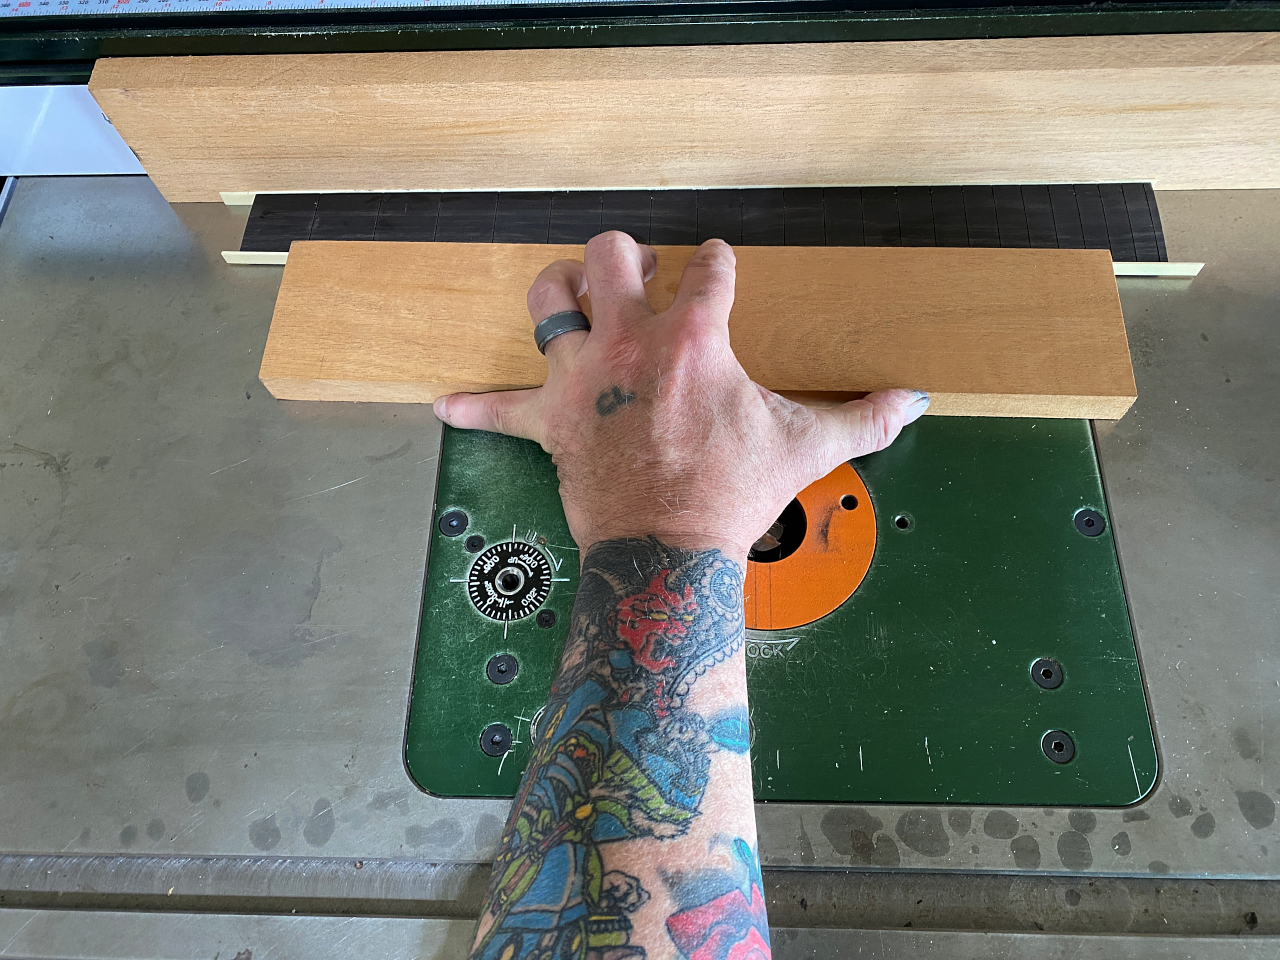
and the router table finishes off the dimensions of the board.
Lots yet to do on the fretboard. This board will also have binding, like the body, so I actually have to remove even more wood from the edges, otherwise the finished board will be too wide.
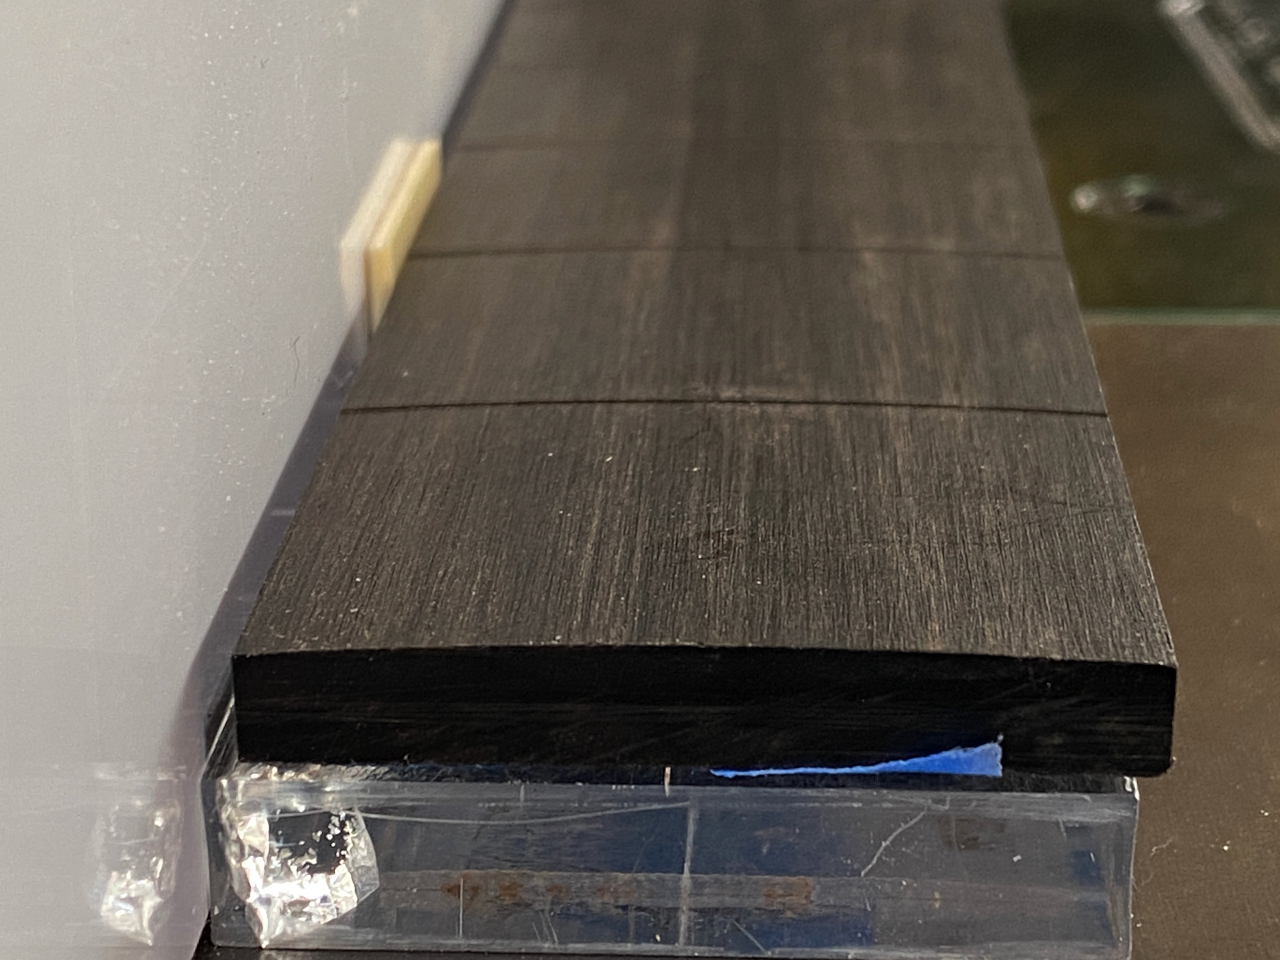
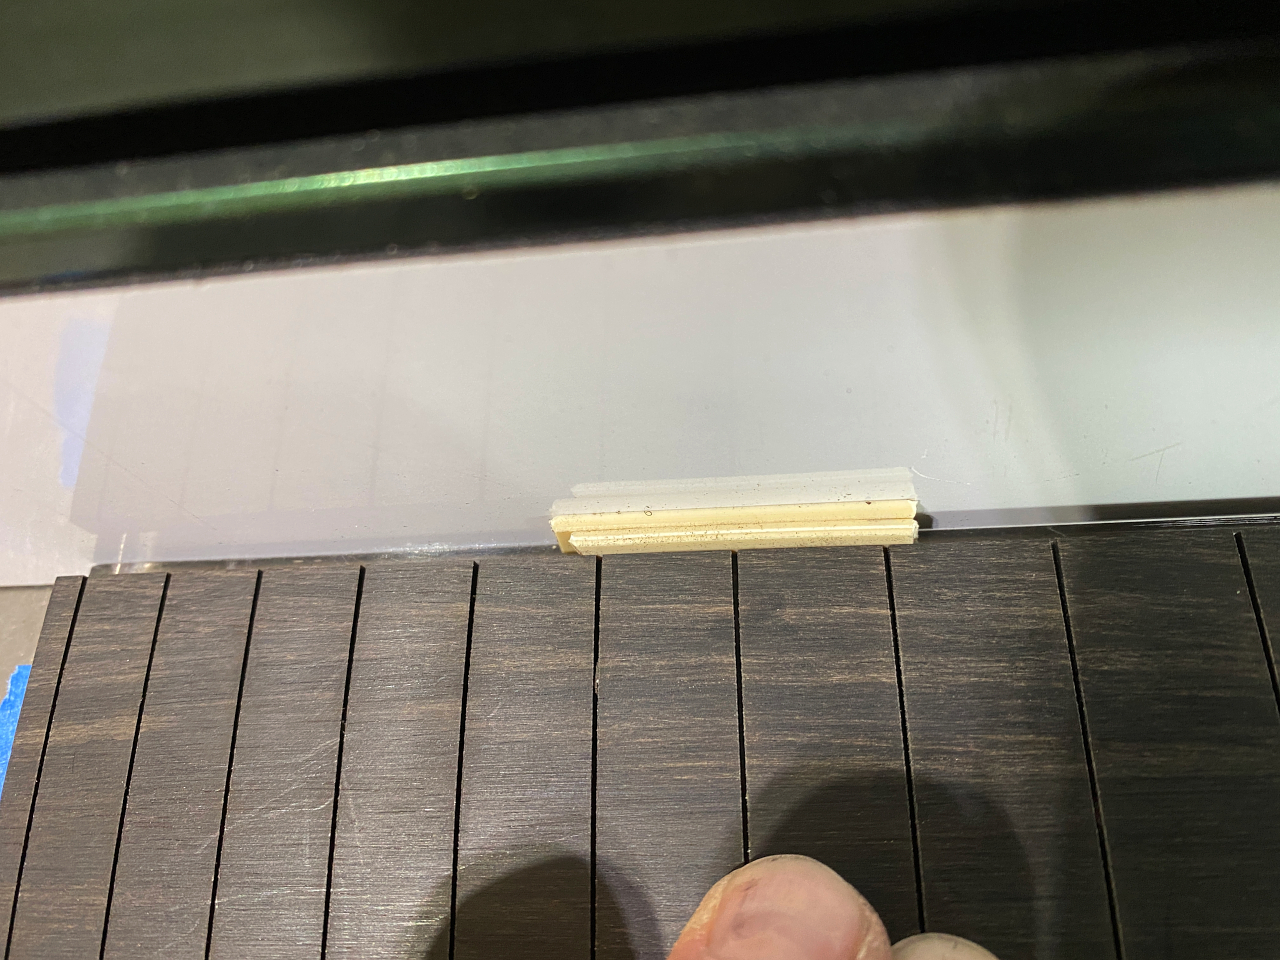
I use little strips of binding to offset the board on the template by precisely one width of binding, and then route off the overhang,
Repeating the process on the other side, only I double up the binding strips because the board is already one binding thickness more narrow than the template. This pushes the other side off the edge again by a single width of binding.
a bead of gel CA glue along each edge of the fretboard, and I sandwich it in between two strips of binding and apply pressure until the glue sets. I actually do this one side at a time, the strip closer to my hand was already glued in place and I’m in process here of gluing the 2nd strip
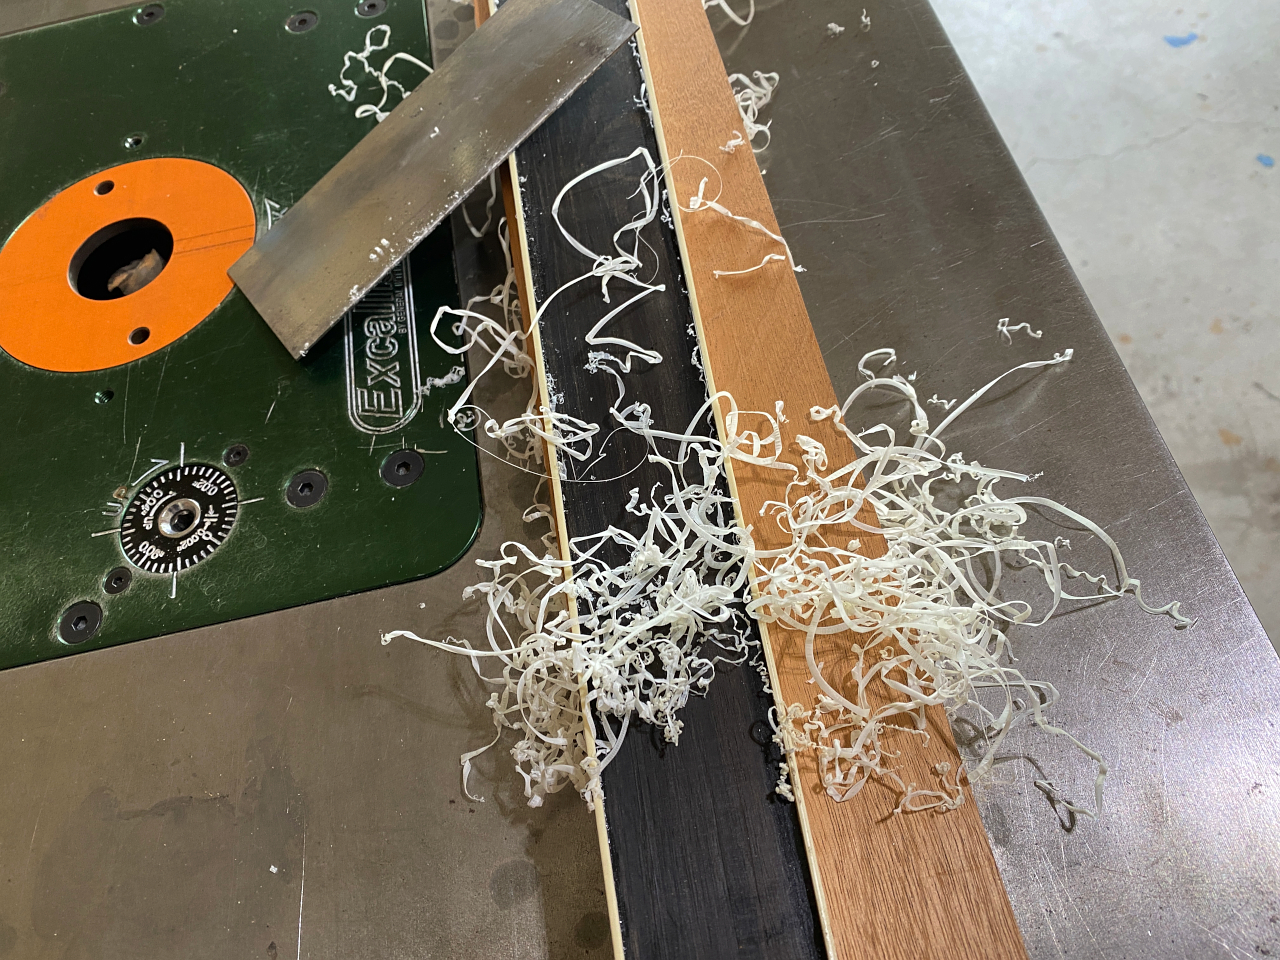
Like the body, the binding is wider than the edge of the fretboard and needs to be scraped flush on both the top and bottom
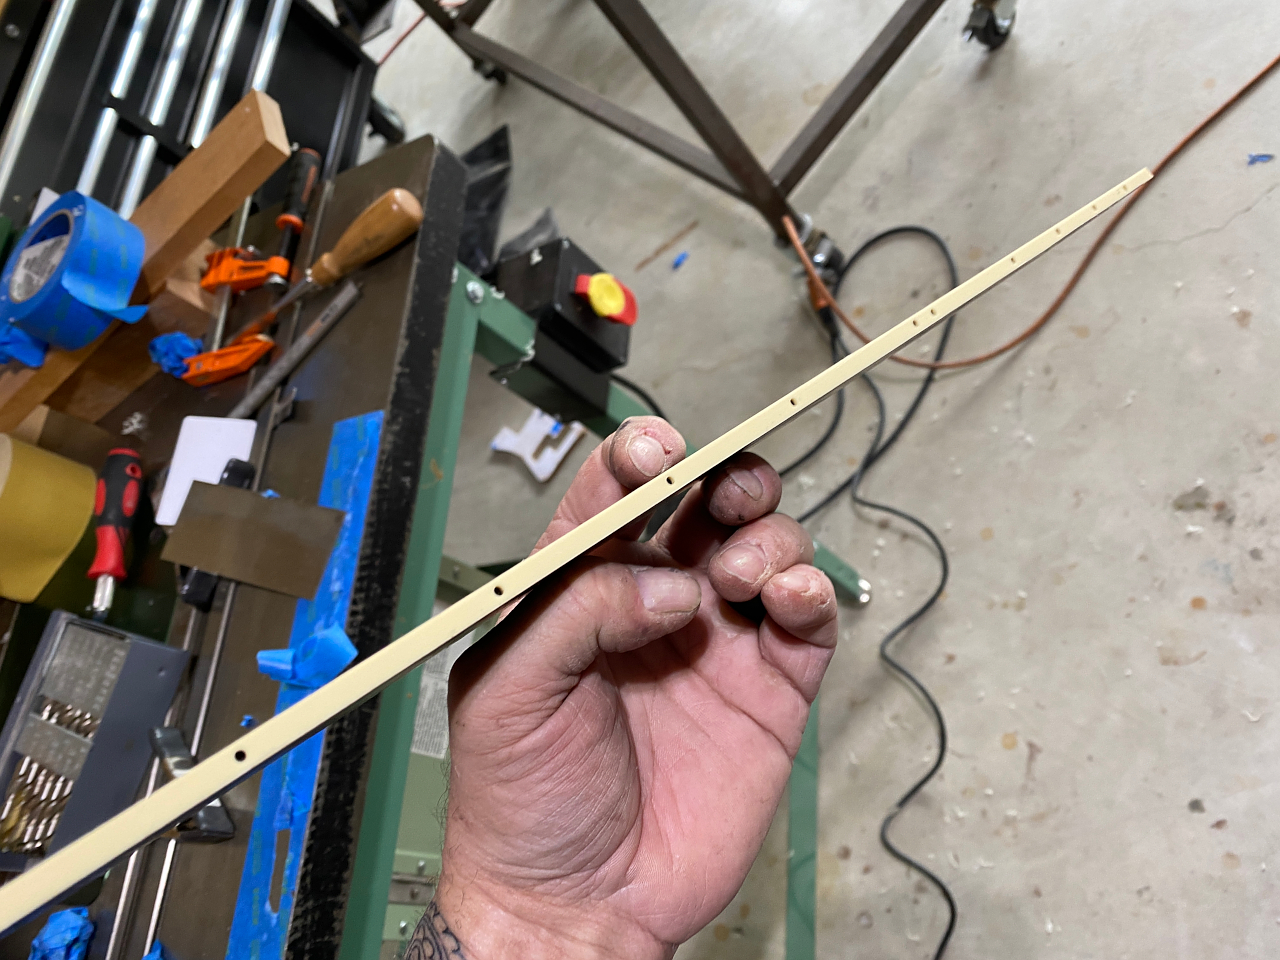
One the glue is dry and binding scraped, I attach the board to the table top at the edge, and I attach my side dot template, and line up the correct scale length with the edge of the board. I then drill holes through the holes in the template for the side dot markers. This just keeps them all in a perfectly straight line and positions them accurately mid-fret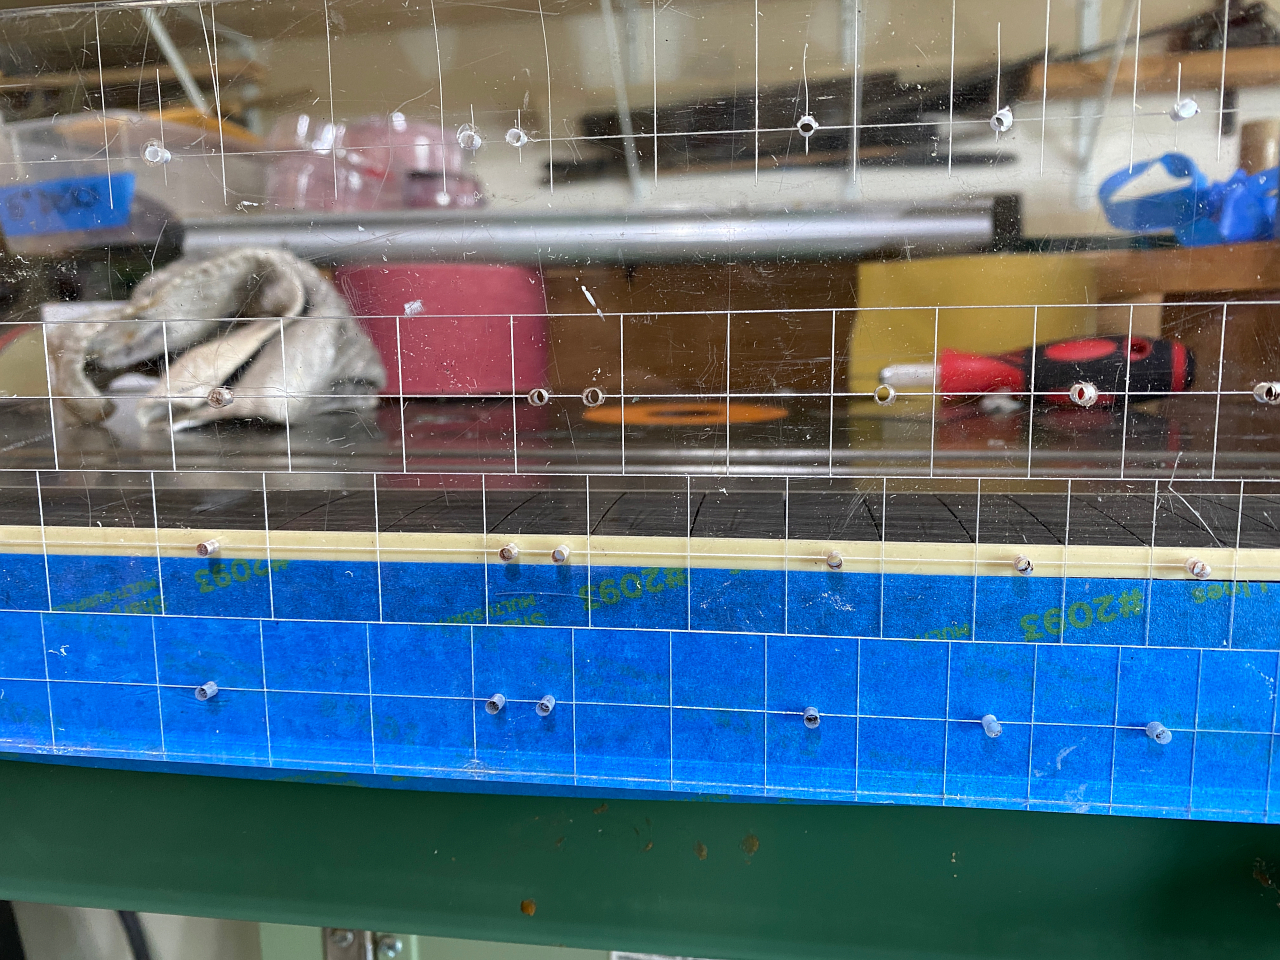
Holes
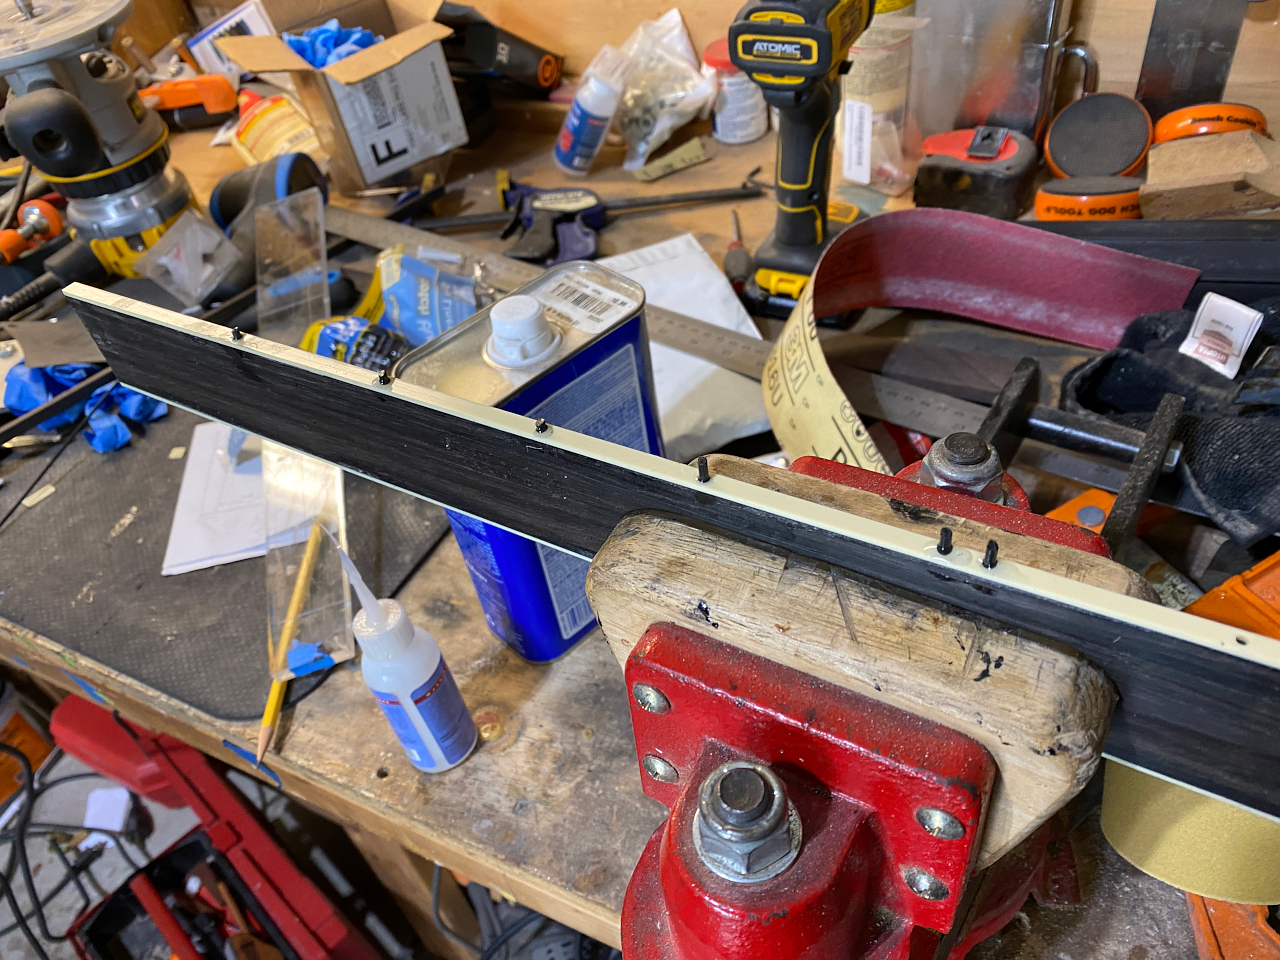
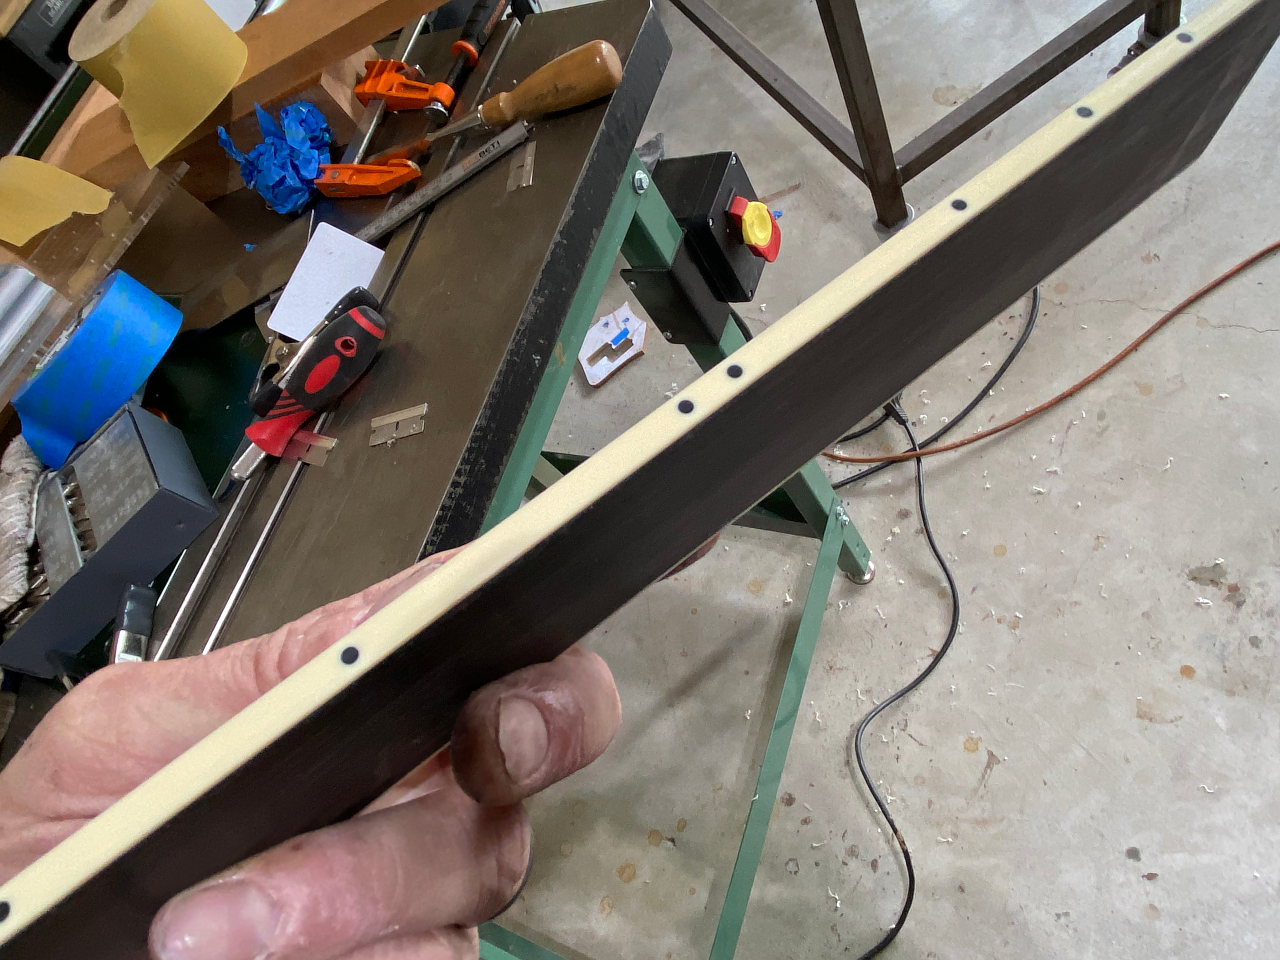
I plug the holes with the right thickness black ABS rods using CA glue. these get cut off flush with a razor blade, and then scraped flush like the binding
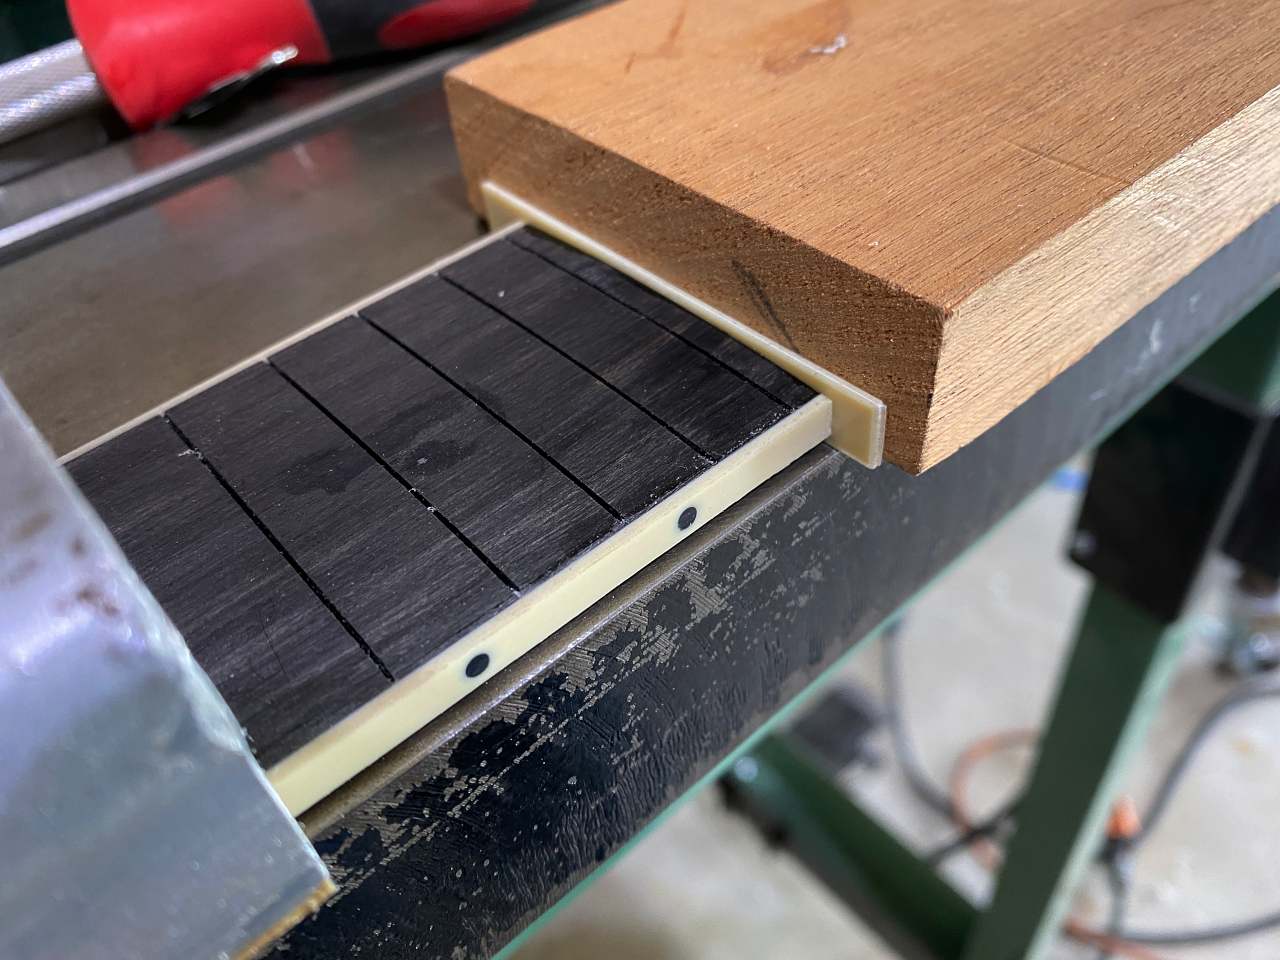
Side dots in place.
Gluing binding to the top end of the fretboard. This also gets scraped down to side like the rest.
Dont mind the dirty, rough appearance of the board. Its sanded 80 grit which is quite rough, and theres some glue residue there as well, but theres still all the routing for inlays yet to do and theres little point in cleaning it up till after that
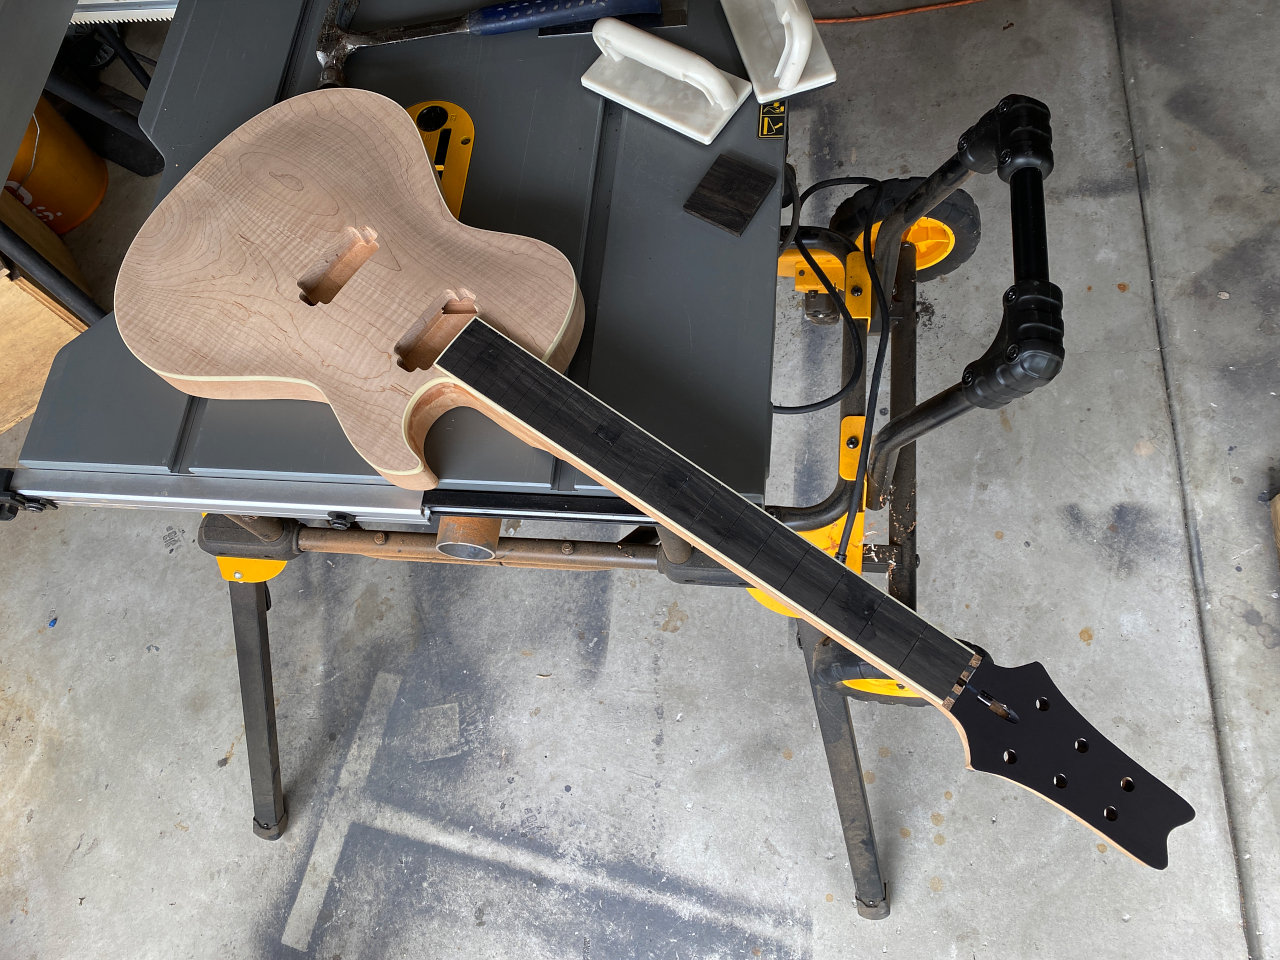
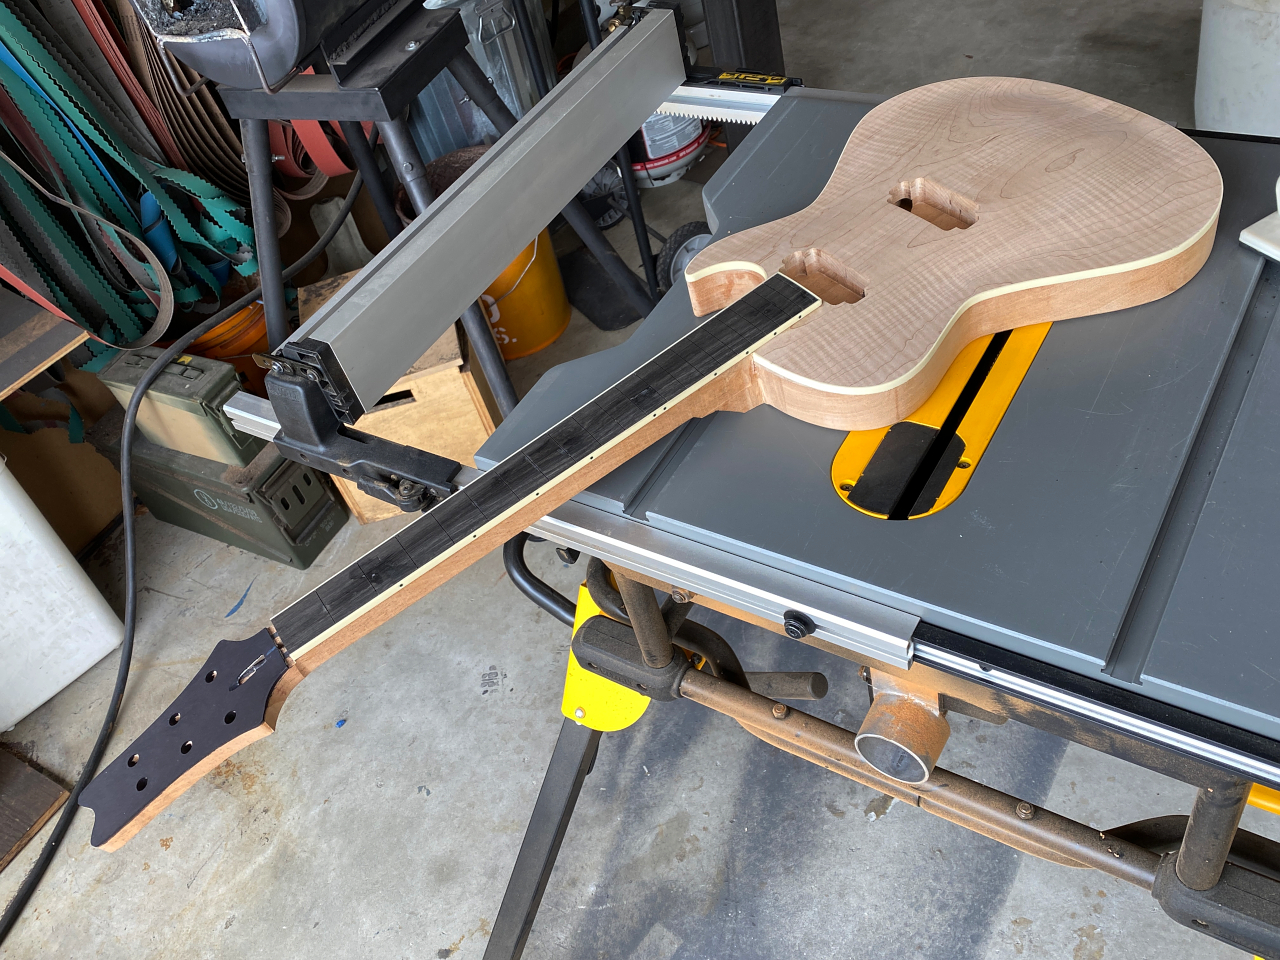
A couple mock-up shots just because

