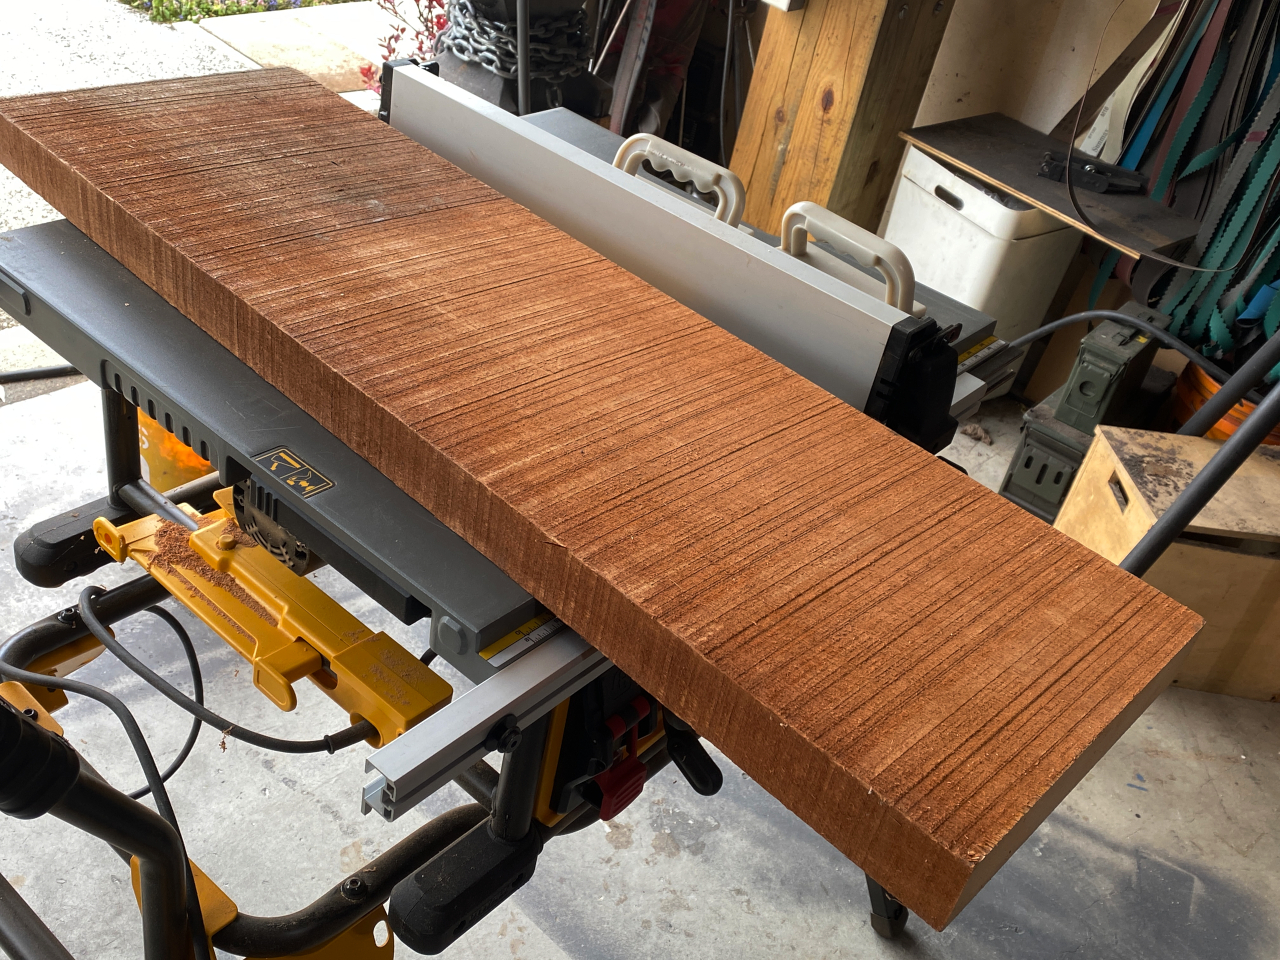
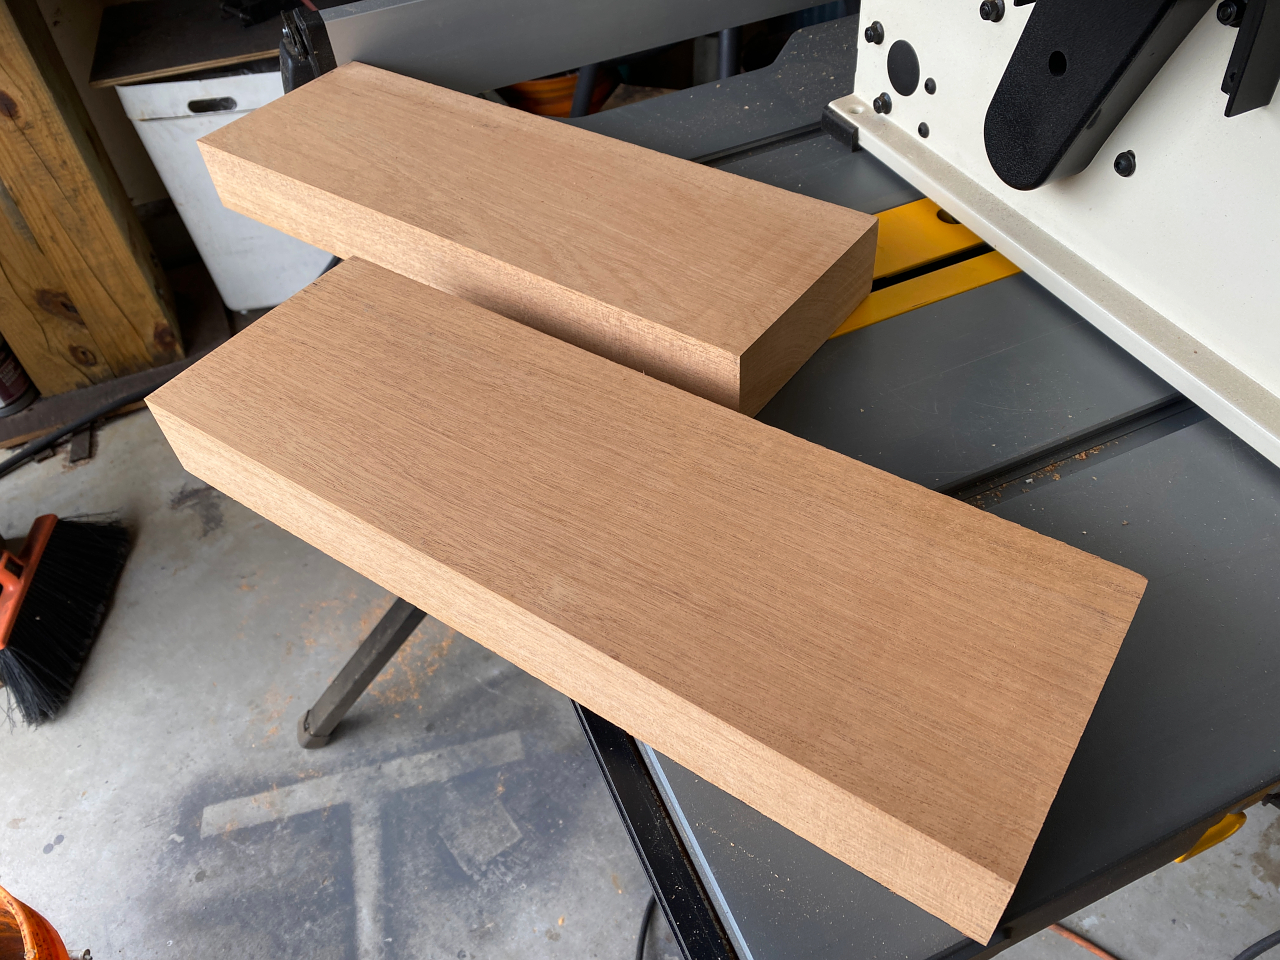
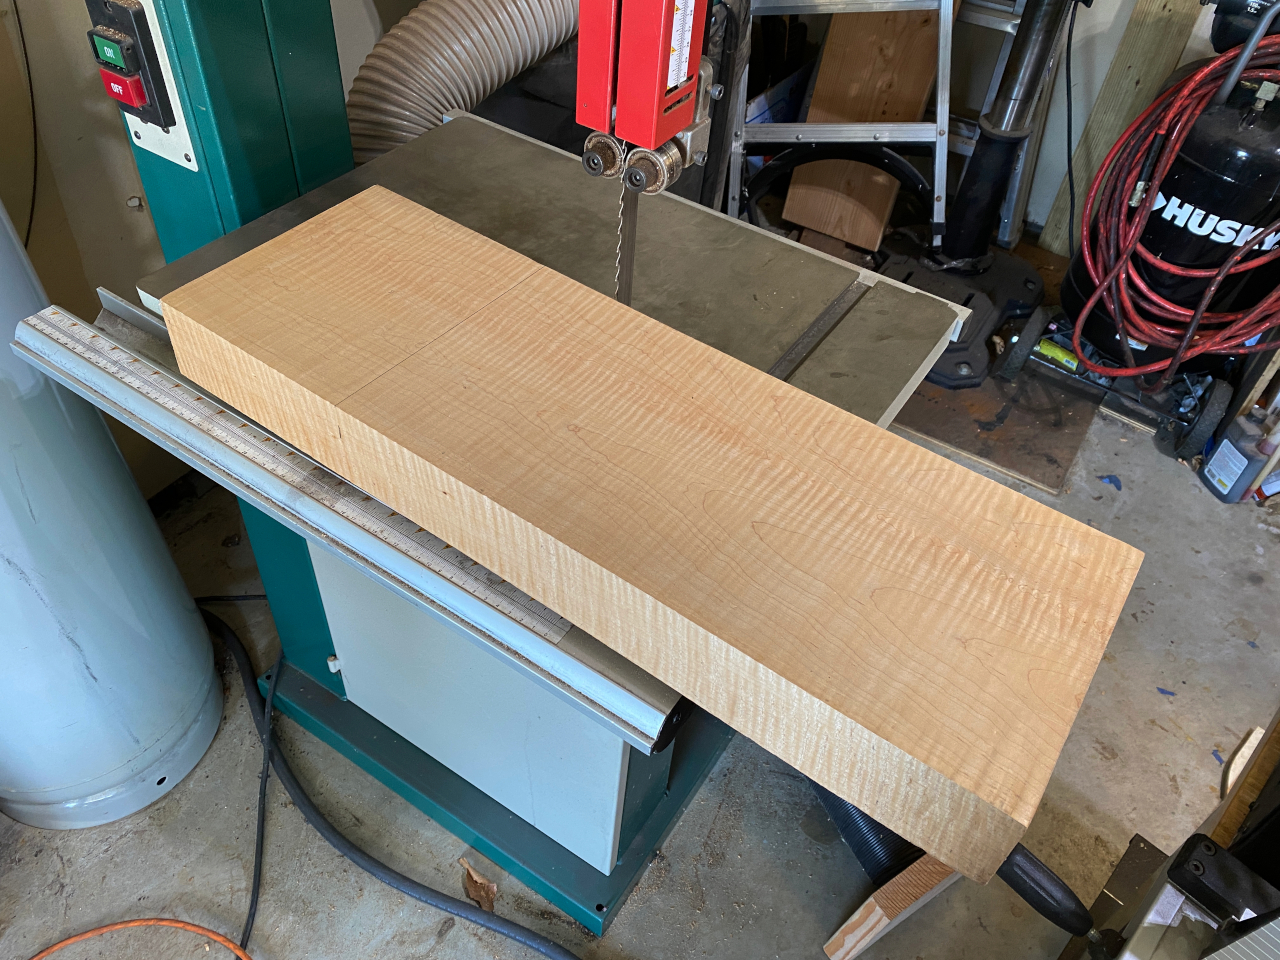
Next step is to attach the body “wings” to the neck. I start out with another rough-cut 8/4 board from the mill
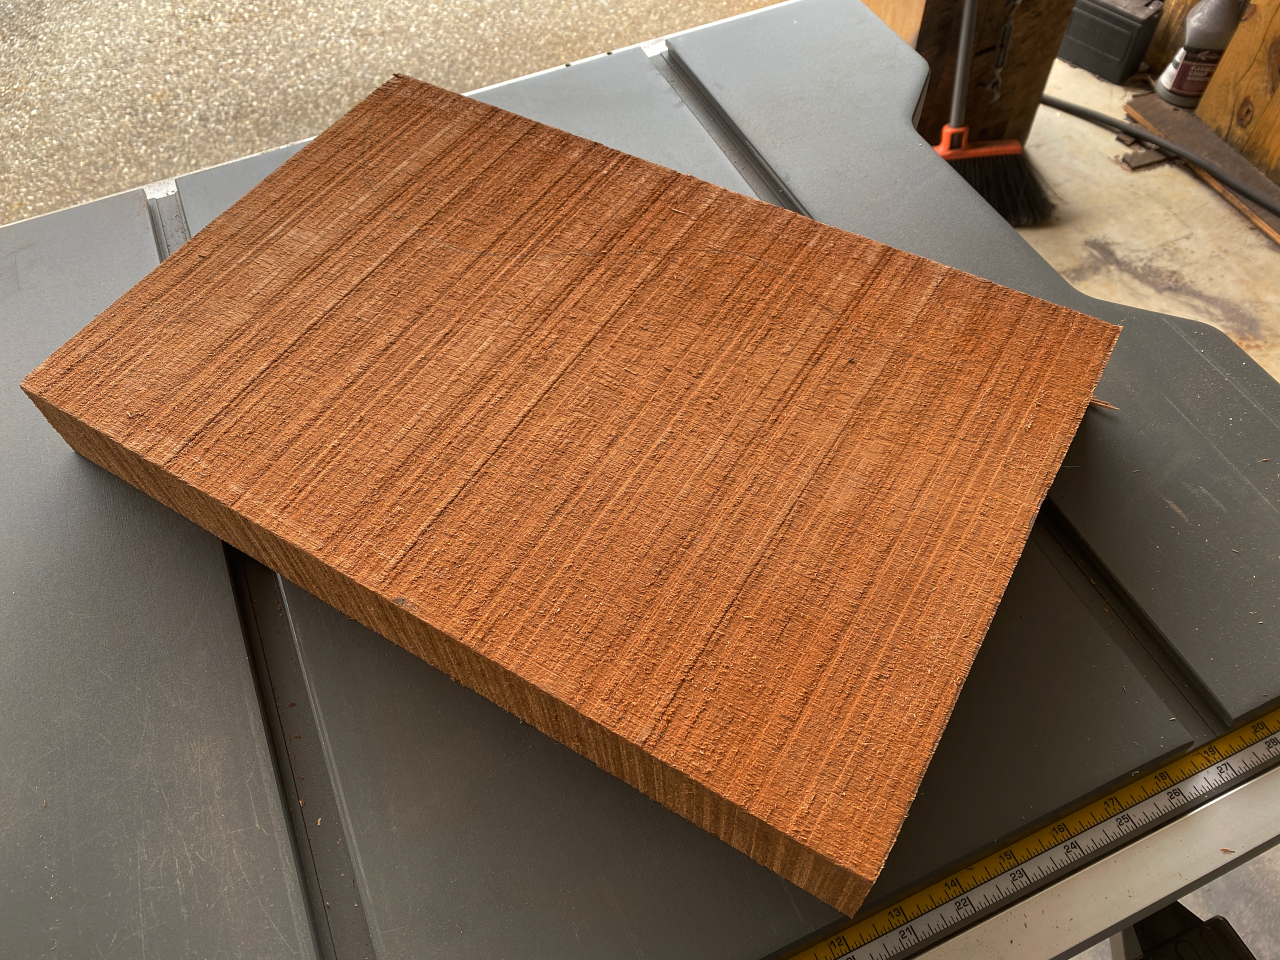
The longest side of the body is 17″, so I cut off a 17″ long piece, and set the rest aside for another project.
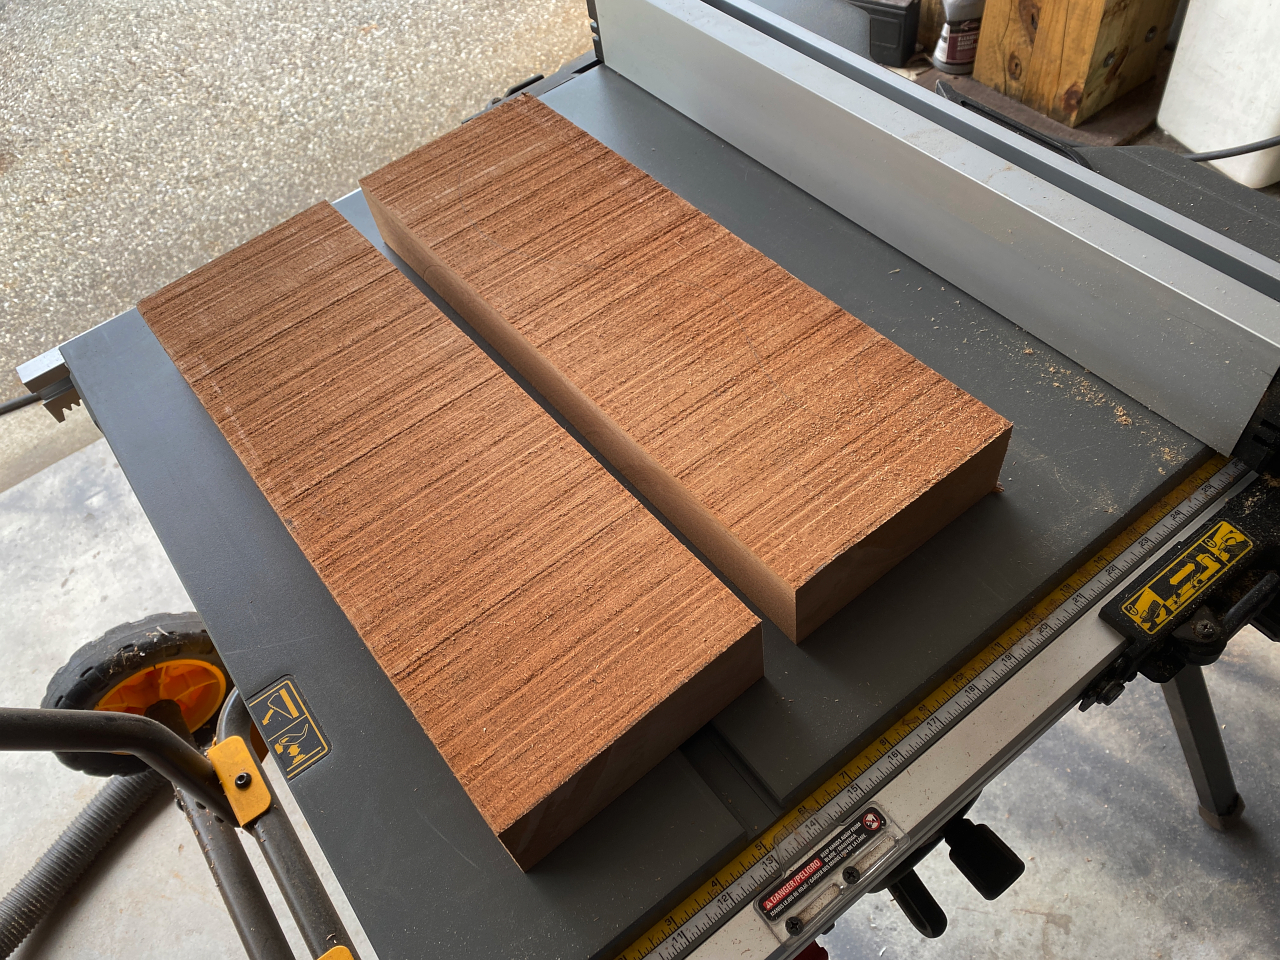
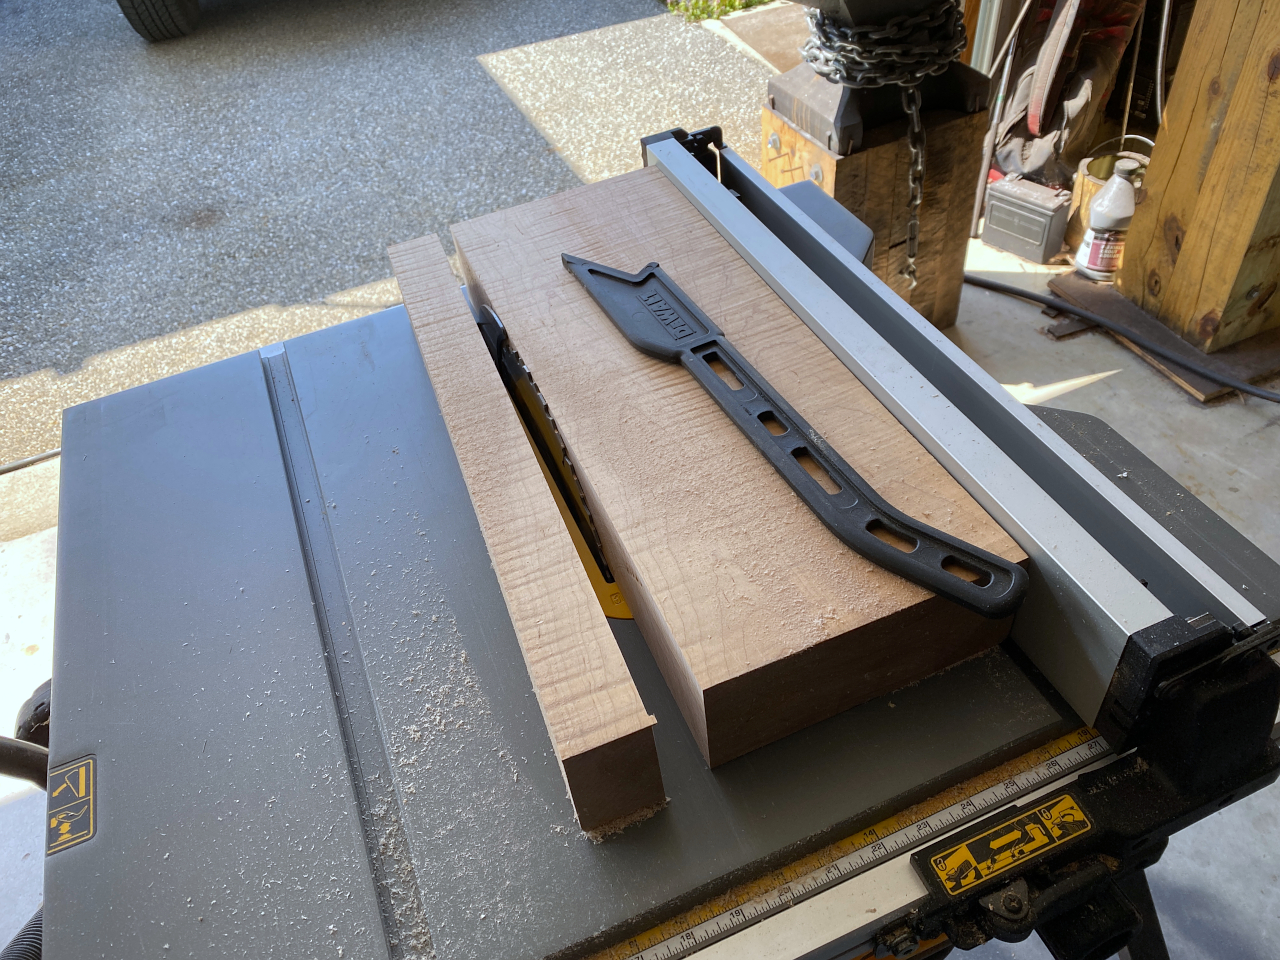
Cut in half lengthwise
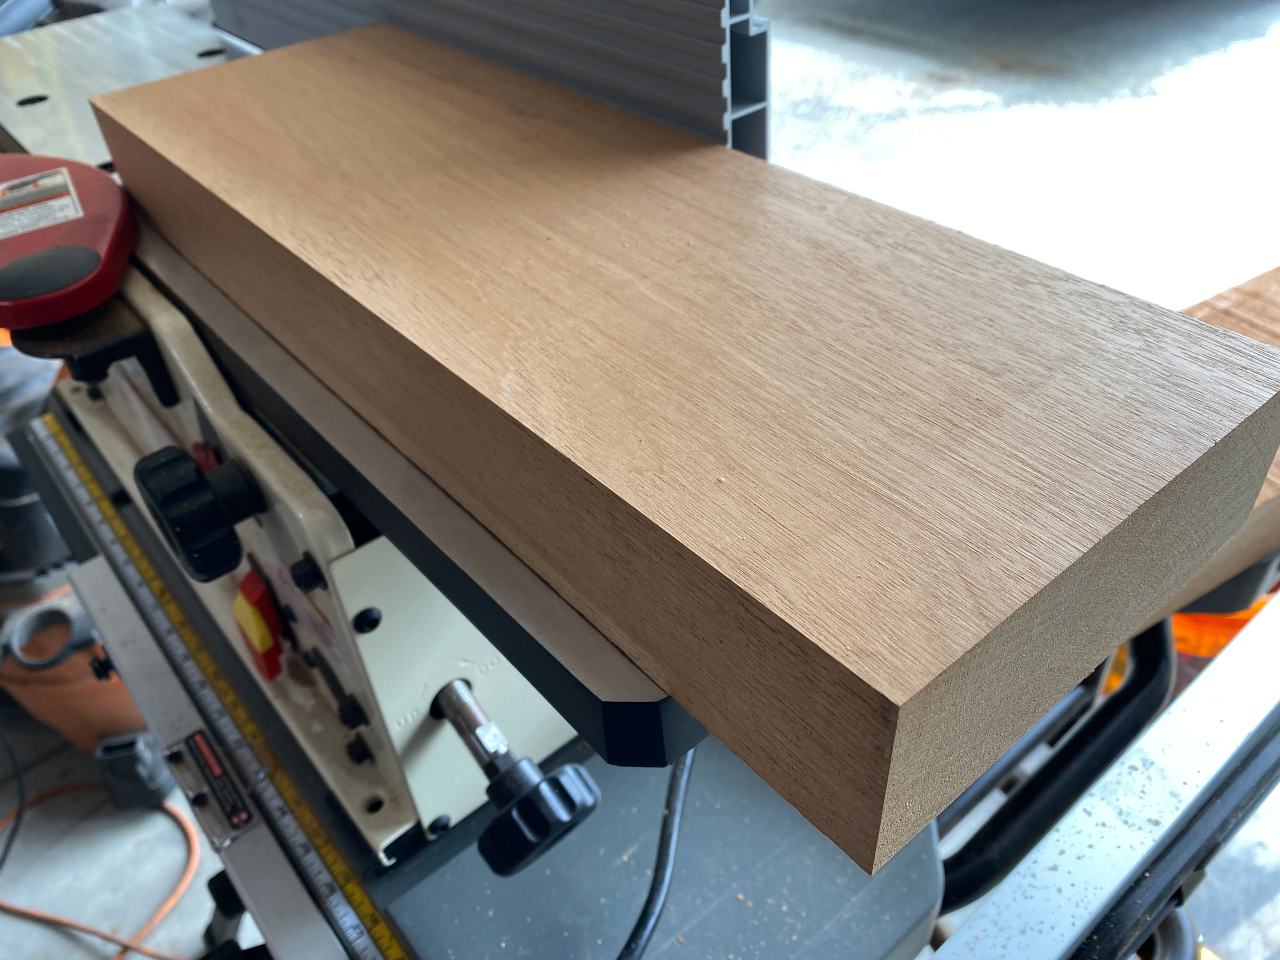
Then I have to flatten and square up the boards the same way I did with the neck blank. I sue the jointer to make one perfectly flat face, and then make one edge exactly 90 degrees from that face.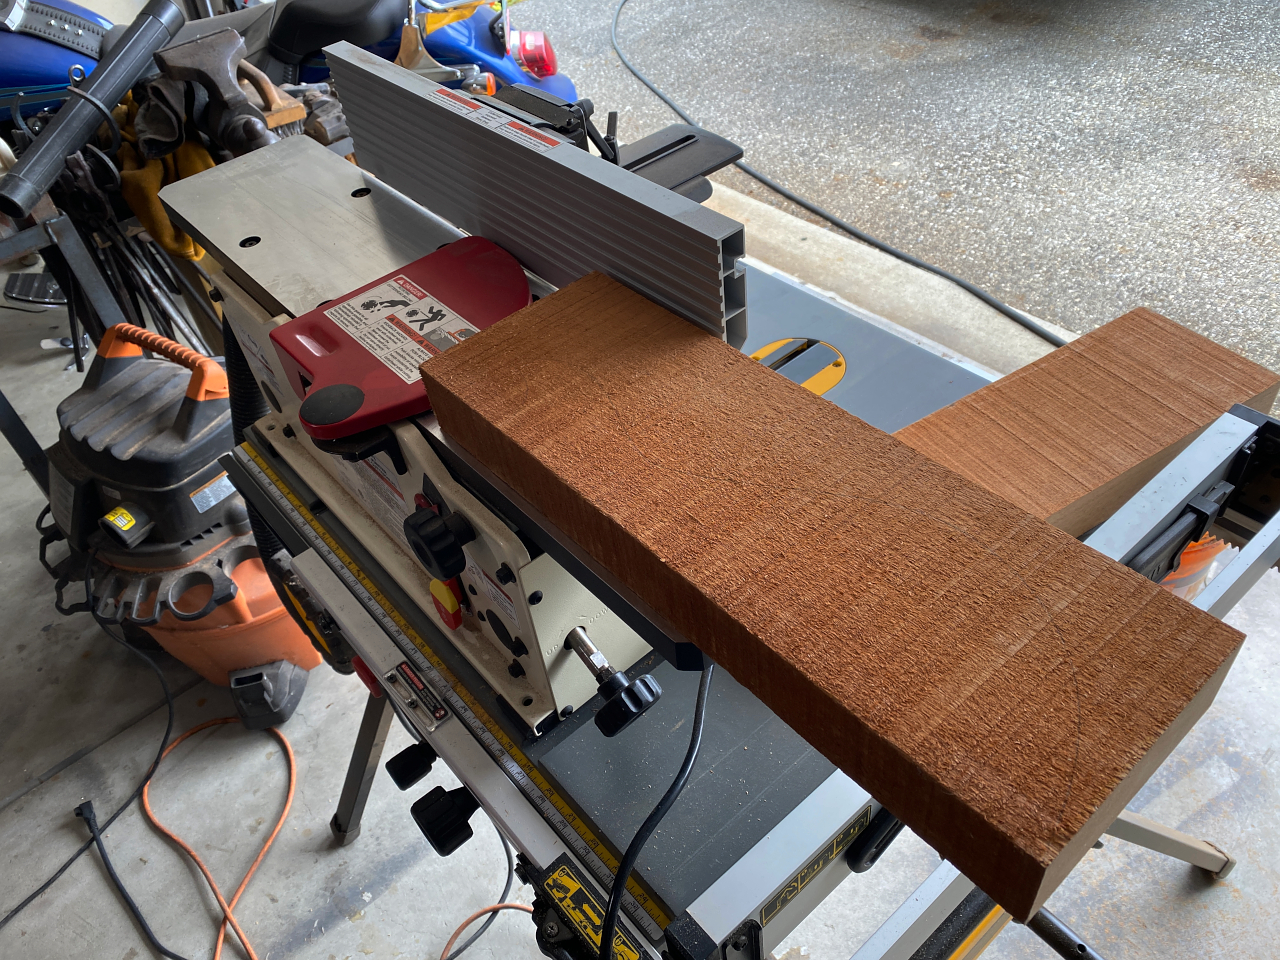
Voila!
I do this with both pieces.
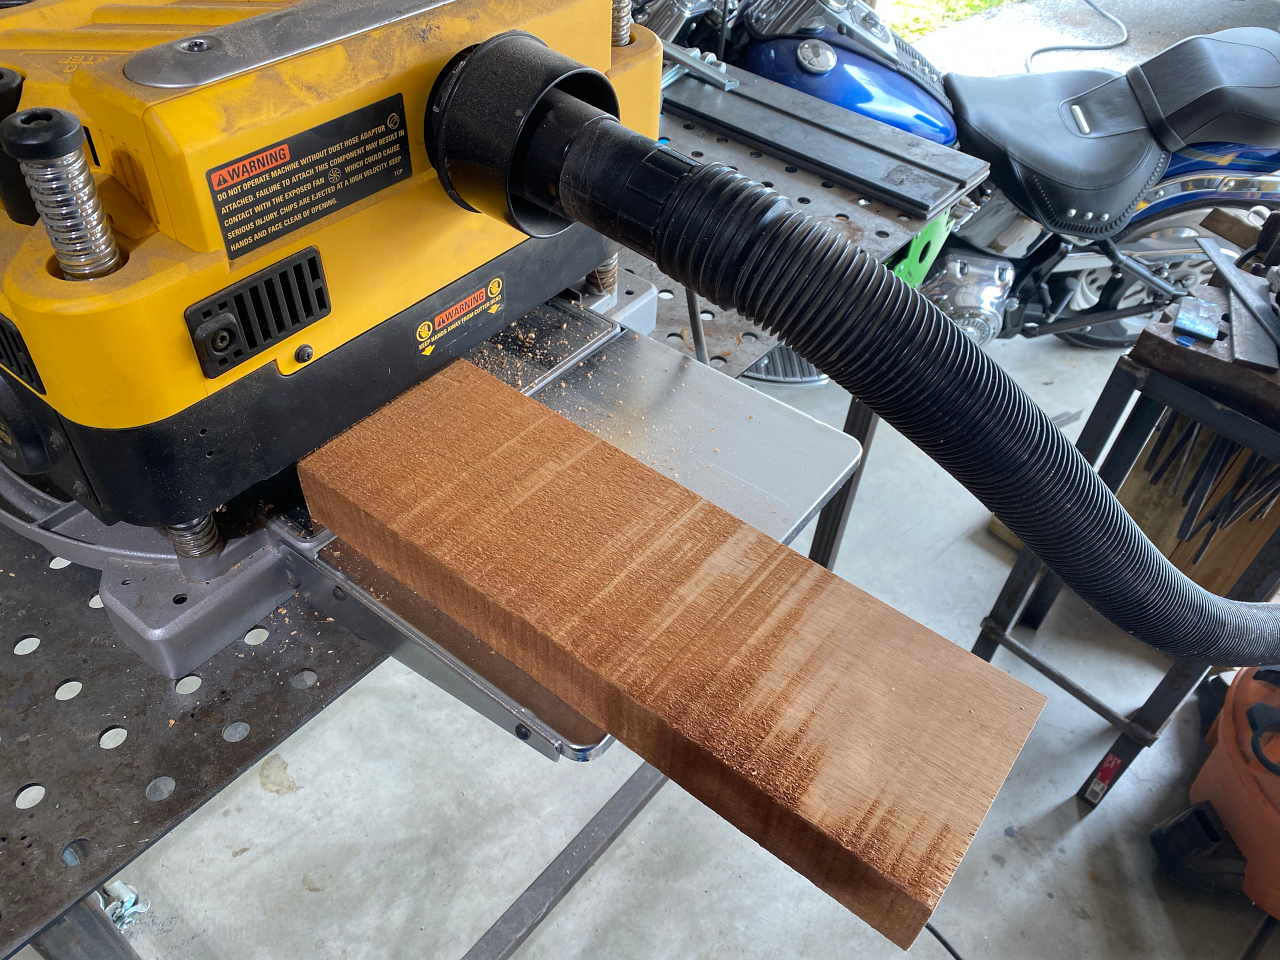
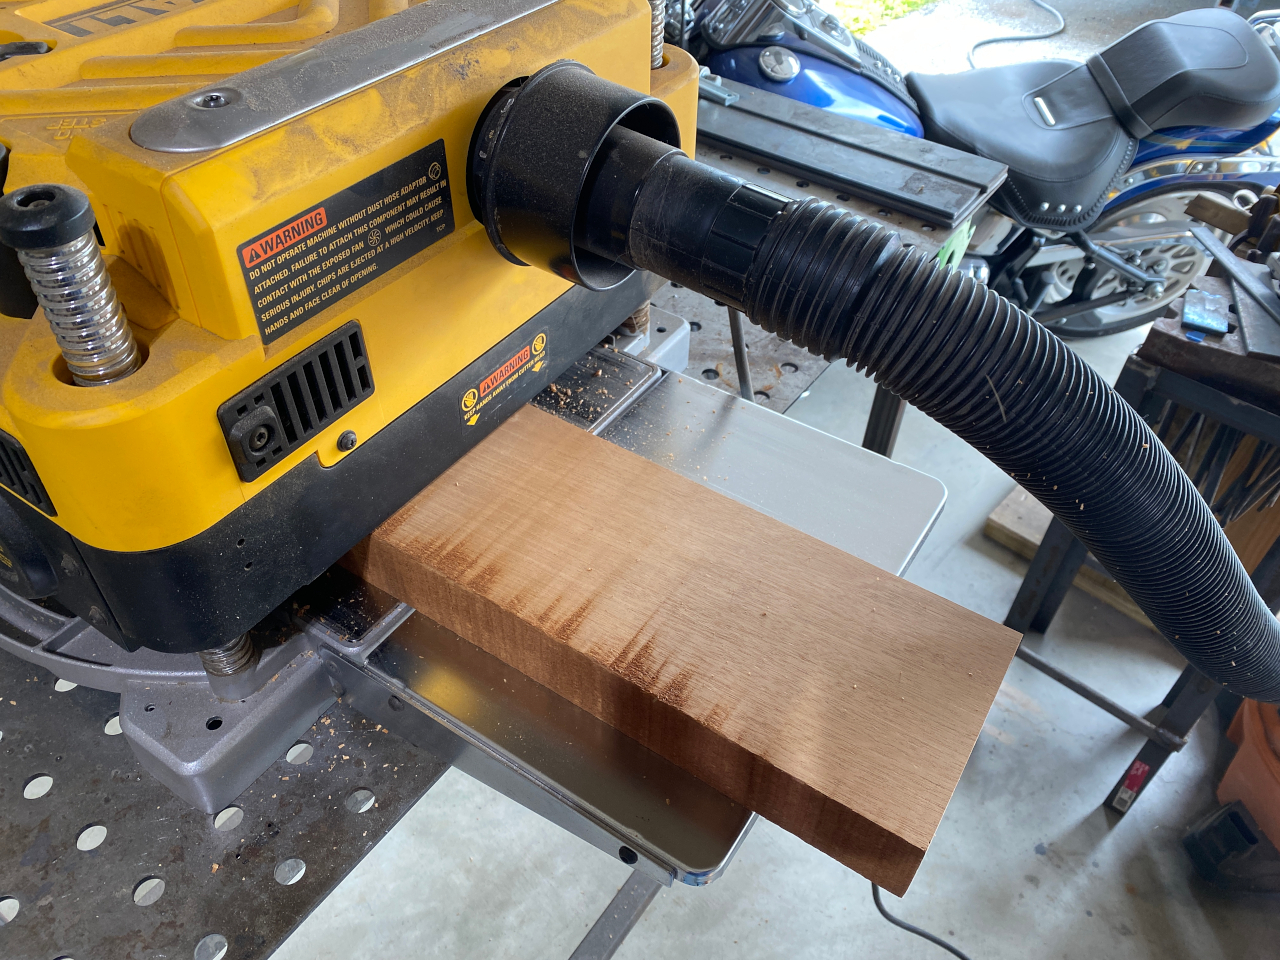
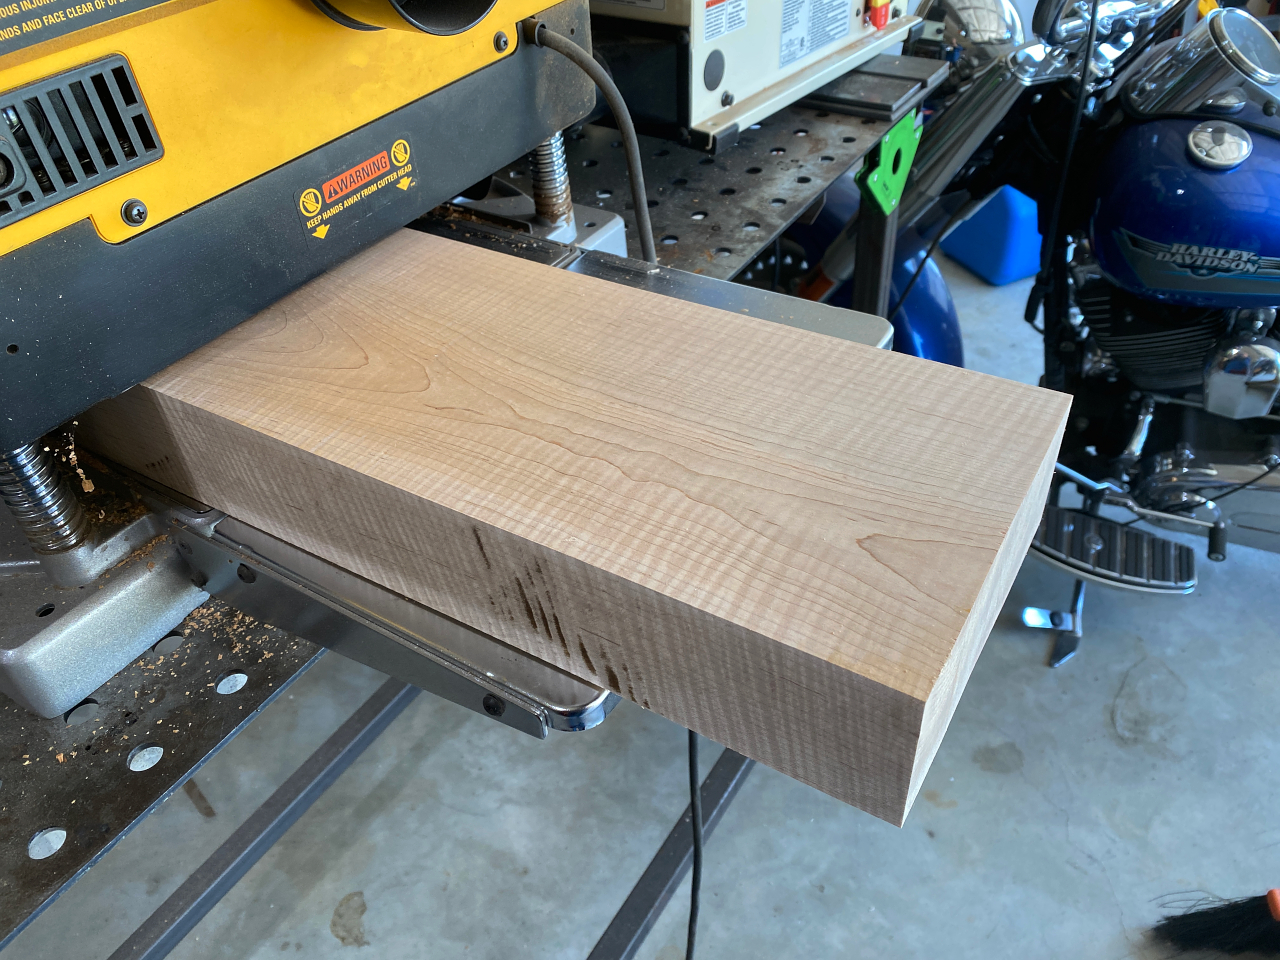
Then I flip them over and again I use the planer/thicknesser to bring the thickness of the boards down to just a hair over 1.75″ to match the thickness of the body area on the neck blank. I take multiple passes and reduce the thickness a little at a time. If you take off too much, you cant put it back on…
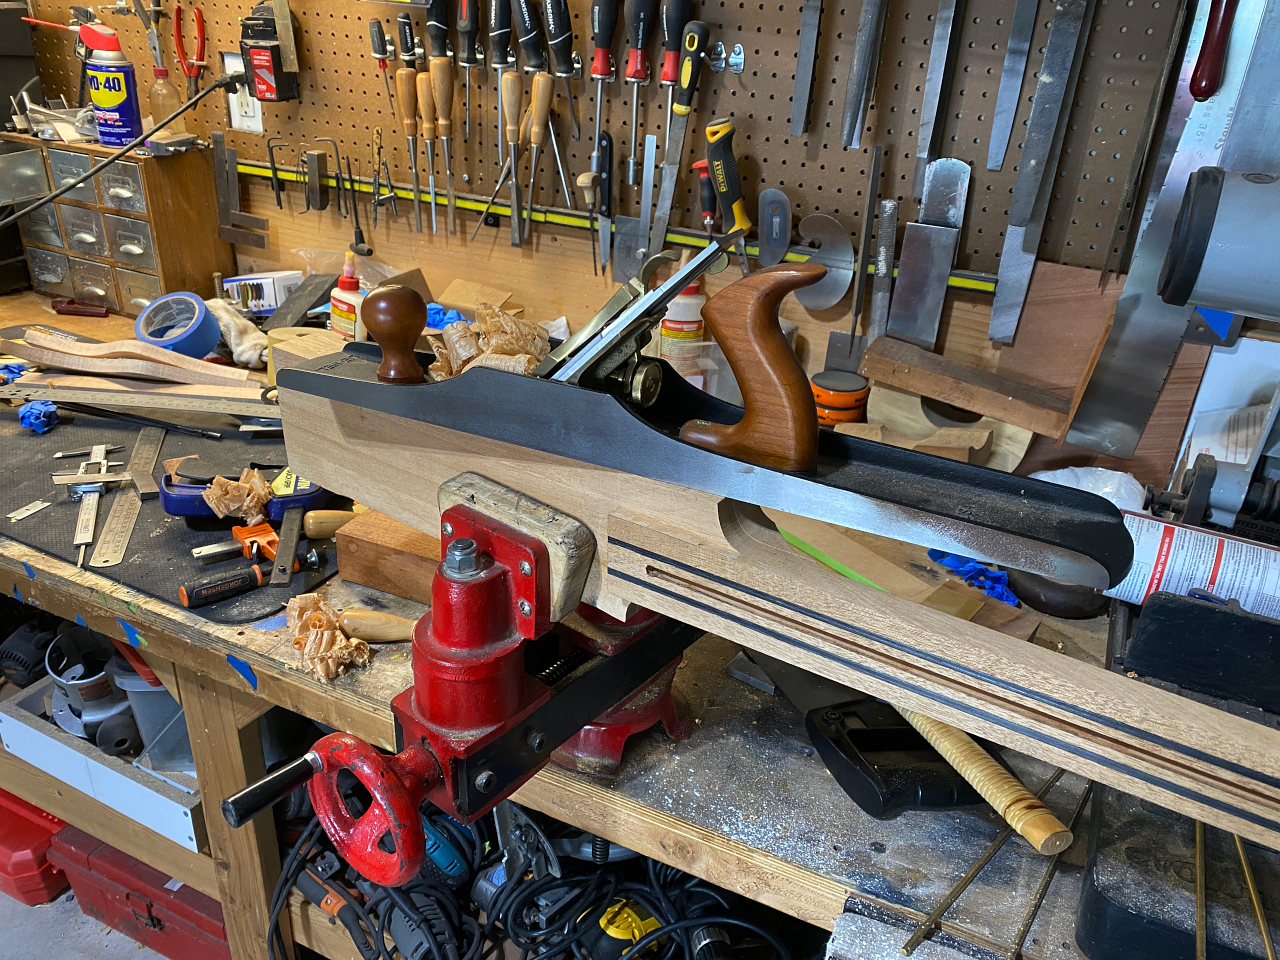
then I use the hand plane again to prepare all the edges to be joined. This is means both sides of the neck blank, and one edge of each of the wings
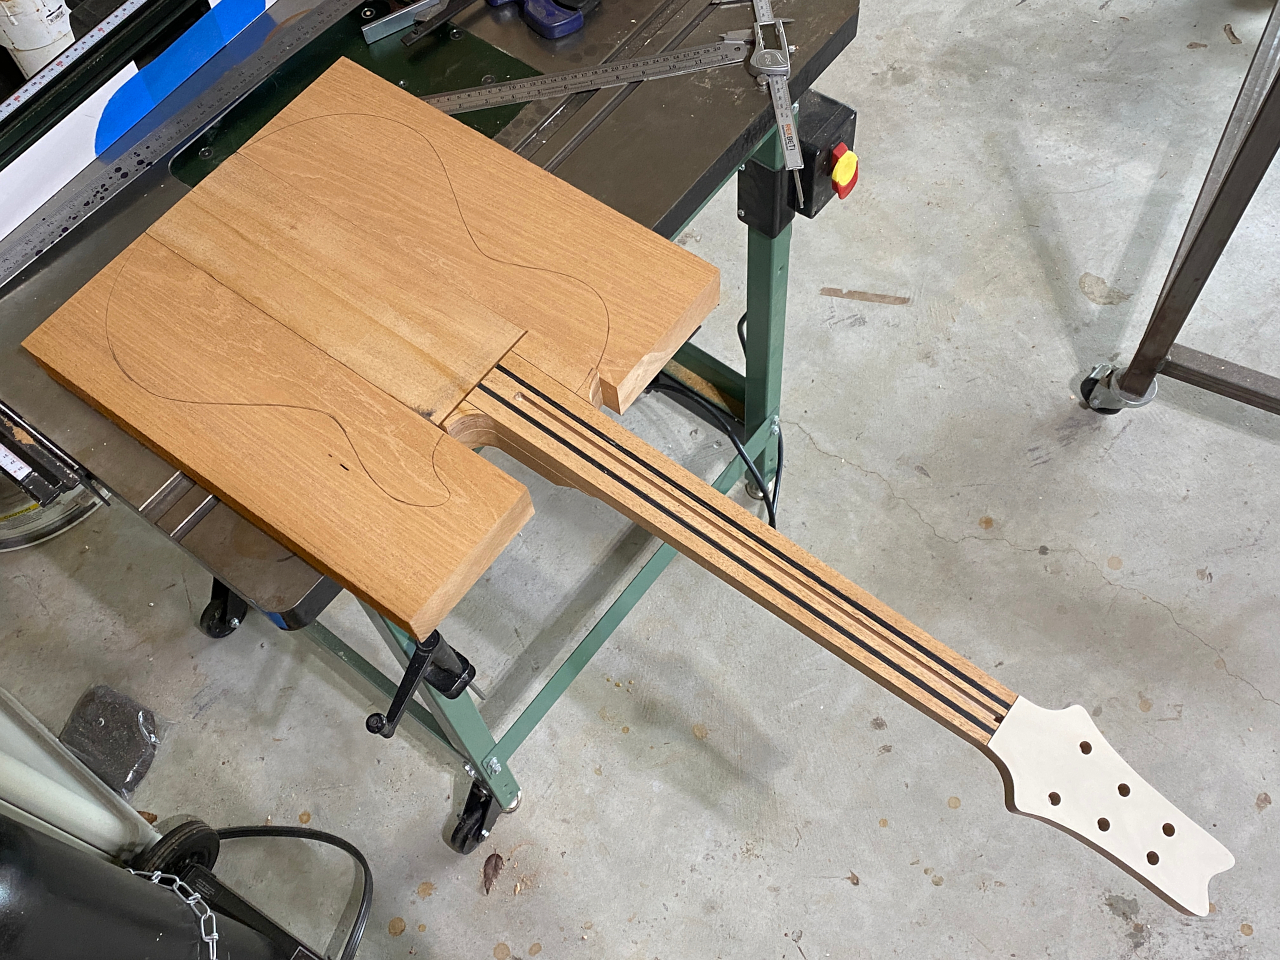
I lay them out to make sure the joints are going to be perfect. I draw the body shape on here for use later when I cut it on the band saw, but also its nice to start to see a guitar in there starting to take form.
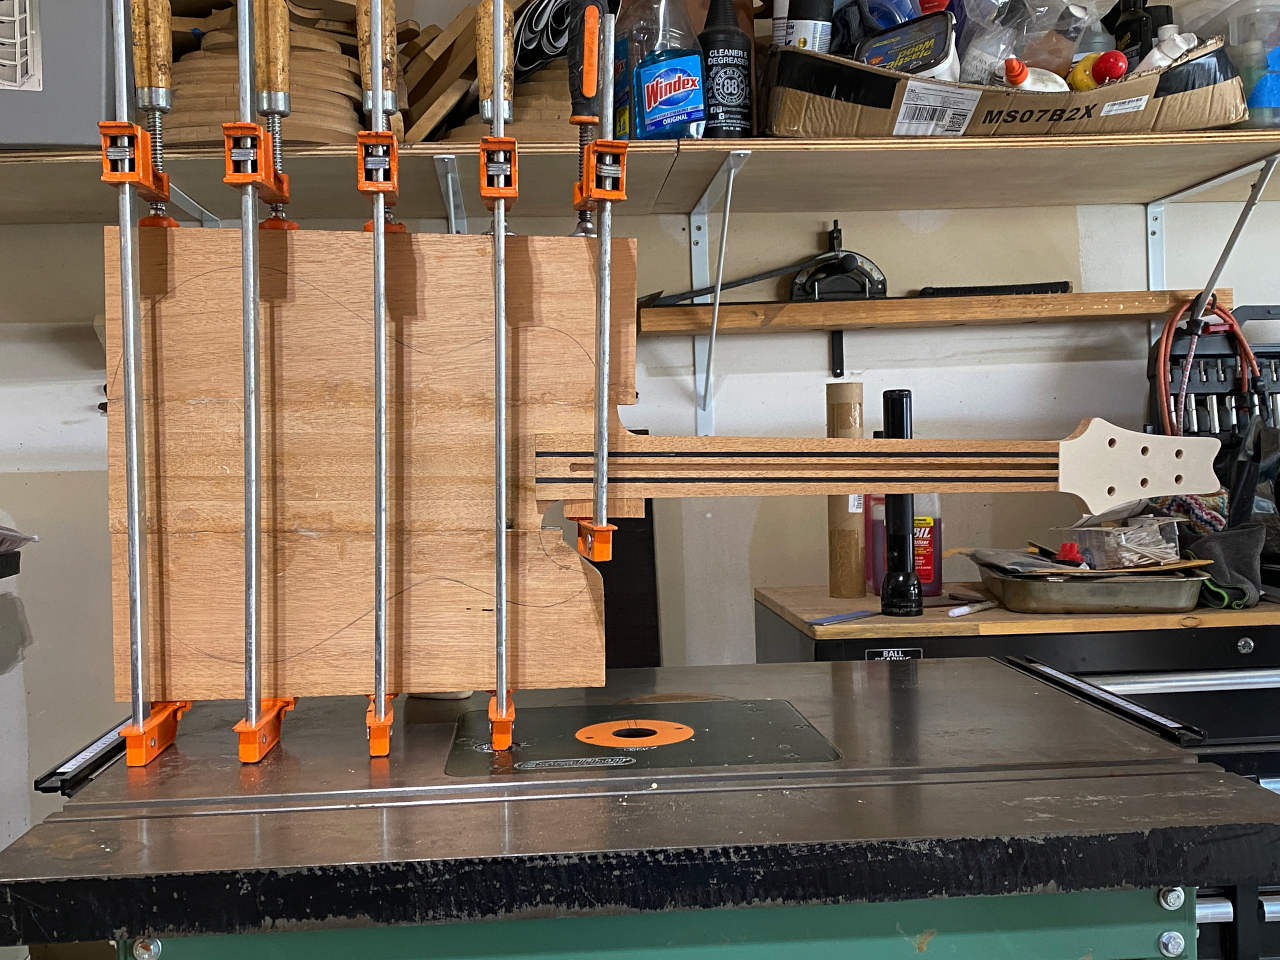
The wings are carefully aligned, glued, and clamped firmly.
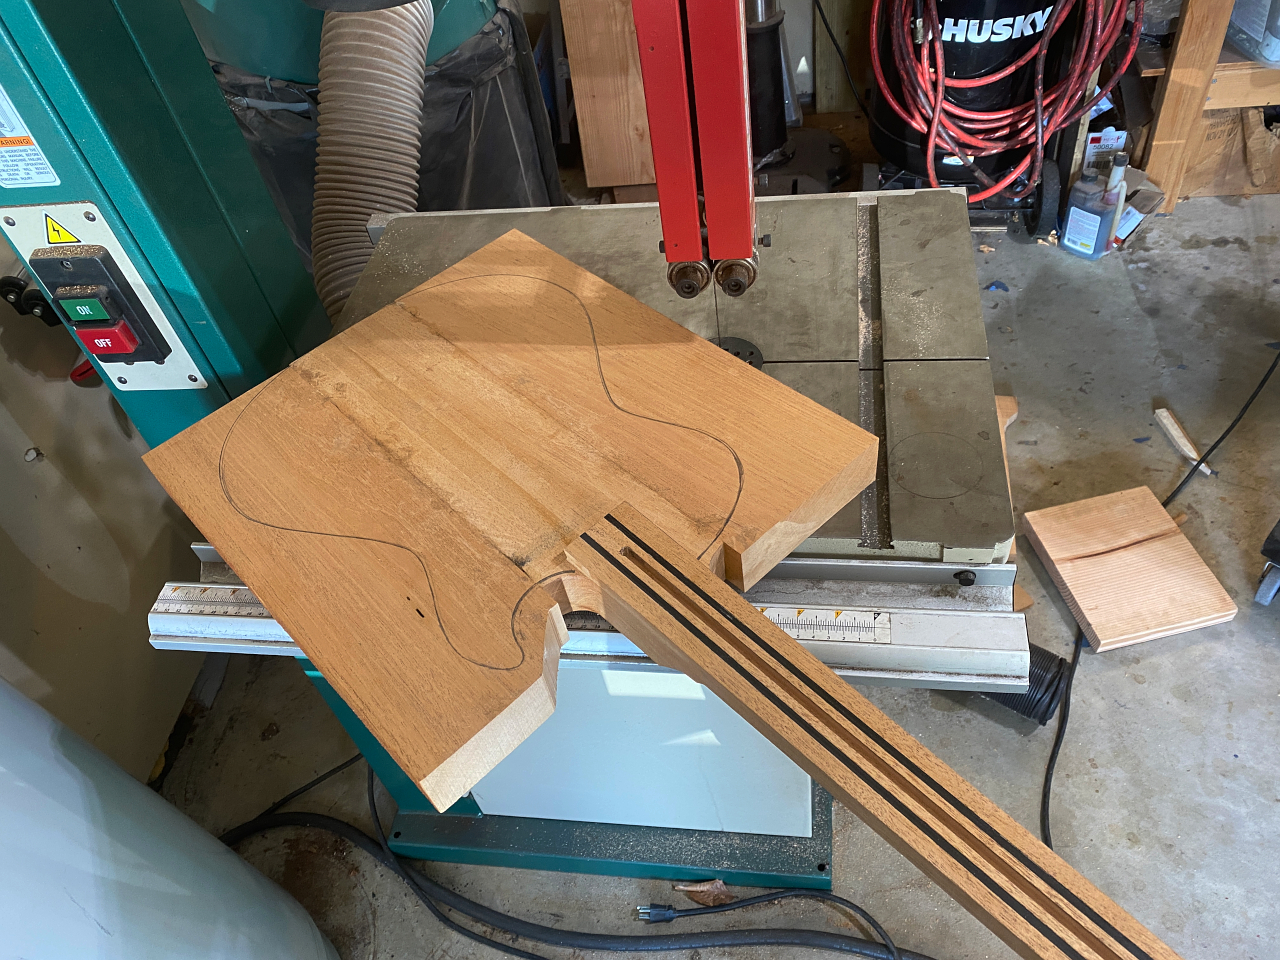
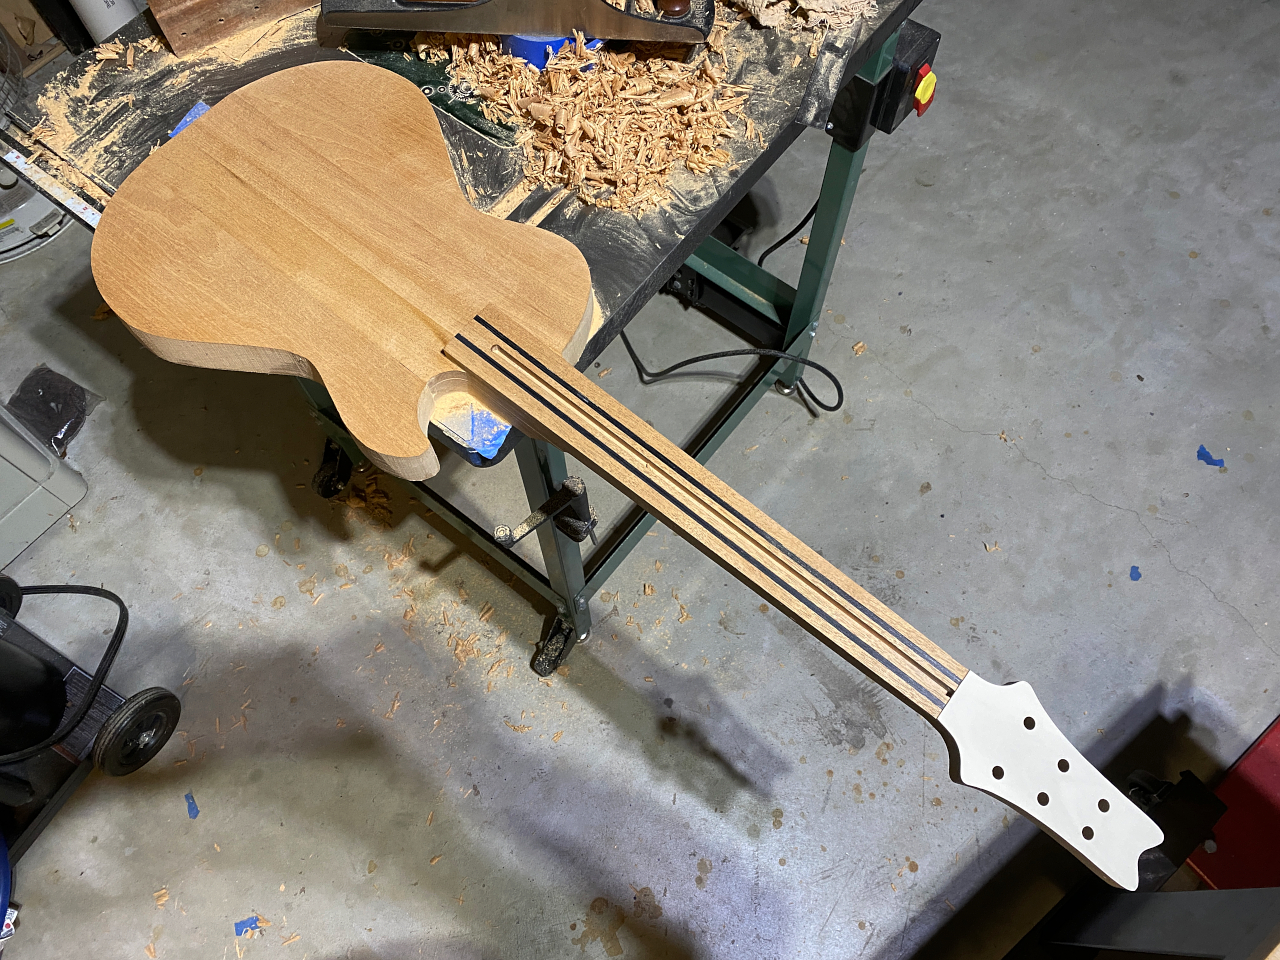
Next day the clamps are removed, and the rough body shape is cut out on the band saw.
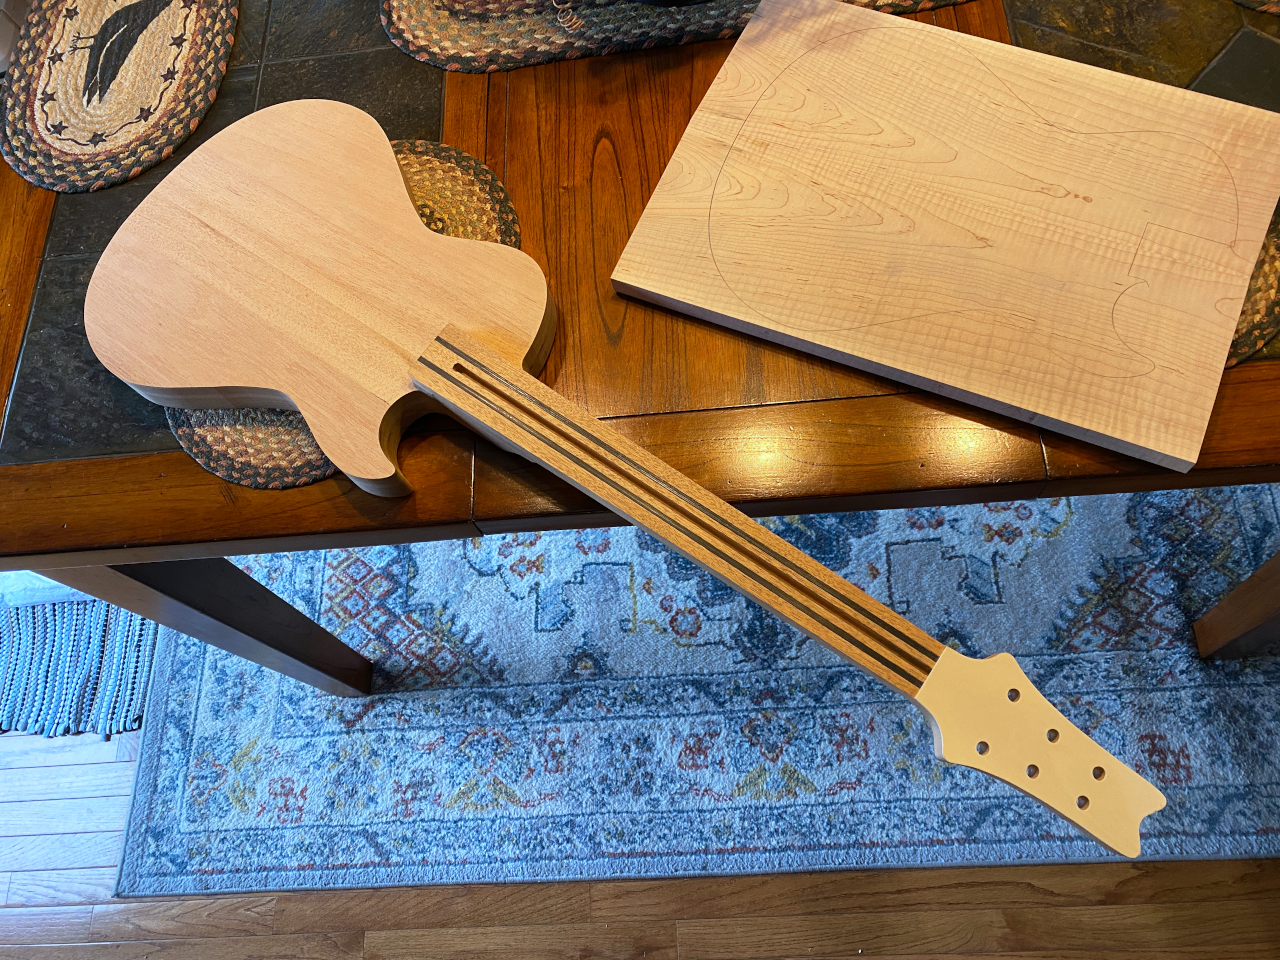
Now we are actually starting to resemble a guitar, albeit quire rough still
From here I changed gears a bit and moved on to making the book-matched maple top.
This block of flame maple is much longer and wider than needed, so first thing is to reduce that size.
Cut off the excess length.
and the excess width
I use the planer here to flatten on face, and the jointer one edge the same way we treated all the other pieces.
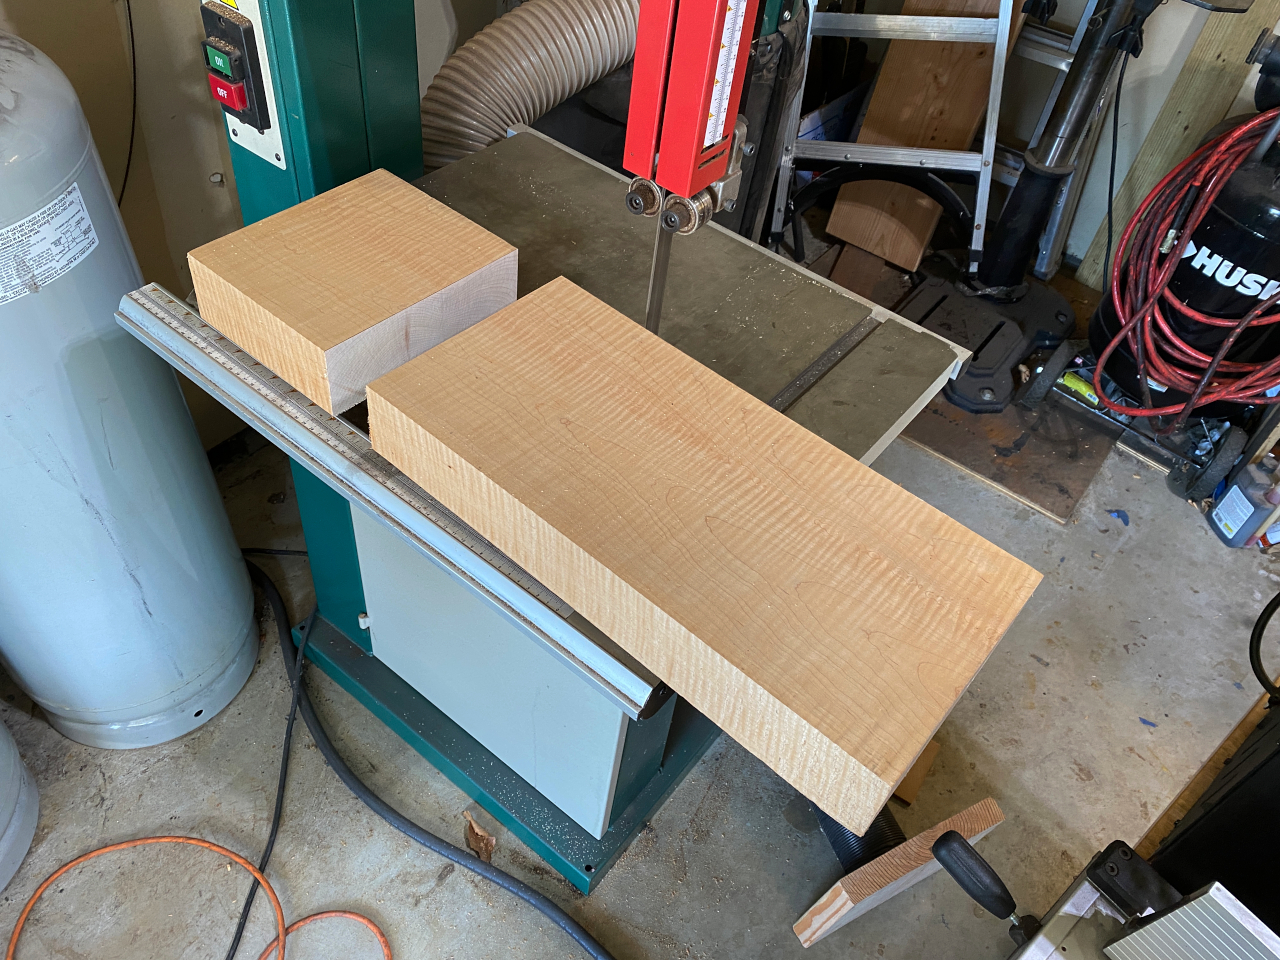
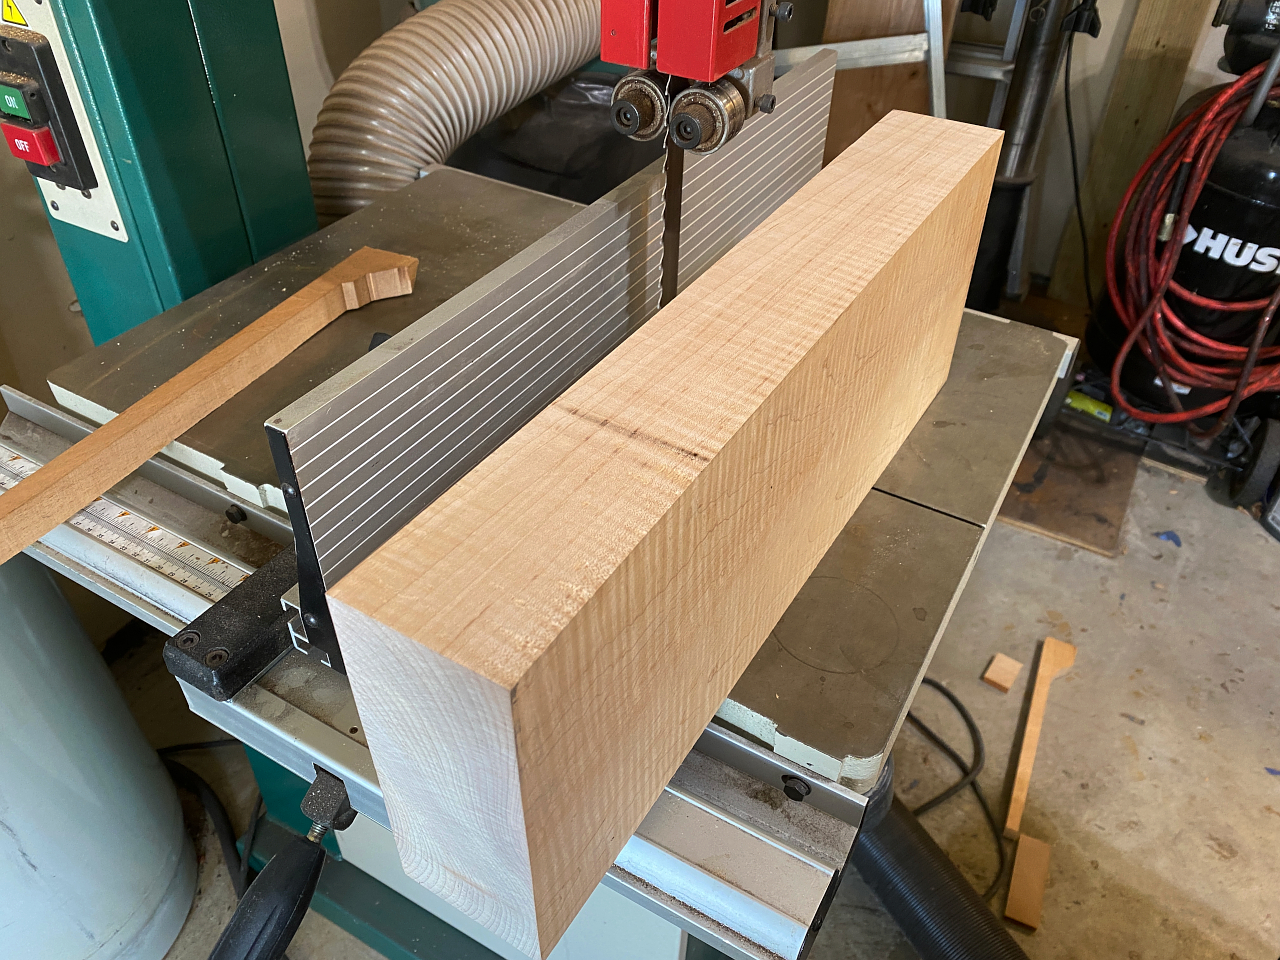
Then to the band saw. This is the one cut where no other tool could possibly get this job done. The cut is 7″ tall and needs to be perfectly parallel to the face I flattened.
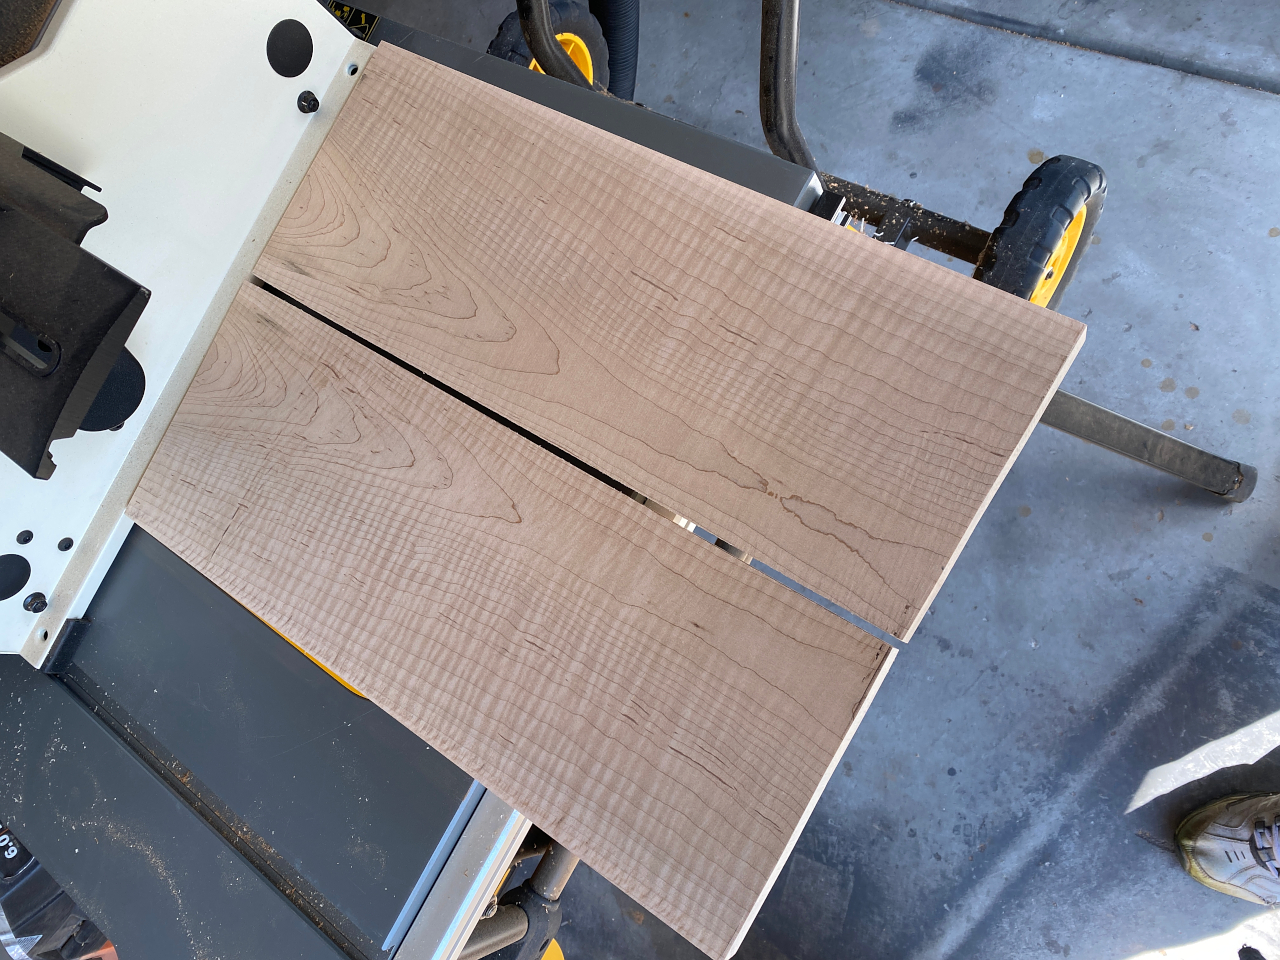
I take two slices off the board. This is a fairly slow cut and takes a while. the two pieces standing up are the ones we will use. the remaining piece isnt thick enough to make another top like this one, but could be used someday for a drop top or some other project.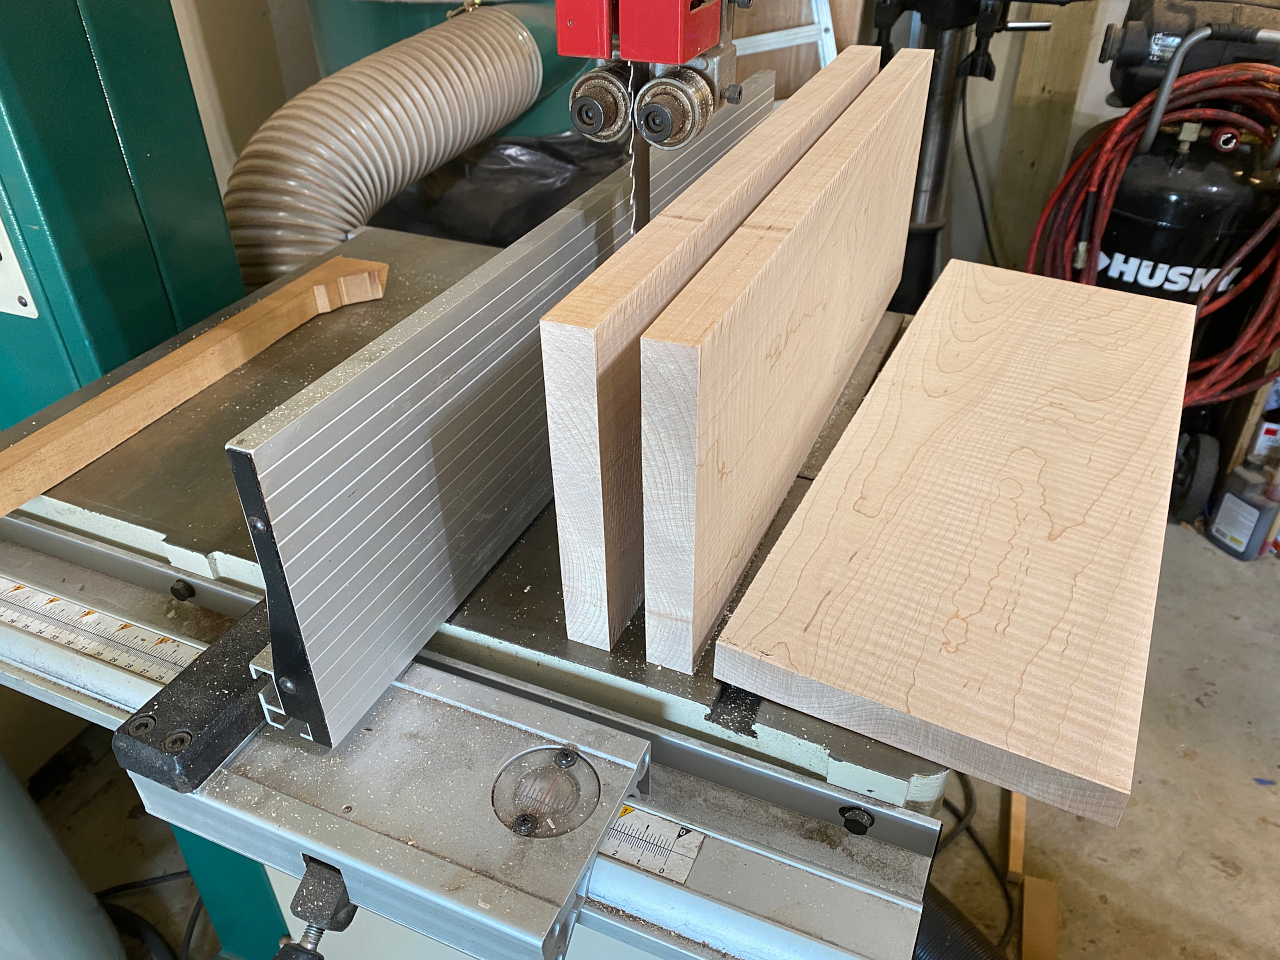
Each piece is carefully smoothed and thicknessed. they must both be perfectly flat and identical in thickness, and jointed along one edge where they will be joined. Imperfections in the seam will be visible, so there simply cant be any. This will be the top of the guitar.
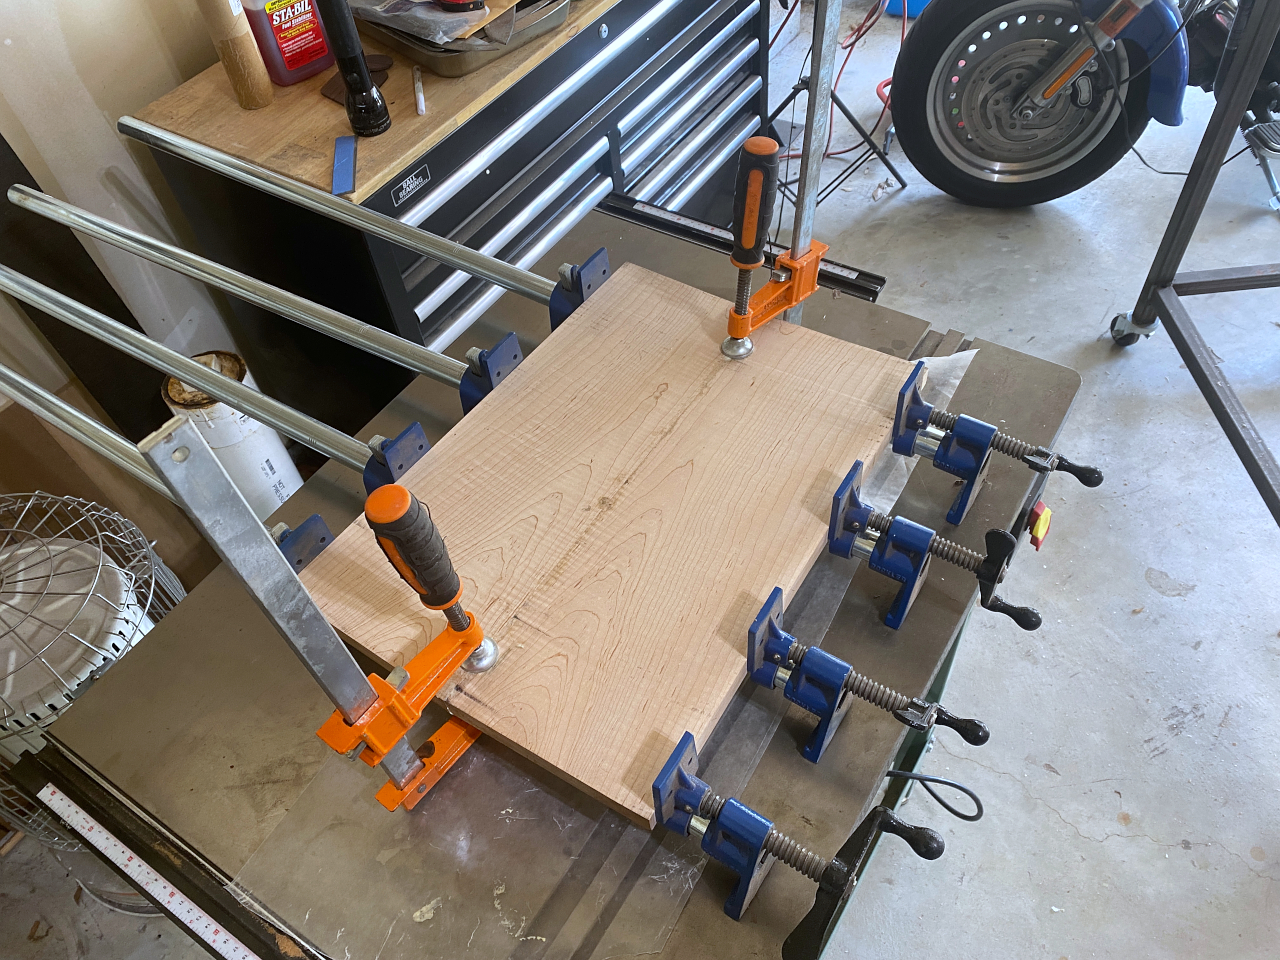
Once the joint is perfected, the top is glued and clamped
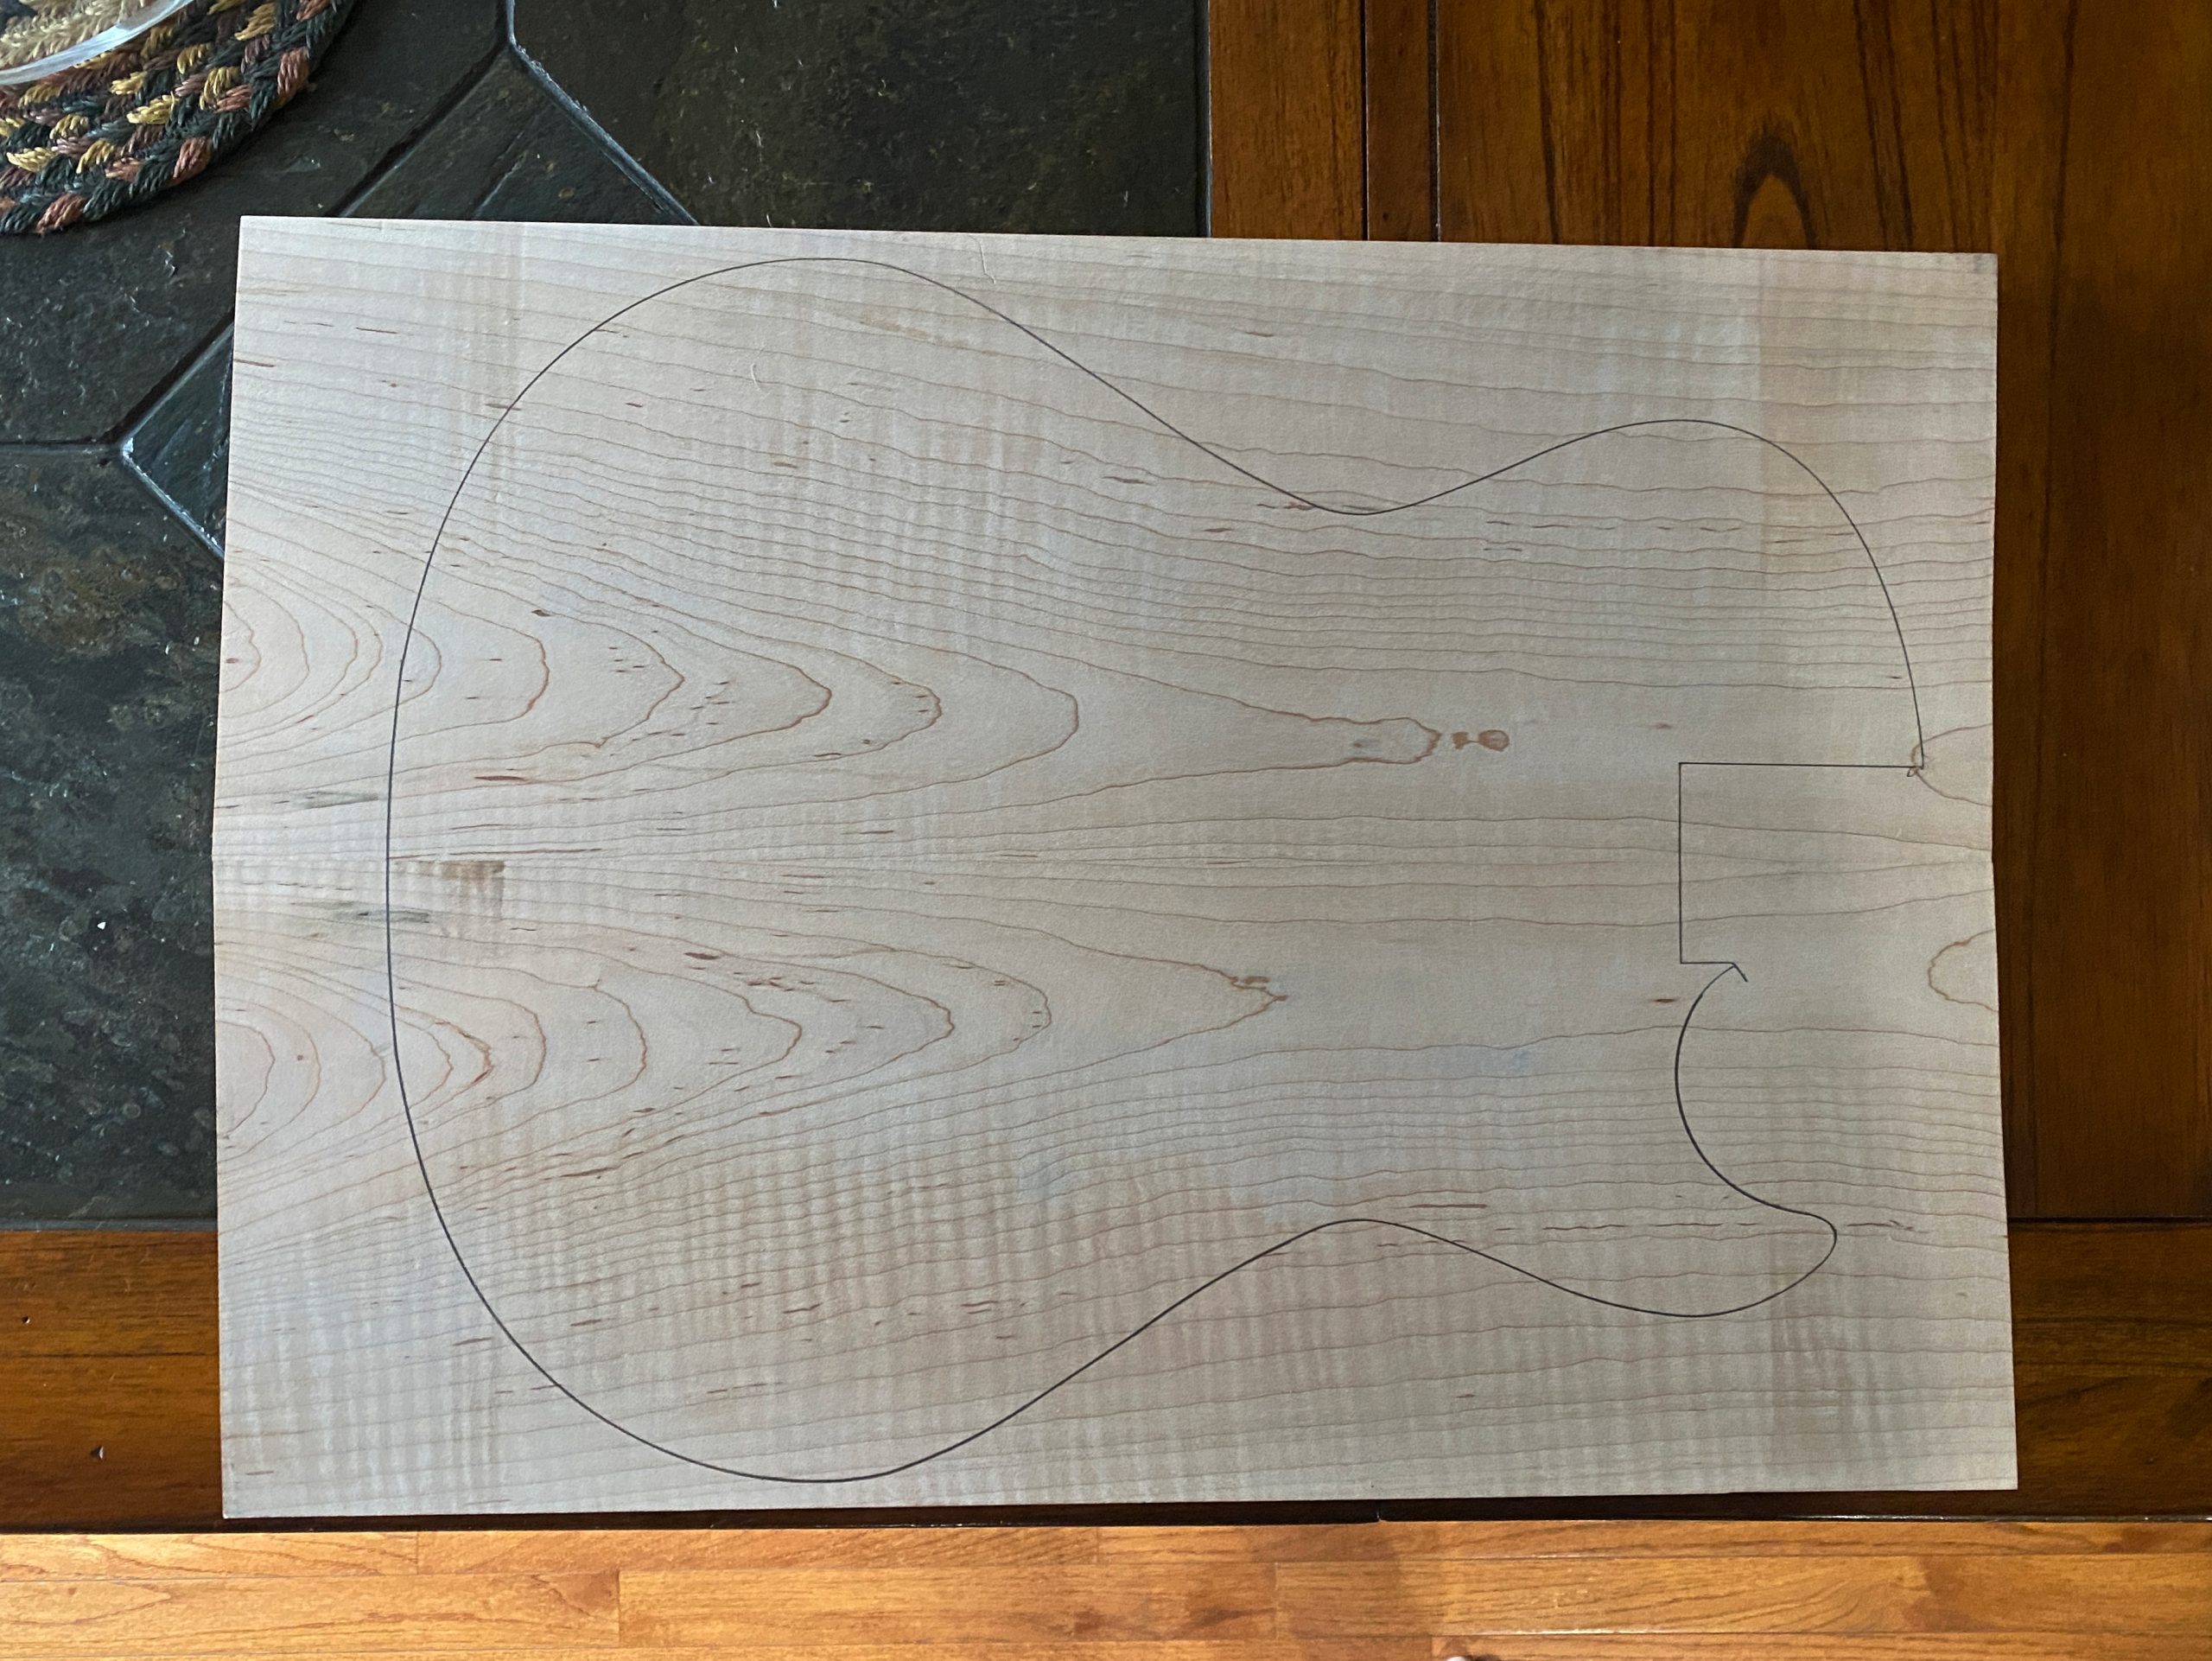
Clamps came off 8 hours later, and the glue squezeout is cleaned off. Here I applied a little naphtha to the wood to show off the figure a little bit. I love figured maple. Naphtha is good for a quick look because it evaporates fast, leaves no residue, and doesnt dwell the wood like water would. 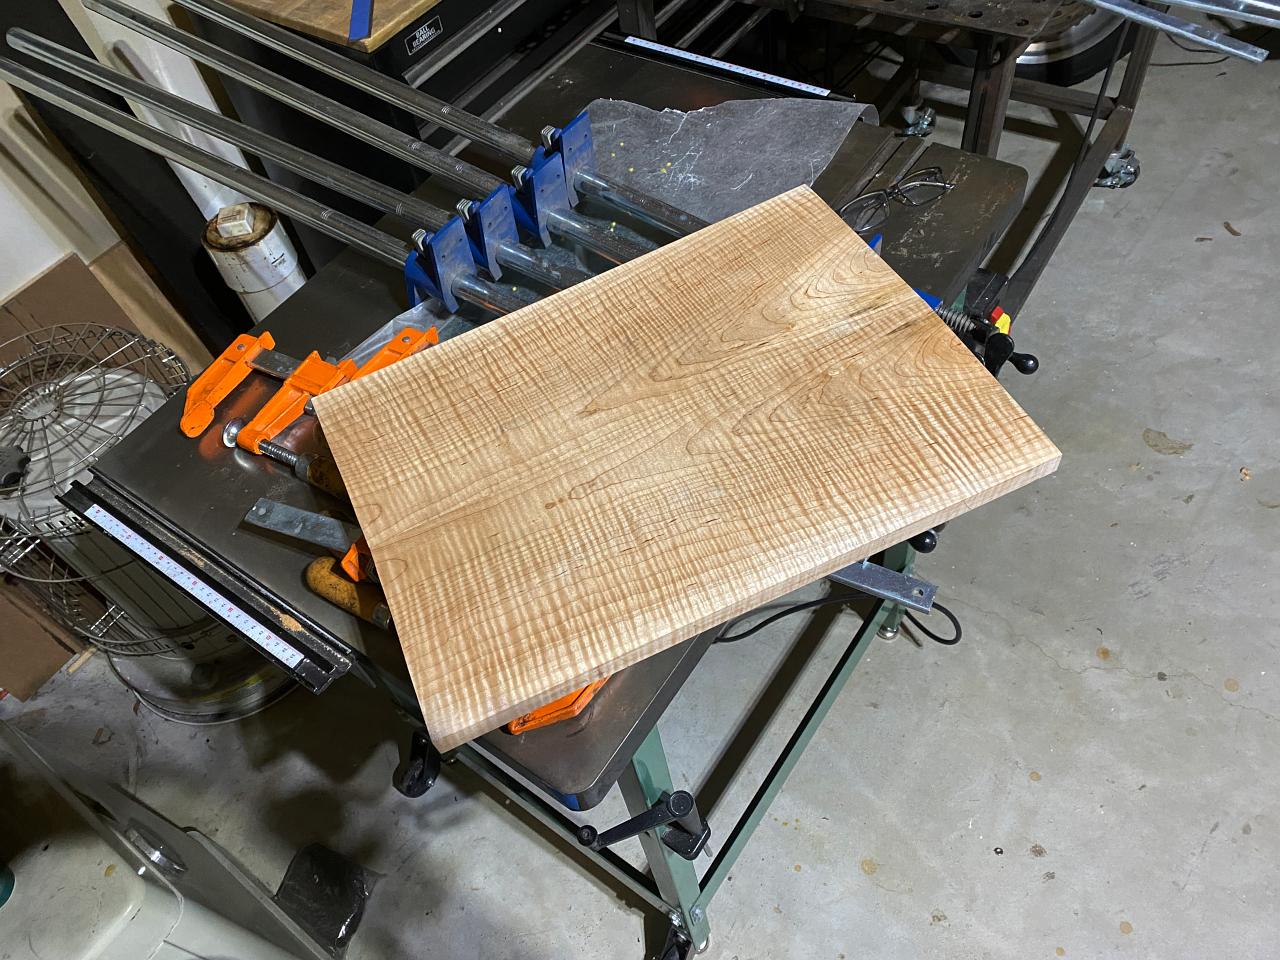
After the naphtha evaporates I draw the top shape on for when I rough cut it. The figure isnt prominent at the moment, but when the guitar is lacquered it will be highly visible 🙂
Some more hand planing and sanding get the top and bottom of the body nice and flat.
Its crucial that this be dead flat since the joint between the mahogany body and the maple top is the largest joint in the guitar. Imperfections, seams, pockets of glue, etc can all impede good transfer of energy between these two pieces of wood. Since the bridge and tailpiece will be anchored in the maple top its important that this joint be as perfect as possible. Both the mahogany face and the maple face need to be as flat as its possible to make them so you have 100% contact between them when joined.
The body here is still a bit oversized since I do this before I finish routing the outside edges down in to the final shape. If the planing and sanding should tear out an edge a little bit, that edge is just going to be routed in anyway.
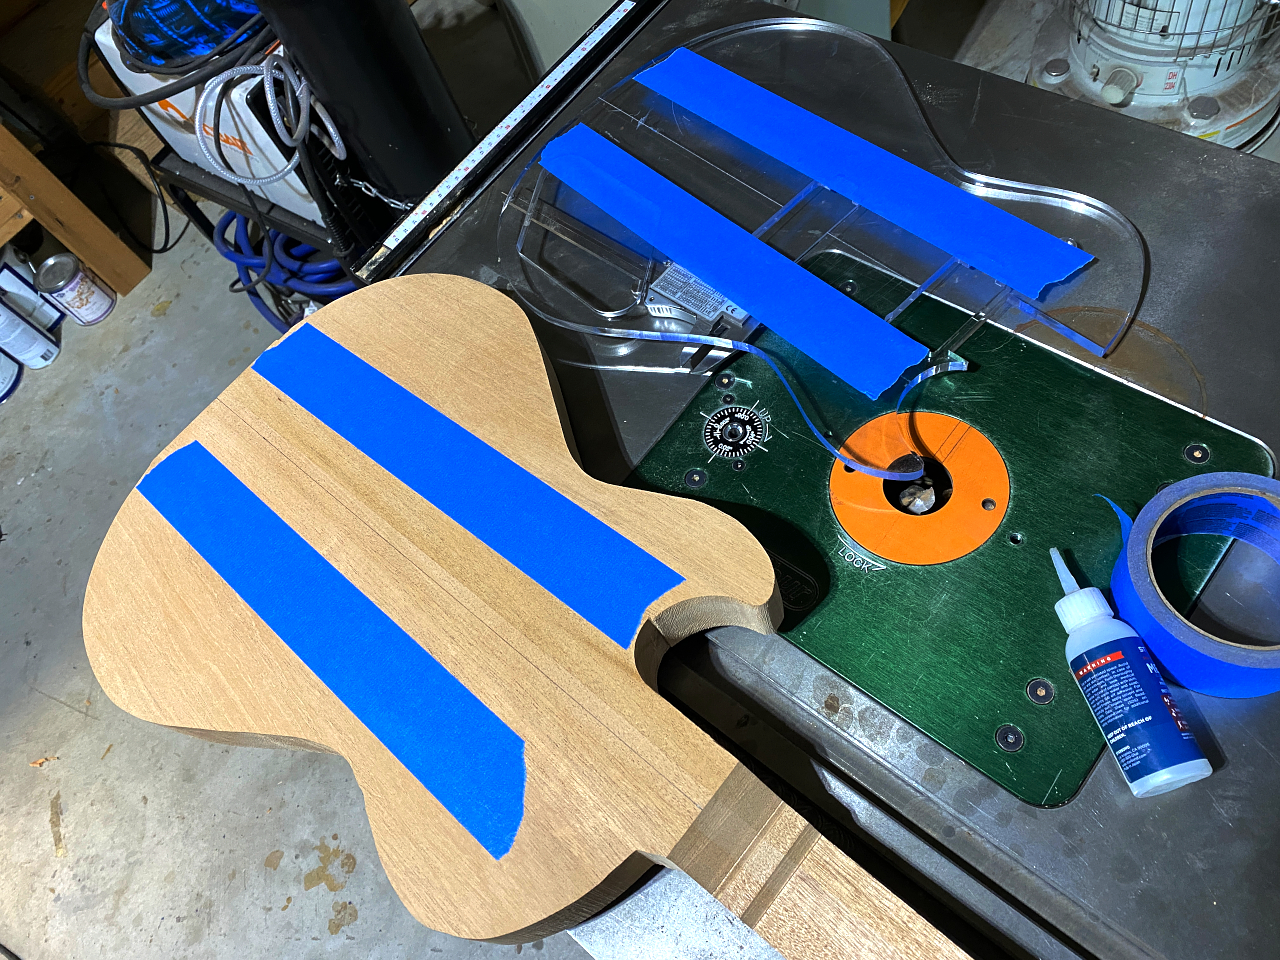
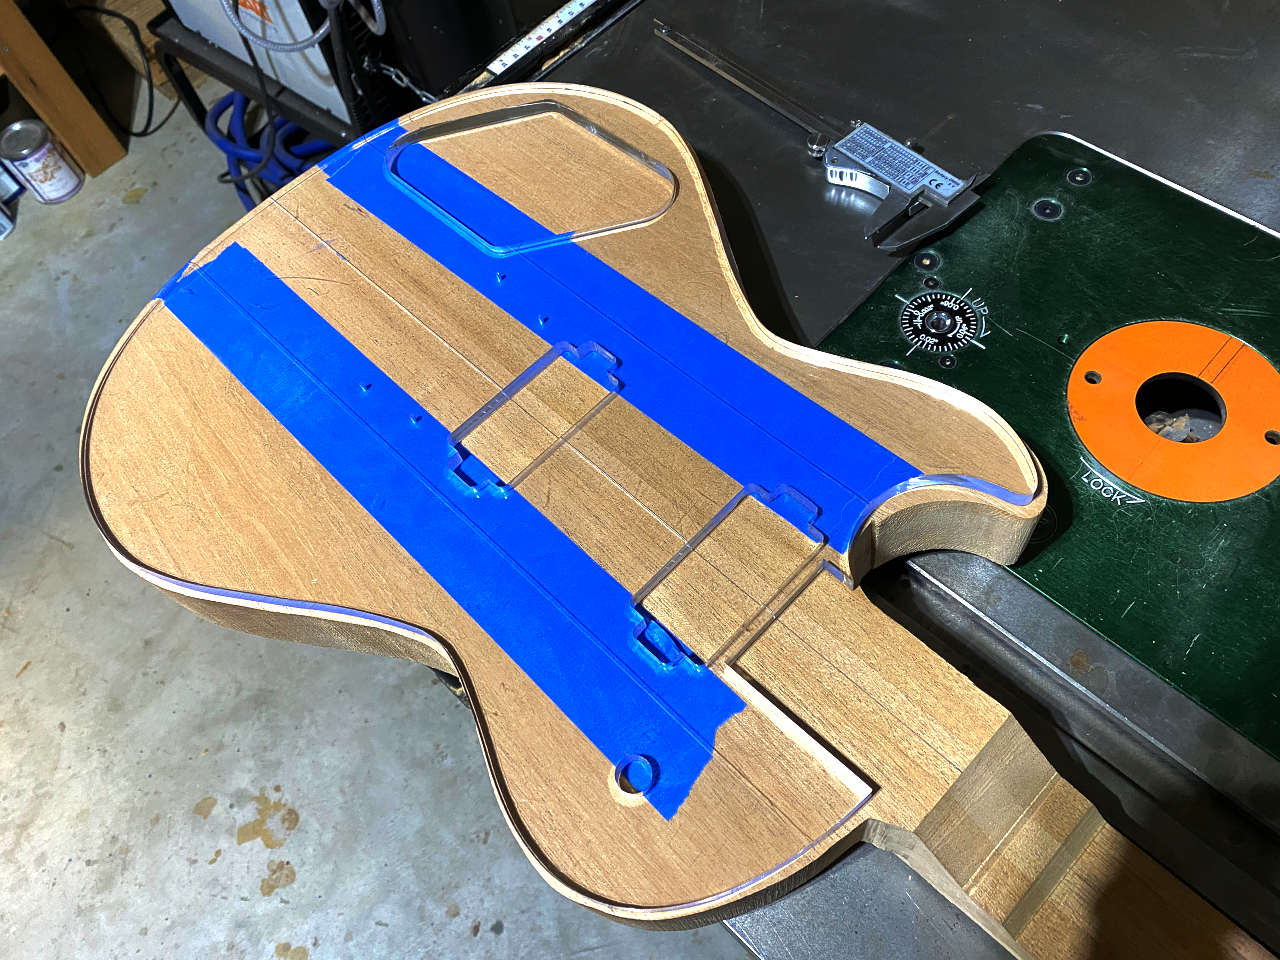
After some final flattening I use the masking tape and super glue trick to attach the body routing template
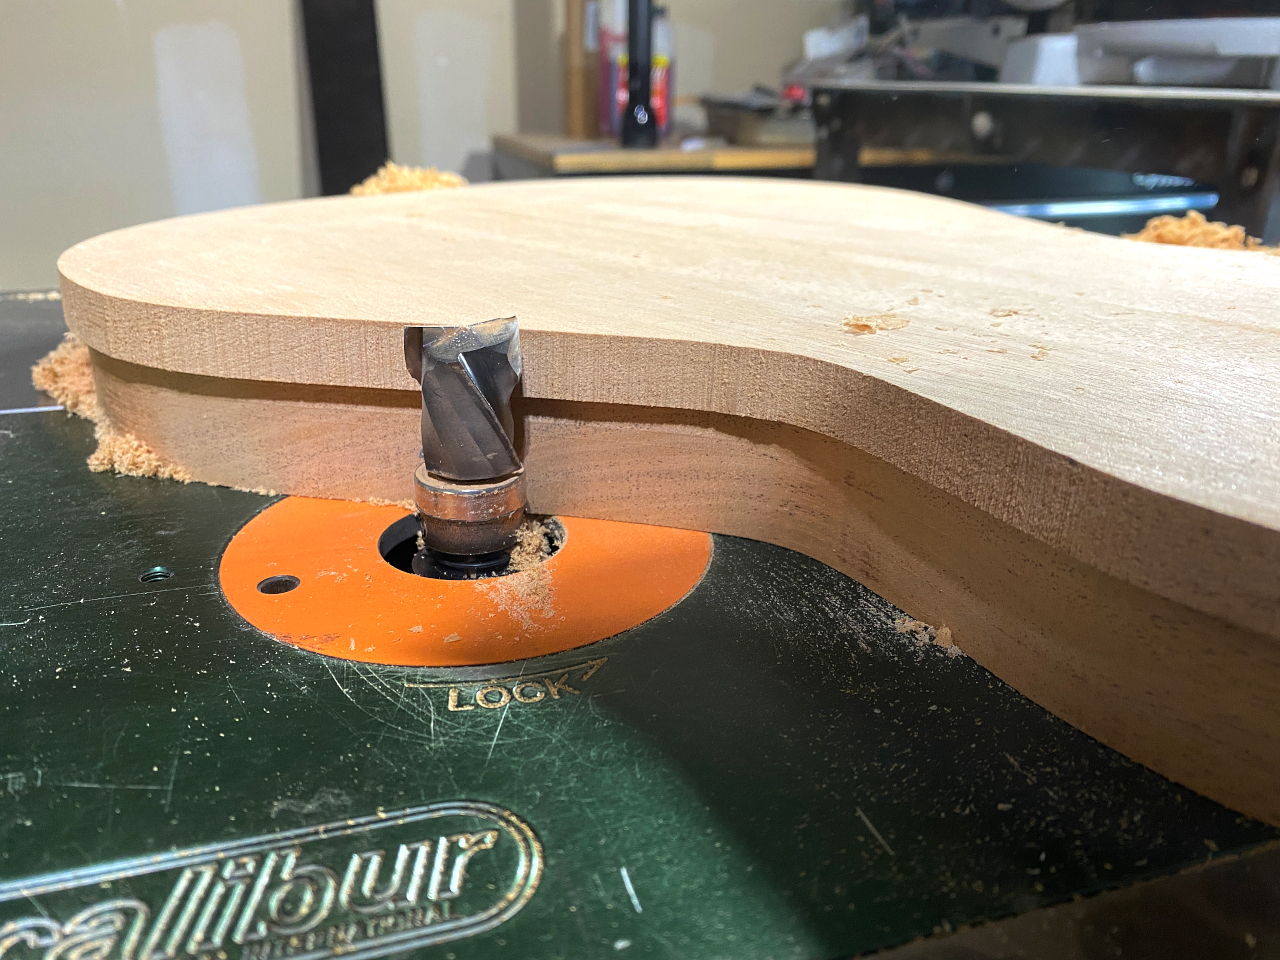
Routing the body takes many passes since routing too deep all at once will cause big chunks to be torn out of the body edge, especially on the outside curves.
Ask me how I know this 😉
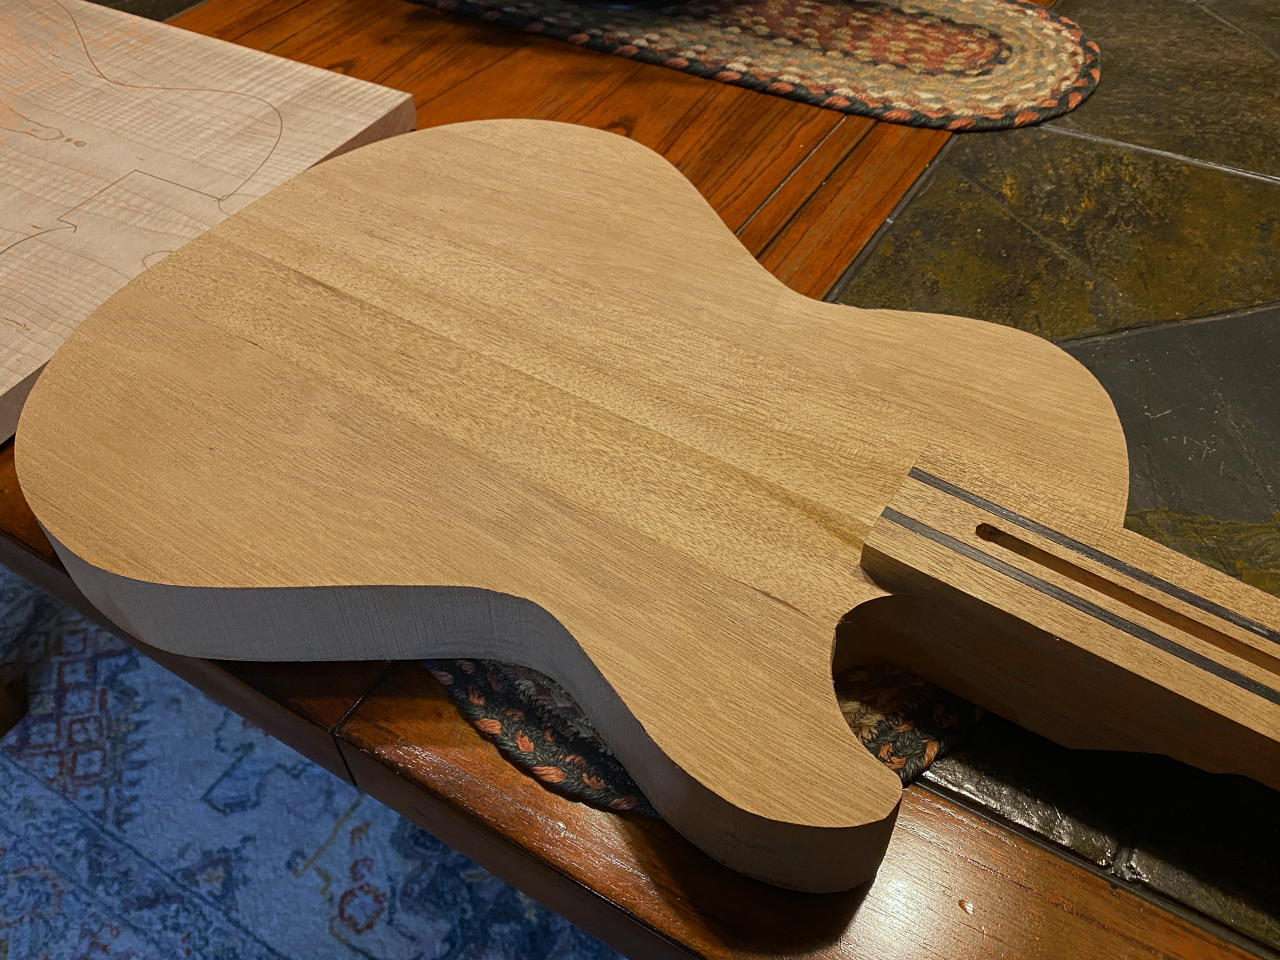
Once I complete the first level passes, I remove the template, raise the bit, and repeat the whole process to remove the remaining lip left because the bit isnt tall enough to route the entire thickness of the body.
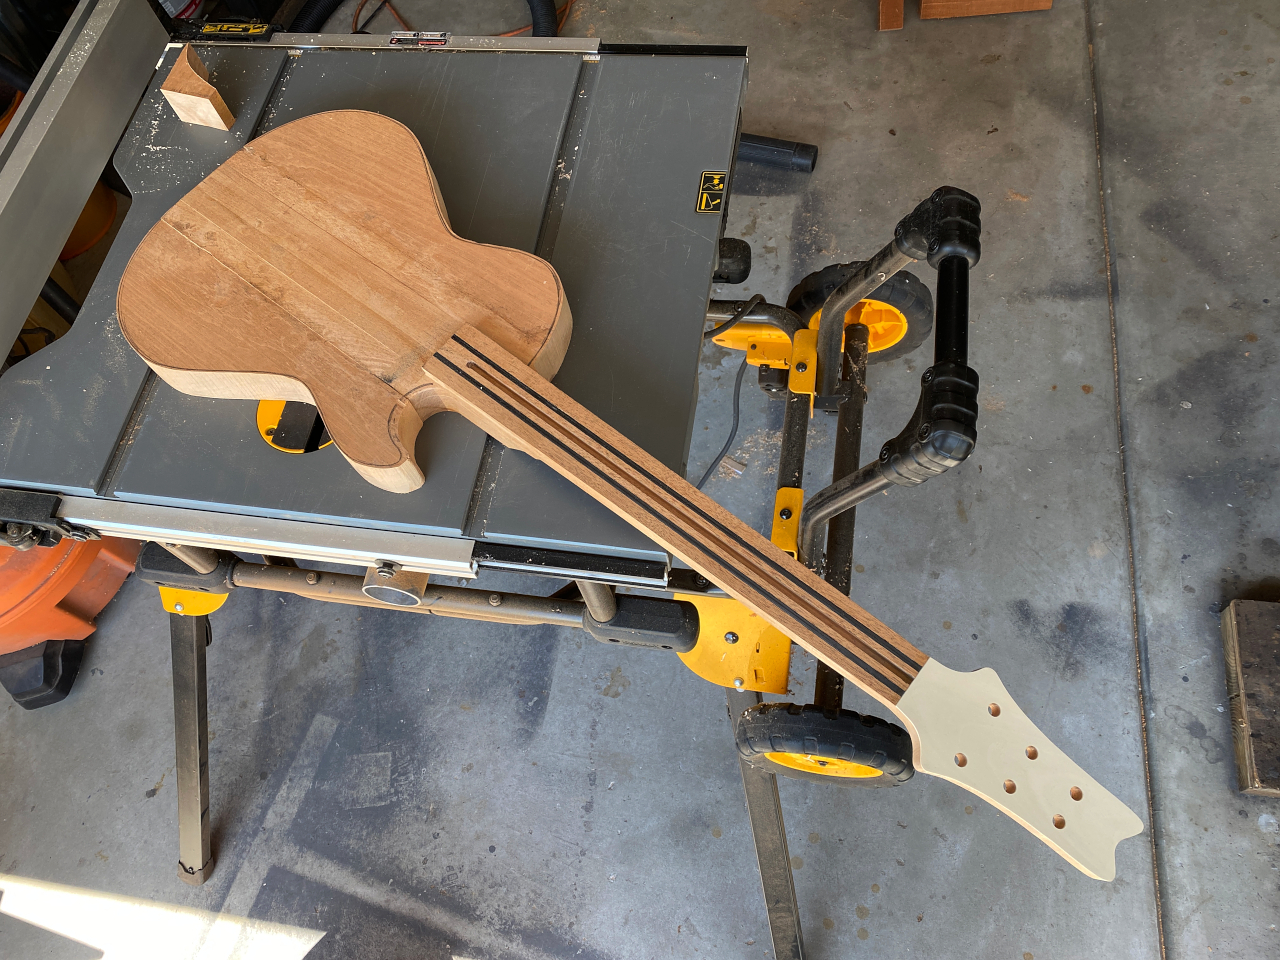
Now we get a look at the final body shape. Definitely starting to look like a guitar 🙂

