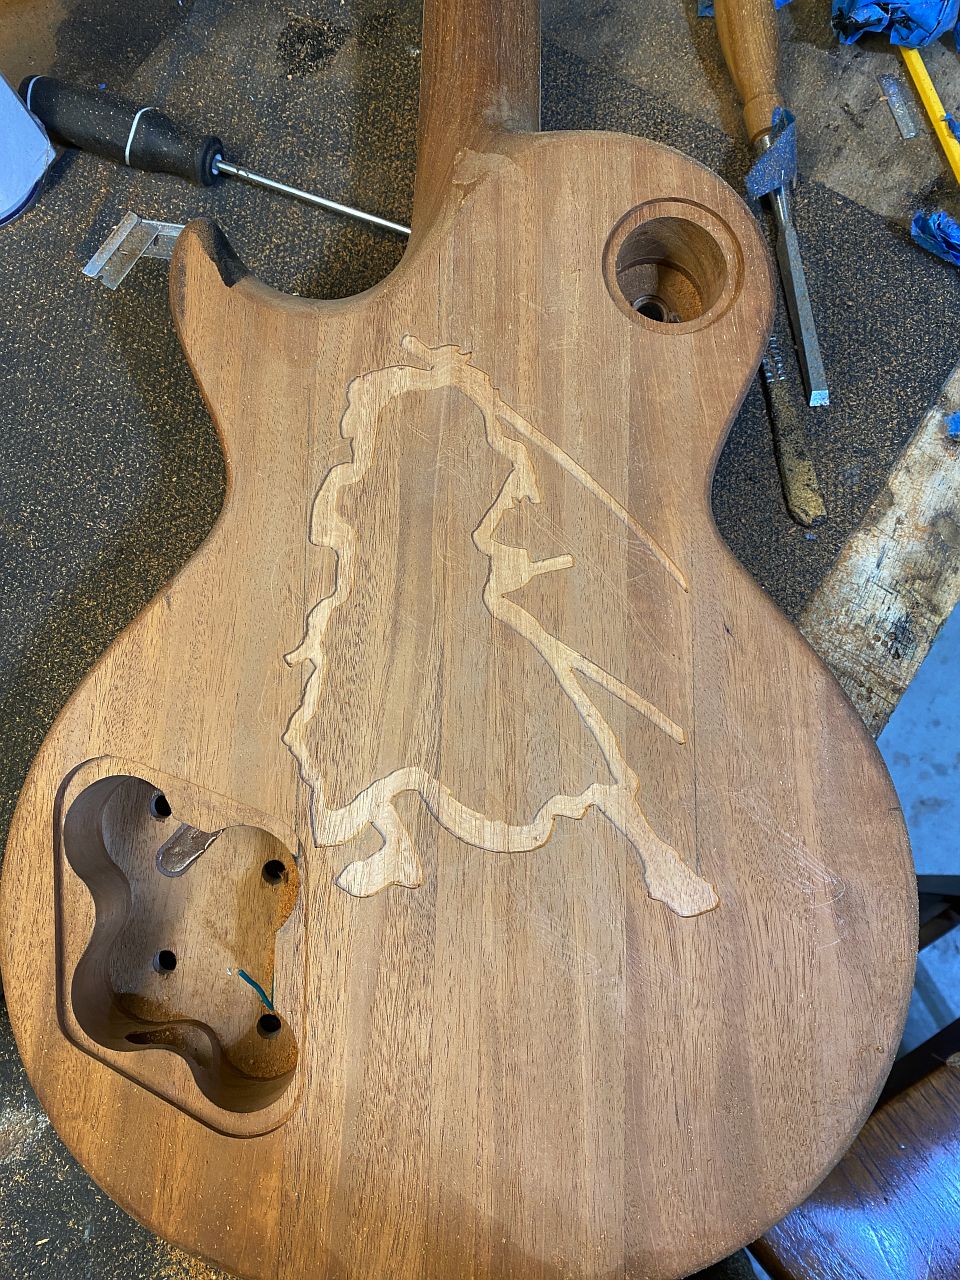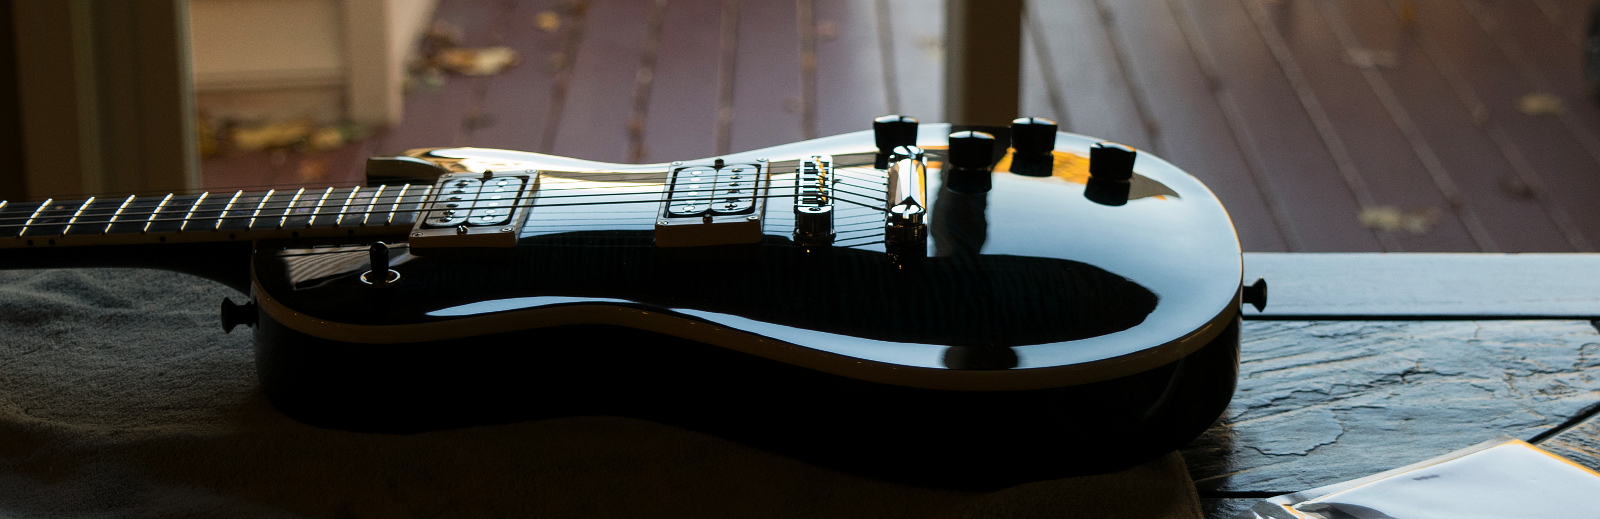
So on to the rest of the inlay work, which will conclude the “build”
You’ve already seen the “Addict” logo back on the first page, just re-showing it here.

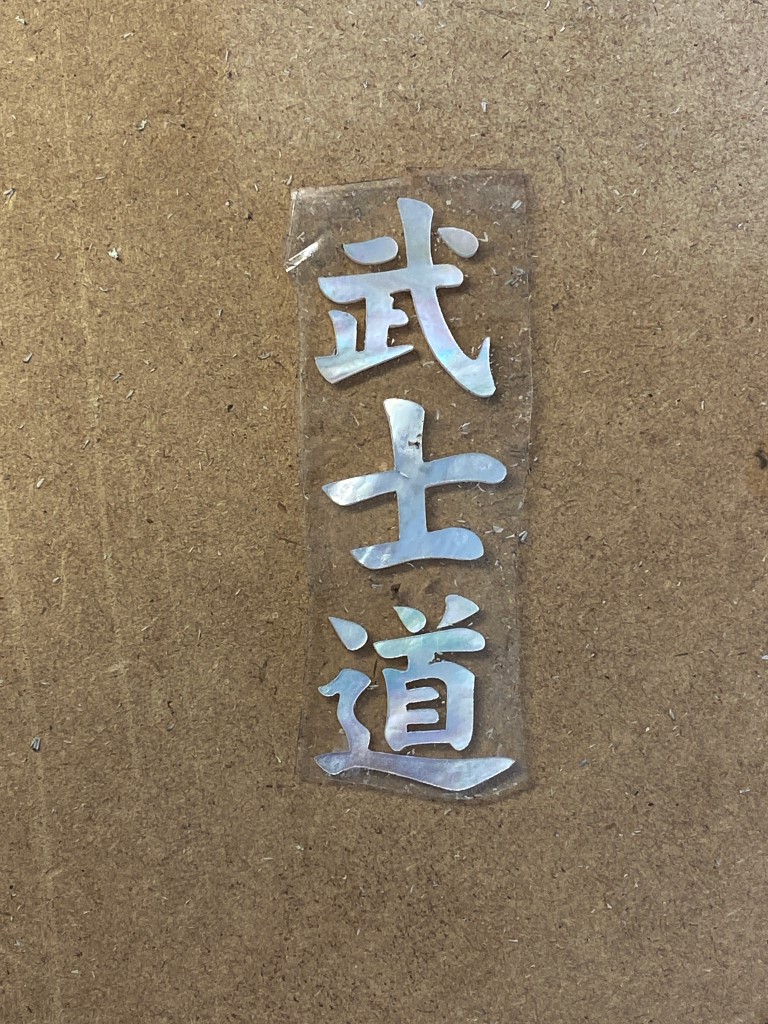
This is the Kanji characters for bushido, prepared for inlaying. Ive arranged them, and then covered the top with transparent tape to hold them all in their positions while setting in place.
I’m glossing over some work here, but its exactly the same process I described with the fretboard inlays so I didnt bother doing a whole photo layout. The locations are set out on the headstock for these inlays after covering the area with tape. Then I cut the outlines with a scalpel and remove the tape from the areas. Then I use the dremel tool to route out recesses for them.
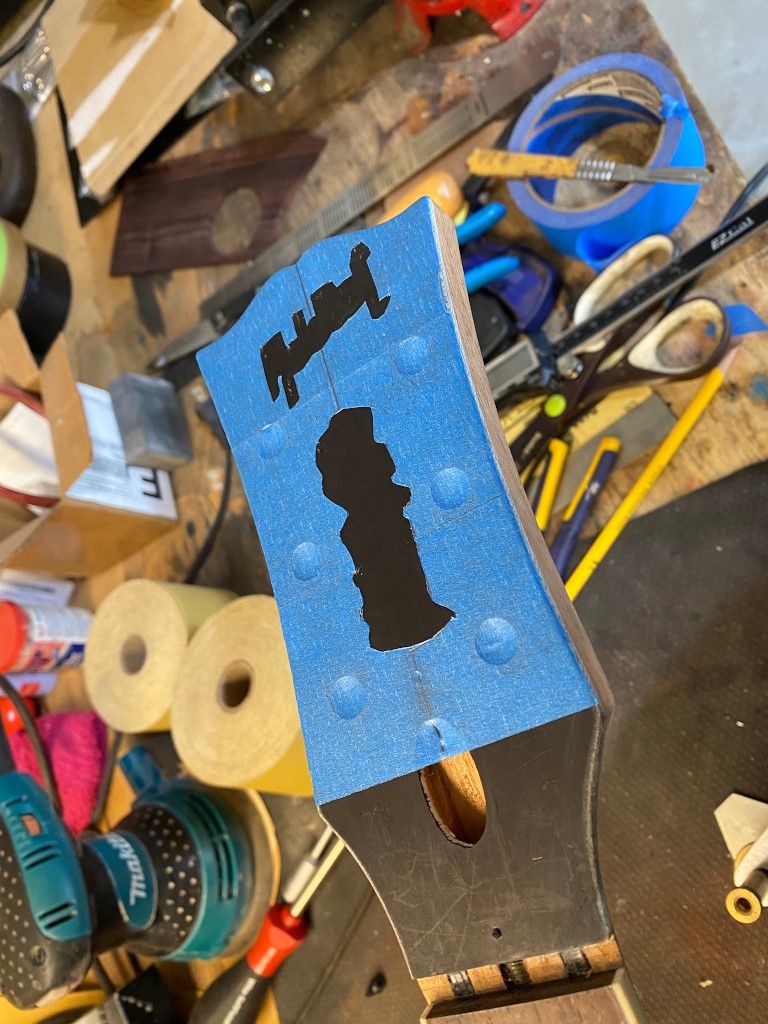
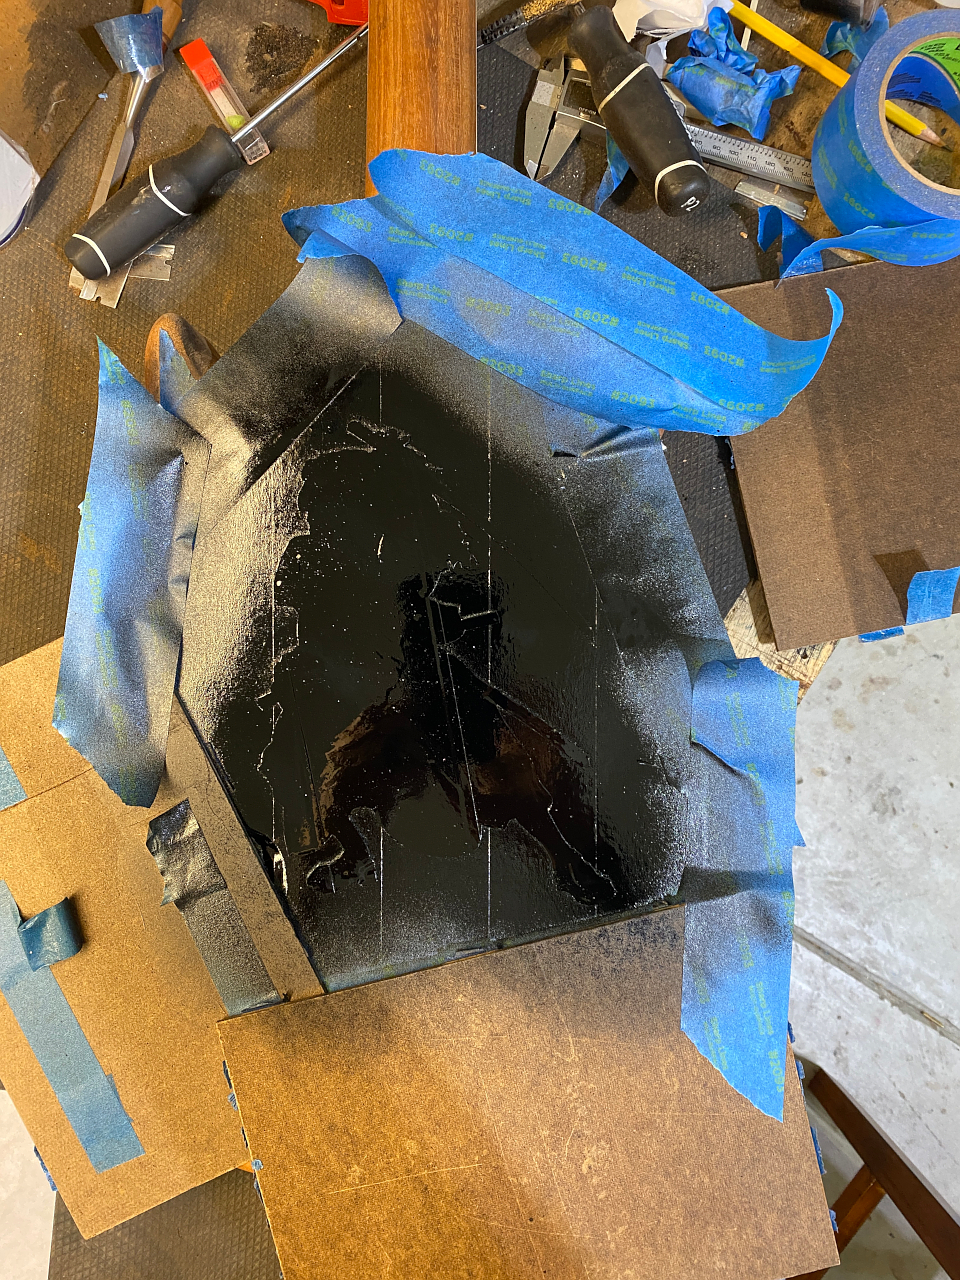
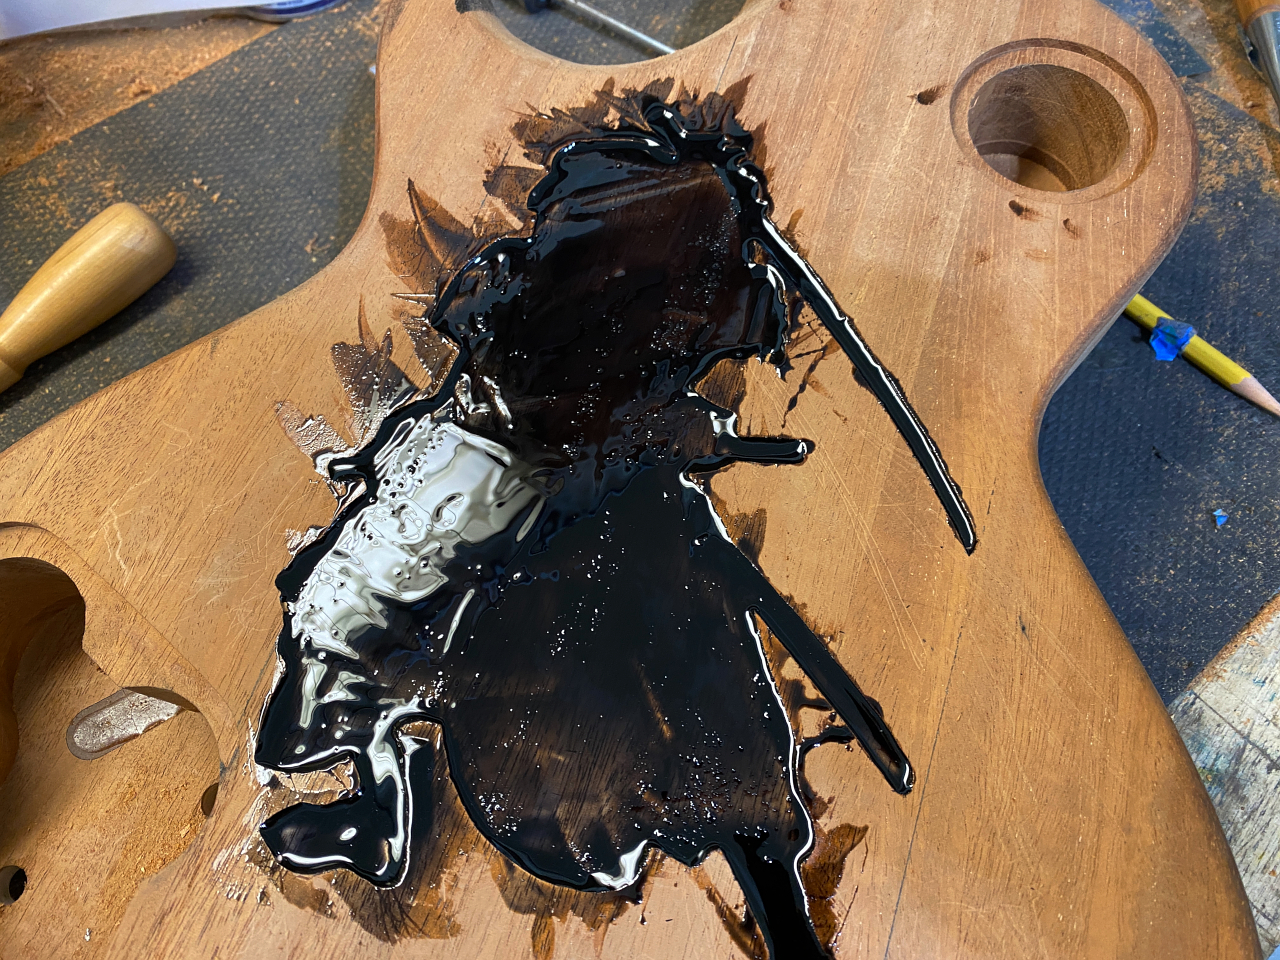
In the case of the headstock, even though the inlays are more complex in shape, its actually easier because the whole surface will be solid black, so its not necessary to be so careful to only route out the exact shape. I just route the rough outline, and embed the inlays in black epoxy.
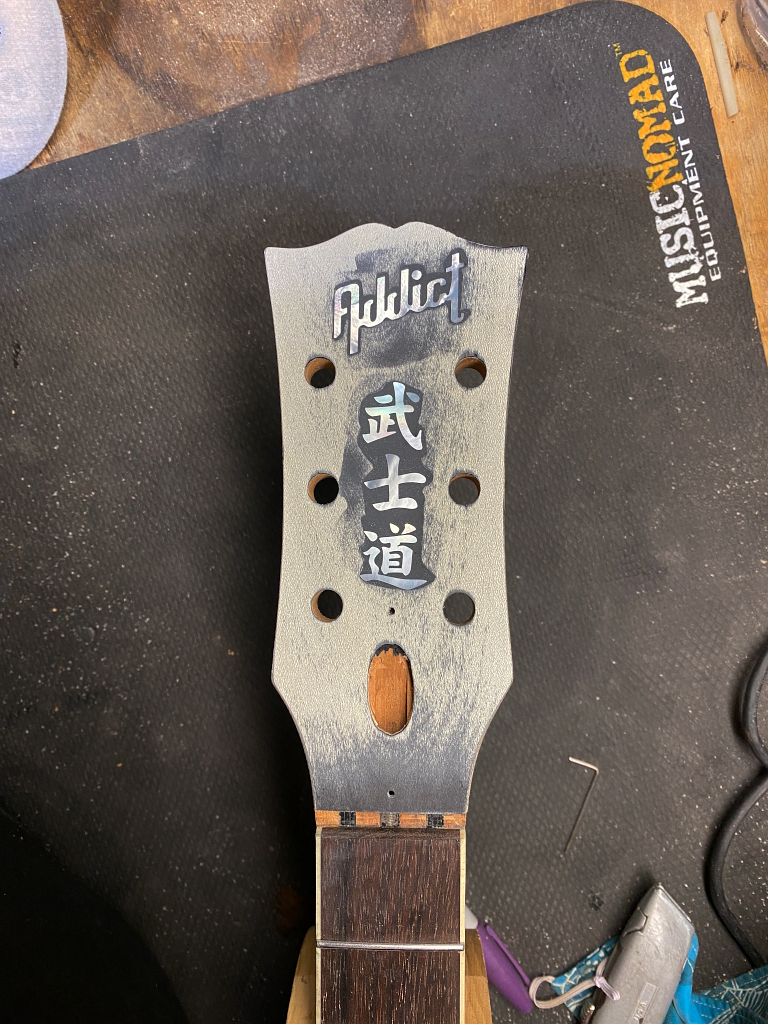
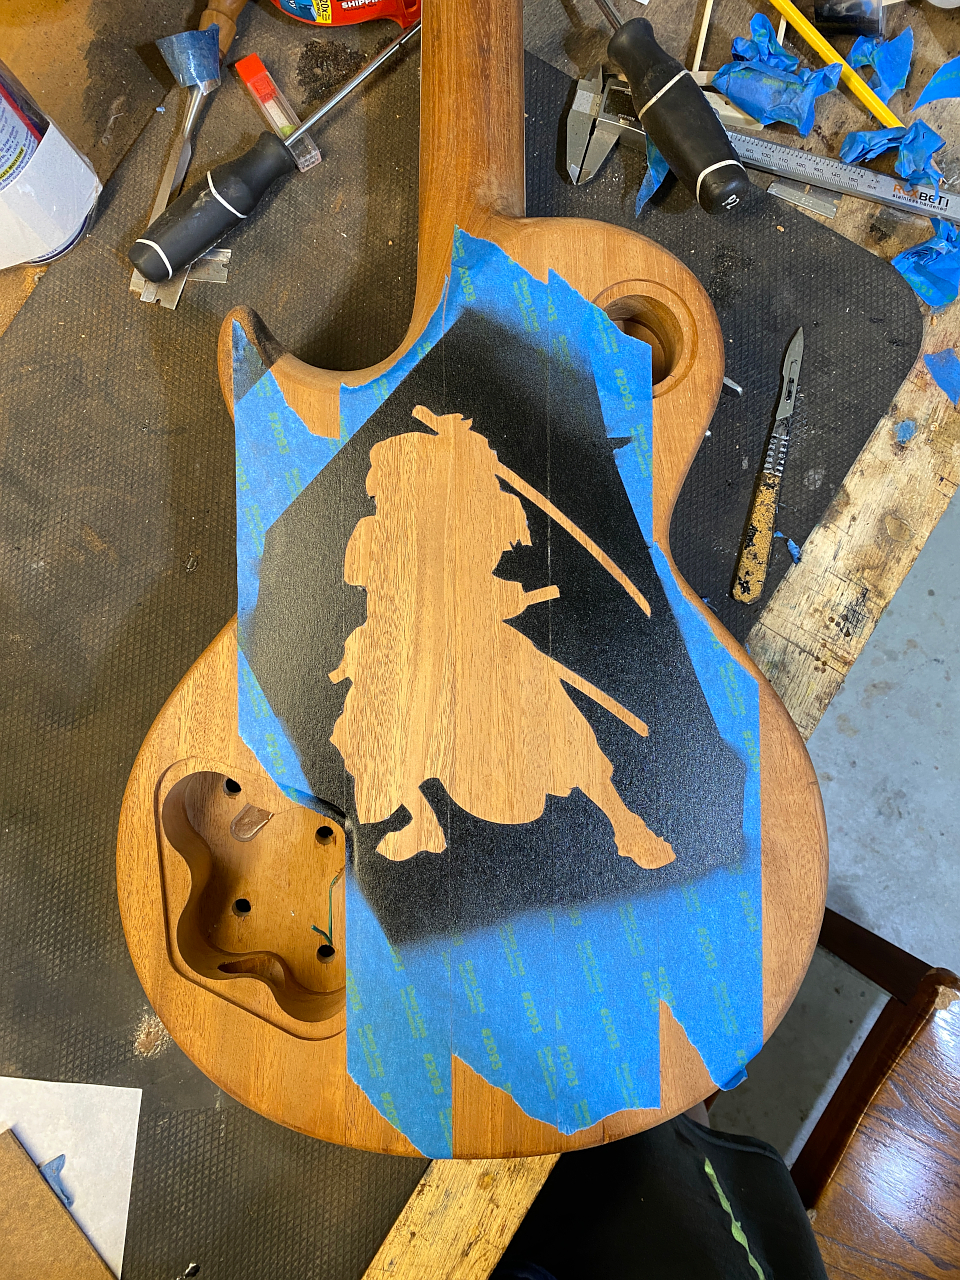
Once the epoxy is set, I simply sand it all flat. This removes most of the dye on the surface of the headstock overlay as you can see above, but a simple re-application fixes that.
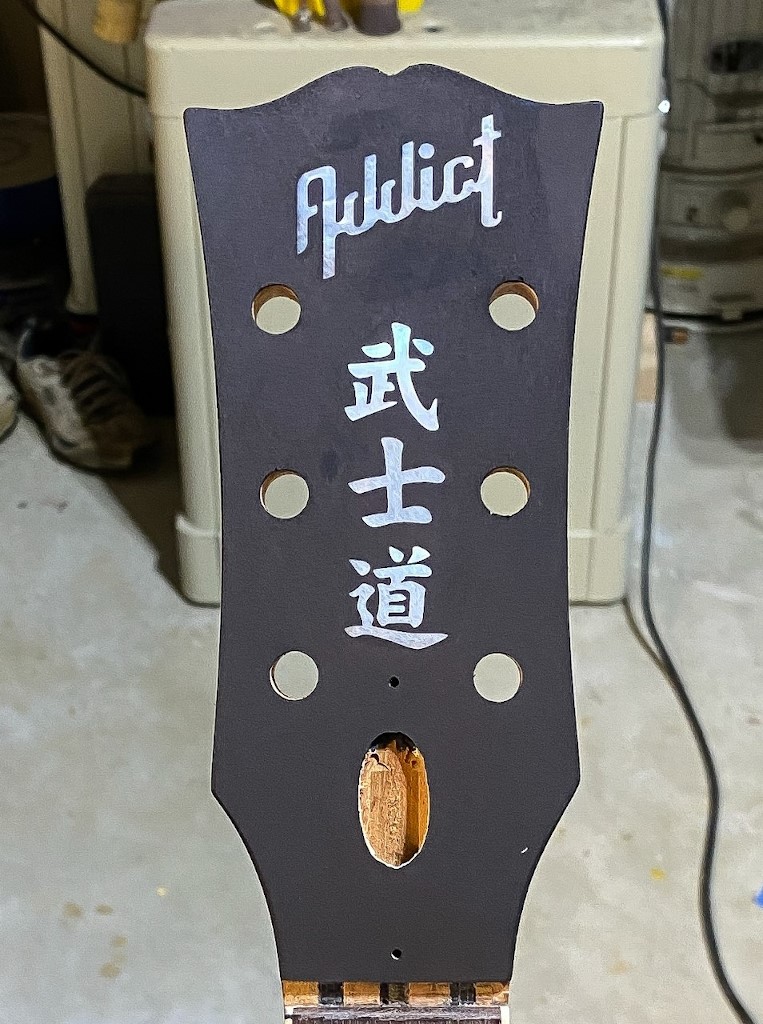
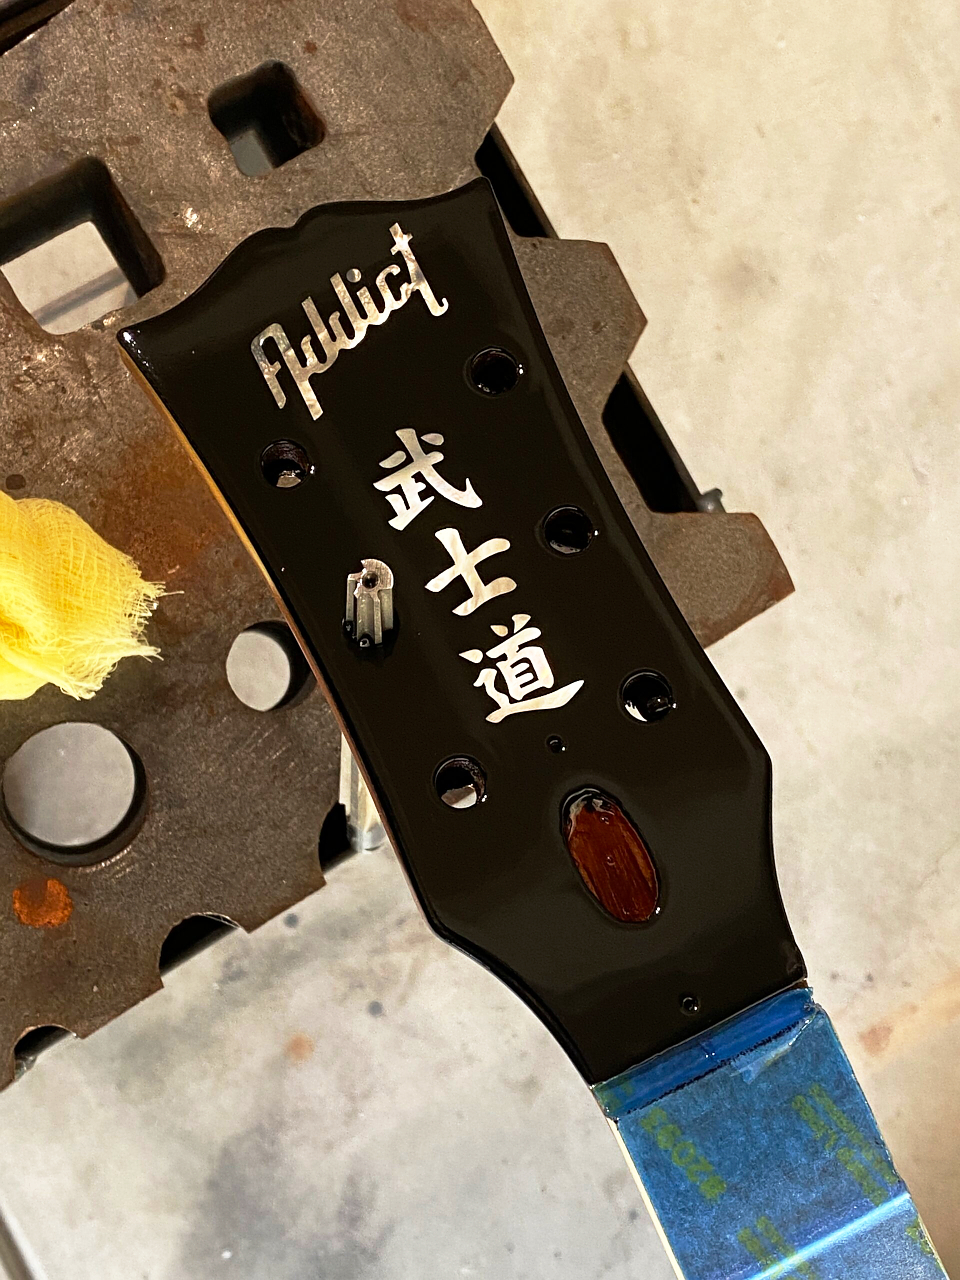
The oil-based dye (fiebings leather dye) doesnt absorb into the inlays, and simply wipes off clean. A quick, very light sanding at a high grit polishes the inlays nicely. the slightly blotchy look will disappear completely once the dye is 100% dried on the holly, and lacquer is sprayed over the top. It will be a pristine-looking glossy black with the inlays showing up sharply.
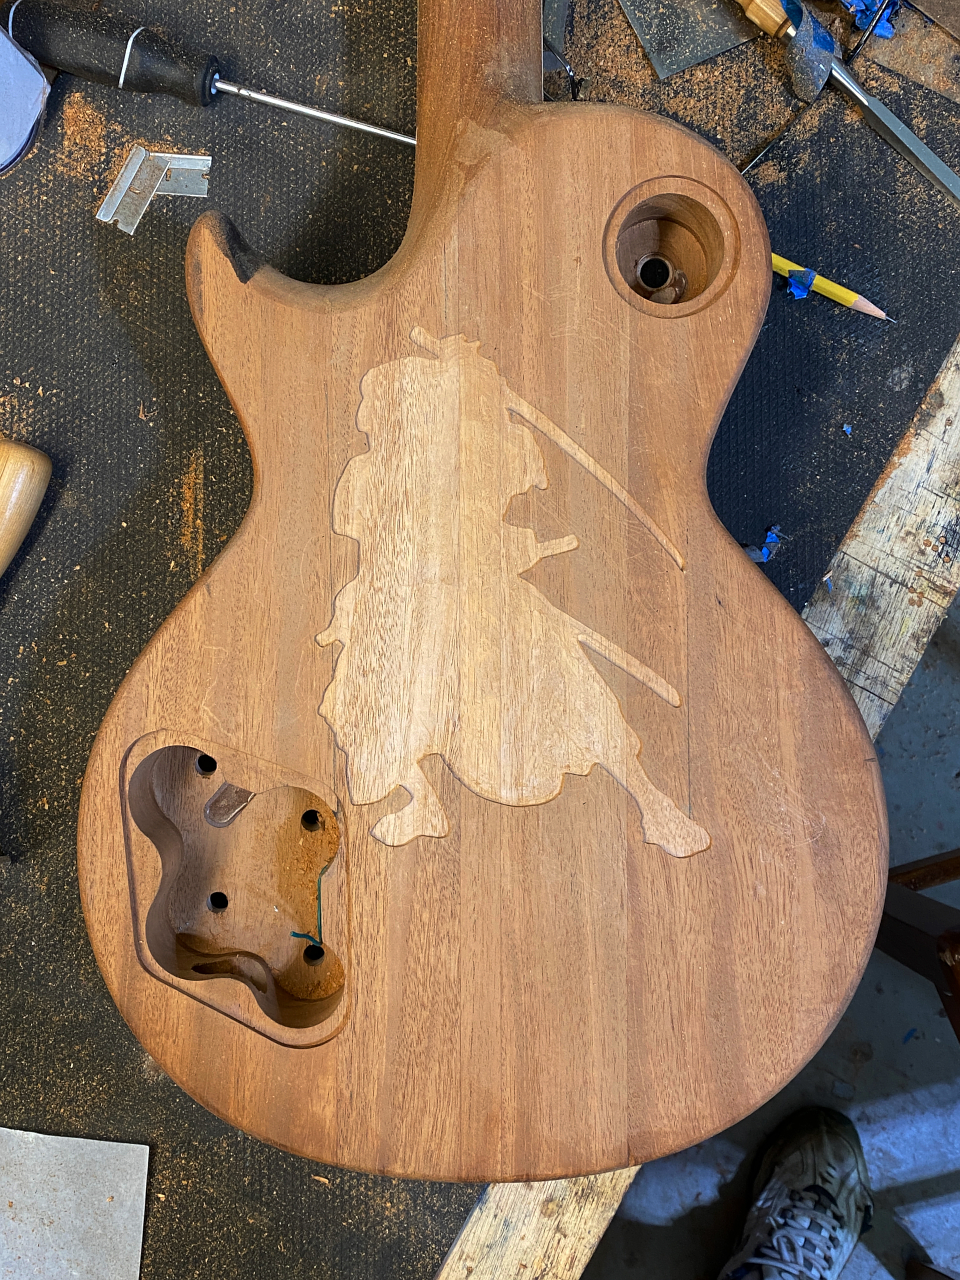
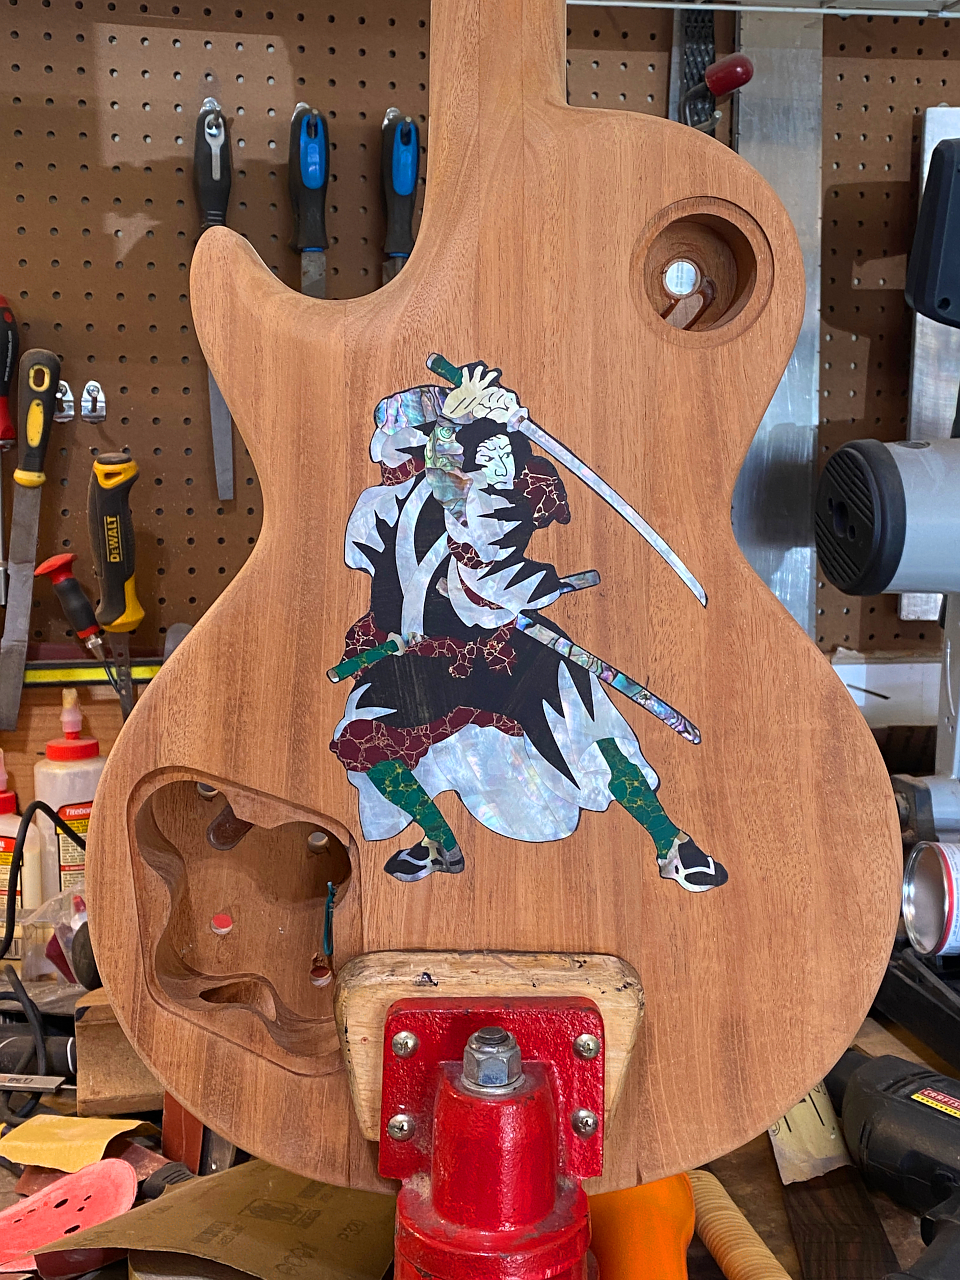
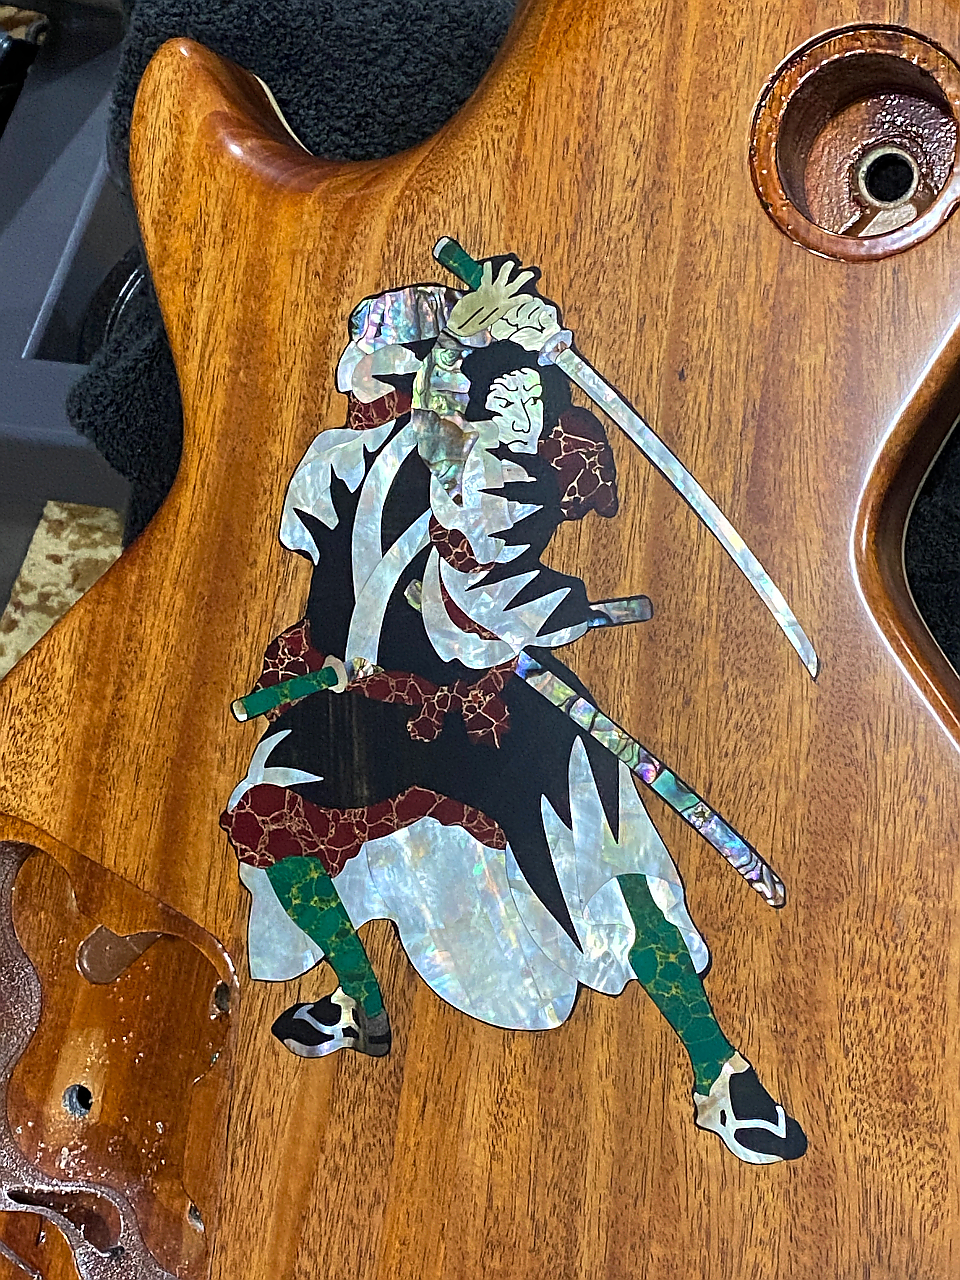
Now for “the big one”
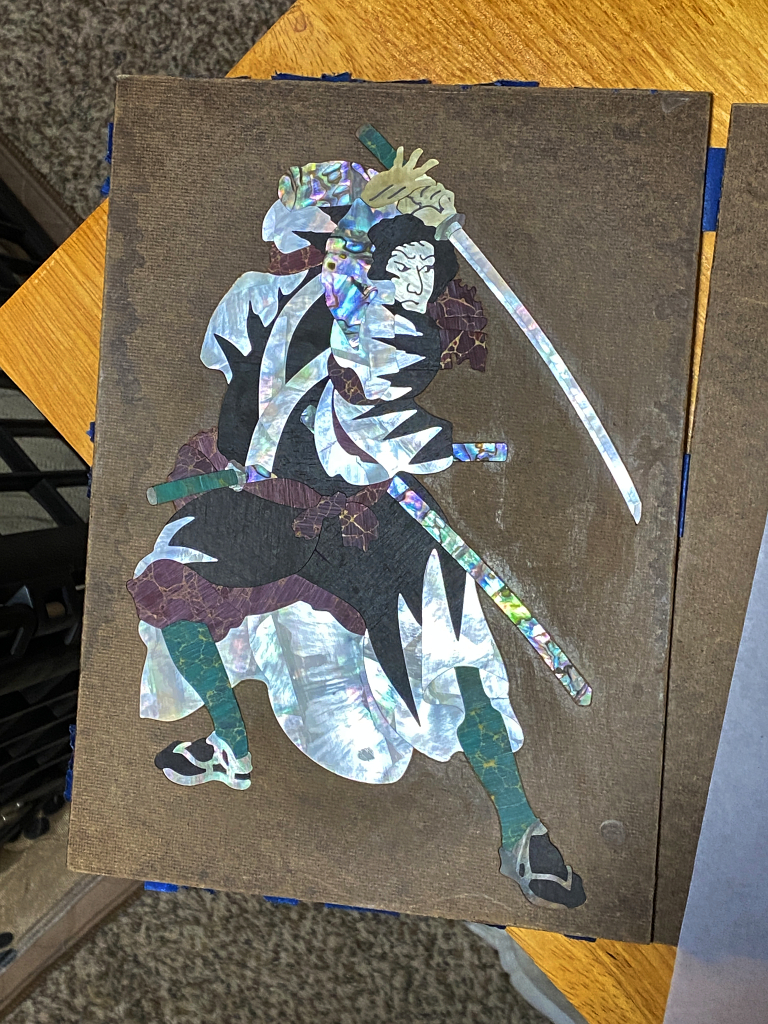
This is my original design for the large inlay on the back. It was developed by looking at a LOT of clip art and traditional Japanese art, and if I’m being honest I’m adapting a piece of art created 170 years ago by a Japanese artist named Utagawa Kuniyoshi for the 47 Ronin story. I’m not a graphic artist so this was my approach and honestly I can’t think of a better example of Bushido :). In the end it shows what I had in my mind, so from that perspective its “my design” even though I didnt actually draw it.
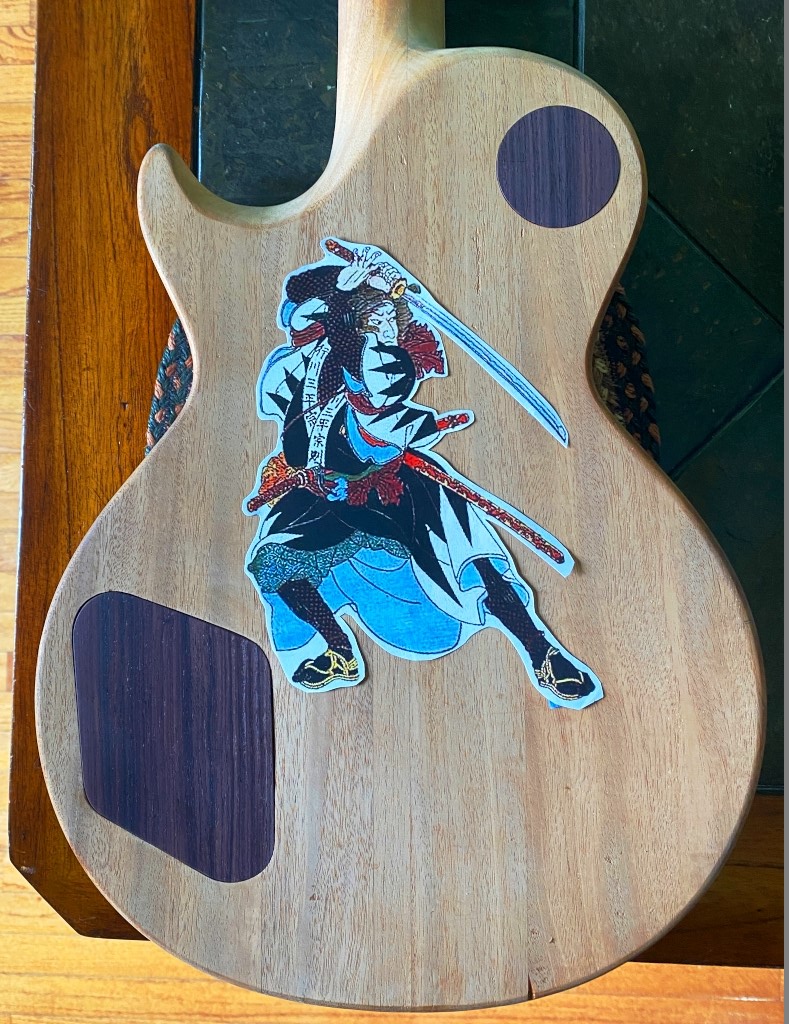
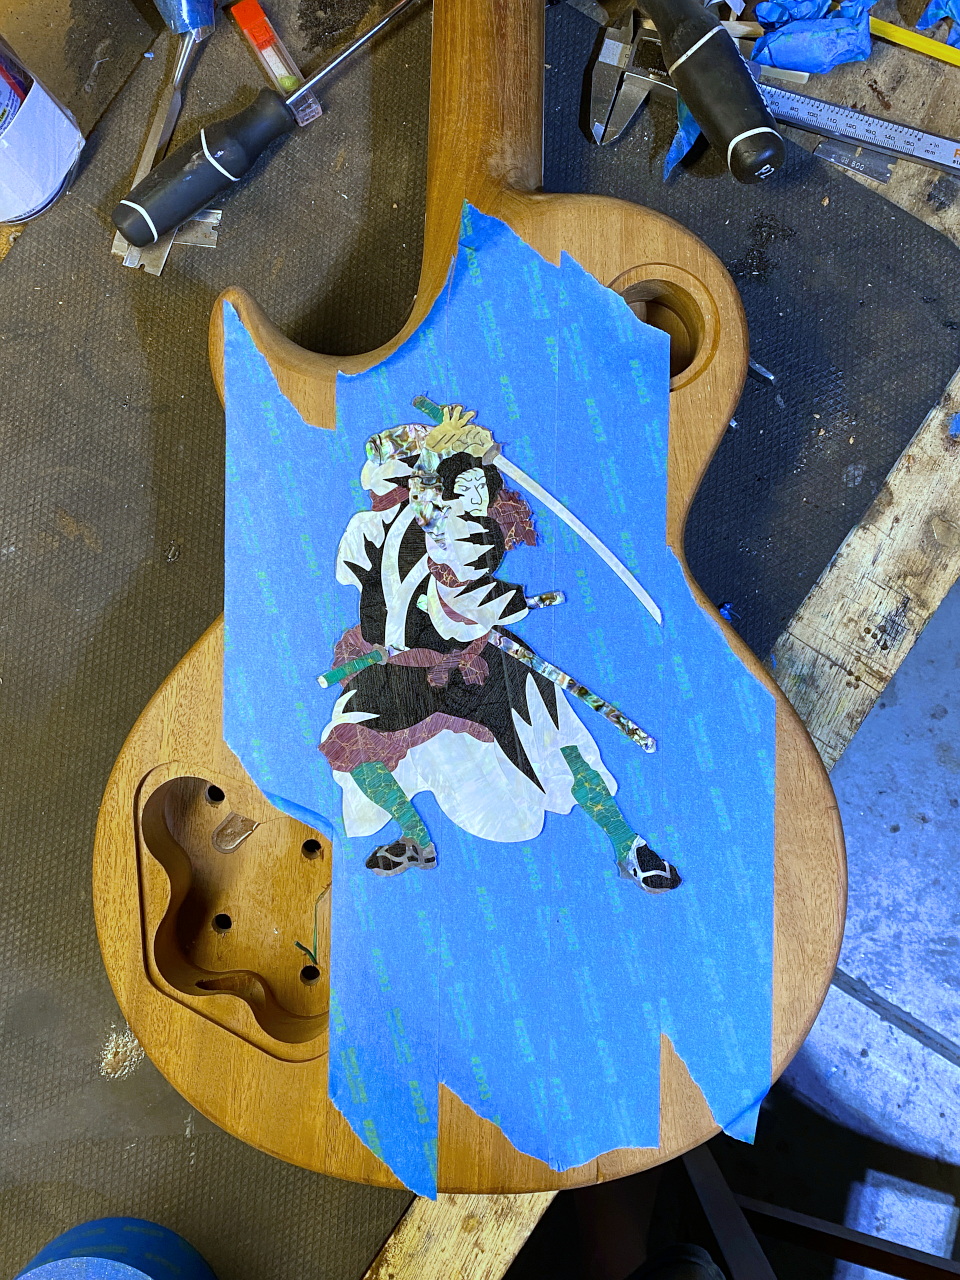
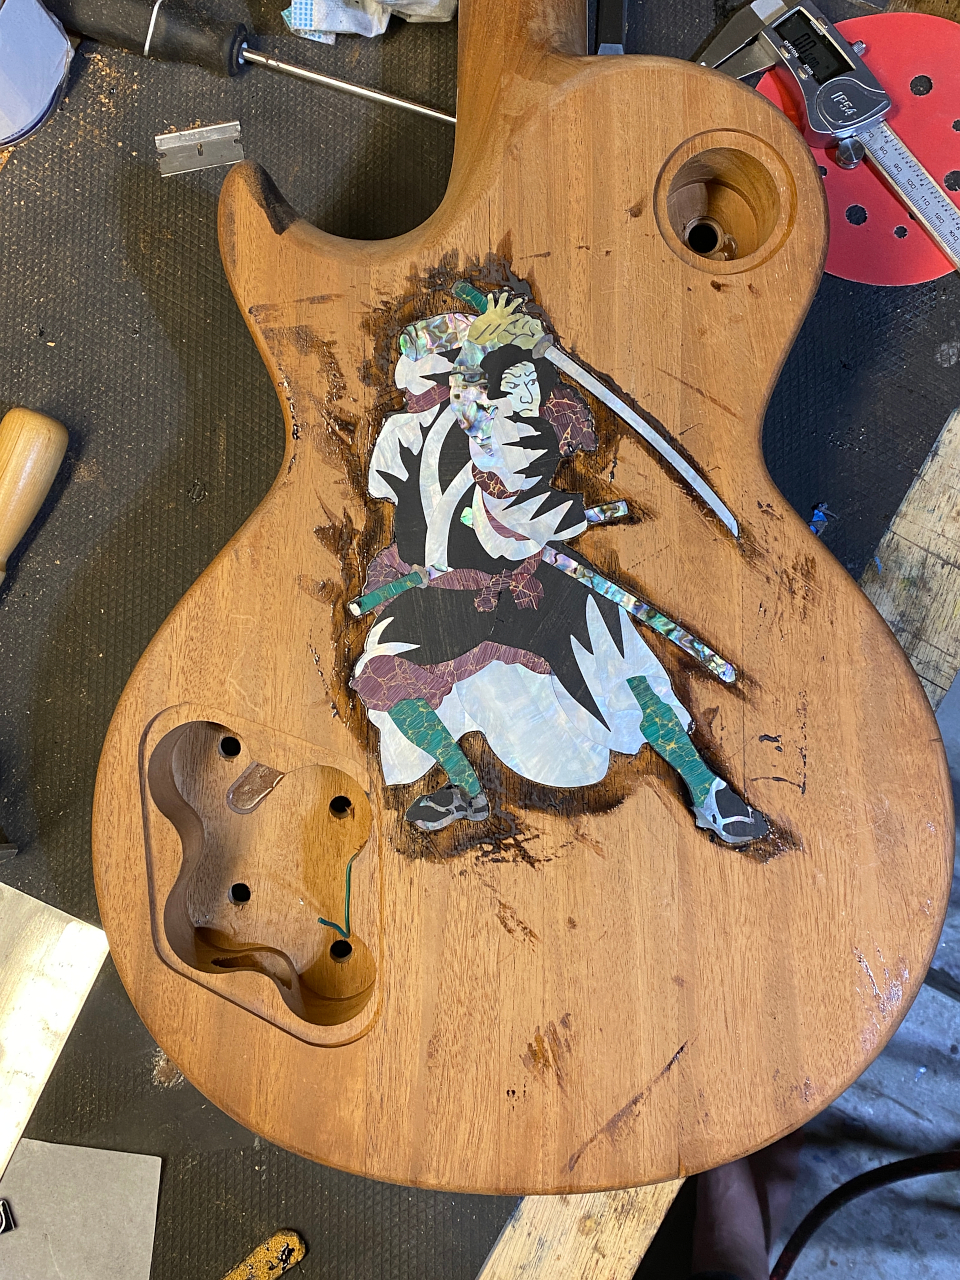
And here is the real thing. I went to Aulson Inlay to actually create the piece from my concept. I simply dont have the skill with shell to create what I wanted. I’ve cut a few simple designs and shapes myself, but this was far outside my current skillset. They worked with me on materials and layout and did the actual cutting.