OK, while I’m waiting to purchase the mahogany I will use for the neck and back of the guitar, I’ll get the top ready.
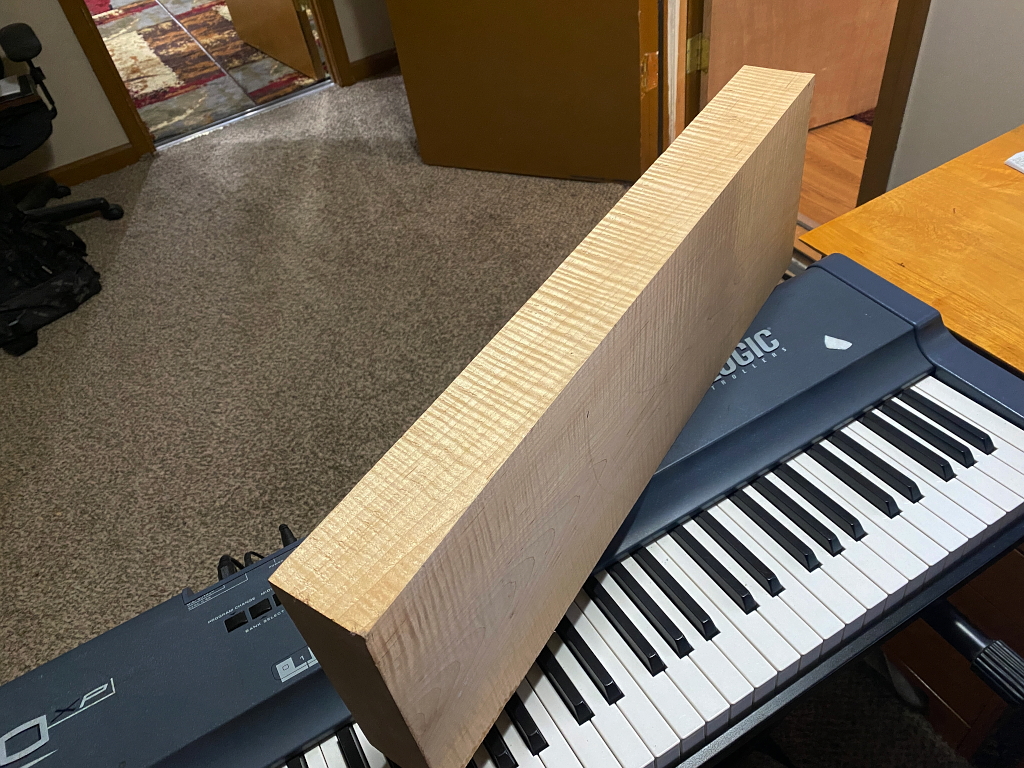
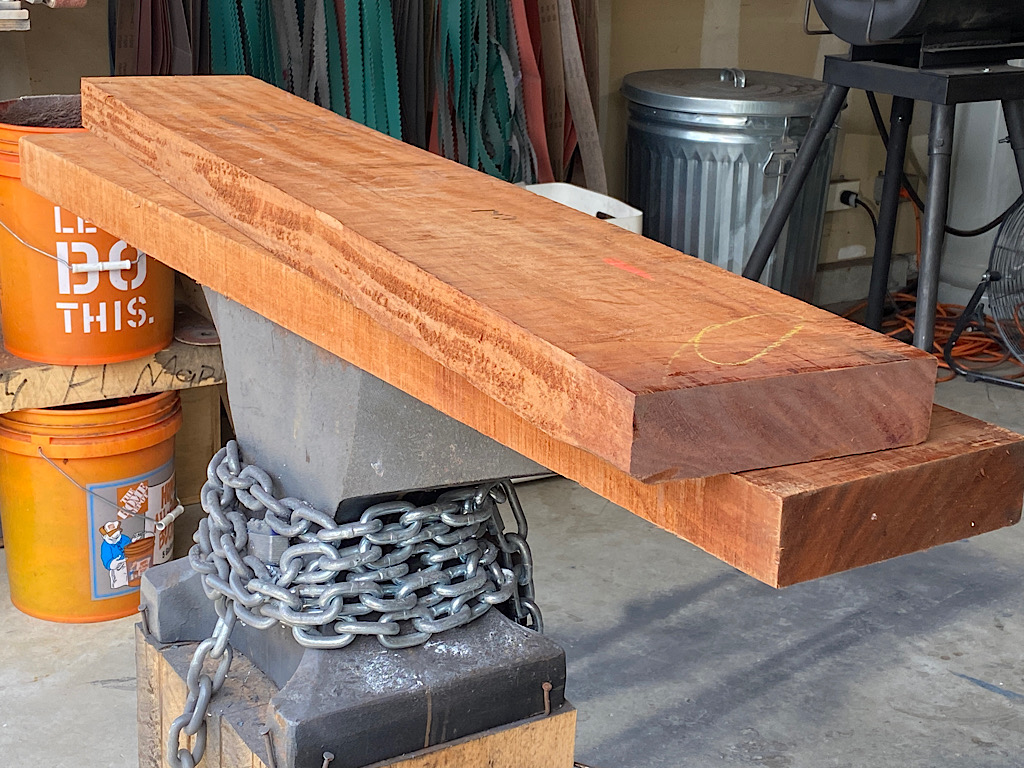
Here is a big ol hunk of figured maple. This is flame figure sometimes called “fiddleback” as its is frequently used to make the backs of violins and fiddles. Its just a natural feature of the wood which we use to our advantage.
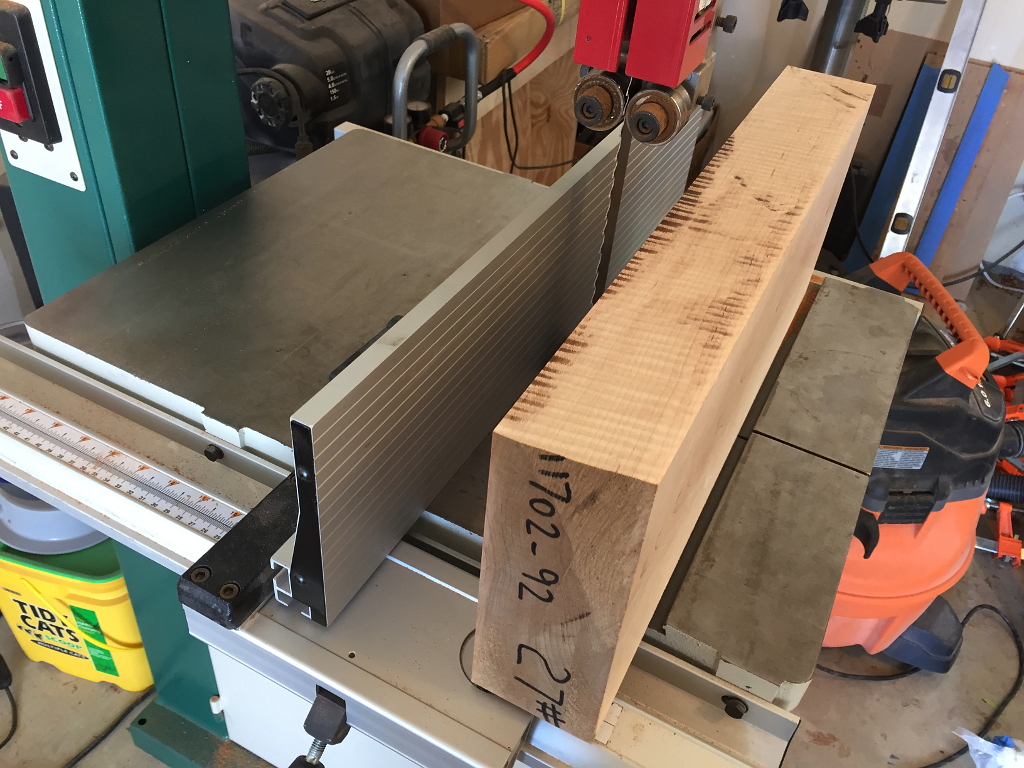
This billet of maple gets split lengthwise on the band saw, a technique called “resawing”. This billet is sufficiently large that I’ll split it down the center, and I’ll have two pieces that will each get resawed again to produce two different tops.
Each half, once also resawed, gets laid open like a book, and the figure on each half is a mirror image of the other. This is what “book matched” means.
The center seam where they are joined must be planed dead flat using a hand plane before being glued up and clamped like shown here. If done correctly this joint will be stronger than the wood itself and never come apart.
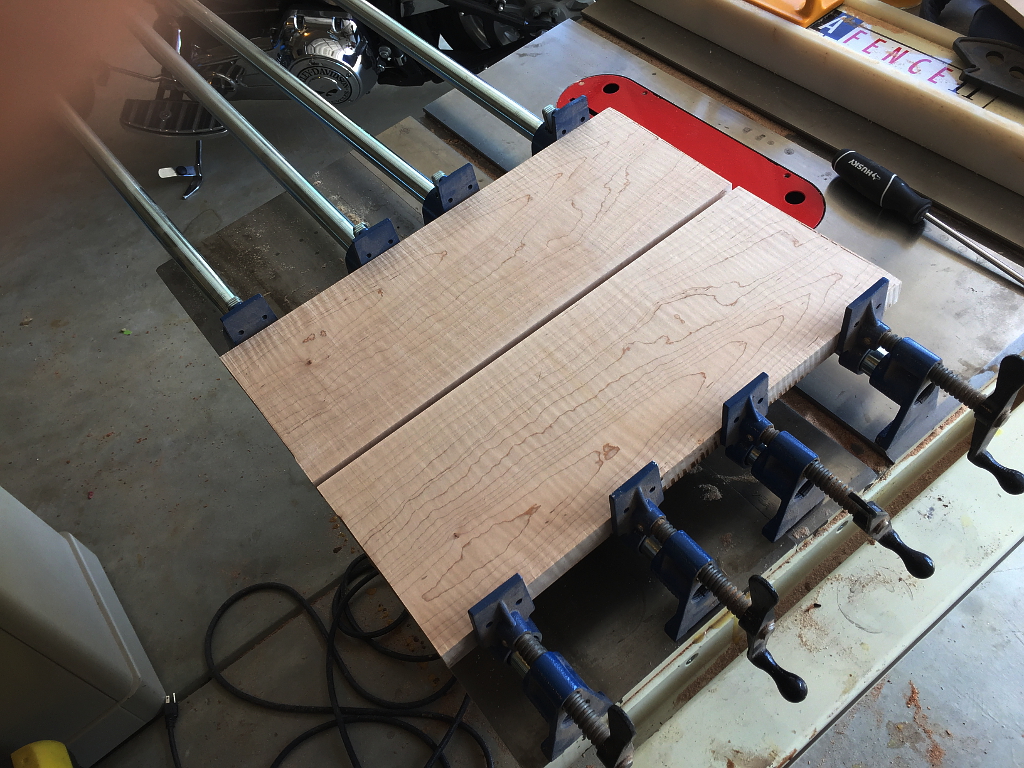
The result is a top for the guitar 🙂
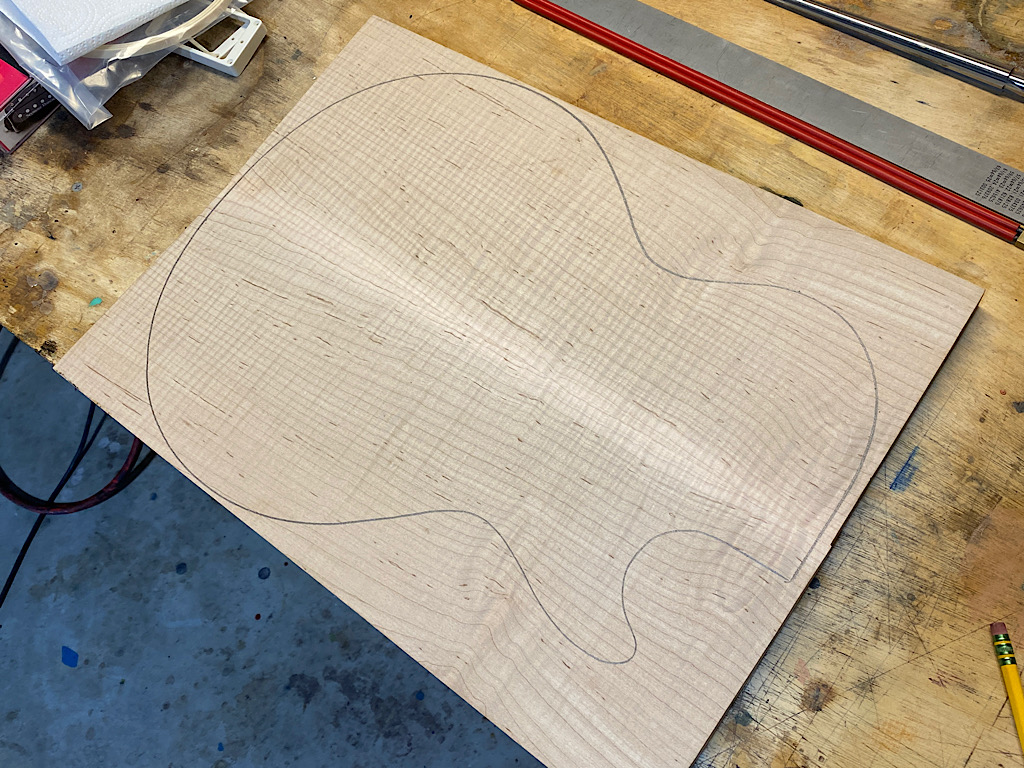
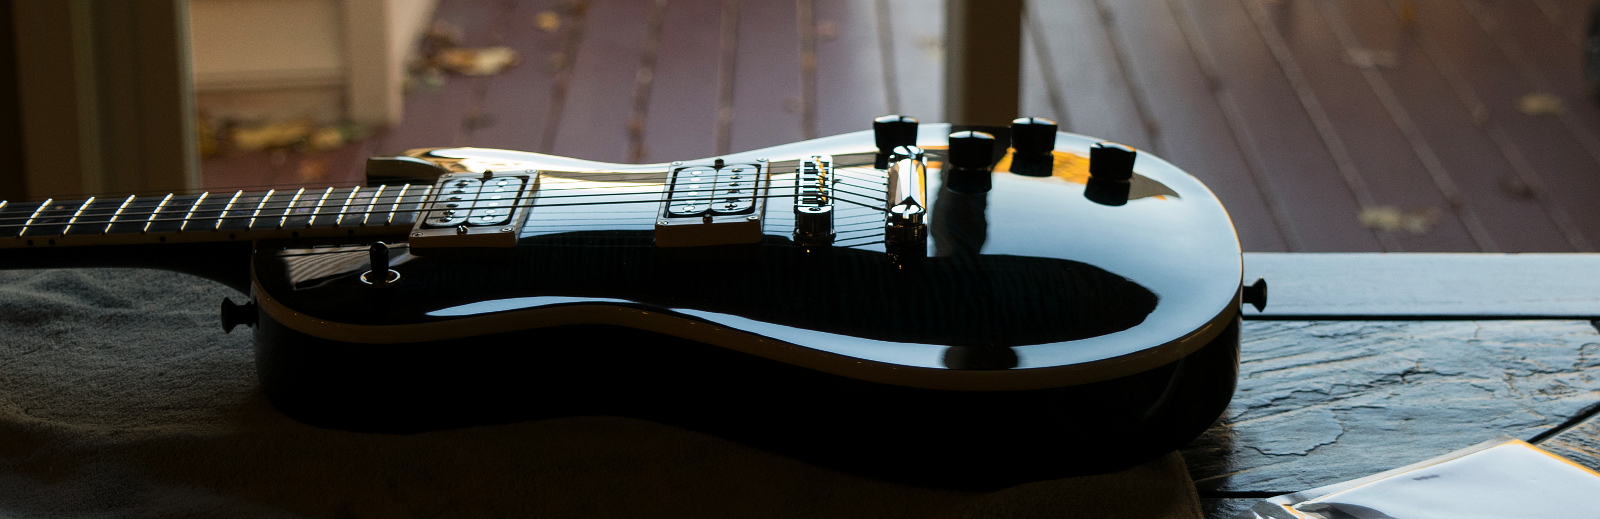
Wetting the wood with some naphtha shows the figure off. Nitro lacquer on the guitar will produce the same effect making the figure pop out vividly… 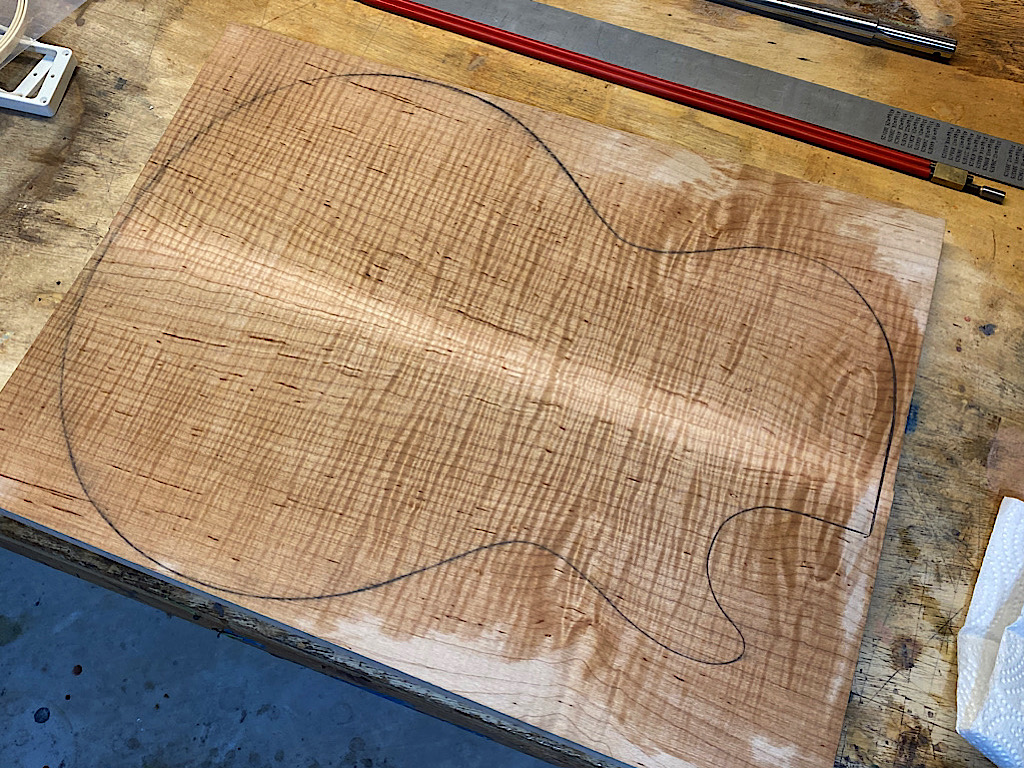

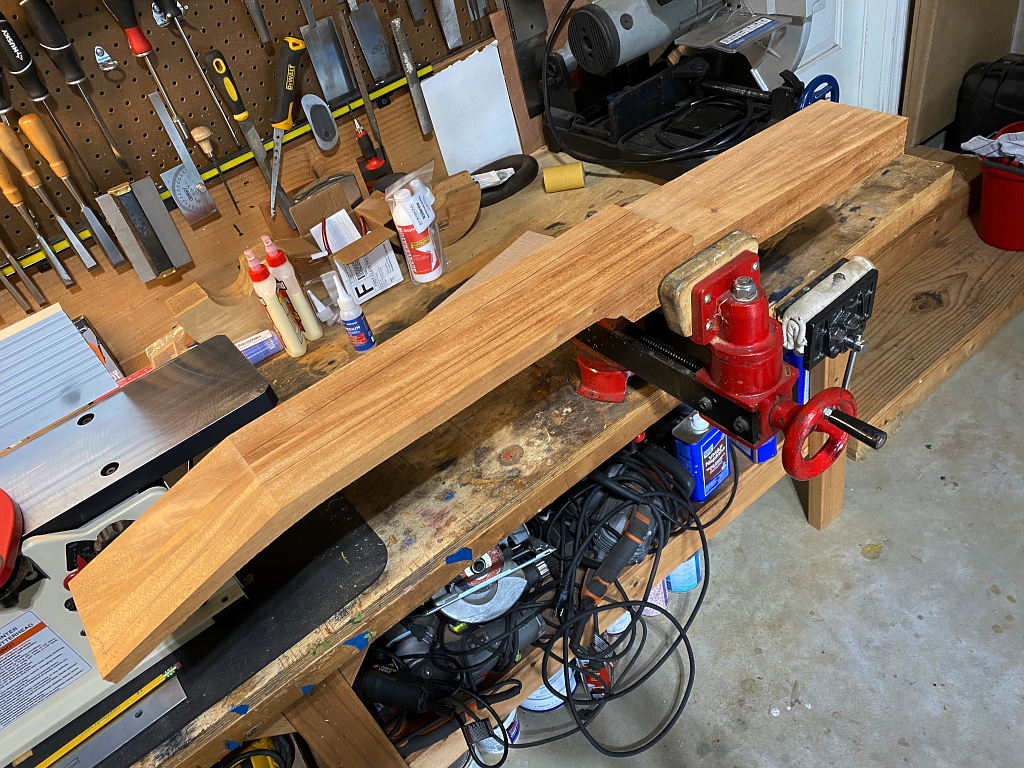
First thing To do is to take these big boards
First thing I do is chuck it on the table saw.
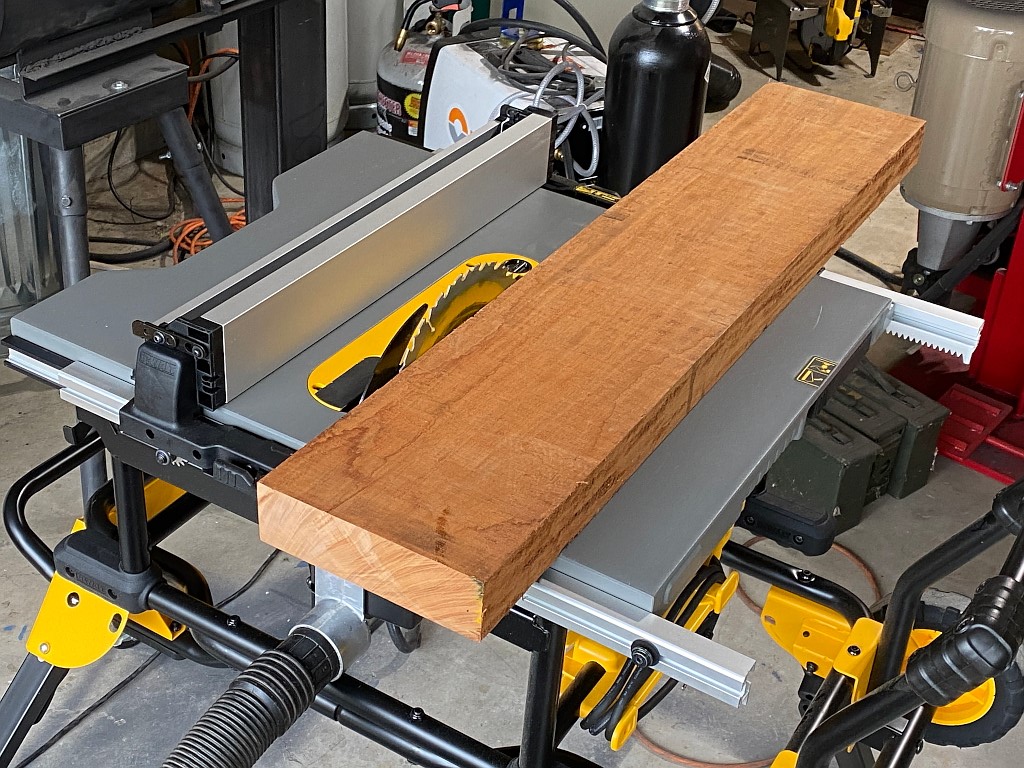
I rip one piece in two. One piece is 3.25″ and the other is 4.25″
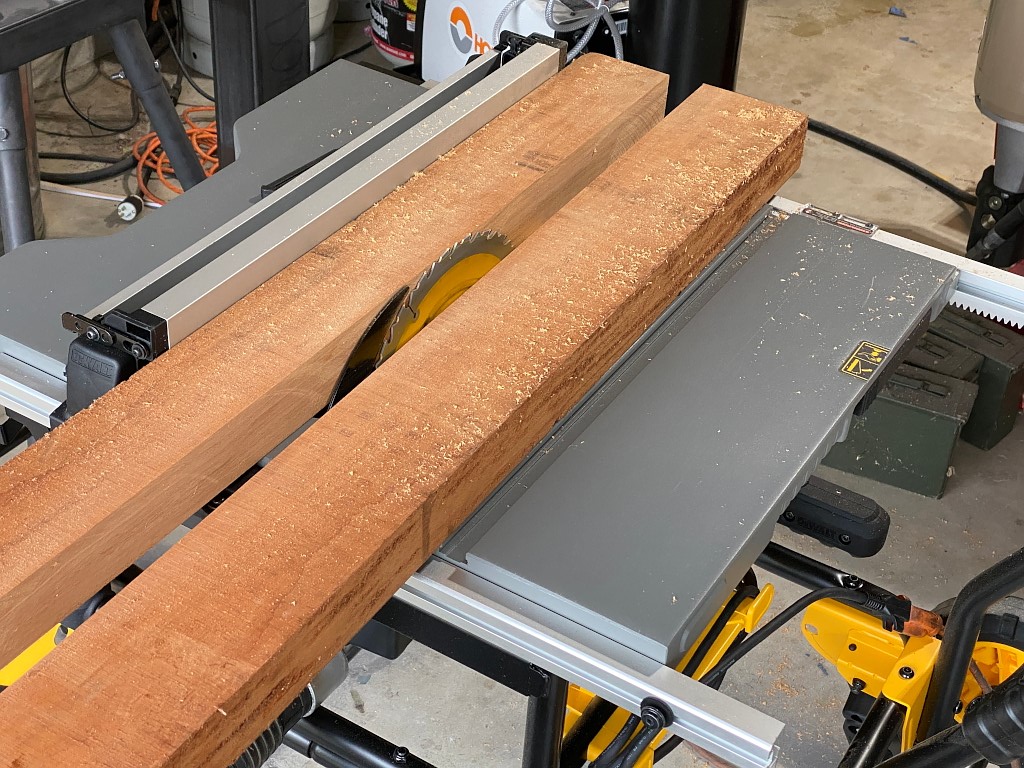
The second board gets ripped into two pieces both 3.25″. This leaves a scrap piece, but the result, which ios what I need, are 3 pieces at 3.25″ and one at 4.25″
The three 3.25″ pieces will become the center neck laminate, the 4.25″ piece will become the body “wings” that will be attached to the neck
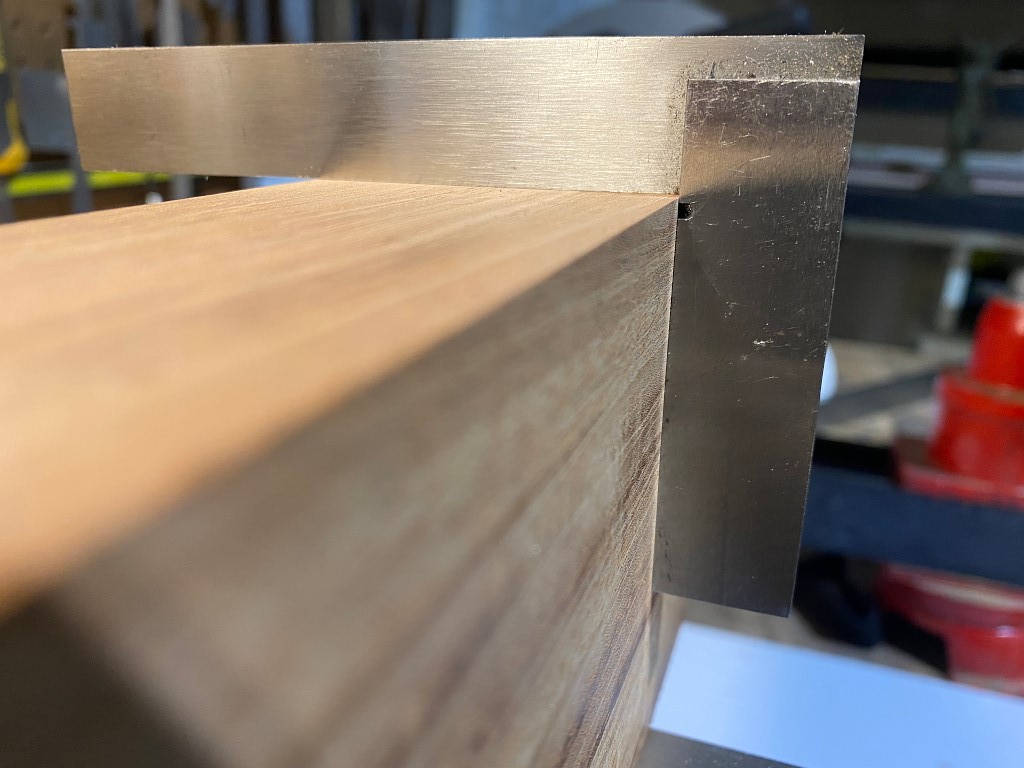
To form the 3-piece neck laminate, first all the boards have to be perfectly flat on two perpendicular faces
and they need to be exactly 90 degrees to each other.
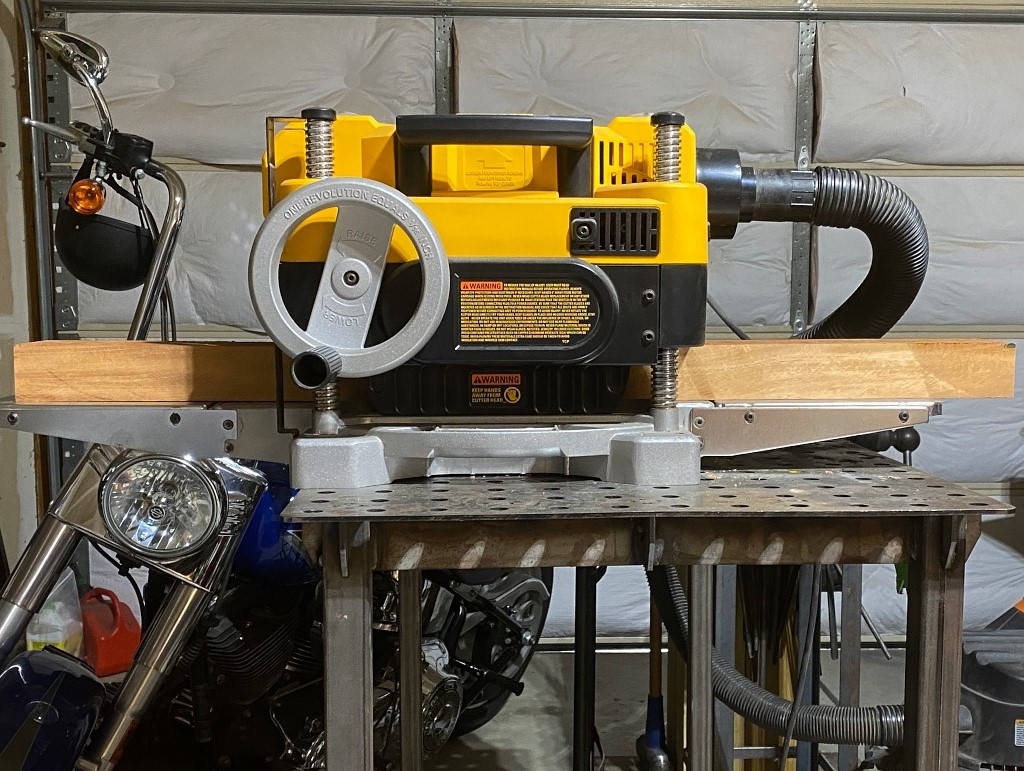
Once I have a perfectly flat face I can use the planer to bring down the overall thickness. The two outside boards of the neck laminate must be exactly the same thickness as each other, as well as the same height and length. They have to be perfect copies
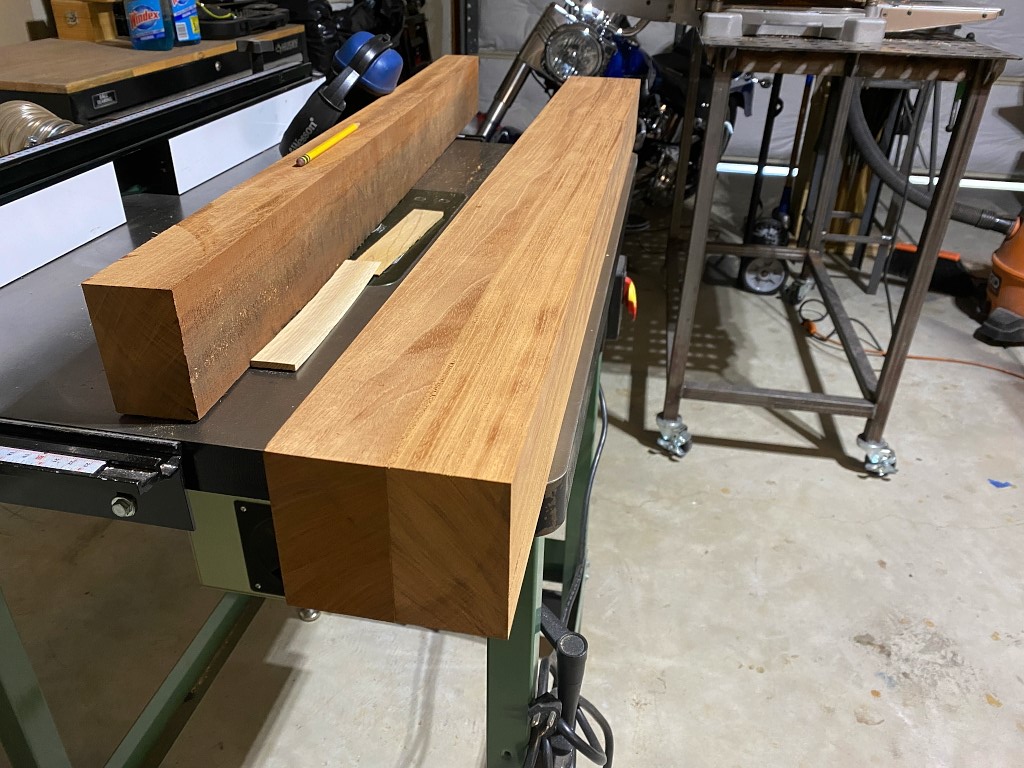
Bam. Exactly the same
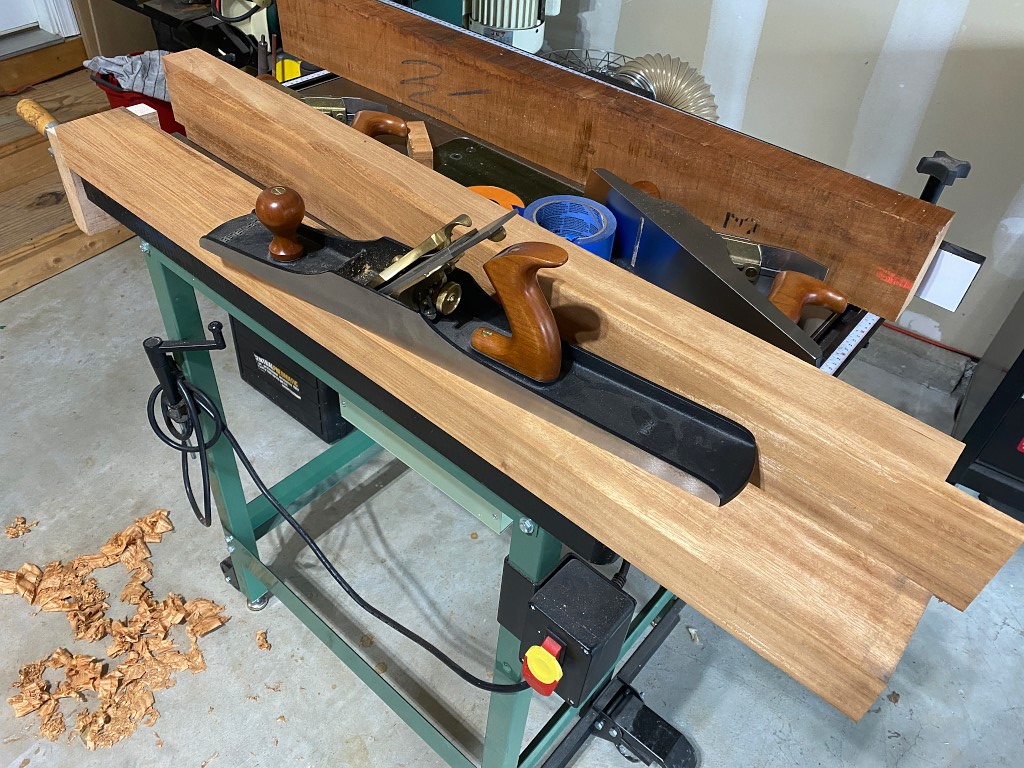
Then I use a No. 7 jointing plane to plane each face glass smooth. This is necessary because even though the jointer and planer leave the faces feeling flat and smooth, at a microscopic level they are actually scalloped because the tools that I use to flatten them use rotating blades. A scalloped surface isnt ideal because we want as much direct contact between these boards as humanly possible. A hand plane cleaves a dead-flat surface with a razor sharp blade that I push straight through the wood rather than a spinning blade taking little bites
I didn’t show it, but I also prepared the 3rd board of the 3 pieces, although I planed that one down to just over 1/2″ thick. So I have two thick boards with a thin one in the center between them. All 3 are prepared the same way, only the board in the middle has both sides planes, and the two outer board I only plane the faces that will join the middle board
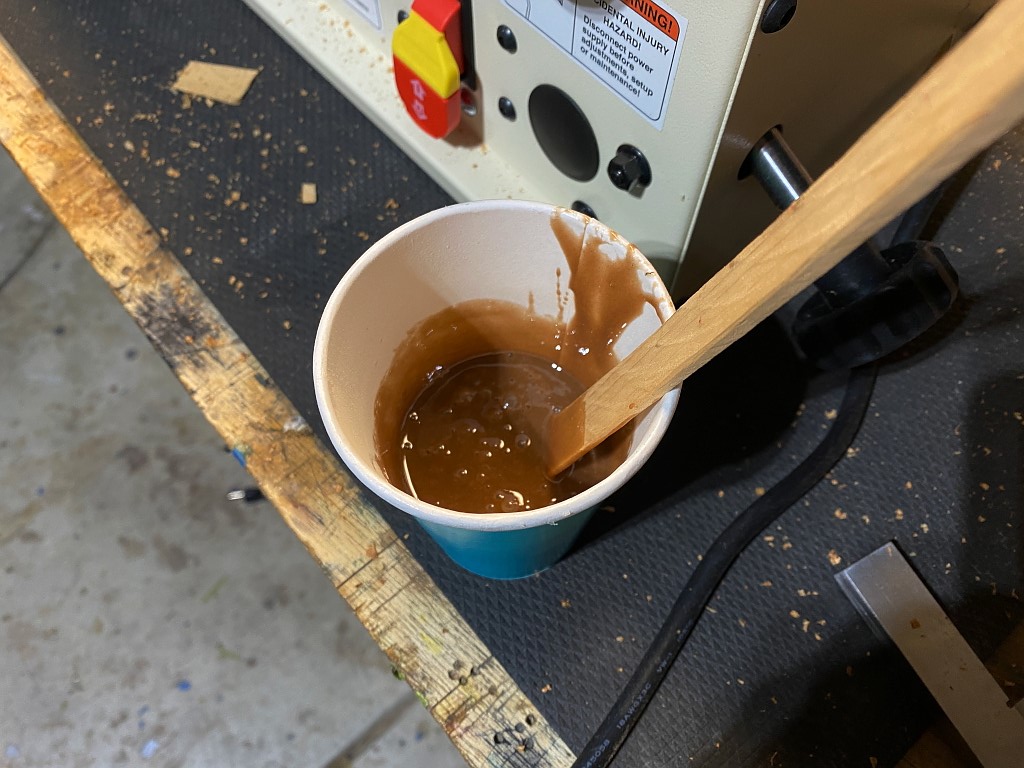
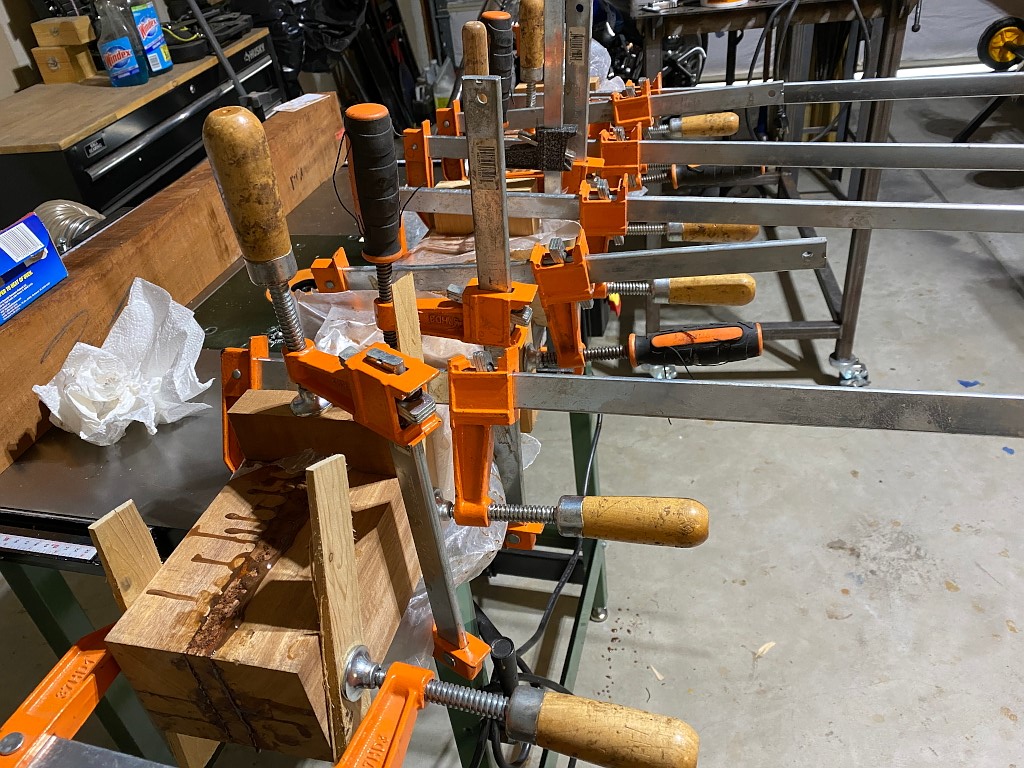
I lay out all my clamps prior to gluing because the glue has a limited “open time” This means I need to have all my pieces aligned and clamped before the glue starts to gel. I use urea-formaldehyde glue for this and if if starts to set before I have the pieces properly clamped all my work to this point will be ruined.
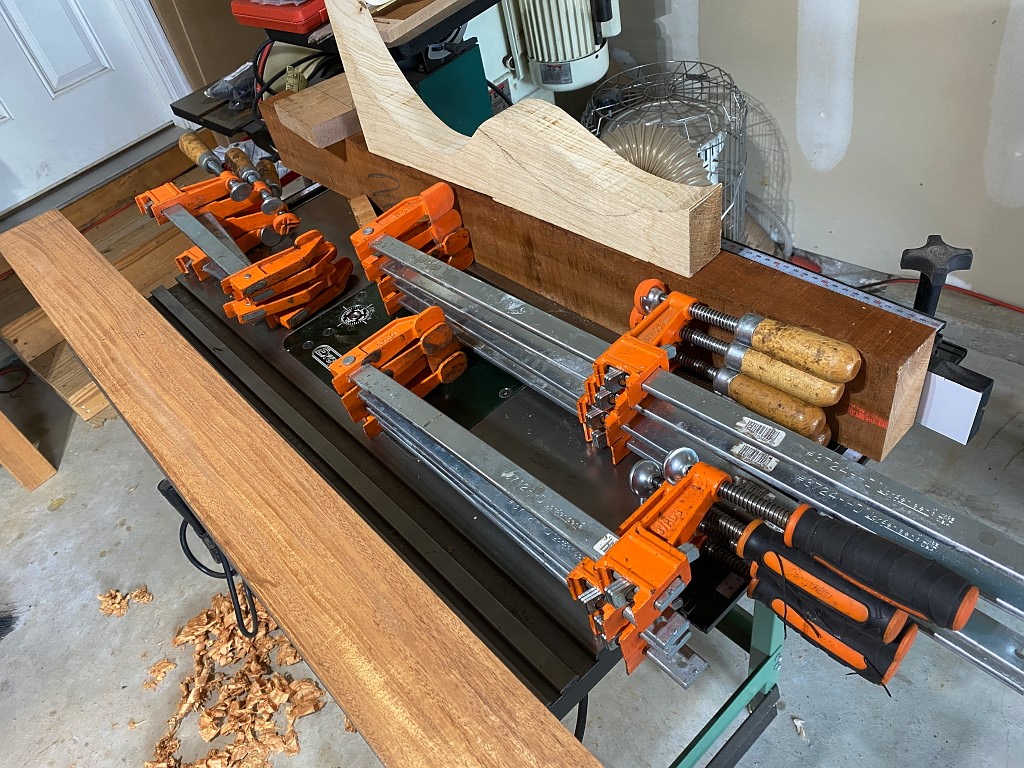
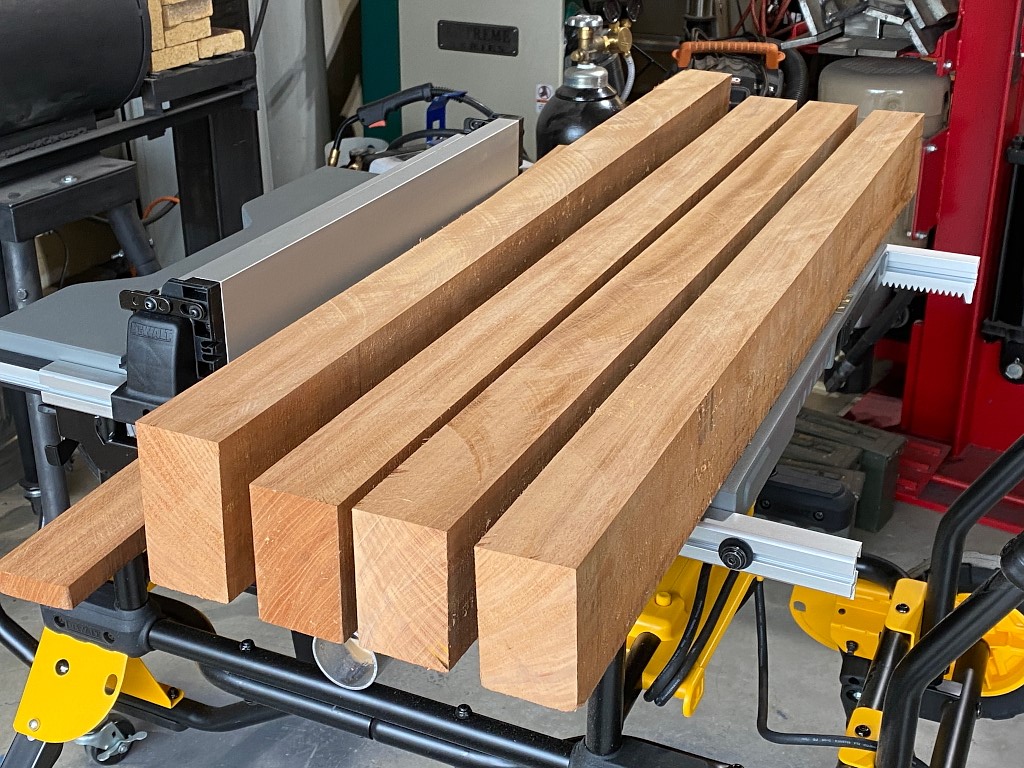
All three boards
This is the result of all my work with the jointer, planer, and the hand planes. these boards are not glued or clamped, but just laying on top of each other. You can only tell where the middle board is because of color and grain variations. There are no visible gaps or seams.
the reason for all this work making everything so perfectly flat is because the neck of the guitar is one of the most crucial pieces of the guitar. It must be able to vibrate freely, and vibrations must be able to travel from one board to the next without any damping of those vibrations. Scalloped, or imperfect surfaces leave literally millions of microscopic gaps between the boards which will be filled with glue, and these glue-filled gaps will act as shock absorbers and deaden the vibrations and reduce the resonance and sustain of the instrument.
The goal with all this is to have the strength and stability of a laminate, but acoustically for it to behave like one solid piece of wood.
Mission accomplished 🙂
This is the urea-formaldehyde glue I use. It comes in a powder form and has to be measured and mixed precisely. the reason use this rather than a wood glue like titebond is that the UF glue, when cured is hard as rock and brittle like glass, although the word brittle should be no means imply fragility. You would need a 20-ton sledge hammer to break these joints, and in fact you would more likely break the actual wood around the joint than actually separate the joint. Anyway, the hard, brittle nature of the glue is such that any microscopic film of the glue in the joint will transmit vibration as effectively as possible. Wood glue is a PVA glue (poly-vinyl acetate). When dry it feels hard to the touch, but its not nearly as hard as the UF glue, and it will also release if you warm it to 140 F. So, in theory if you were to leave your guitar in a car in Las Vegas for the afternoon, your guitar could literally fall apart 🙂
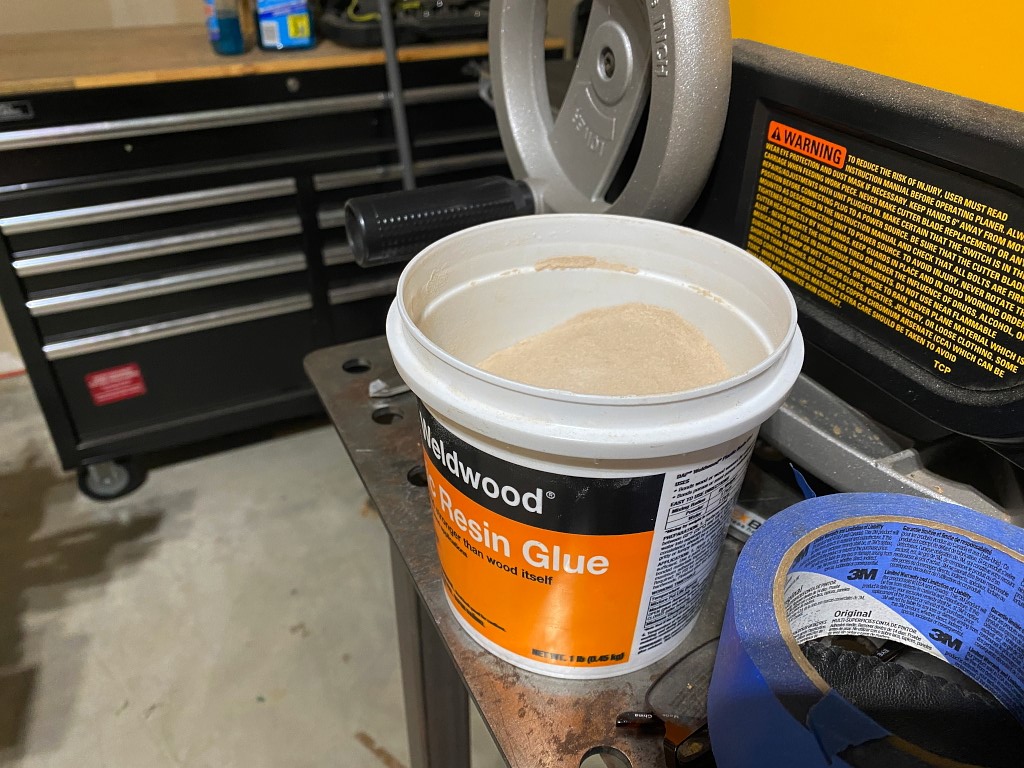
Enough about the glue 🙂
Spread evenly on all mating faces…
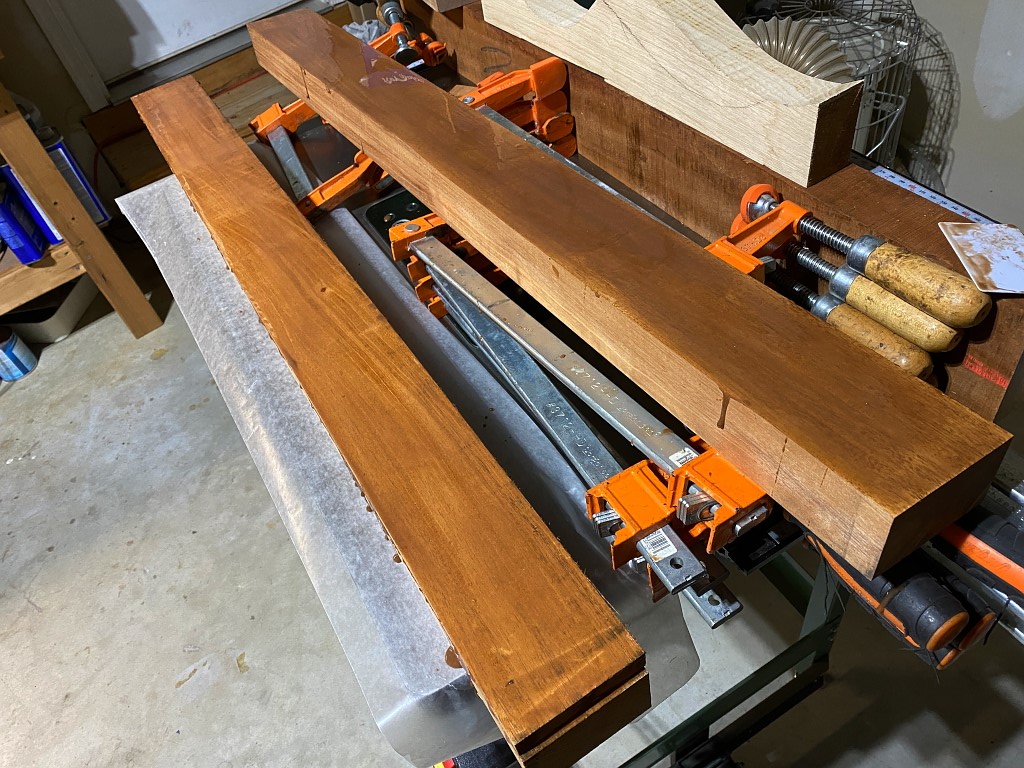
and clamped up tight
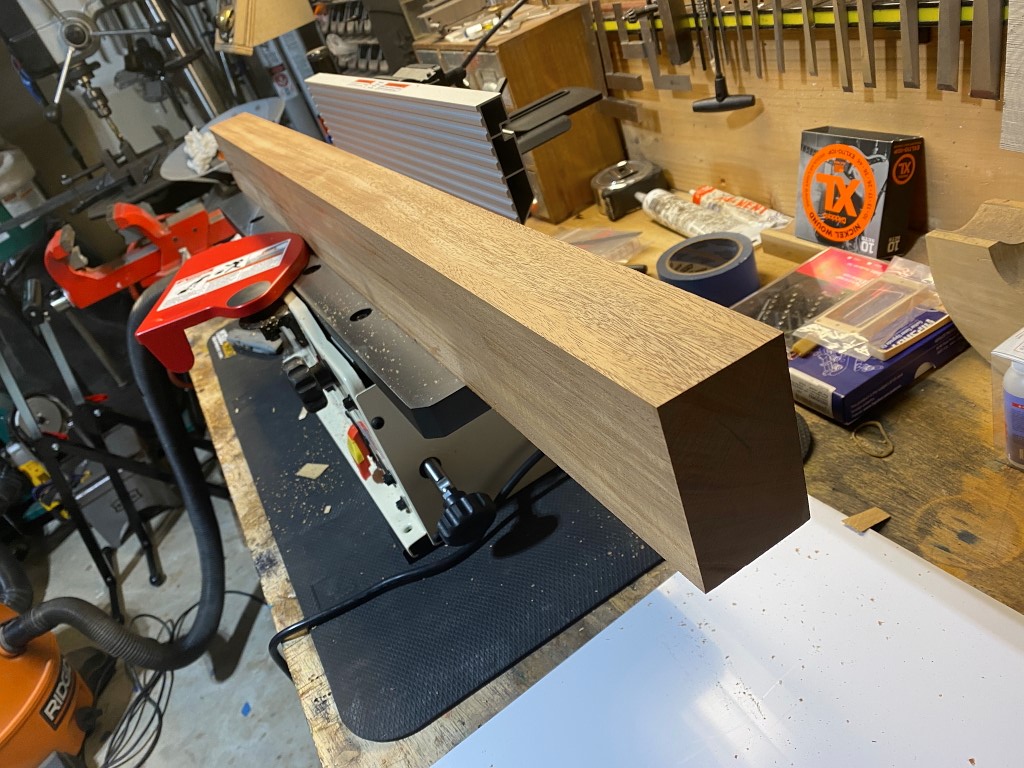
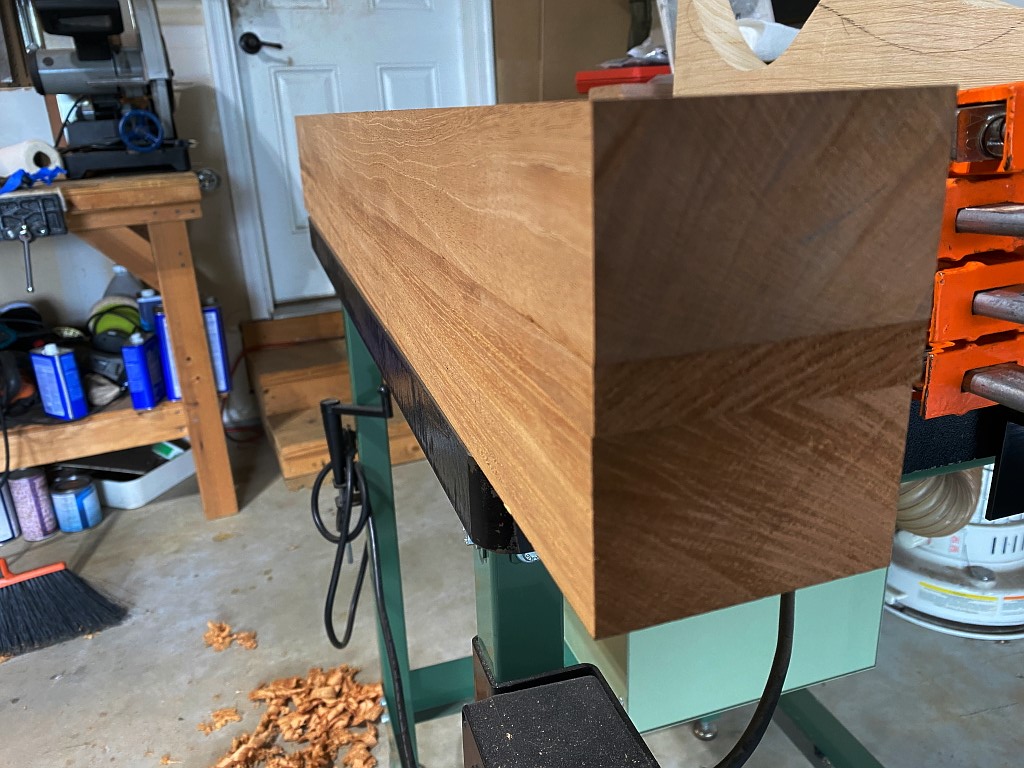
14+ hours later I remove it from the clamps and plane it flat again, removing glue residue. Again I check to make sure both sides are absolutely parallel to each other, and 90 degrees to the top. It seems like a great amount of focus on this center piece, and thats true. Everything is built off this central laminate. Its the spine. The backbone of the guitar.
The top edge shown here is where the fretboard will be glued on.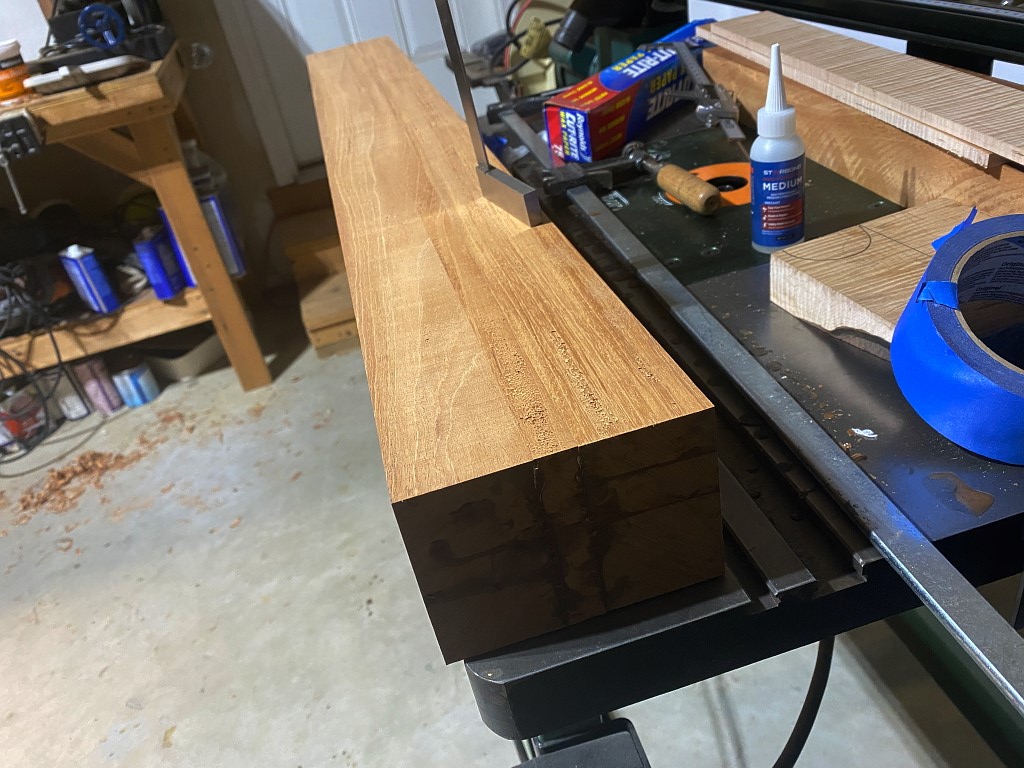
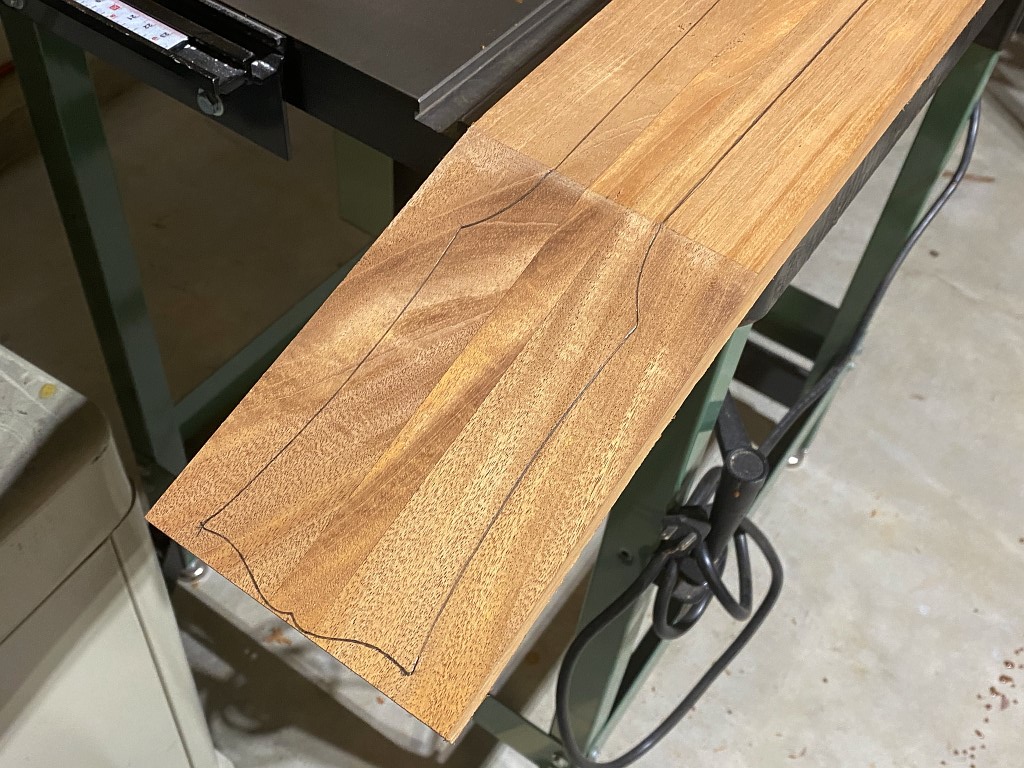
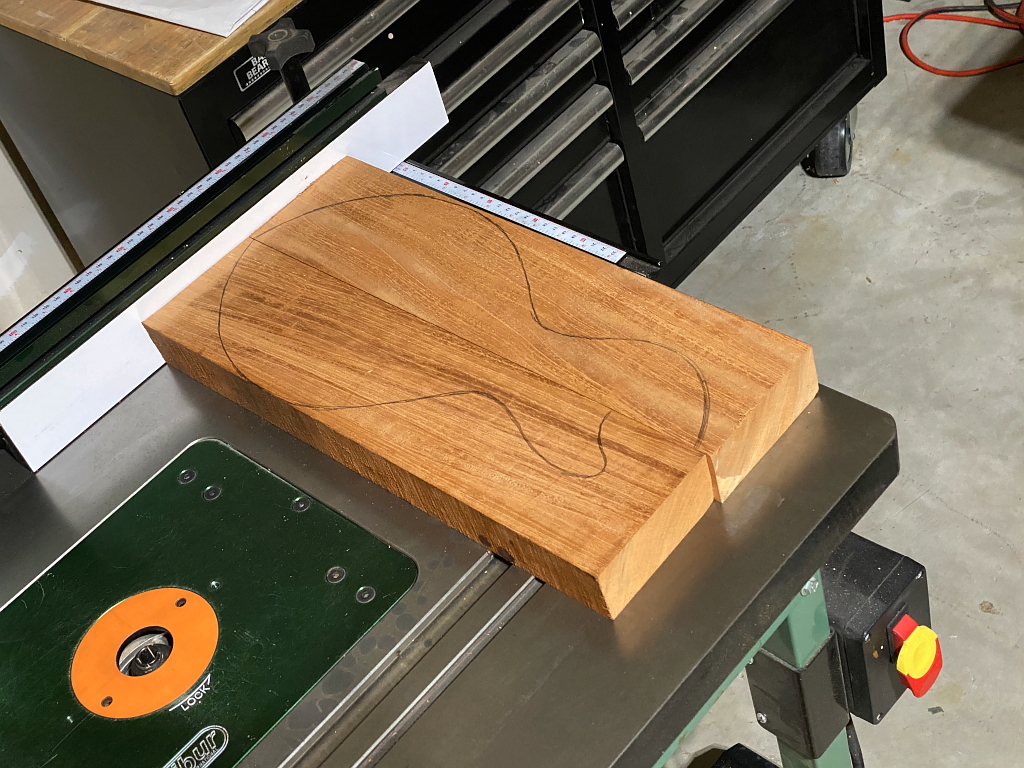
So its time to cut our neck out of this huge laminate log. I turn it onto its side and I trace the profile. This profile is the shape you would see if you took the maple top and fretboard off the guitar, and then sliced the guitar in two right down the center. As you can see here. the neck is not perfectly parallel to the body of the guitar. In the case of this guitar, the neck is angled exactly 3 degrees with respect to the body/back of the guitar
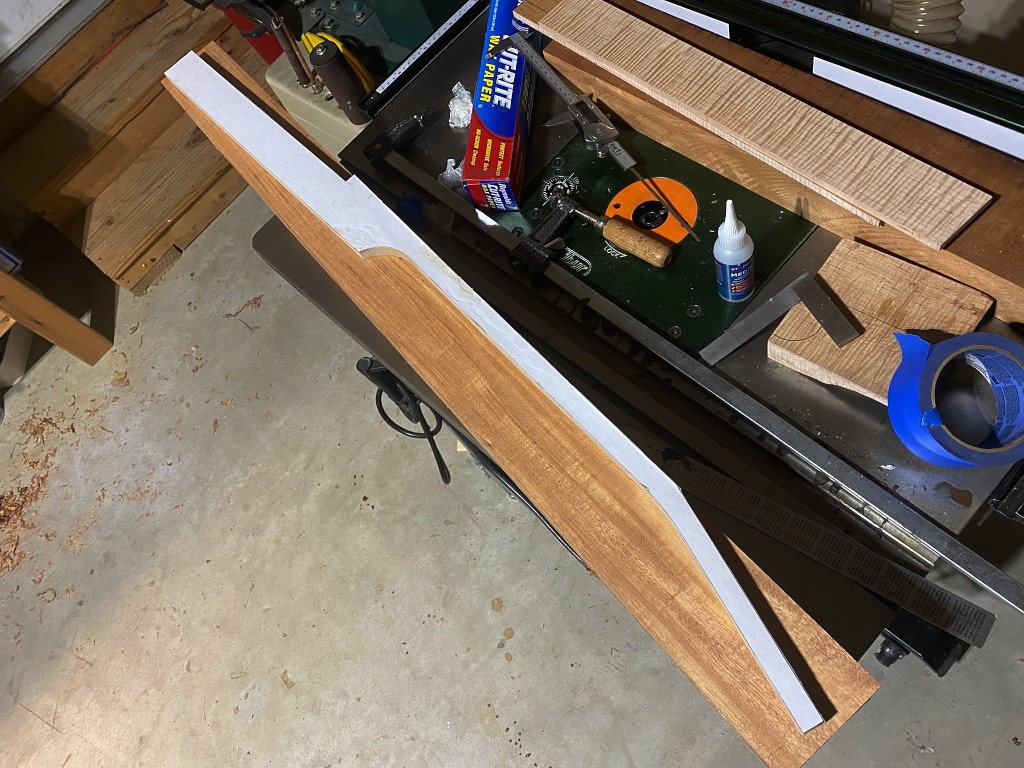
I have the skillz of an artist!
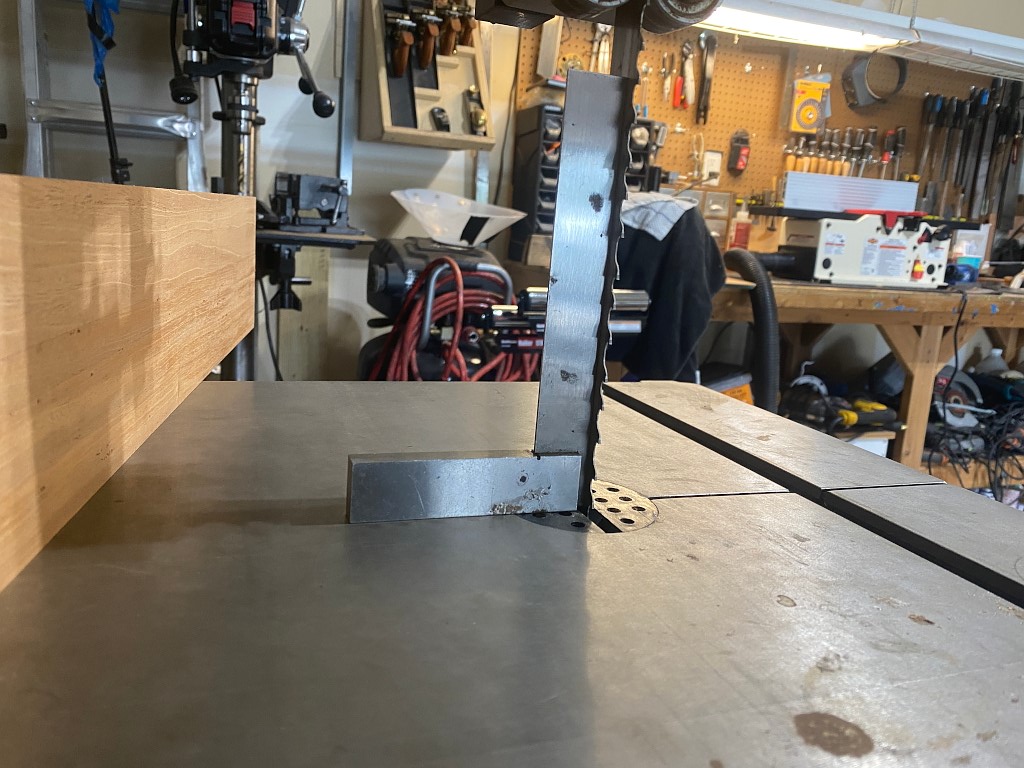
So the reason for such focus on the sides of the laminate being perfectly parallel to each other and square to the top is because I am going to cut tha profile out with a band saw. Its a tall cut and if the board isnt perfect, and if the band saw isnt set up to make a perfectly 90-degree cut, again all my work to this point will be ruined.
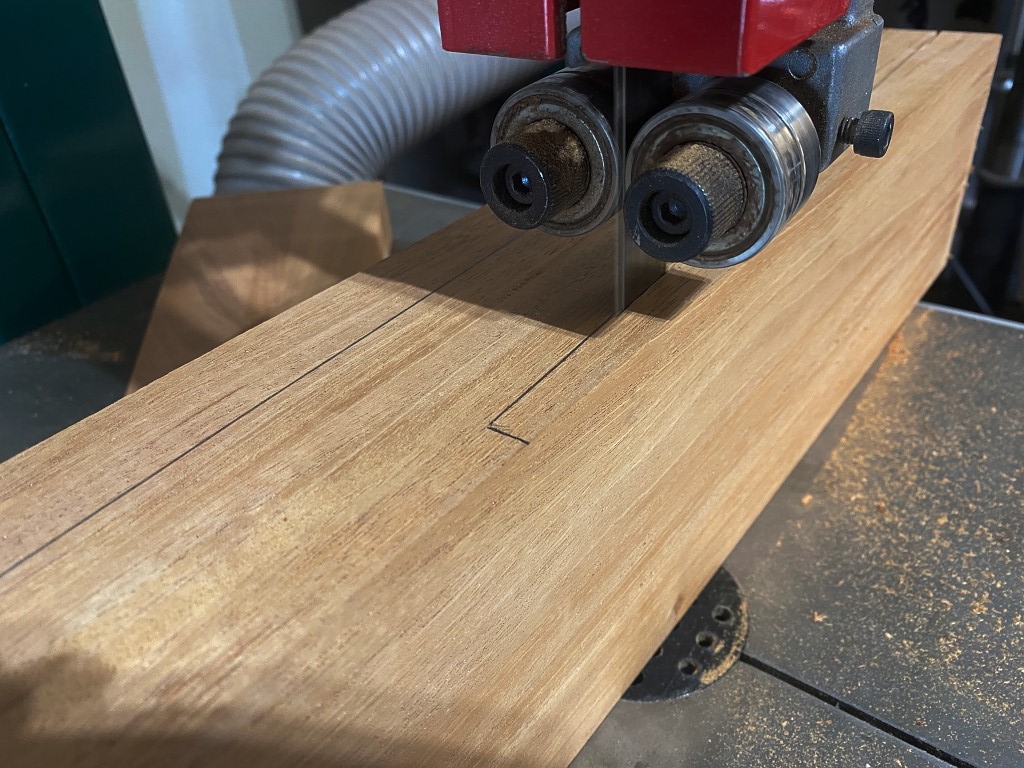
Away we go
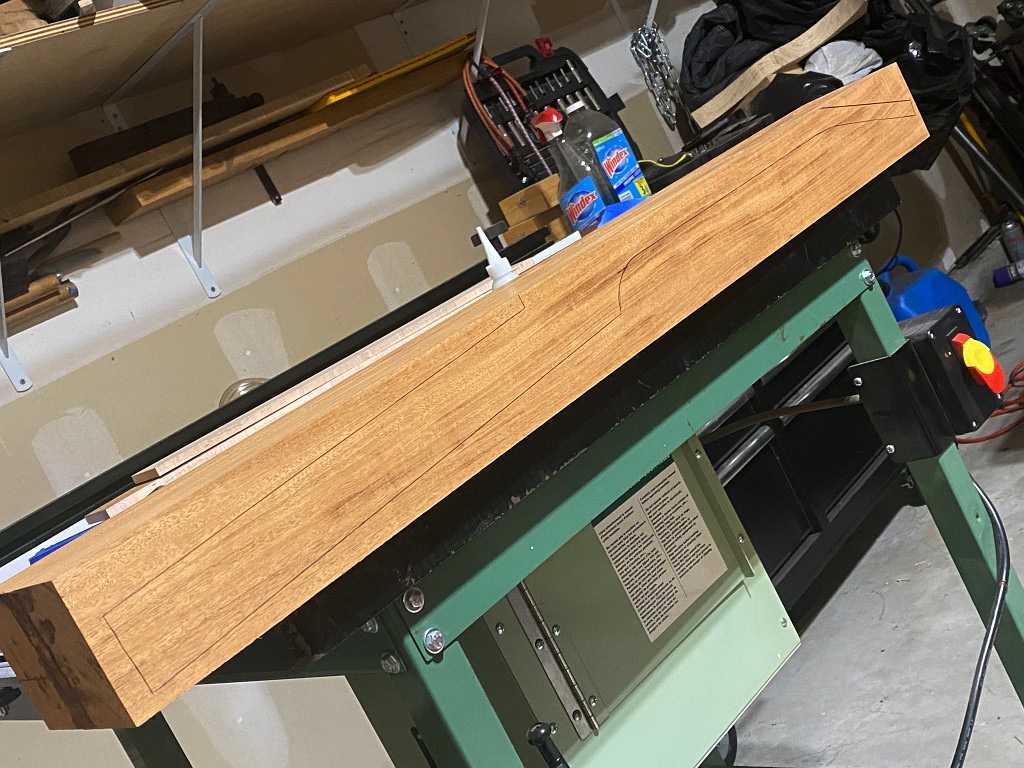
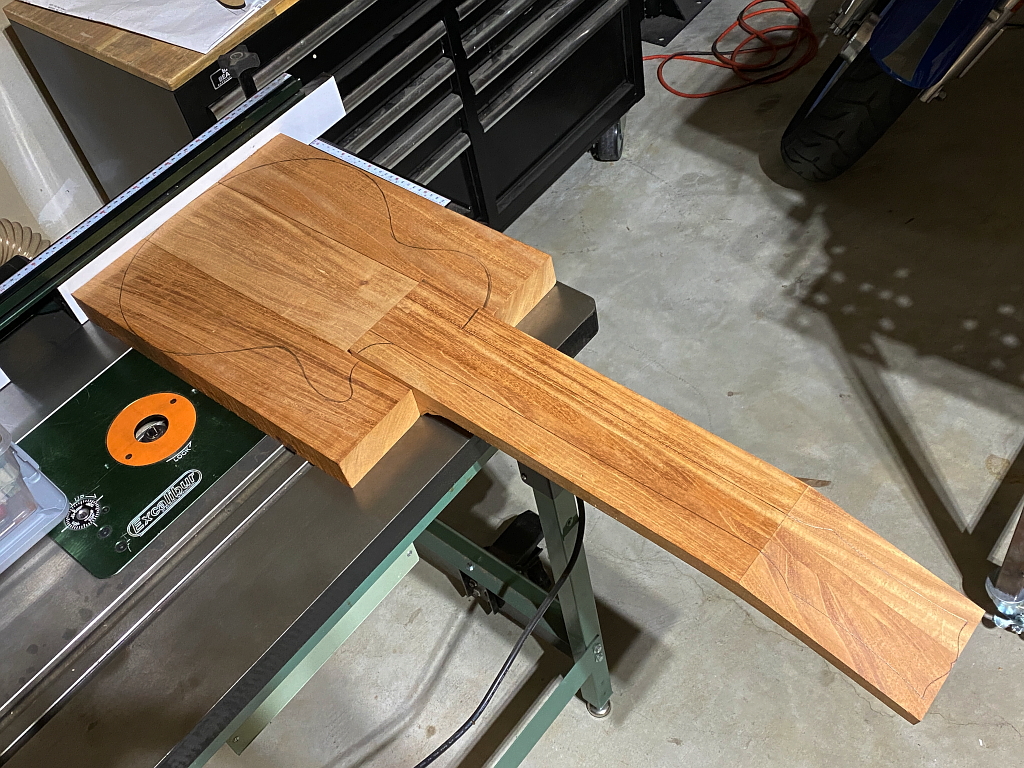
Here you can see the whole laminate after its cut out. I’ve drawn where the fretboard and headstock will be.
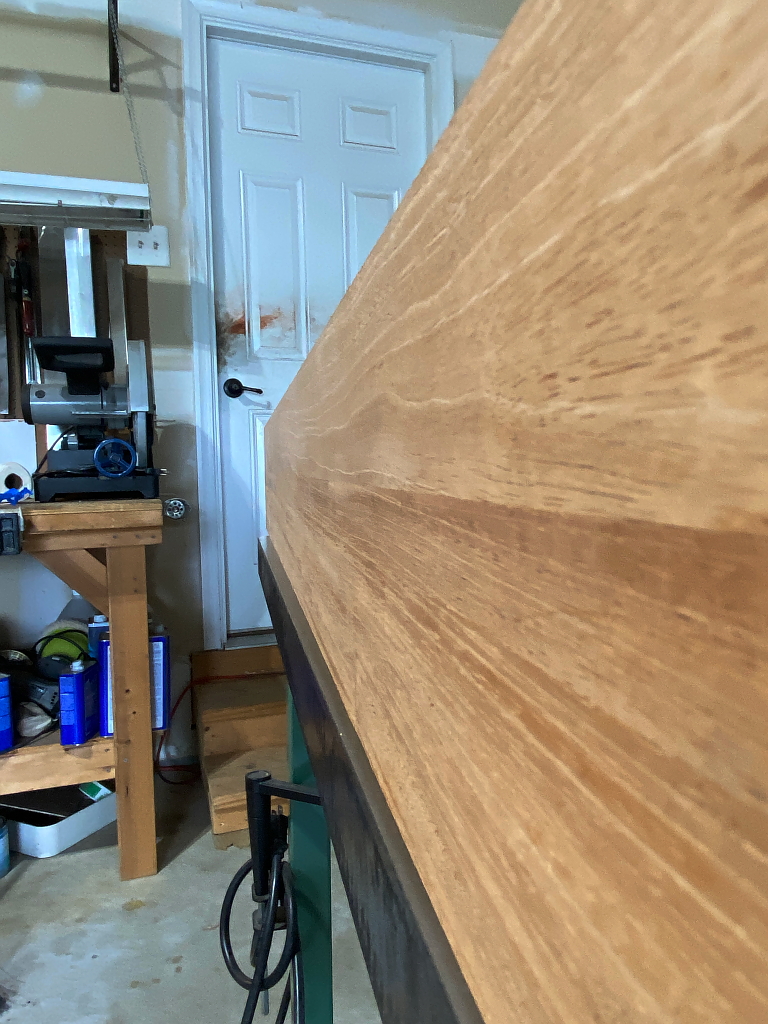
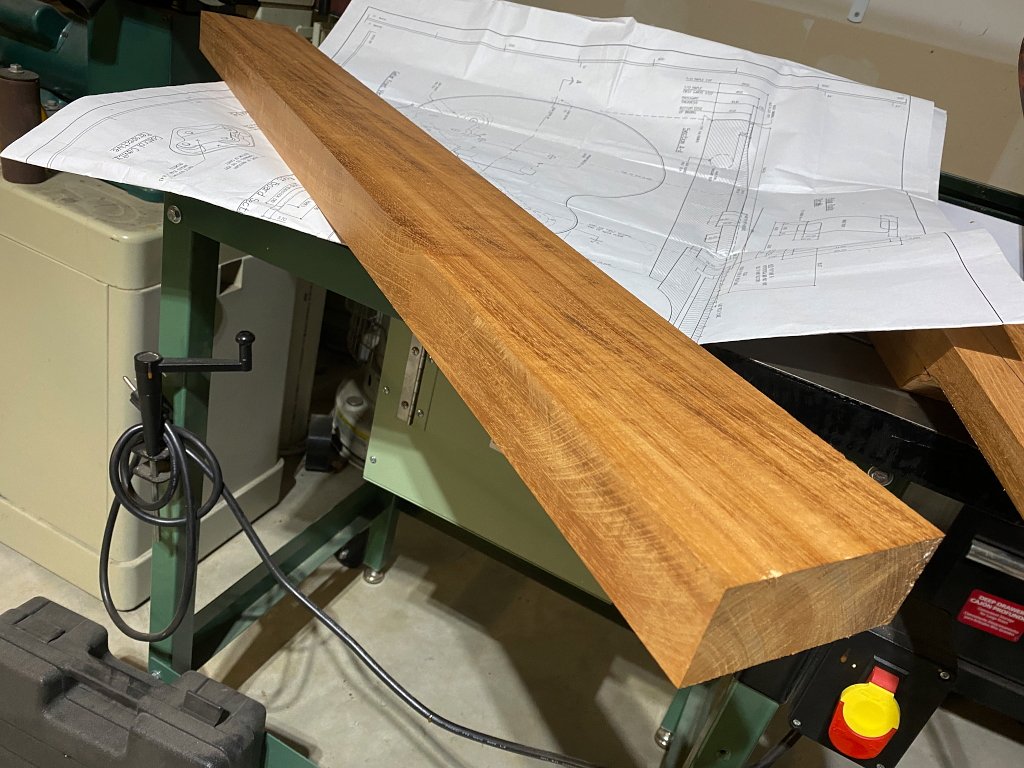
Planing the faces with a hand plane leaves the surface with a cool lustre. You can cleartly see the laminate structure here by virtue of the grain variations…
another shot because why the hell not?
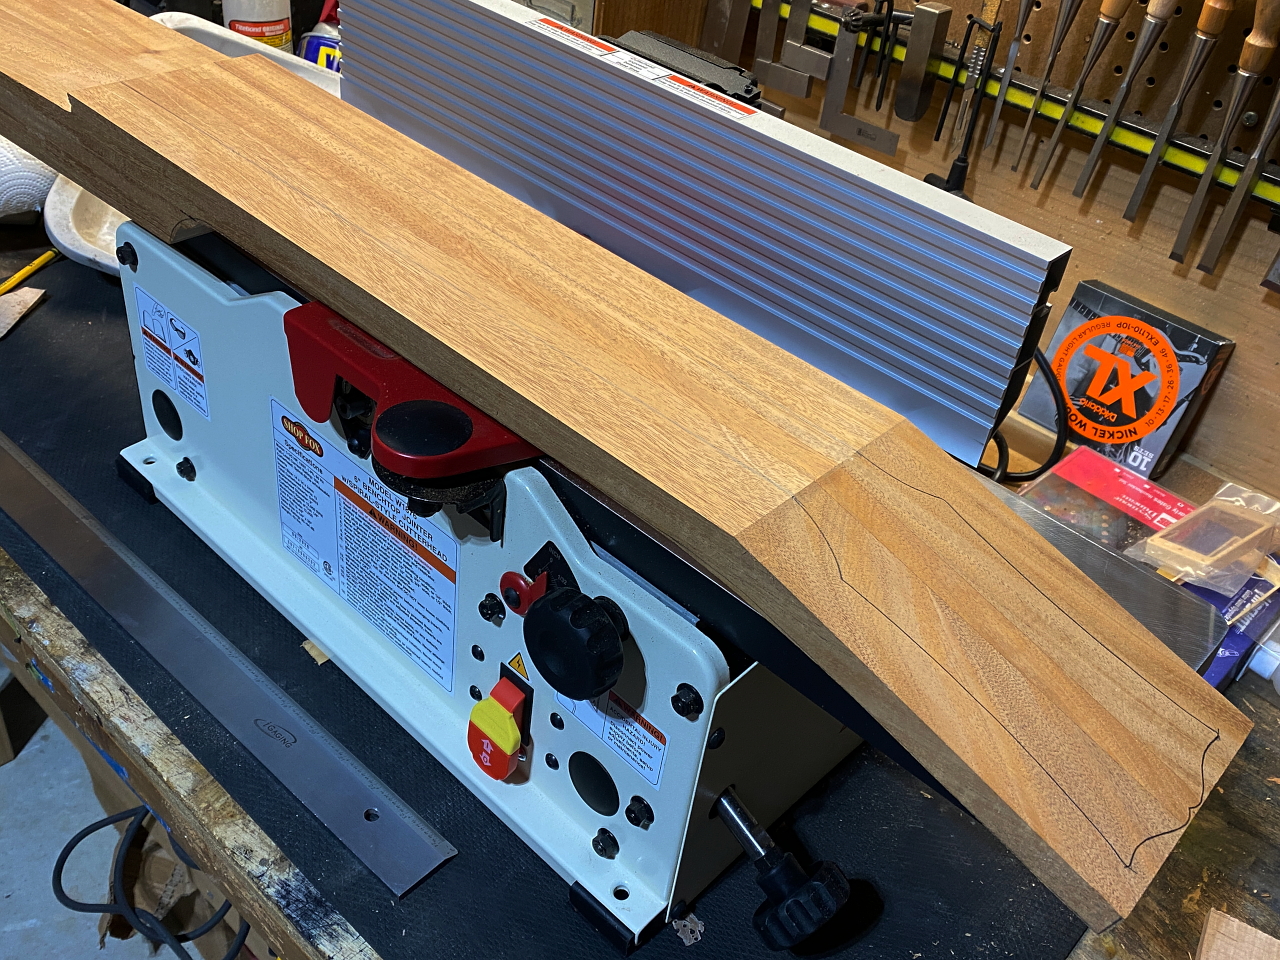
So now that out neck laminate is good to go, I turn my attention to the remaining 4.25″ wide board. This will become the body wings. I joint and plane the board the same way as I did the other 3, only in this case the thickness has to be precisely 1.75″. This is because that is the thickness of the mahogany back of the guitar
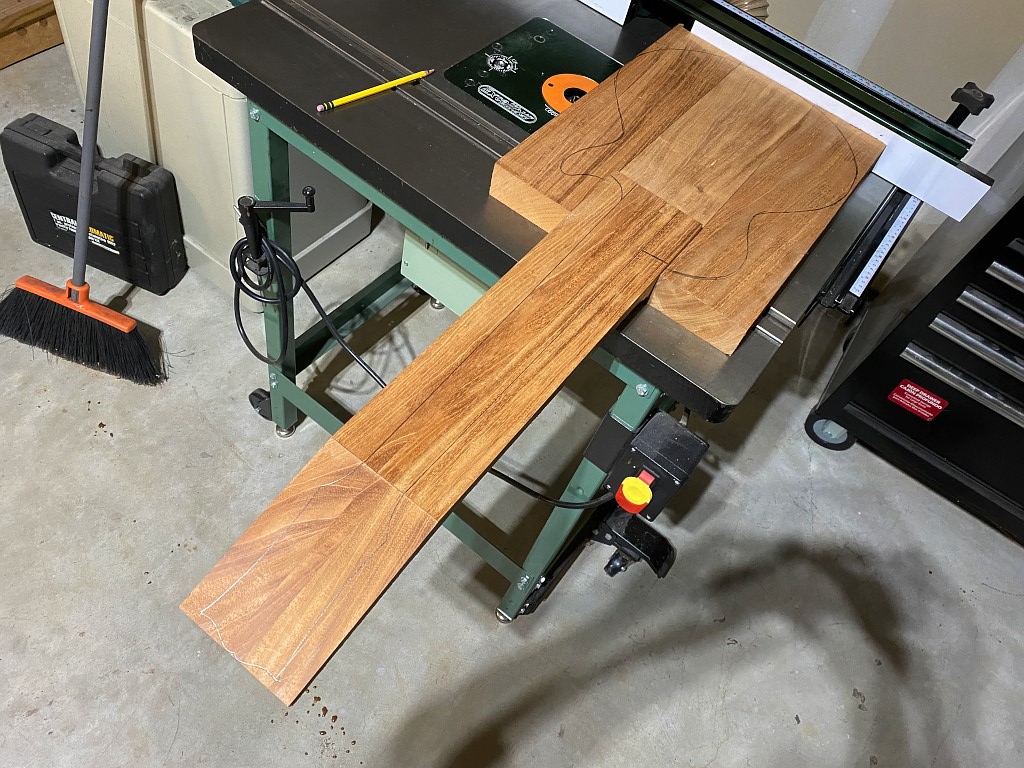
Two wings, so cut it in two
Thats a weird looking guitar. Oh, something is missing…
There it is…
Now you’re finally getting to see the shape of the actual guitar in all these big blocks of wood.
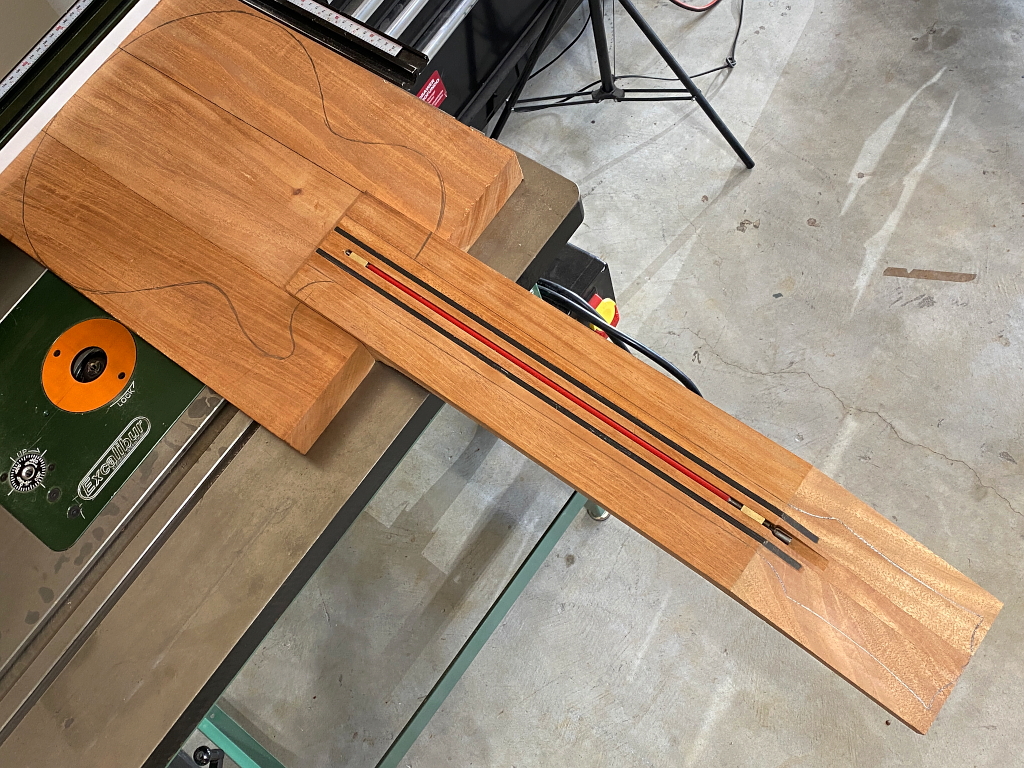
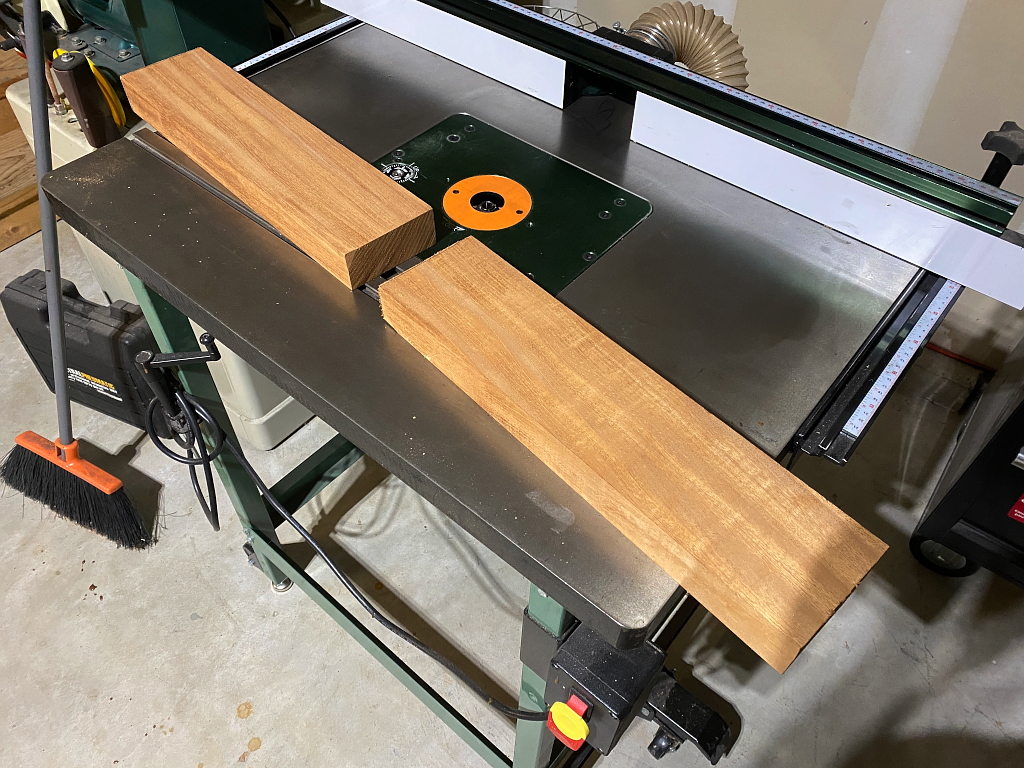
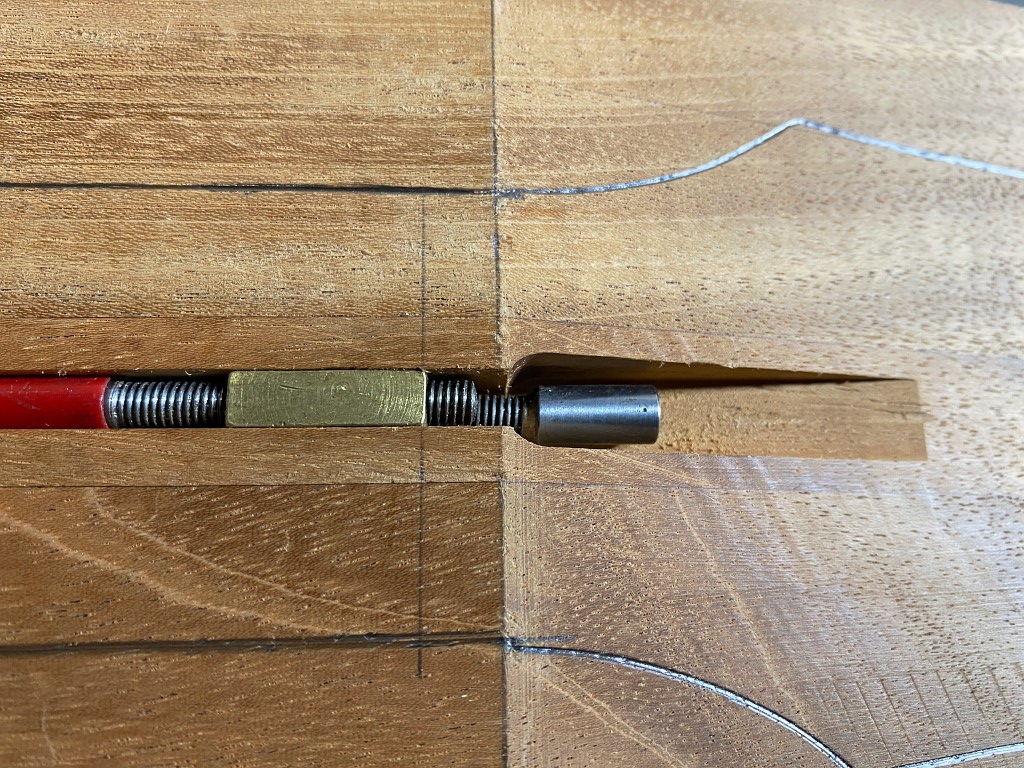
Truss rod time
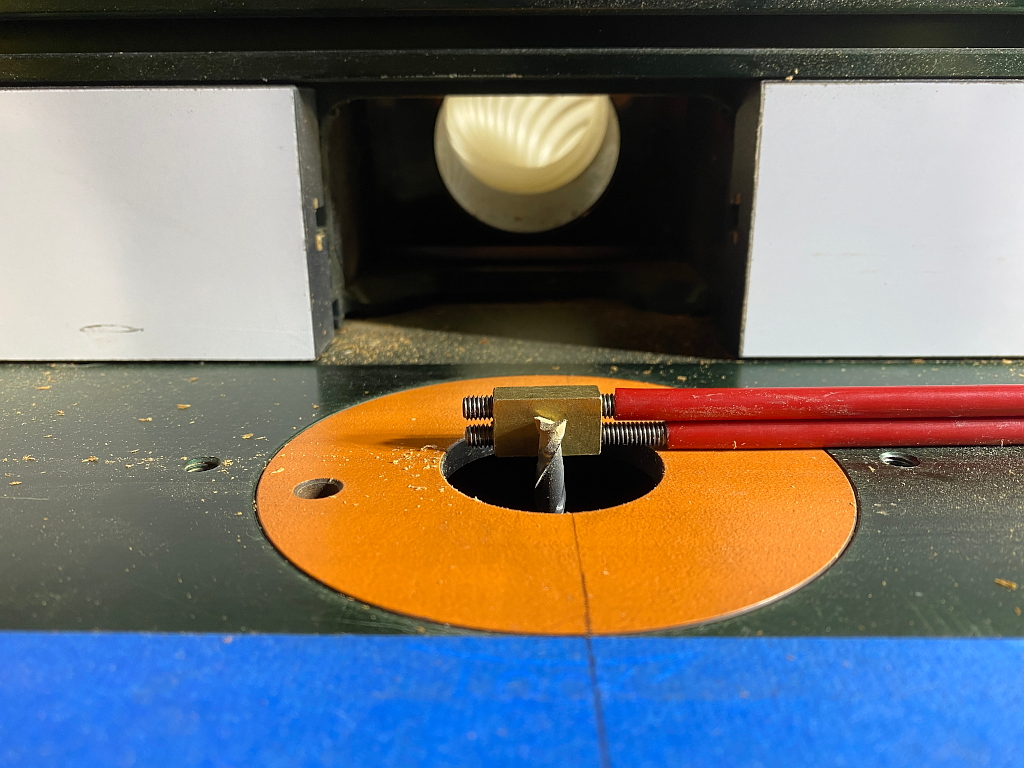
I use my router table to route the channel for this
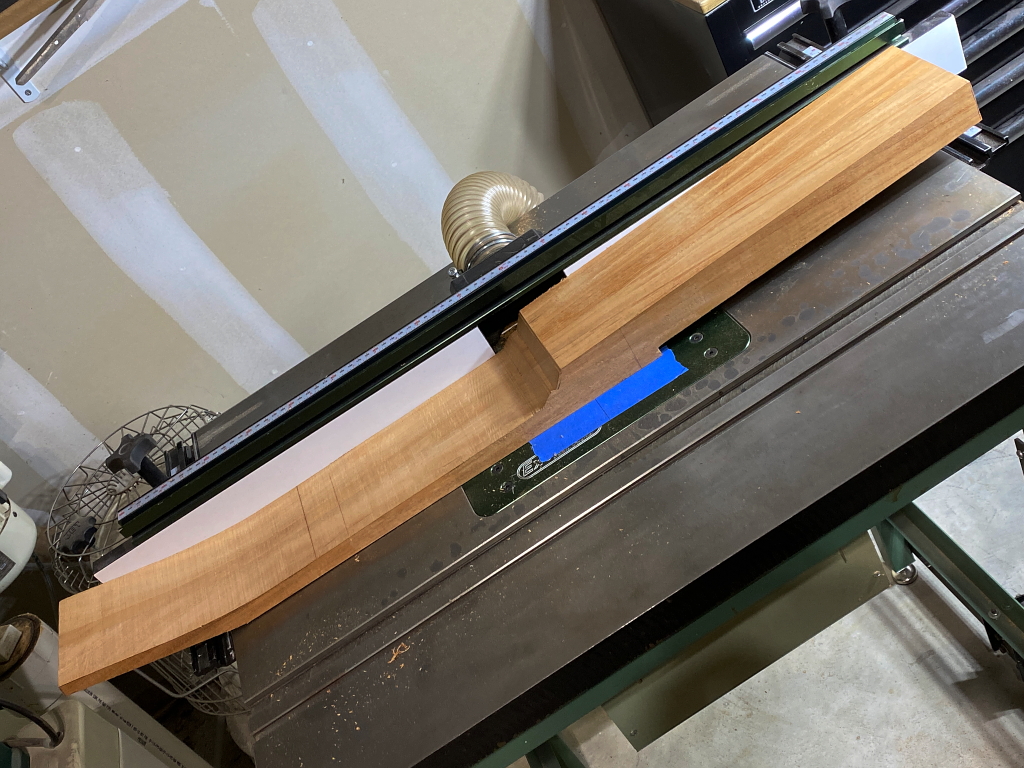
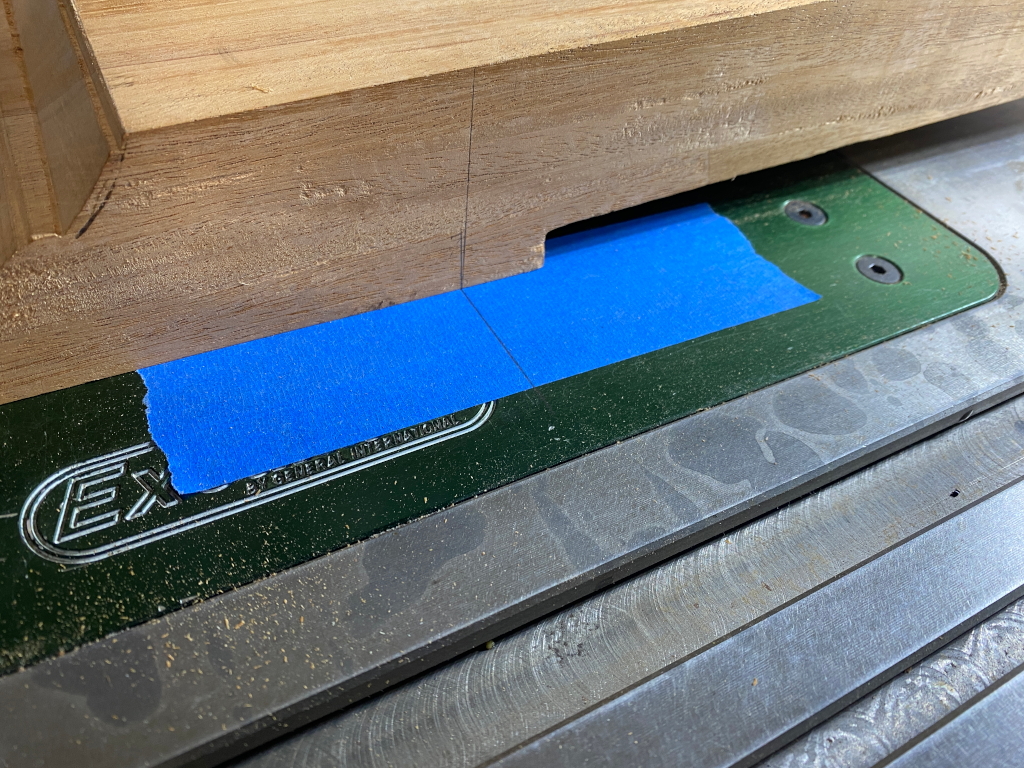
Since the channel is being routed on the face down side you cant see it, so I use marks to tell me when to stop
Perfect
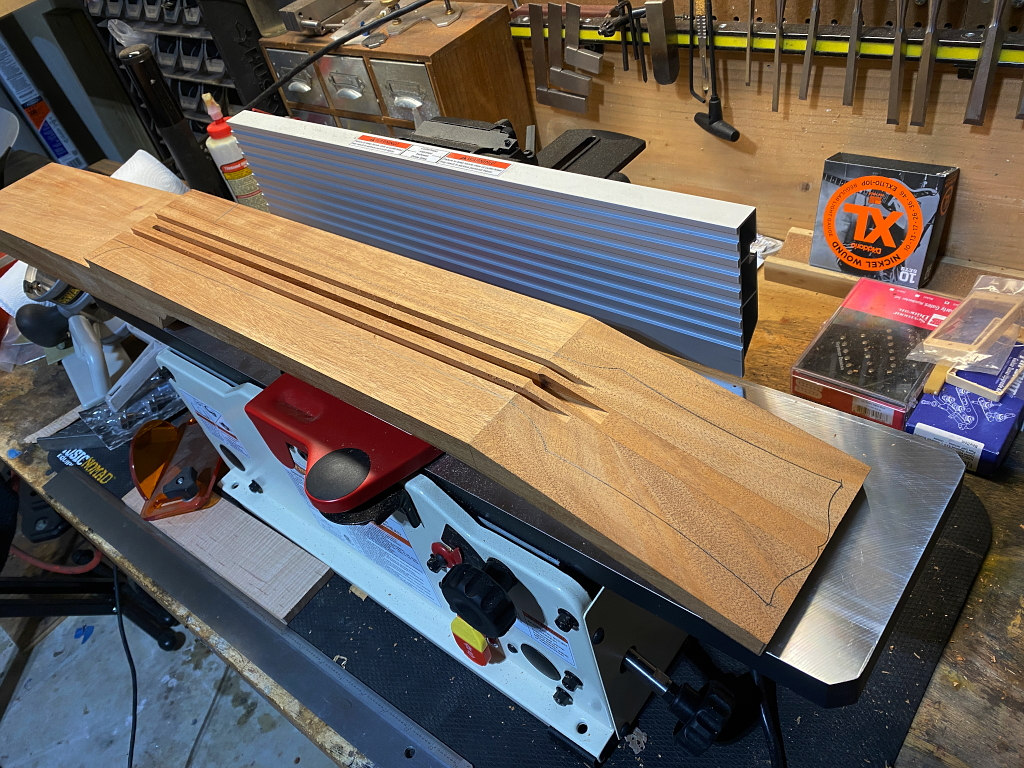
A slightly wider router bit for the access on the headstock.
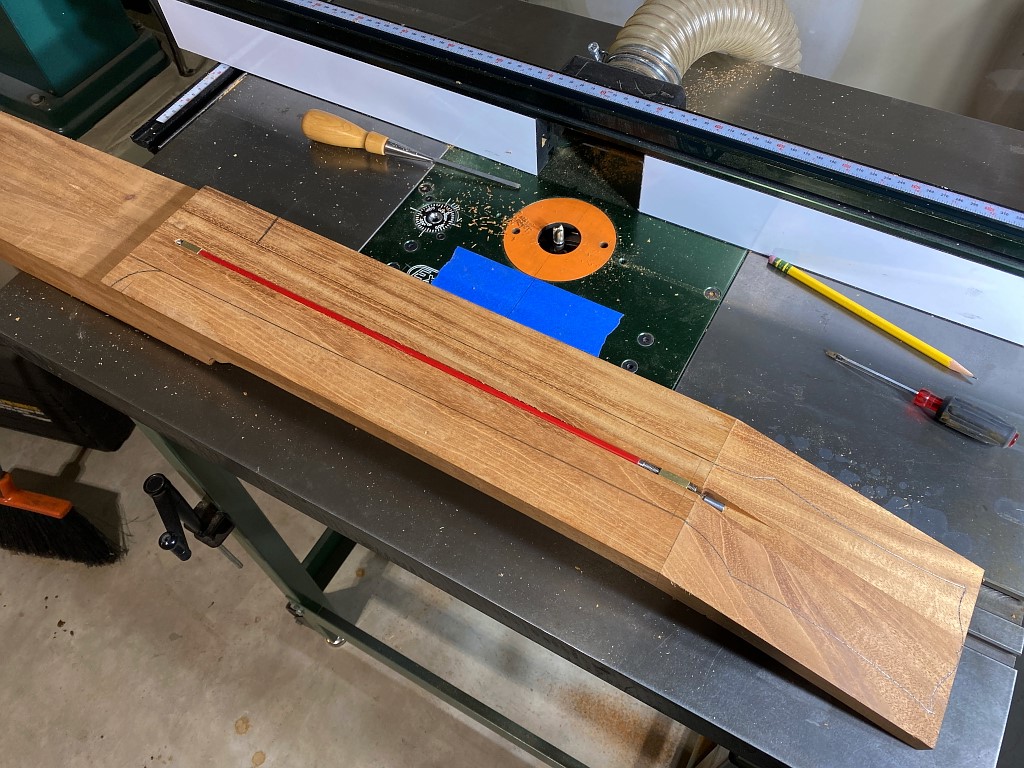
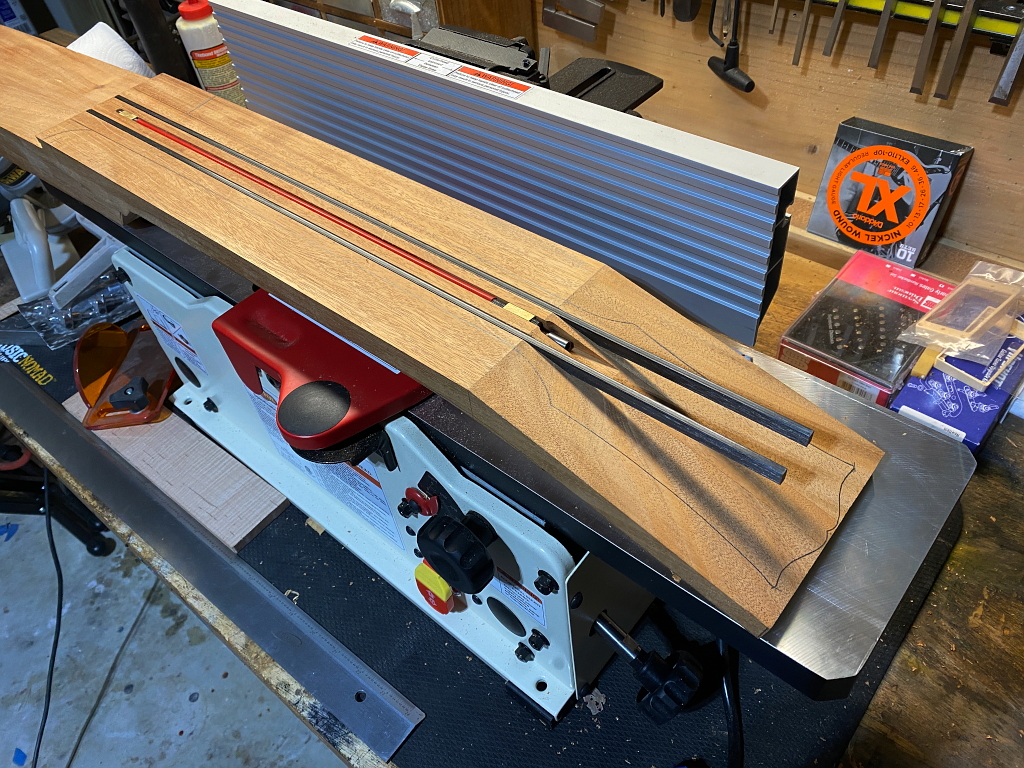
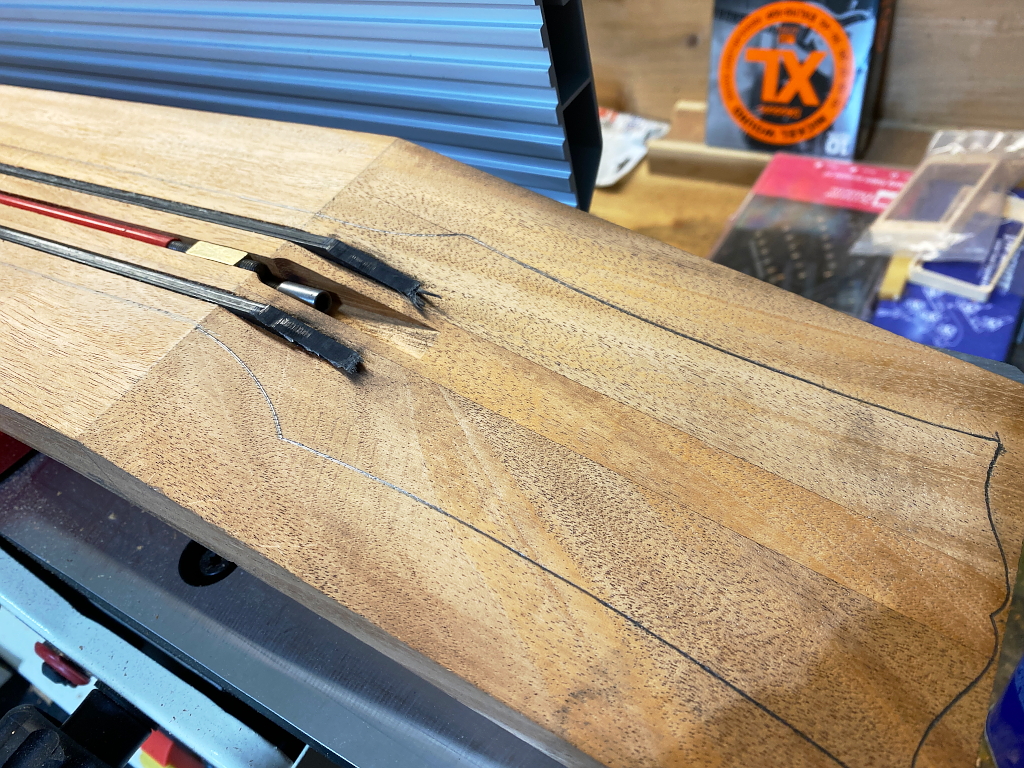
Using the same process I route 2 channels for carbon fiber rods
I use medium viscosity CA glue to embed the carbon fiber.
Once the CA is set I use a metal cutting band saw to cut off the long ends
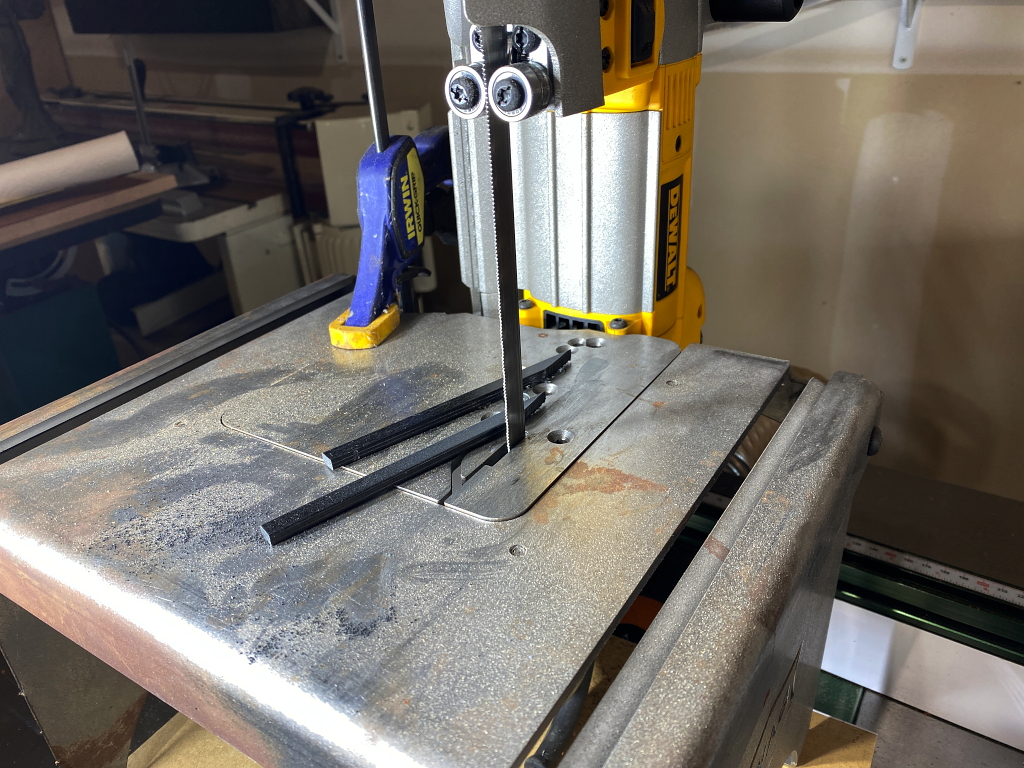
Like so
And I use a coarse bastard file to grind them down flush. I have to be very careful to not gouge into the wood with the file.
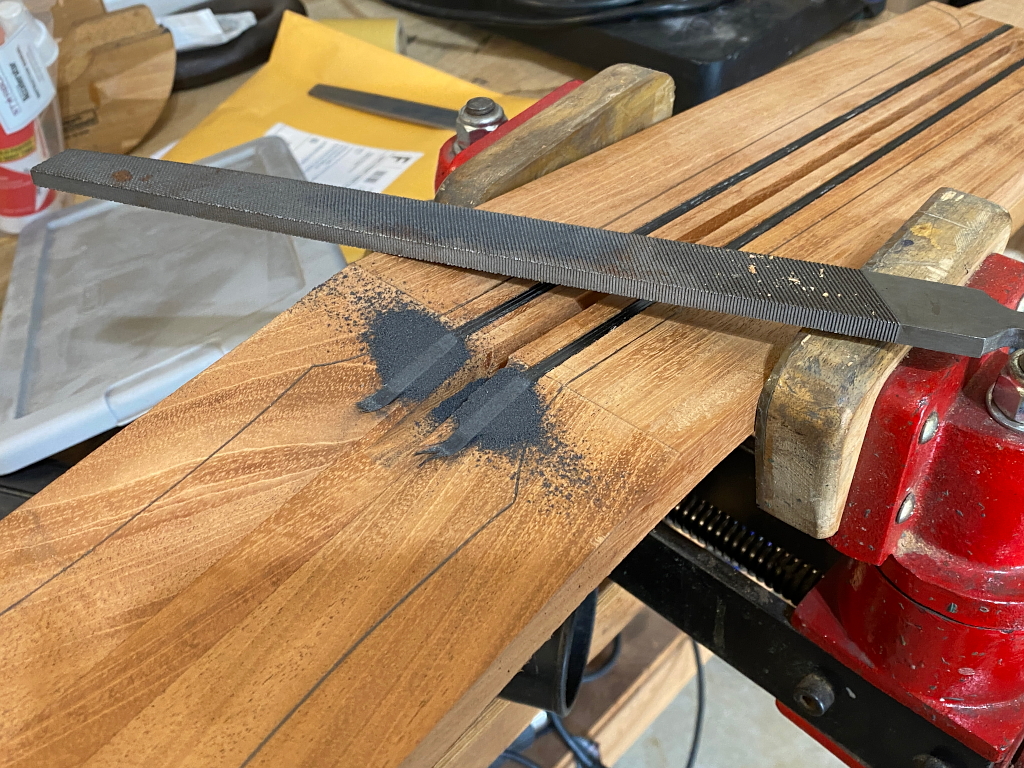
Big, square guitar.