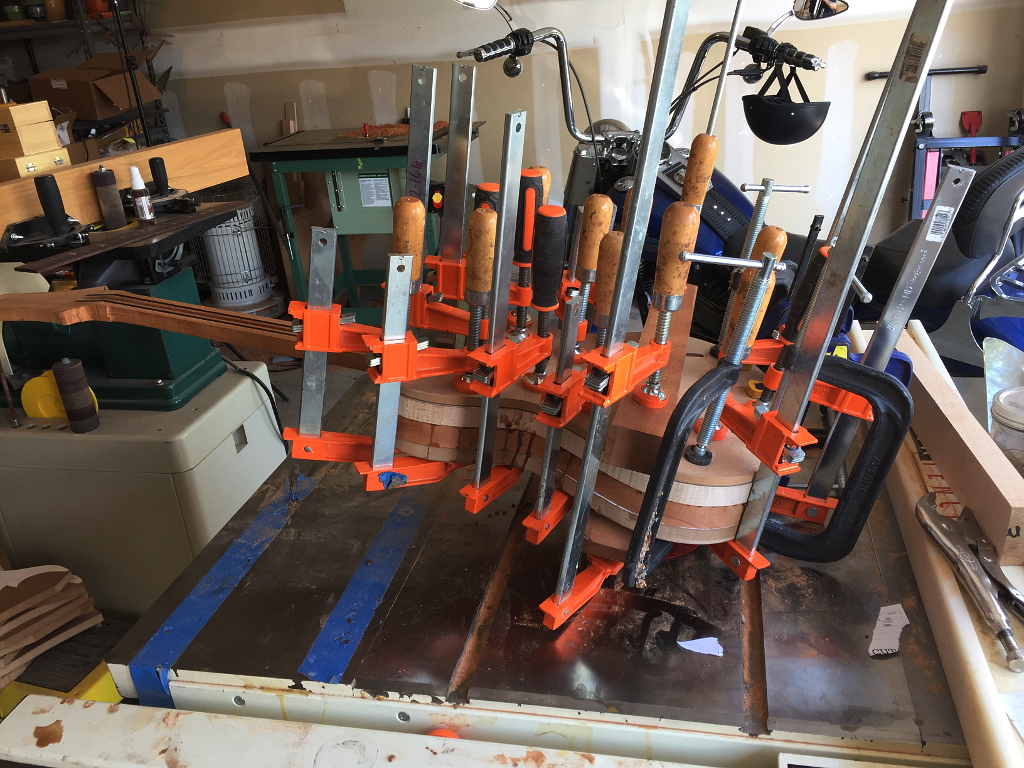
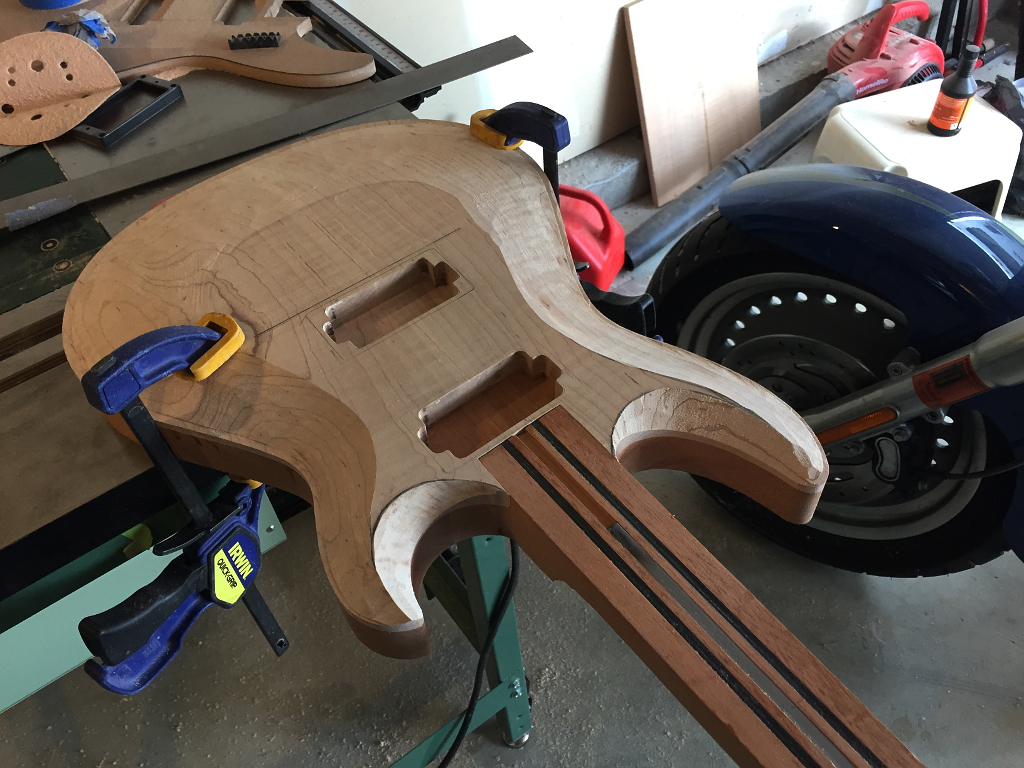
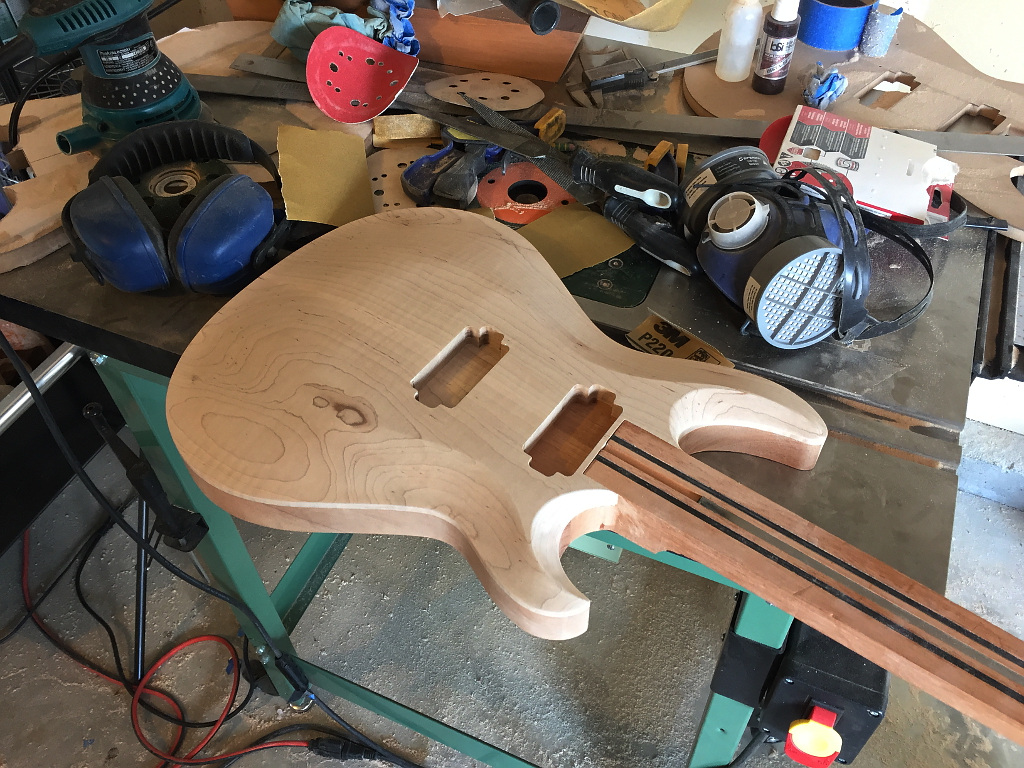
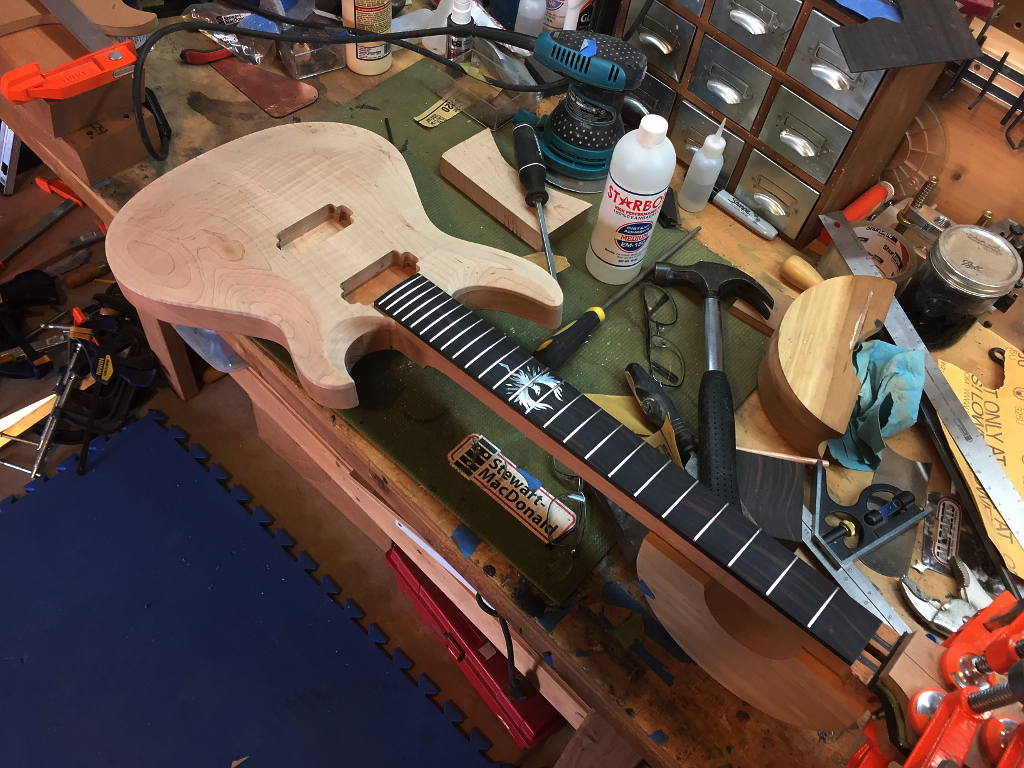
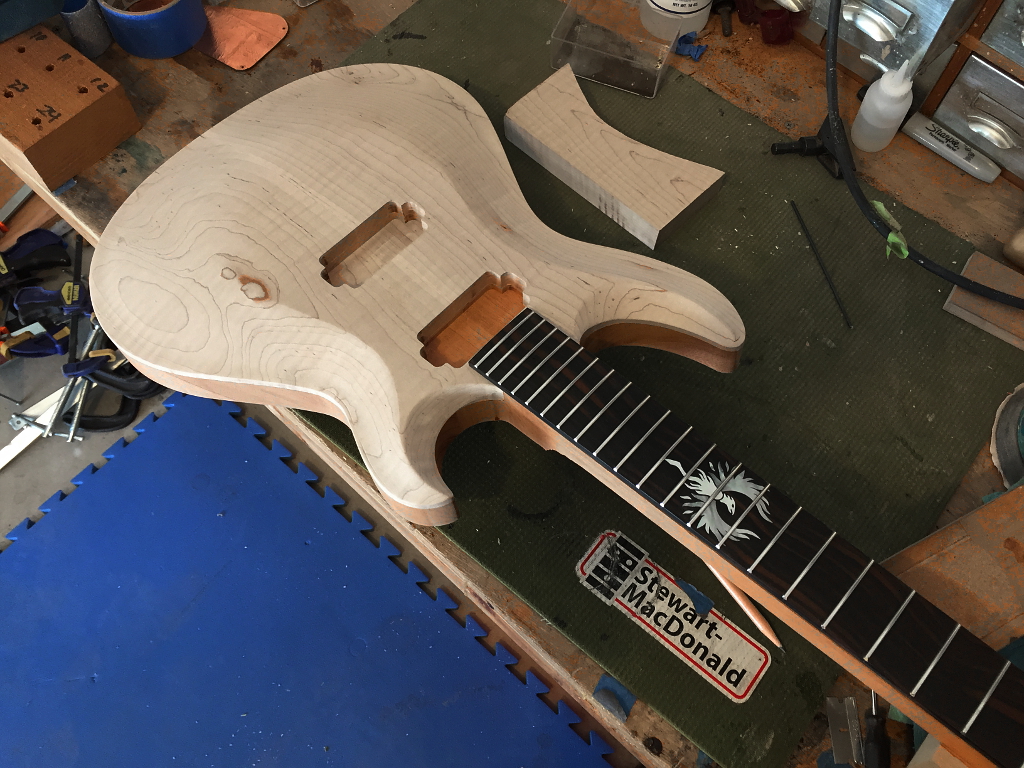
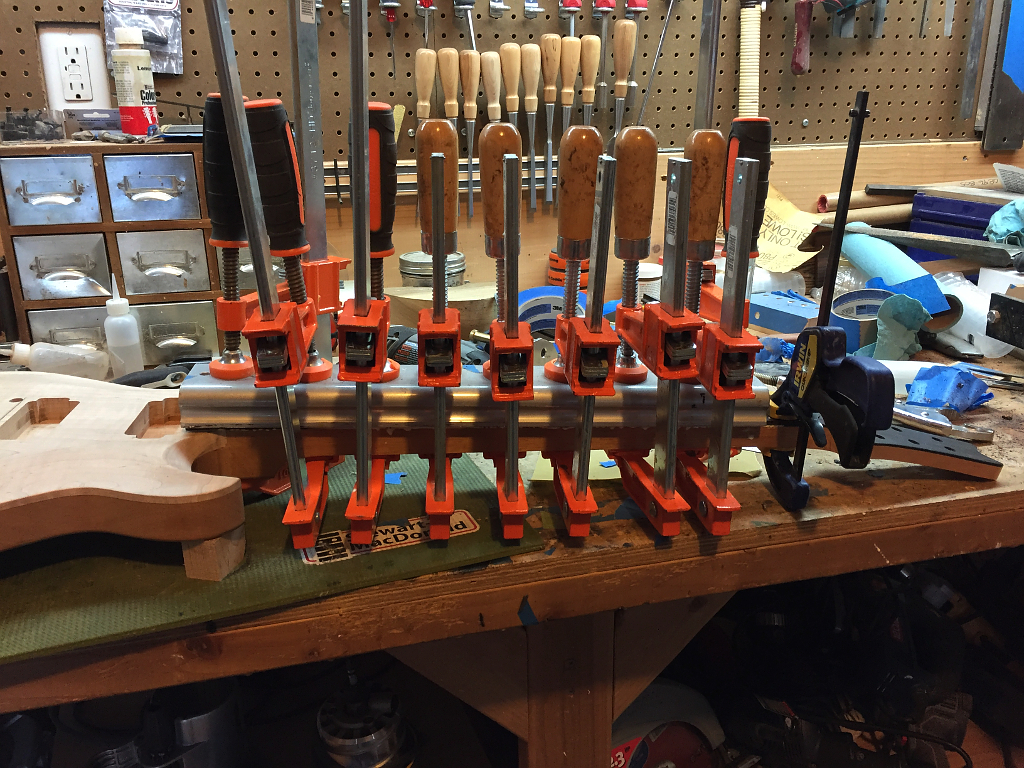
You cant have too many clamps on here. I think I have 21 clamps on the body 🙂
Like the neck laminate, since I used the UF glue for this is needed to sit for a good 24 hours before unclamping it.
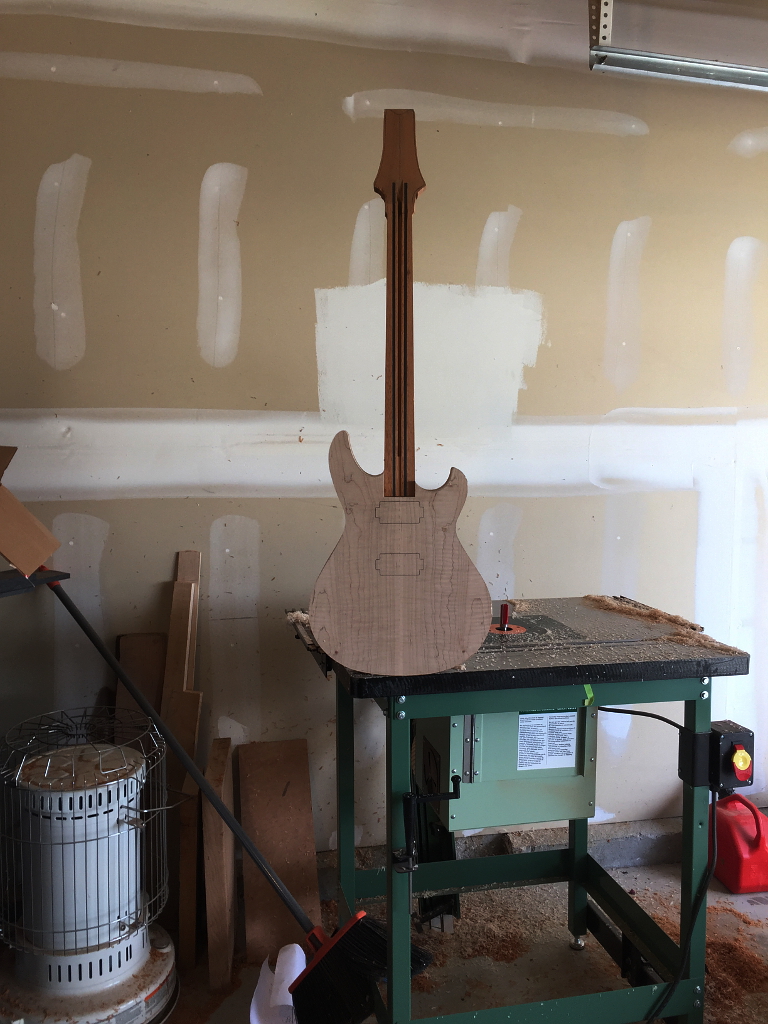
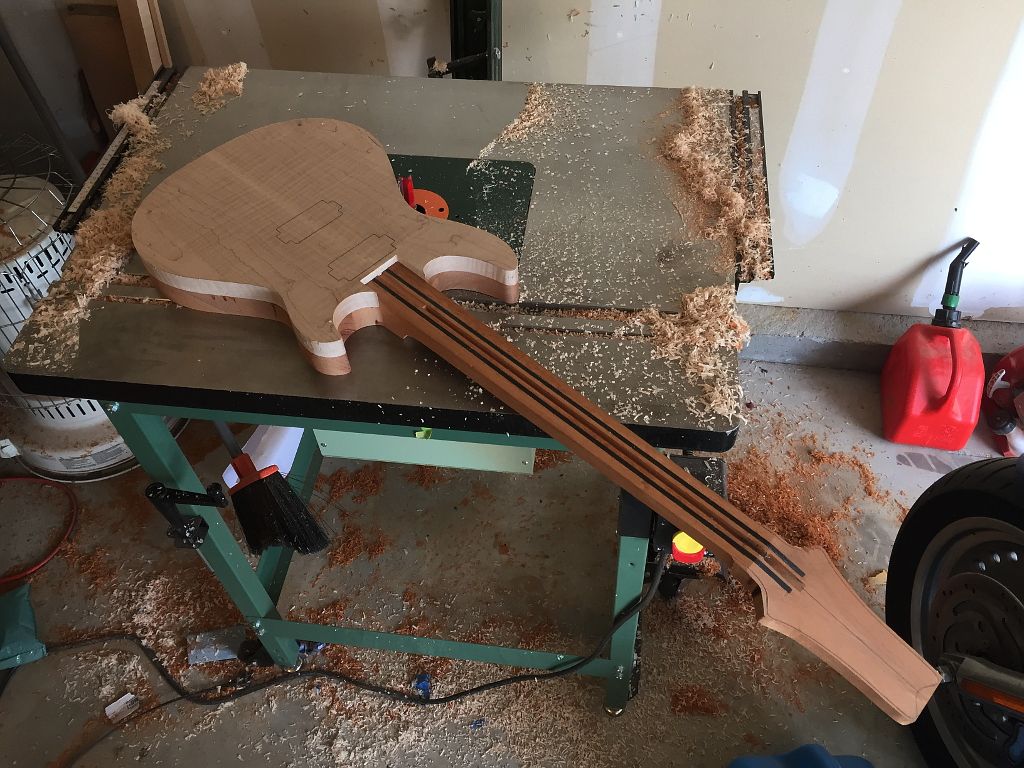
Once out of the clamps I can use the mahogany part of the body as the routing template to trim the maple top to match the body.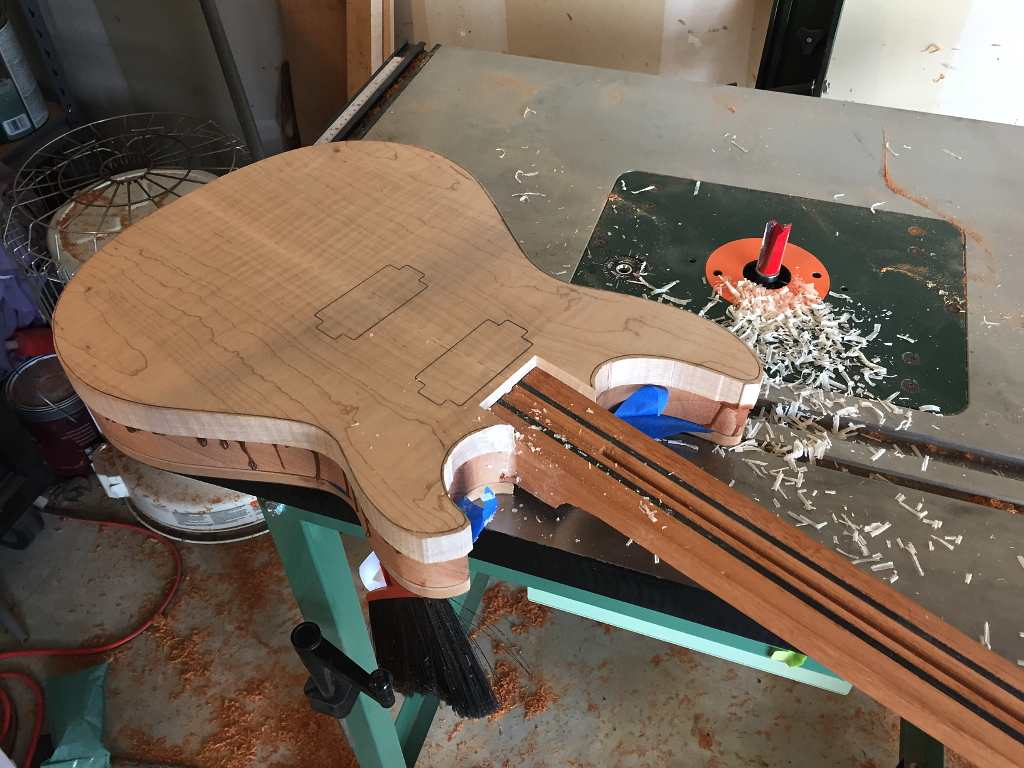
I take a little at a time, rather than trying to route the whole thing in one pass. Takes longer, but makes a much cleaner job.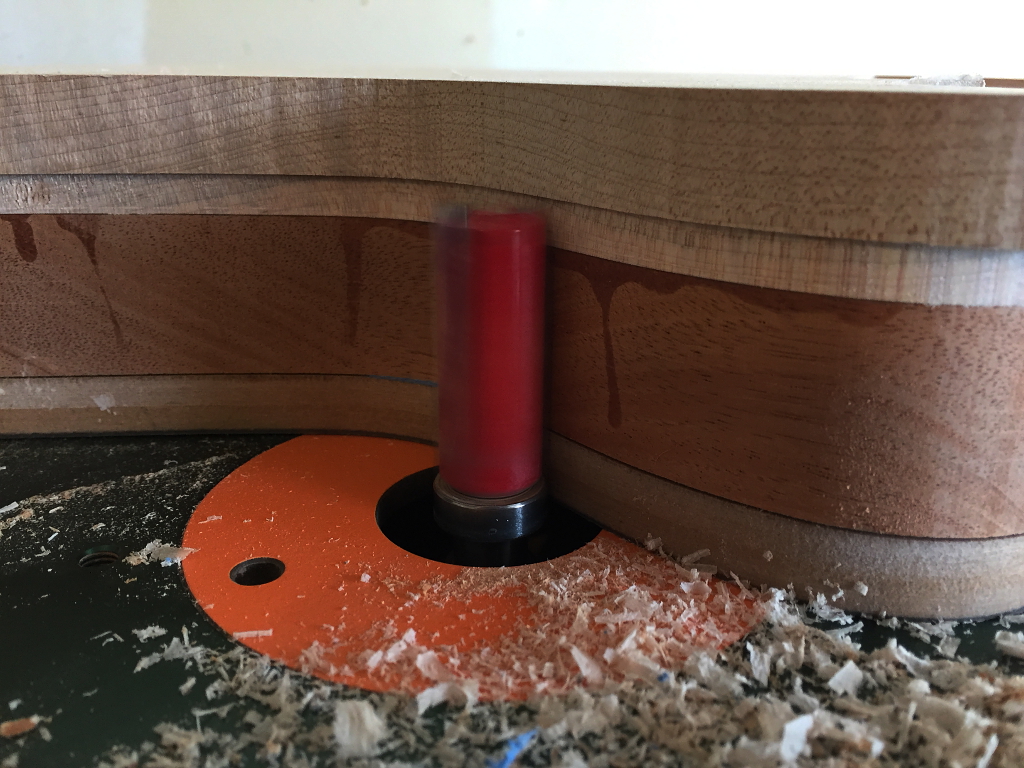
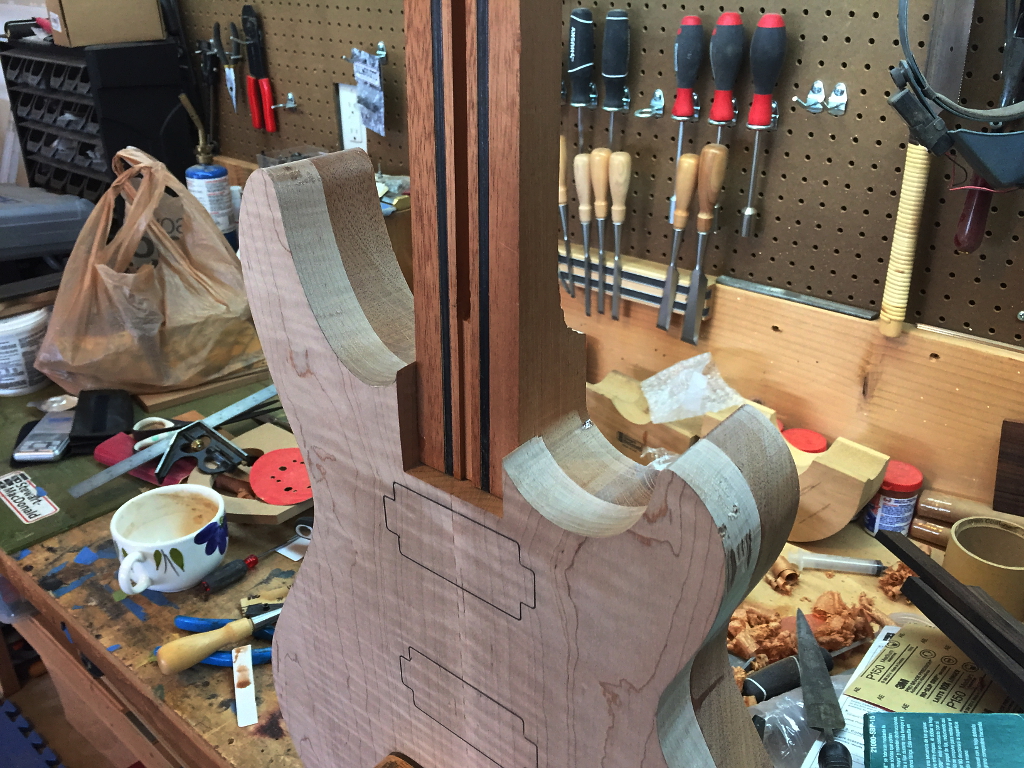
Starting to resemble a guitar 🙂
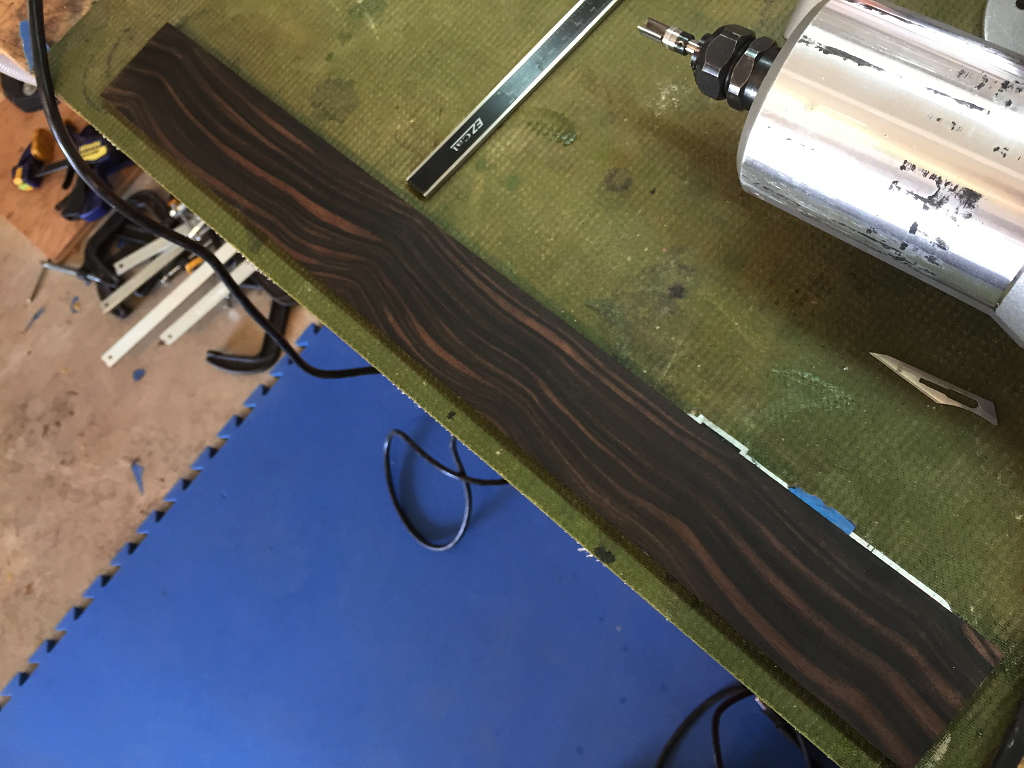
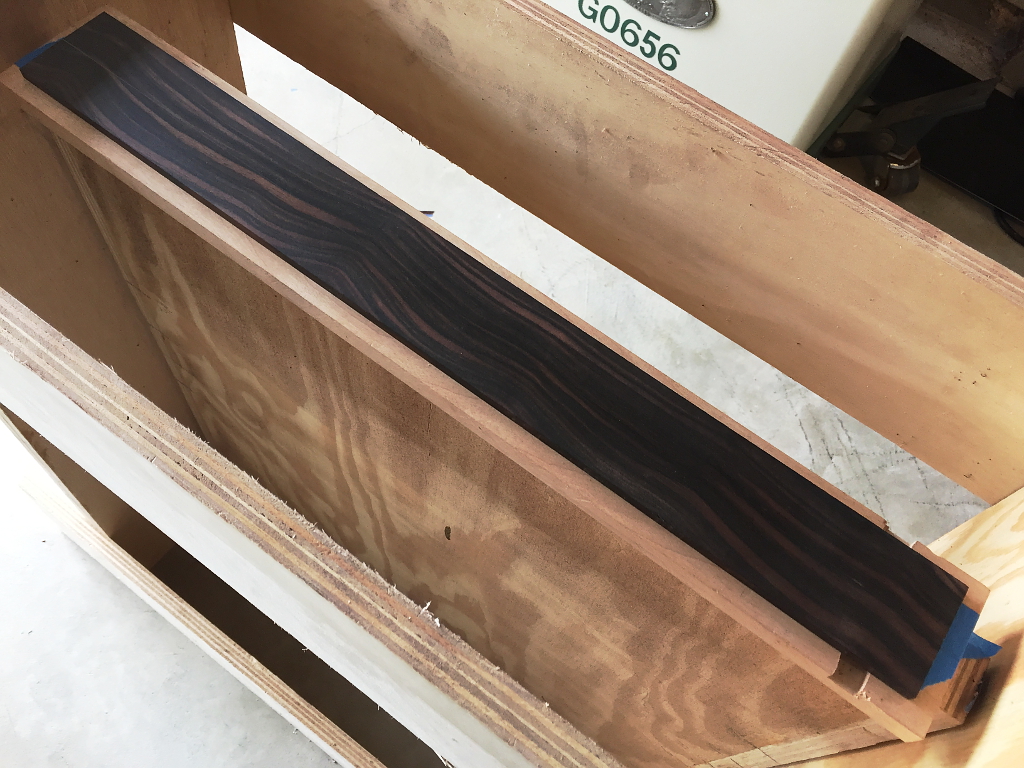
So now we can get back to the fretboard a bit. First thing we need to do at this point is to put the radius on the board. The radius is the curvature of the fretboard. They are rarely flat, but rather, have a slight curve. Some like more curve, and some like less. I like a 12′ radius.
What the radius refers to is, if you took that curve on the fretboard and followed it all the way around until it formed a perfect circle, it would be 24″ (2 feet) in diameter. Of course the radius of a 24″ circle is 12″, the radius being the distance from the center of the circle to the outside edge.
So there are a few different methods for making the radius. Some sand it, some plane it. I use a router jig I built myself.
I wont bother explaining here how the jig works, but you can see here the radius on the board.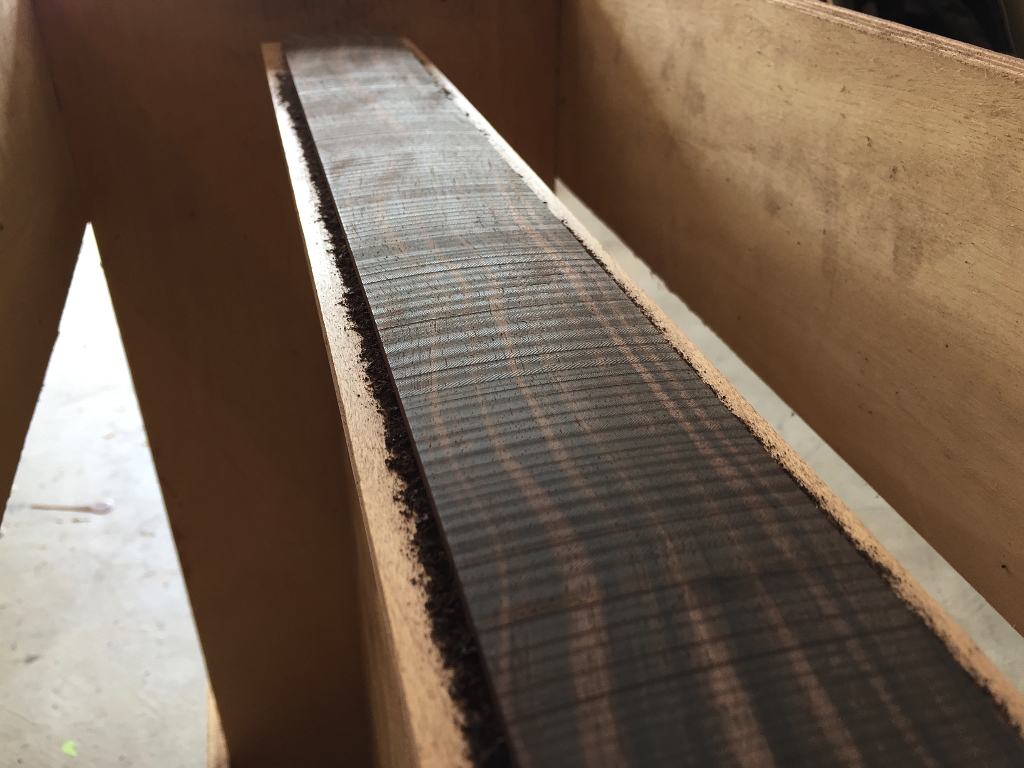
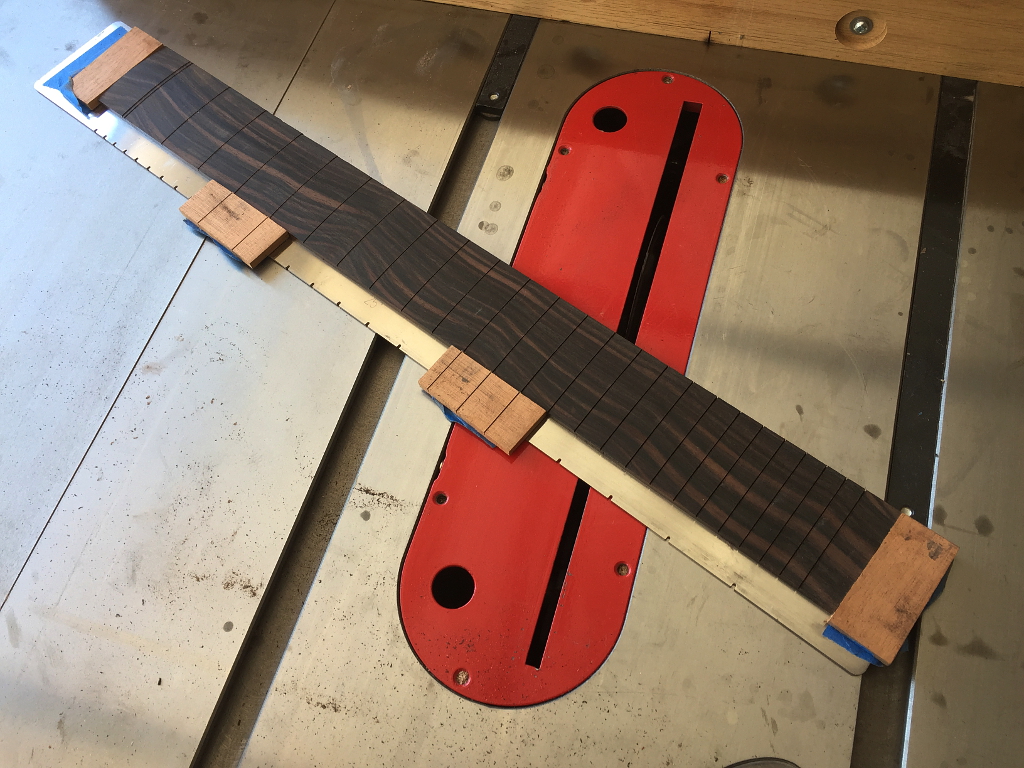
Next I use my table saw and another jig I made to slot the board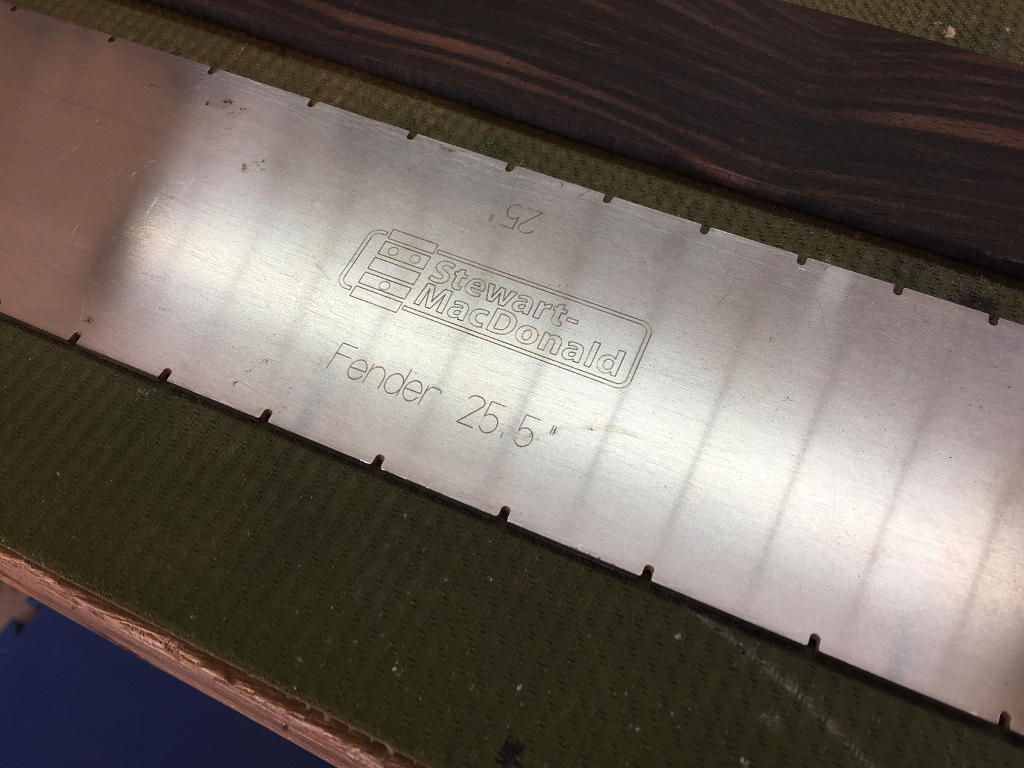
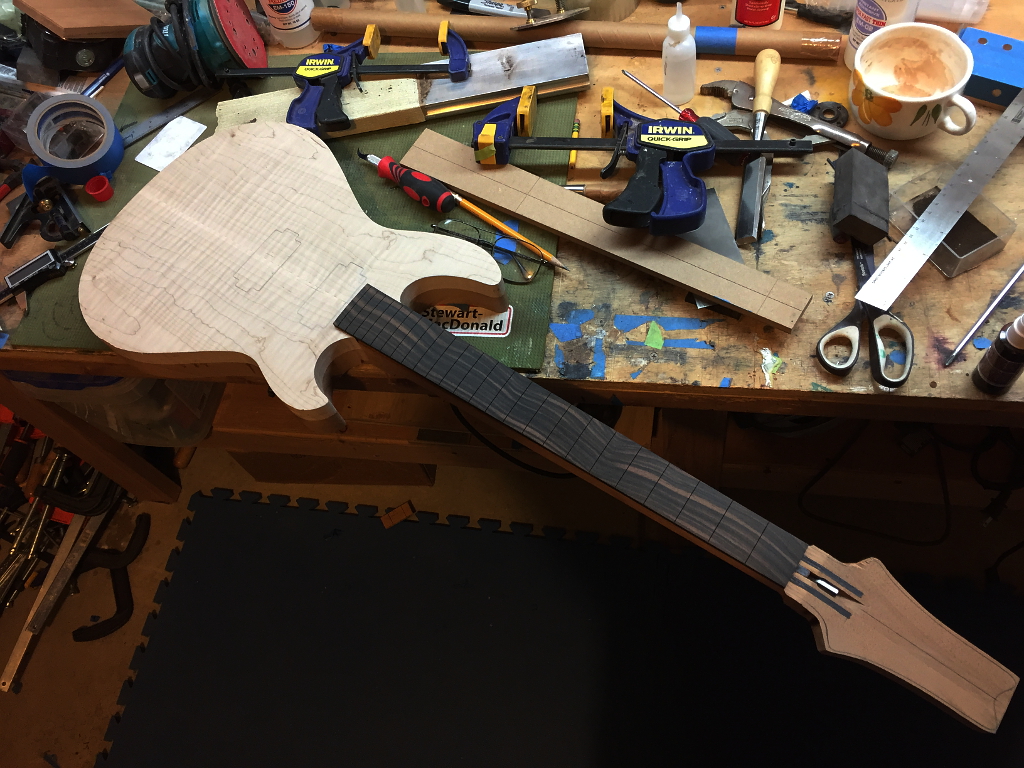
Then I take my neck template again, and this time use it on the fretboard so that it matches up perfectly with the neck.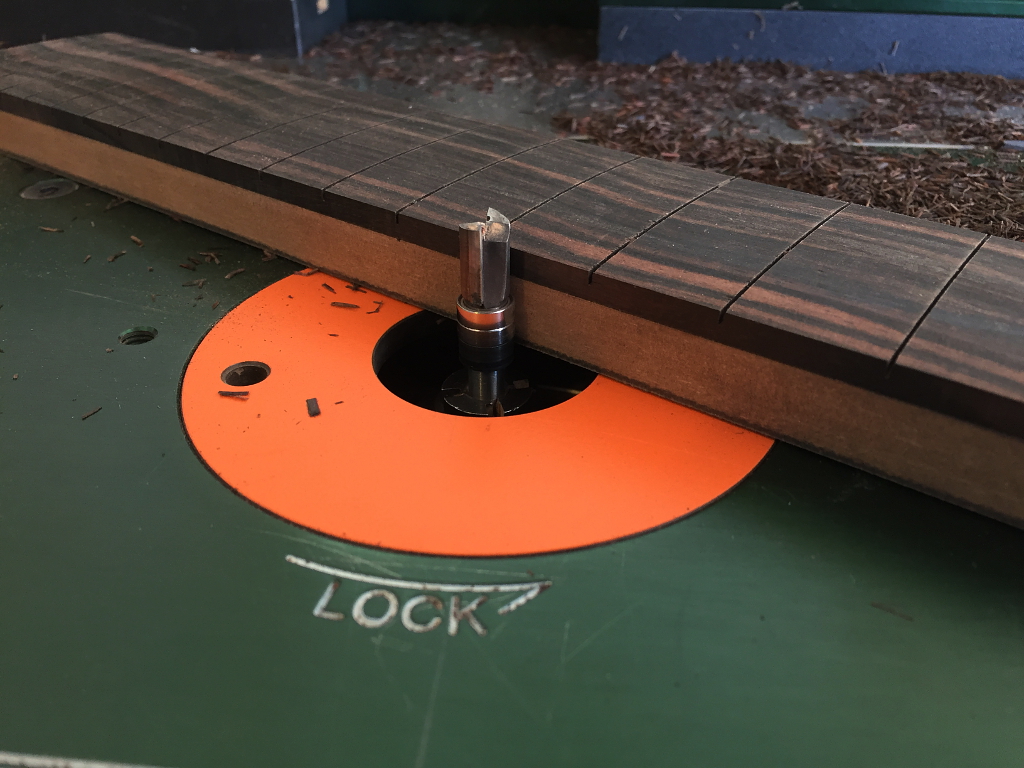
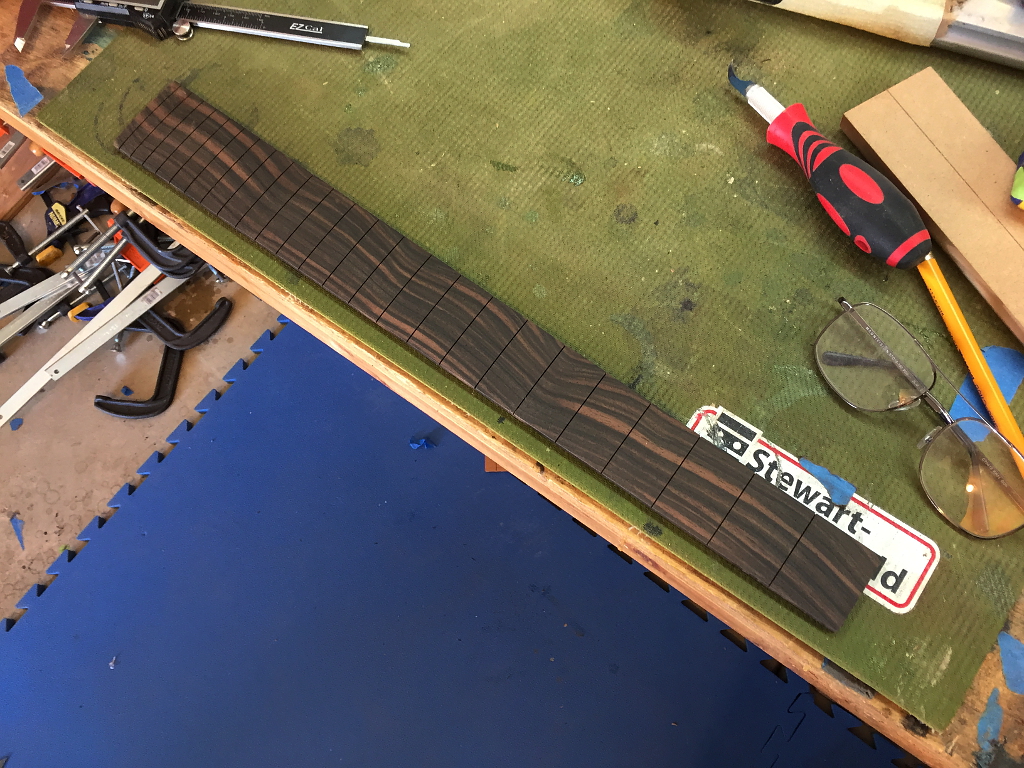
Quick layout…
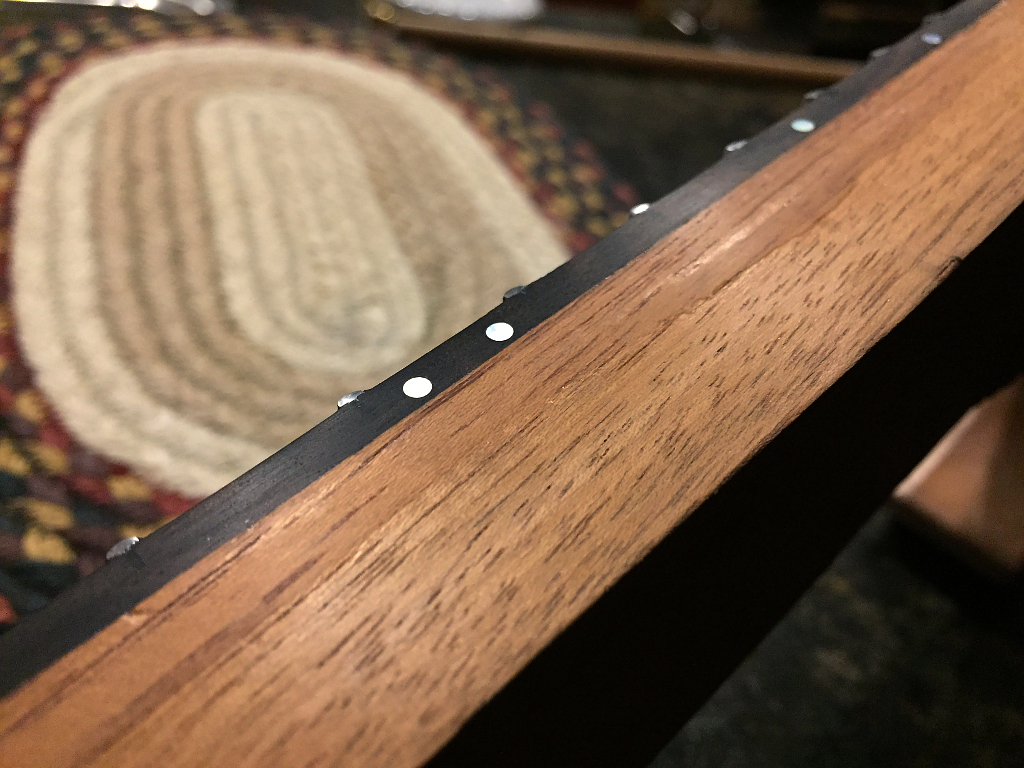
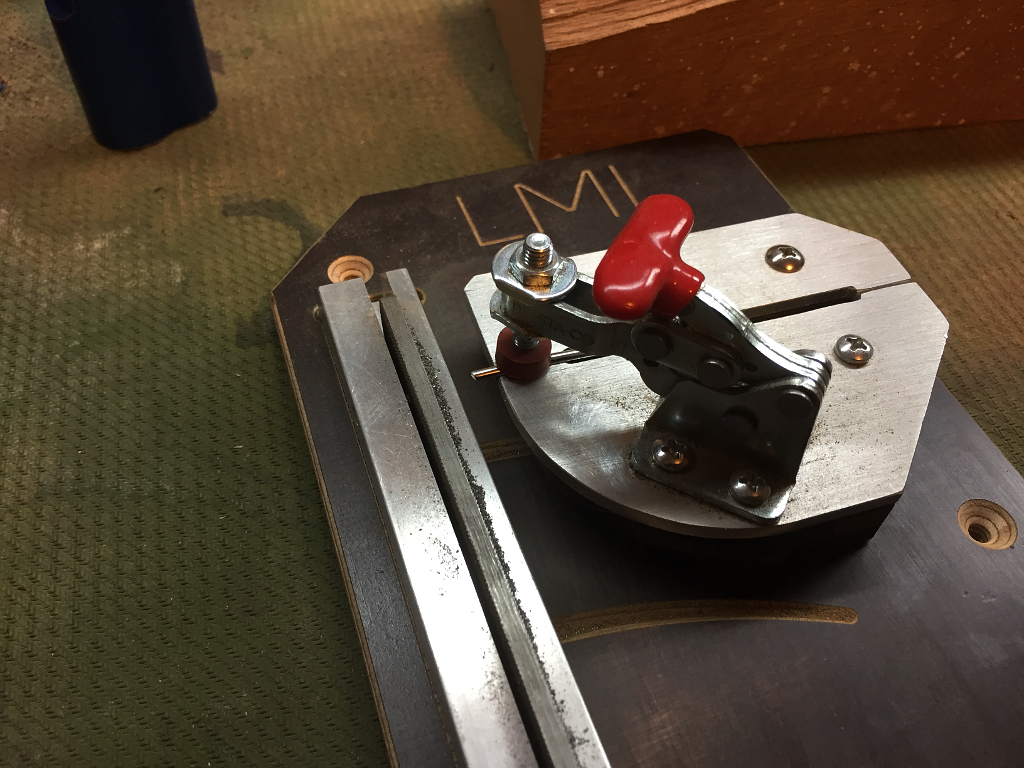
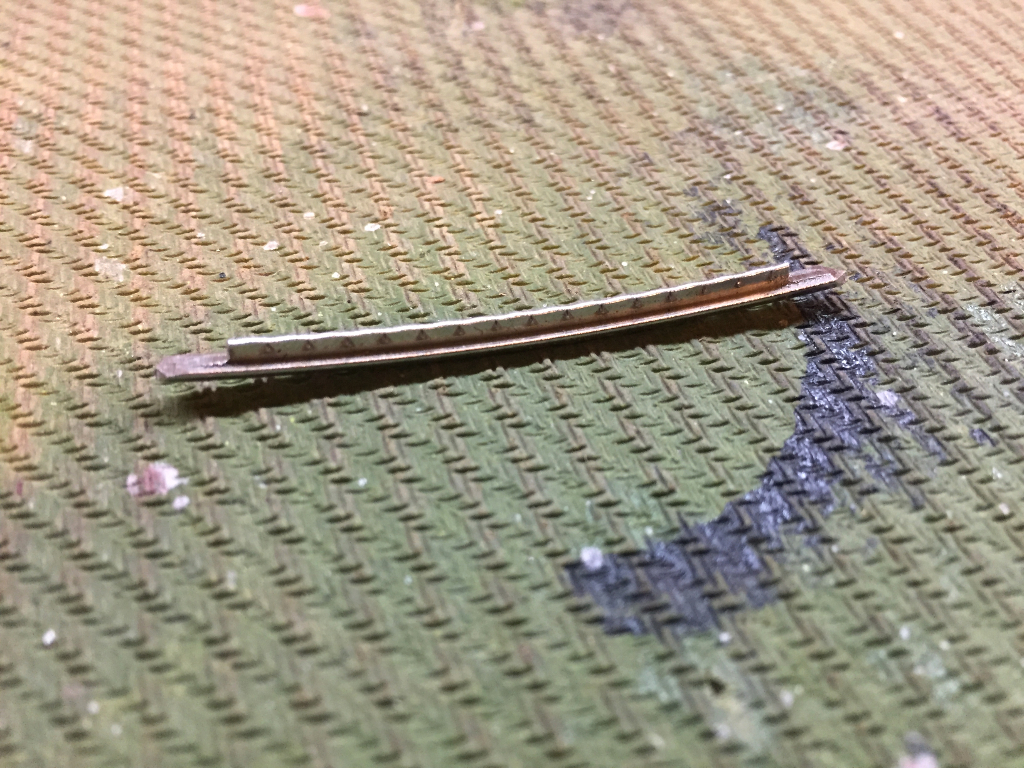
Frets are undercut with this fret filer. I do this so the fret end isnt visible on the edge of the fretboard. I prefer the look. I fill the end of the slot with glue and ebony sawdust and sand it smooth. once lacquered its a nice clean edge.
I neglected to take any pix of pressing in the frets, but its not terribly exciting. Its just a brass caul with the same radius as the fretboard that I chuck into my drill press. Its brass because it wont scratch the harder metal the fret wire is made from. I tap one end of the fret tang gently into one end of the slot and then press it in with the drill press. One or more of my other build threads shows it if you are super-curious.
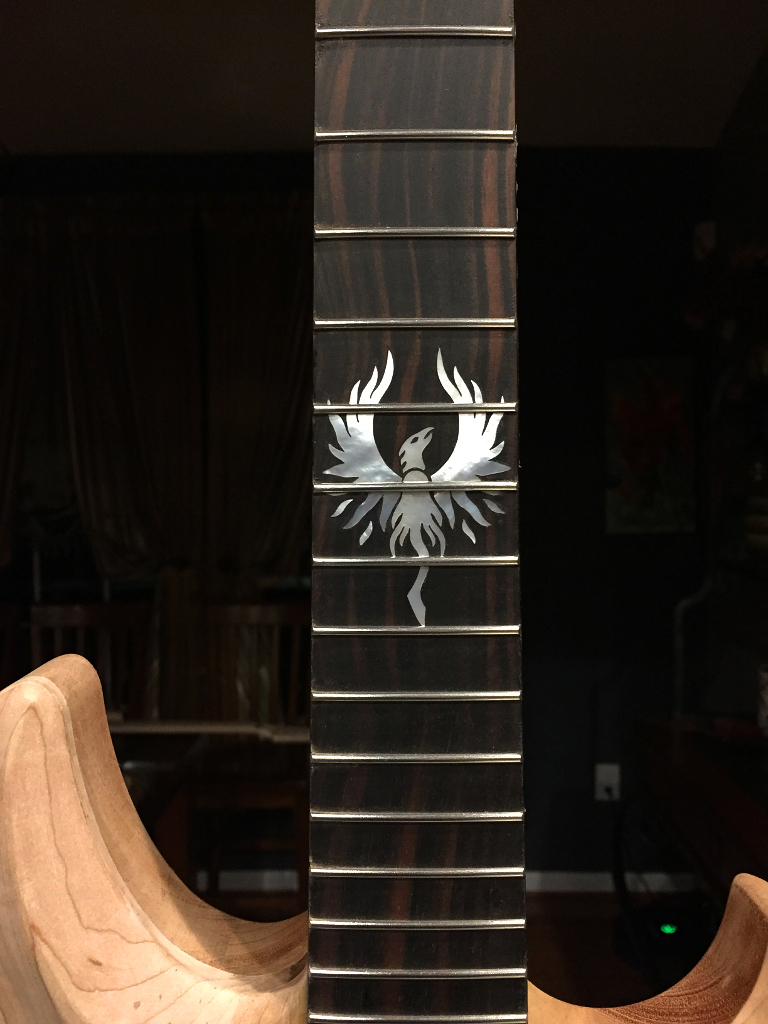
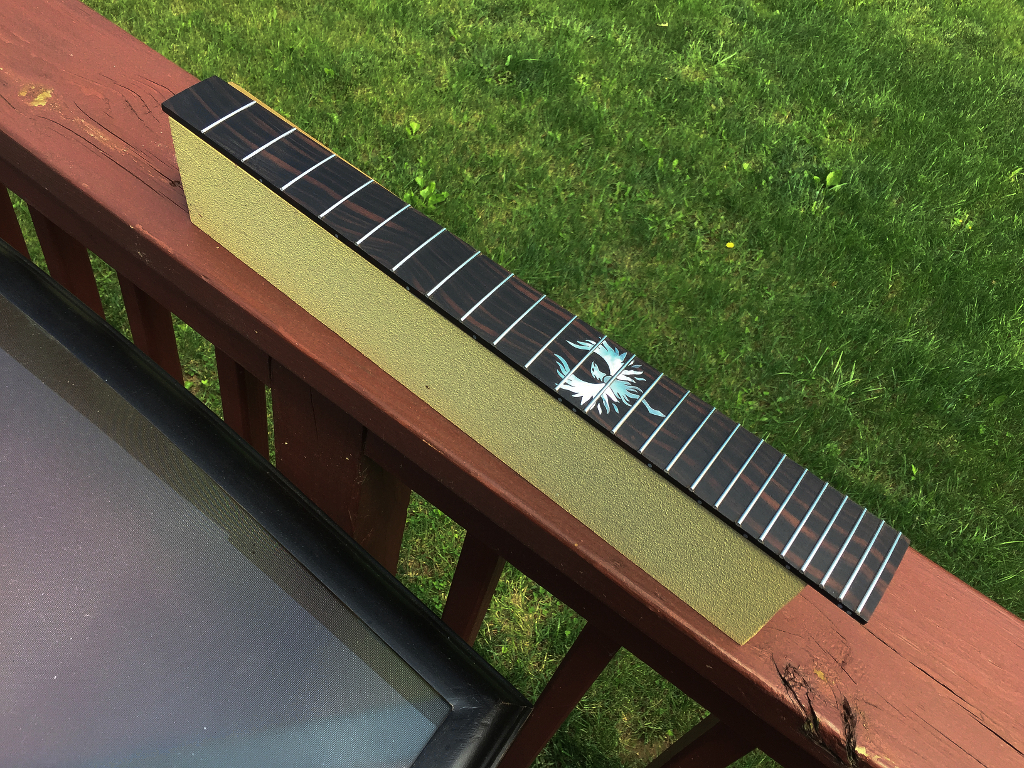
This pic shows the finished fretboard, but is a bit out of sequence as it also shows the inlay which we have not detailed yet 🙂
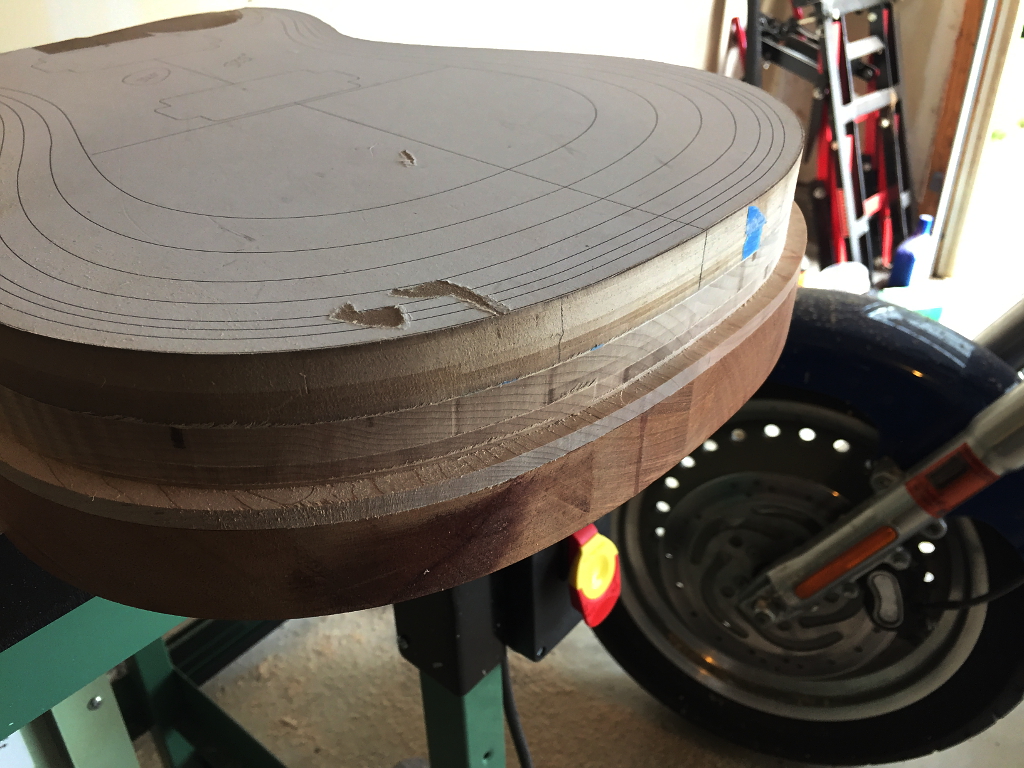
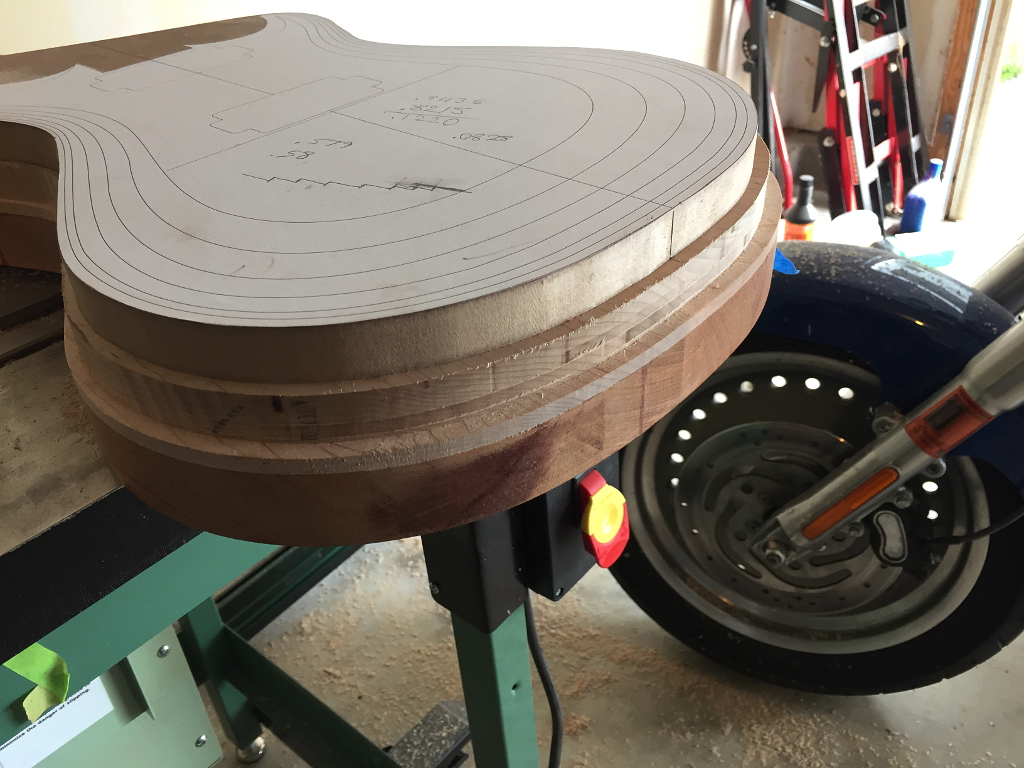
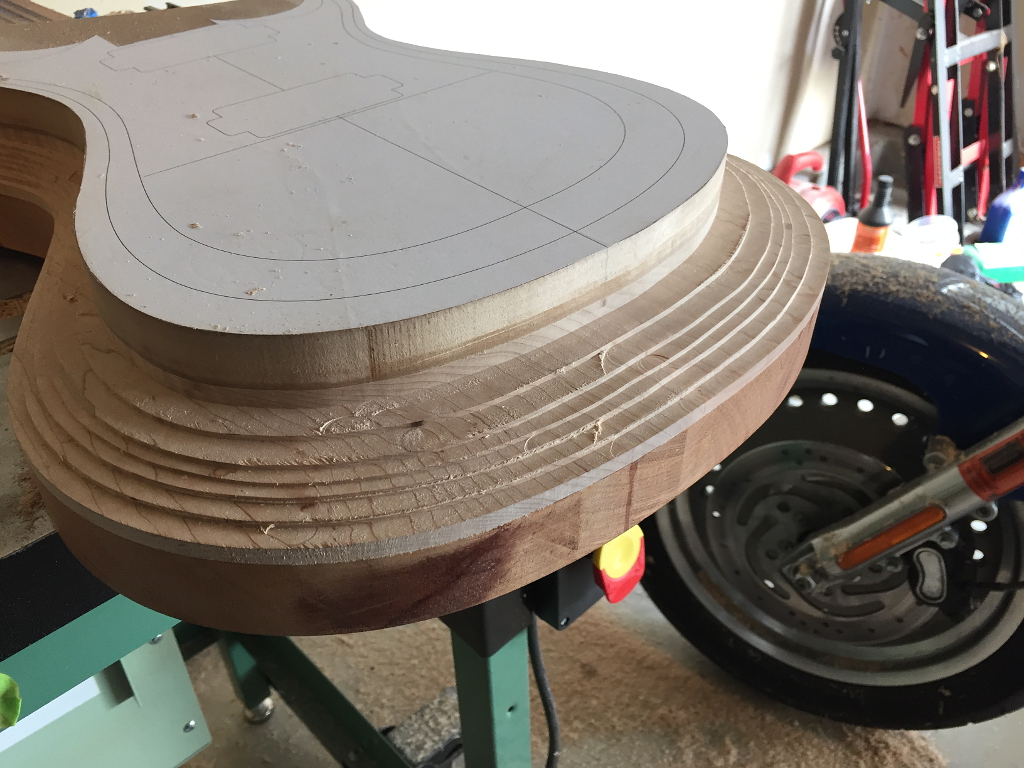
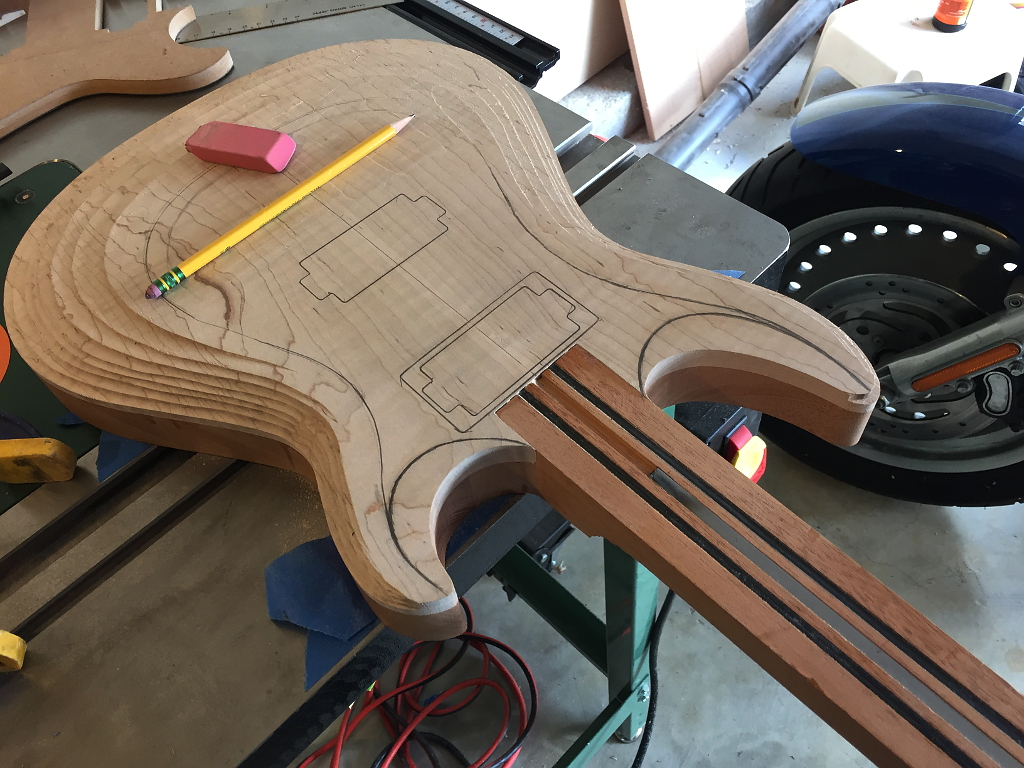
Next is arguable the most important part of the build aesthetically. The top carve. I created a set of templates for routing concentric steps on the top that get me very roughly in the ballpark. All they really do is help keep everything symmetrical balanced and smooth,.
The templates leave me with this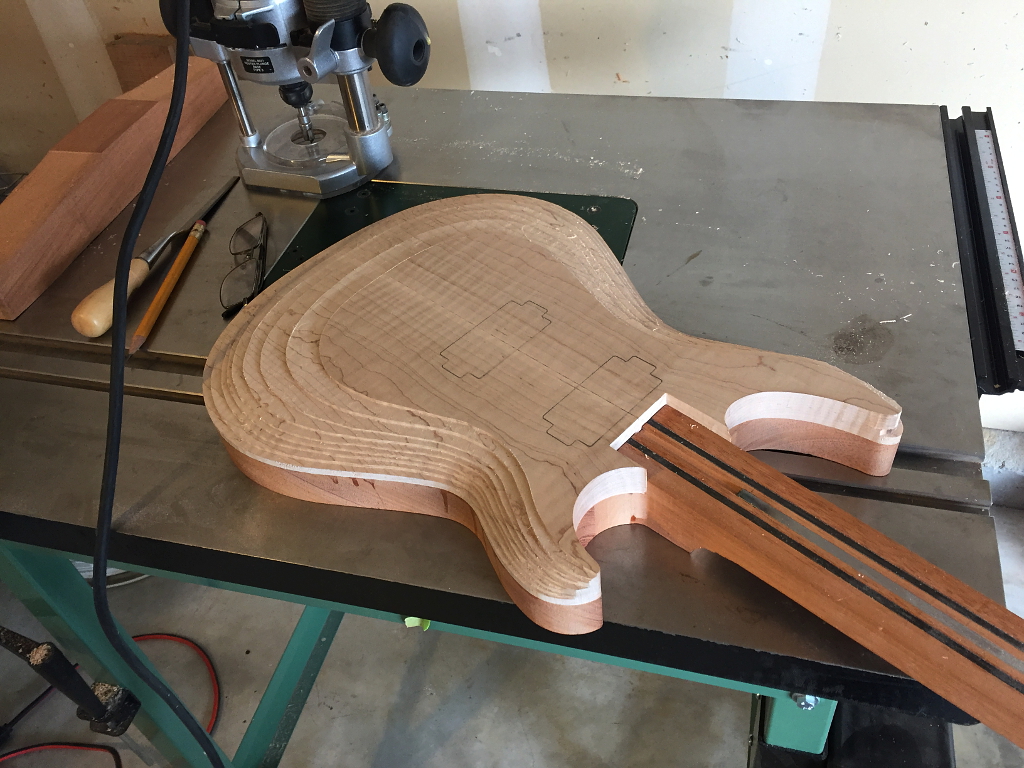
This bunny lives in my yard. I see him almost daily. He/she looks happy and healthy. This makes me happy. Its the little things. He keeps an eye on me and doesn’t appear to be intimidated, although he probably wishes I’d get back to work on the guitar instead of taking his picture…
Now I use my box jig to route the top to the exact final thickness, and also carve the pickup and neck planes down.
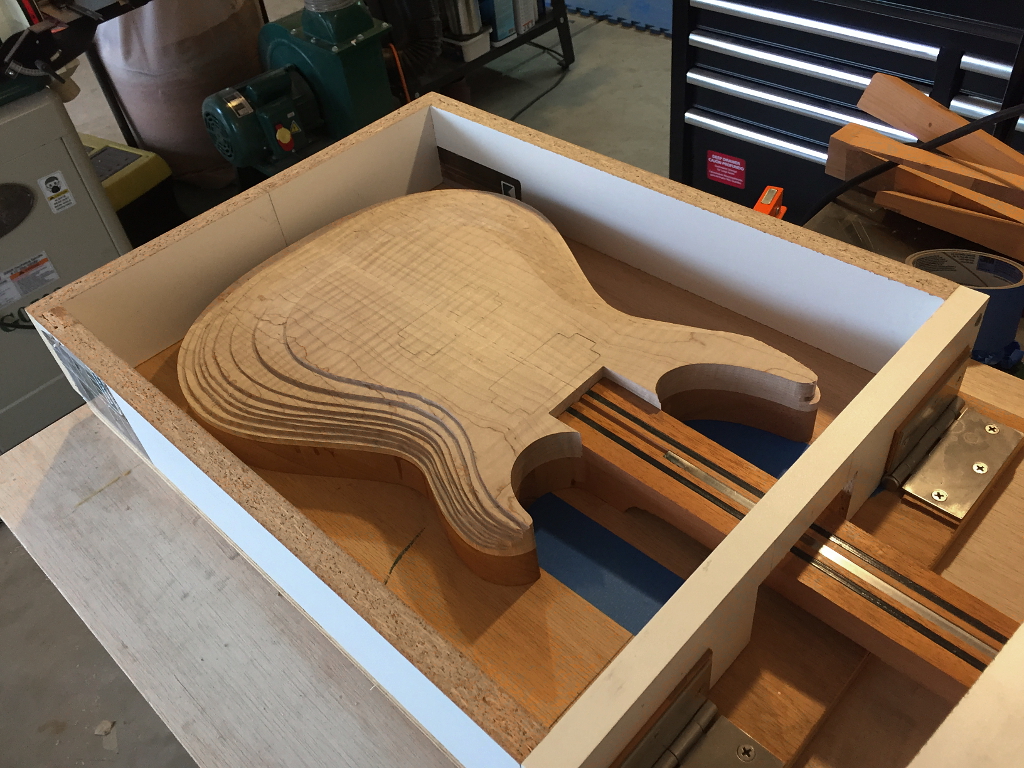
Guitar goes into box…
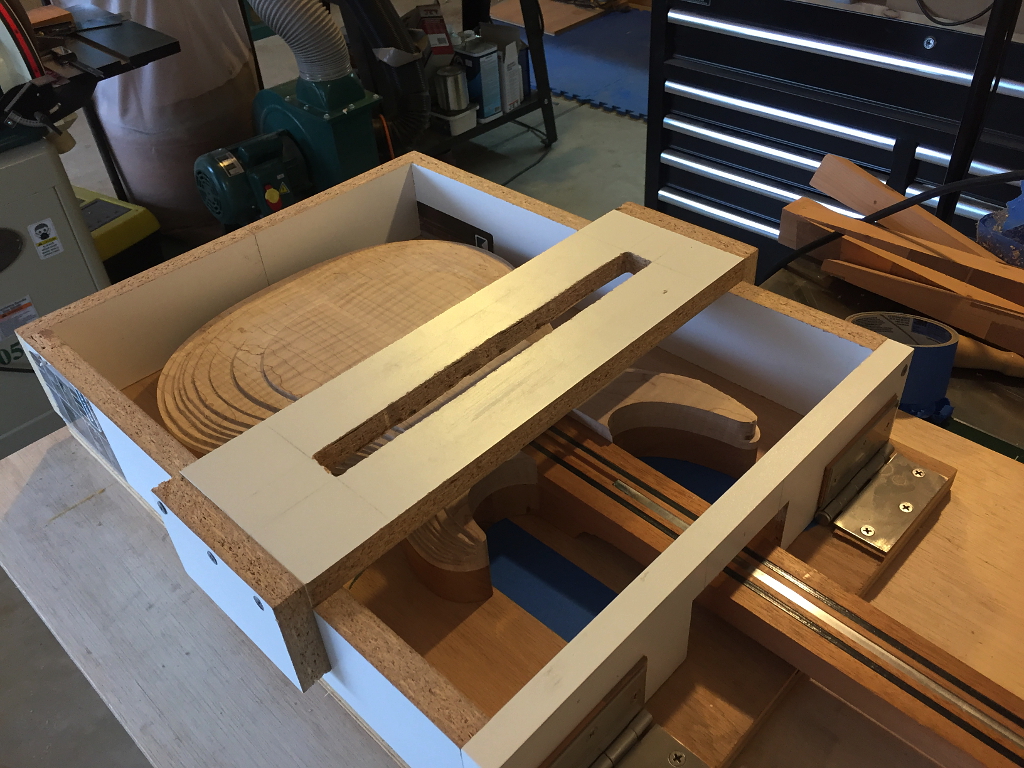
Router sits on the top piece with the bit down through the slot allowing met route the top of the guitar. The hinges on one end allow me to tilt the jig so I can route at different angles. In this case I need to route whats called the “pickup plane”. the area between where the bridge goes and the neck meets the body has to slope downhill at the same anle as the neck. In the case of this guitar the neck angle (as it relates to the body) is 2.4 degrees. So I need to cut a slop from the bridge down to the neck at that same angle. If I did my math correctly in the design phase, and measured and cut everything right, if I start my cut right on the neck side of the bridge and cut a plane downwards at a 2.4 degree angle, when it gets to the neck it should be at exactly the same height.
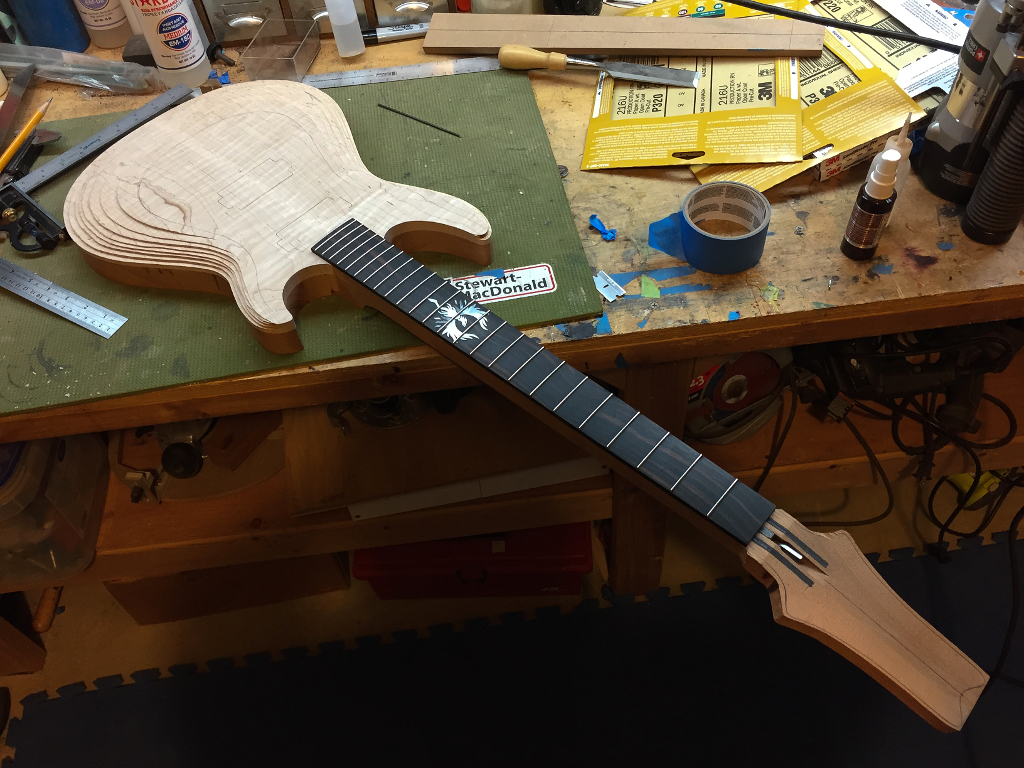
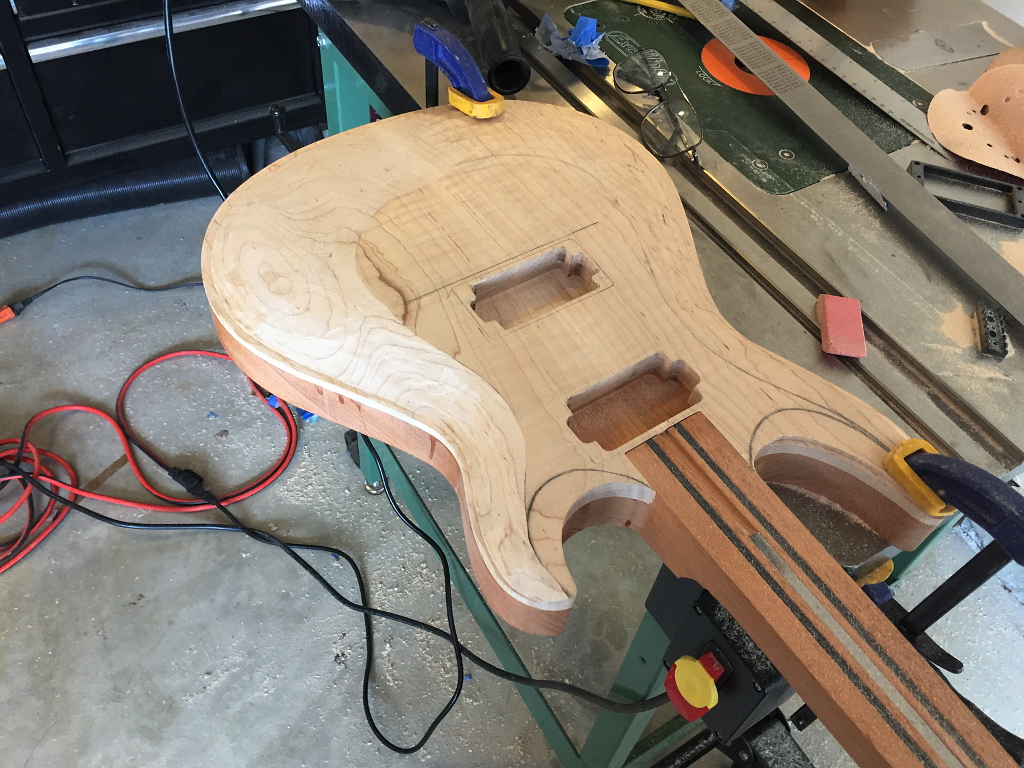
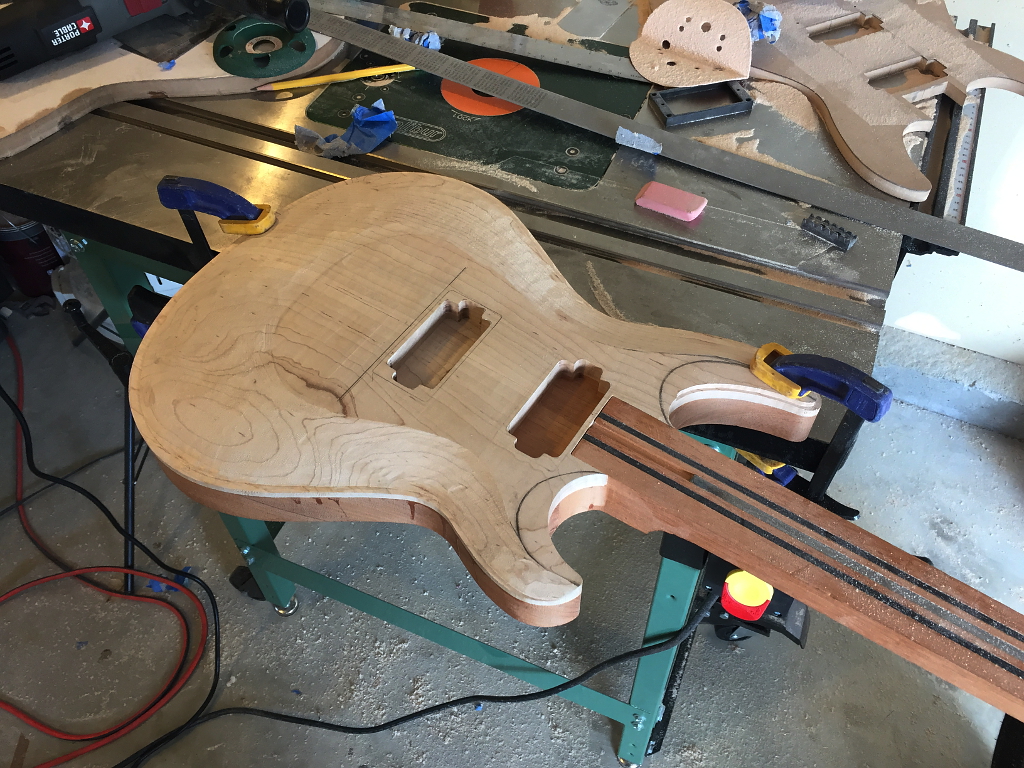
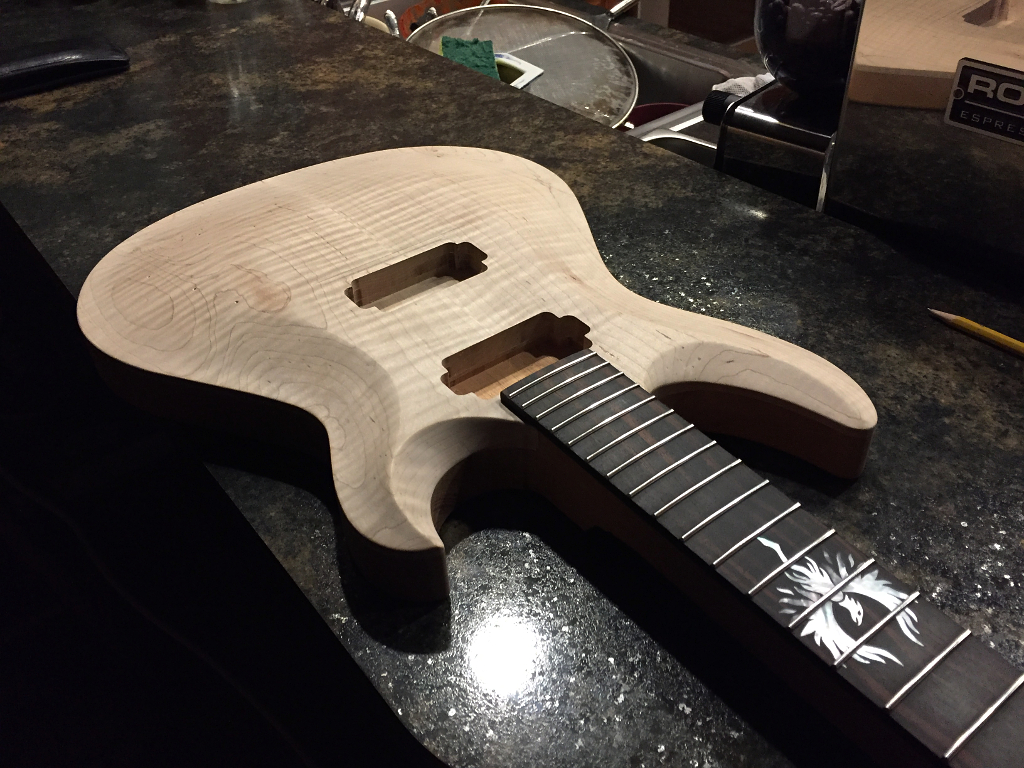
In this case I definitely did my math correctly, and measured and cut everything correctly because the pickup plane met the neck plane perfectly. Now I can sit my fretboard on and see how that looks.
note: You can see in this photo theres suddenly a fancy looking inlay on the fretboard spanning fret 14 – 11. You didn’t miss something. For the sake of coherence I put everything pertaining to the inlays for this guitar into one page (Page 8) even though they were done at different points in the build. You’ll see where it came from when you get to page 8 🙂
Notice how the top is now exactly the same height and flush with the upper end of the neck? Thats what I’m talking about!
Now I draw on the rough carve contours and pickup locations.
Then I hog out the pickup cavities on the drill press.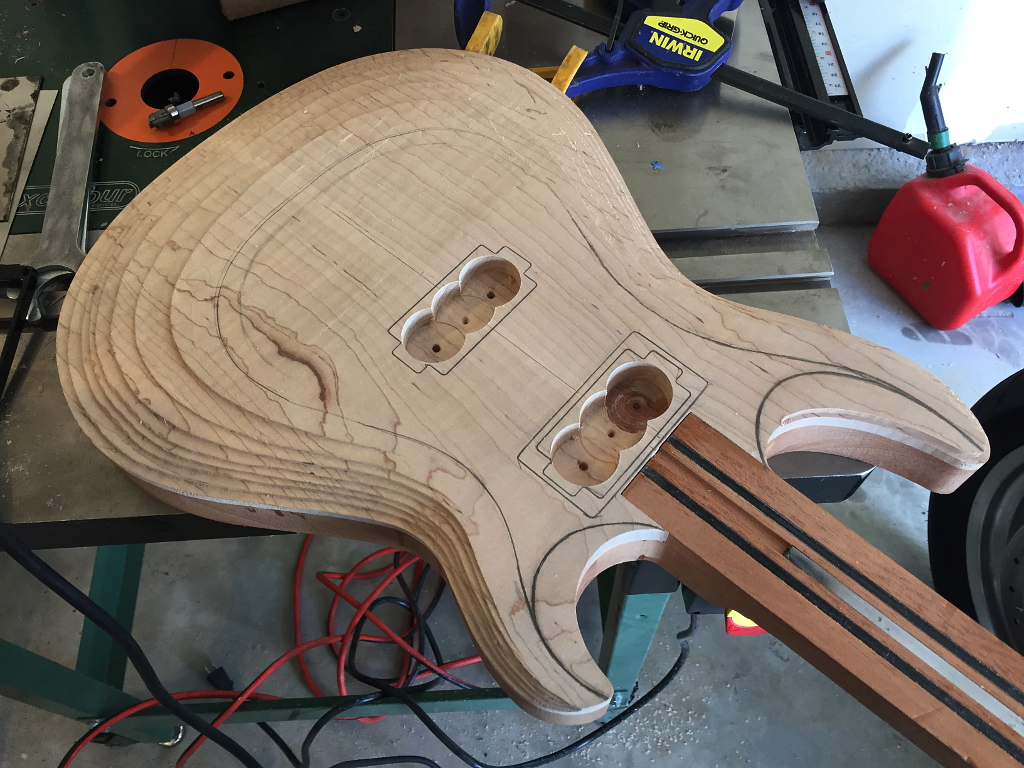
Finish them with a hand router, and templates.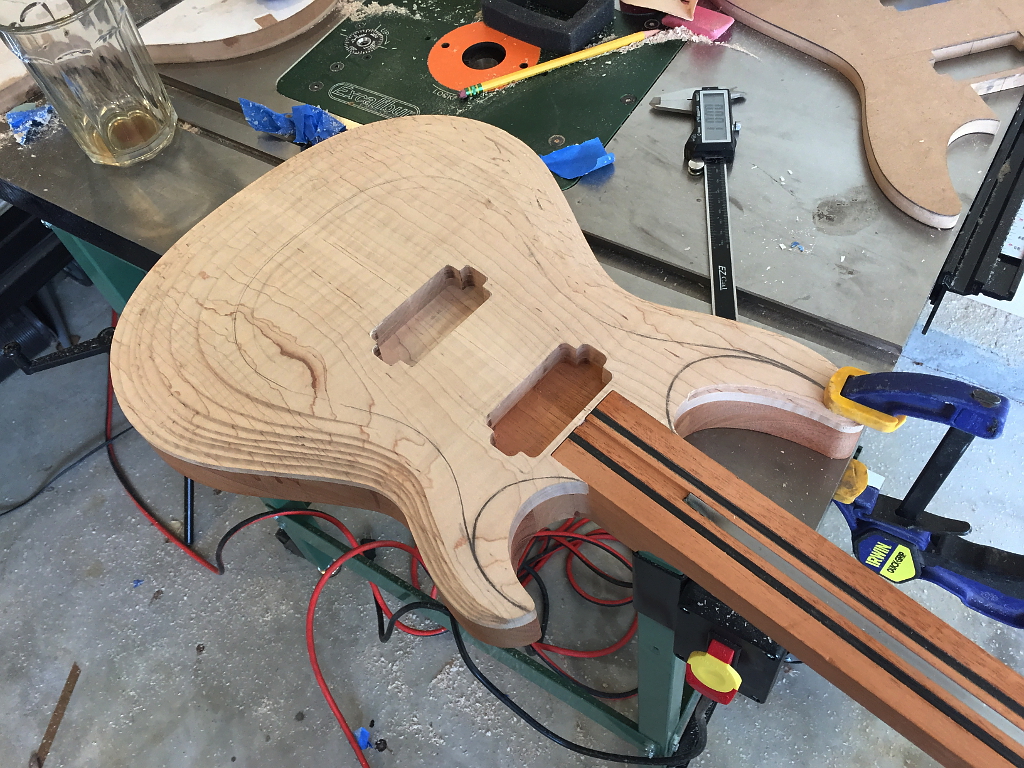
From here I carve the rest by hand. Of course “by hand” means I use a angle grinder with a grinding disk called a “Holey Galahad” I’m still using power tools, but its done by eye and hand. No templates, guides, or other helpers that can keep you from ruining the guitar.
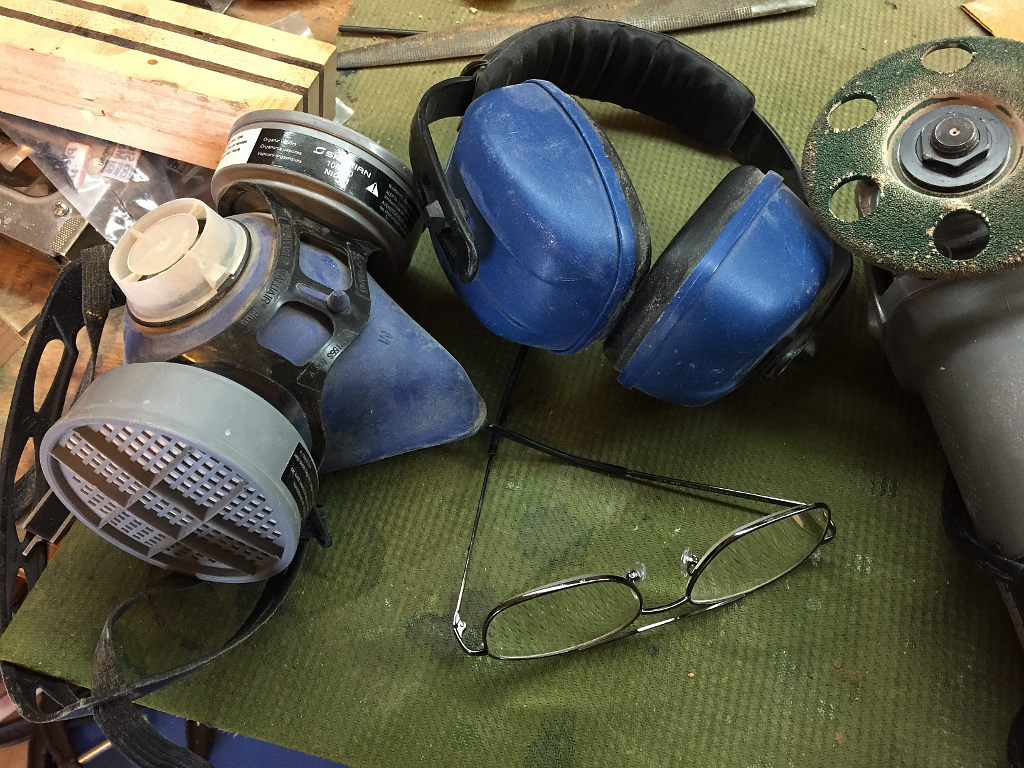
These are the required pieces of equipment for this stage. Grinder and holey galahad on the right. Ear protection (grinder is super loud), filter mask, eye protection
First one side, then the other, I grind off the wood until the steps are all flat and the edges have just disappeared. No farther.
Doing this on the inside edges of the cutaways is a bit stressful because the cutter is really close to the neck when I do this. Touching the cutter to the neck even for an instant can carve a huge gouge in it. This is one of the downsides to neck-through-body construction. You cant work on body and neck as separate pieces, and if you screw up up one or the other, the whole guitar is ruined. Cant replace just the neck or just the body.
The idea with this carve is for the angle changes from the centers down to the edges appear as relatively well defined “peaks” and “ridges” in the areas around the horns and pickups, but once past the bridge pickup locations the ridge lines will flatten and smooth ut and ultimately blend right into the overall flow of the top in the wider part of the body.
Jumping from Galahad to a random orbital sander with an 80 grit disk to smooth it up, followed by a 150, then 220 grit. See how the ridges blend in and vanish as they go toward the rear of the body? When I mentioned borrowing a design element from PRS back at the start of this process, this is what I was referring to.
Taking a break now to clamp a veneer of ebony on the headstock.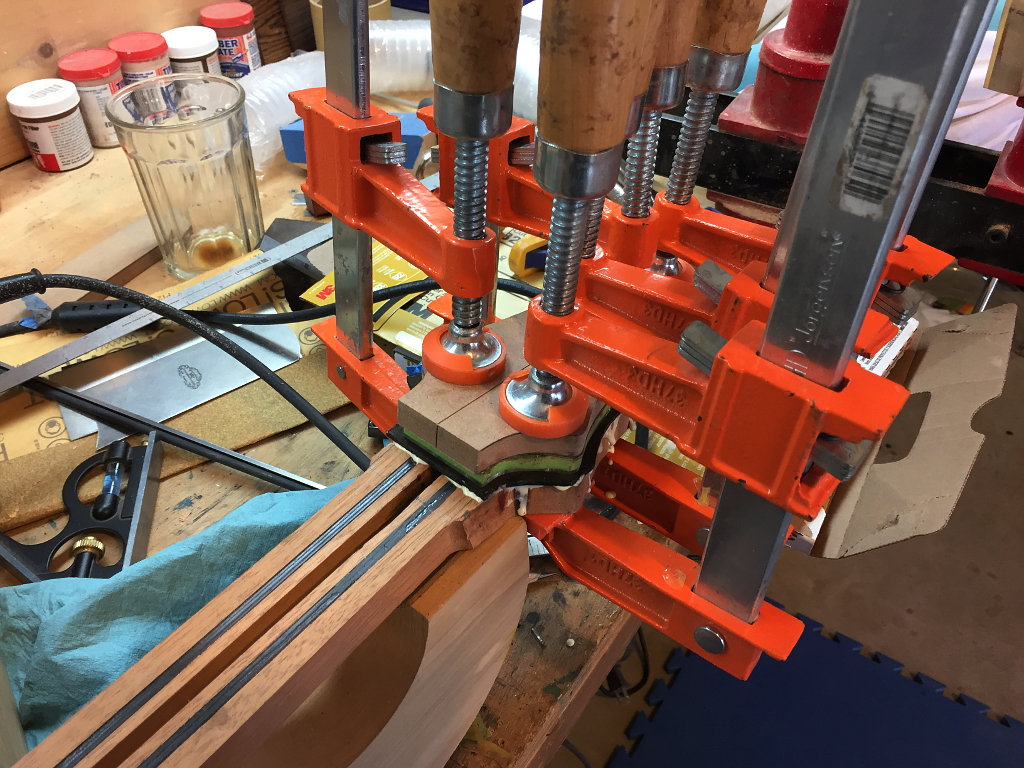
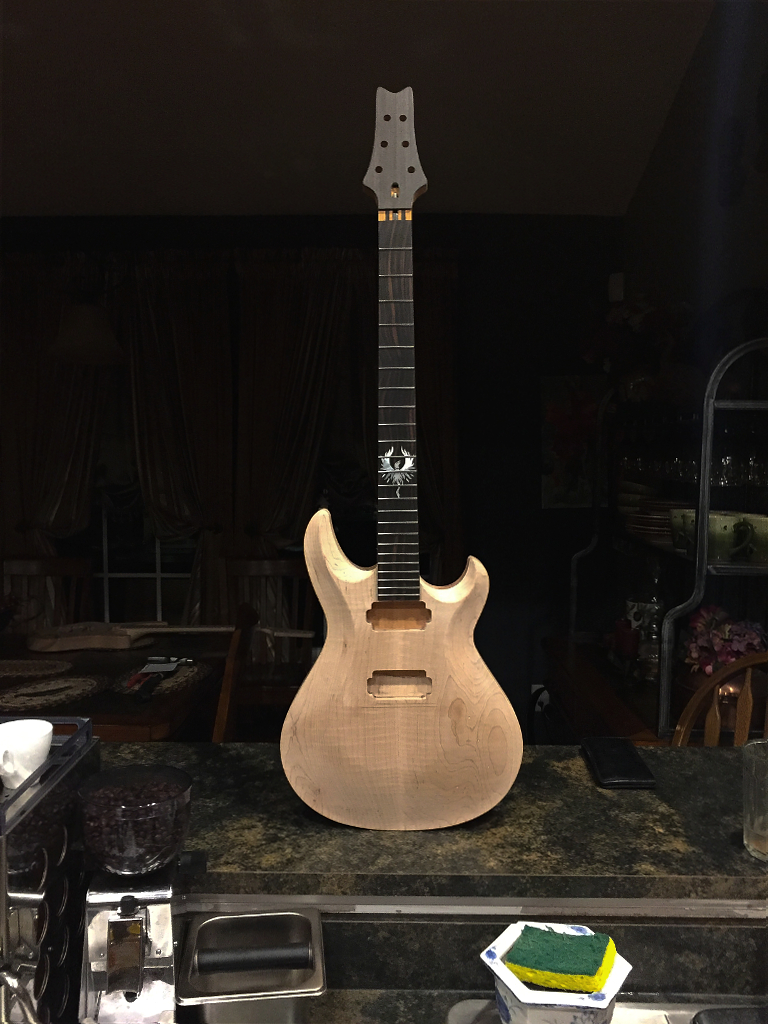
I always like to sit the fretboard in place when taking pix, but its not actually attached yet. Building these takes a lot of hours over weeks or months. Evenings and weekends. It requires patience and perseverance but a little incentive never hurts and a glimpse at what it will look like is good incentive 🙂
This photo is taken with strategic shadows to hide the fact that the neck is still a big square board
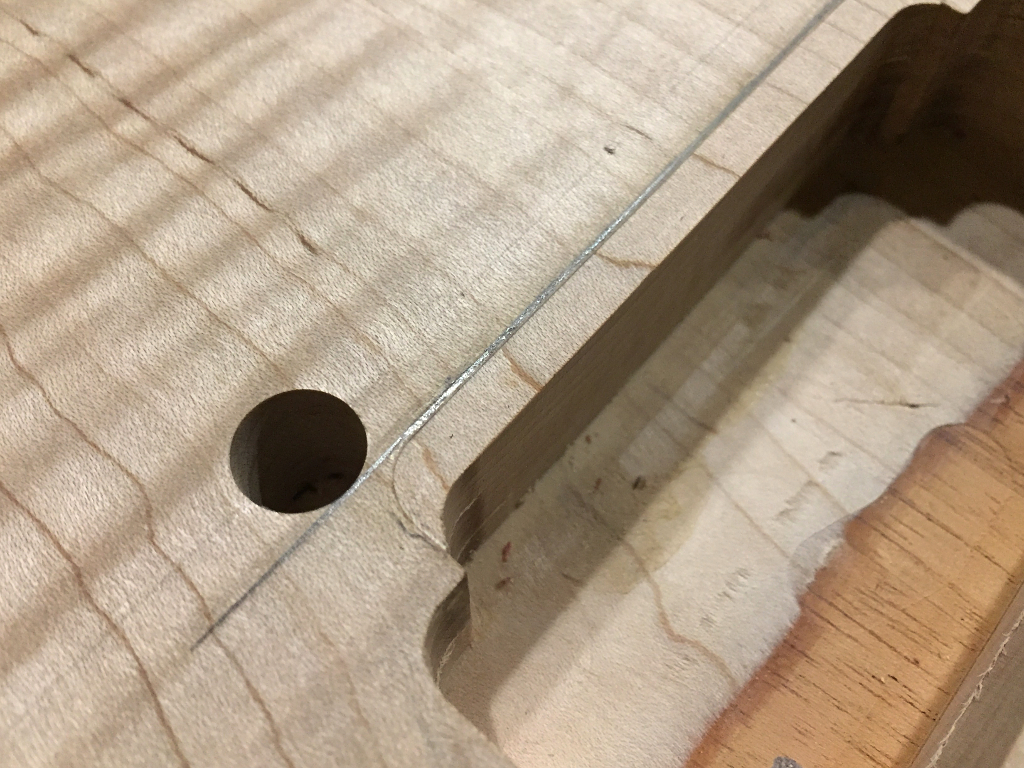
Minor routing repair to the bridge pickup routing. The template was out of position when I routed it. Measure twice, cut once? I need to measure three times 😉 Theres no such thing as a flawless guitar build (for me, anyway), but this is a very clean fix that is irrelevant to the structure or function of the guitar and will be completely invisible once the guitar is complete.
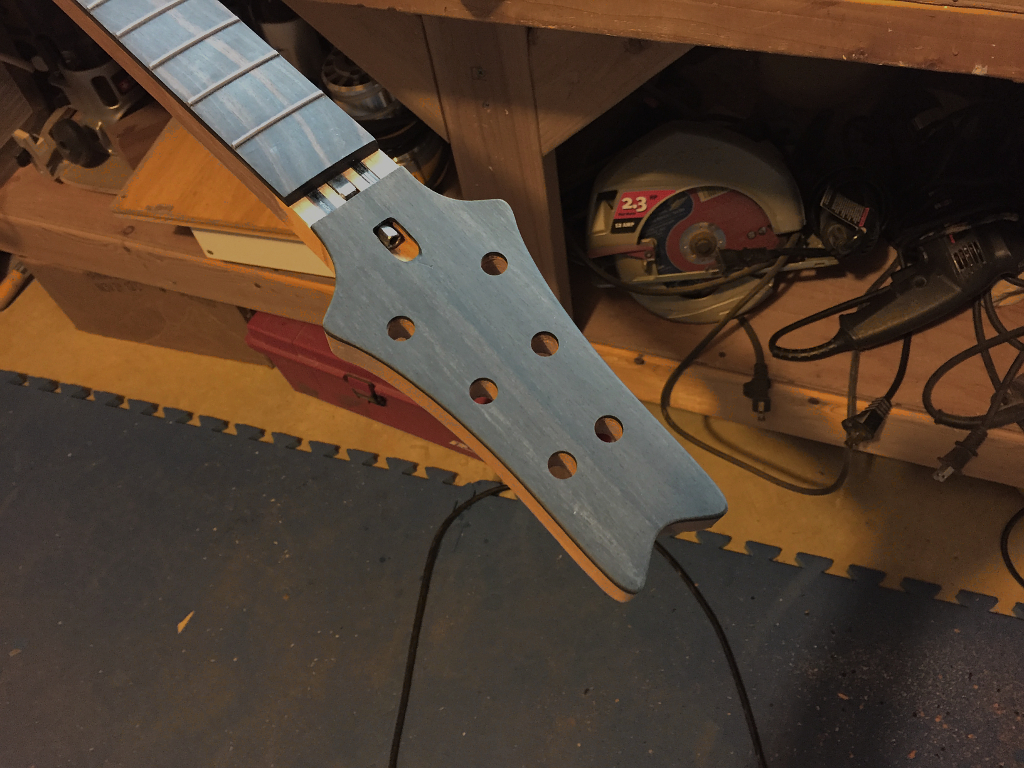
Headstock out of clamps and routed to final shape.
Theres more detail on the fretboard construction in another section of this build thread. Some of the parts are out of sequence because its easier to group certain things together to show how they are done.
NOW the fretboard gets glued on. It was only held on with double-sided tape previously. A lot of clamps and a radiused block to make sure that the entire underside of the fretboard is in full contact with the entire upper surface of the neck. A thick glue-filled joint here would definitely have a negative impact on the tone of the guitar.
Unlike all the other major joints in the guitar, for this one I use original titebond wood glue. This is because there are circumstances (hopefully never realized) that might call for removal of the fretboard to repair. A broken truss-rod for instance. Titebond will release with heat. The UF glue I used for the neck laminate, top, and wings will not release without utterly destroying the guitar 🙂
Nice clean, tight joint. This bodes well 🙂