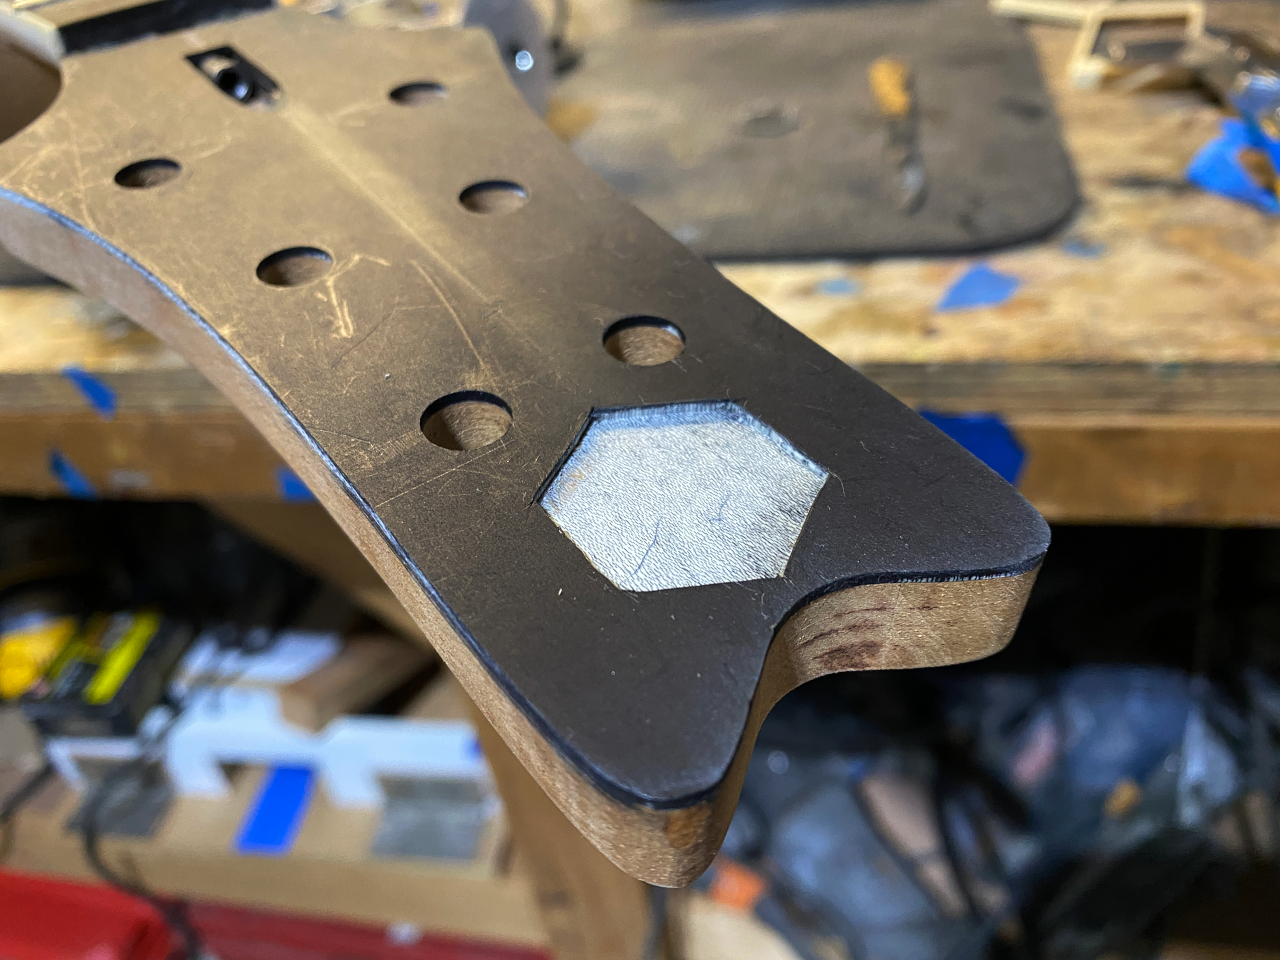
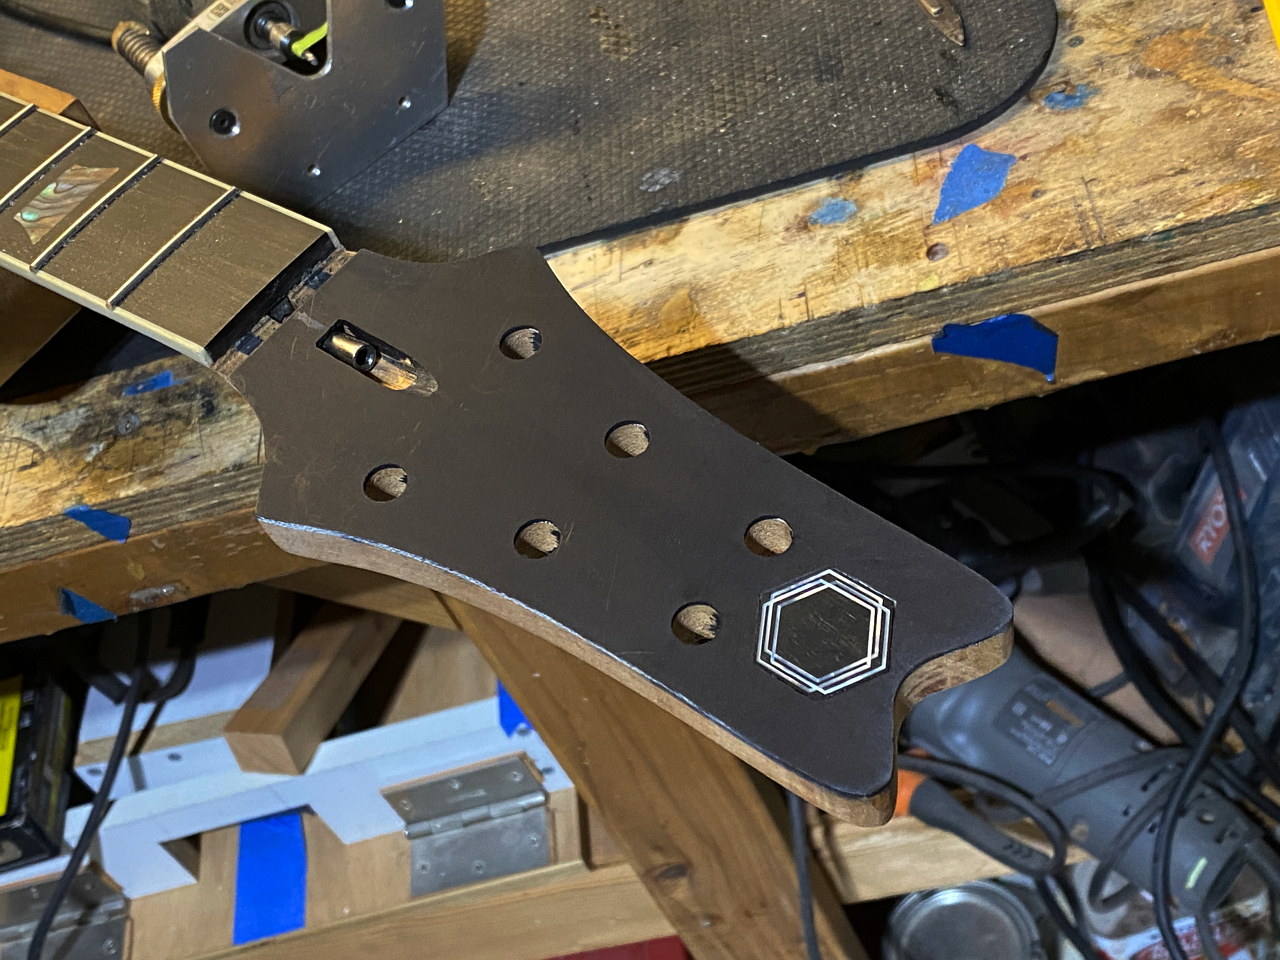
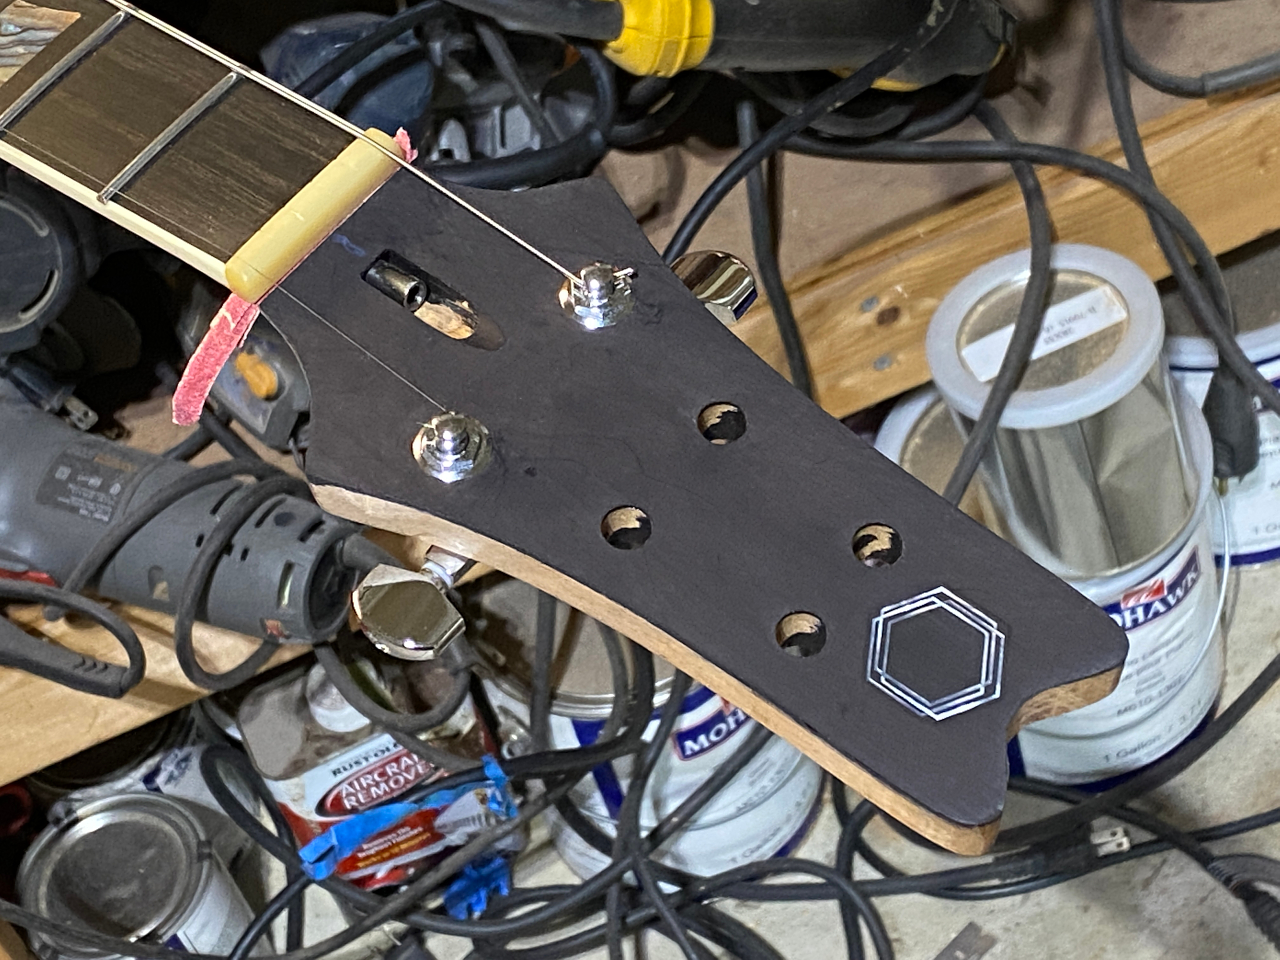
The last piece of the “build” stage is installing this custom inlay. This is a logo the customer asked for and has some personal meaning. This is made from very small pieces of mother-of-pearl pre-set into a piece of ebony.
I use the exact same steps as the fretboard inlays. Tape and position the inlay, and cut around the edge with a scalpel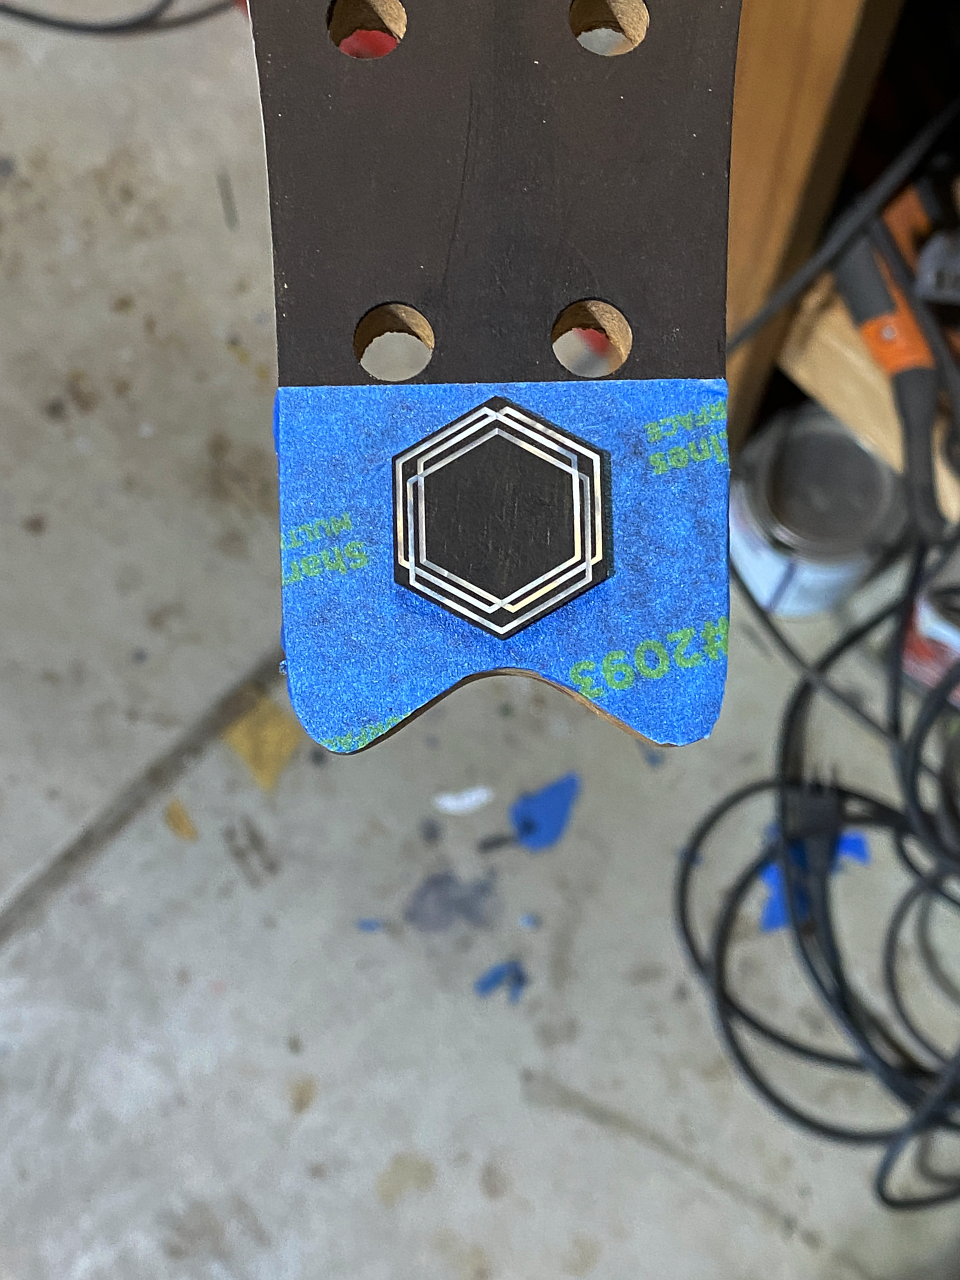
then use the rotary tool to remove most of the wood, and clean the edges with a chisel. Remember the wood is holly which is actually white
Check the fit about 75 times
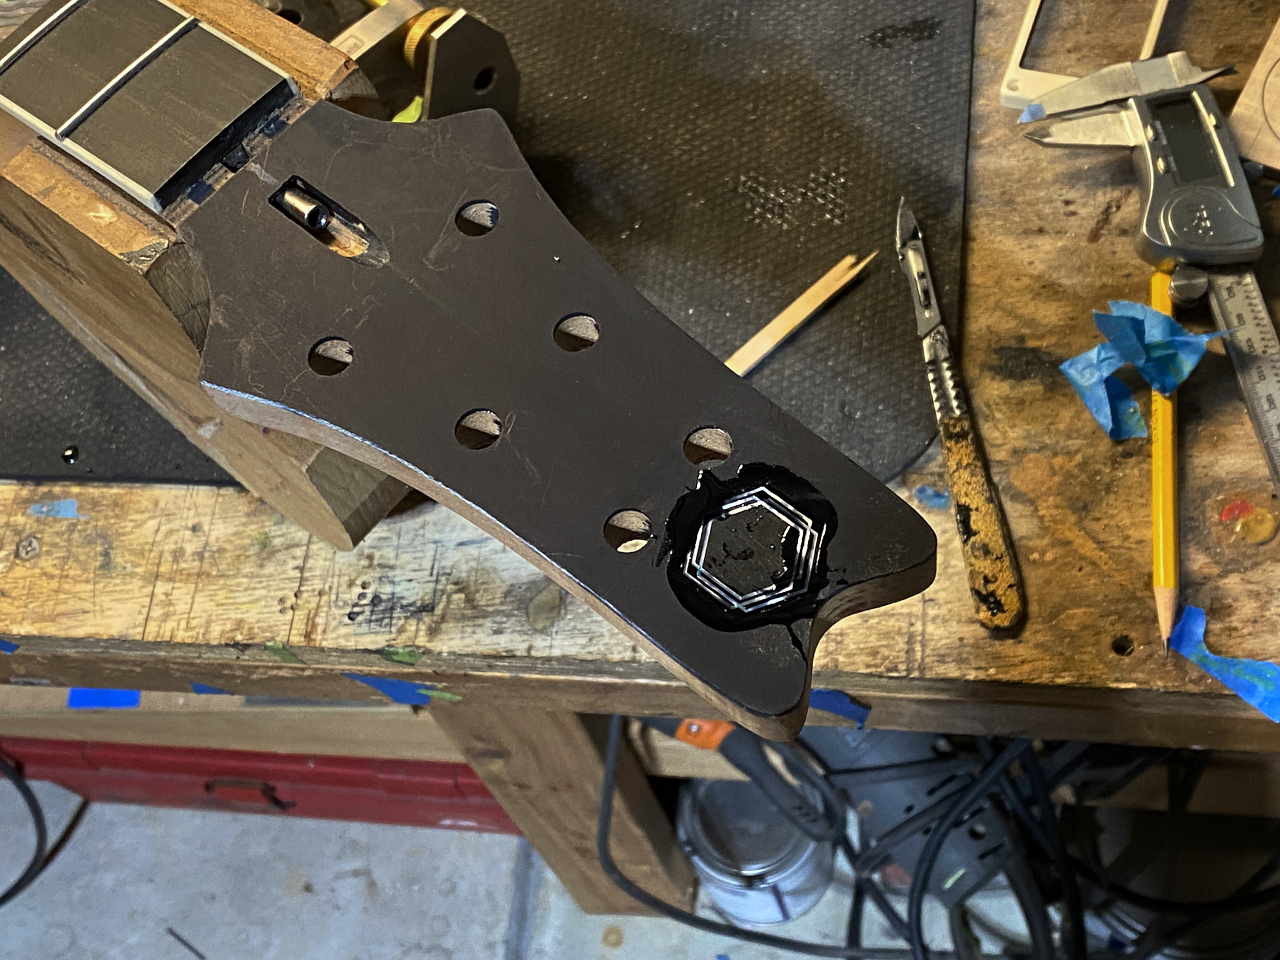
Then glue it into place with black epoxy
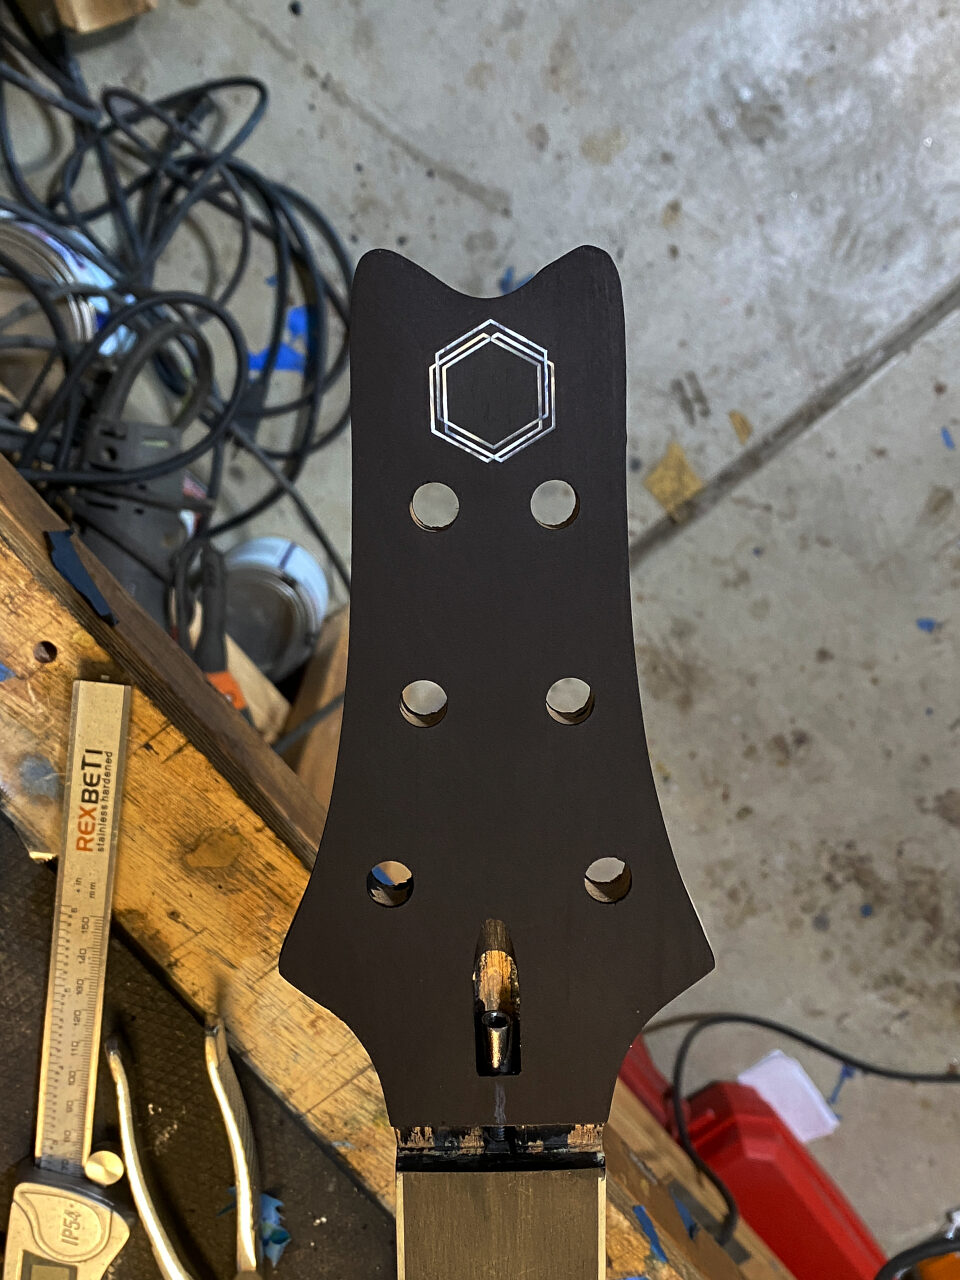
Sand it flush once the epoxy is cured, and last a fresh wipe of the black dye to make all the wood evenly black. Done. With the clear, gloss finish this will look spectacular.
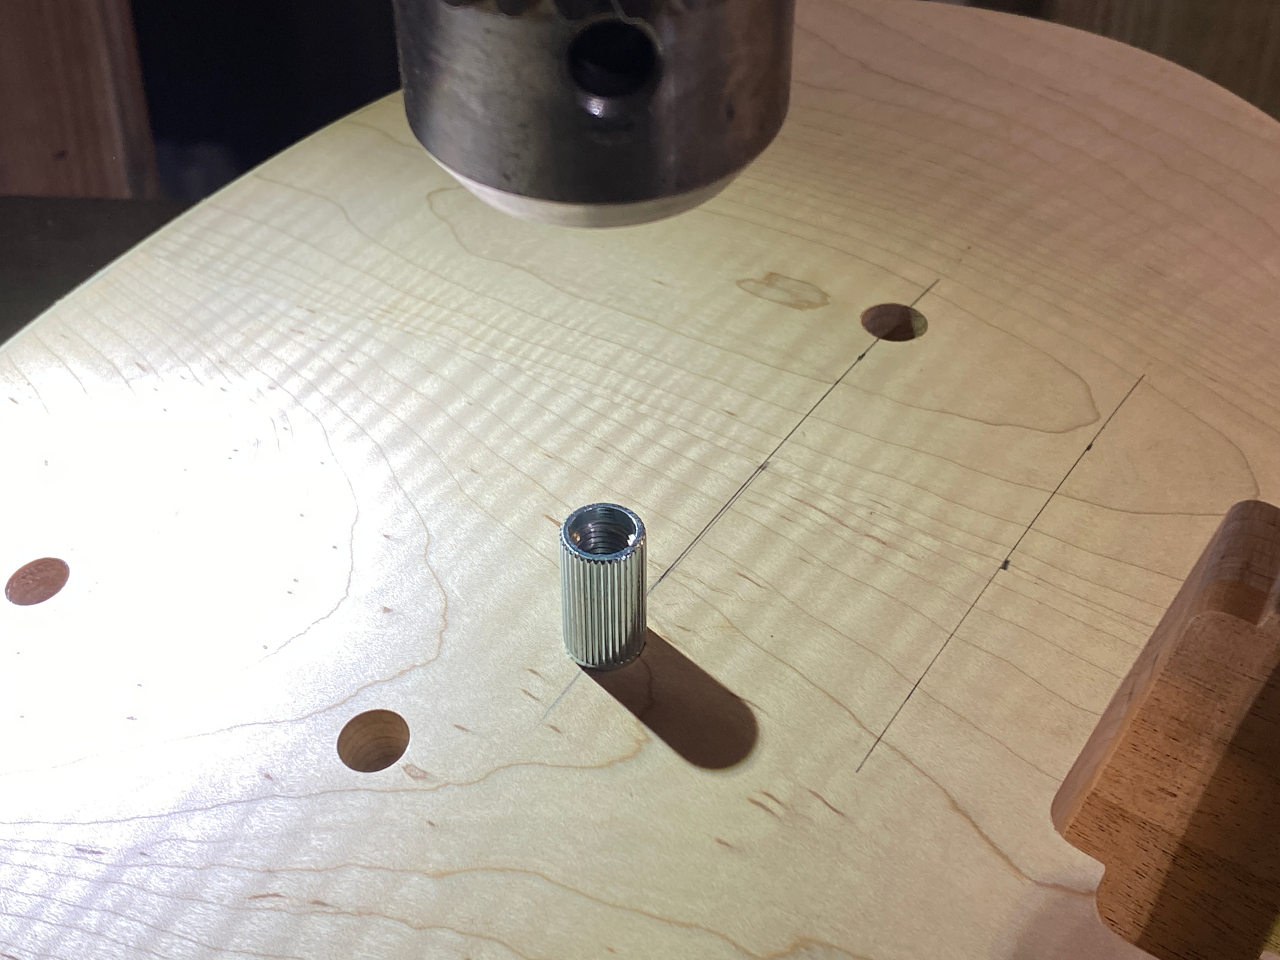
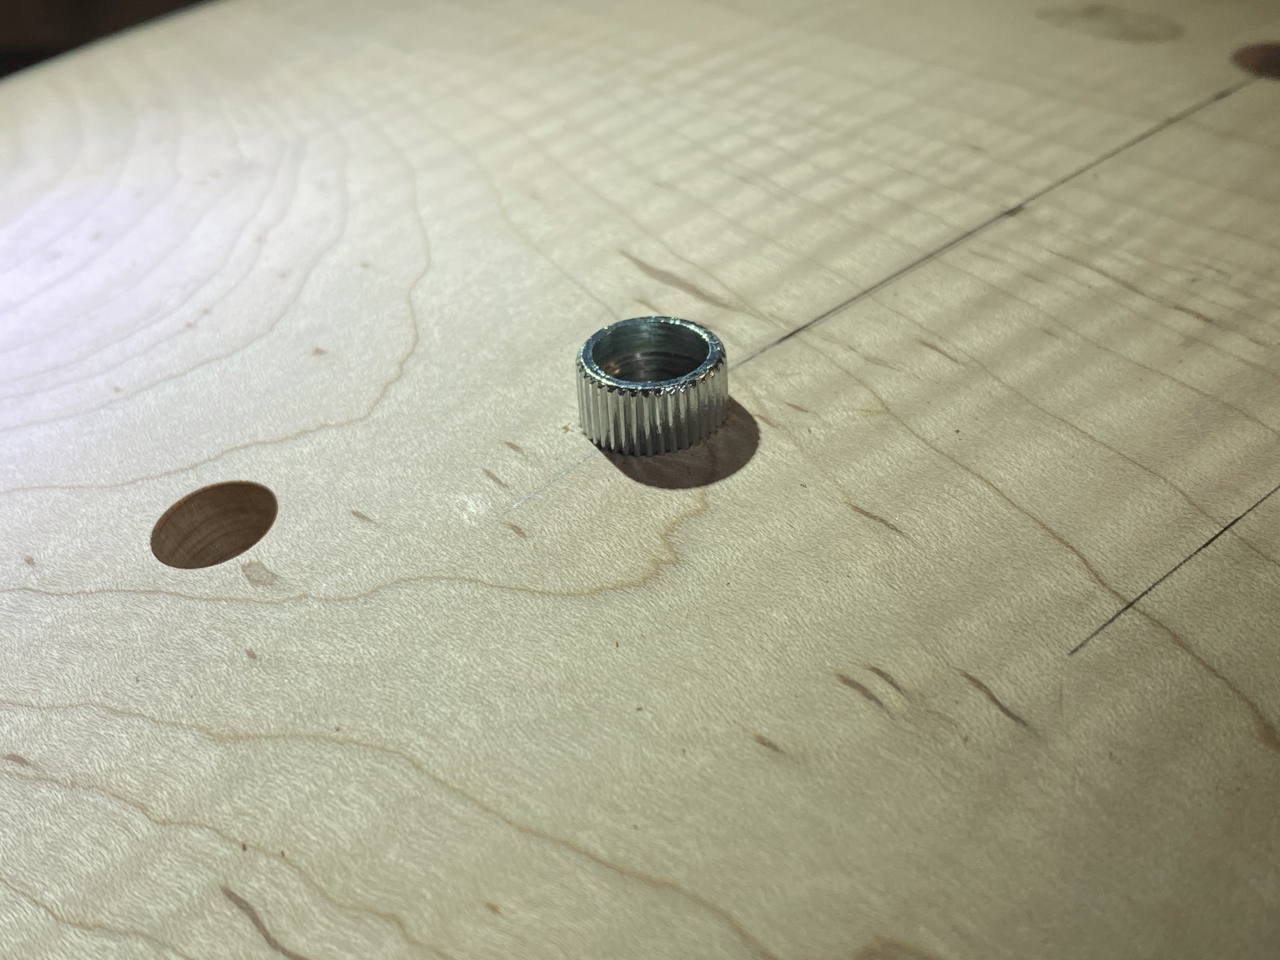
Moving on, its time to install the bridge and tailpiece bushings. the bushings are threaded inserts that the bridge and tailpiece will be attached to.
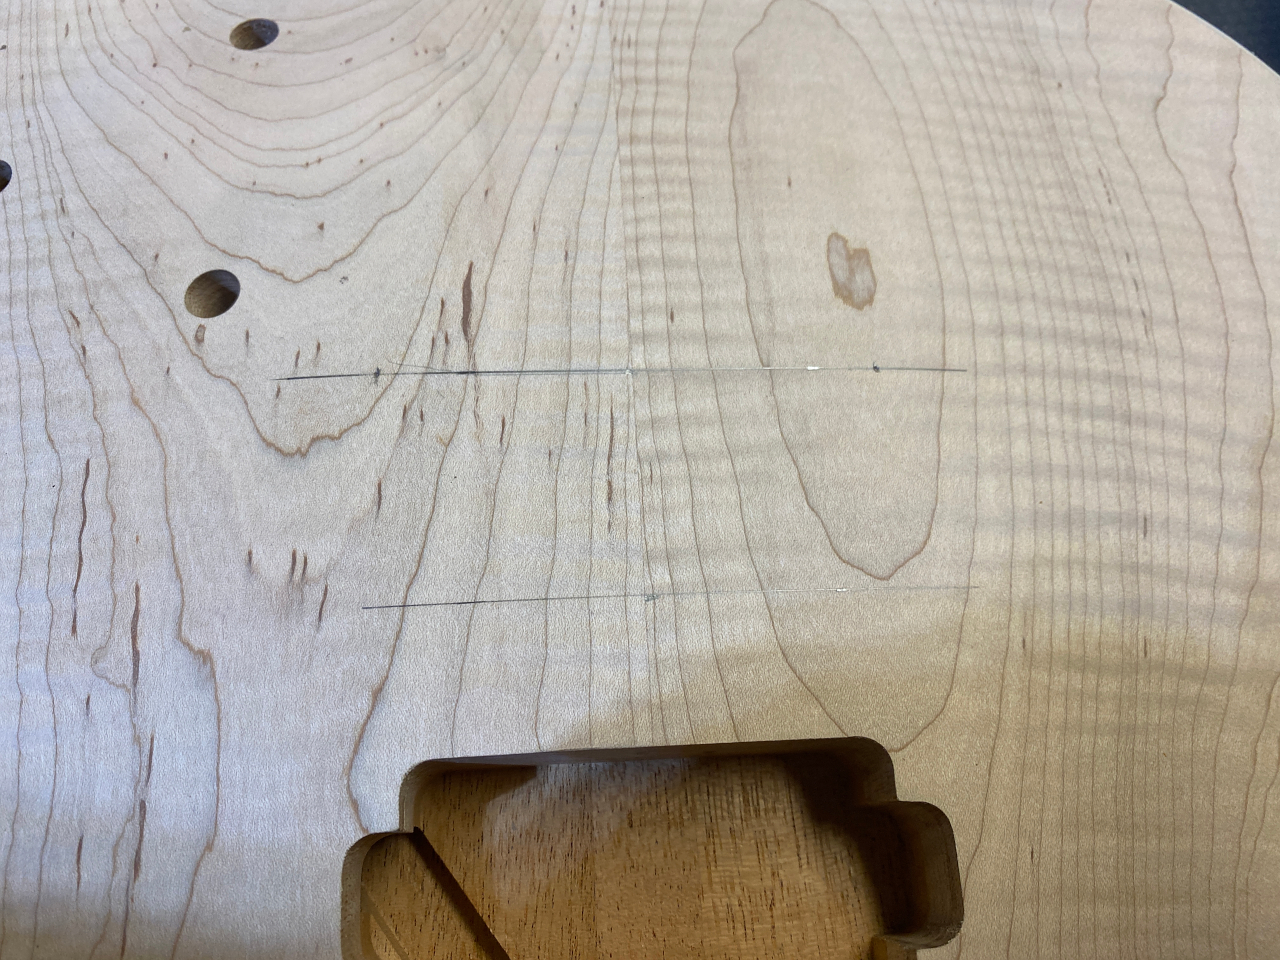
For reasons that will become clear, the tailpiece needs to be installed first. Its easy to position as its perfectly perpendicular to the centerline of the body and a specific distance from the nut. the position is marked with a pencil, and I use a punch to make small indentions on the exact center of the spots to be drilled.
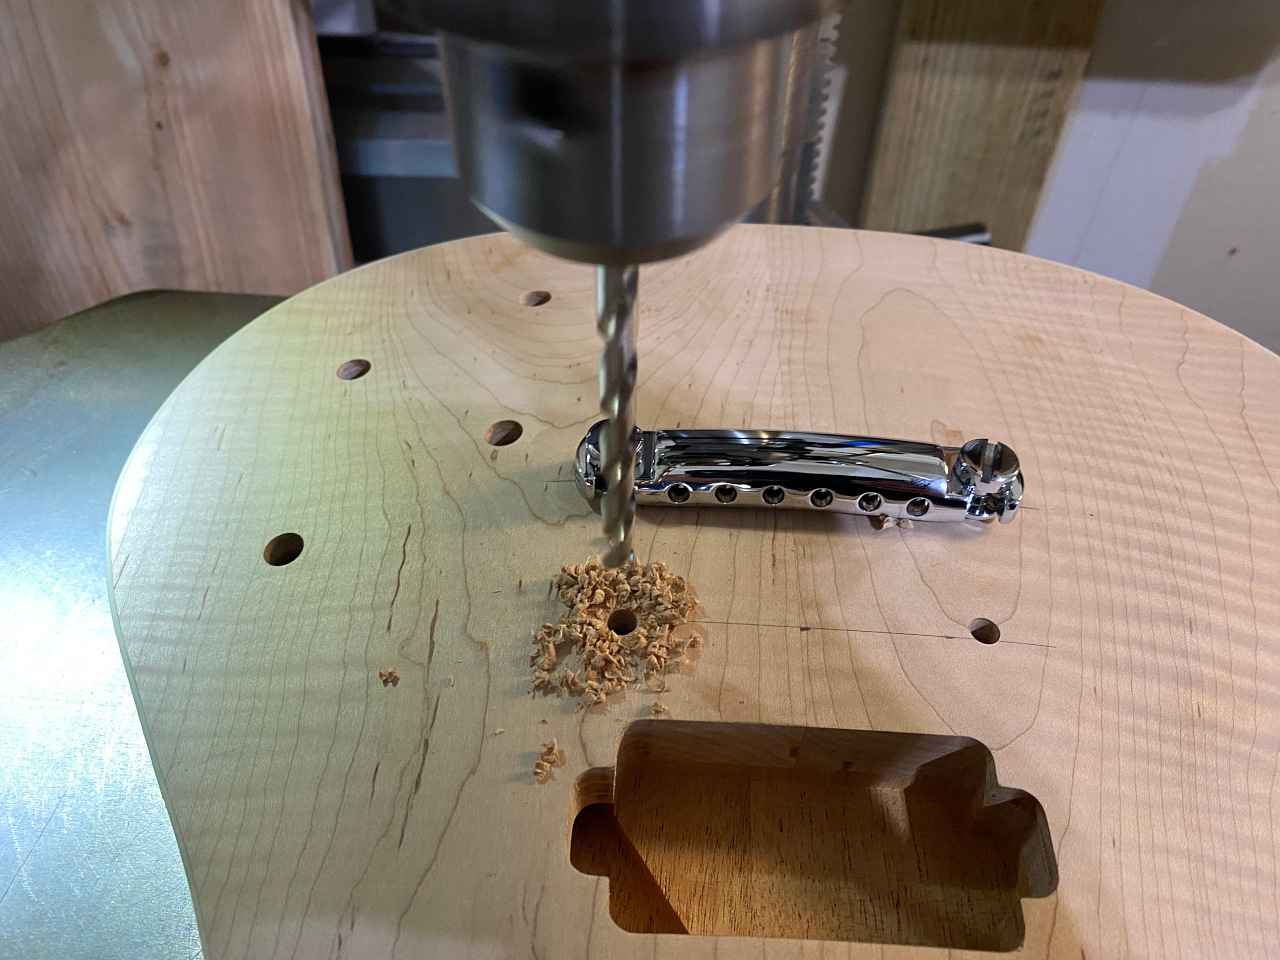
They are drilled out on the drill press to make sure they are in perfect alignment to each other. If they are off even slightly with regard to their angle with respect to each other, the tailpiece will not fit onto the threaded studs
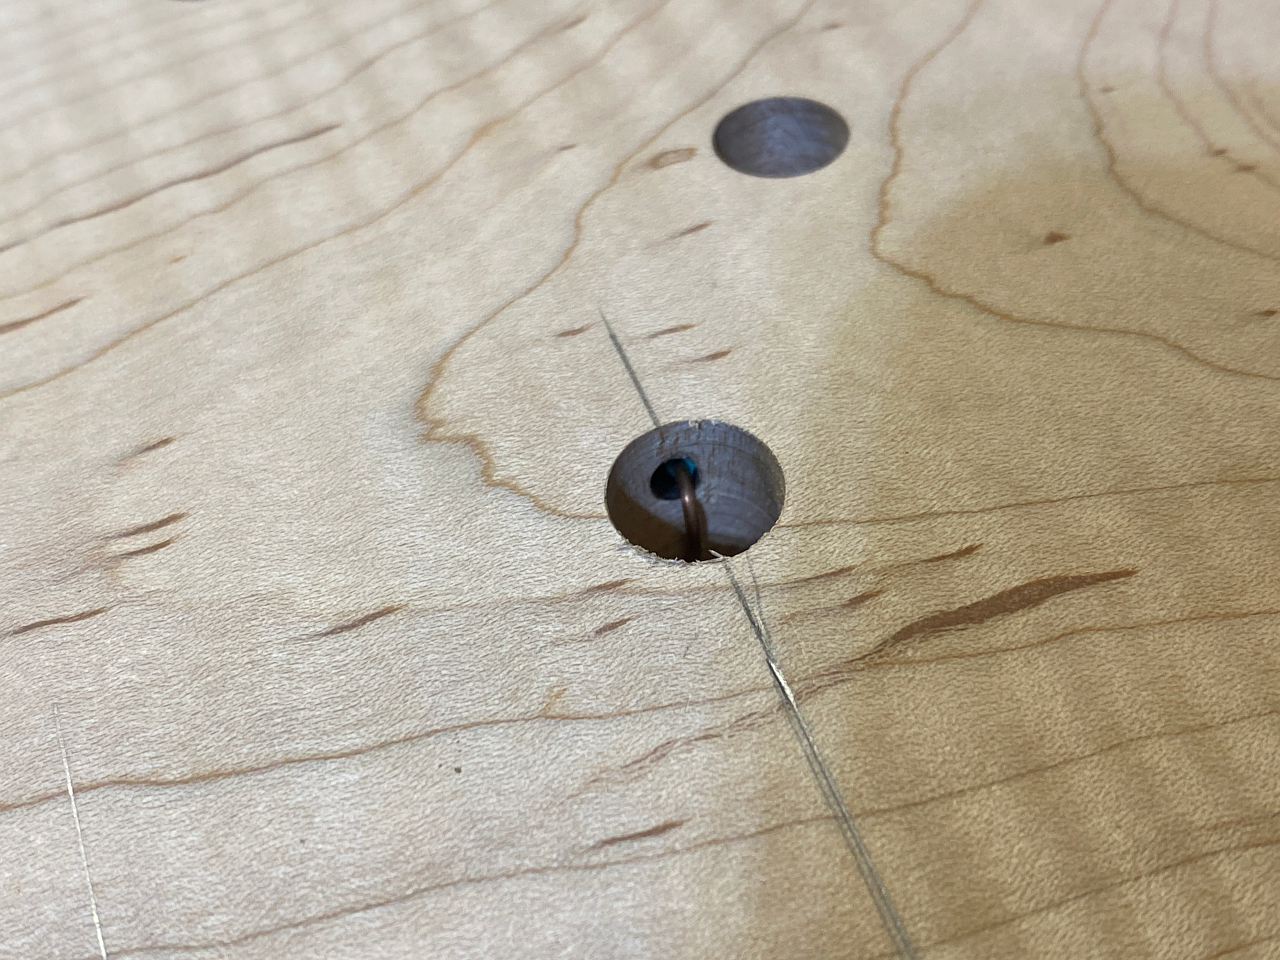
Before the bushings are installed I have to drill a hole from inside one of the holes into the control cavity. 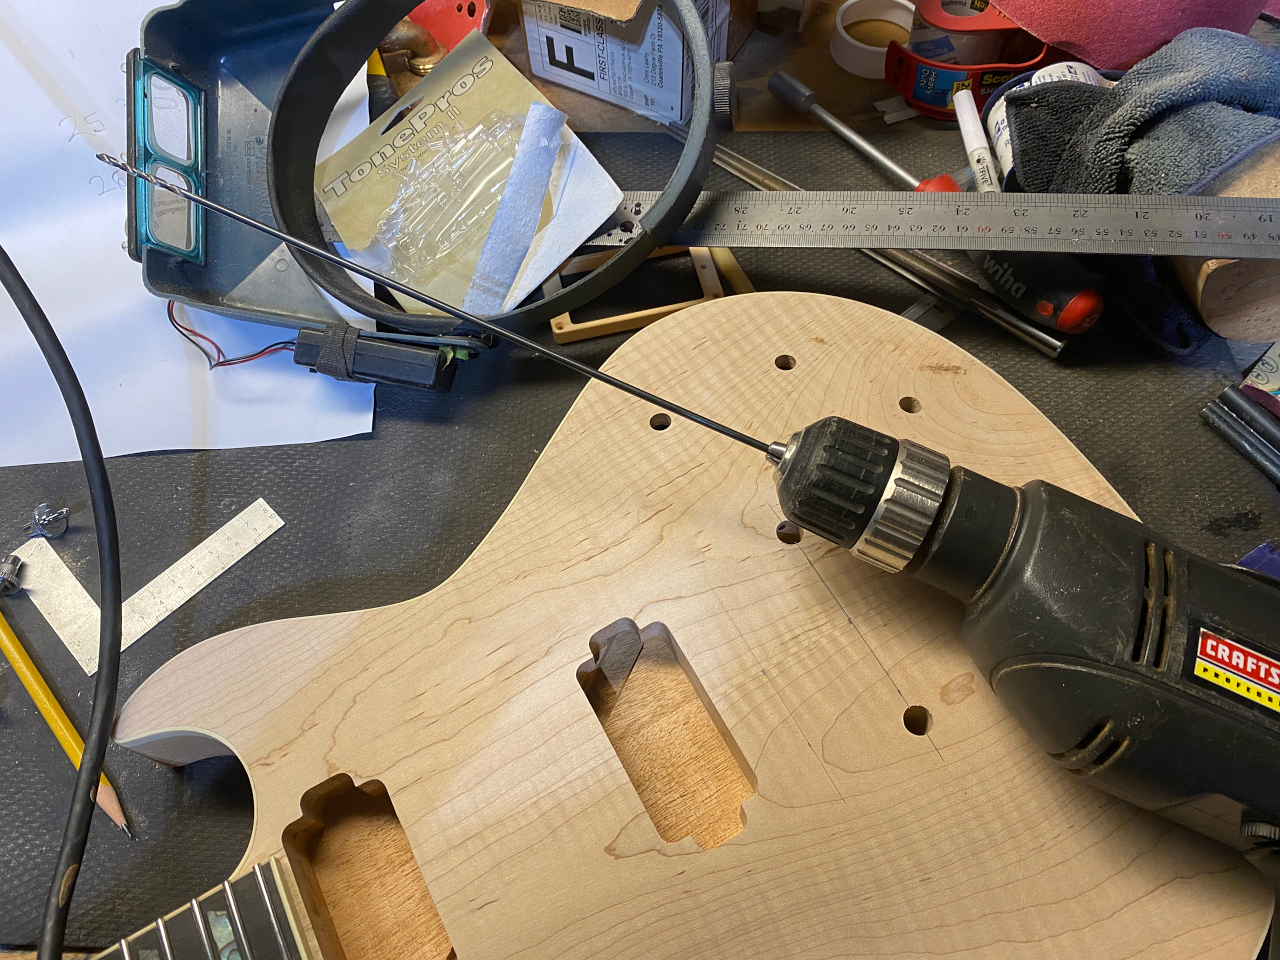
This is for the ground wire that connects all the metal components on the top of the guitar with the electronics inside. This wire contacts the bushing, which contacts the stud, which contacts the tailpiece, which contacts the strings, which contact the bridge and tuning machines.
The leg bone is connected to the hip bone, the hip bone connected to…never mind.
So this wire is very important 🙂
The bushing is then pressed into thhe hole. This is a very tight, friction fit. It takes considerable effort to press in, and you would need a crobar to pull it out
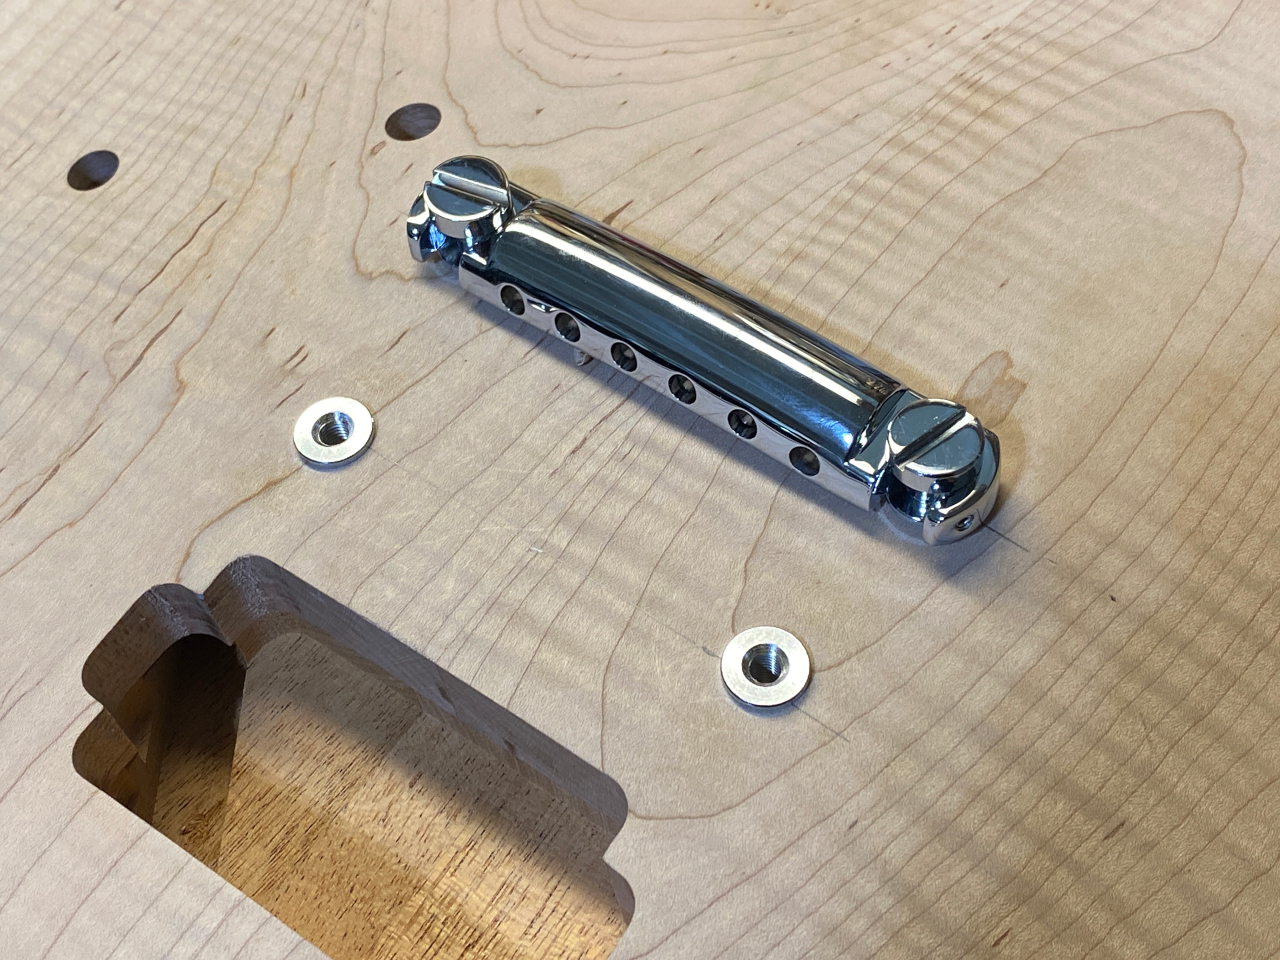
Once they are both in place I screw in the studs and slip the tailpiece onto the studs. Perfect fit.
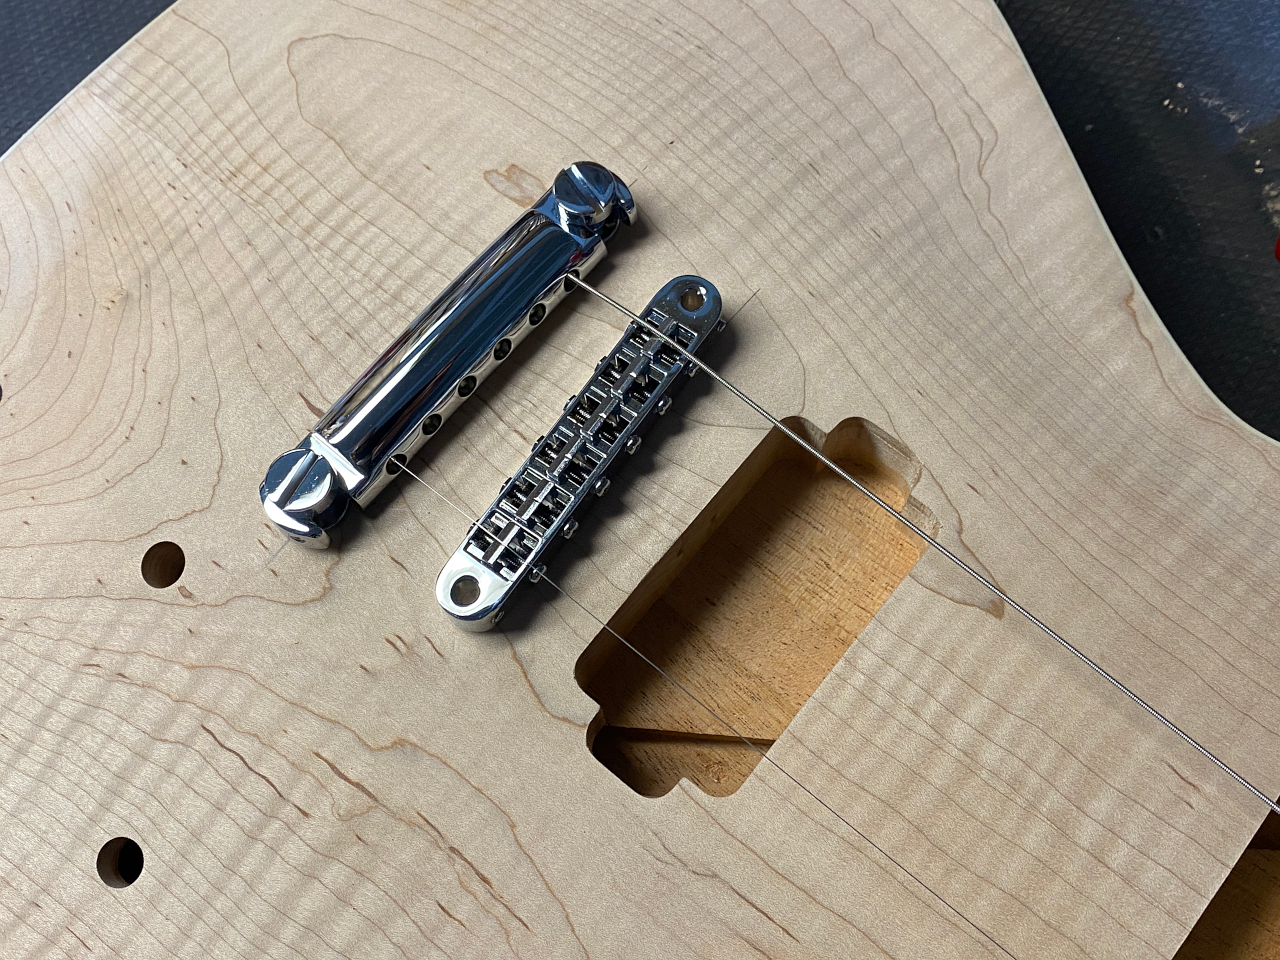
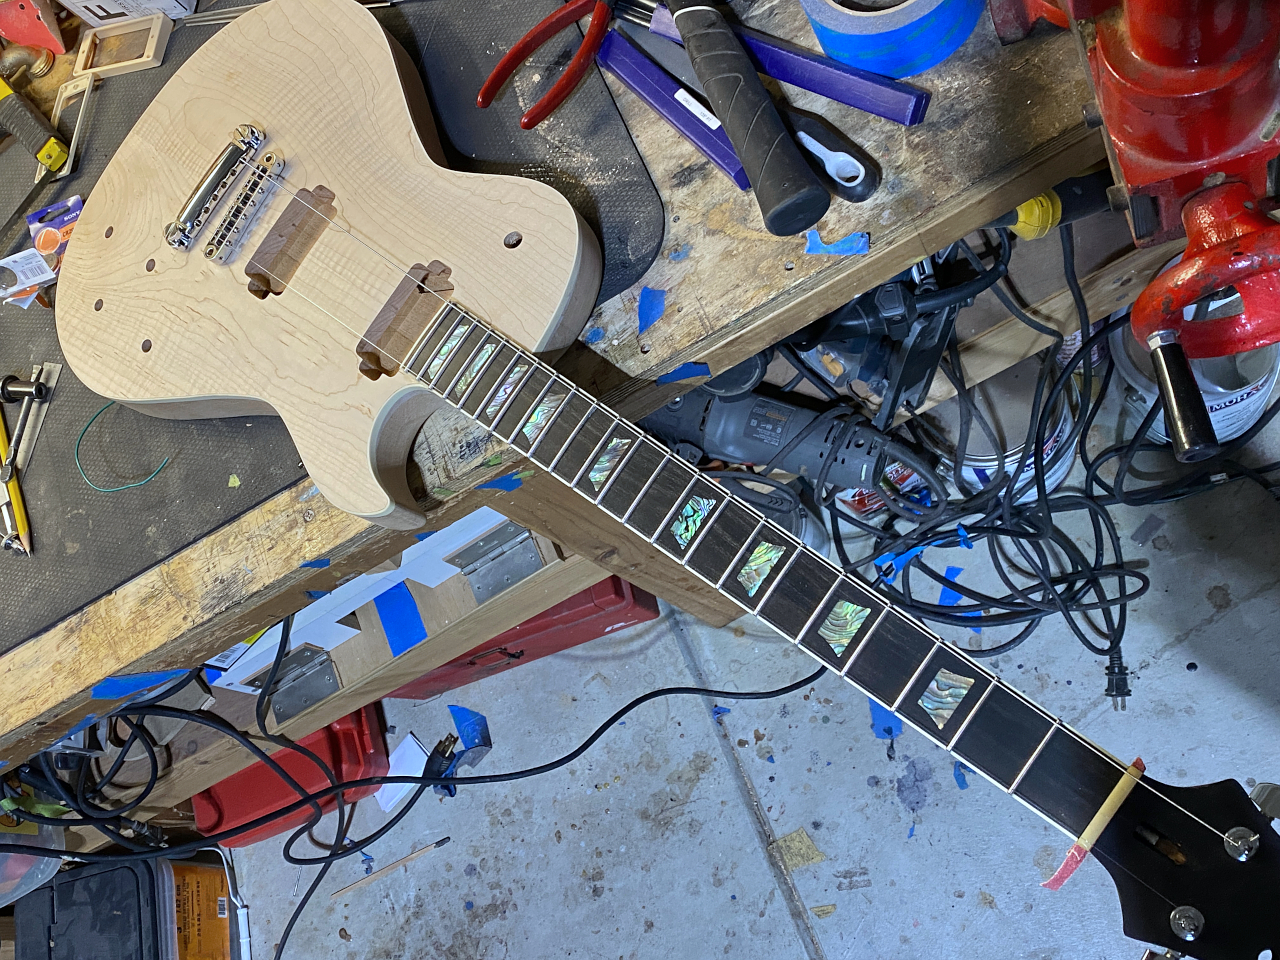
Next, I sit the bridge directly onto the top, install 2 of the tuning machines into the headstock, and string up the high and low E strings.
the reason for this is because there is no exact “perfect” spot for the bridge where you can say post #1 should be exactly X inches from the nut, etc. There is a general range, but where it should be can depend on a bunch of factors that can change from one guitar to the next, especially when they are one-off, hand built guitars as opposed to a CNC assembly line built guitar.
So the bridge is placed at roughly the correct location under the two strings, which I then tune up to pitch. I adjust the bridge saddles for the two strings forward, and toward the back leaving room to adjust in the future for changes in string gauge. Then I set the intonation. Once the bridge is positioned, the 2 strings are in tune and properly intonated, with room for adjustments in the future (a heavier gauge string requires more compensation), then I mark the post locations with a punch through the holes in the bridge. This is how I know exactly where to drill the holes.
You may have noticed on guitars in the past, axes with tune-o-matic style bridges, the bridge is not perpendicular to the center line. In all cases, the bass side of the bridge is set back farther from the nut by 1/16 – 1/8″. This is to account for the compensation needed for thicker strings to intonatate properly. On other style bridges they simply allow greater adjustment range for the saddles than you find on a TOM bridge.
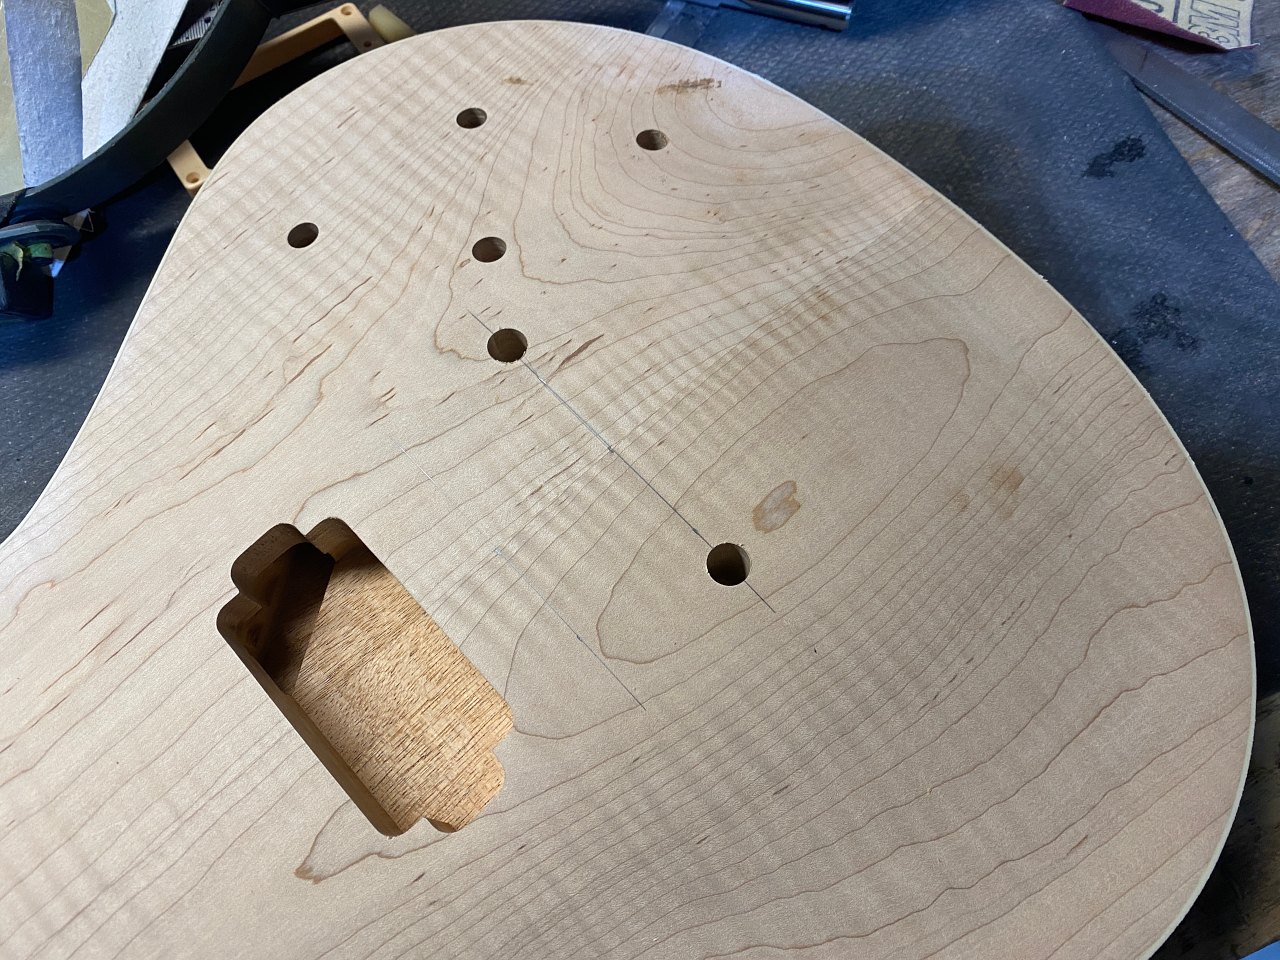
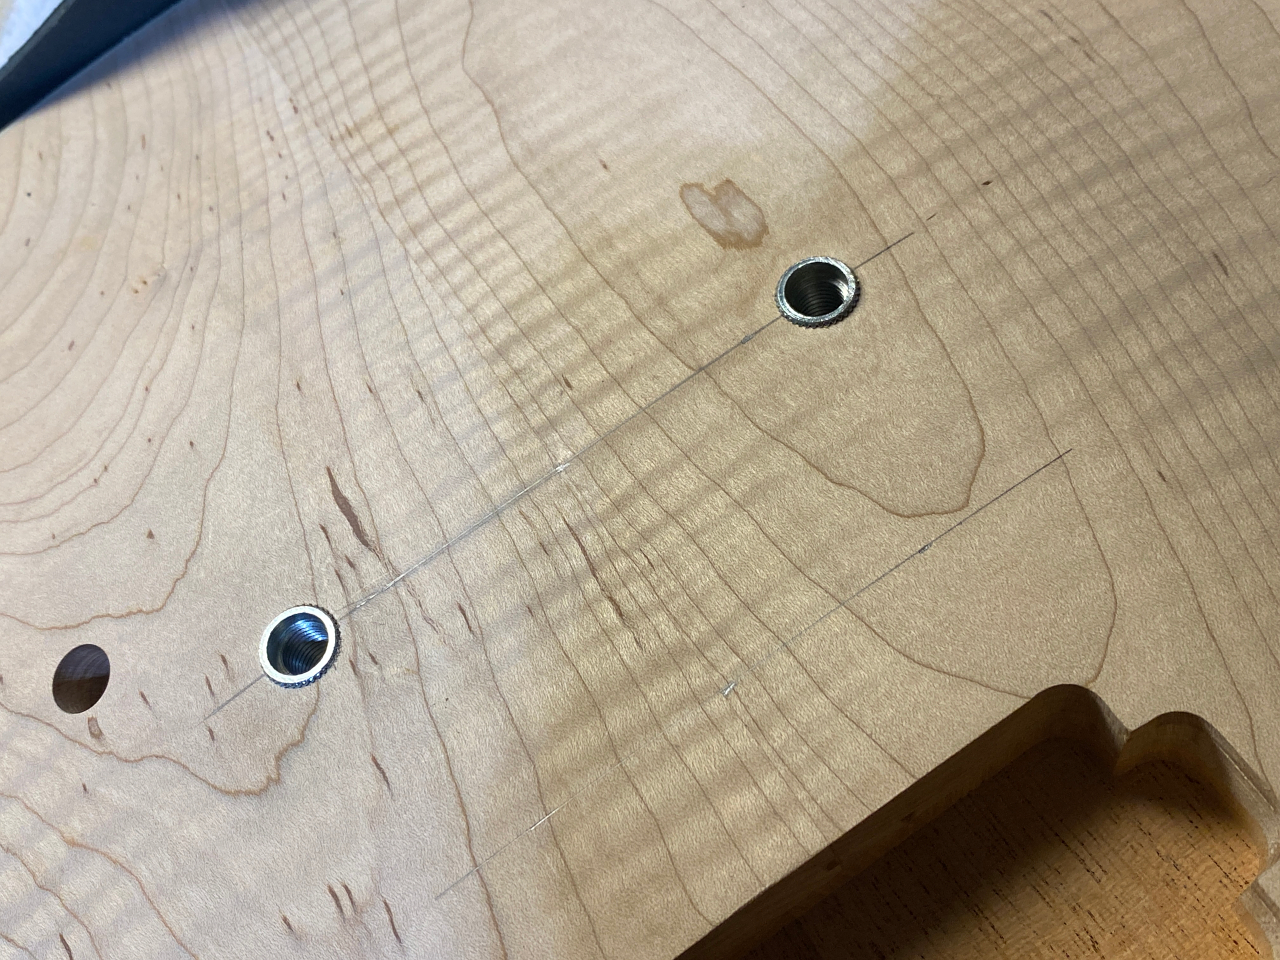
Here you can see the offset for the bass-side post as I have drawn a perpendicular line through the center of the treble-side post.
The bridge bushings are pressed into their holes
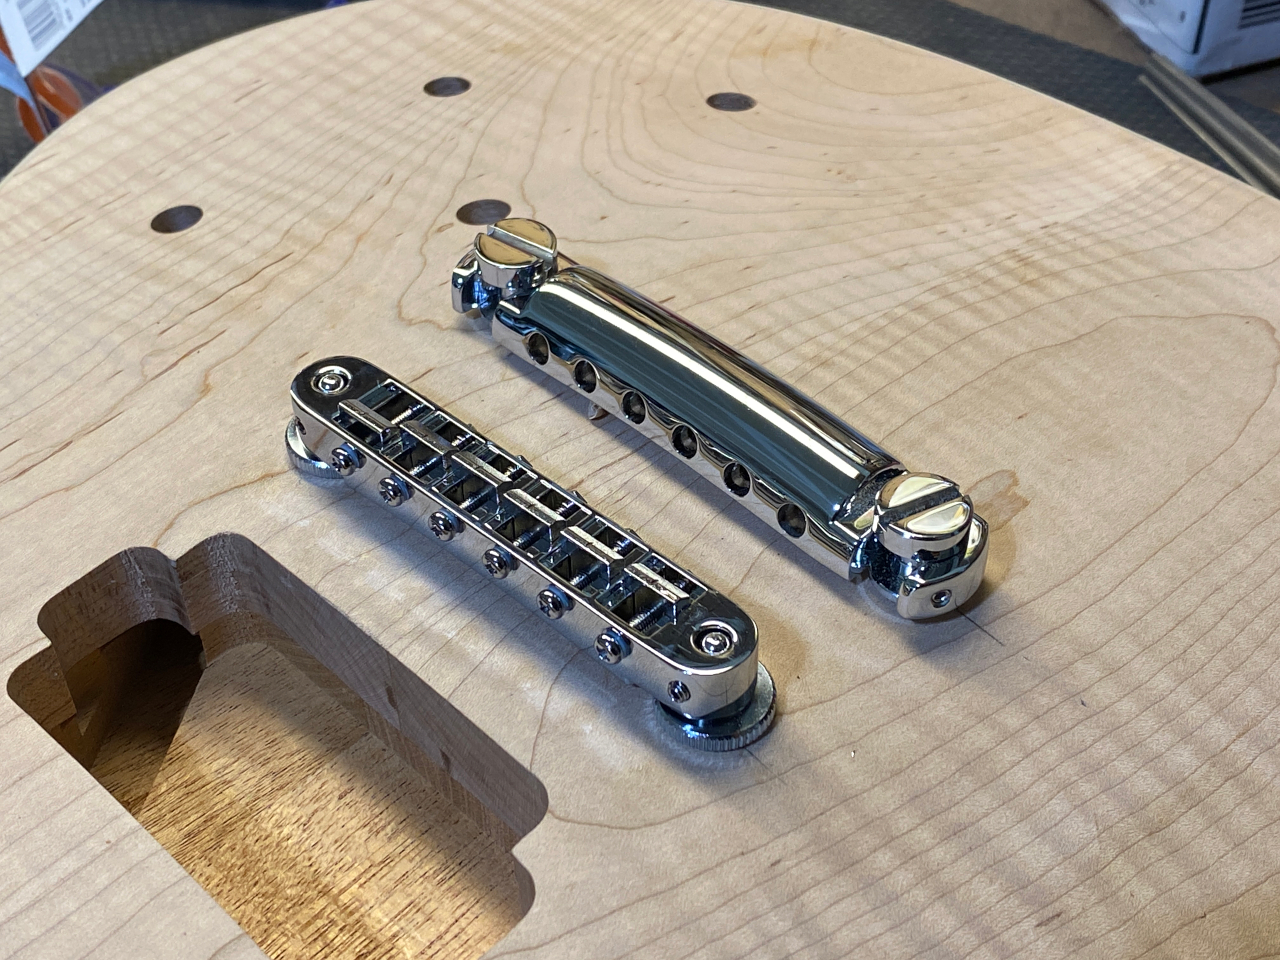
and then the bridge just drops onto the posts. Of course the bridge and tailpiece are removed again for finishing, but the bushings are permanently embedded into the body and need to be in place before the finishing.
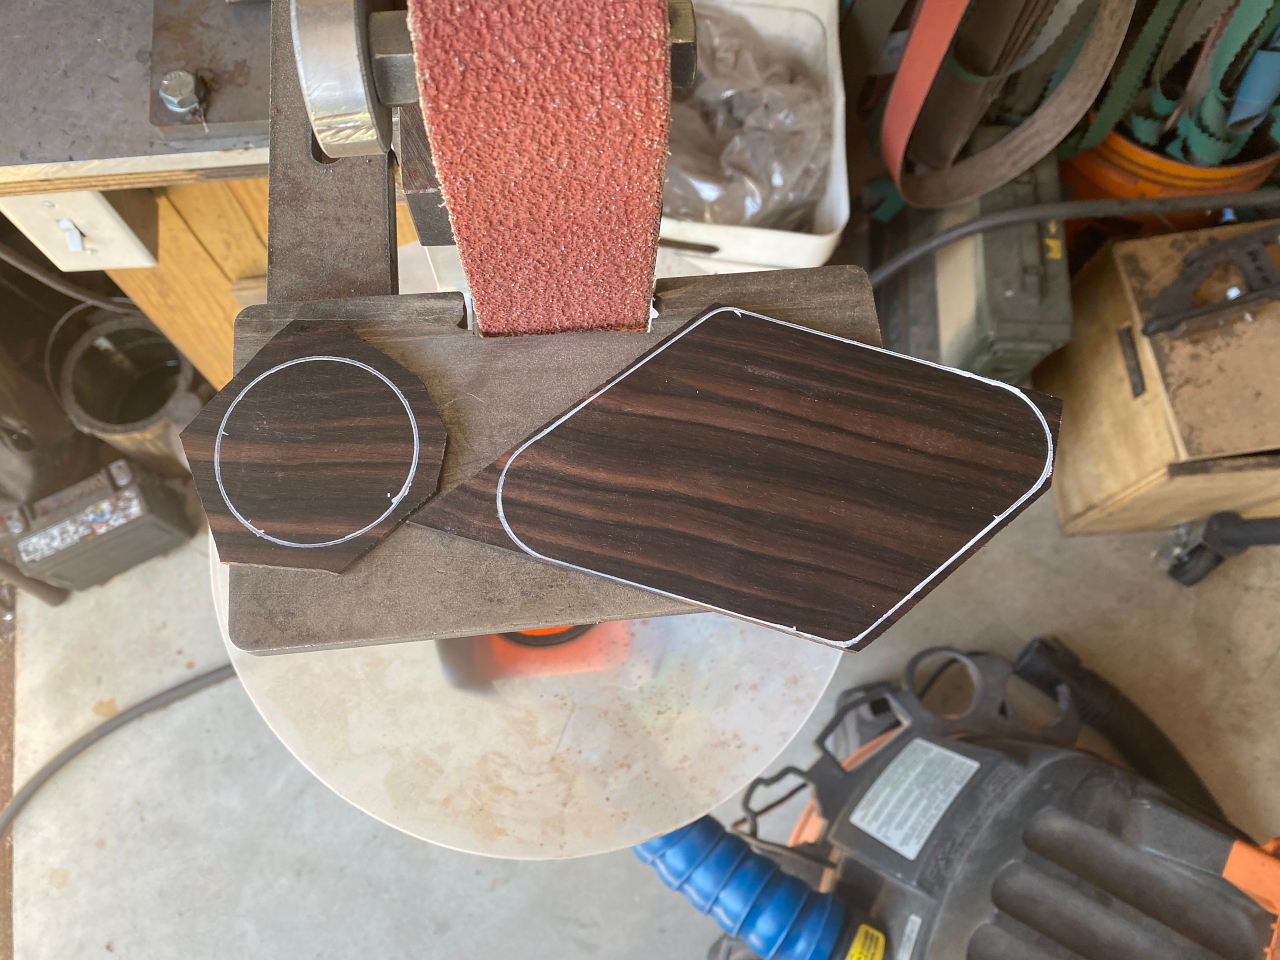
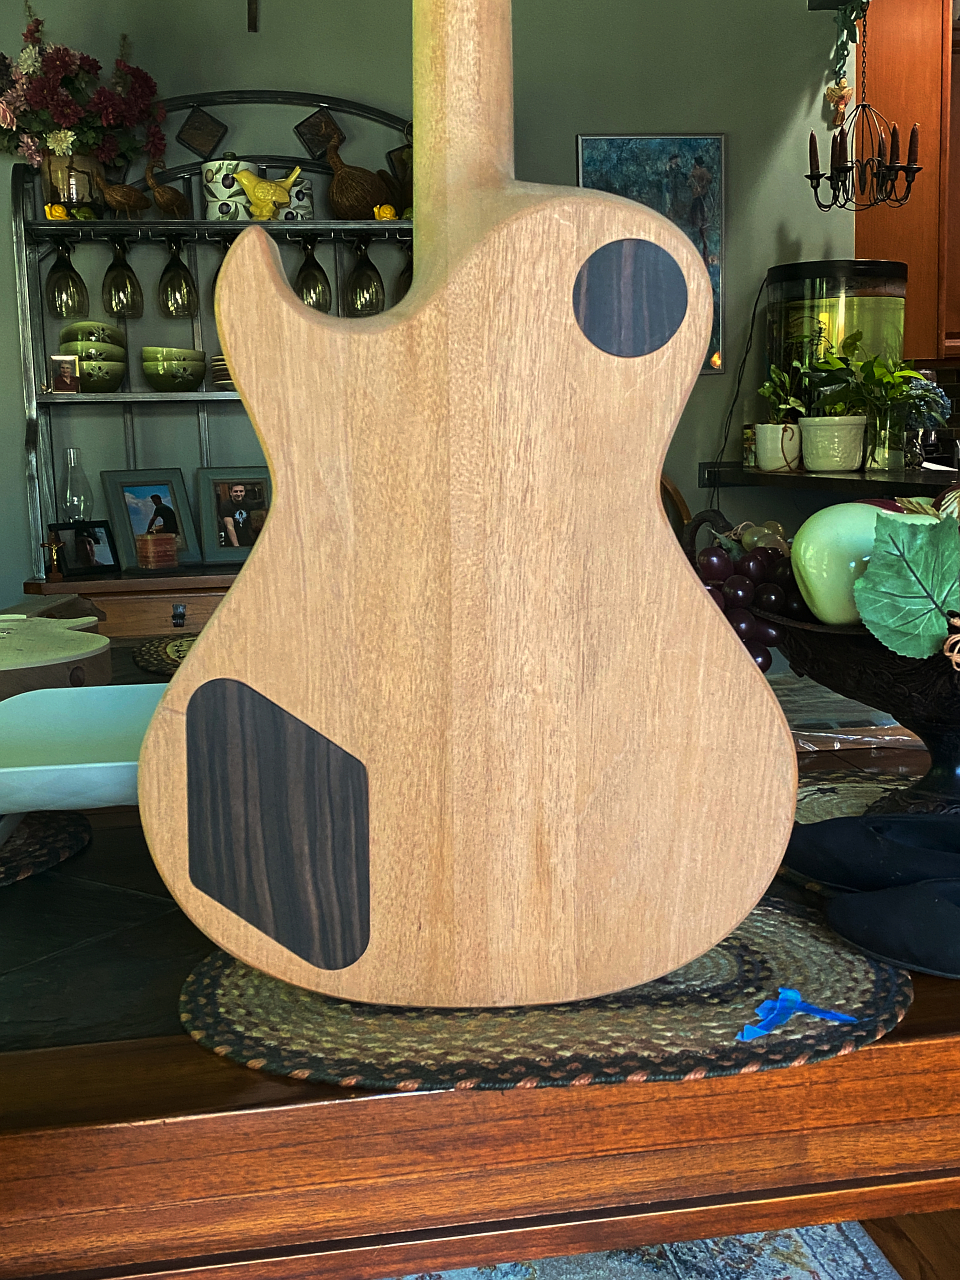
So this part is pretty self-explanatory. These are the covers for the rear cavities. I trace them out onto a piece of Macassar Ebony, cut them apart, and then use my belt grinder to grind down to the lines. A bit of sanding with finer grit to smooth everything off and they are good to go
These covers will be held onto the guitar using rare earth magnets rather than screws. Visually much more appealing, and also making for very easy access to the internals if needed. No screwdriver will be required…

