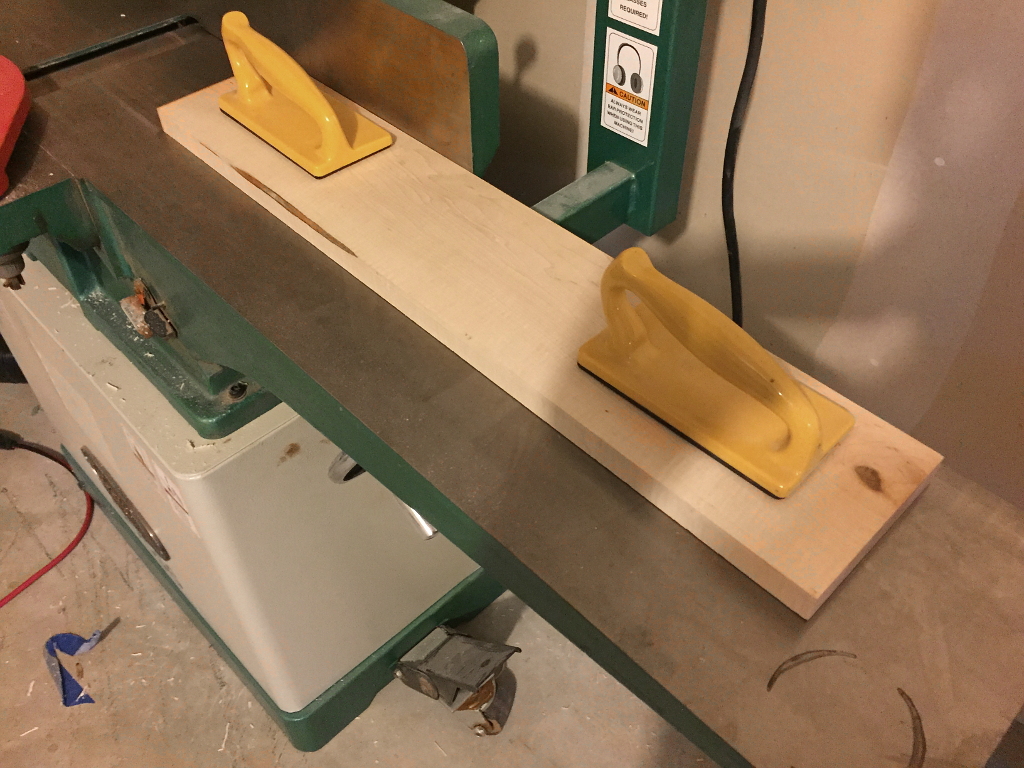
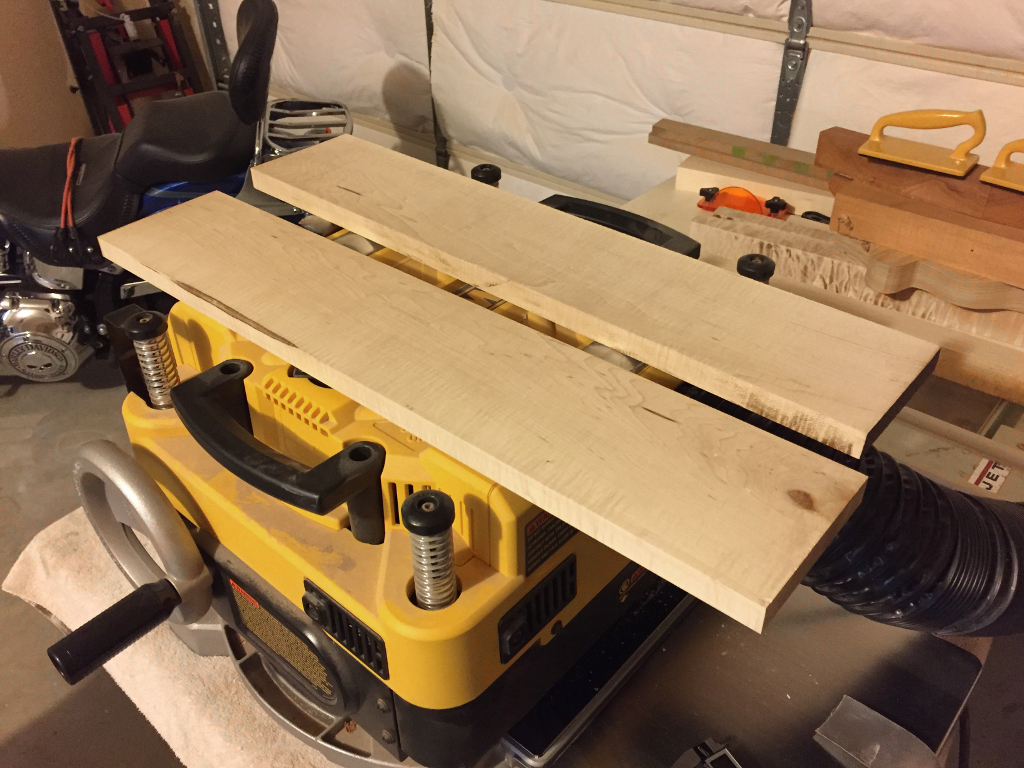
OK, now we can get back to our necks…
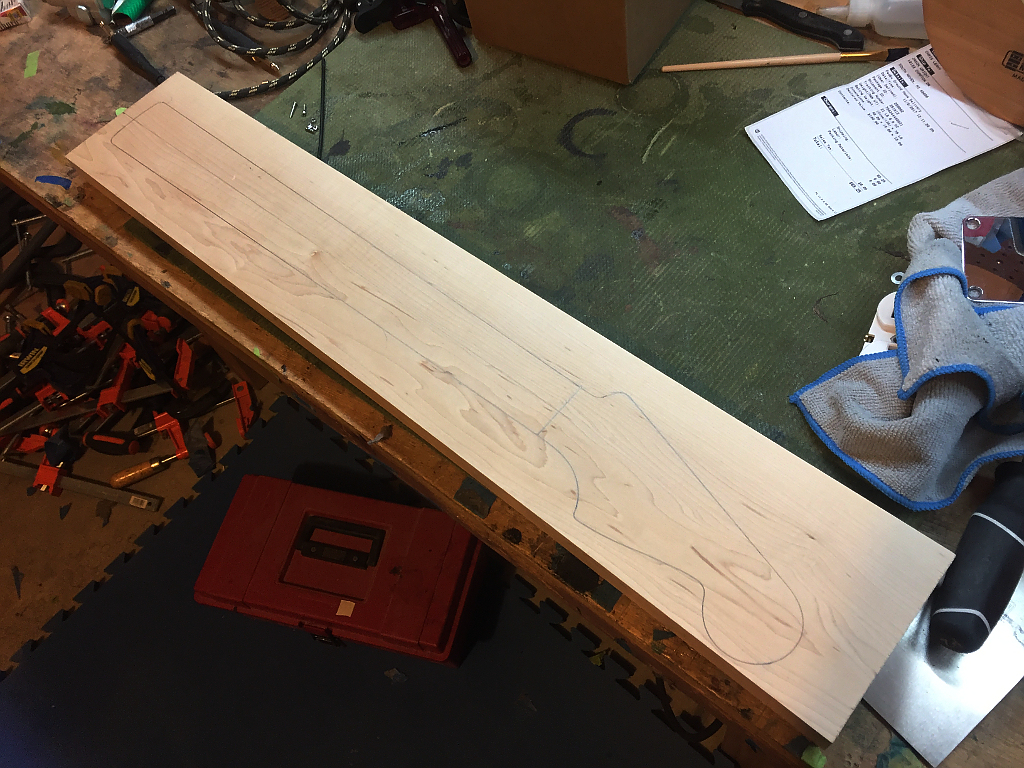
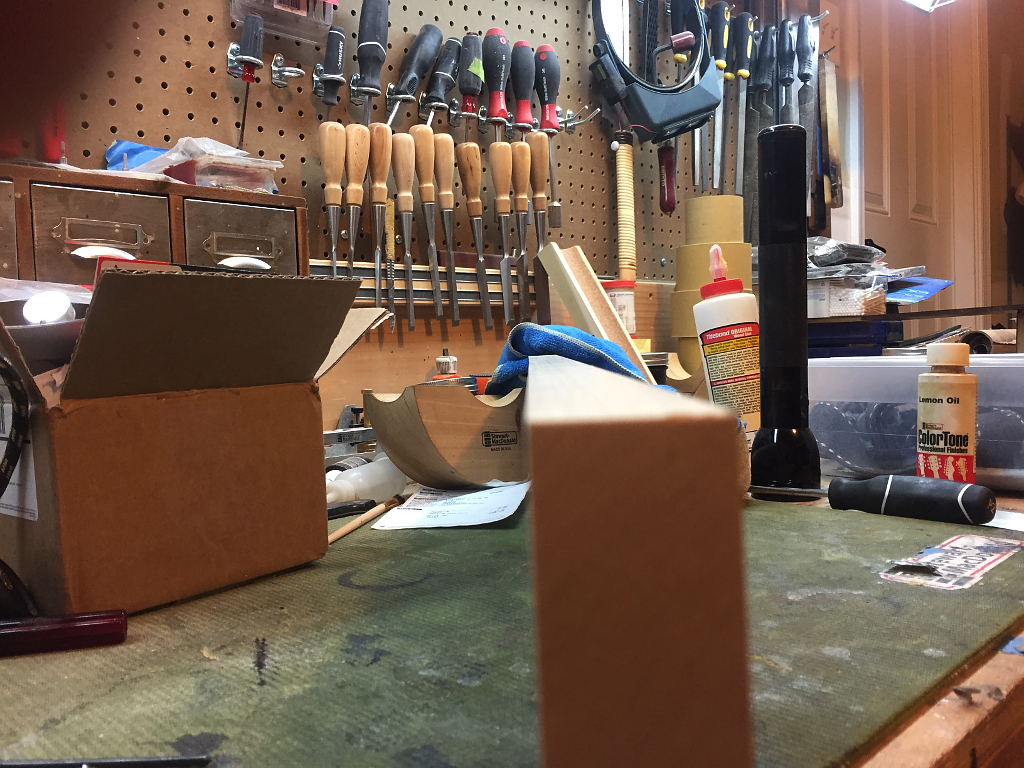
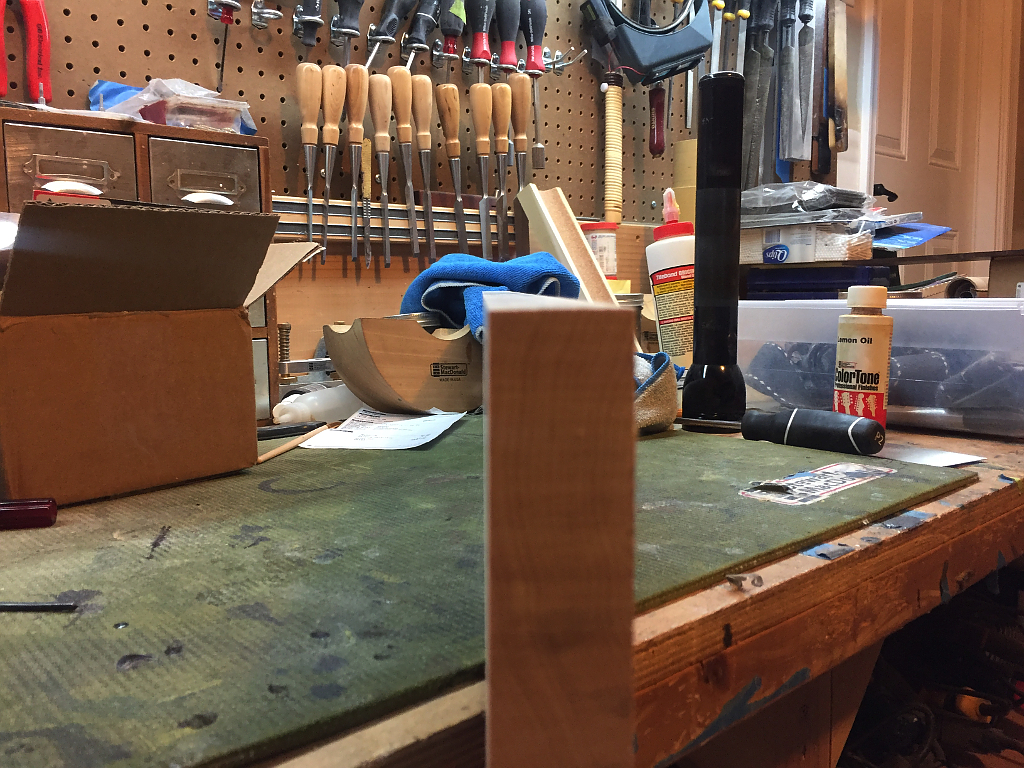
Recall that we left them to acclimate in their new, much smaller dimensions for a couple weeks because even well seasoned wood will still move some once you free it from the larger piece and tensions are released. Looking down the length here, although its not all in focus you can see that it did indeed move a little. You cant see this at all unless you look at it this way. the movement is very slight. Only a few hundredths of an inch, but we want our necks to start out perfectly flat end to end so we let it move as much as if will, and then flatten it again. This time the amount of wood we will take off is insignificant and wont release any more tensions, so once flat again it will stay that way.
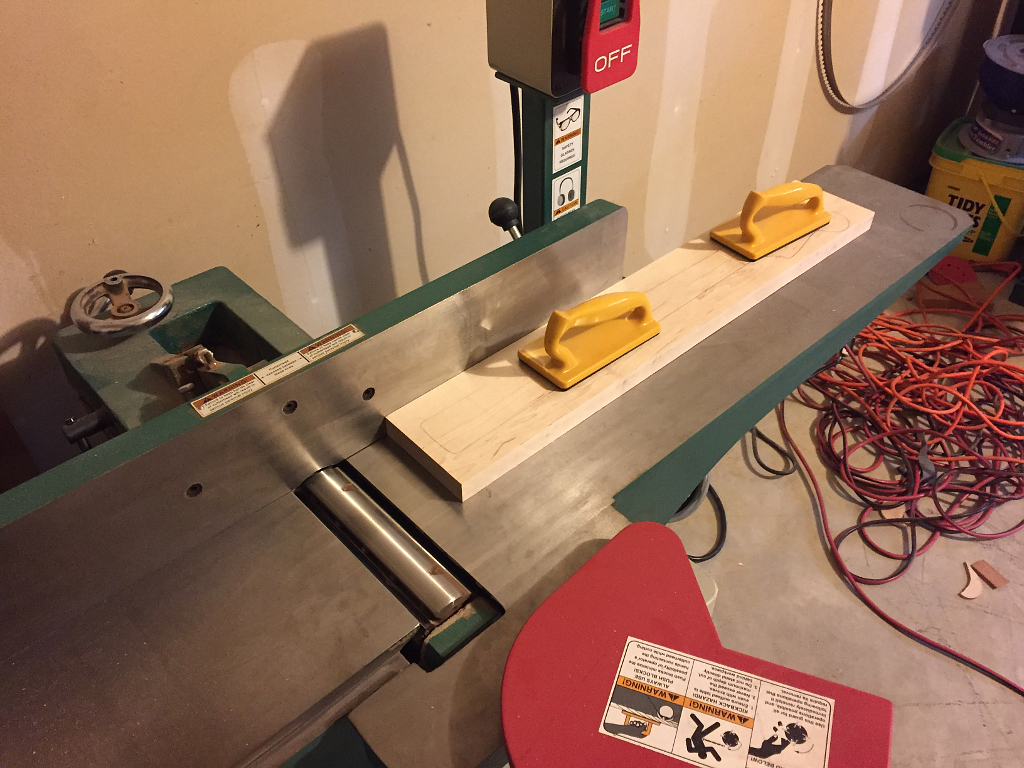
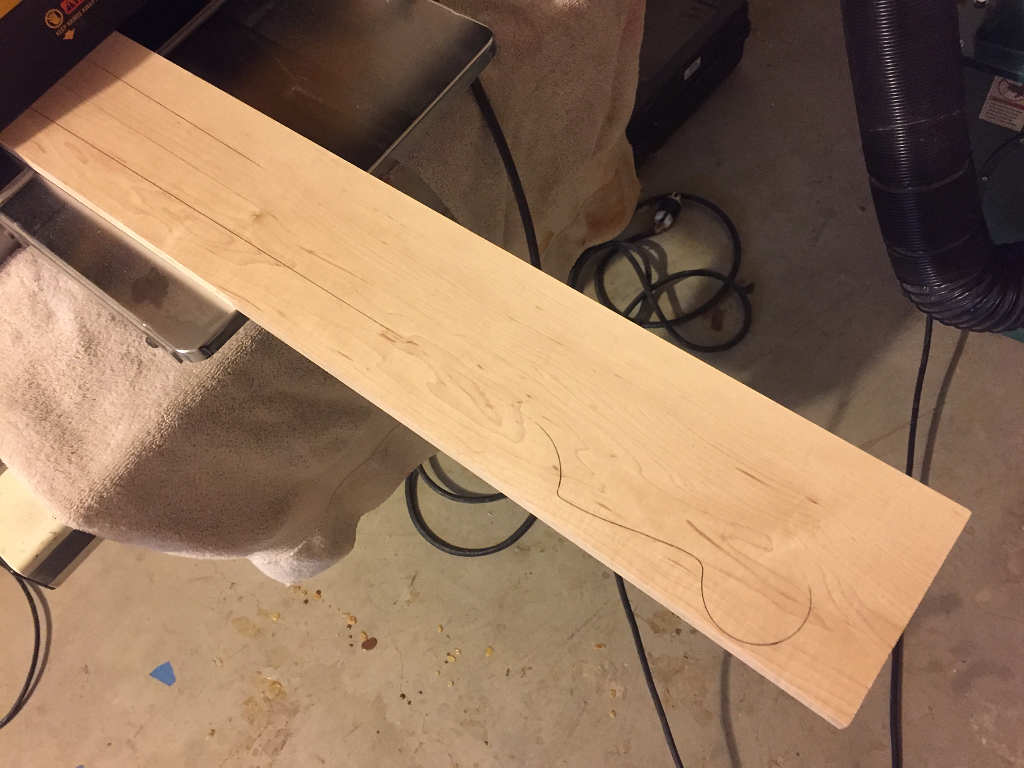
Back onto the jointer….
and now we can see that its dead flat….
then we take the top off again in the planer too so that its perfectly uniform thickness end to end.
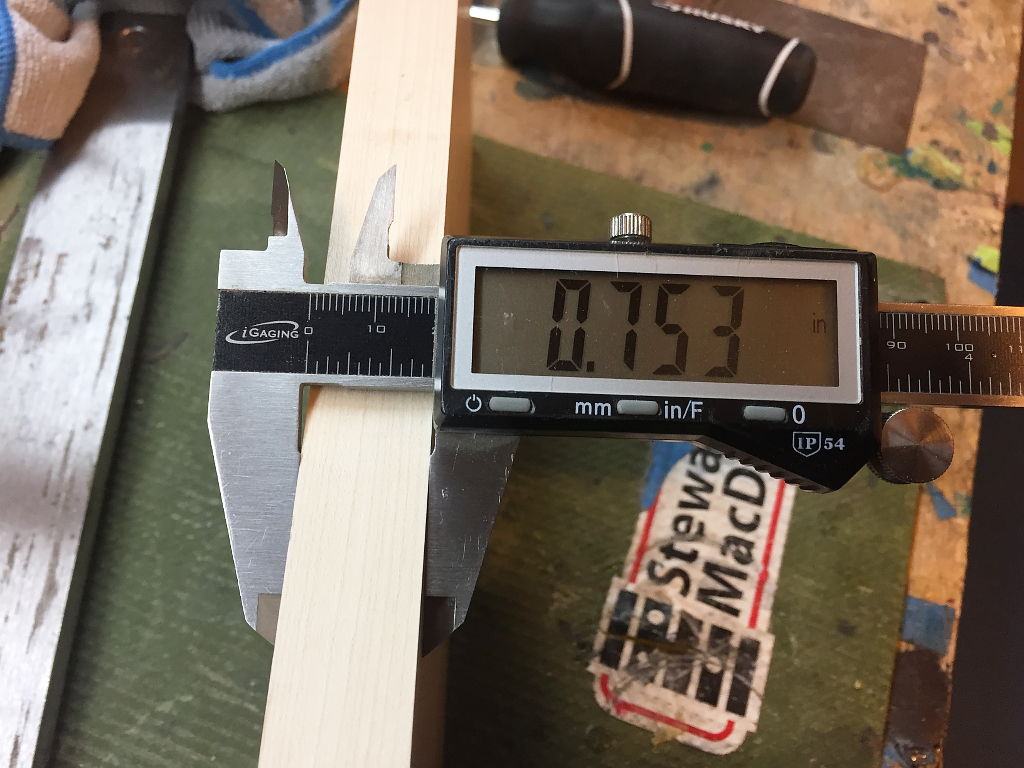
We keep shaving down the top at this point until its at our final thickness of 3/4″. I leave a few thousandths oversized to allow for what I’ll lose from sanding
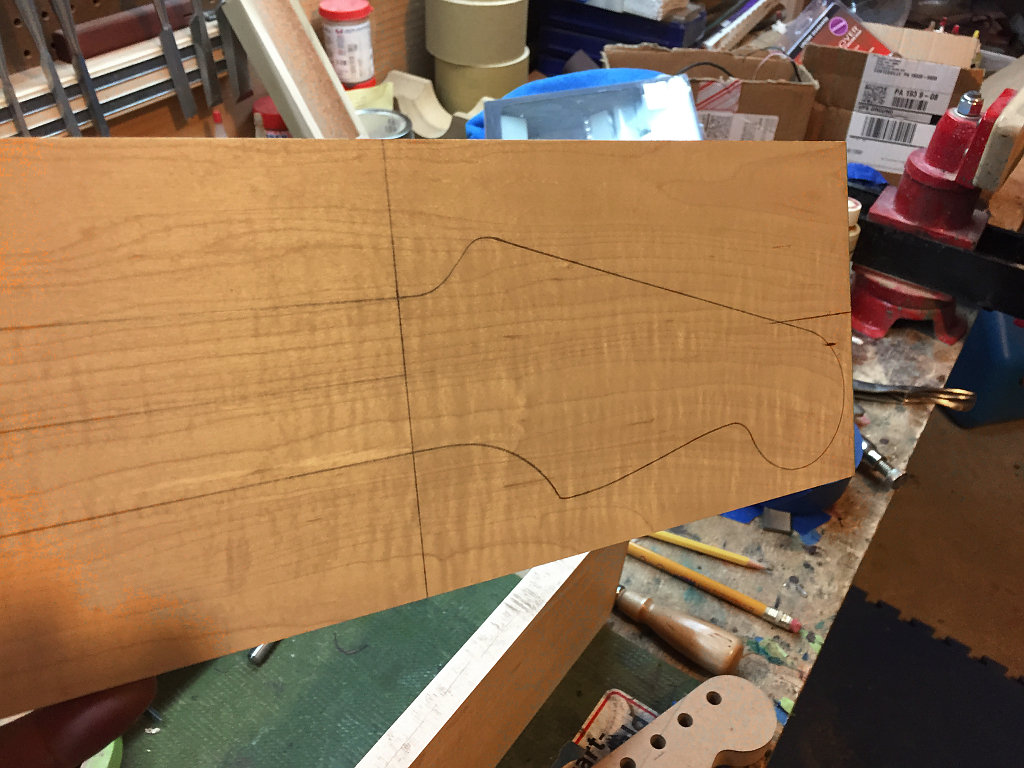
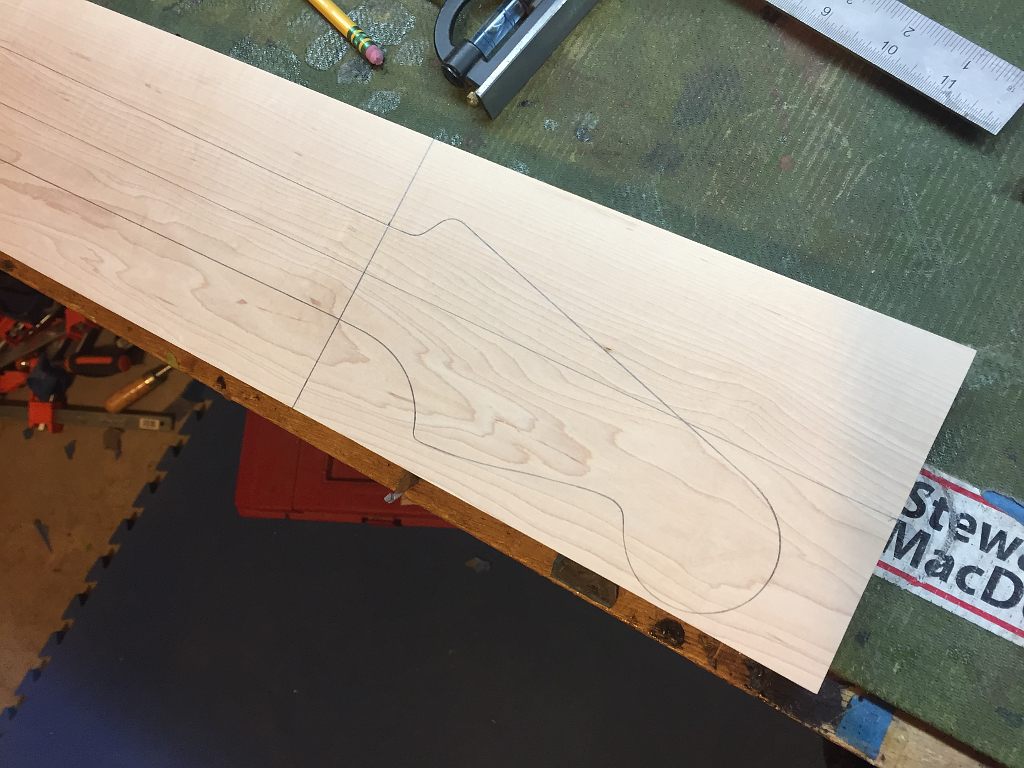
then re-draw our profile…
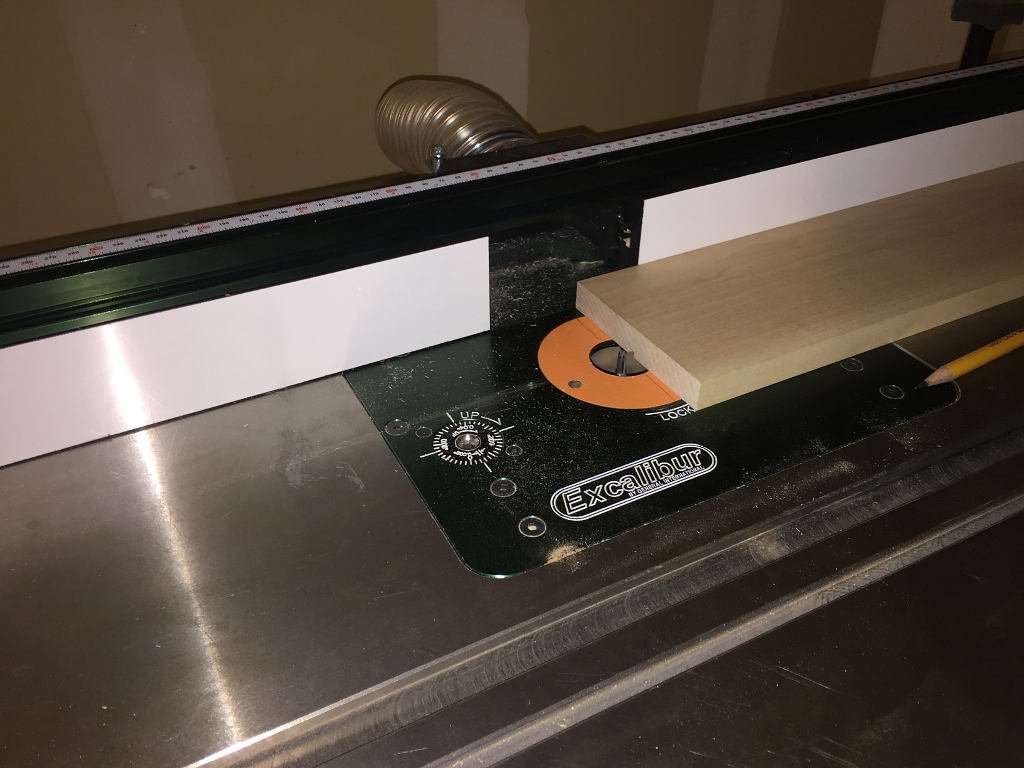
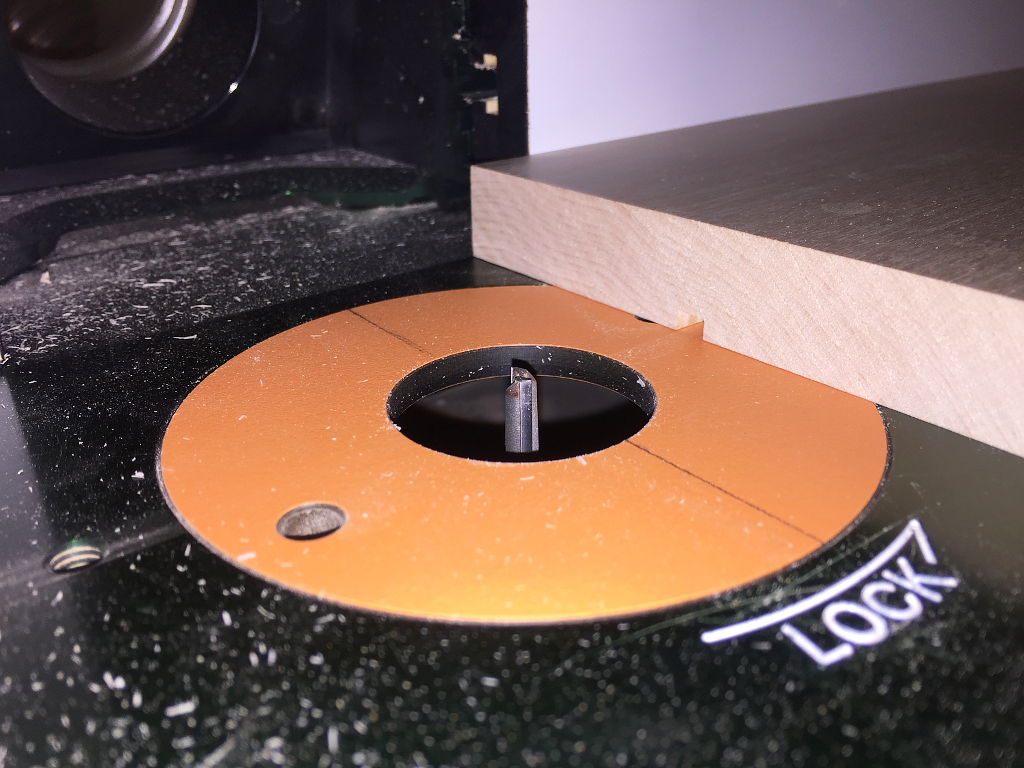
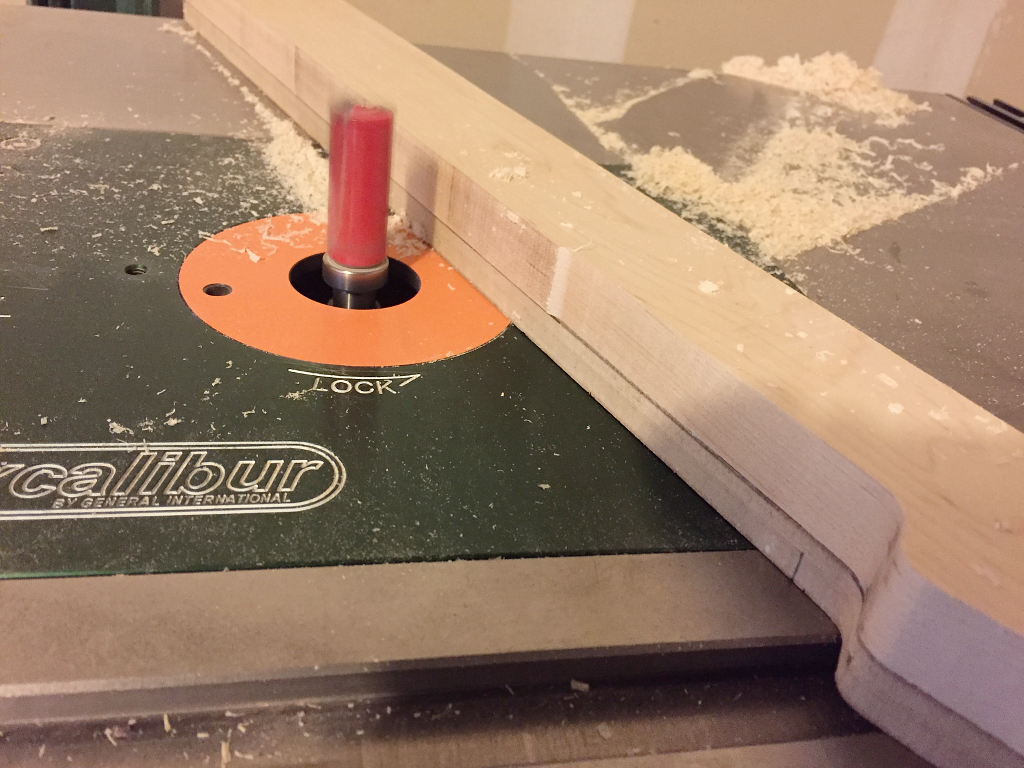
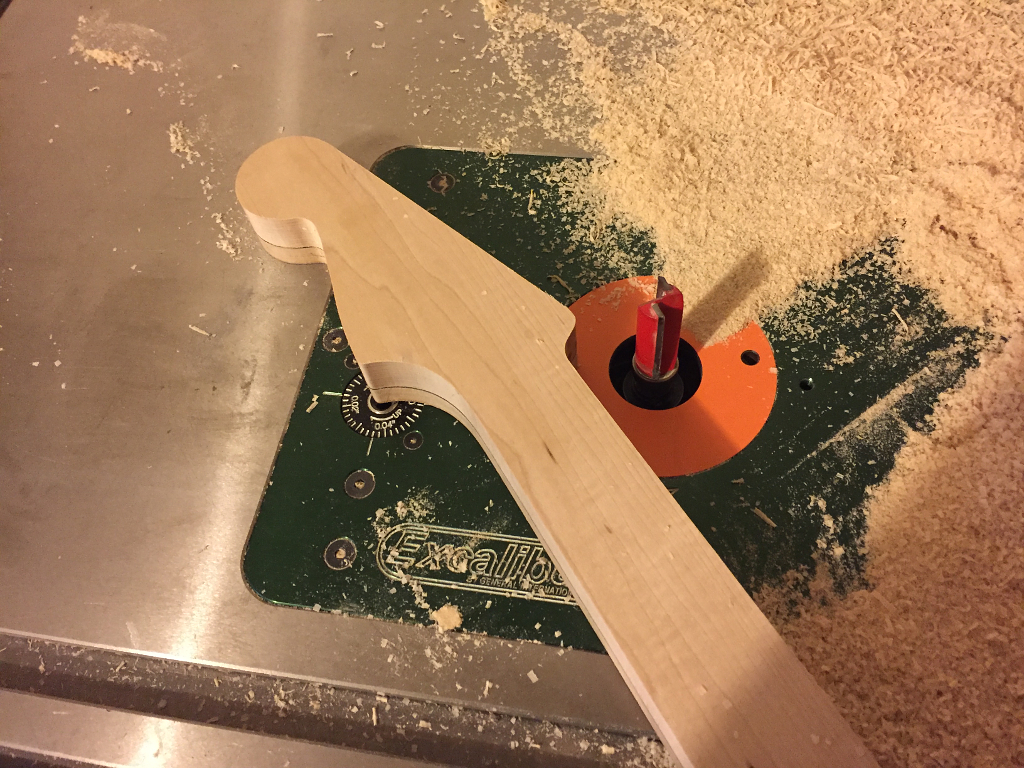
Now we have to route the channels for the truss rod and the carbon fiber rods. I do this on my router table. I align the fence so that it cuts the channel dead center down the middle of the neck.
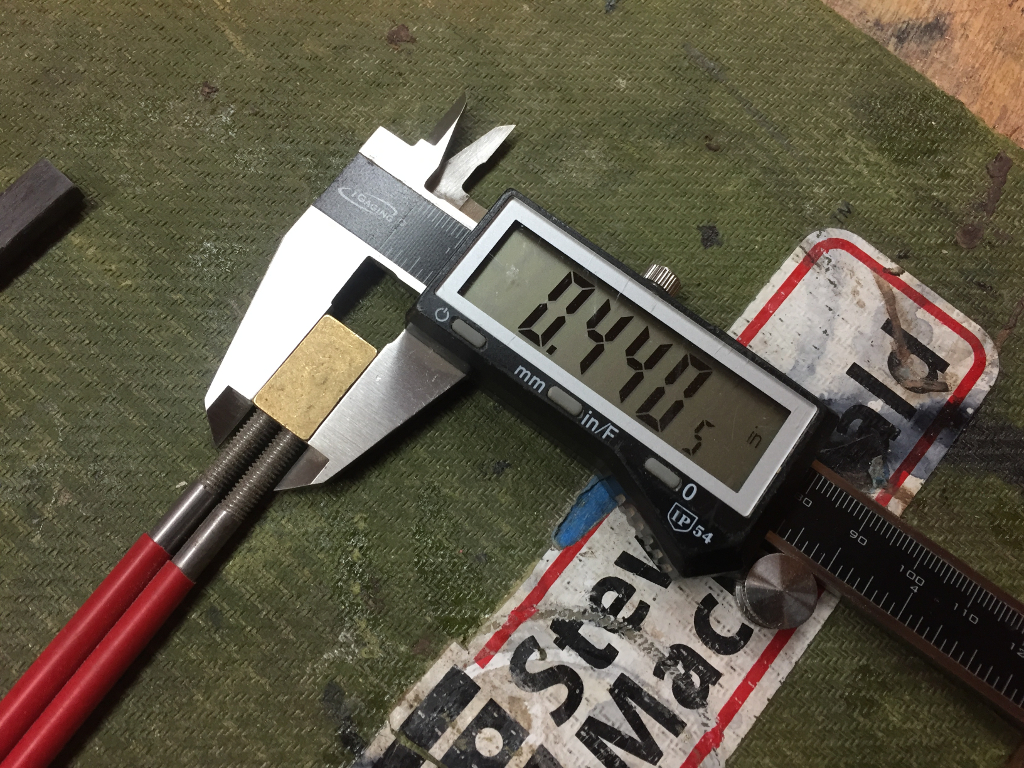
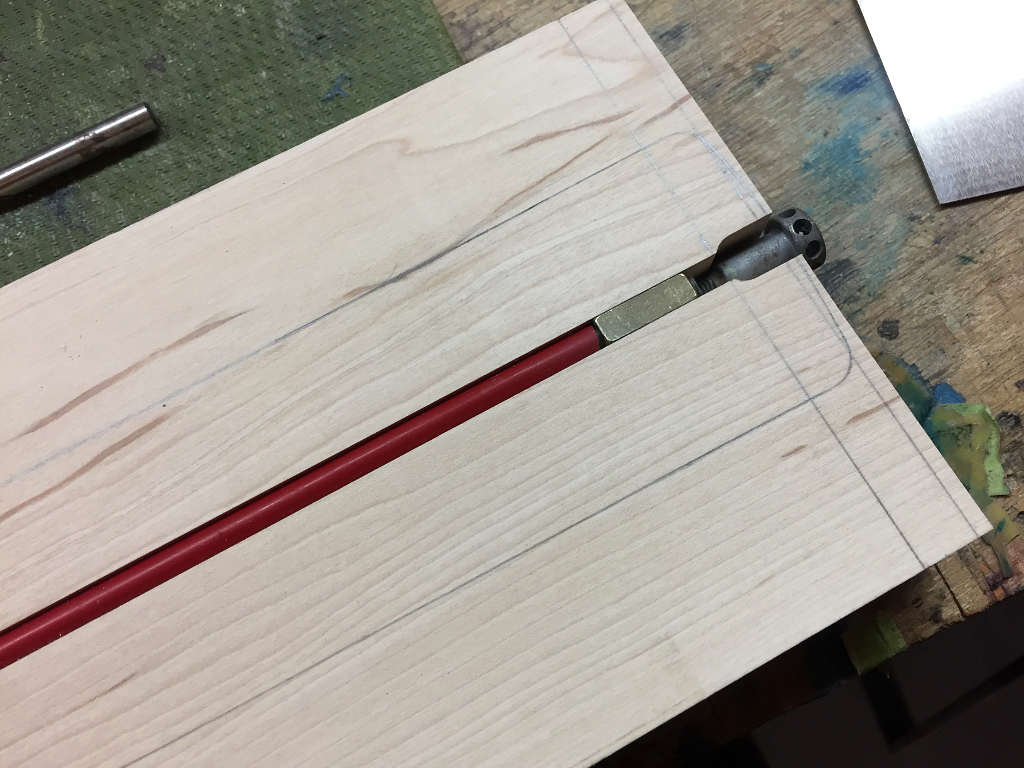
Measuring the truss rod depth gives me the depth I need for the channel…
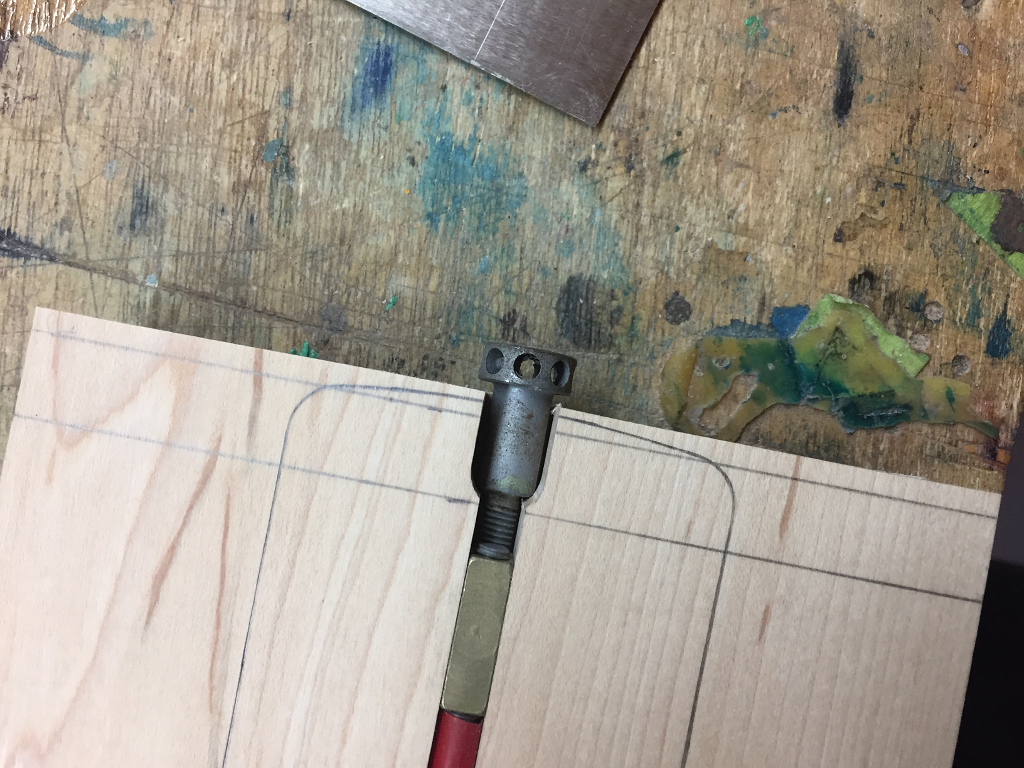
A slightly wider bit gives me the added width I need at the heel for the barrel on the spoke nut
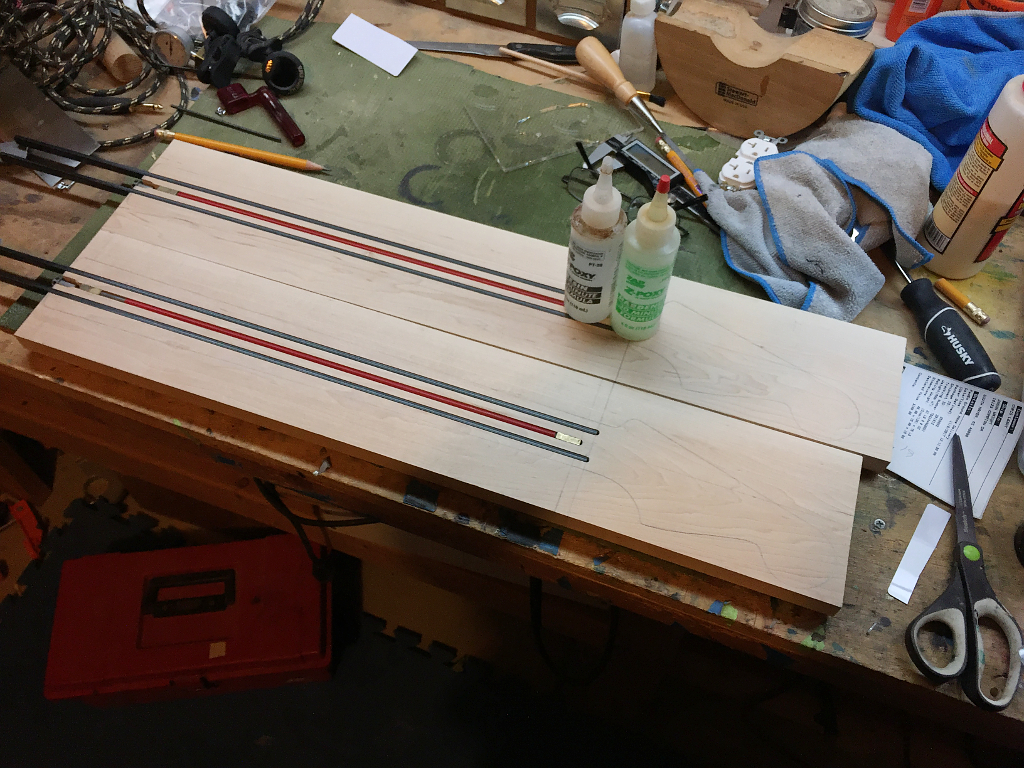
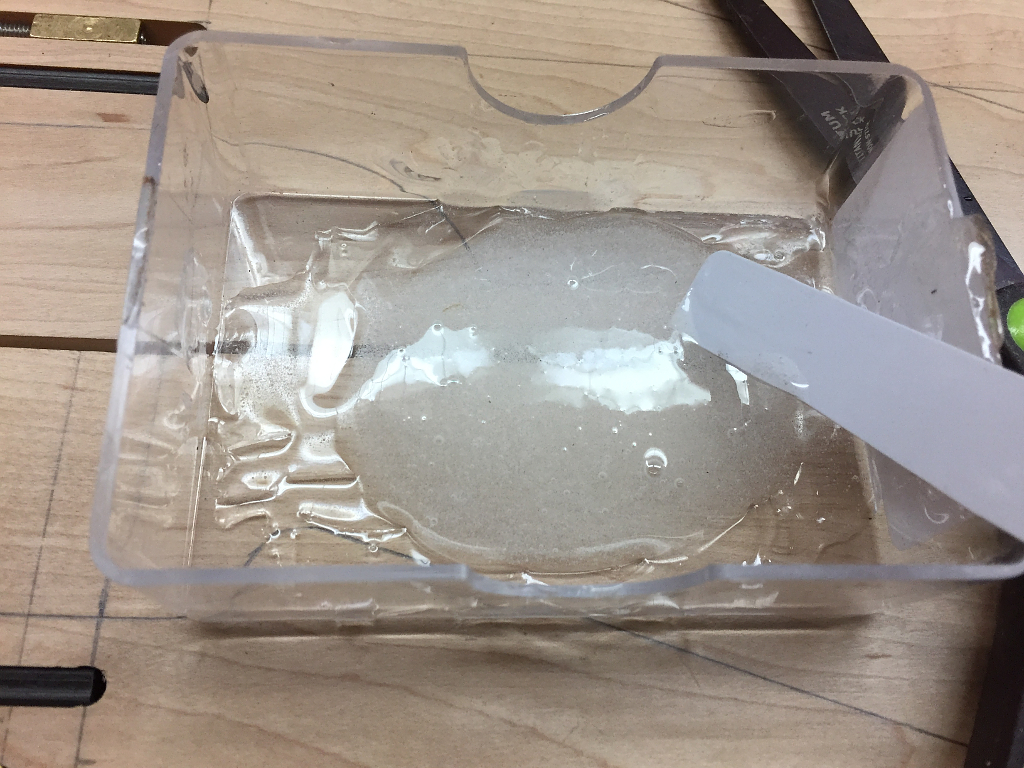
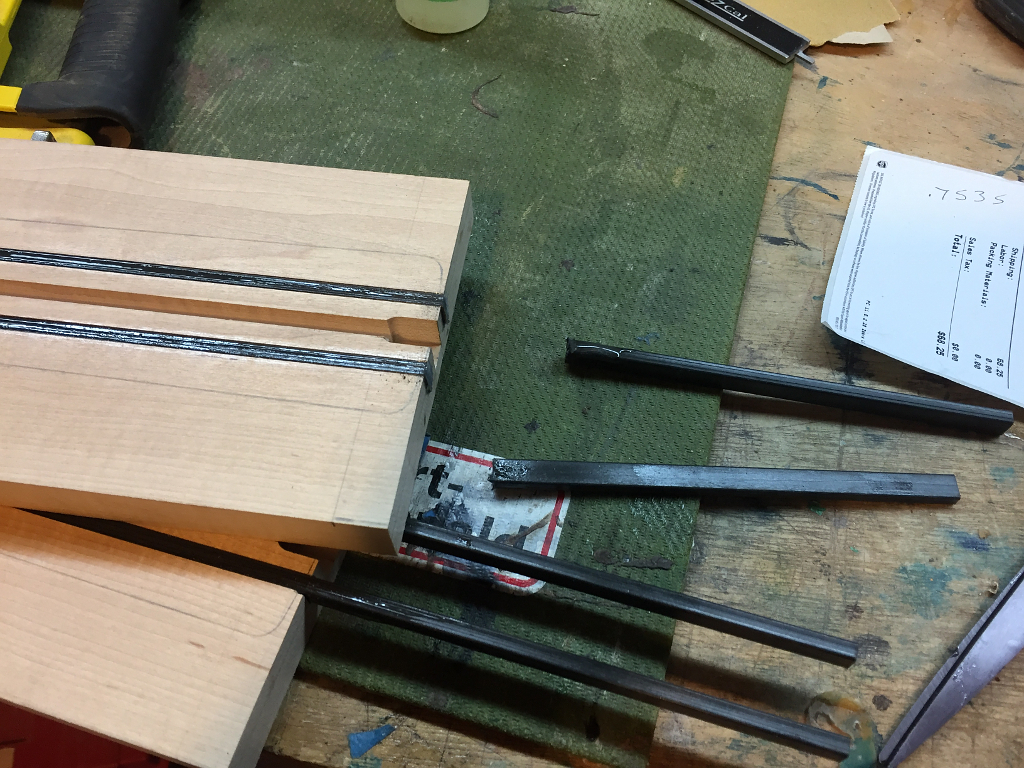
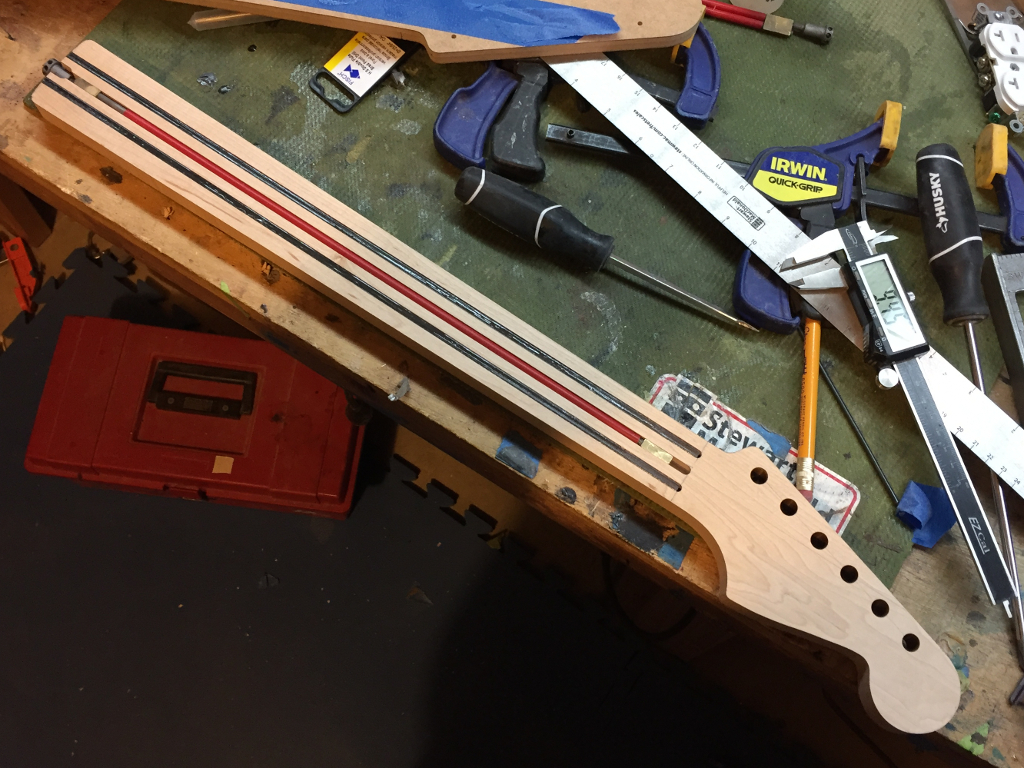
So now I have both necks routed for truss rods and carbon fiber. I’ll use clear two-part epoxy to embed the carbon fiber rods…
and glue those bitches in place….
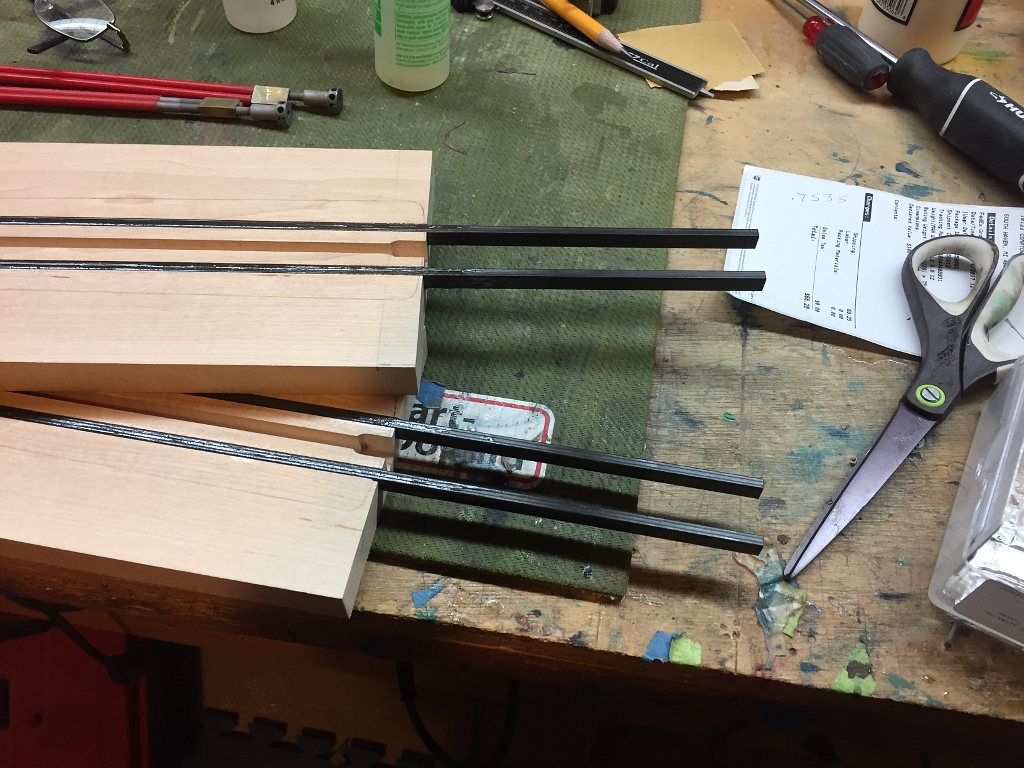
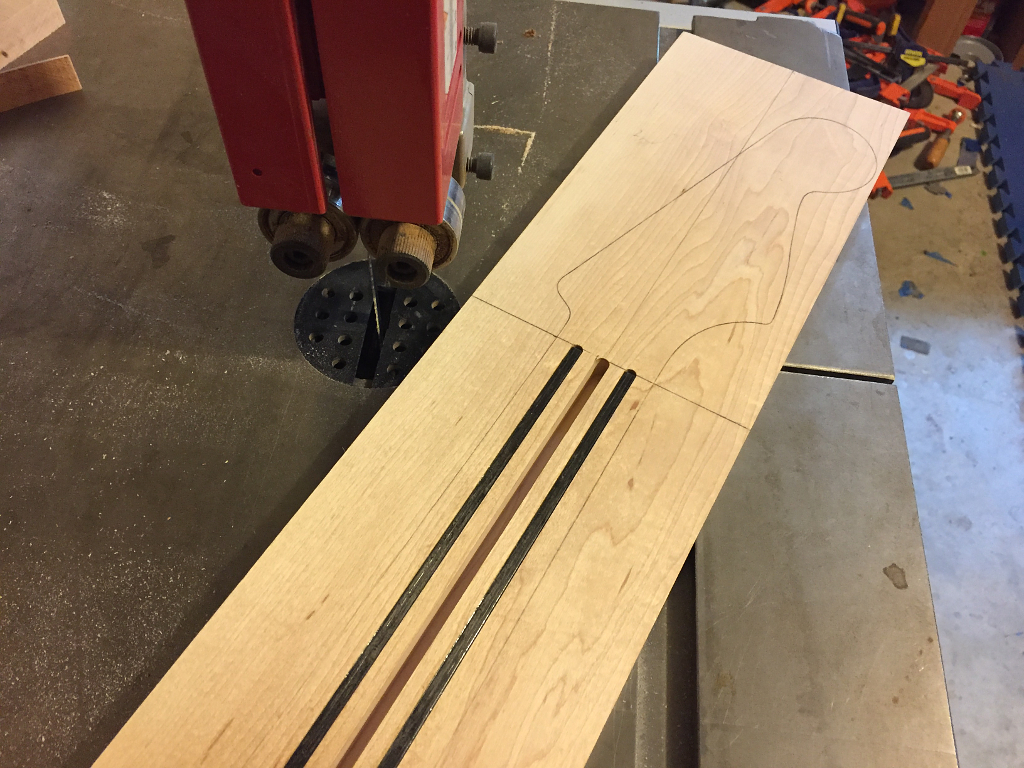
Once the epoxy has cured I cut off the extra length of carbon fiber using a hacksaw. Carbon fiber can dull almost any cutting tool instantly. I learned that lesson the hard way with an expensive band saw blade a couple years ago. I can replace a hacksaw blade for less than a dollar, but the band saw blade was about a $200 dollar loss. Thats a mistake I wont make twice 🙂
Rough cut the neck on the band saw
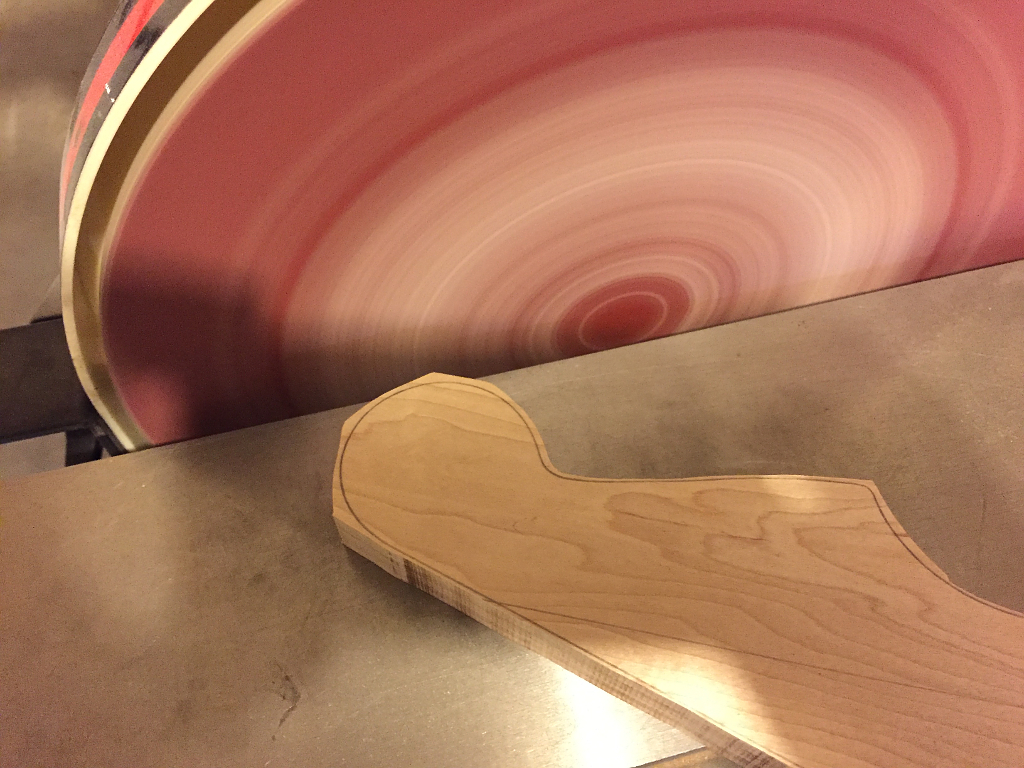
and sand it right down to the line with the disk sander at the headstock and heel. I only want to leave a sliver for the router to shave off because trying to make a deep cut with a router spinning at 20,000 rpm into end grain, especially on hard wood like maple, can launch the neck across the room and damage it, (or damage me!)or split the wood.
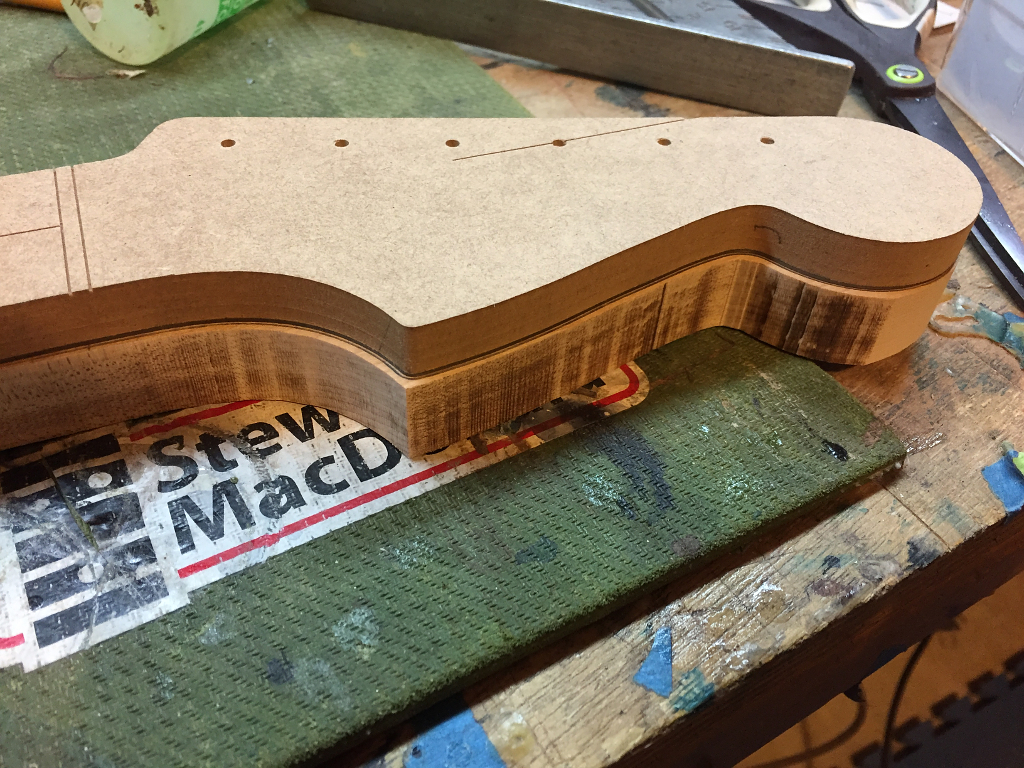
Attach the routing template to the neck
and away we go. As before, the bearing on the router bit follows the template edge and matches the wood perfectly to the shape of the template.
I can now mark out where the tuners will go
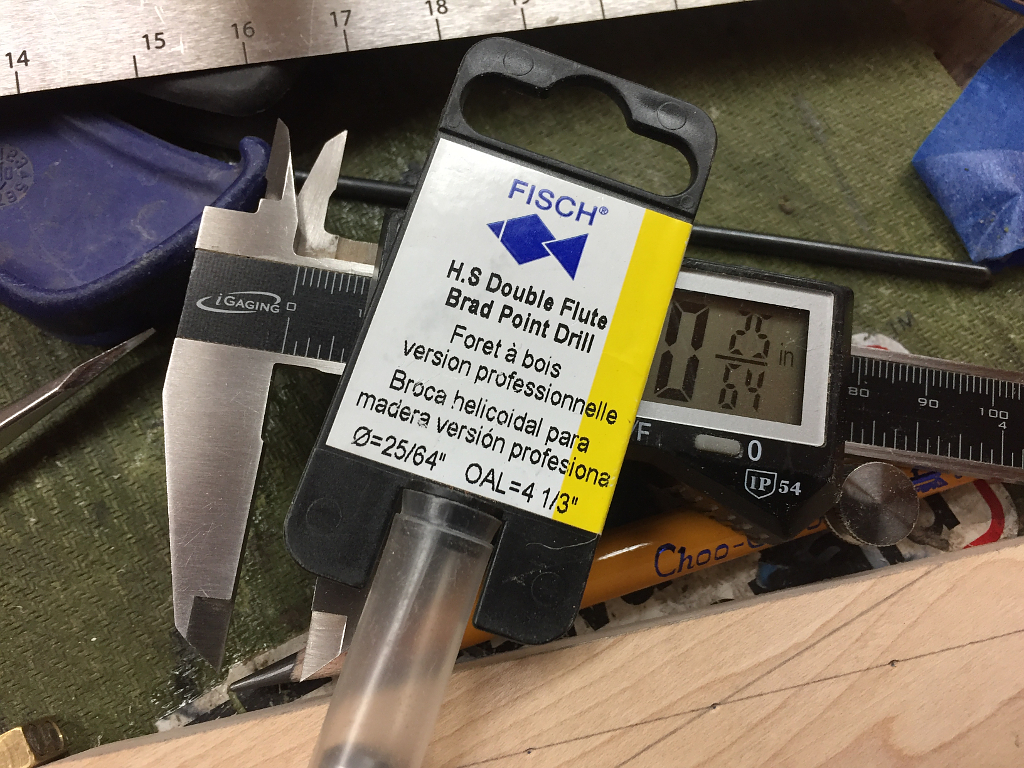
the width of the hole needed can be different from one brand of tuner to the next so I have to check this against the tuners I’m using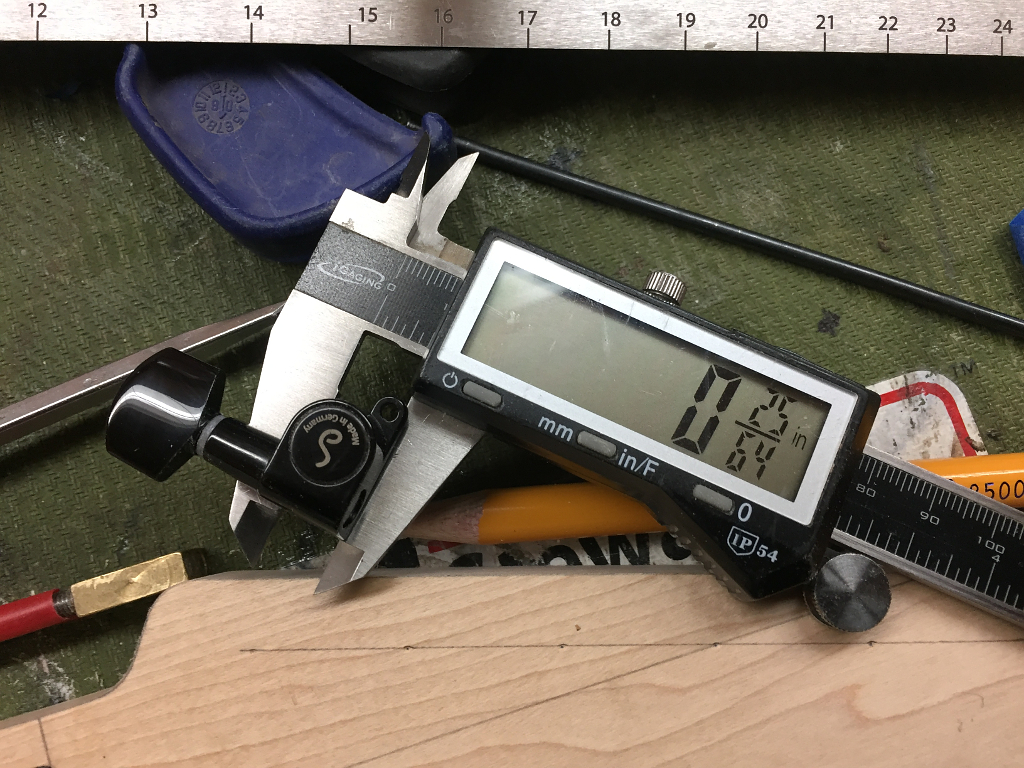
so I use the correct drill bit.
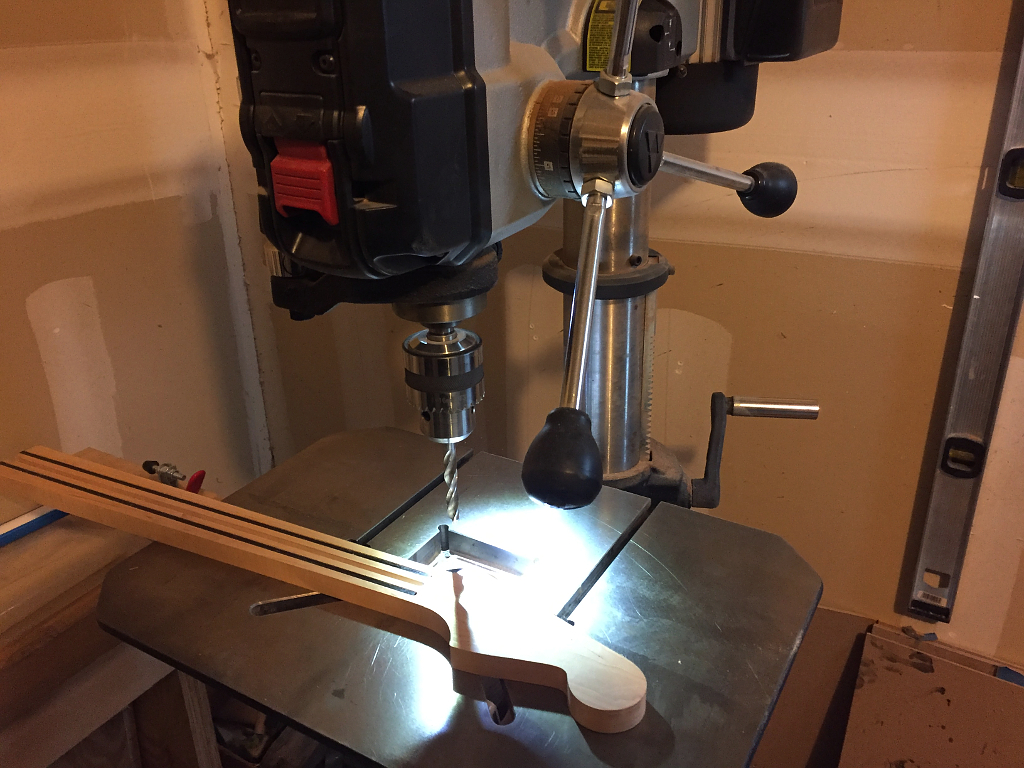
Onto the drill press…
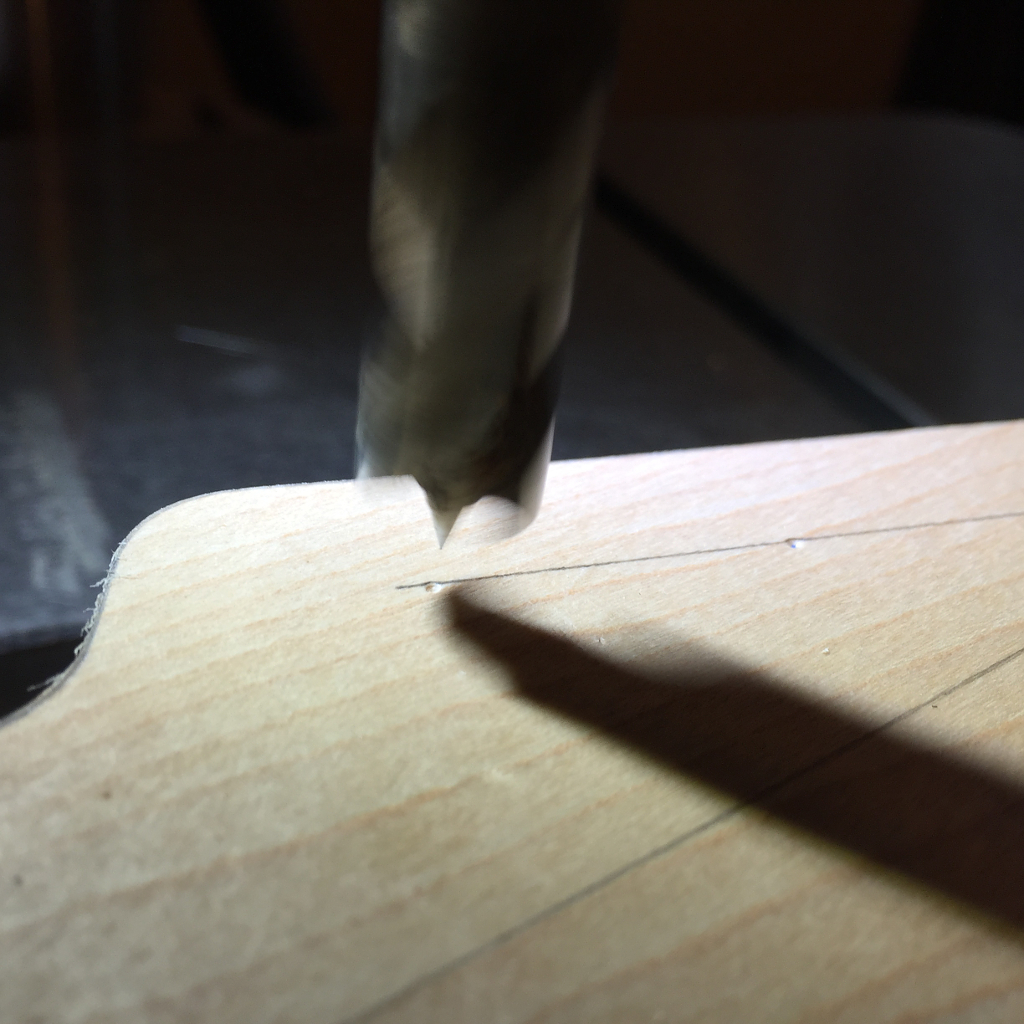
the brad point drill bit allows me to position the hole very precisely
and here we are. This is as far as I can take the necks at this stage. Next week I’ll start making the fretboards. Once I have them finished and glued on then I can reduce the headstocks down to the correct thickness, and once thats done I can carve the necks,
So, every good guitar has a story 🙂
For most people that story starts when they buy the guitar, but in a case like this the story starts long before that while its actually being built.
Sometimes stories take unexpected detours, or even go backwards a step before moving forward again.
A bit of history to explain. The templates I use to make Stratocasters were made by me personally directly from an original 1962 Stratocaster body and neck. They were 100% accurate in every dimension and spec, or at least as accurate as I could make them. If its off by any amount, its measured in a couple thousandths of an inch and certainly not by an amount thats detectable to the human eye…
Sadly, last year the neck template got destroyed (router accident). I still have my body template, but the neck template is toast. I no longer have access to the original Strat I used to make my original templates, so I bought a new pre-made neck template 6 months ago. At first glance it looked fine to me and I didn’t think anything of it until I built the necks this past weekend, and the more I looked at them the more they didn’t feel right. Felt funny, or out of balance to me.
Fortunately for me, when I built my last Strat 2 years ago I made two necks. The first one I made the headstock about 1/16″ thinner than I wanted so I set that neck aside and made another. The first one has been in my basement for the last two years. I never even carved the back of it so it was still flat and square on the bottom (which turned out to be a good thing). There was nothing actually wrong with it, it just didnt meet the spec I had been shooting for on that build, and of course it was made from my original 62 template so dimensionally it was perfect.
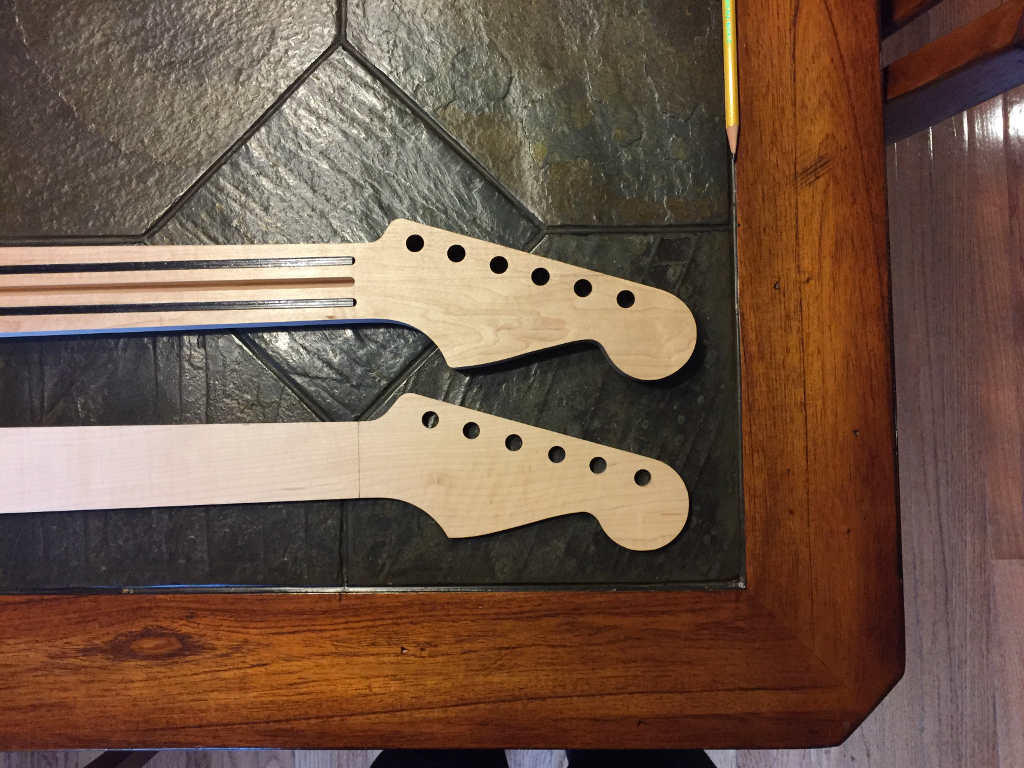
So I put the necks I just made alongside the old one and side-by-side the difference in the headstock was fairly obvious.
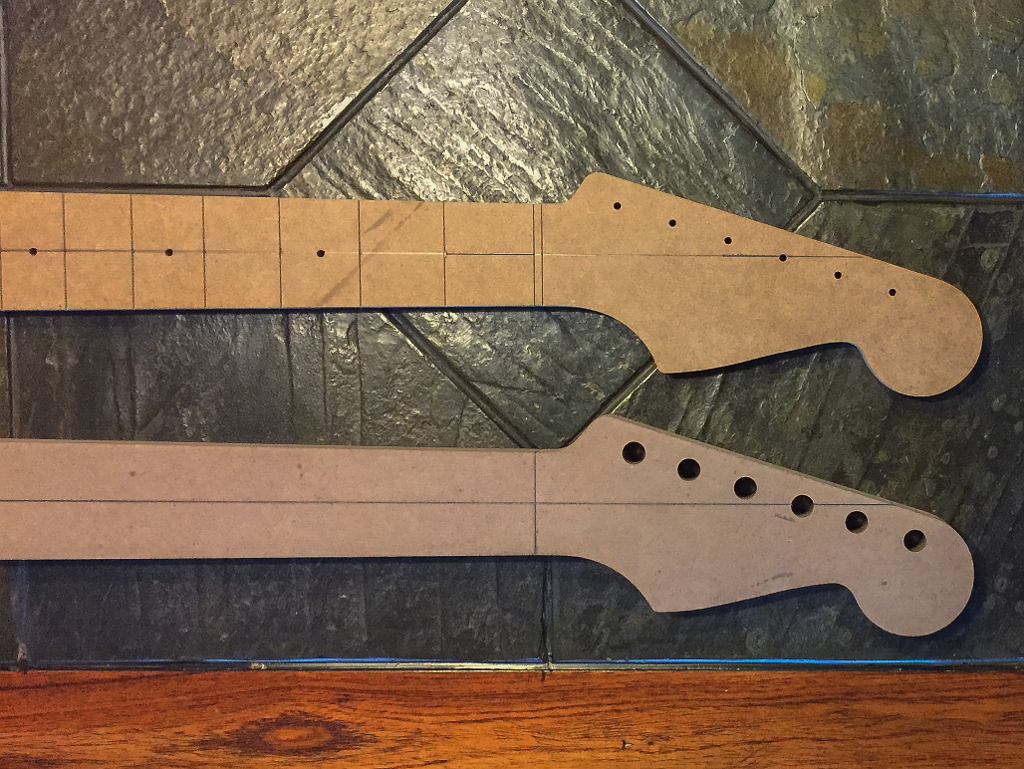
The new template has more headstock below the center line, its slightly longer, and the tuner holes dont go far enough toward the end of the headstock. Lastly, the curve of the edge from the nut to the headstock on the bass side was much more acute an angle than the old one.
To be clear, this neck would work perfectly fine. The differences wouldnt interfere with the function. Its the right length overall, the tuner holes will line up for straight string pull, etc. and I doubt your average joe would ever notice the difference, but I noticed, and if I noticed others will too.
Long story short, the first pair of necks I made are now firewood. I made a new template last night using the old neck as the pattern and I will be making both necks again from scratch. So thats where I take a step backwards in order to move forward again 🙂
Here is the “off” template (top), and the new template (bottom). The new template is dimensionally identical to my original 62 template, so now I can re-create the necks and feel confident that the guitar I’m building meets the spec that I want. These things matter 🙂
Heres where I got the pattern for the new template. I put the old neck on my band saw and took a clean slice directly off the uncarved bottom of the unused neck that had been made from my original 62 template. Had to be careful I didn’t make the slice too thick or I would have cut into the truss rod and carbon fiber and ruined my band saw blade, but if I made it too thin I wouldn’t be able to ride a router bearing along the edge to cut the new template. I attached the slice to a piece of MDF and threw it on my router table and routed it out. 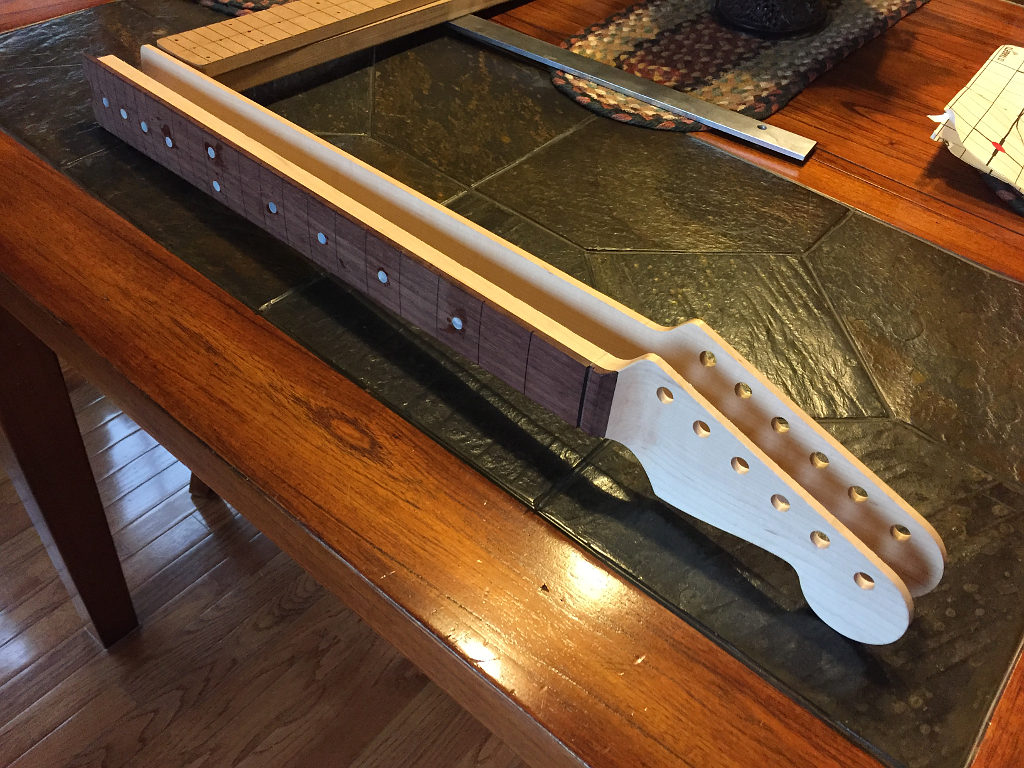
OK, back to the build. Having a nice new template I grabbed a couple more blanks. I made these at the same time I made the last batch, so they are well acclimated. Just need to flatten and plane these to final thickness just like I did the last two blanks.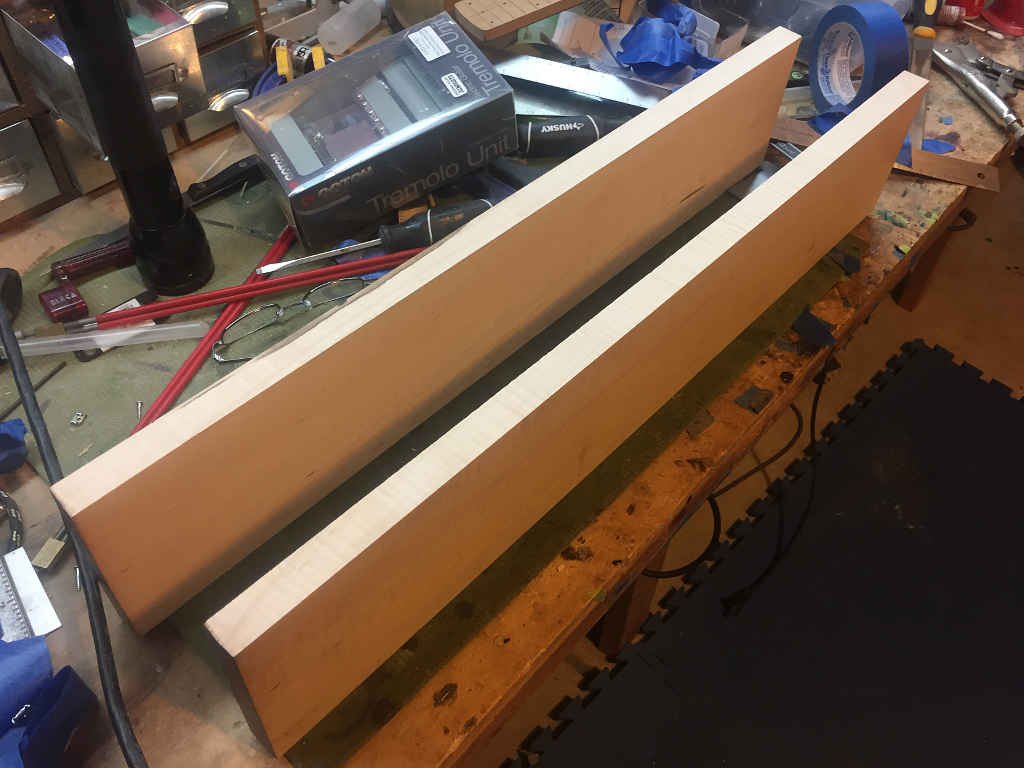
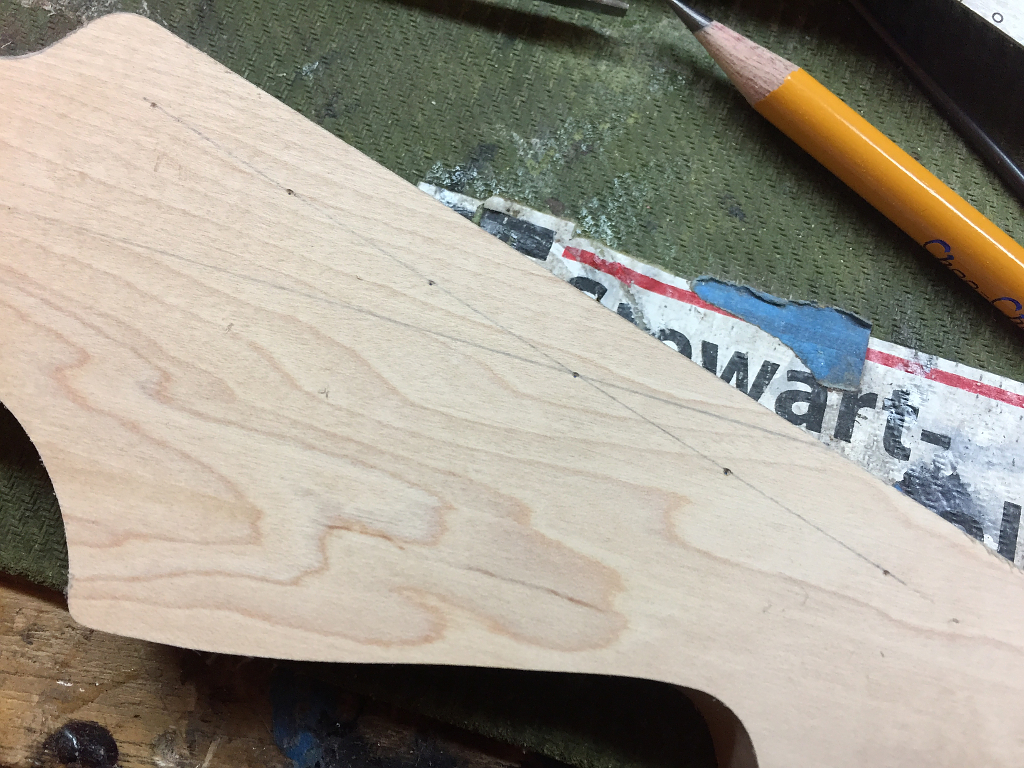
Once down to 0.75″ I mark the center line and trace my outlines…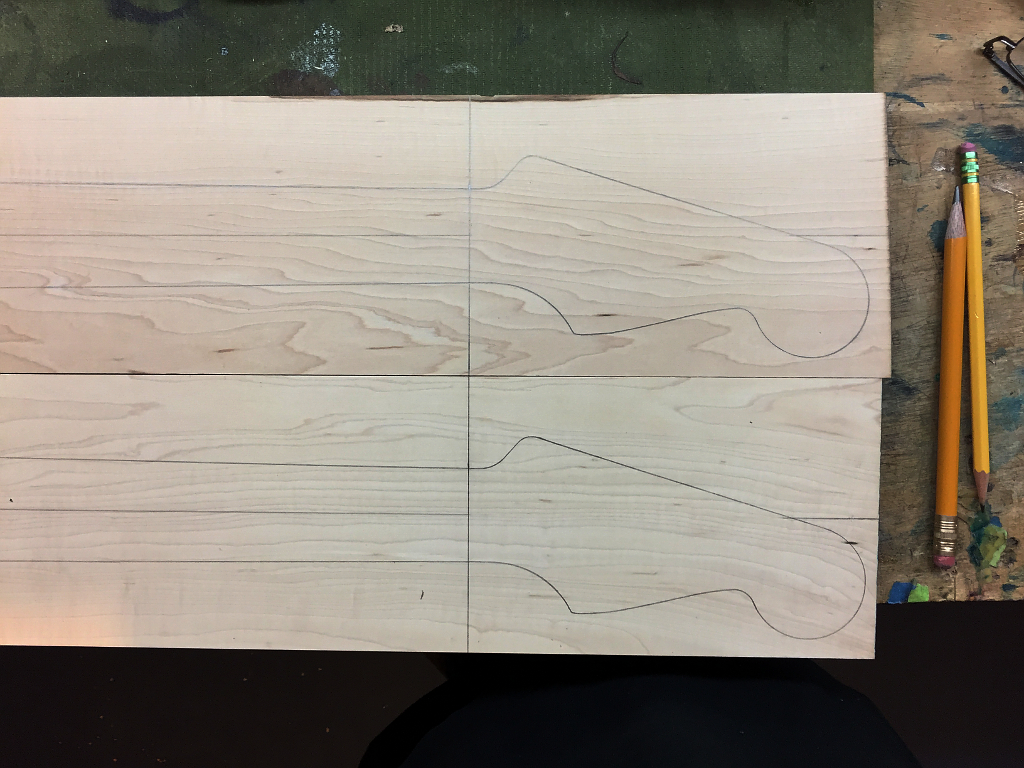
Unlooked for benefit. A bit of flame figure can be seen in the right light 🙂