OK, inlays!
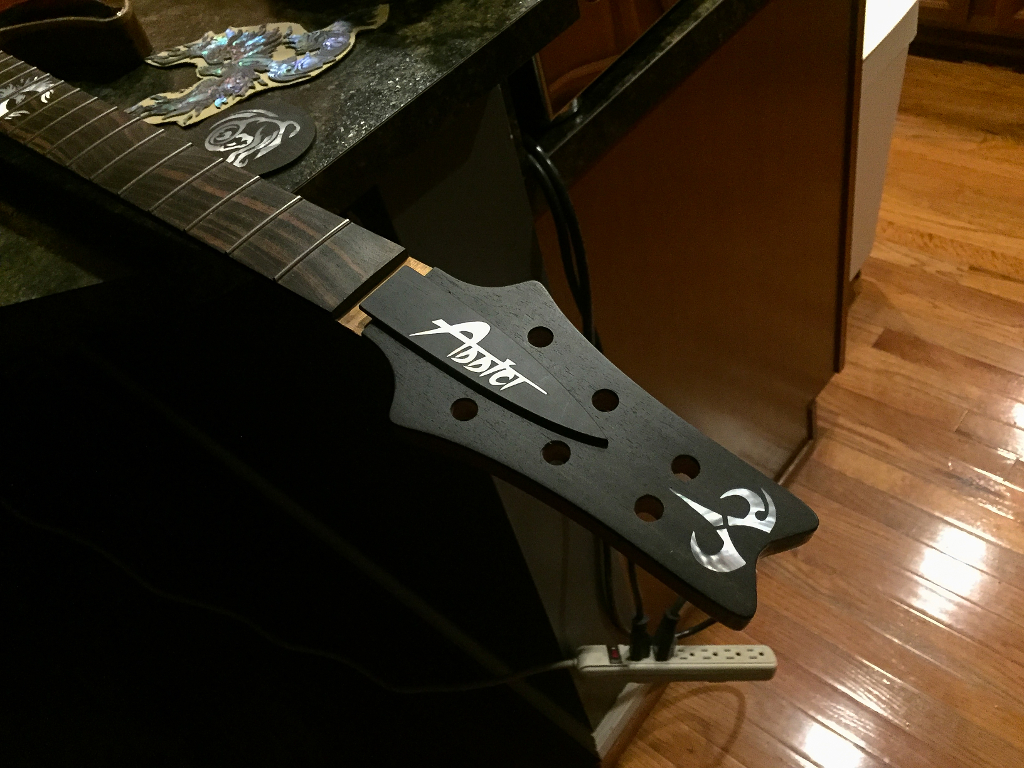
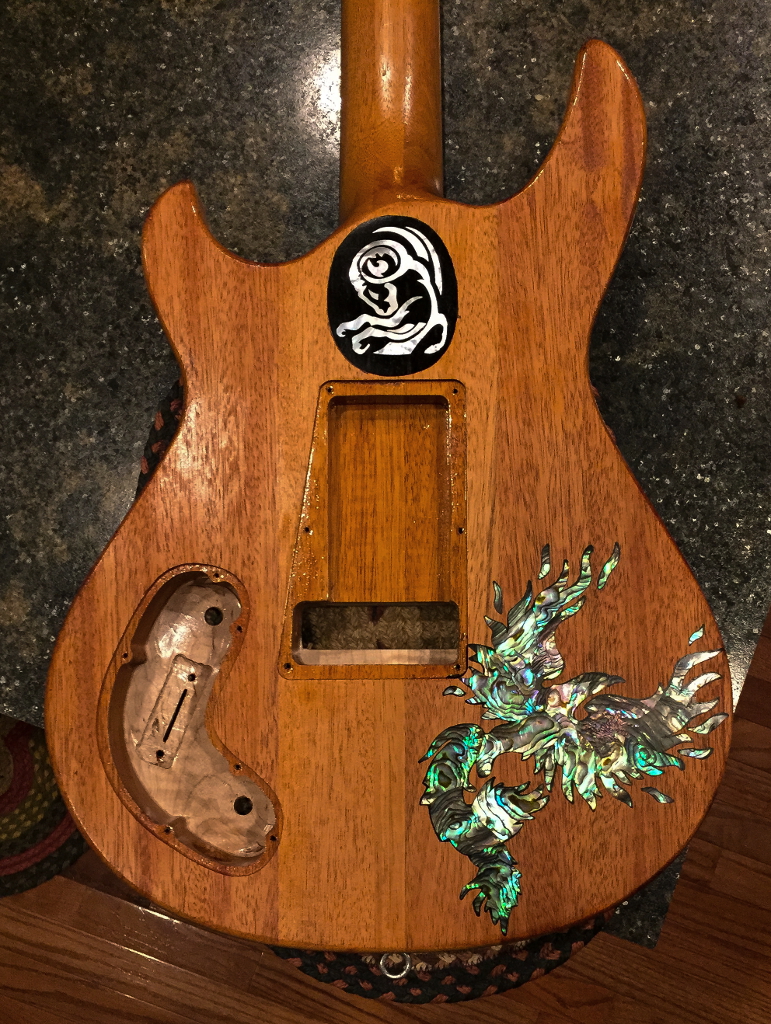
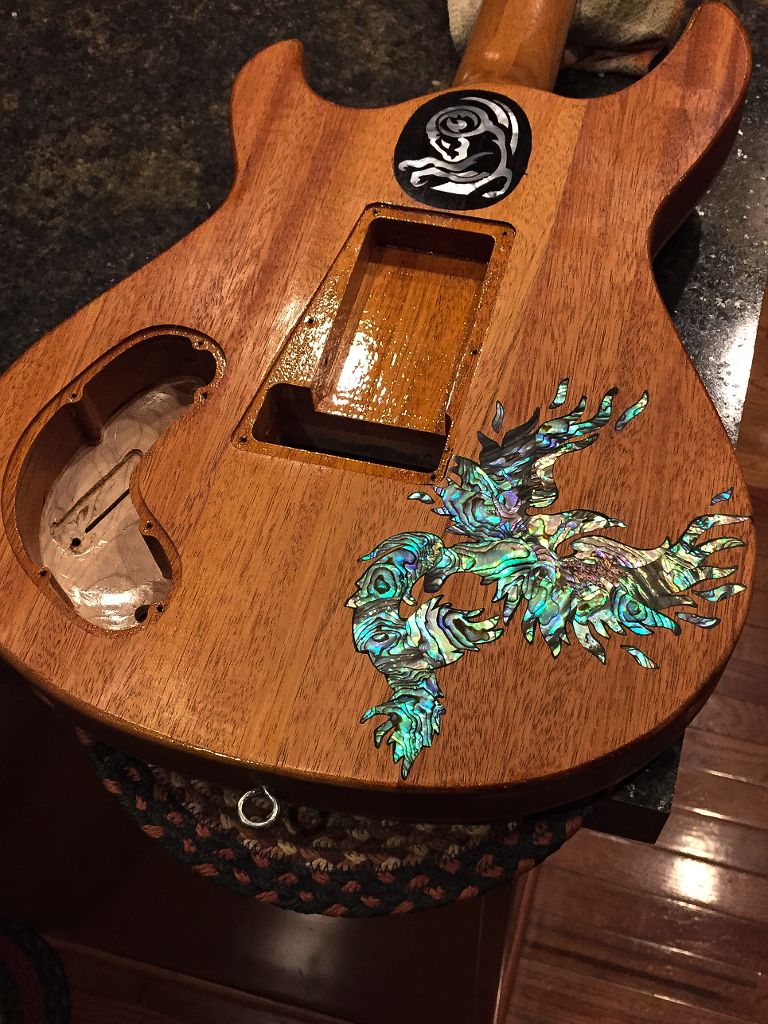
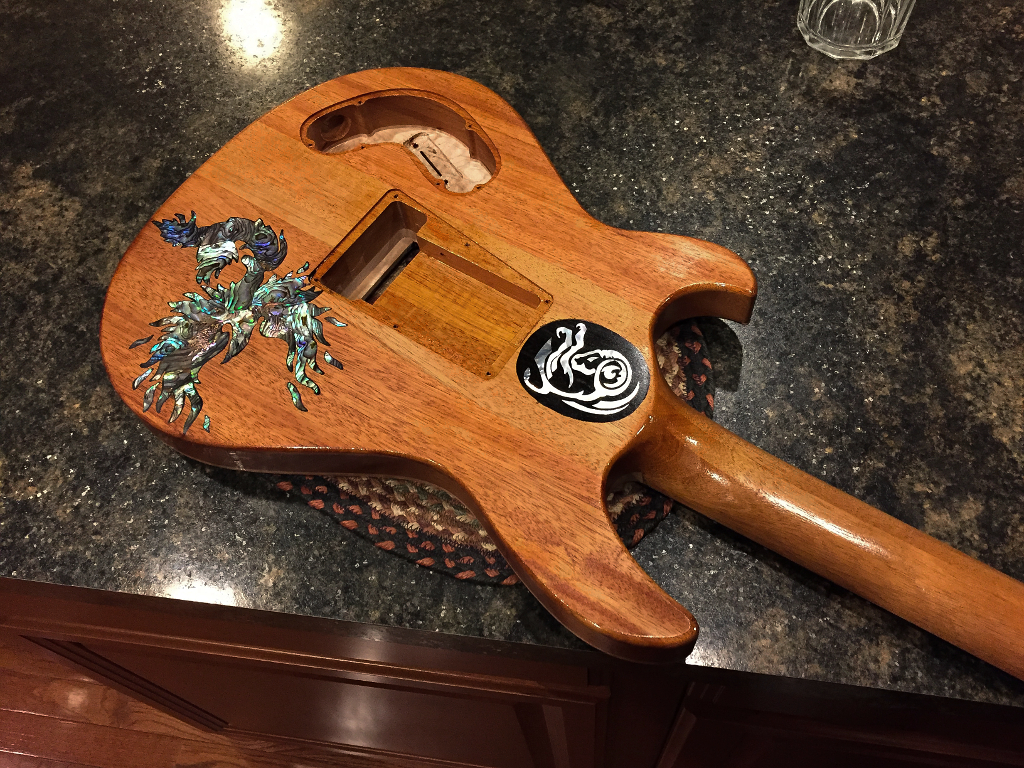
So some of this page is “out of sequence”. The actual sequence was the small Phoenix on the fretboard first when I built the fretboard. Next was the headstock Aries. Then inlaid the larger Aries into a disk of ebony, then the Addict logo on the truss rod cover, then inlaid the big phoenix on the back, and finally I inlaid the disk of ebony with the large Aries in the back. These were done at different points in the build process, not all at once.
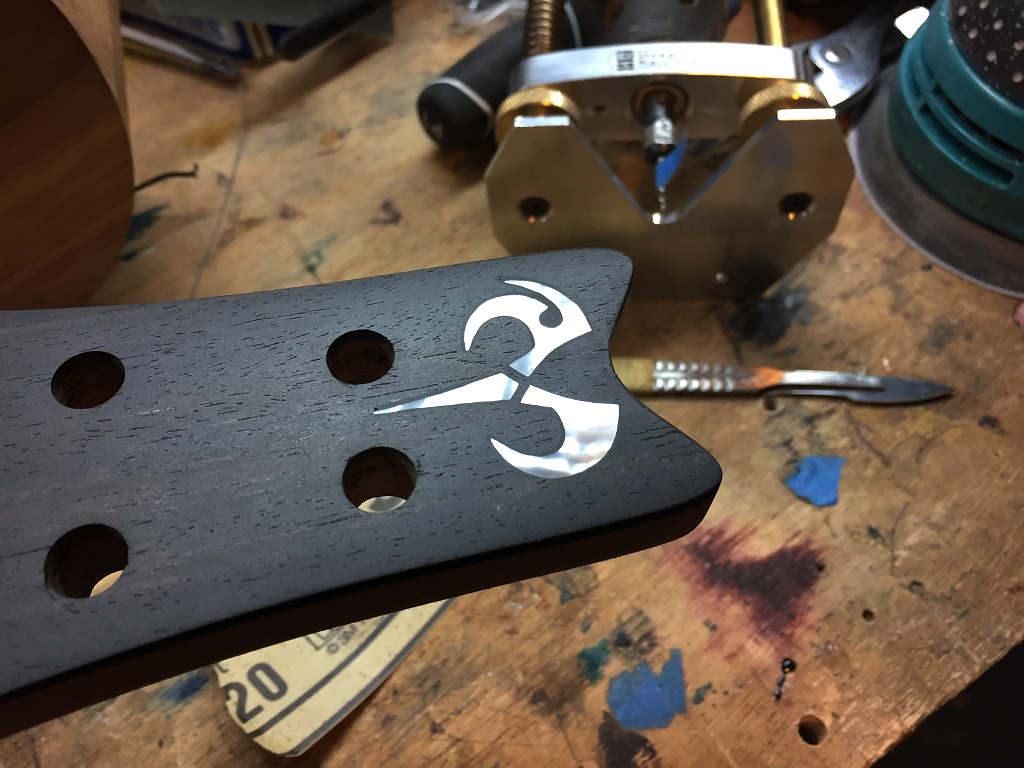
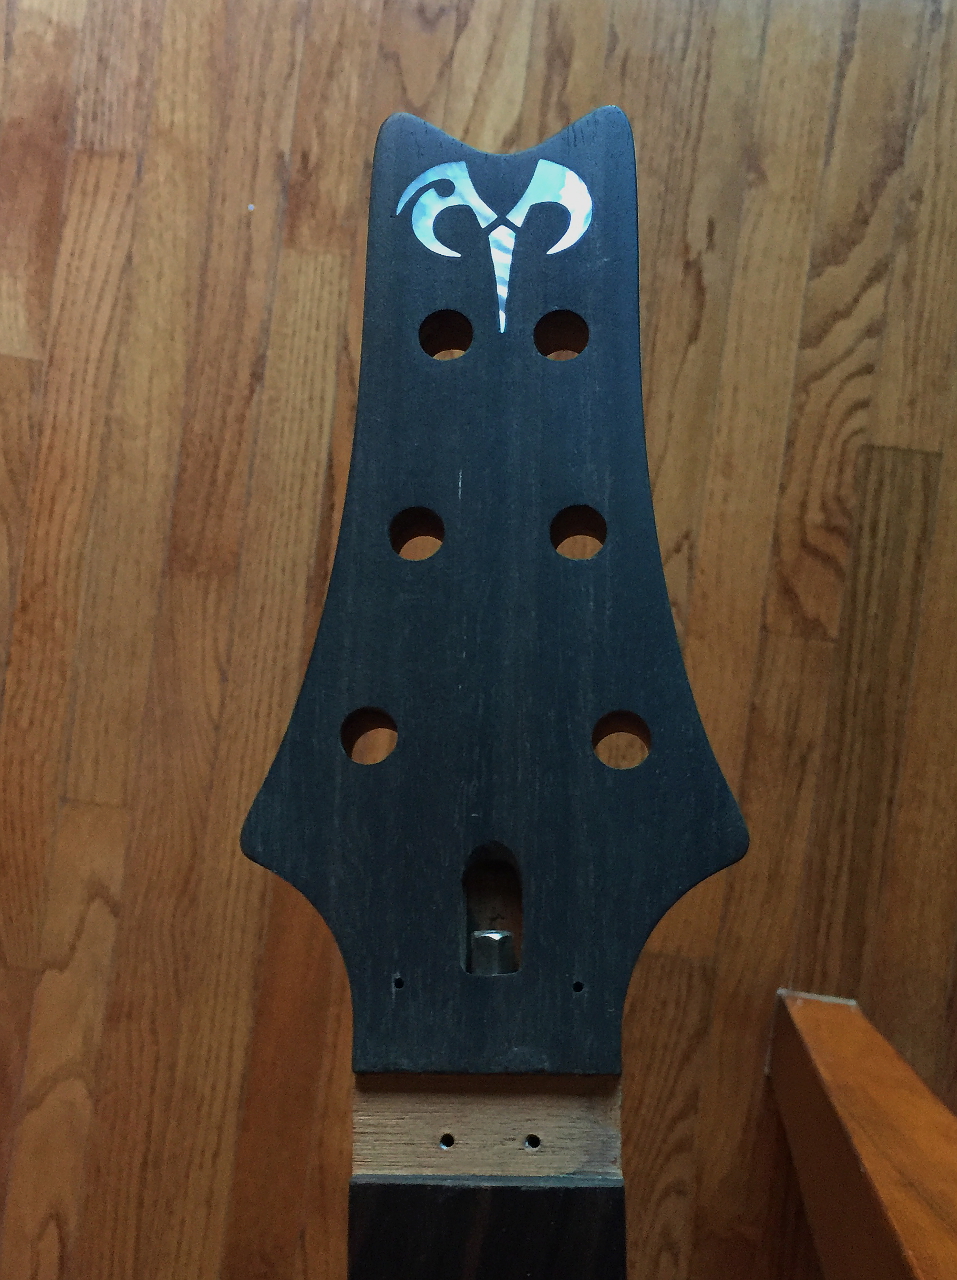
I’ll start here with the headstock Aries because I included more detail.
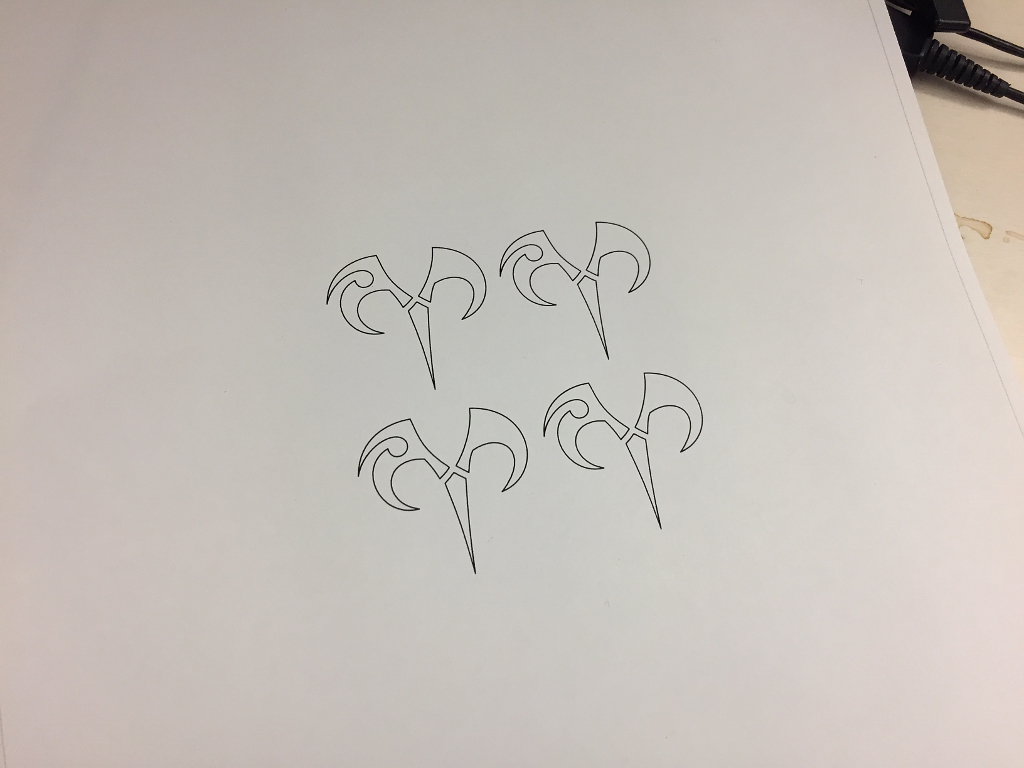
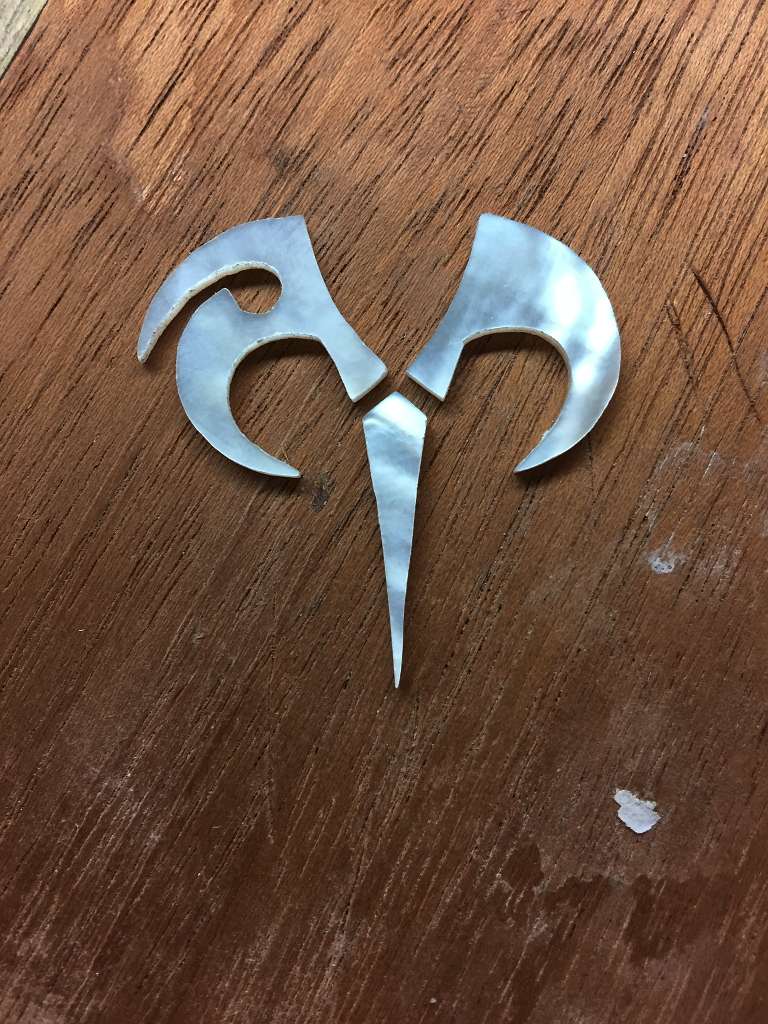
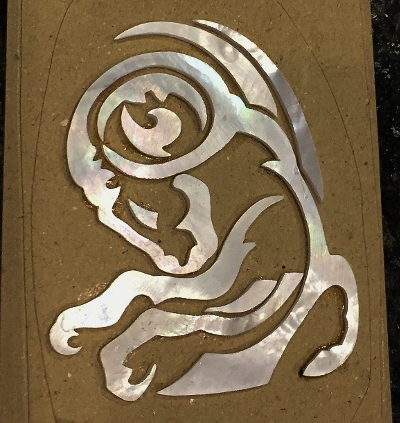
This is a simple tribal ram symbol meant to represent Chris’s zodiac sign, Aries. The larger one will be on the back.
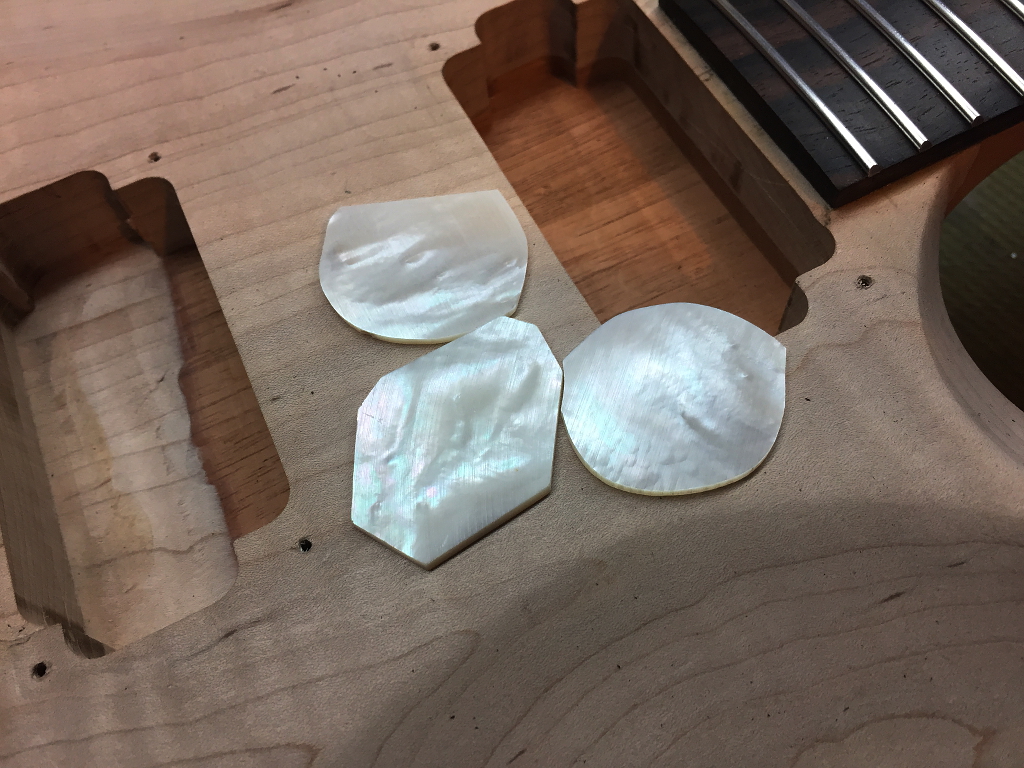
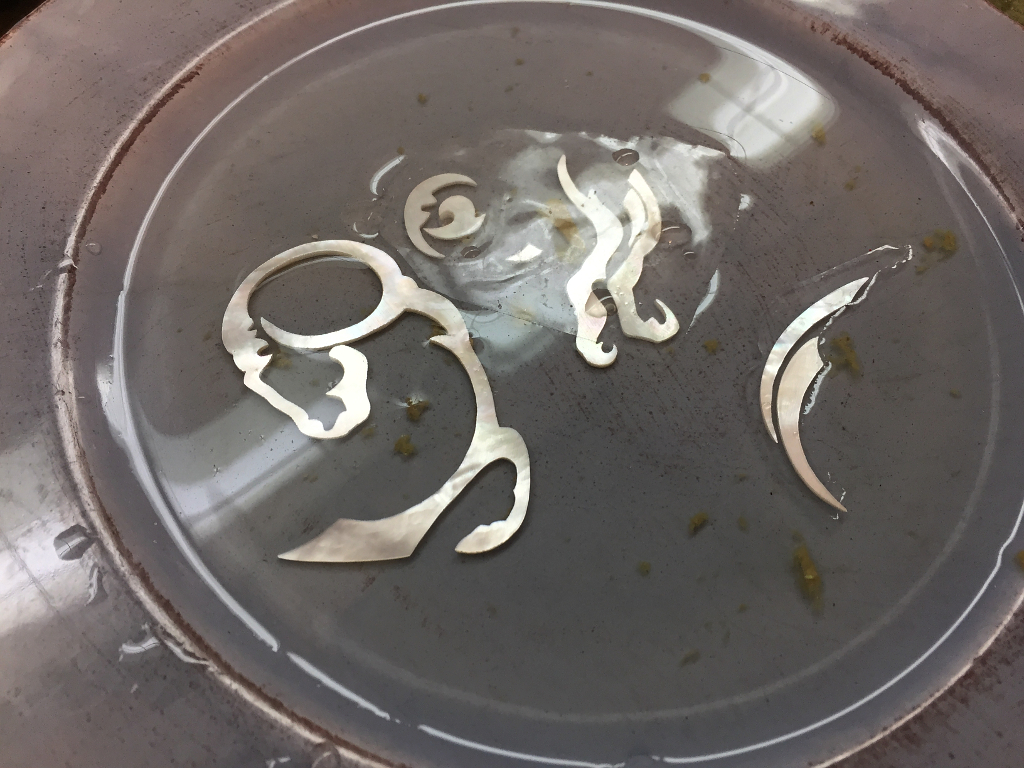
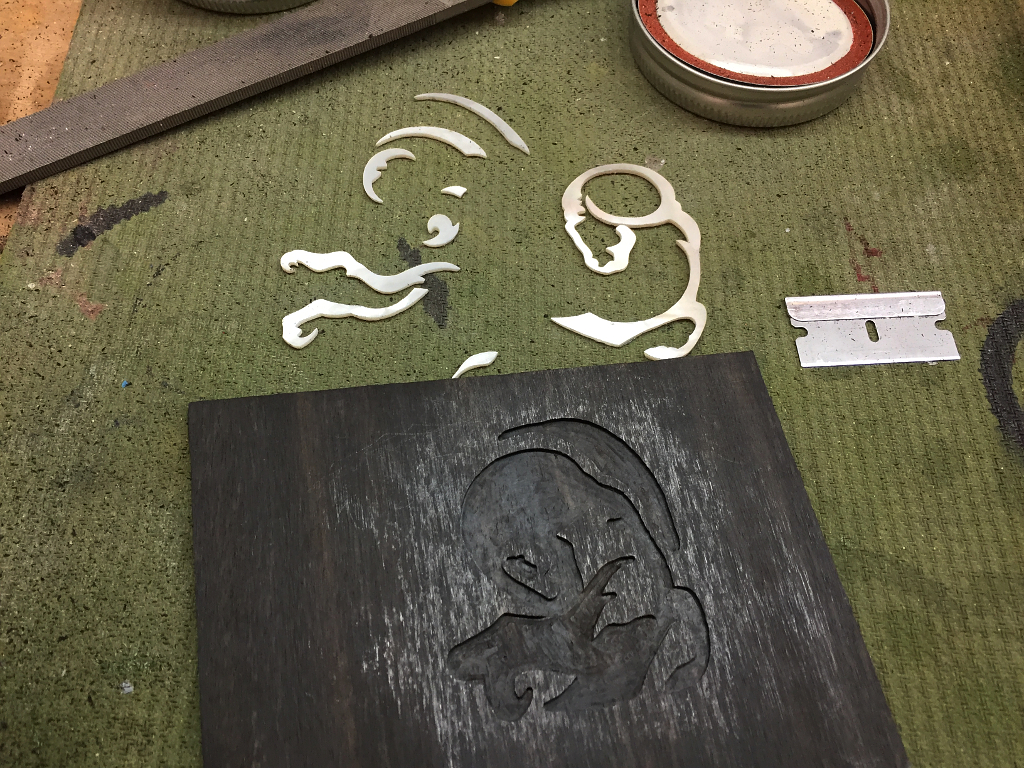
I start out with some pearl blanks. These are pieces from the shell of a Pearl Oyster that have been cut out from thick parts of the shell and ground flat on both sides. Oysters produce a substance called “Nacre” which they use to create the inner lining of their shells. Thats what these shell pieces are. Another thing the oyster uses the nacre for is to protect itself from sand, grit, and other irritants by coating them with this same nacre. Thats what a pearl is. A piece of sand, rock, shell, etc that got inside the oyster and was subsequently covered by nacre to protect the oyster.
So as you can see, while these shell pieces are called mother of pearl, they are actually, quite literally made of pearl.
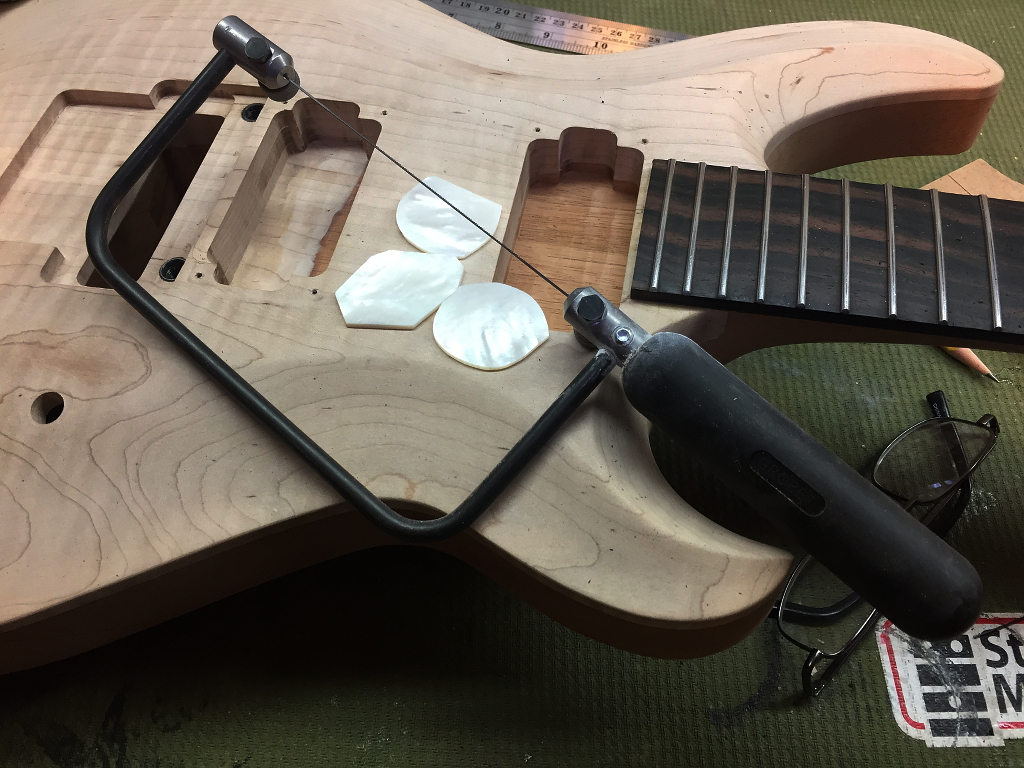
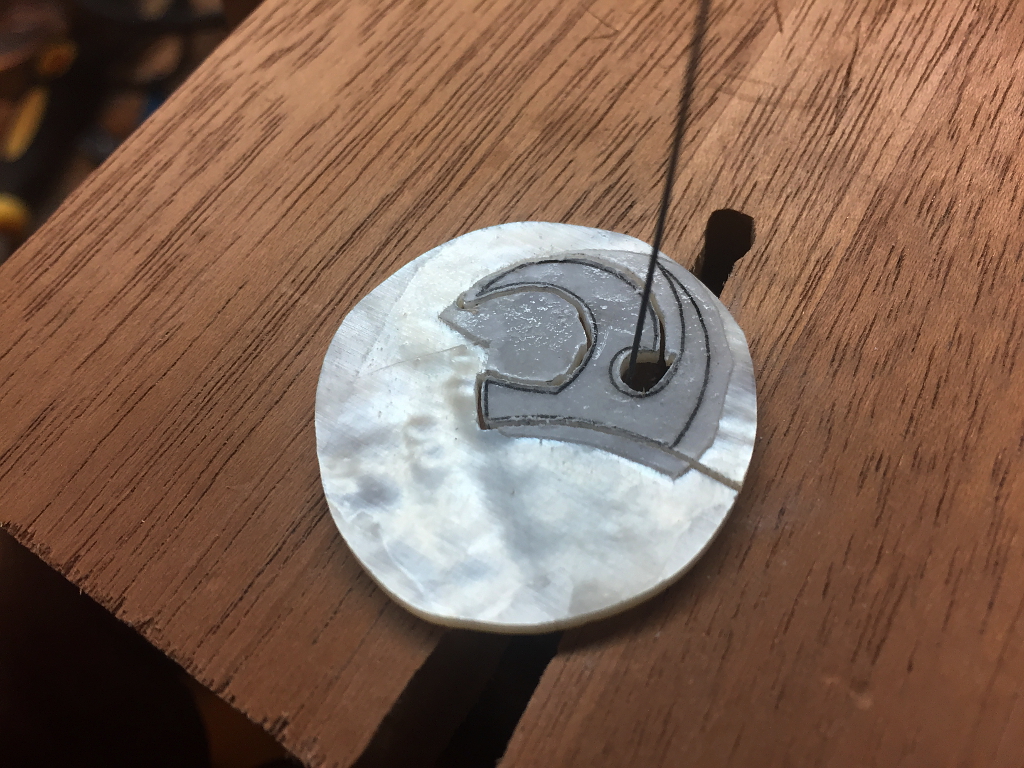
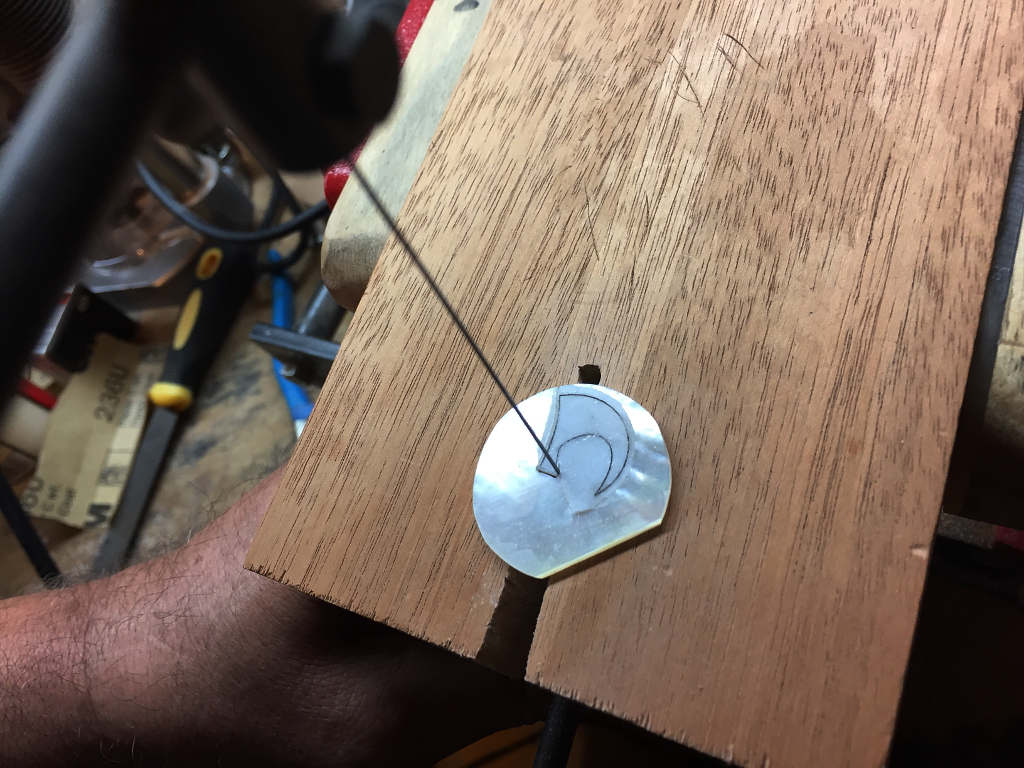
This is a jewelers saw that I use to cut the pearl.
I draw up the design in CAD and print it out. This is small so I put several on the same page in case I screw one up (and I did, too) and need to cut another.
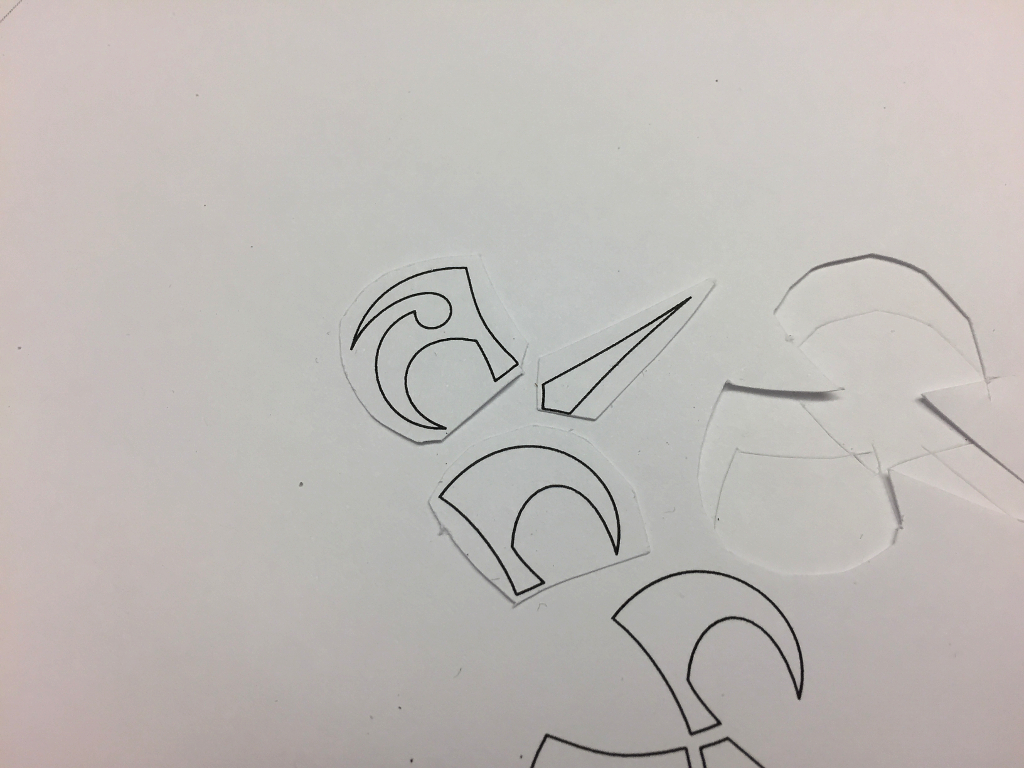
Cut out with a scalpel
I glue it right to the piece of pearl, and then cut it out with the saw.
Pretty much like sewing patterns are pinned to fabric and cut with scissors. Same exact idea, just different materials.
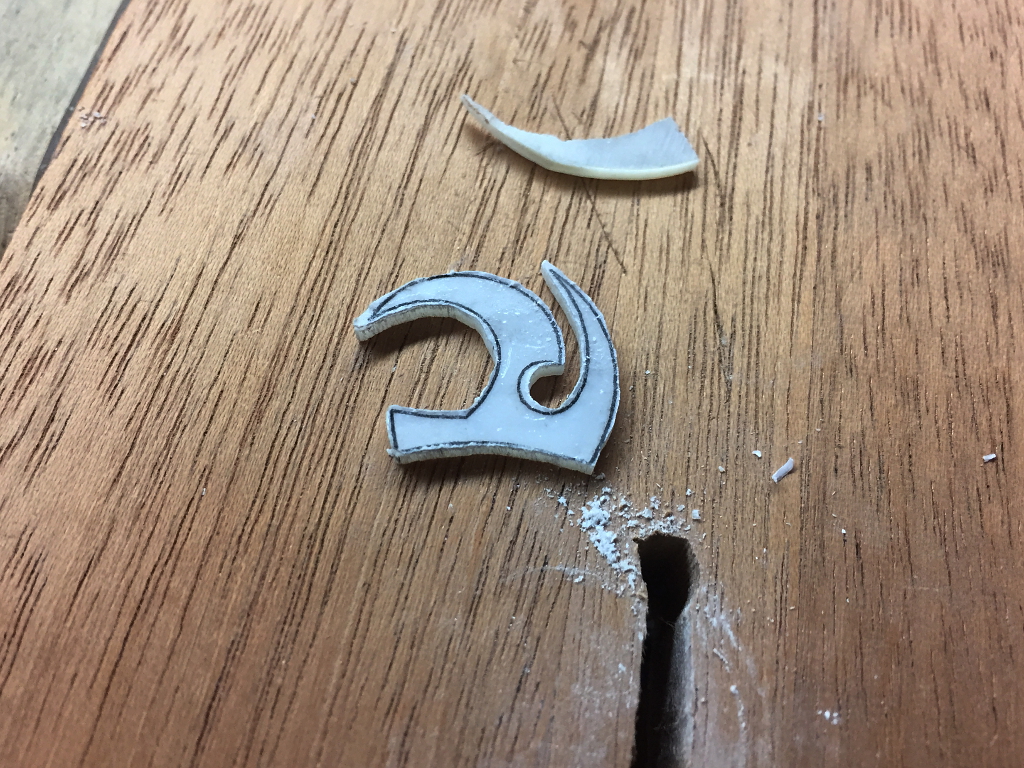
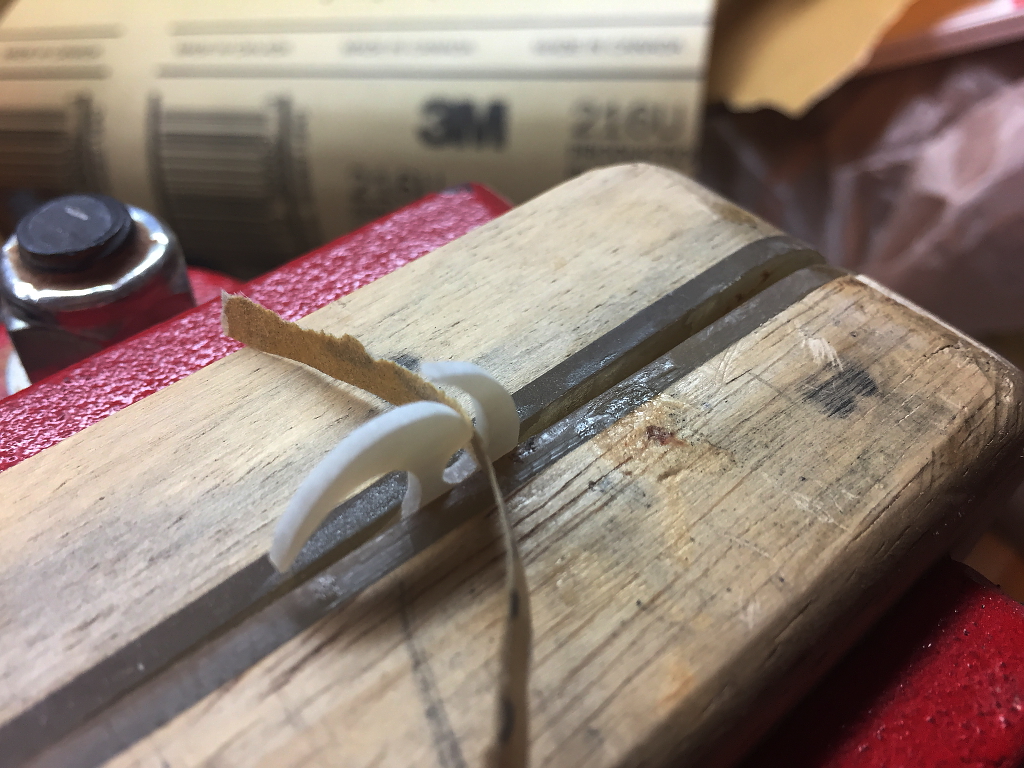
The edges are then ground down to the lines and smoothed up mostly with small needle files. Some spaces are just too small to get even tiny needle files into, so thin little strips of sand paper do the job.
Then the paper “pattern” is sanded off and Voila!
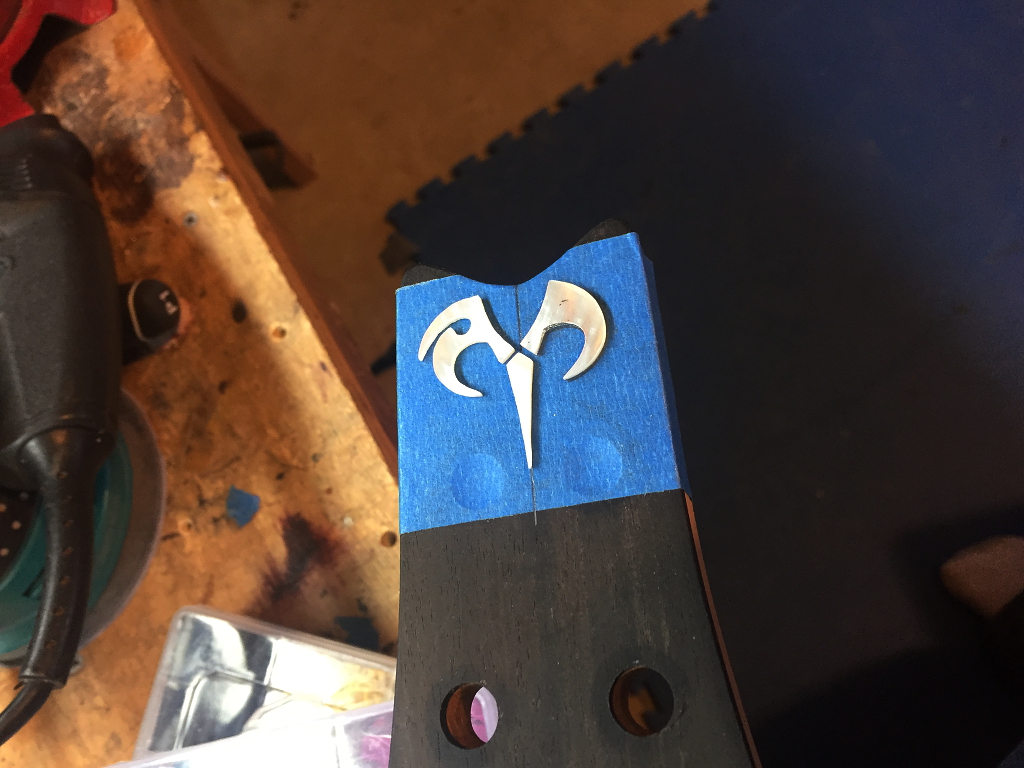
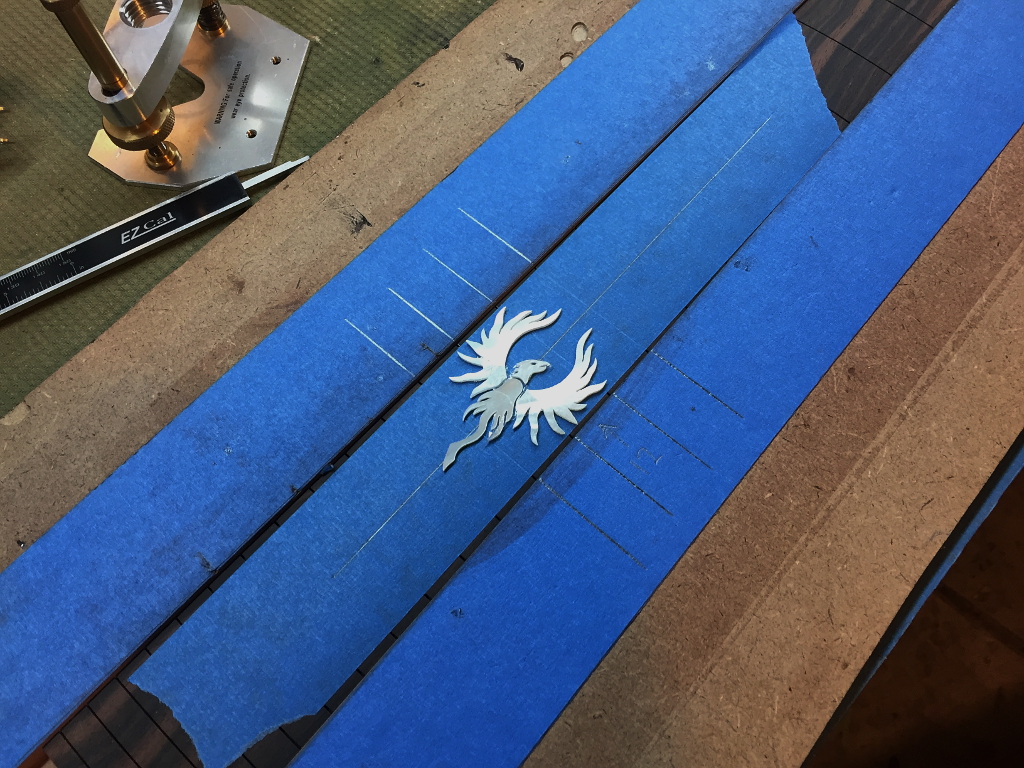
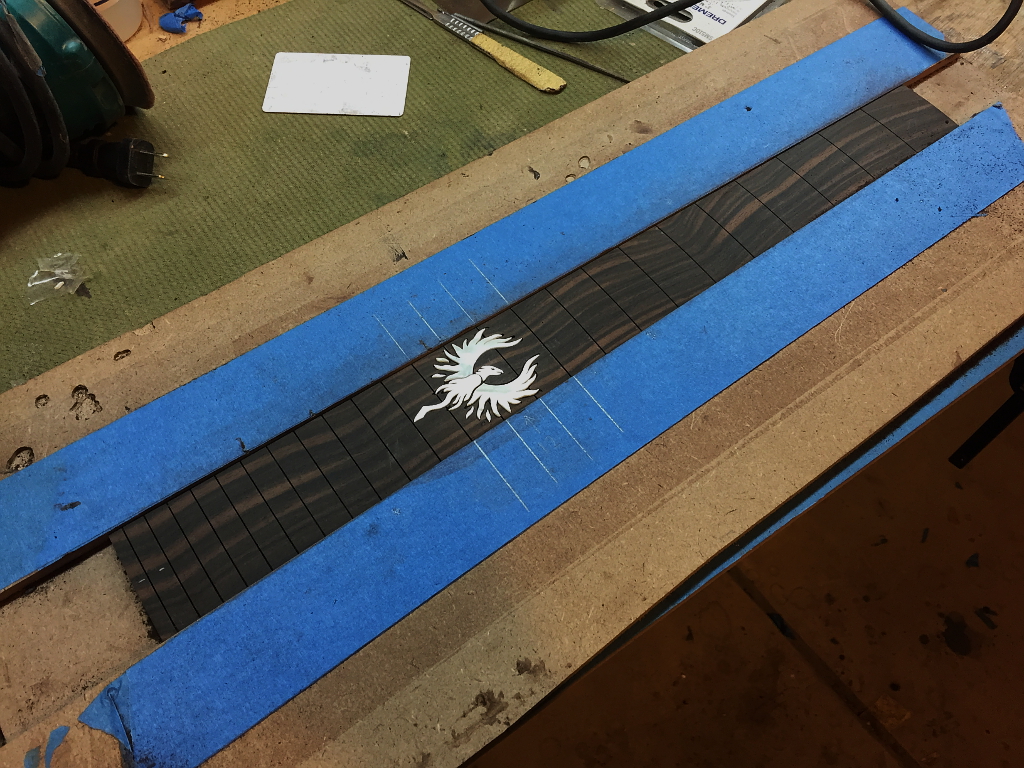
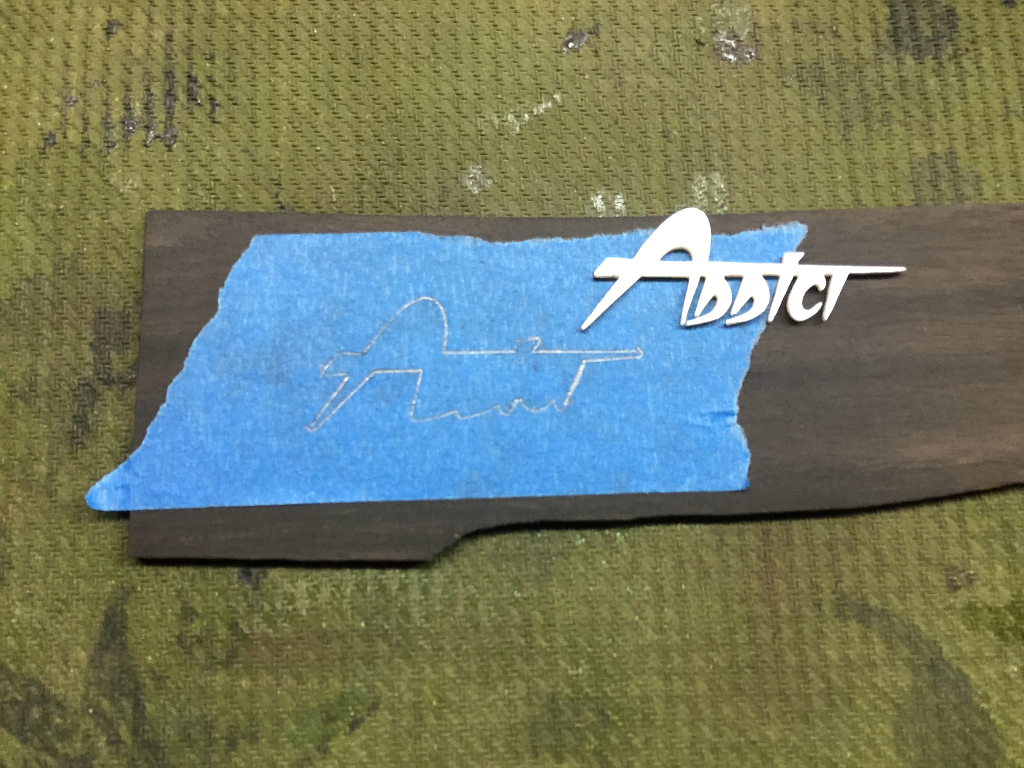
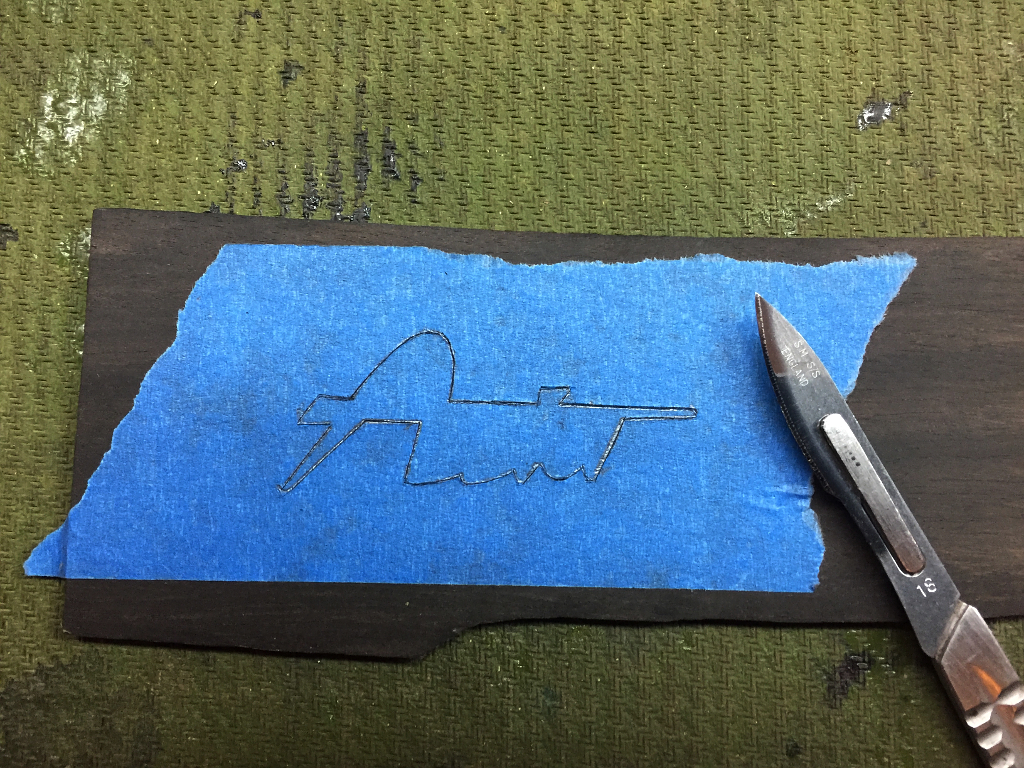
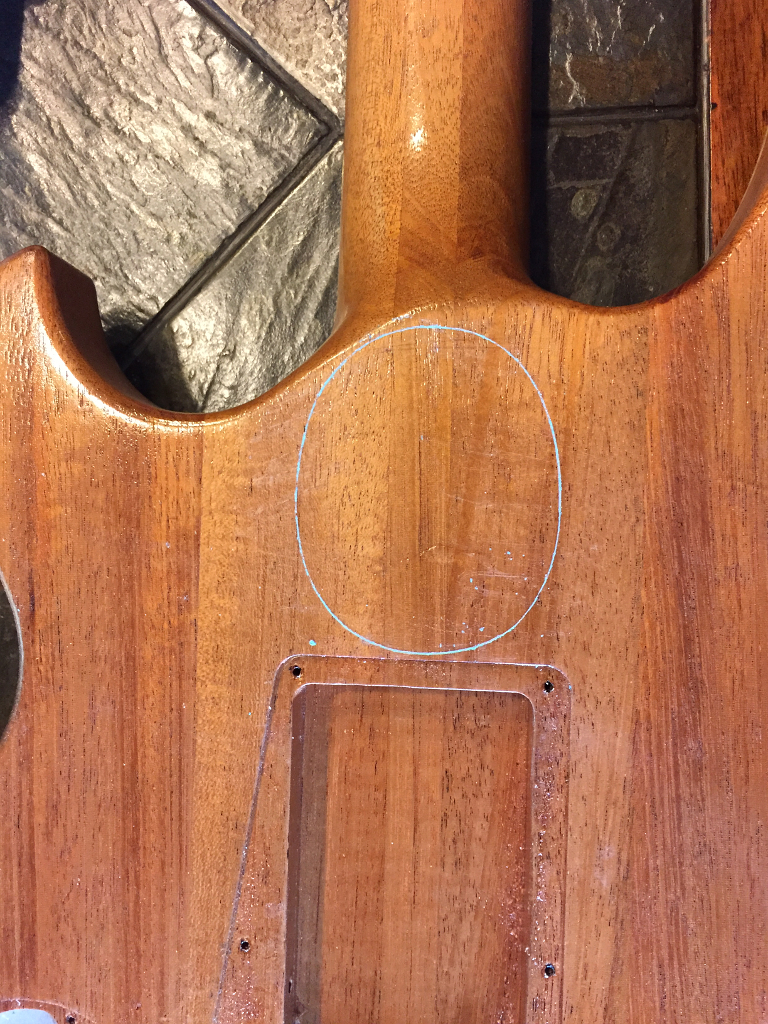
I put masking tape on the area I’ll be doing the inlay and set the pieces where I want them
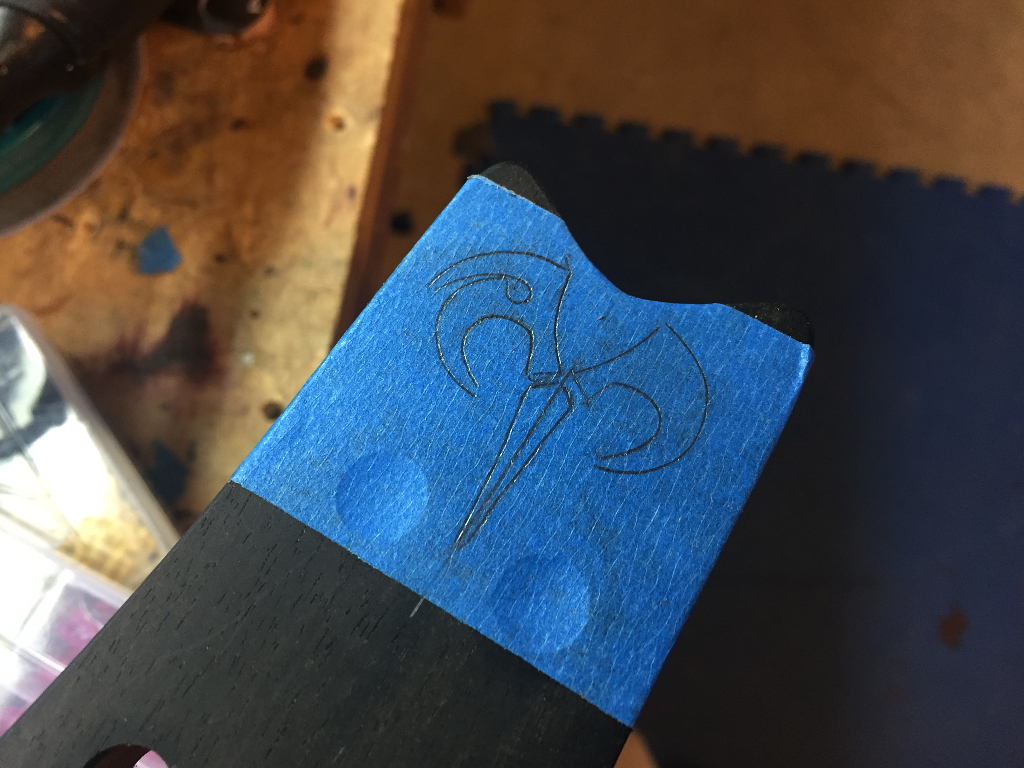
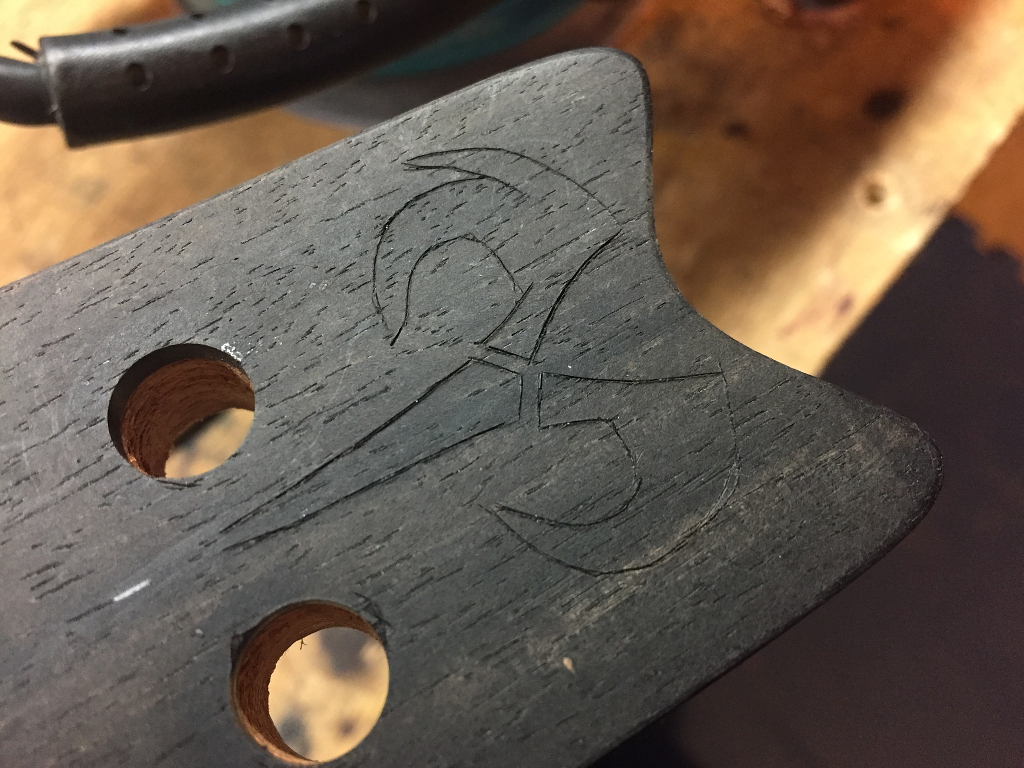
Trace around them with a pencil
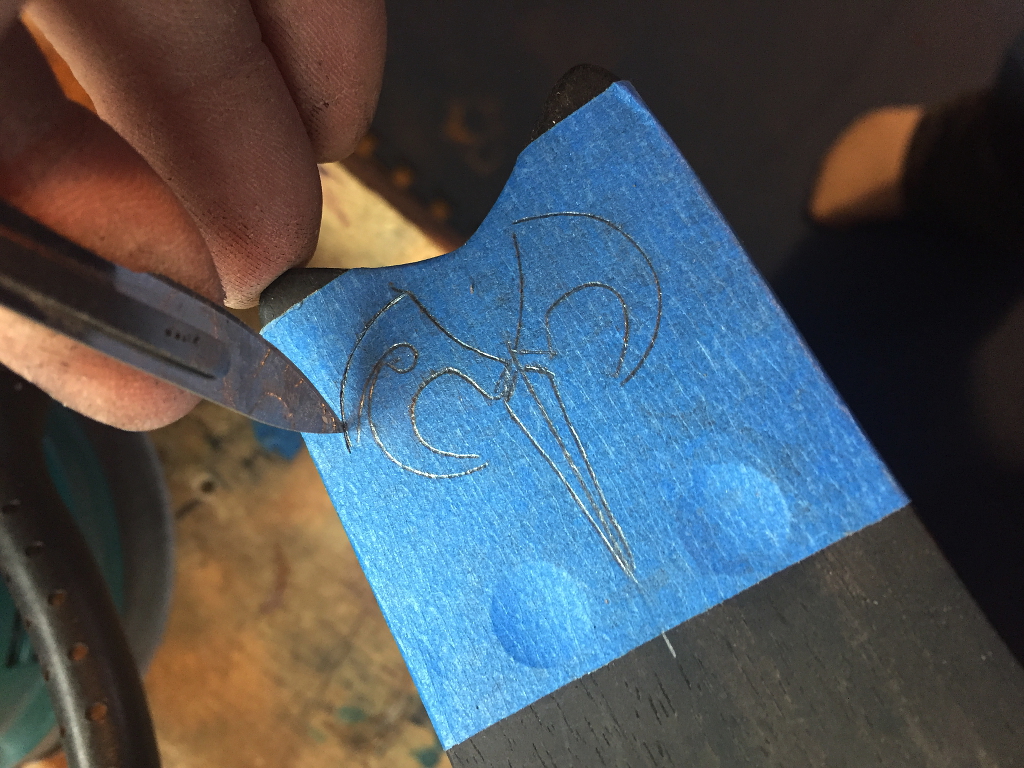
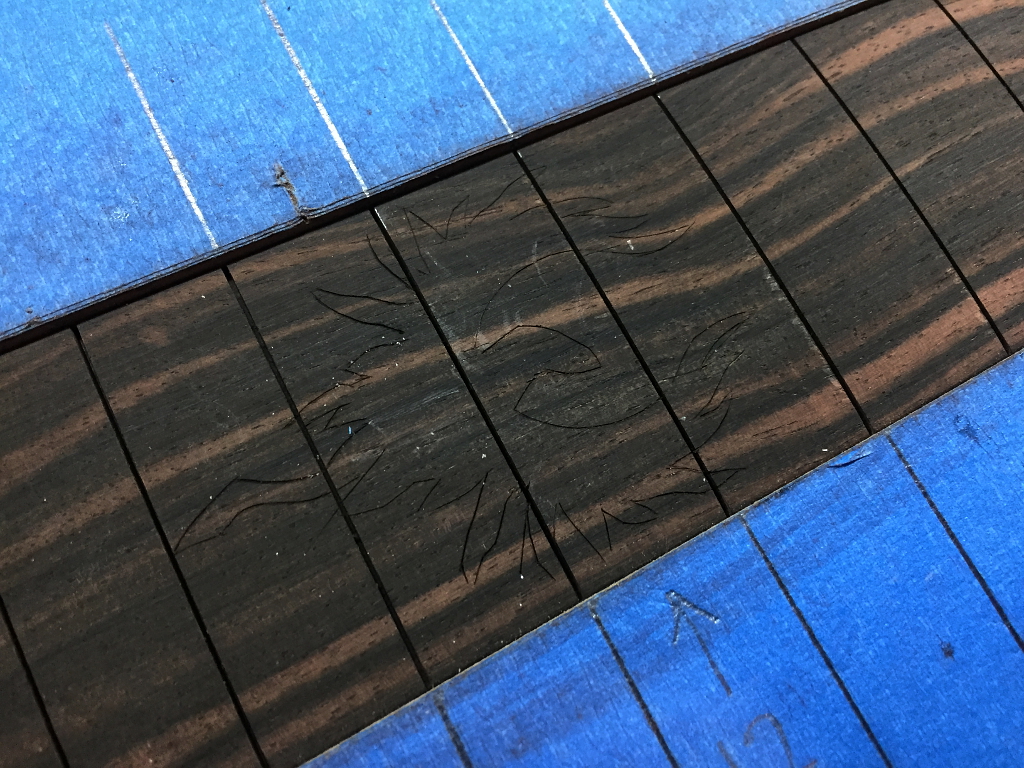
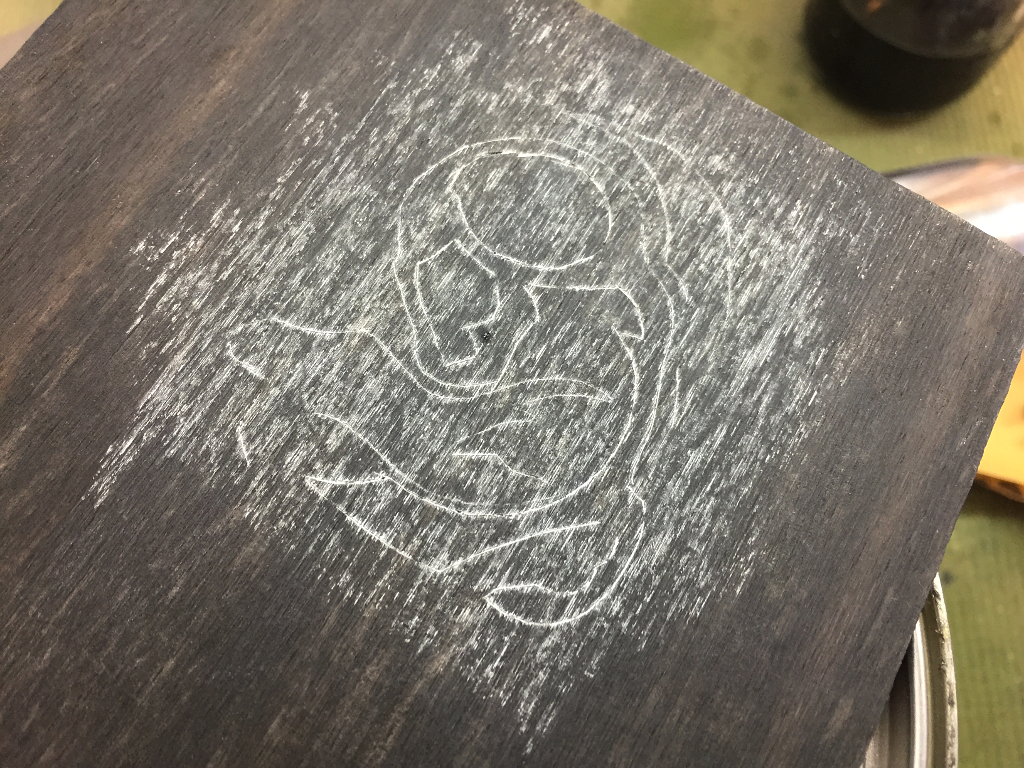
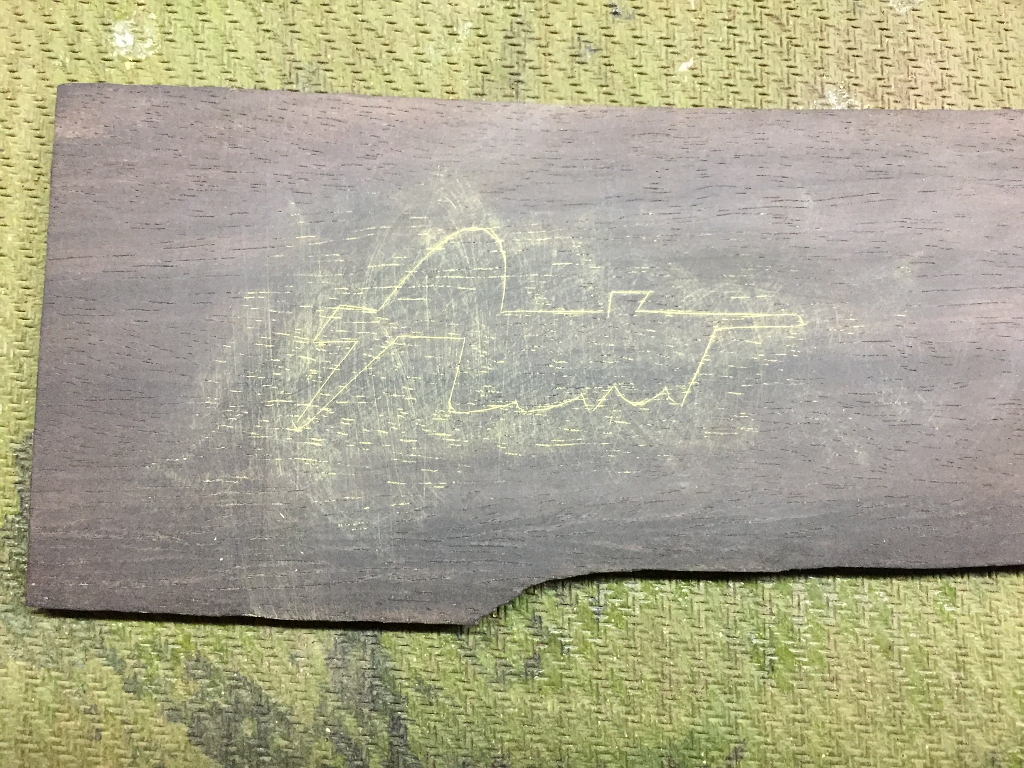
Then score the lines with a scalpel.
The only reason I use the masking tape is because pencil lines are nearly impossible to see on ebony
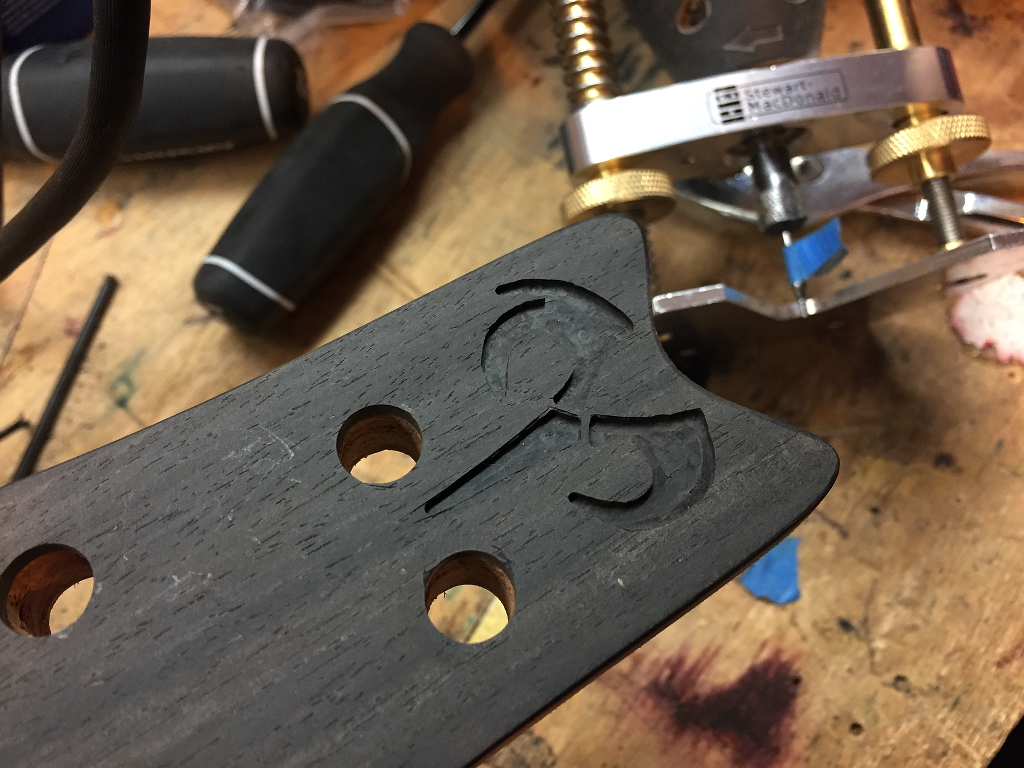
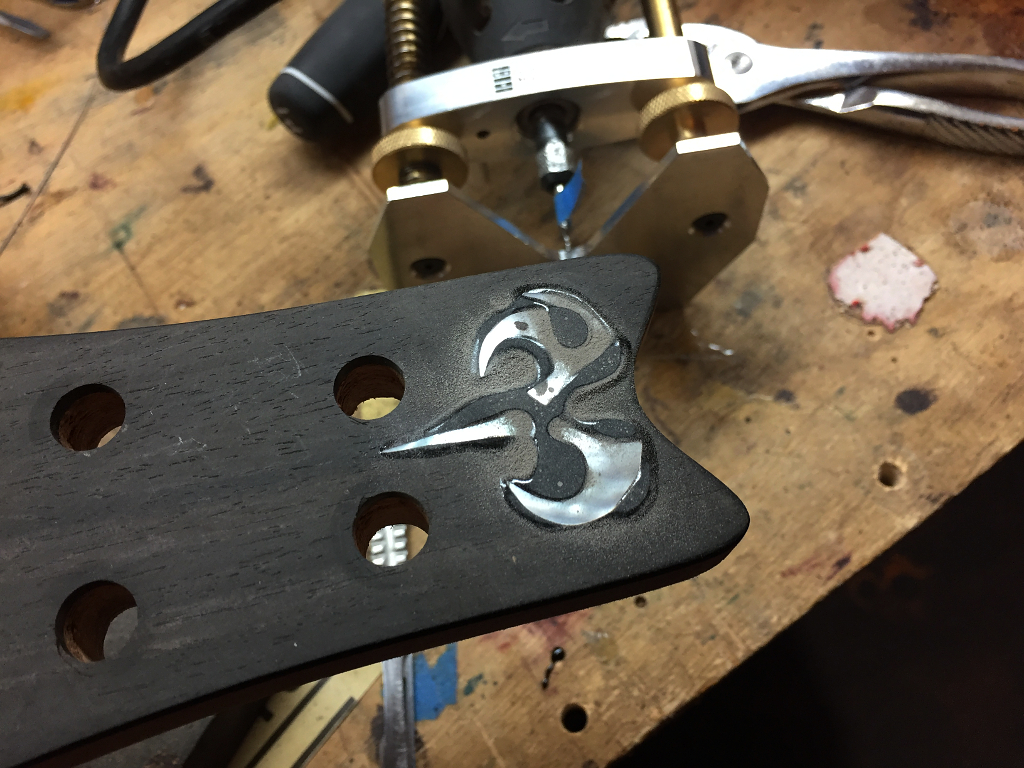
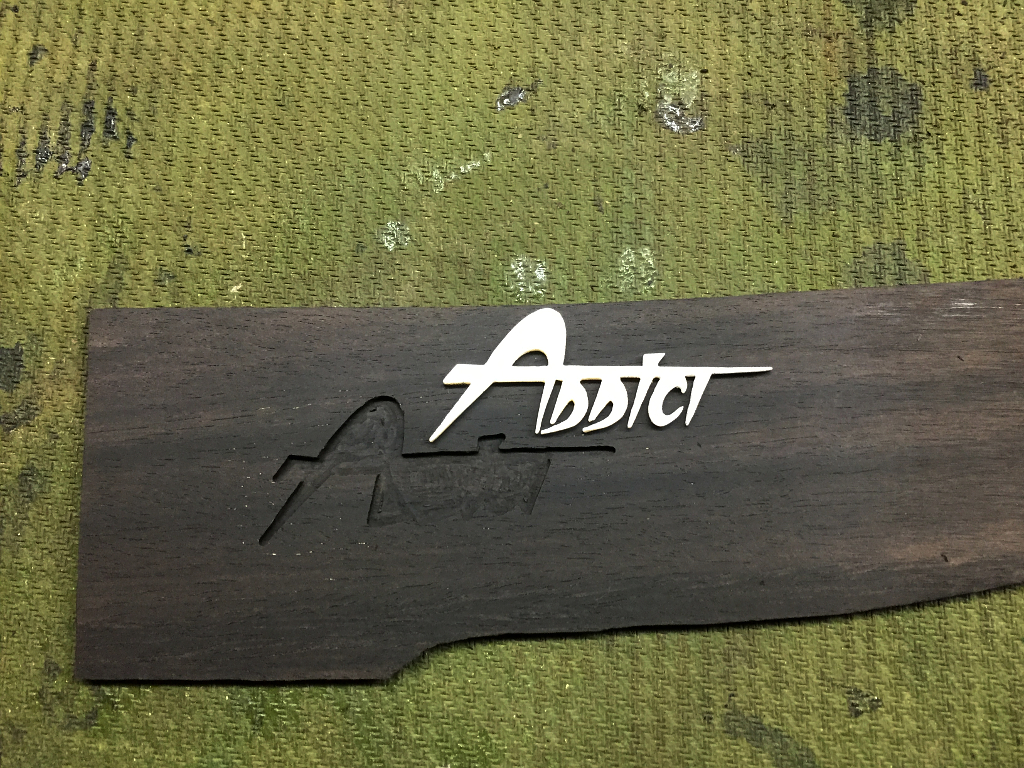
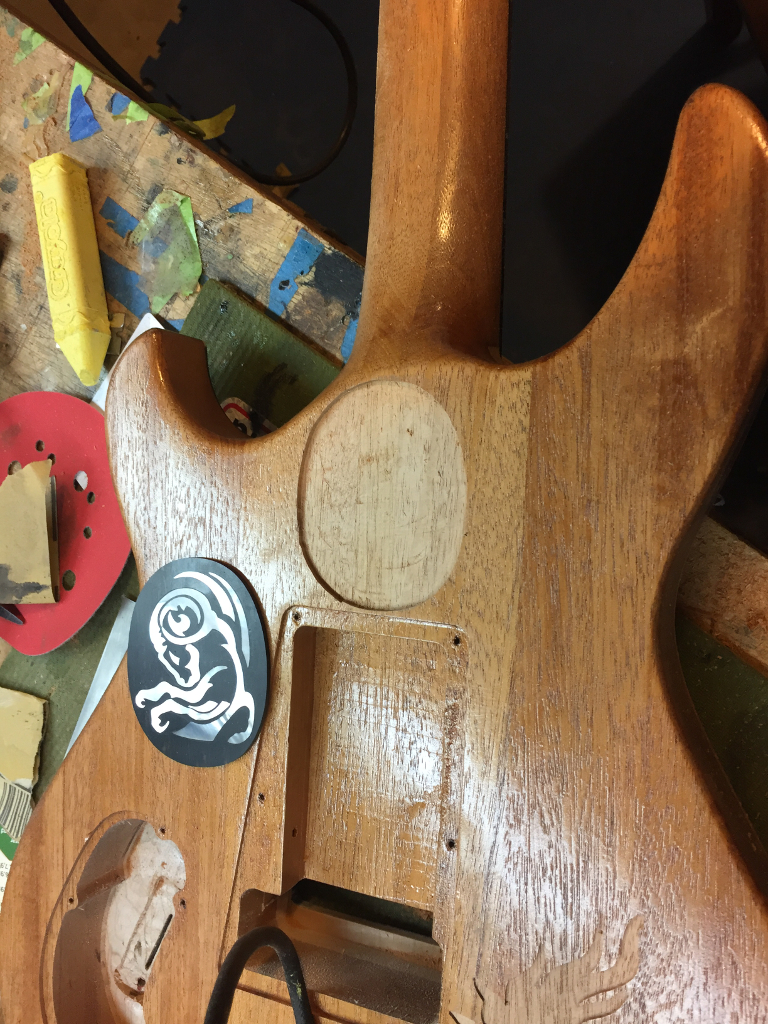
The I route out the pockets using a dremel with a router base, and a really small router bit with a 3/32″ tip, and in some spots a good, old-fashioned hand chisel.
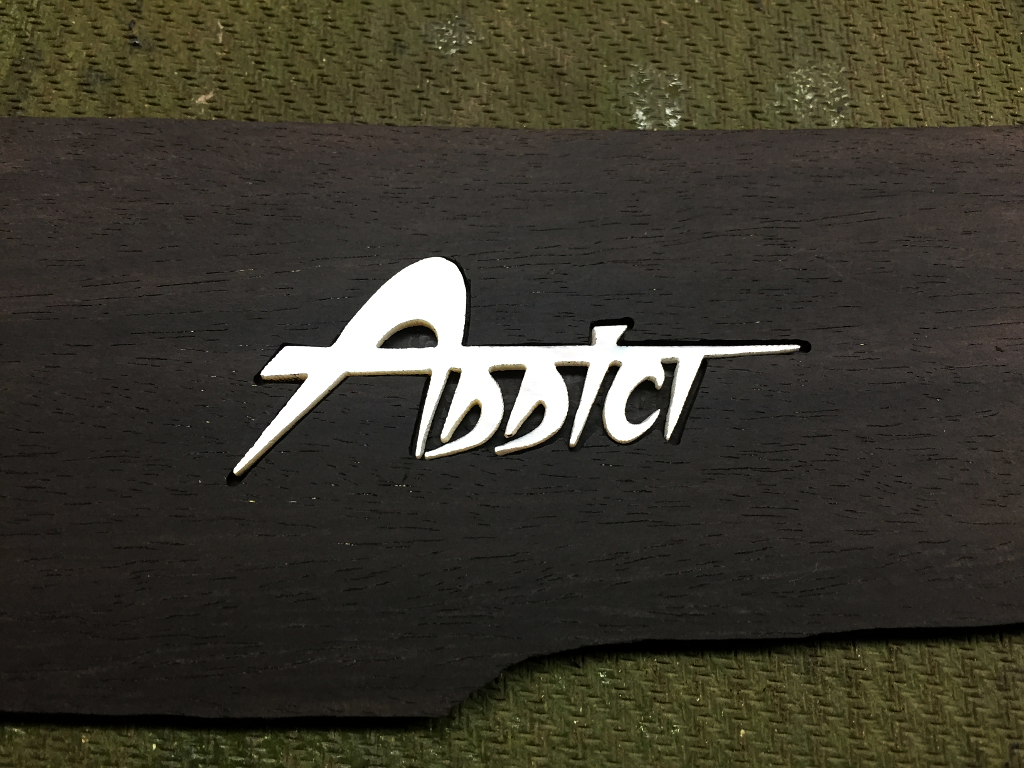
Test fit…
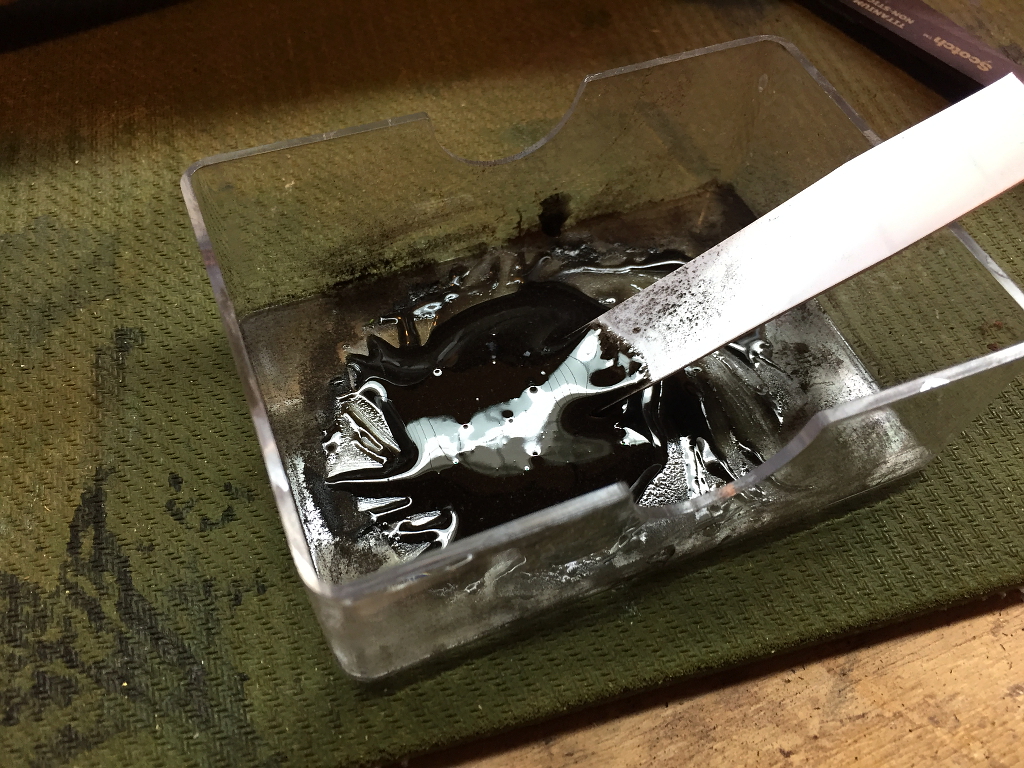
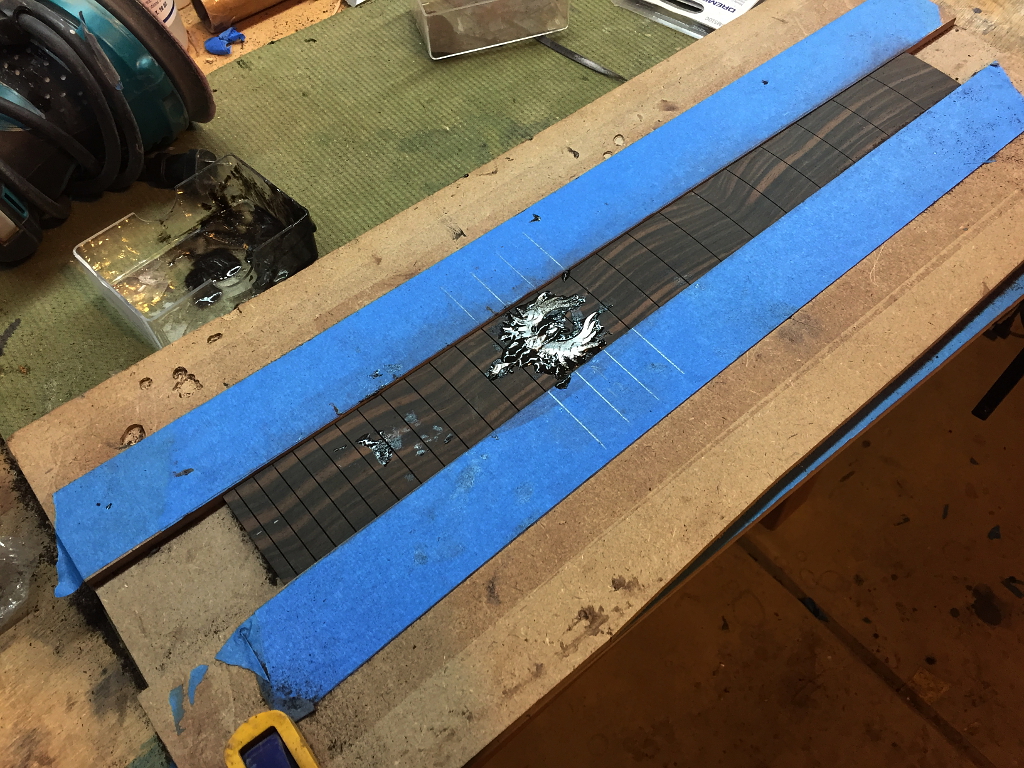
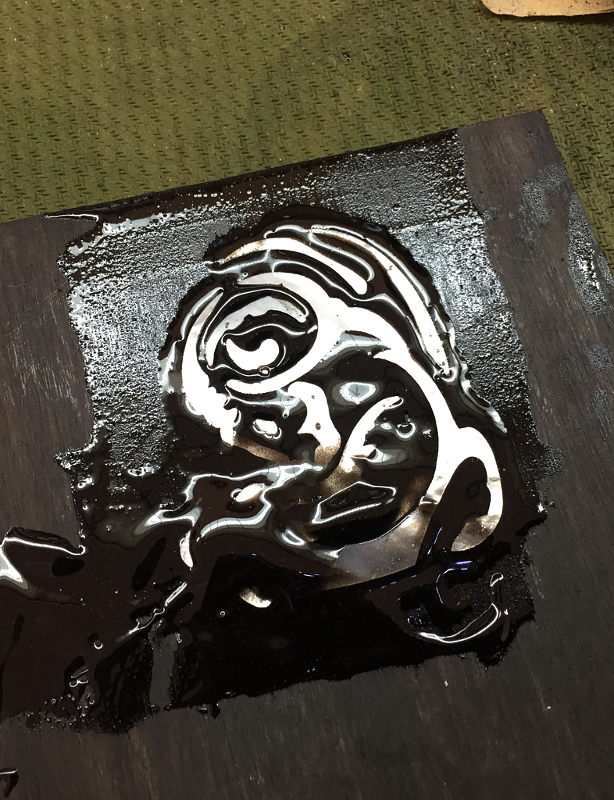
I mix up a small batch of clear epoxy, and then mix into it a bunch of fine sawdust I made by sanding a hunk of the ebony, This colors the epoxy close to same color as the actual wood.
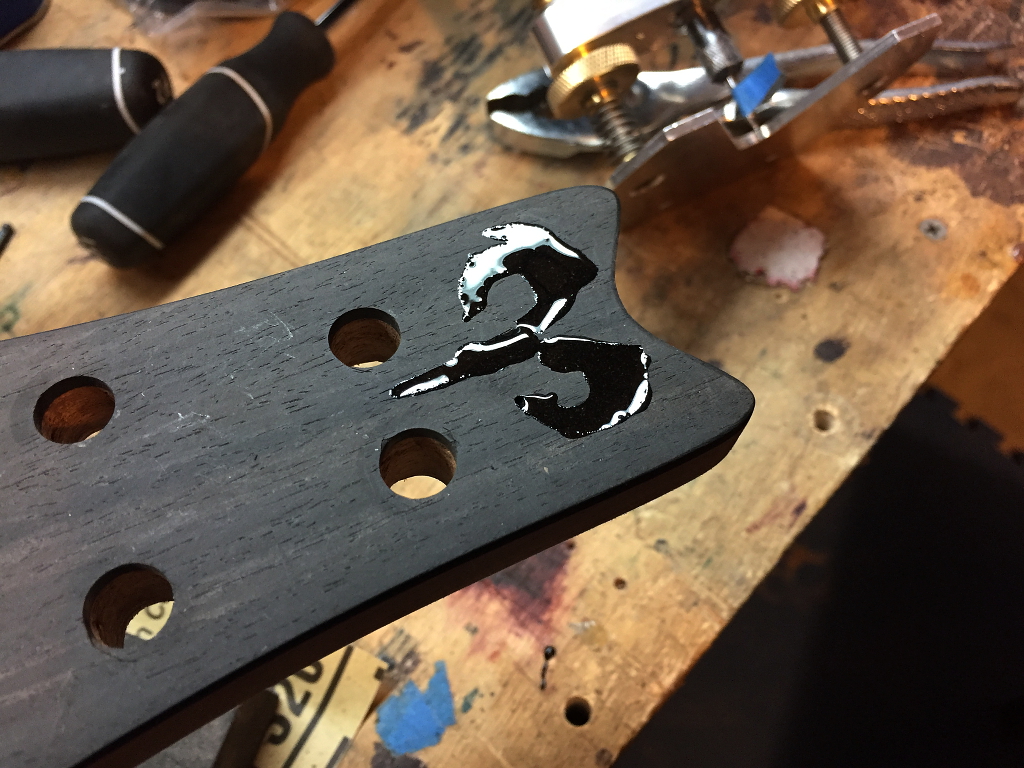
Fill the pocket with the epoxy
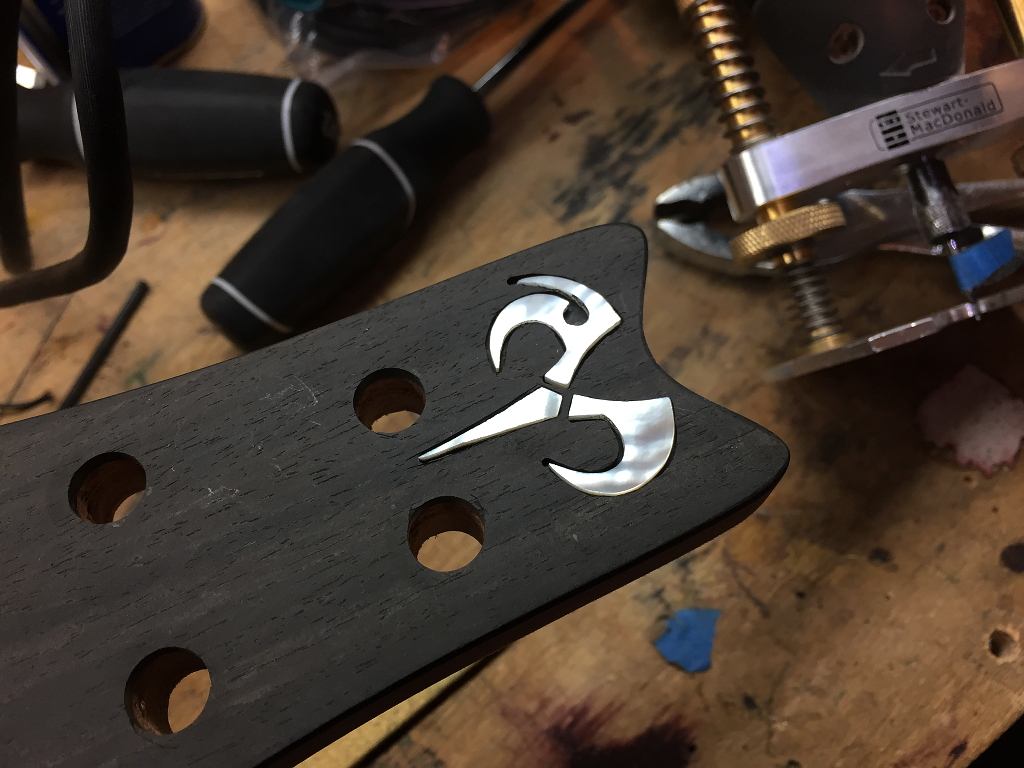
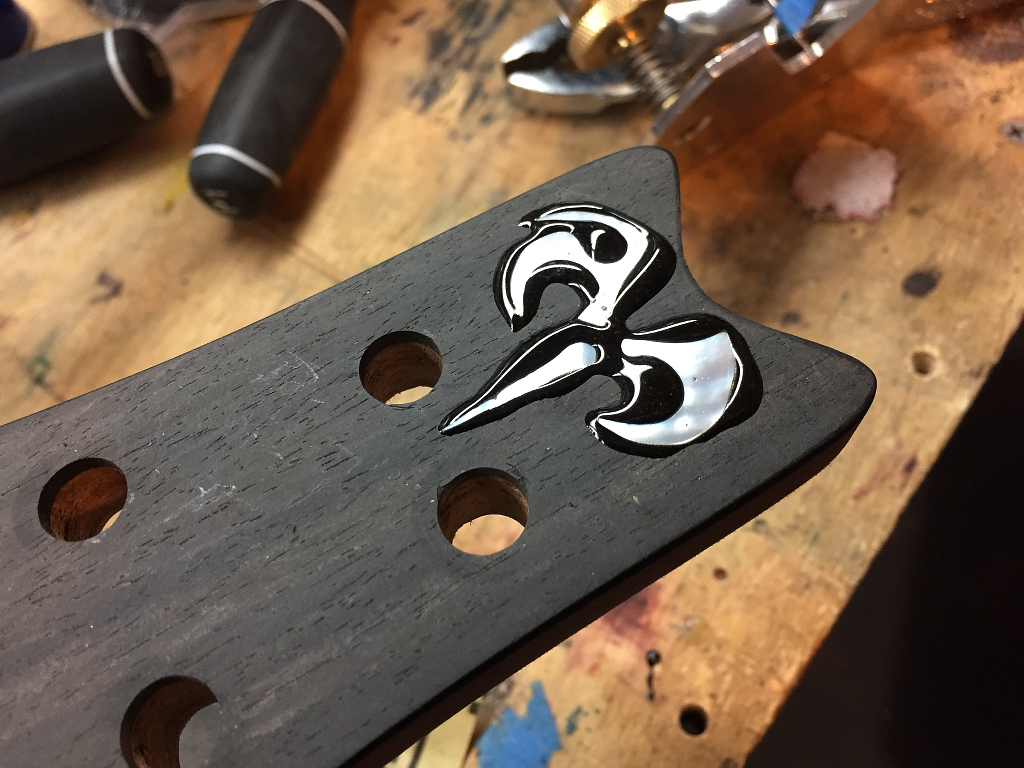
and push the pearl pieces down into the epoxy. The resin underneath the pieces squishes out and up around the sides and fills any gaps.
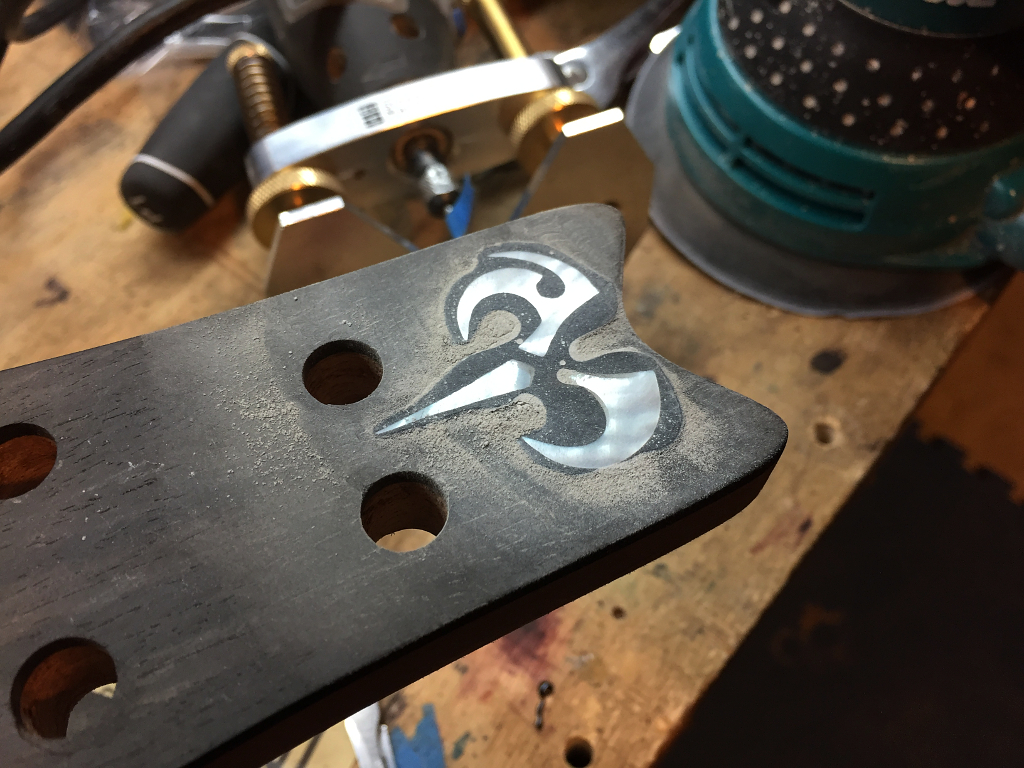
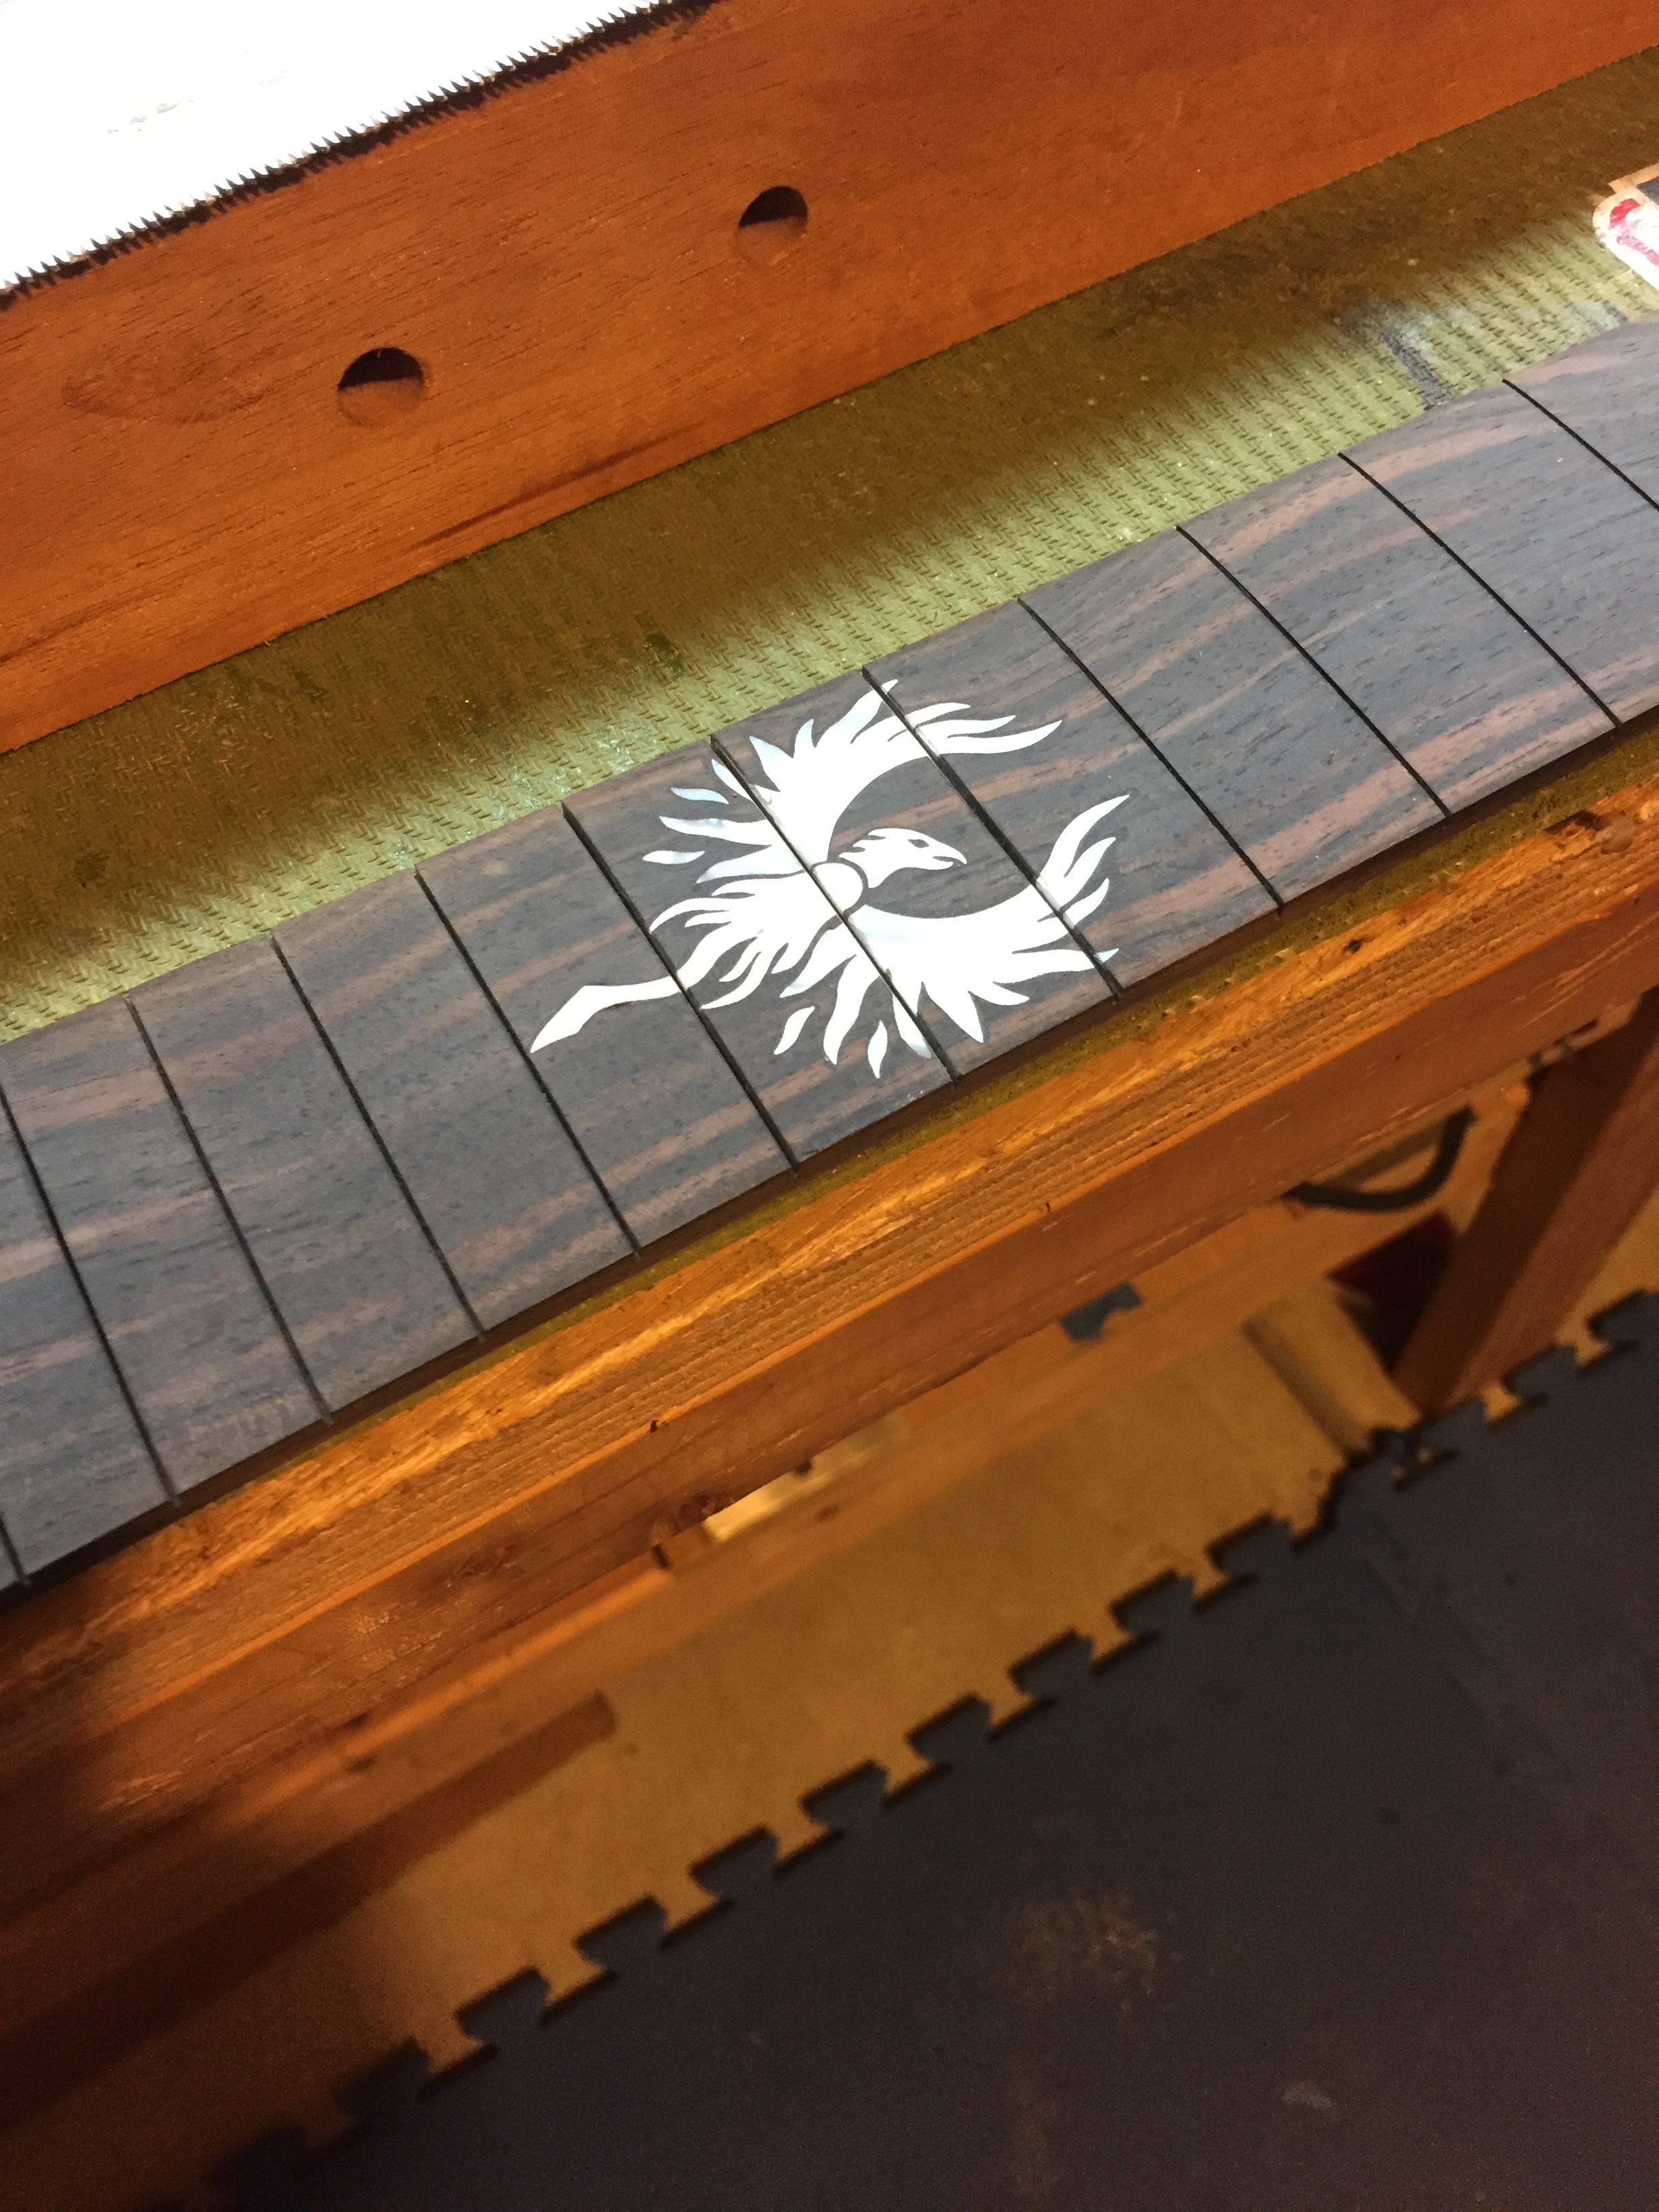
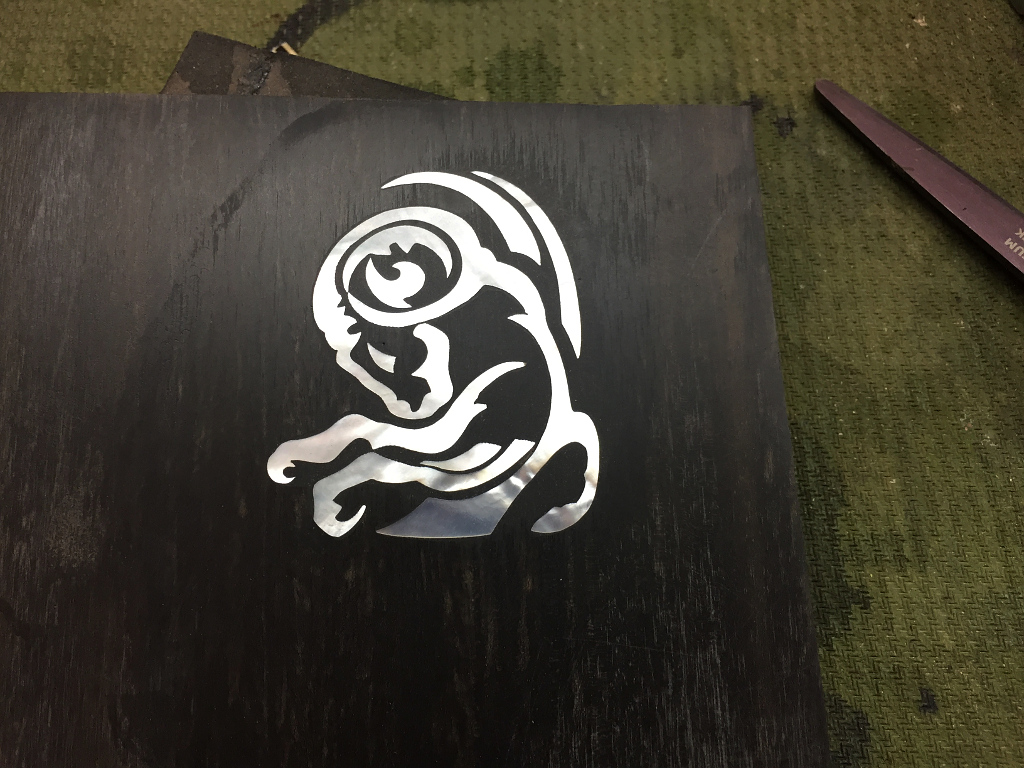
the next day once the epoxy is fully cured I sand the whole thing down until its flush with the rest of the surface
The beauty of real shell inlay is that it catches, refracts, and reflects the light in almost any setting so that it appears to glow even in low light.
The vastly inferior “pearloid” plastic inlays that many guitar manufacturers use to save money and time just dont even come close to being as beautiful. In the luthery field we call that stuff “mother-of-toilet-seat”.
I’ll take the real stuff any day as long as its responsibly harvested.
This design is kind of unusual in my experience. I’m normally very anal about symmetry. Compulsive even. This design is obviously asymmetrical. Its an adaptation of a couple different clipart designs I found on-line so while its technically original, its really not truly original .
.
I put them together, fiddled with it, and wound up with this.
The left horn is obviously split into two and the outer bit of it comes a good deal closer to the edge of the headstock than the right horn, so not only is it asymmetrical, but its partly off-center in the headstock even though the center of the symbol is on the centerline. Yet somehow this doesn’t feel off balance or off center to me. I looked at it for nearly 40 minutes before deciding to go ahead and cut the pocket and put it in because intellectually I felt that it should feel wrong to me, but in fact it didn’t, so I went ahead and put it in and I’m really happy with the outcome

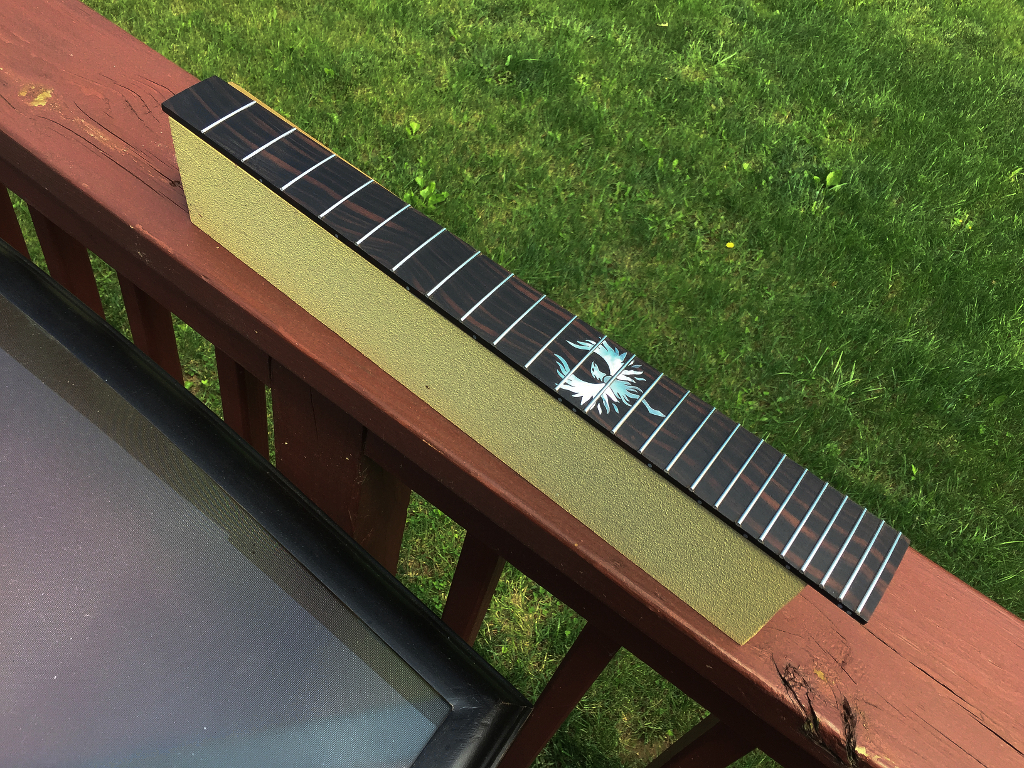
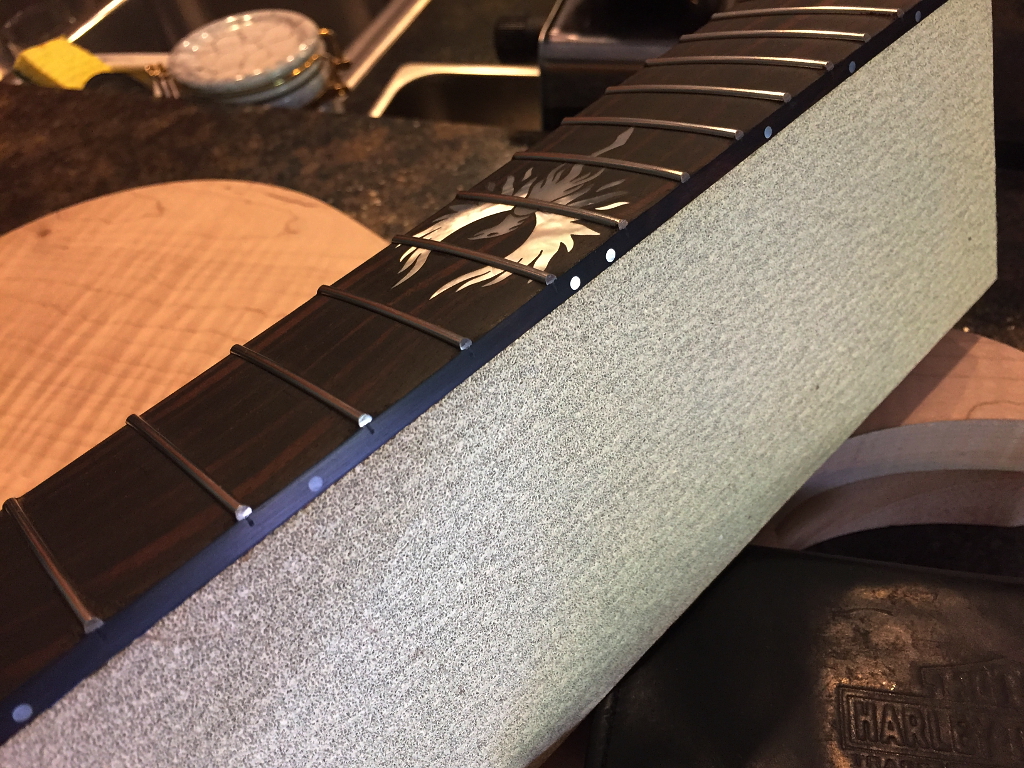
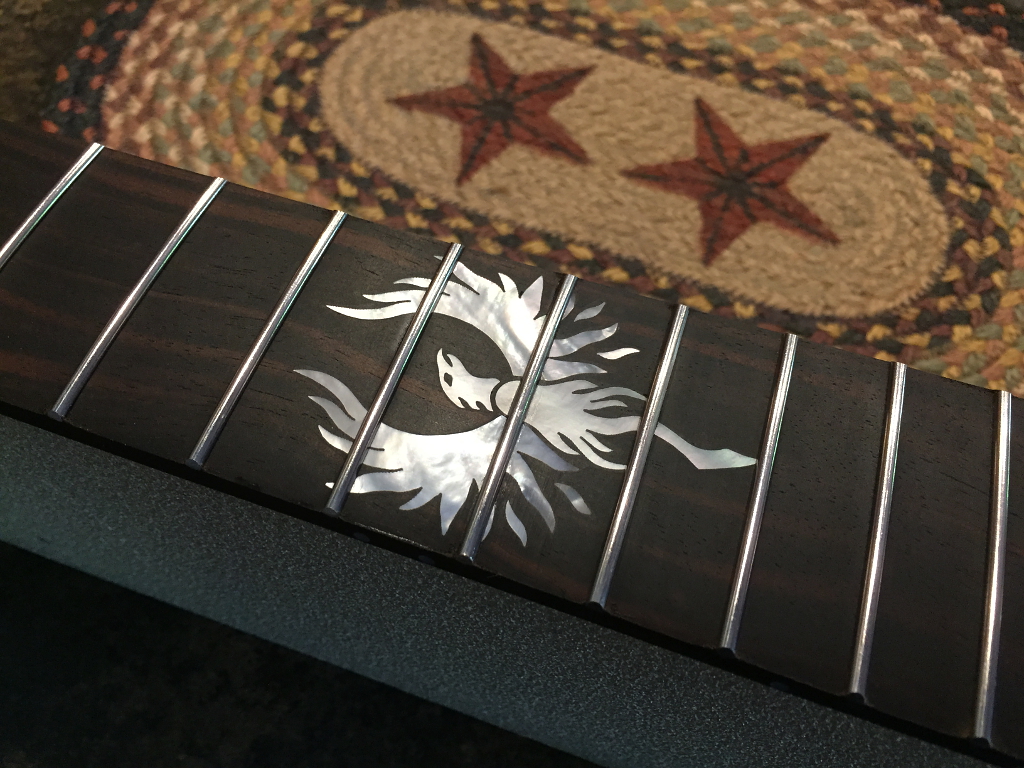
This one is a small phoenix that will go on the fretboard. Same process as before except with this one, as with the larger back ones, I didnt cut the pieces myself. I created the designs myself and then sent them to a company that cut them for me with CNC machine.
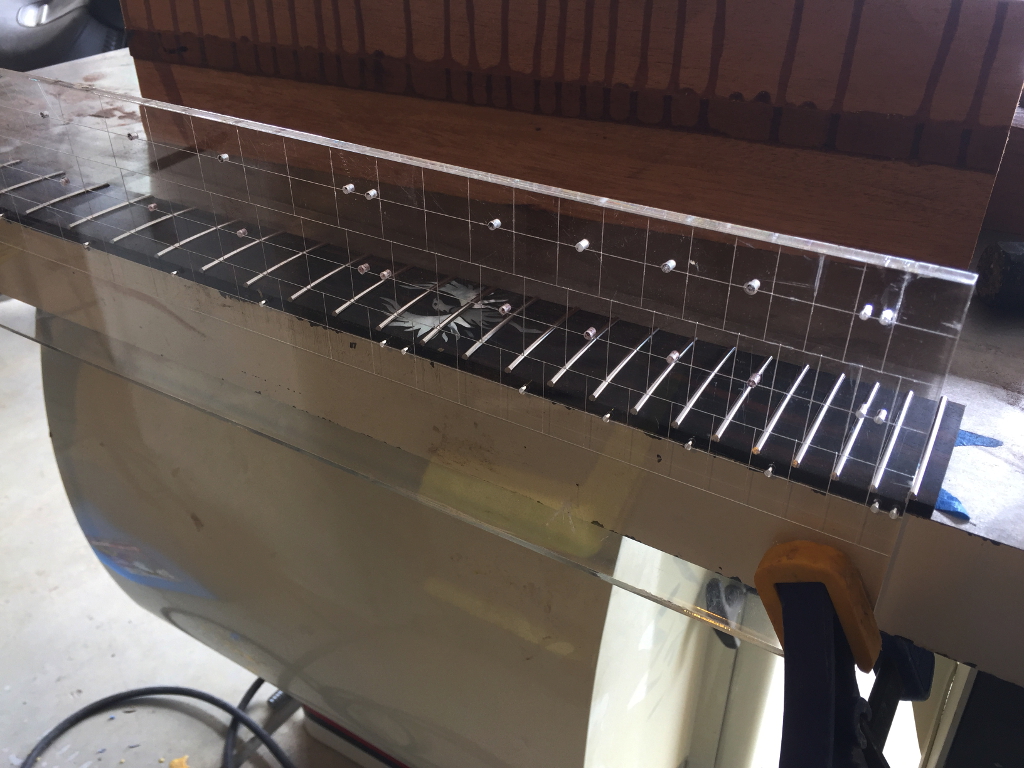
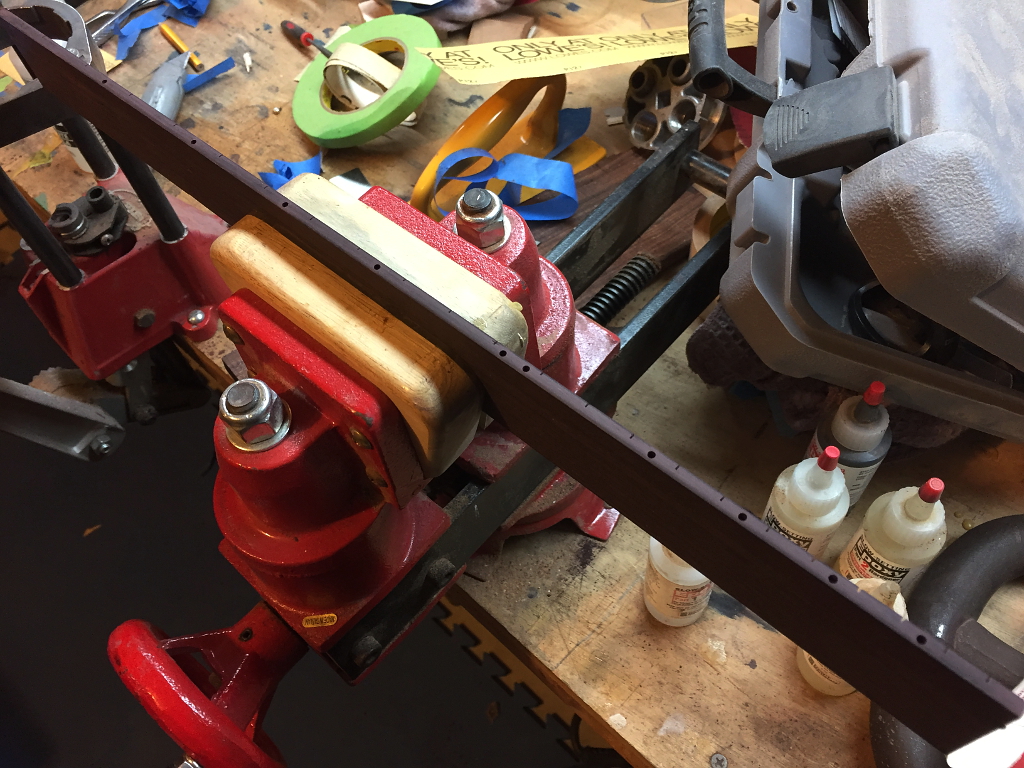
I install the frets and I use my side dot template to drill holes for side dot markers
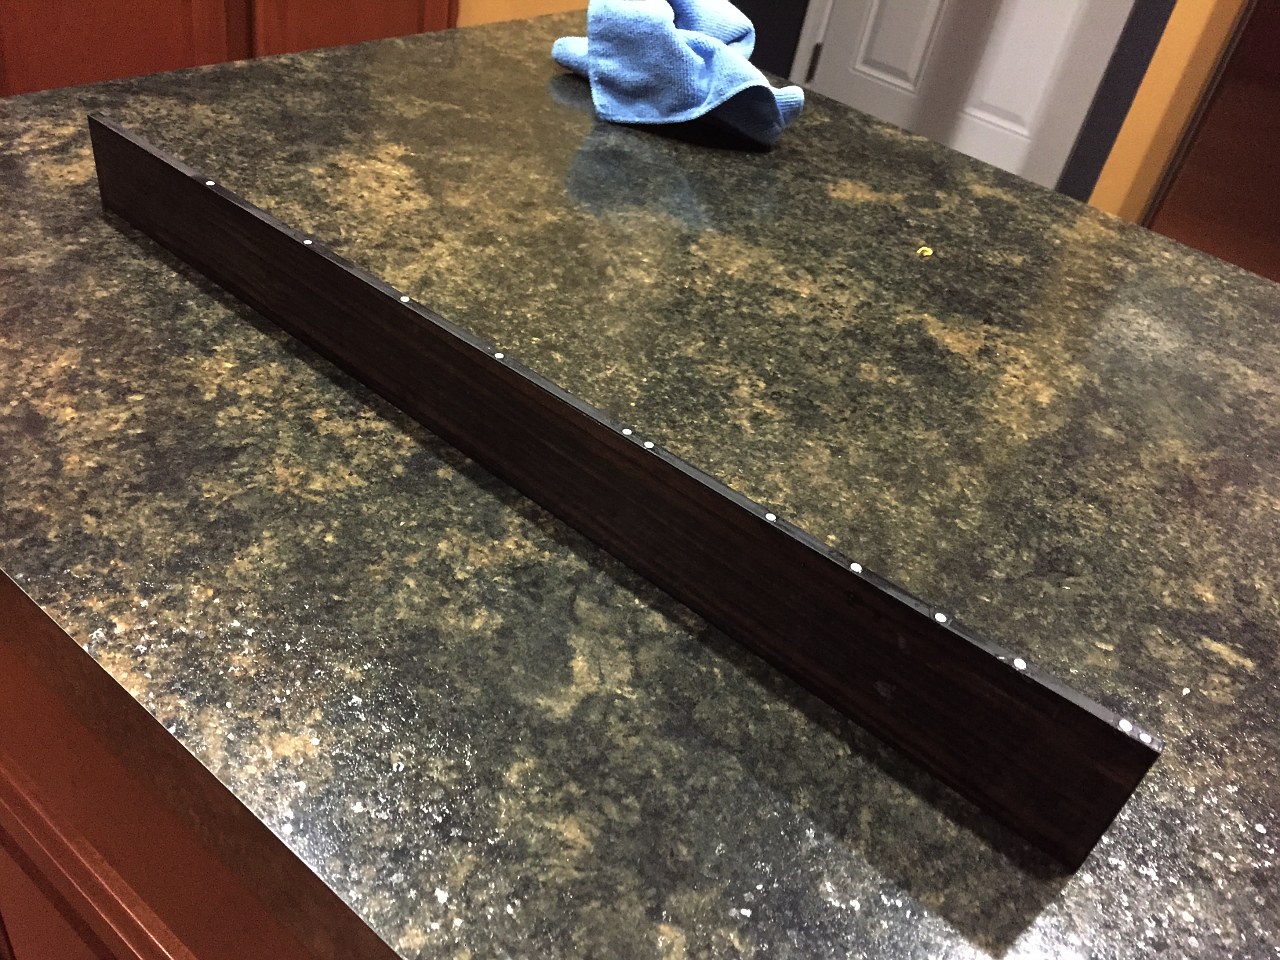
A drop of CA glue and then tap small white mother-of-pearl dots into the holes
Let the glue harden
Everything sanded down smooth and frets installed.
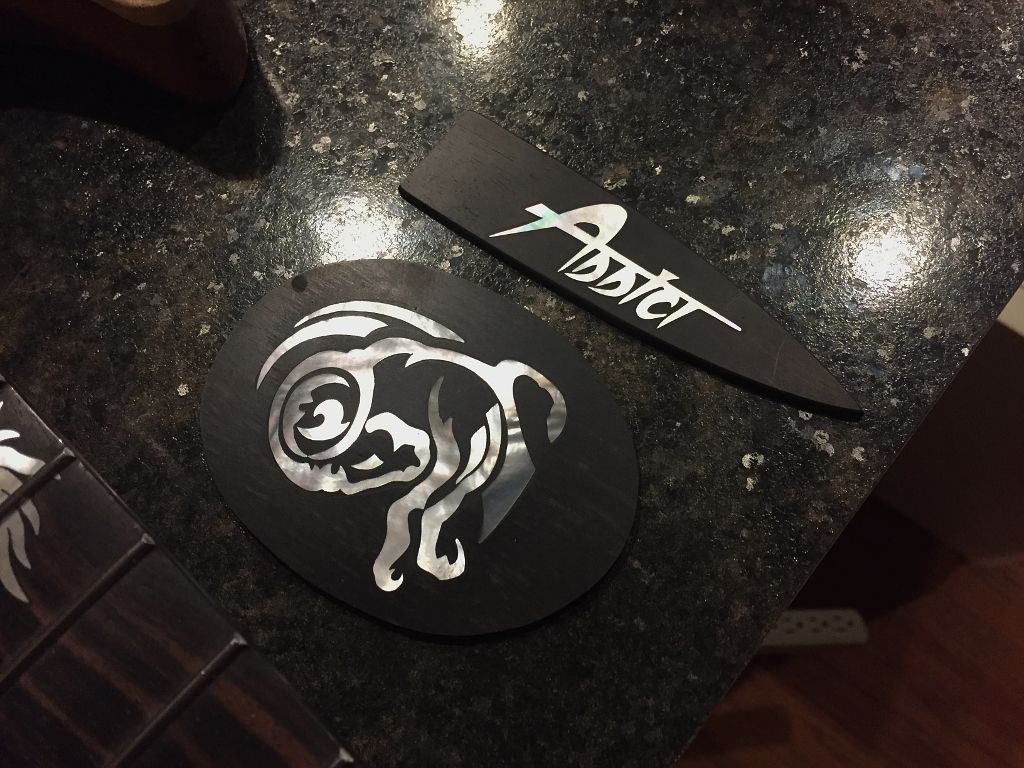
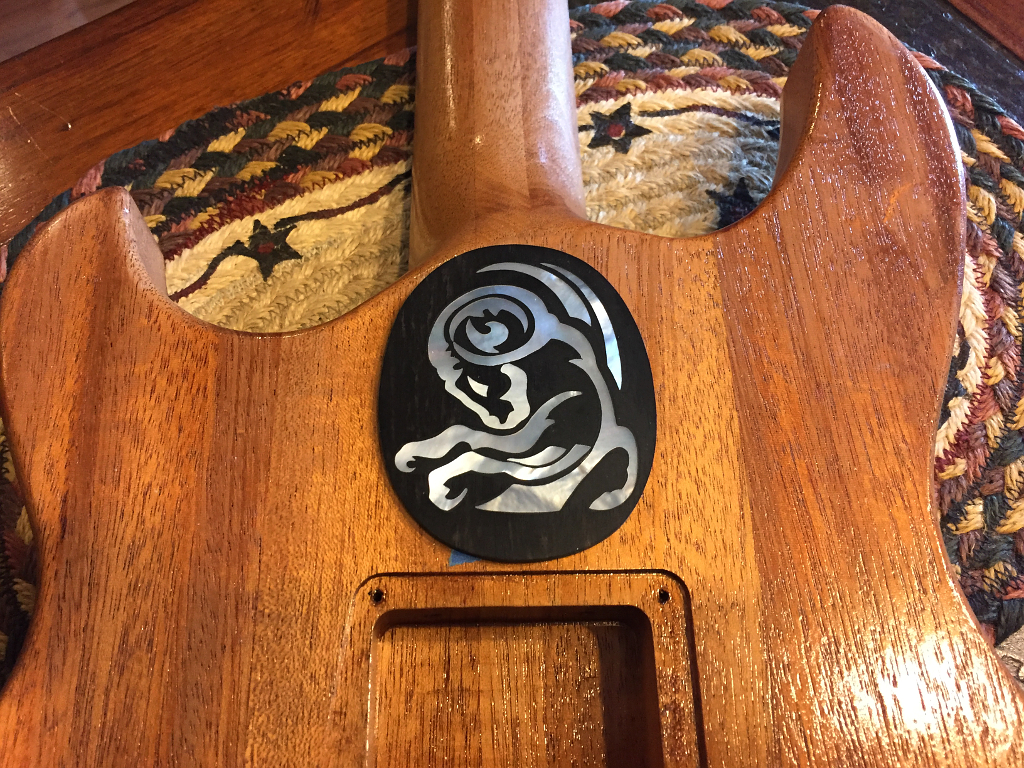
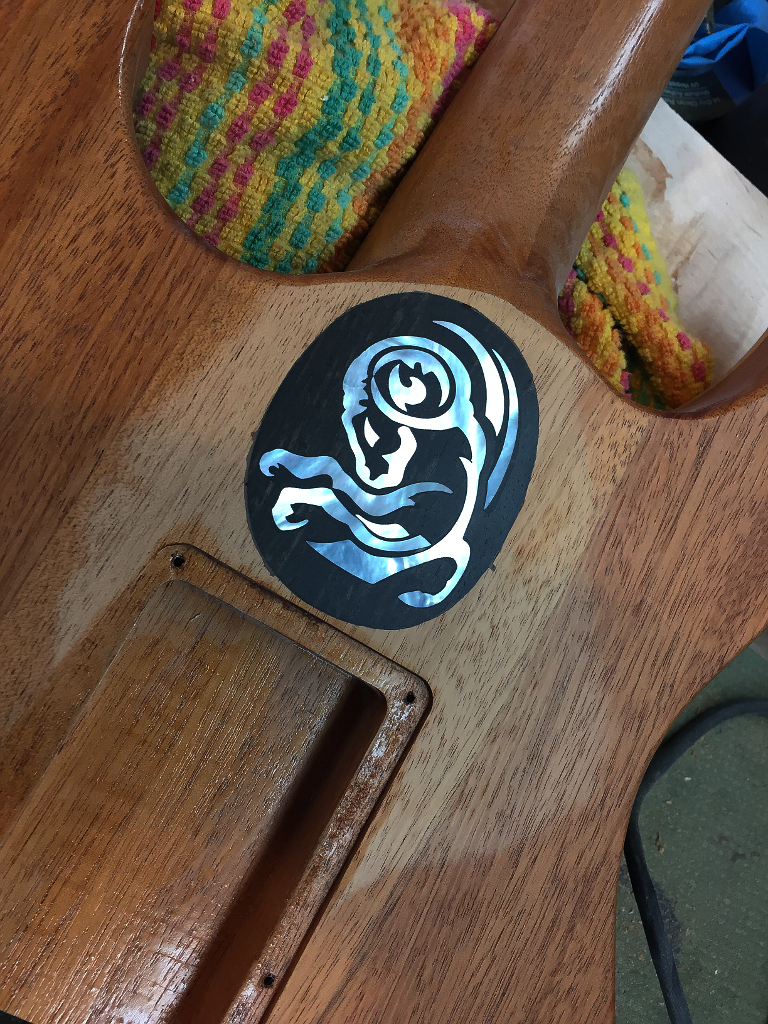
Aries “tattoo” inlay for the back.
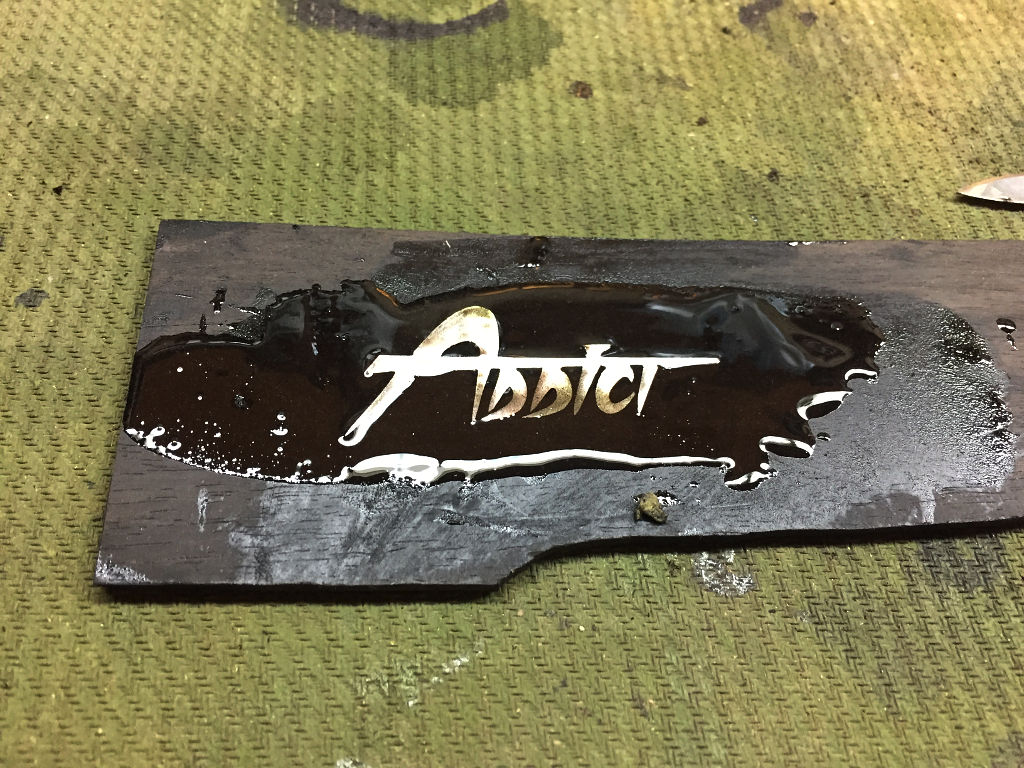
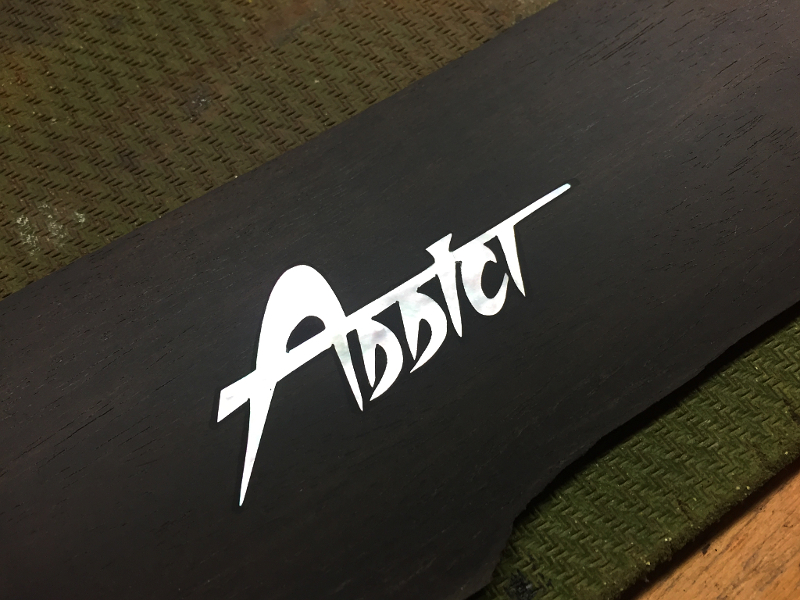
My standard truss rod cover…
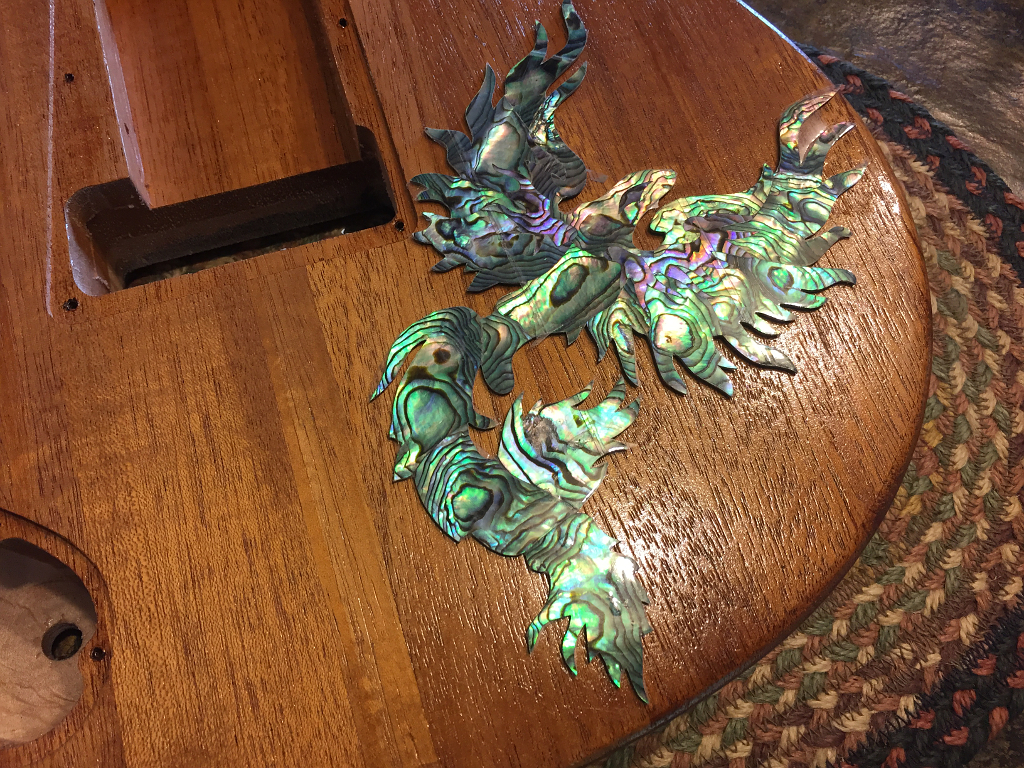
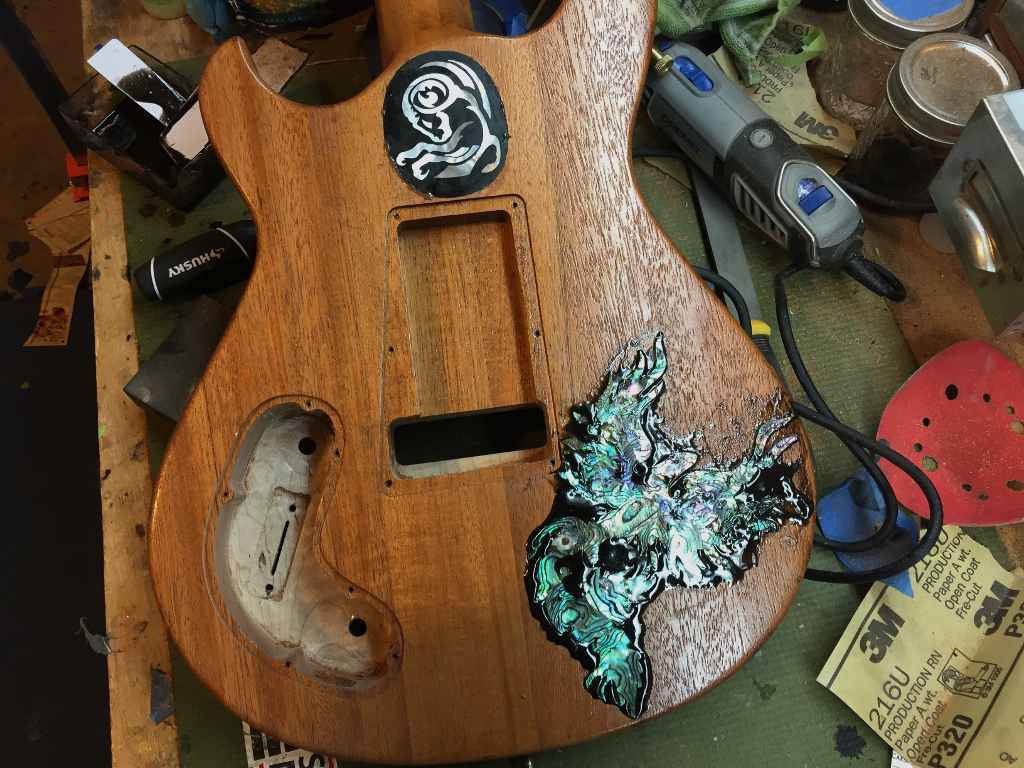
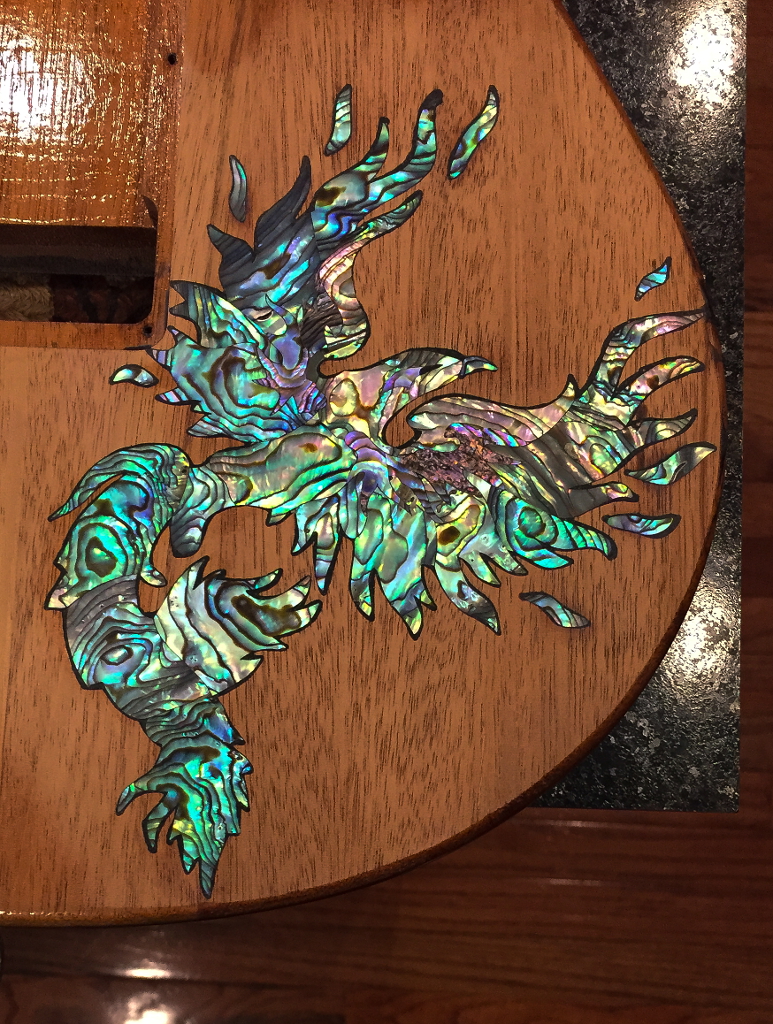
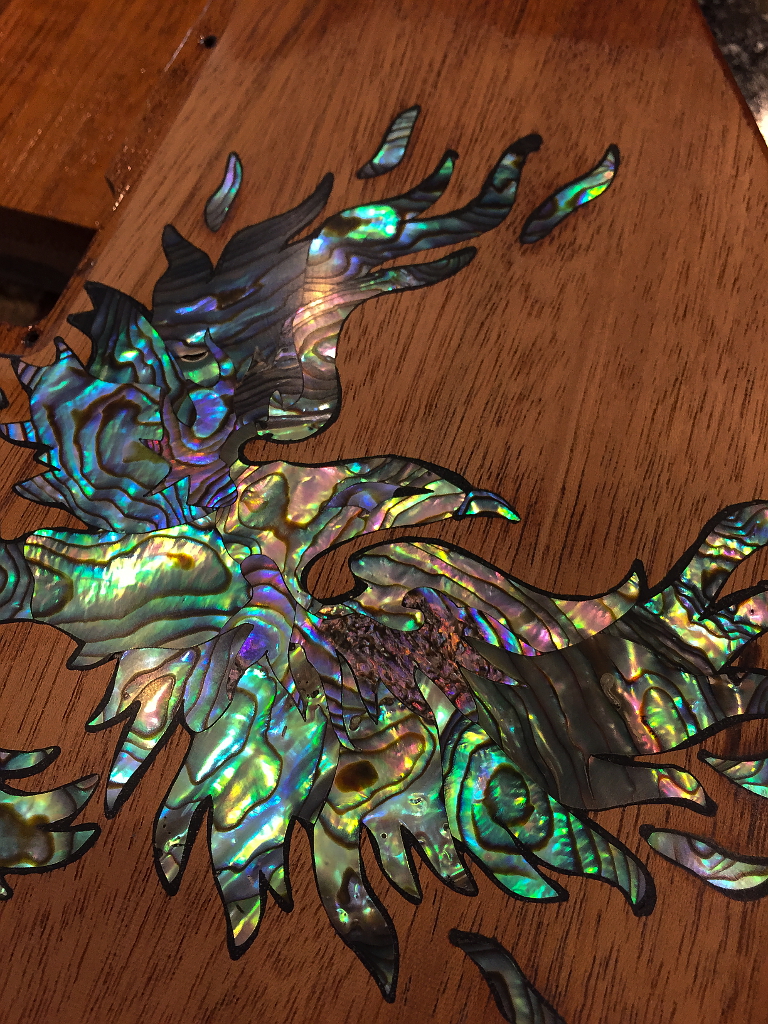
Time to give my guitar some tattoo’s. If you’ve followed this build from the start and/or you knew my son Chris, you’ll recognize these right away as a couple of his more prominent tattoos.
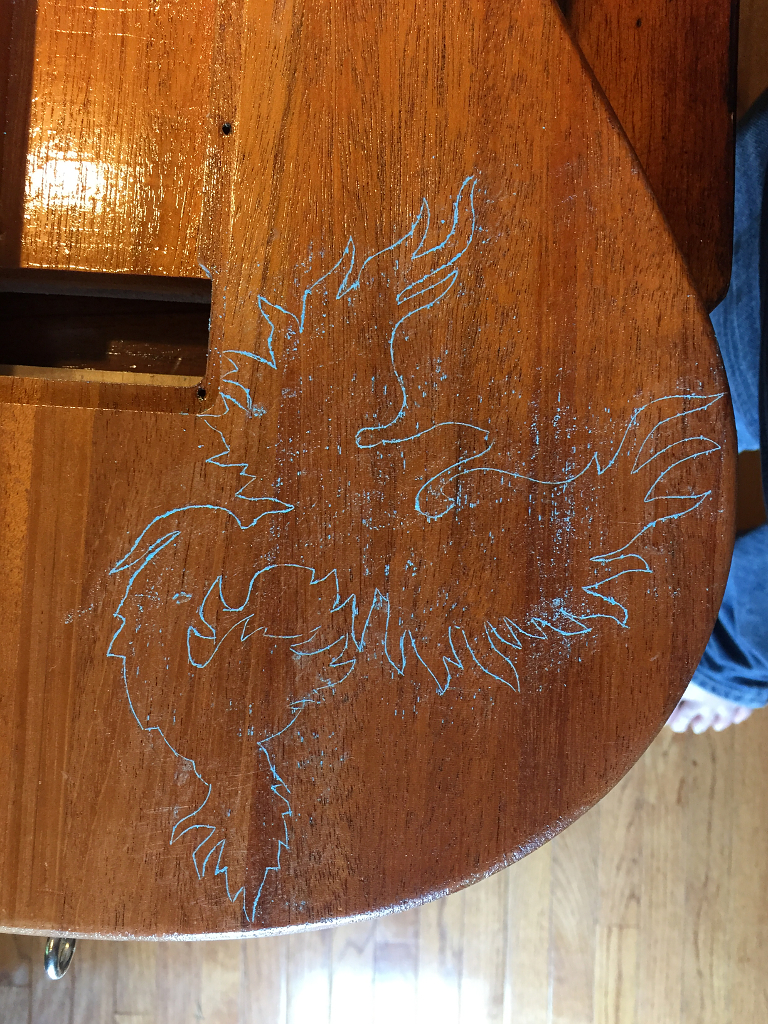
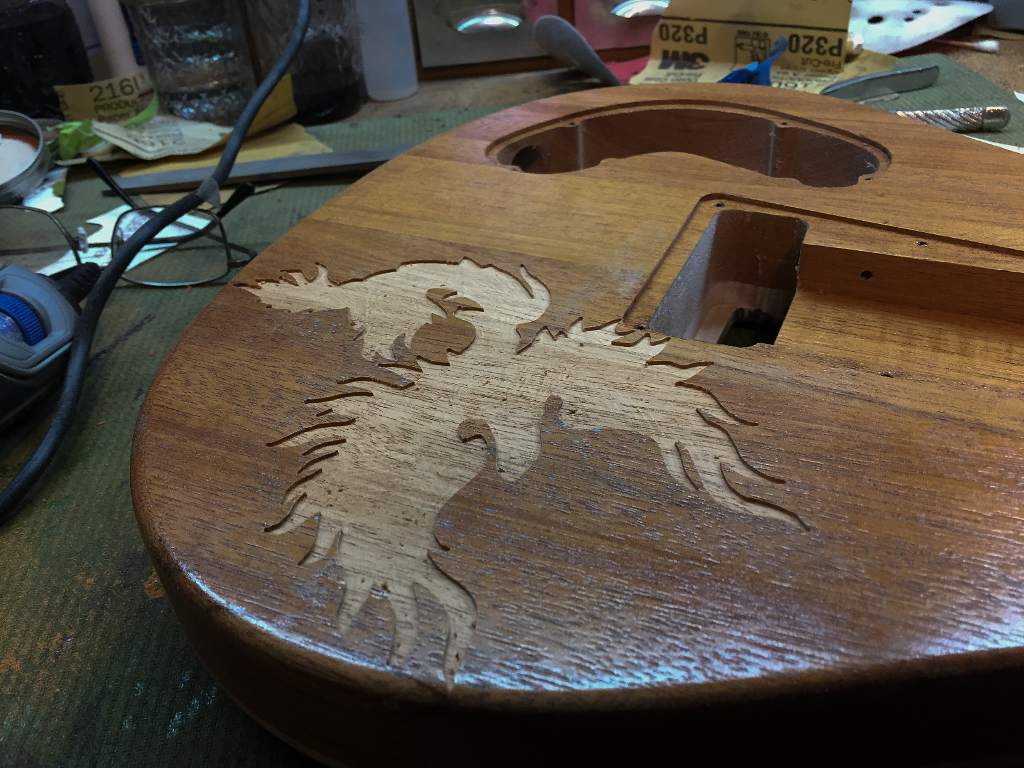
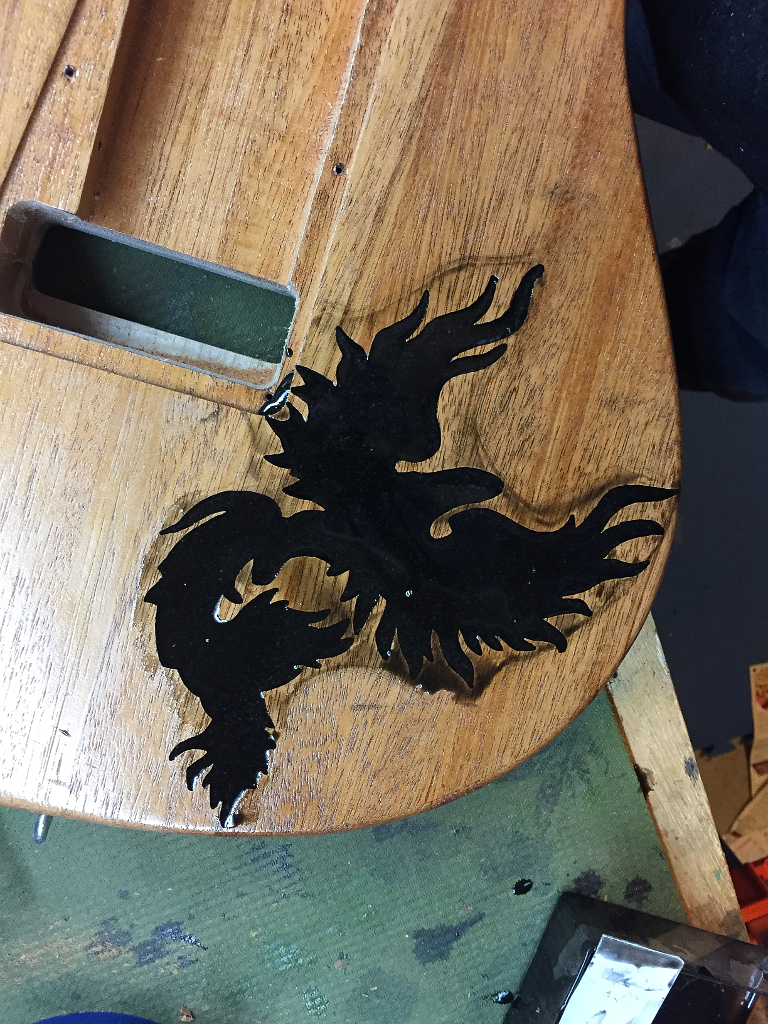
These are installed exactly the same way as the previous ones. Trace, cut around the edges, route and chisel out the wood, fill the pocket with epoxy, squish them in place, and sand flush when the epoxy is cured.

