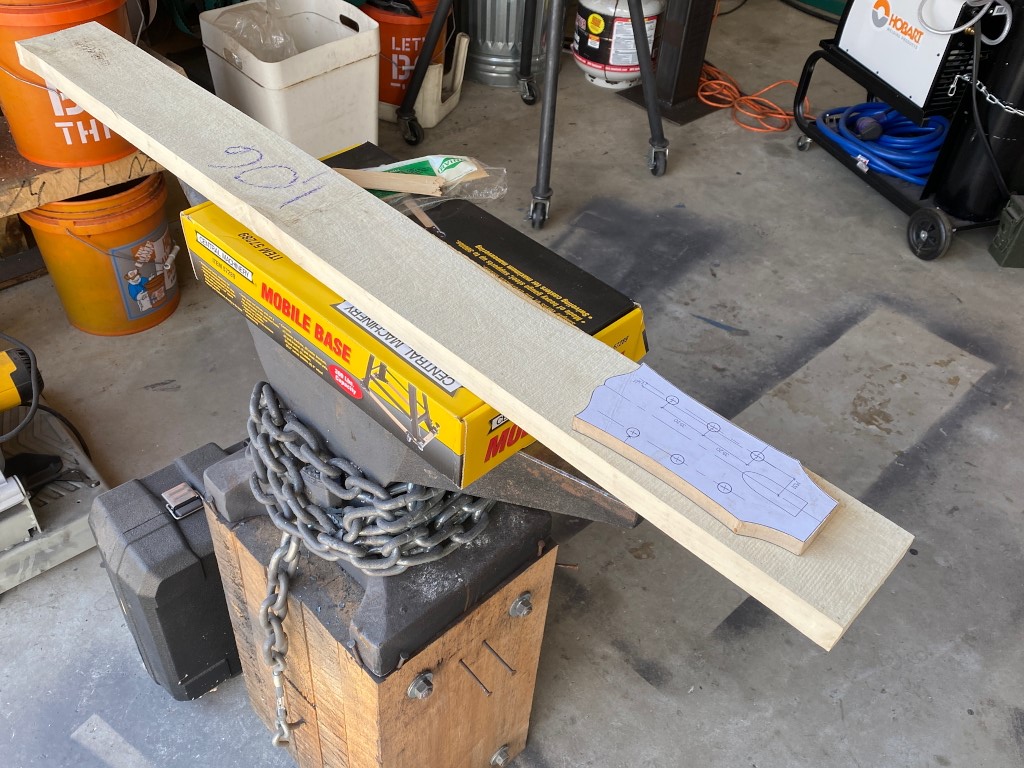
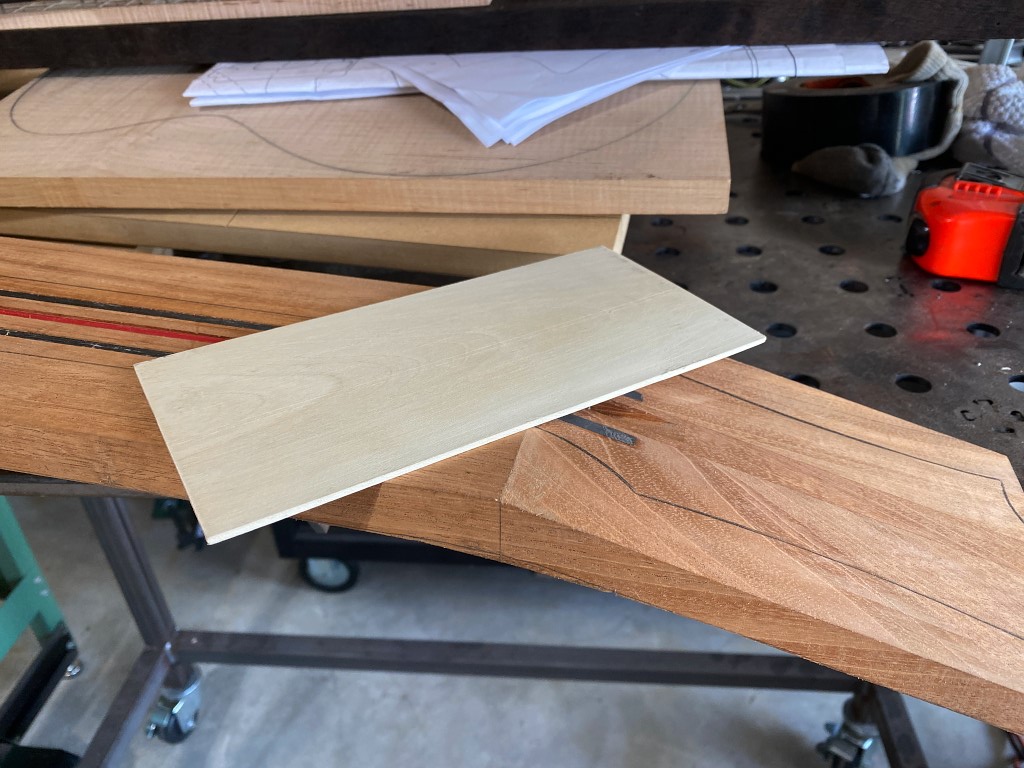
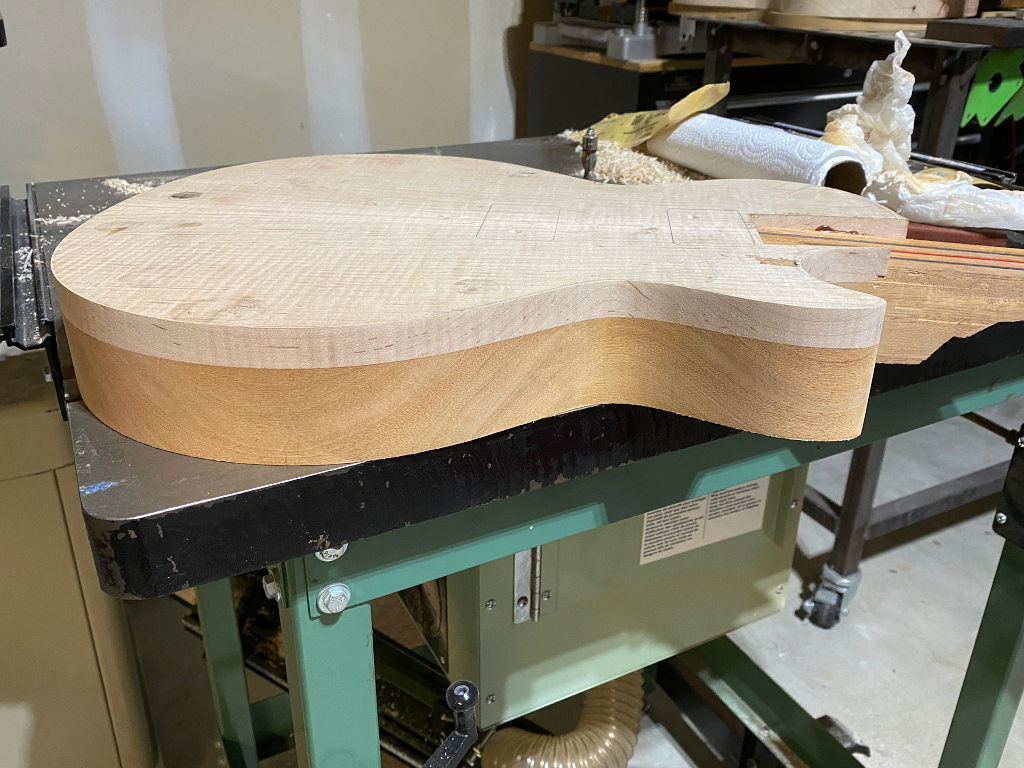
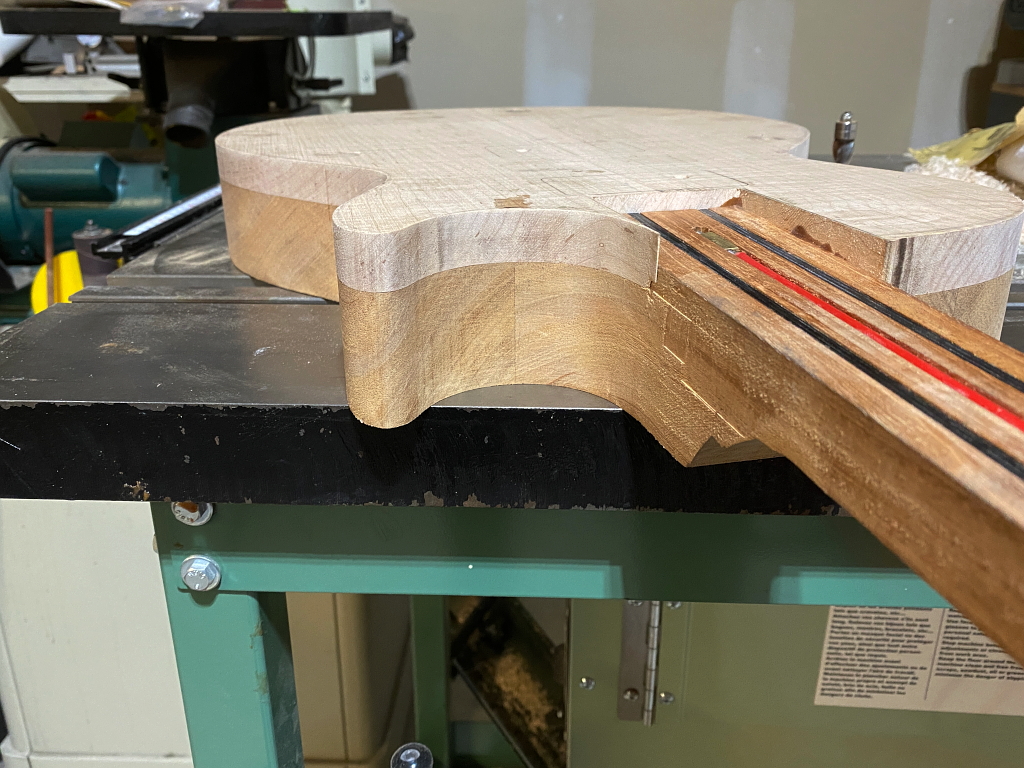
OK! Now, before we can glue up the body wings to the neck we have to rough cut the neck and headstock out of the big square thing, but we cant do that until the holly headstock overlay is glued on. The overlay helps make the headstock completely black and even looking because it has extremely fine grain, perfectly even, creamy color, and takes up the dye beautifully. Mahogany isnt so cooperative in this respect.
So I take this board of american holly…
and slice off a 2mm thick veneer
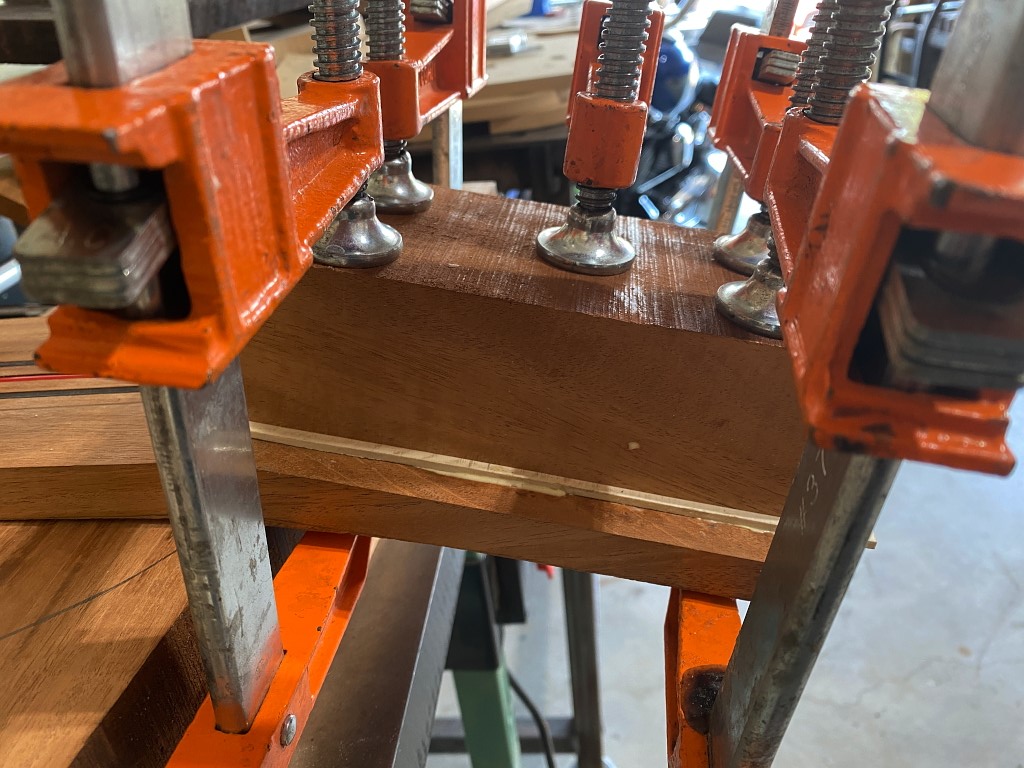
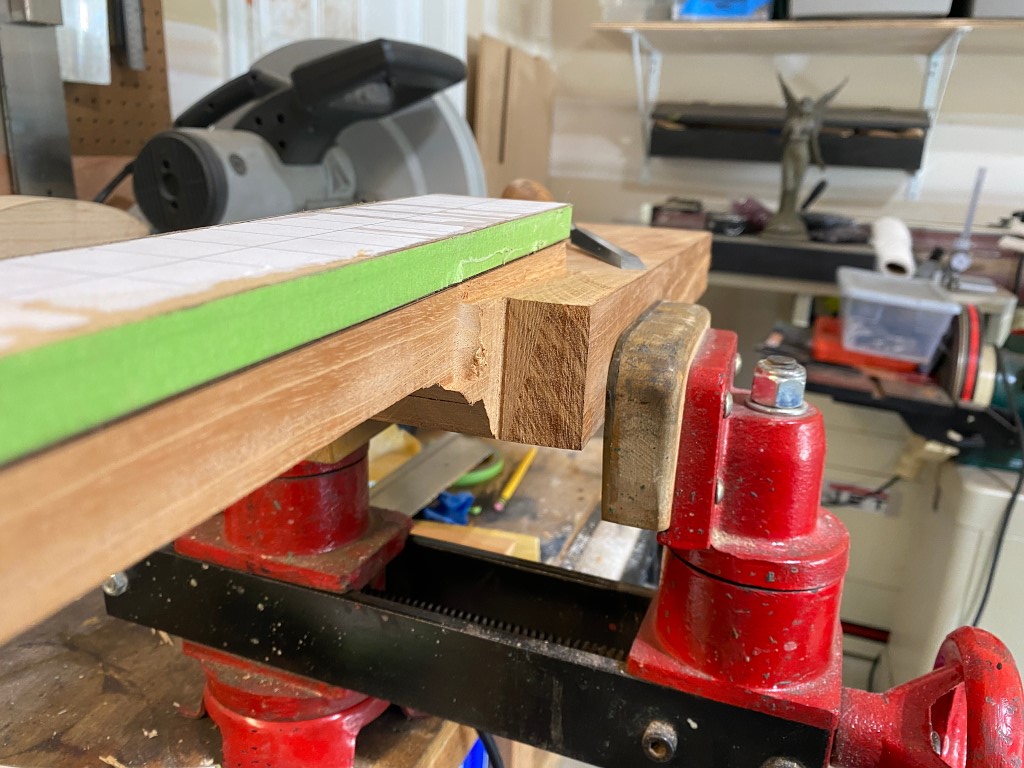
Using a perfectly flat piece of wood as a clamping caul, I glue up the veneer and clamp it to the headstock area of the neck blank.
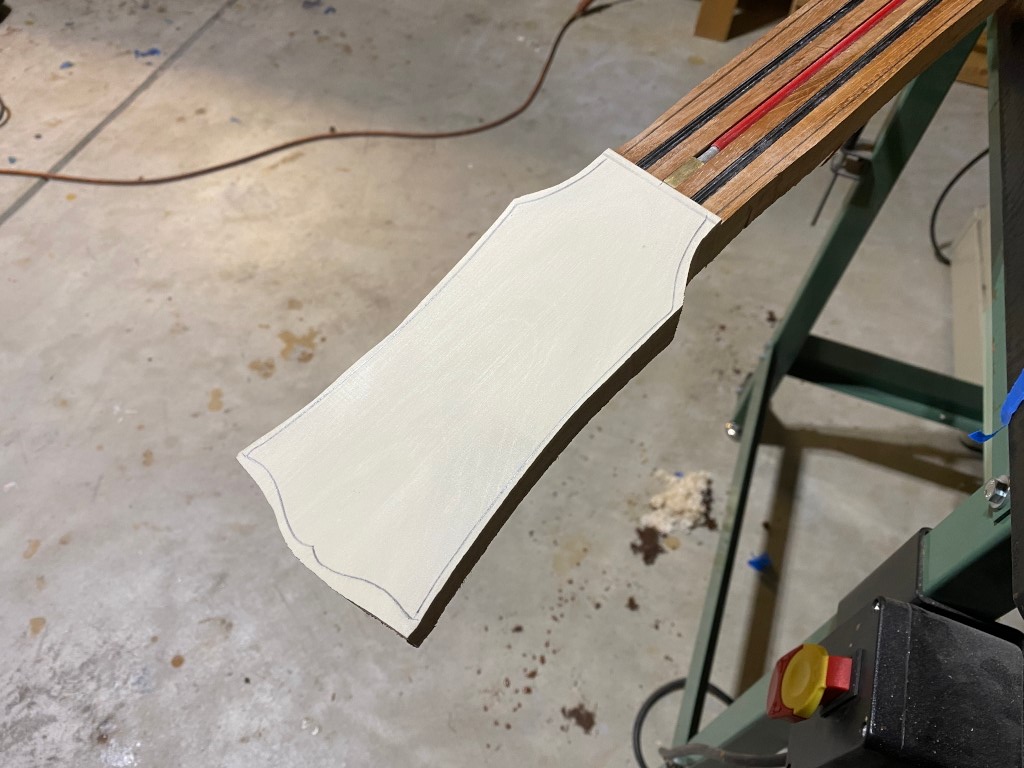
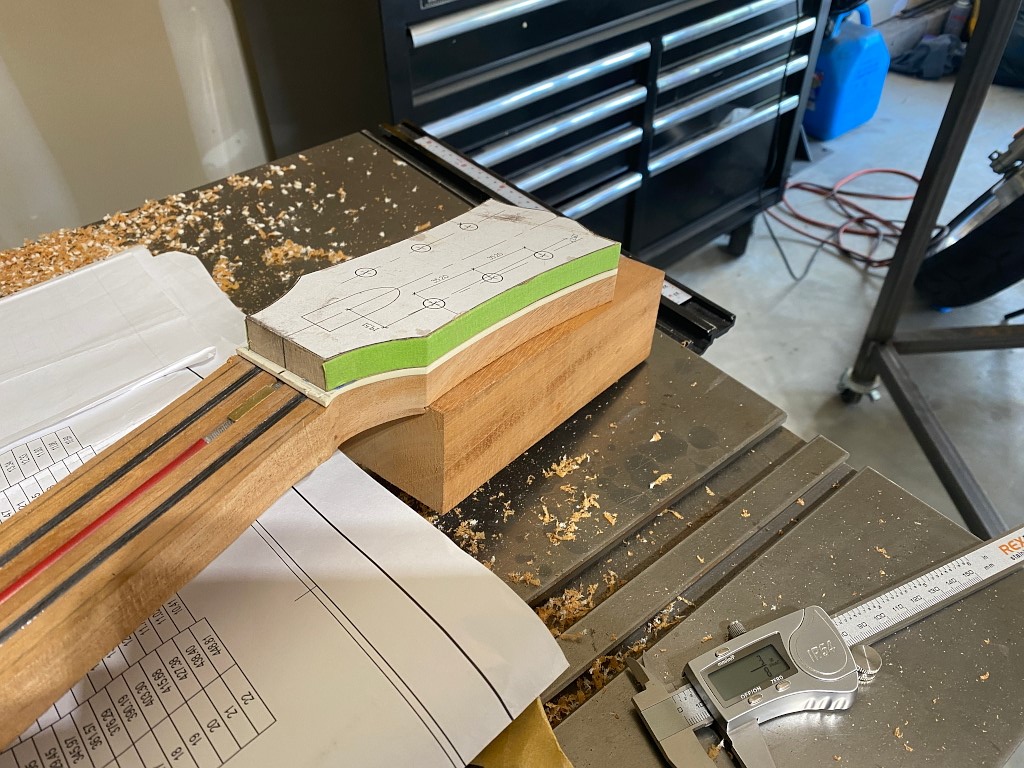
Once this is dry I can roughy cut out the headstock and neck shape on the band saw. I leave a border area that I will carve off using a template and my routing table.
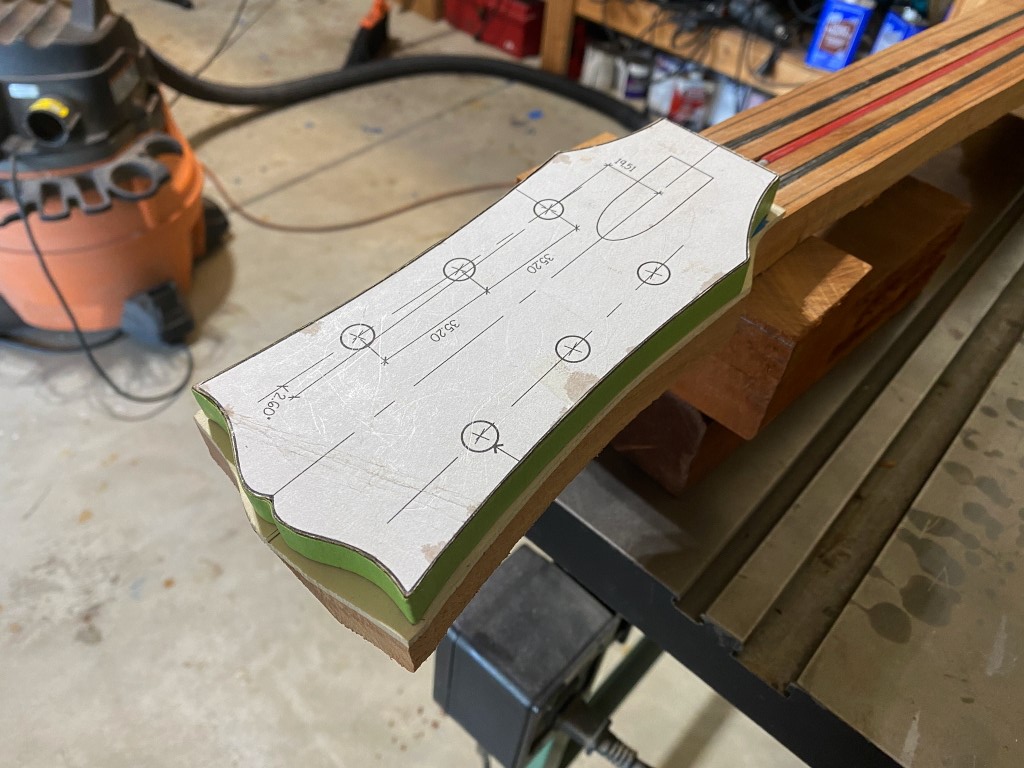
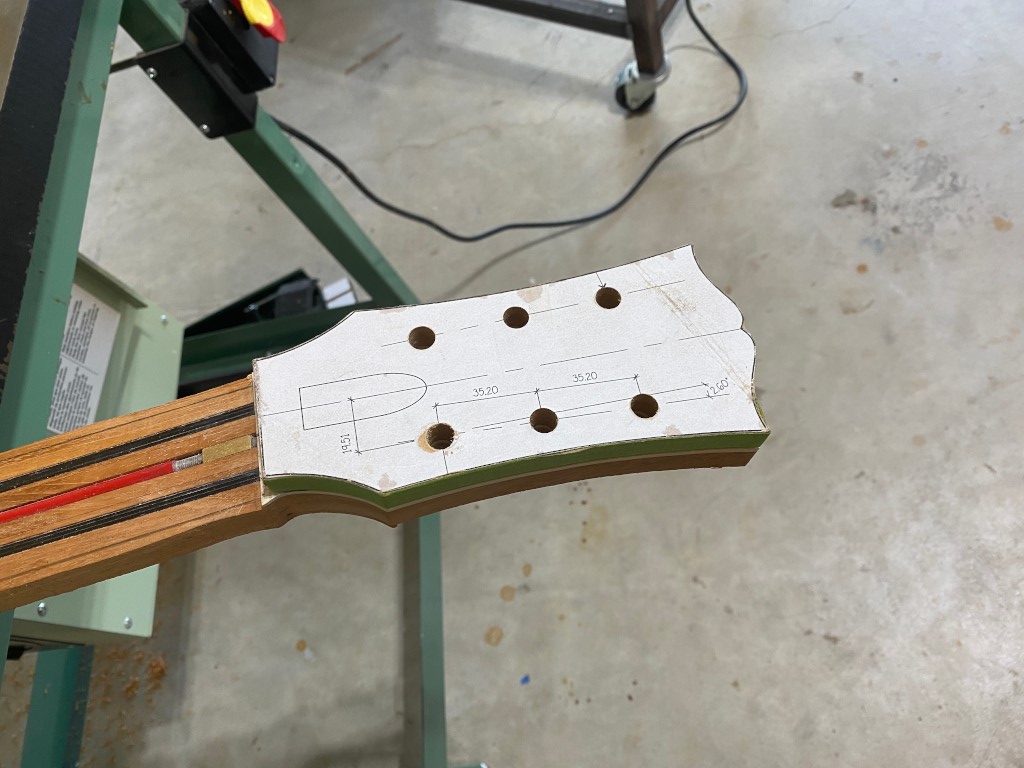
Then I precisely position the headstock template and attach it using a trick with masking tape and CA glue. It firmly holds the template to the surface, but is easily removed later.
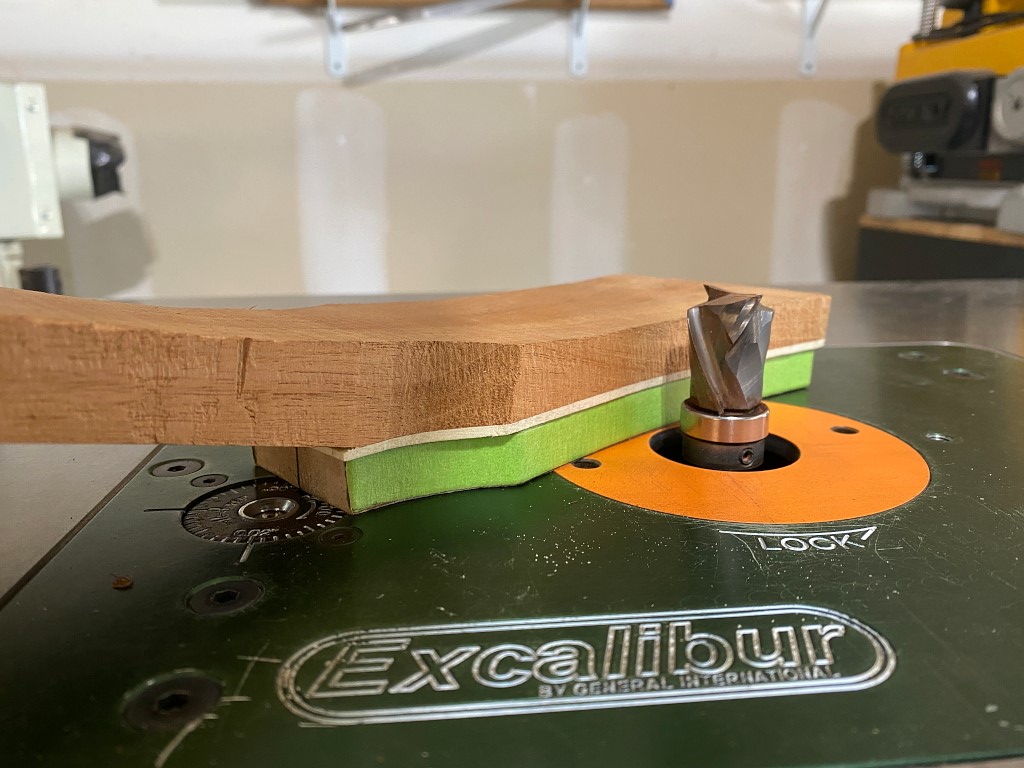
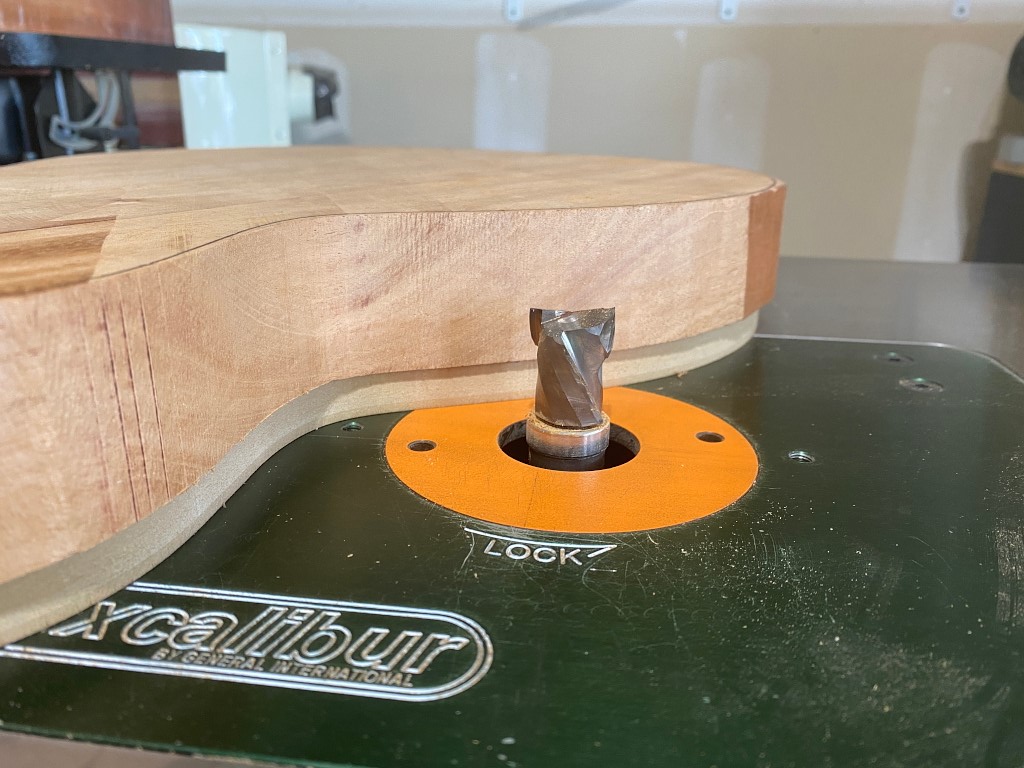
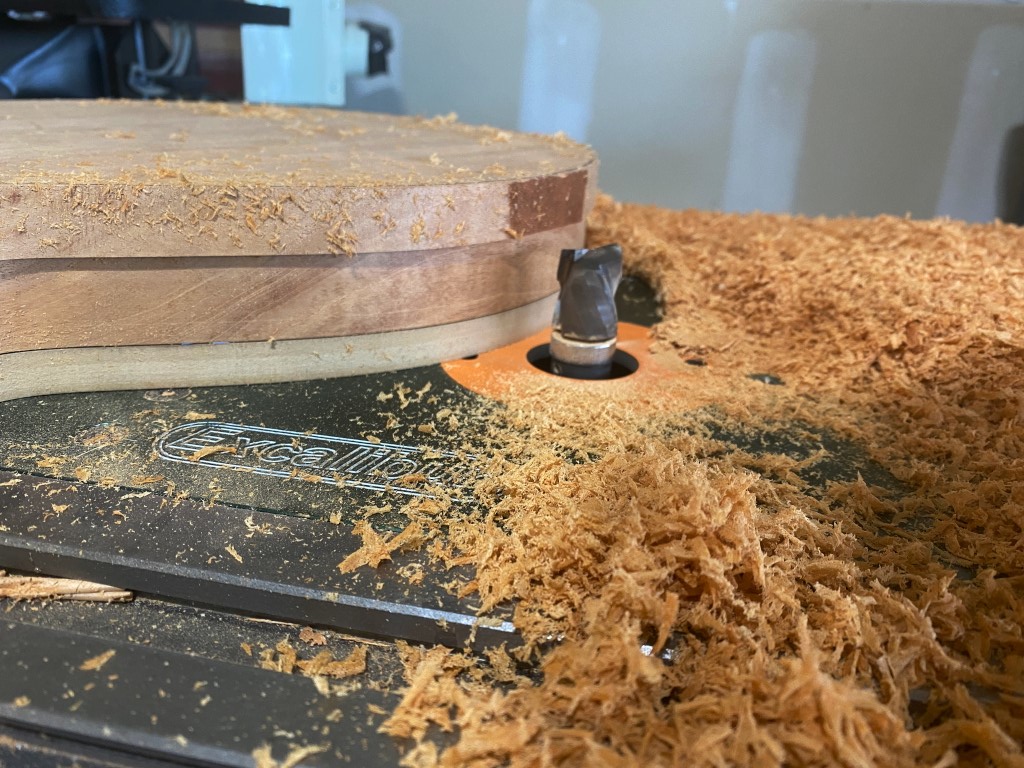
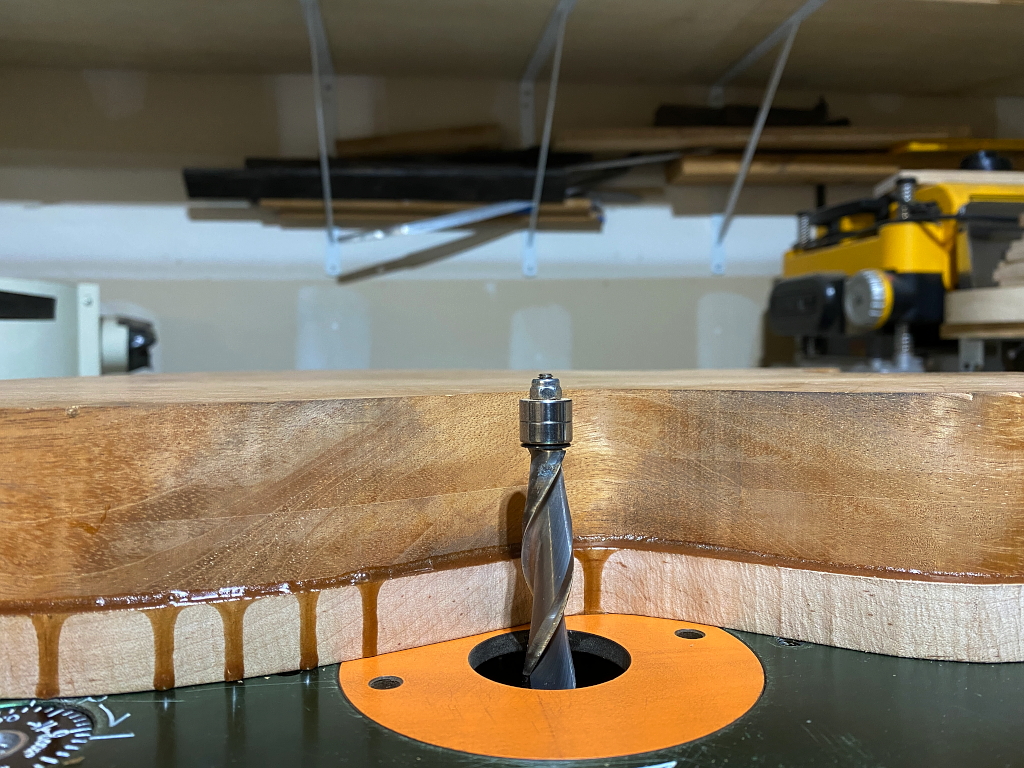
I flip the neck over, template down, and route it on my router table with this fancy-looking carbide spiral bit. the bearing at the bottom of the bit rides along the template and cuts the headstock to the exact shape of the template
Like so
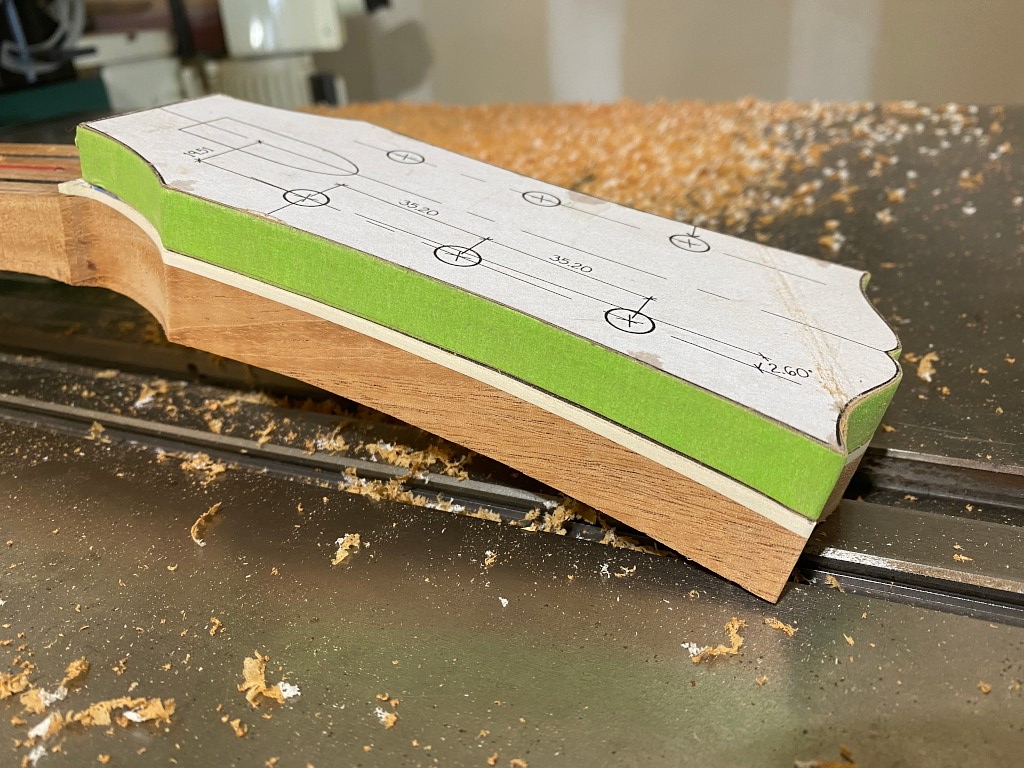
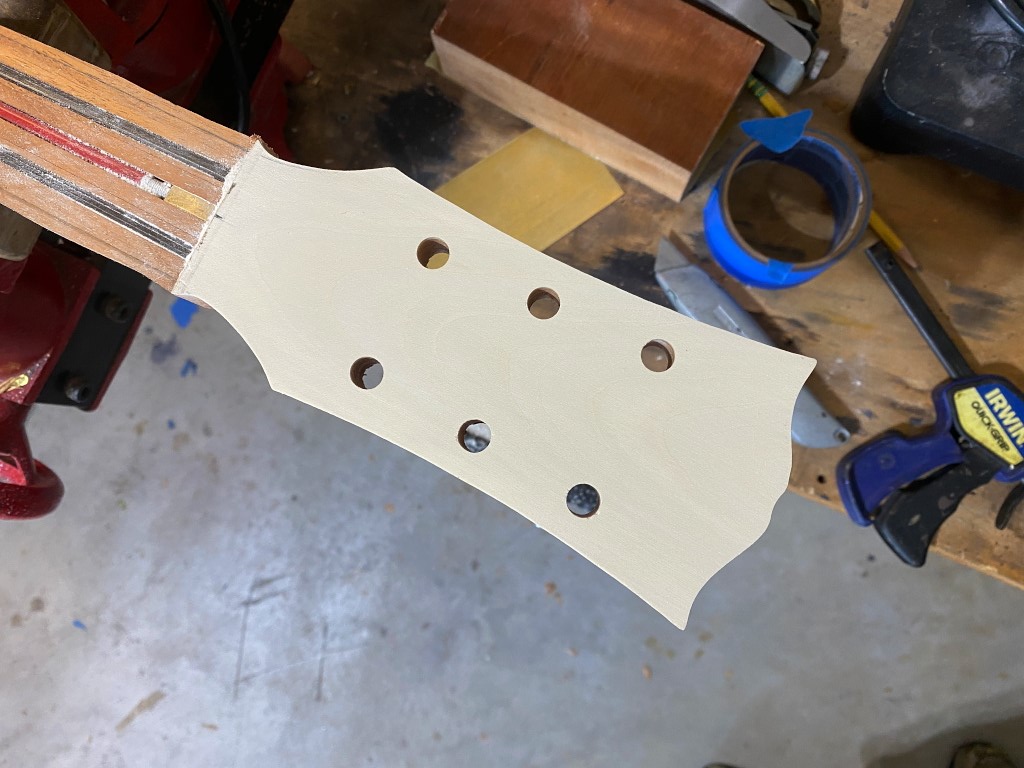
Next I need to drill the tuner holes. I attach a block of mahogany to the underside of the headstock before drilling to prevent tearout of the wood as the drill exits the wood. This creates an exit hole as clean as the entry.
I drill straight through the template with brad point bits. the “brad” is easily aligned precisely to the “x” you can see in the previous shot.
Nice, clean holes
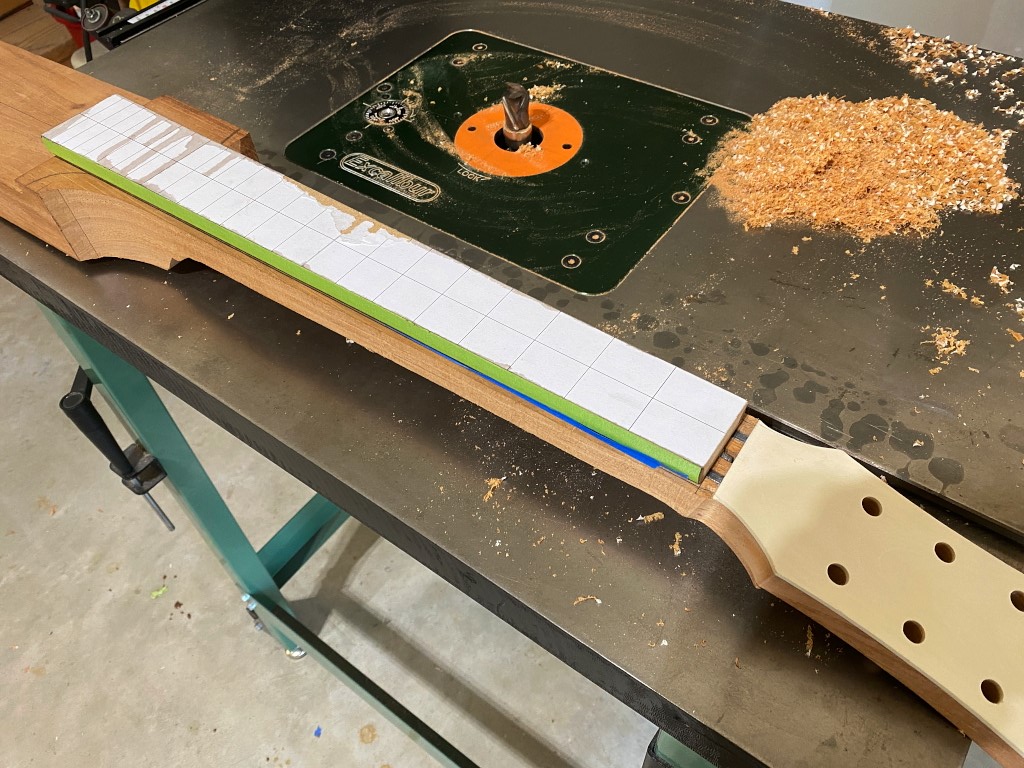
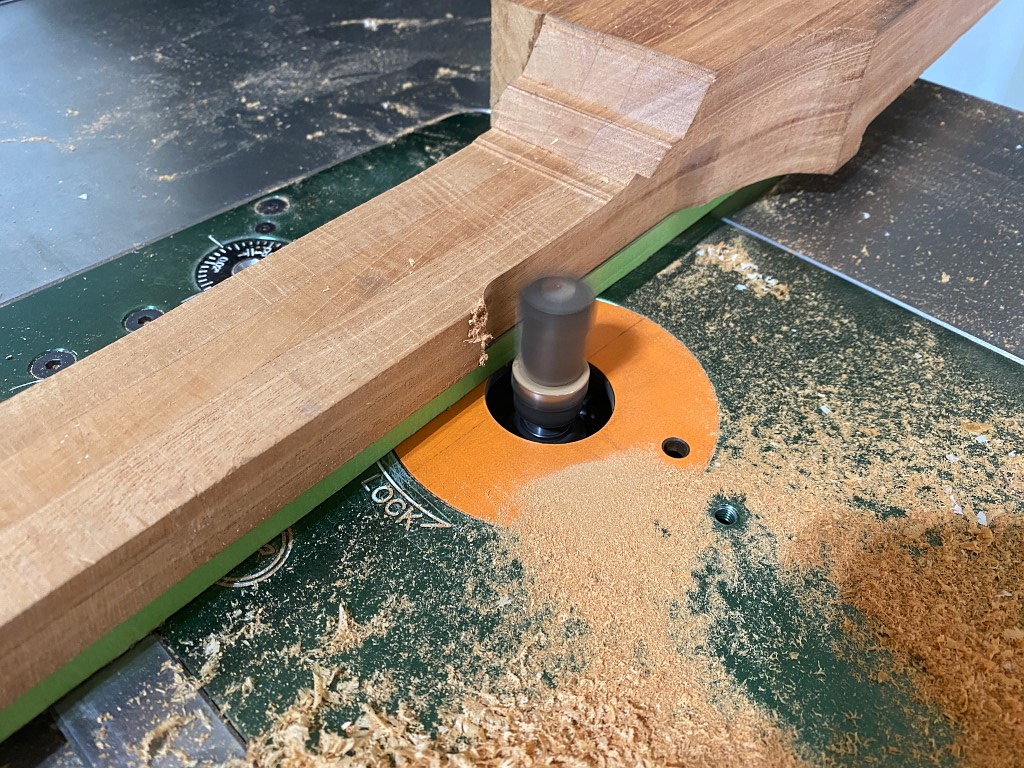
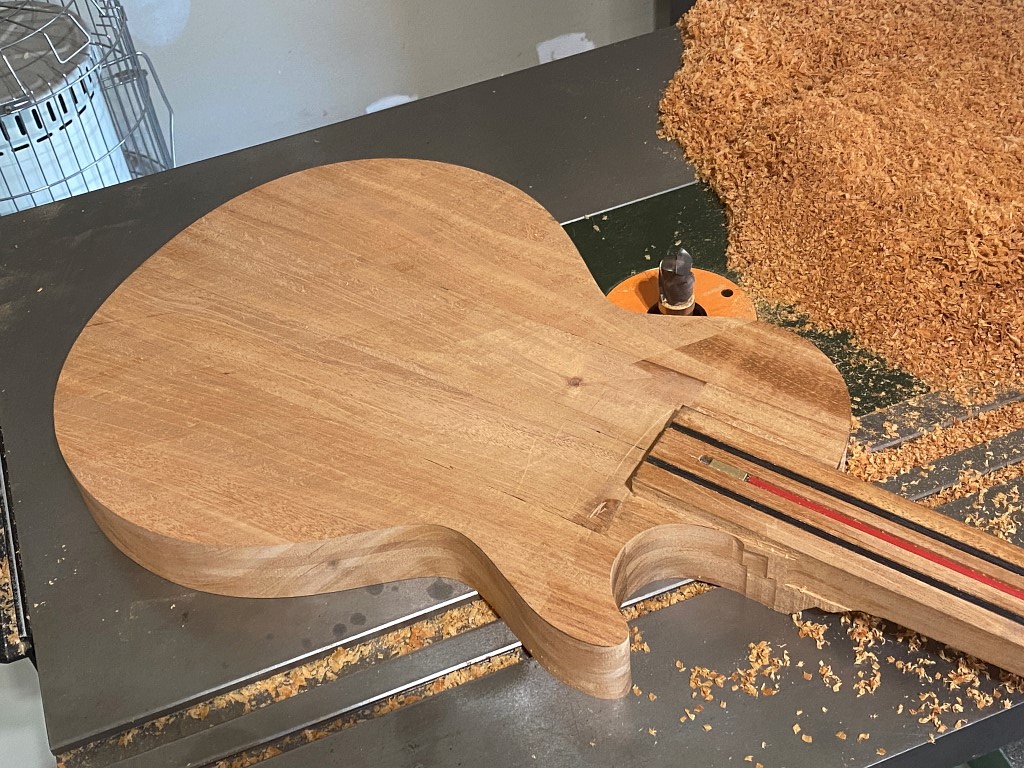
Now that the headstock is done I can route the neck the same way.
You do not want to touch that router bit.
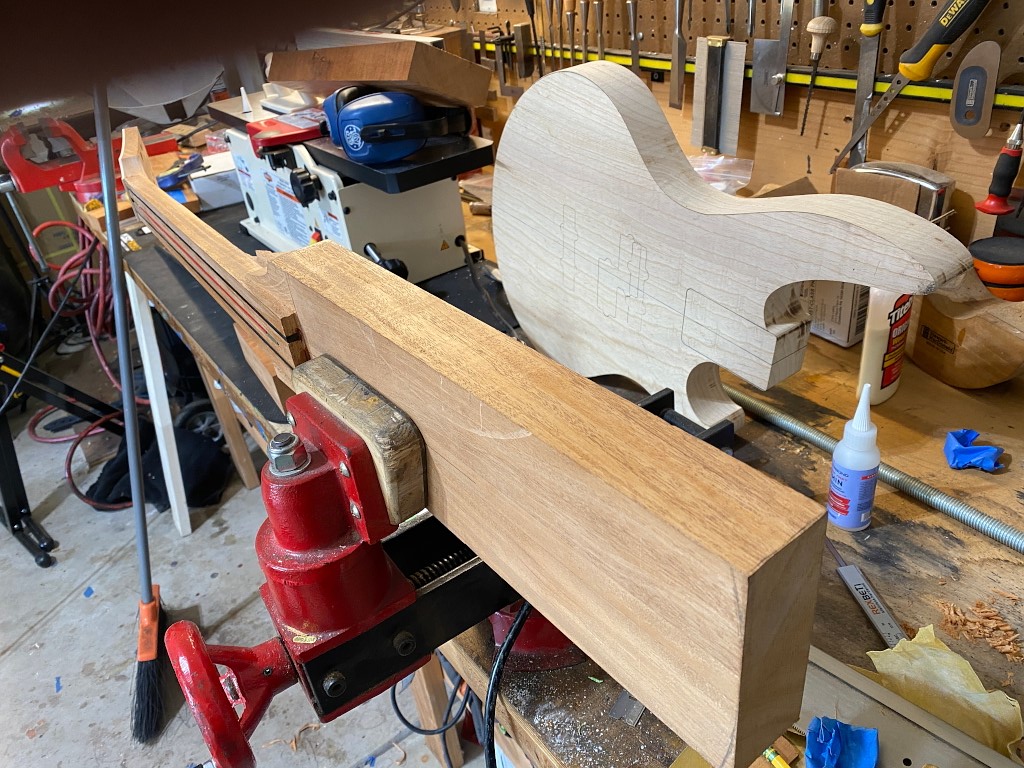
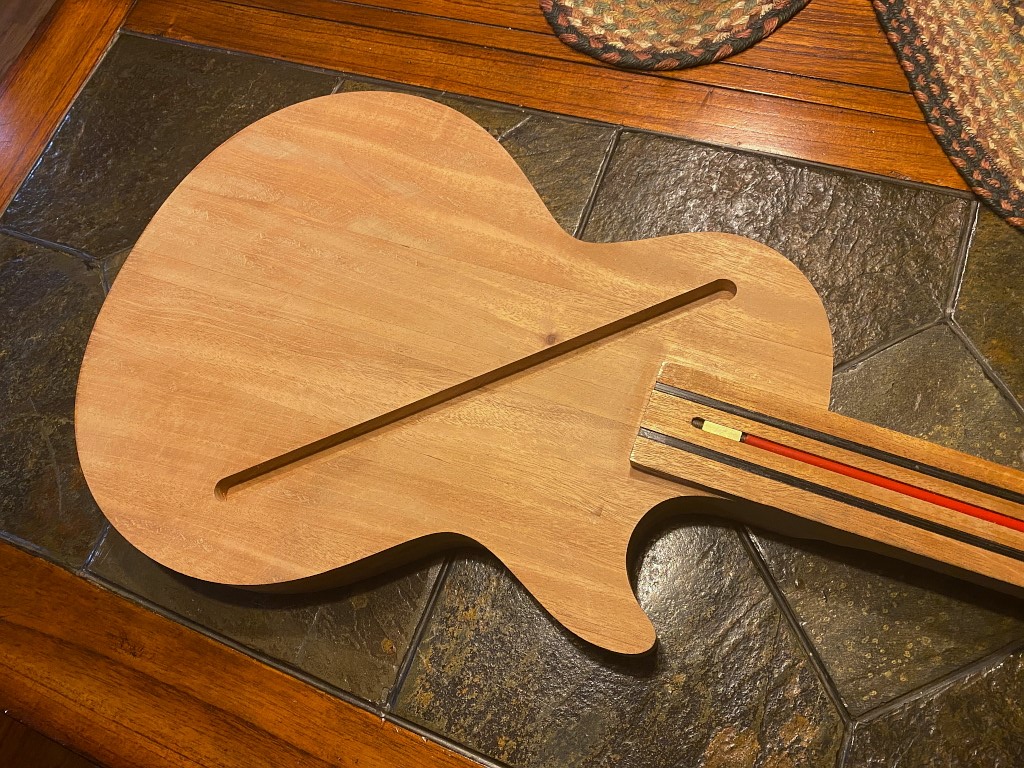
Now we need to remove the excess from the body area on either side of where the fretboard sits on top of the body. pushing one of the wings alongside you can the height it should be
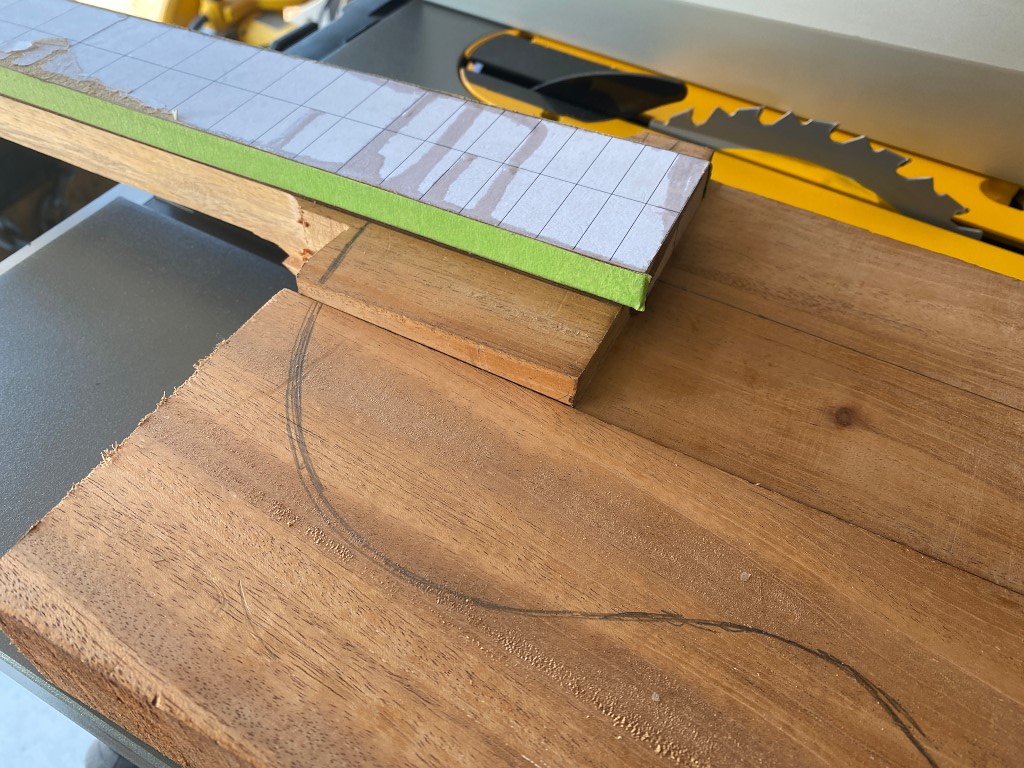
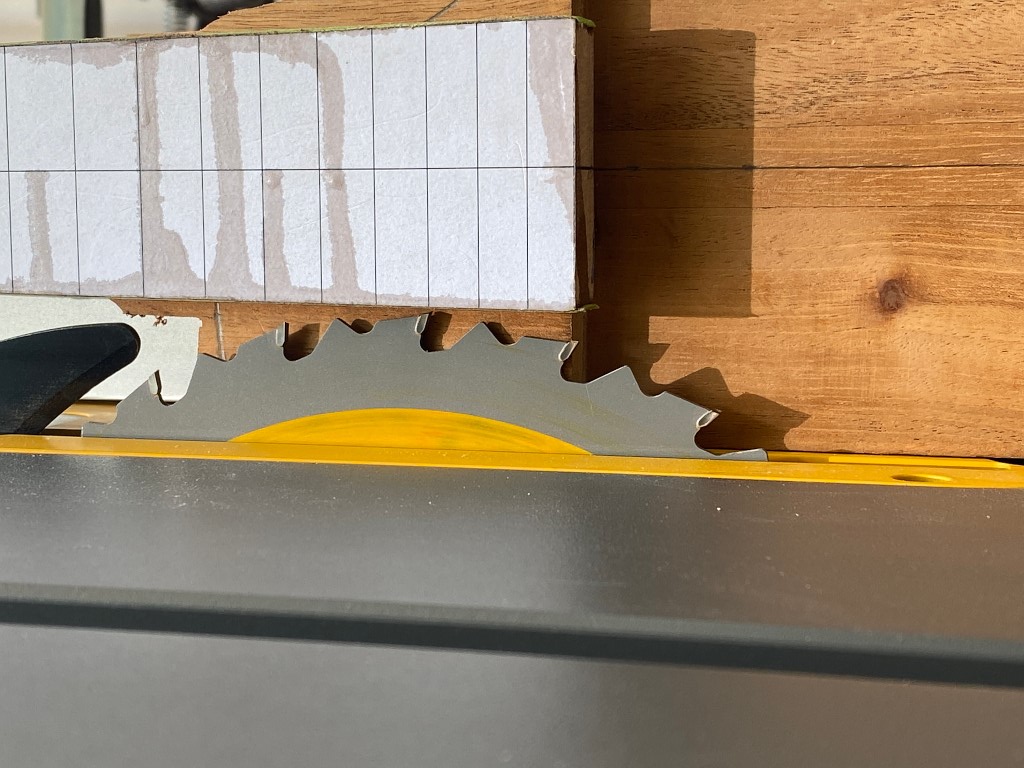
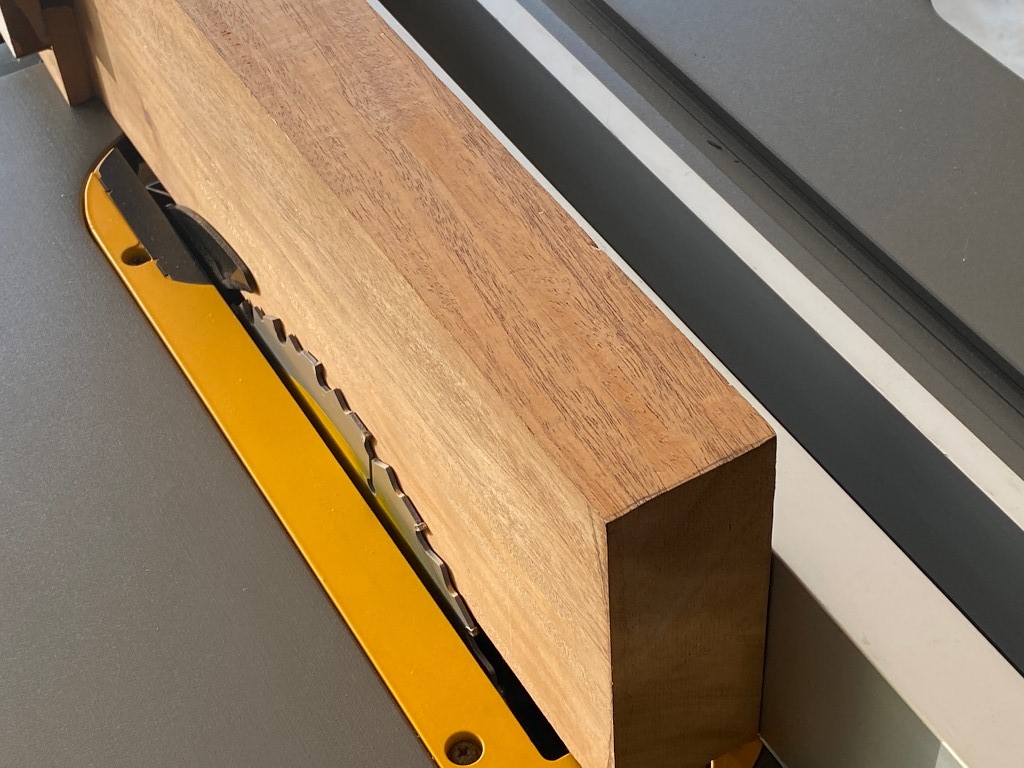
This is easily accomplished by turning the neck on its side and sitting it on the table saw. I raise the blade up until it almost touches the neck
Then position the fence so that it cuts at the exact thickness of the body, turn on the saw and make the cut (1.75″ remember?)
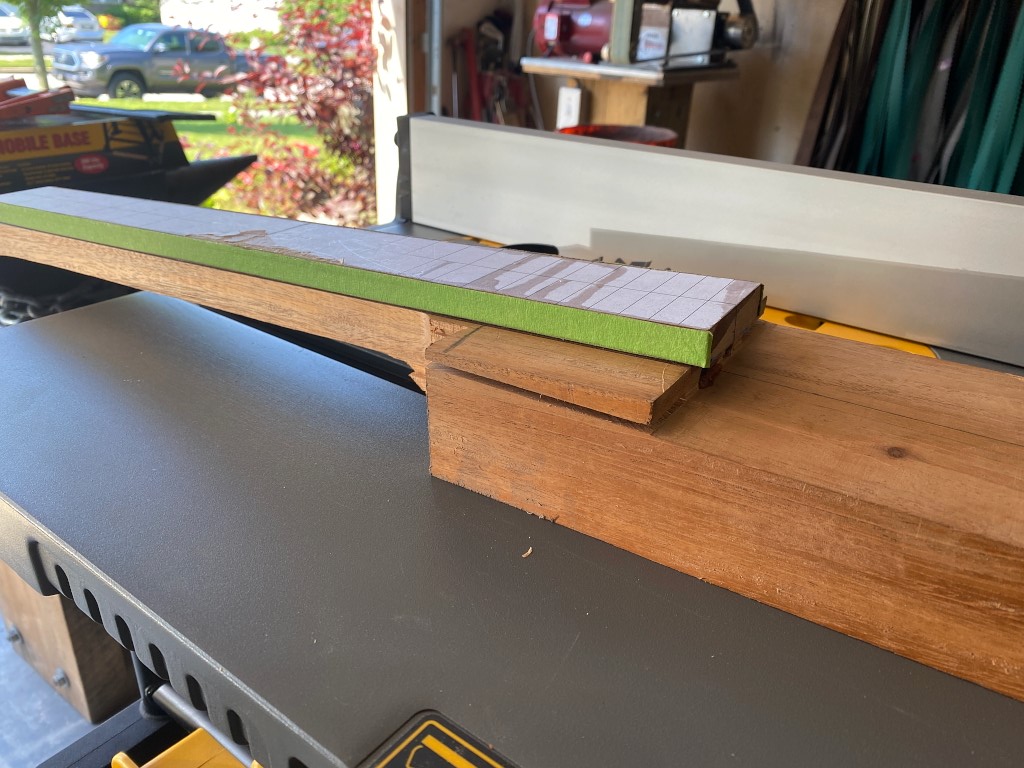
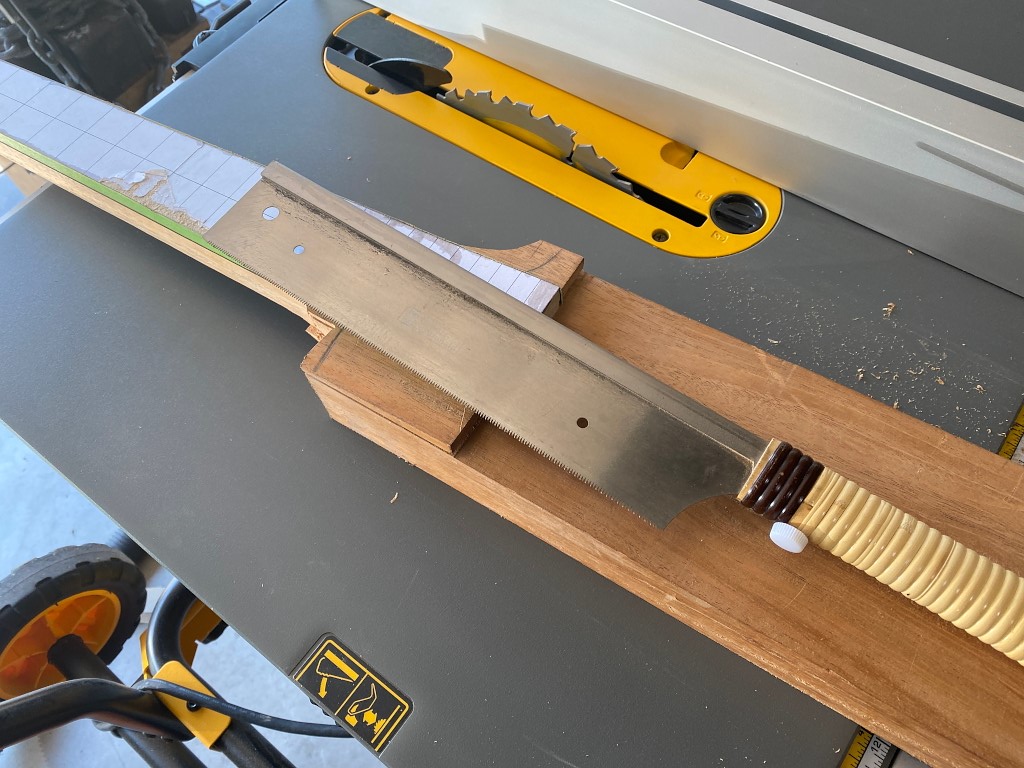
Laying it back flat you can see the cut I made. This tab of wood now needs to be removed
I do this with a fret saw. It has a thin kerf and lets me cut close to the fretboard
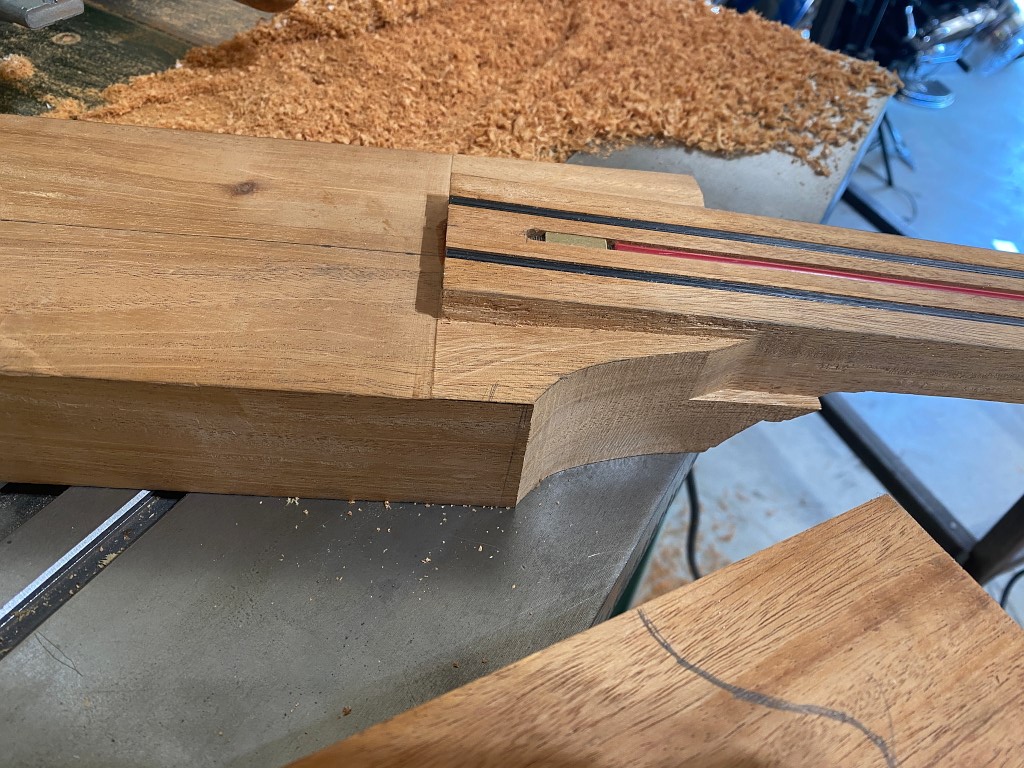
Once removed I can clean up the area with a sharp chisel
When I make the cut with the table saw I leave it a touch high as you can see here. This is better than possibly scarring up the body area by trying to cut it too close. ITs easily fixed with the chisel
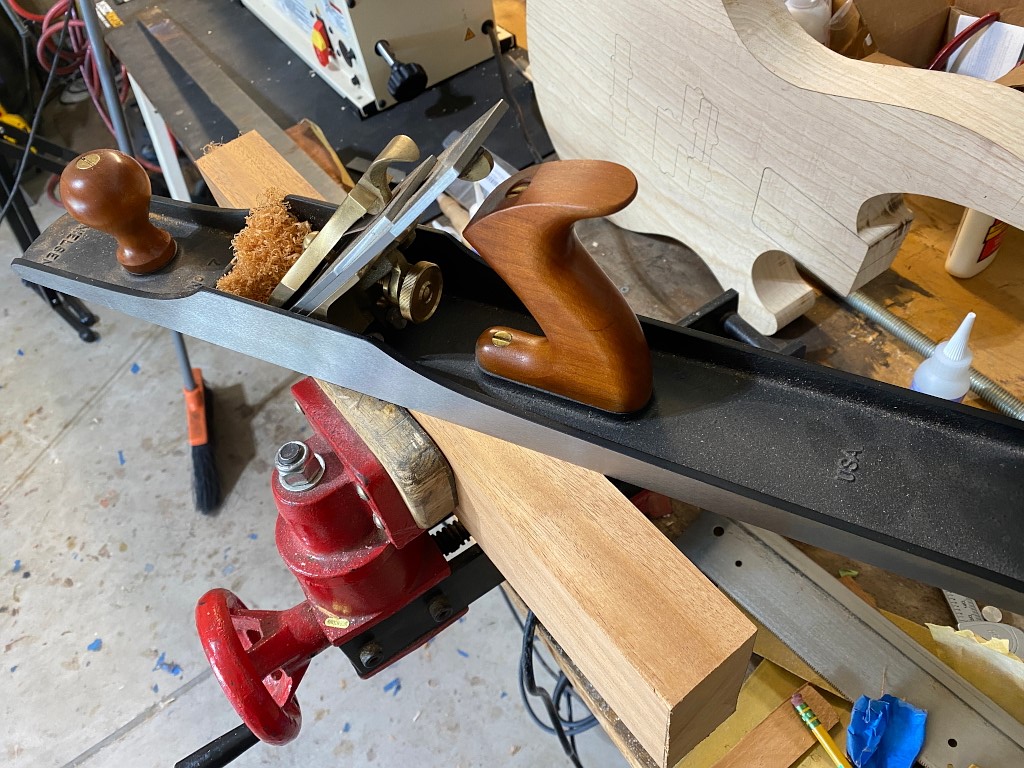
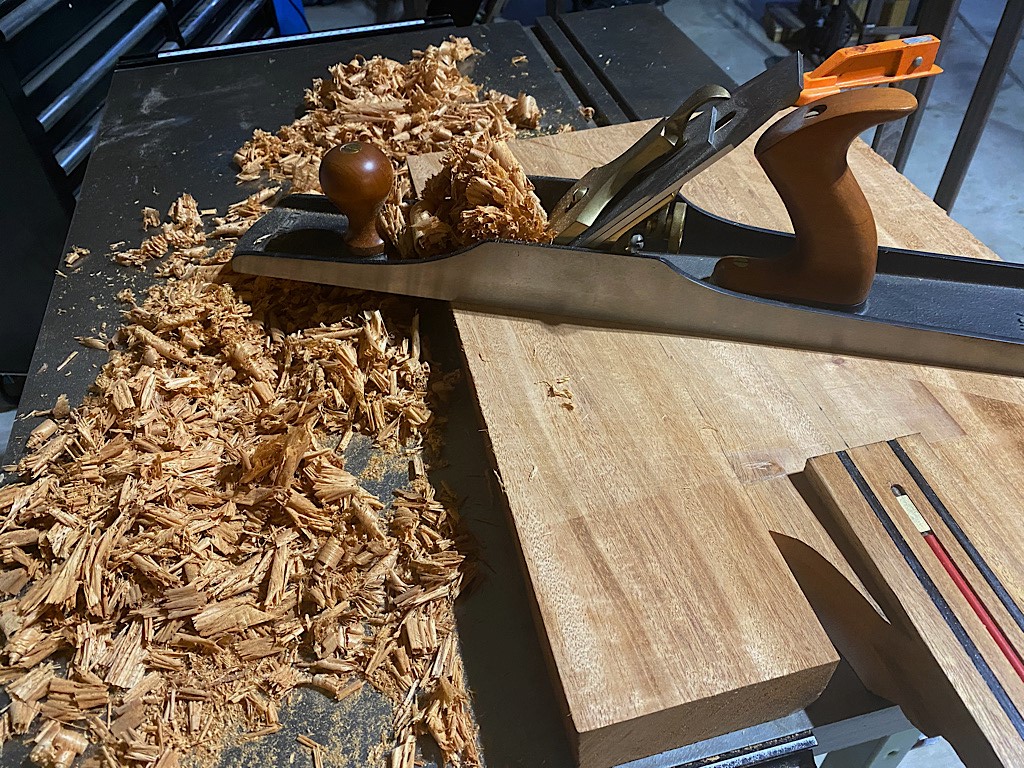
Now that the excess wood has been removed I can prepare to glue on the wings. I prepare the wing pieces the same way I did the 3-piece neck laminate using a hand plane to make the joining surface perfectly flat and smooth
I do the same thing to the sides of the neck blank.
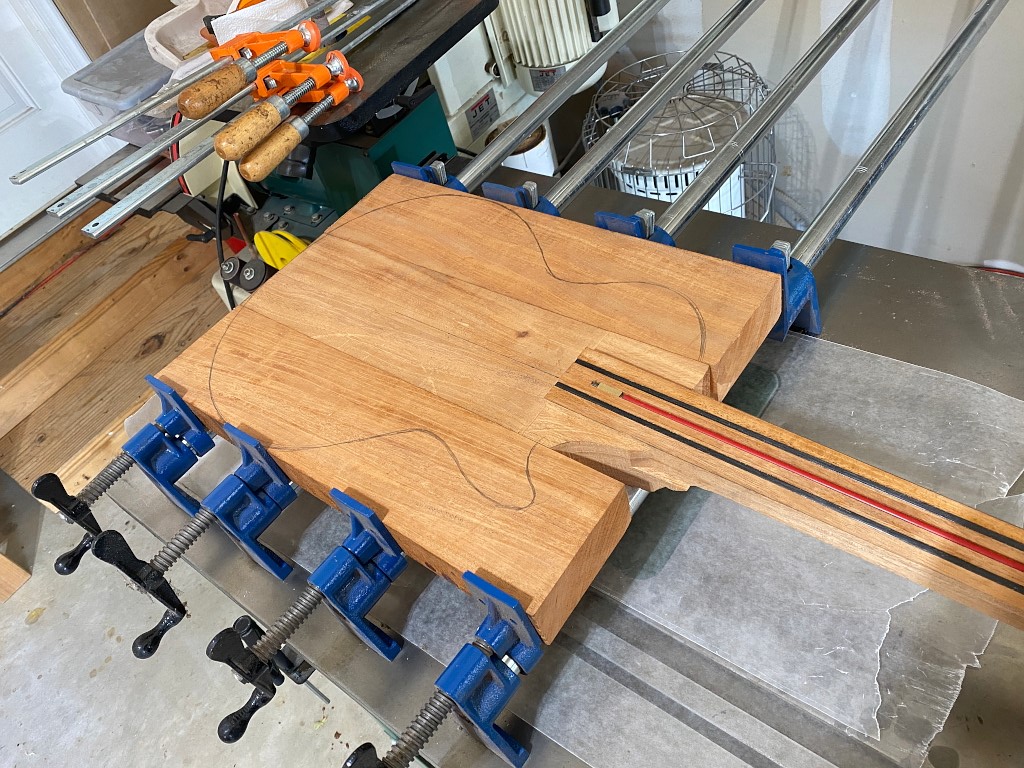
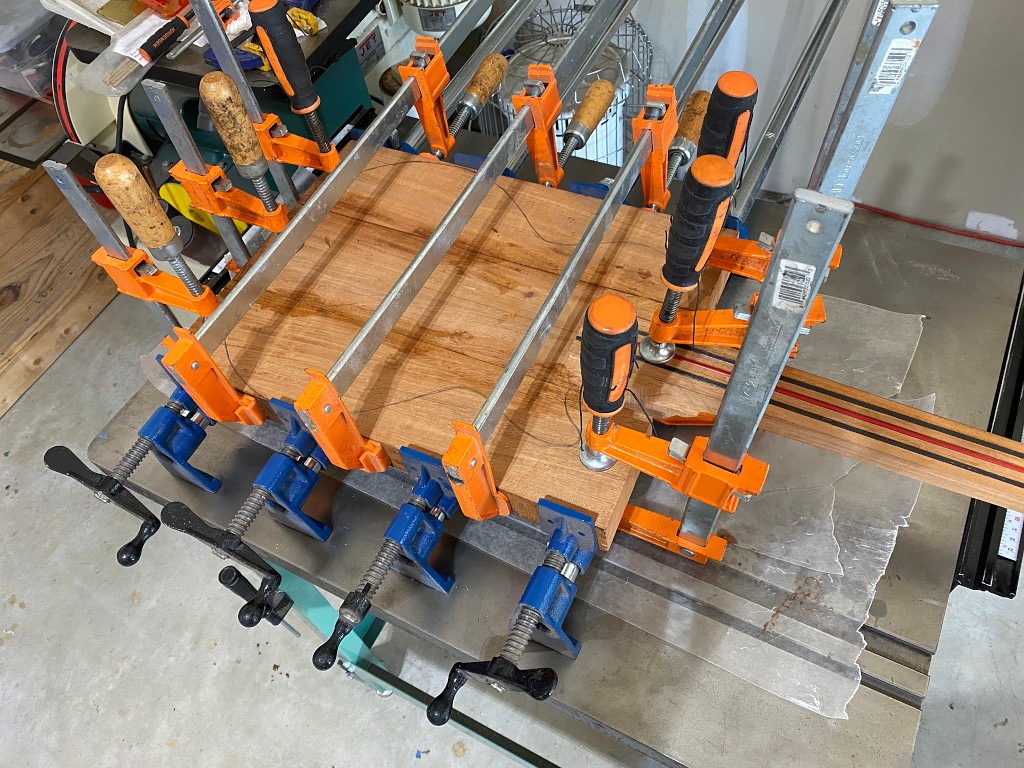
Then I line everything up in my pipe clamps. Whenever I glue anything I lay a couple sheets of wax paper underneath. I dont want any drips to adhere to my router table.
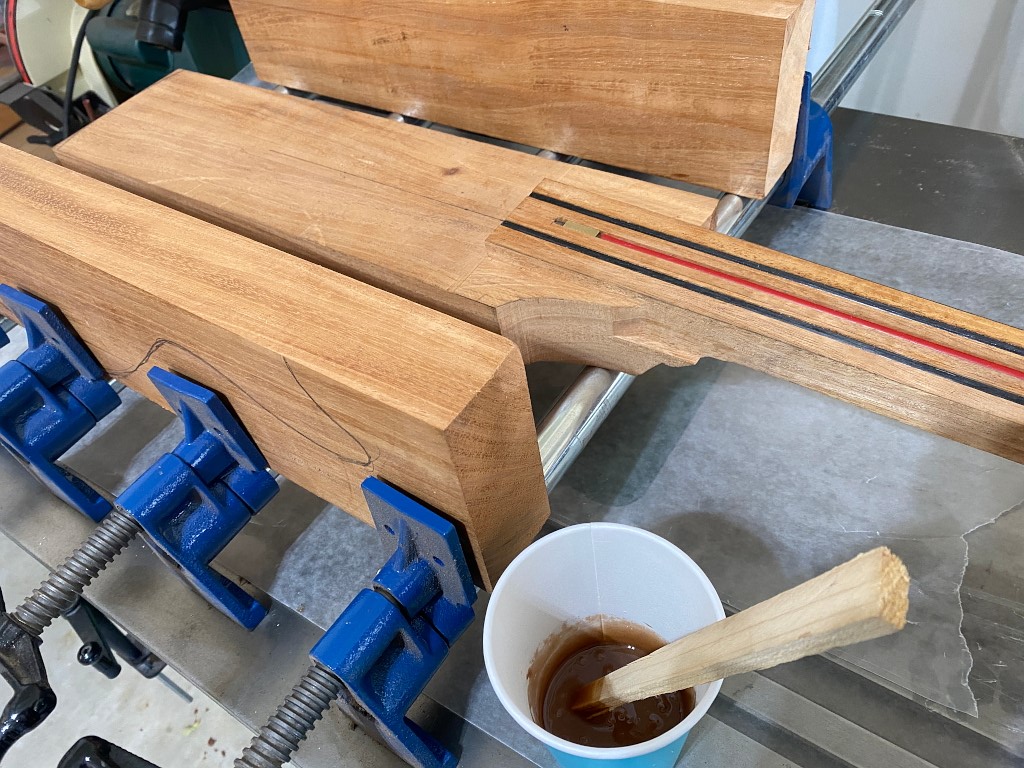
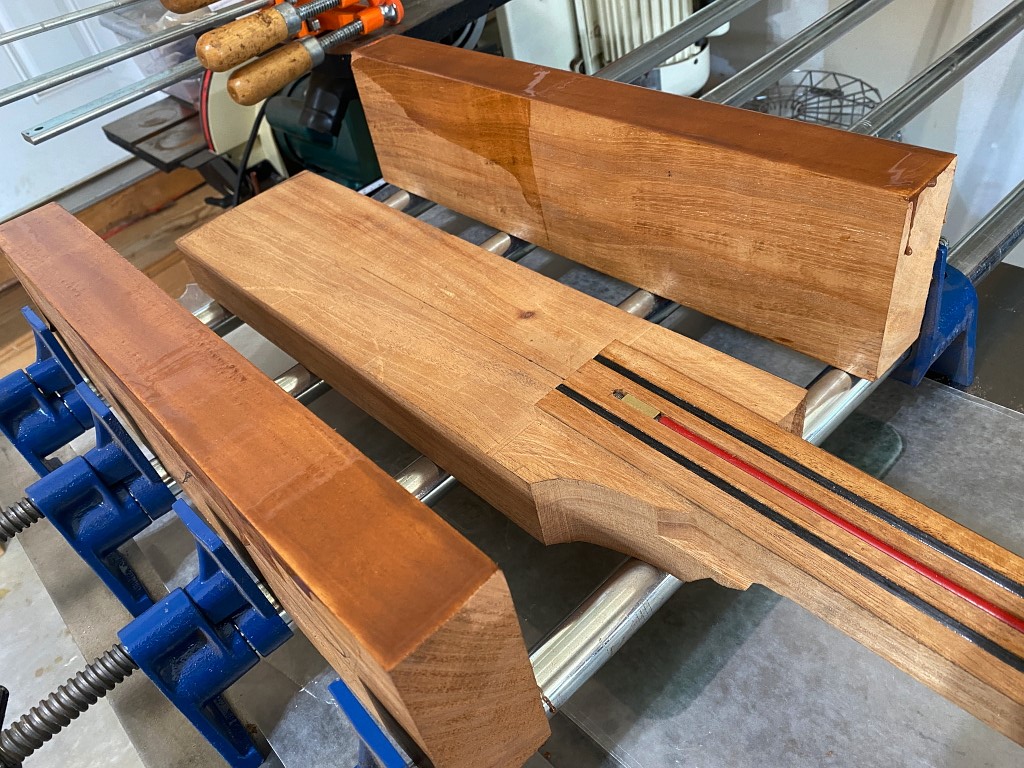
I turn the wings up on edge to apply the glue
And shmear it on. A nice, even coat. I try not to go too heavy as most will get squeezed out anyway and just make a mess.
and then clamp it up
14 hours later I can remove the clamps, and then plane the entire surface as flat as I can make it
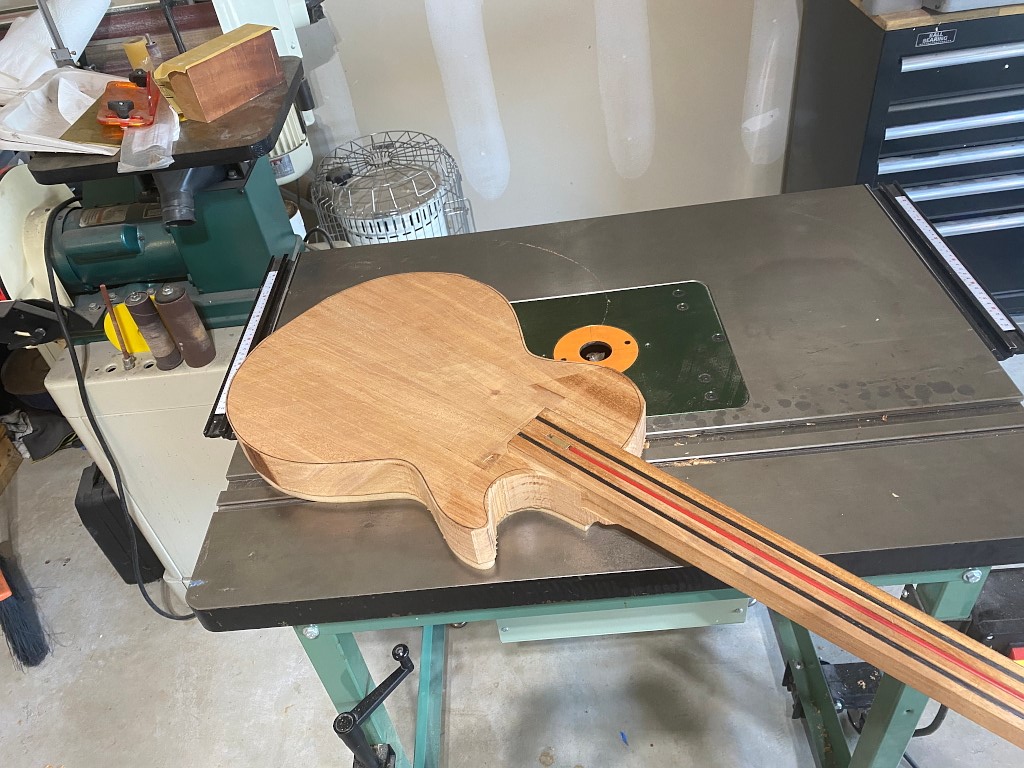
and rough-cut out the body shape. Like the neck and headstock, I leave the last little but for the router.
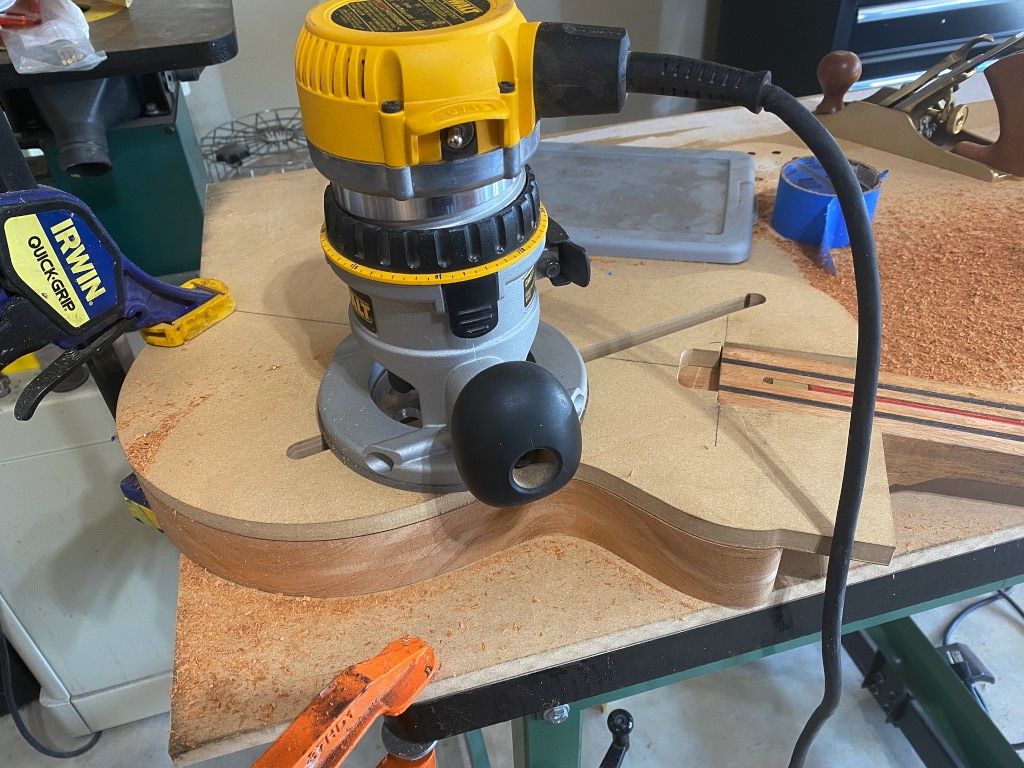
the routing template for this gets attached to the bottom of the body
and I make several passes around the body, raising the cutter up each pass. This is because the body is actually thicker than the cutter height
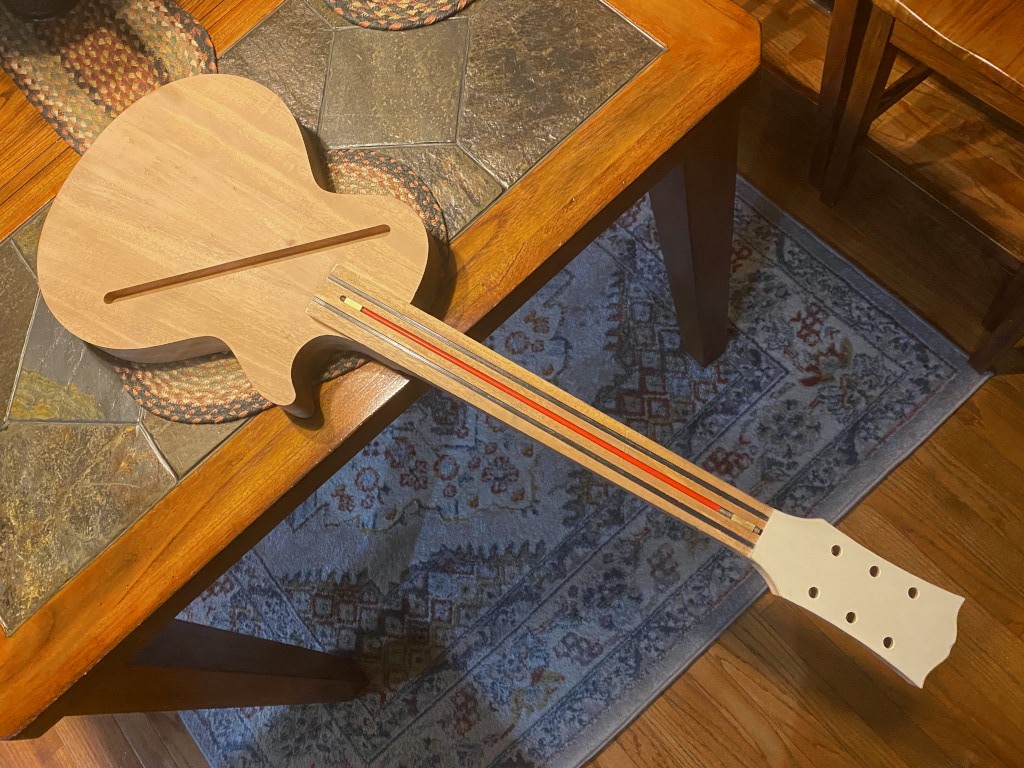
Look out, its starting to resemble a guitar…
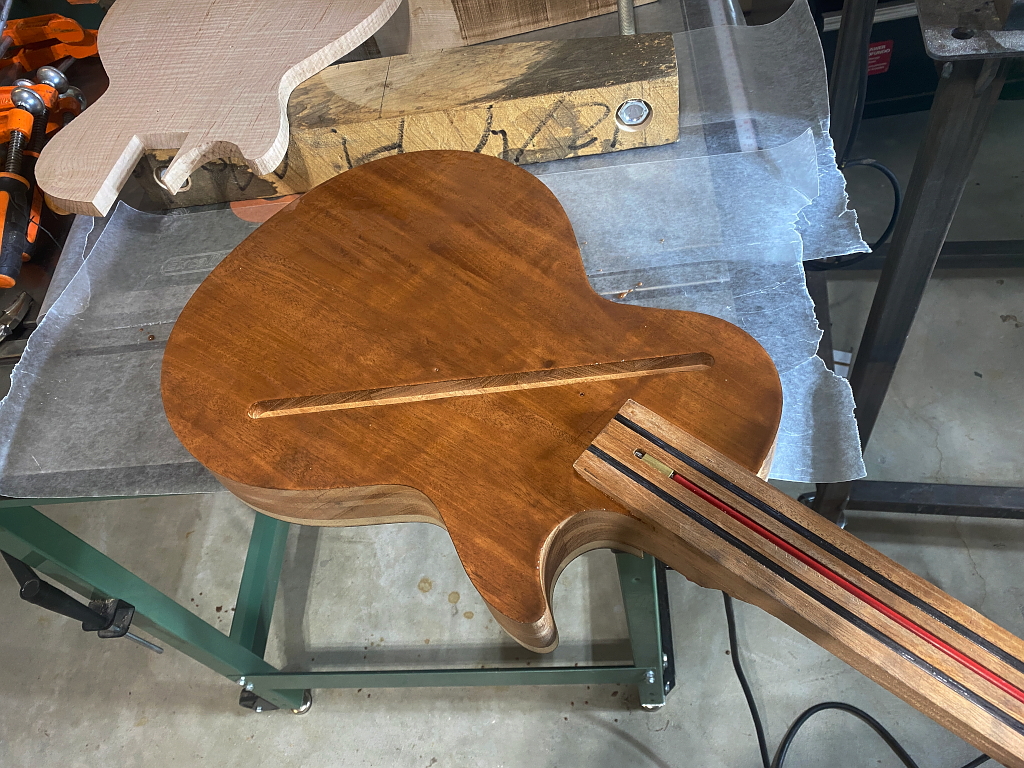
At this point I move the routing template to the top of the body and use a hand-held router to route the wiring channel.
Starting to see hints of the finish line, but thats still a long way out 😉
This channel is where the wires will run under the top that connects the control cavity, the pickups, and the toggle switch.
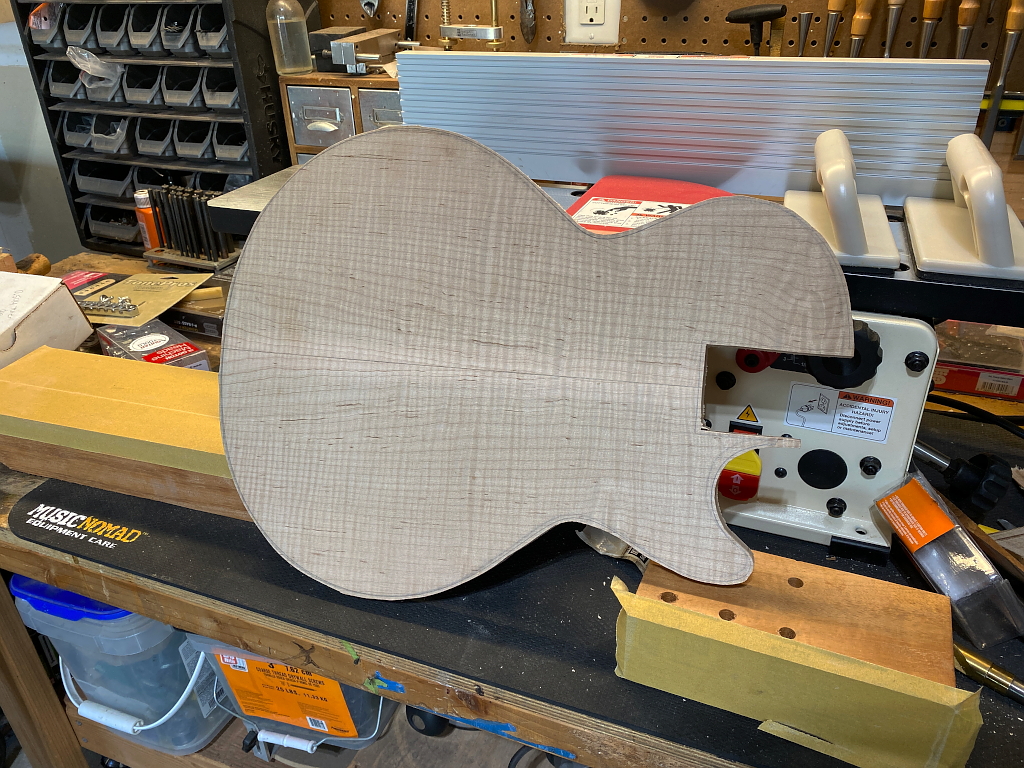
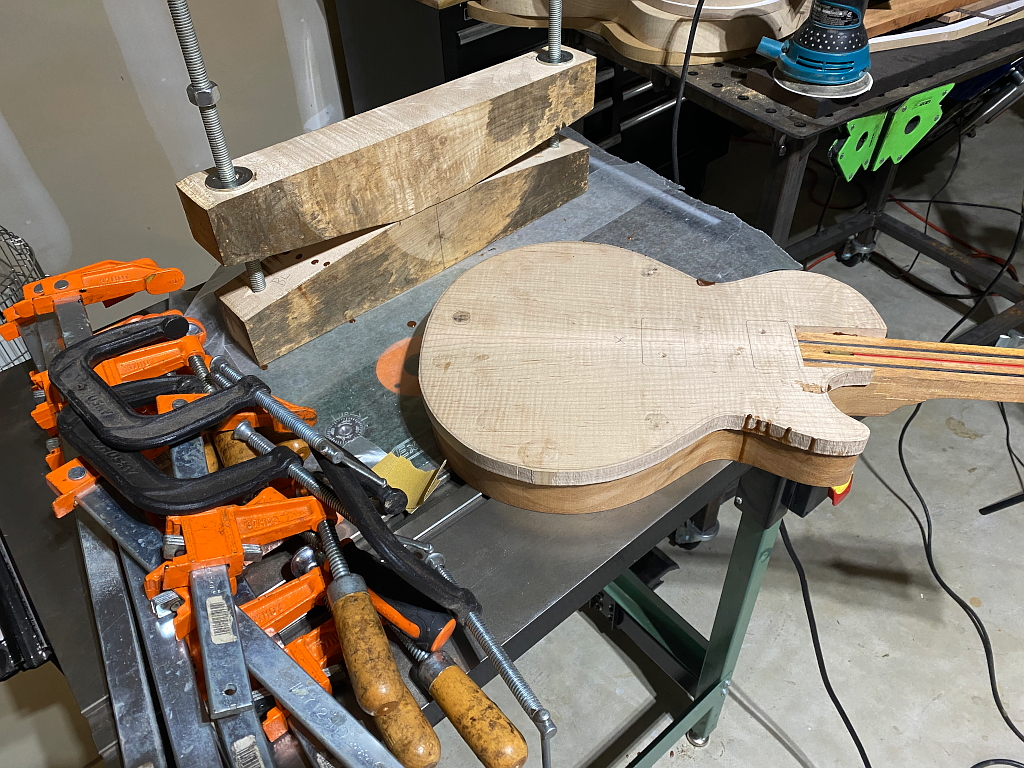
You’ll recall the top was a big square, so its time to rough cut that.
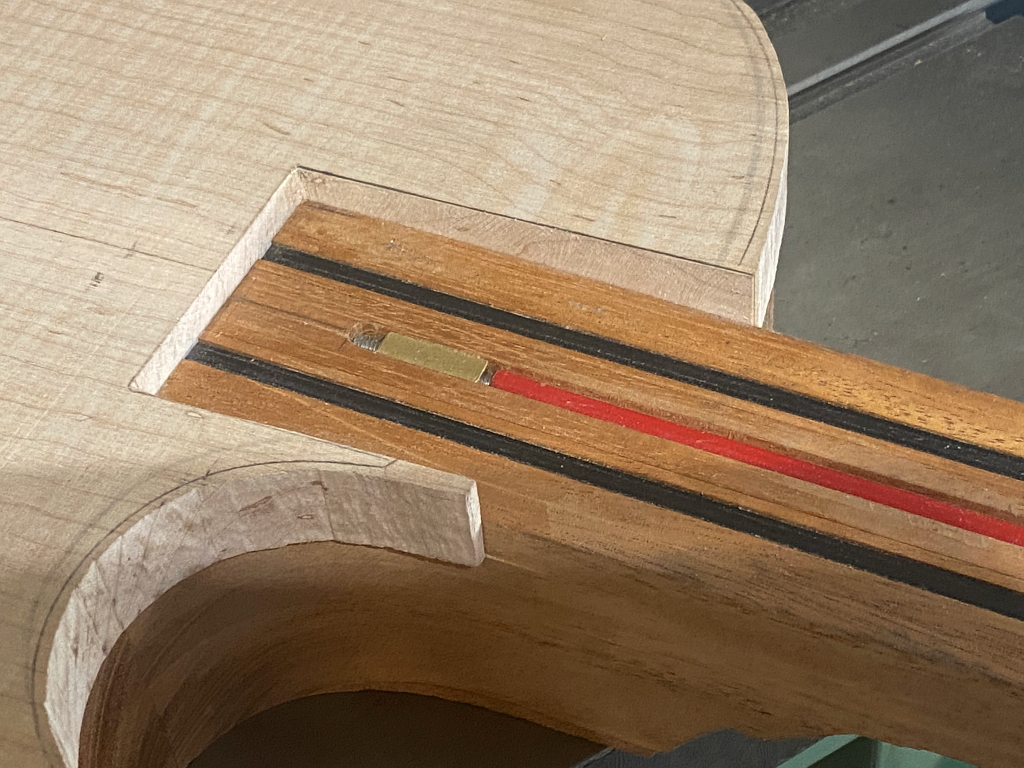
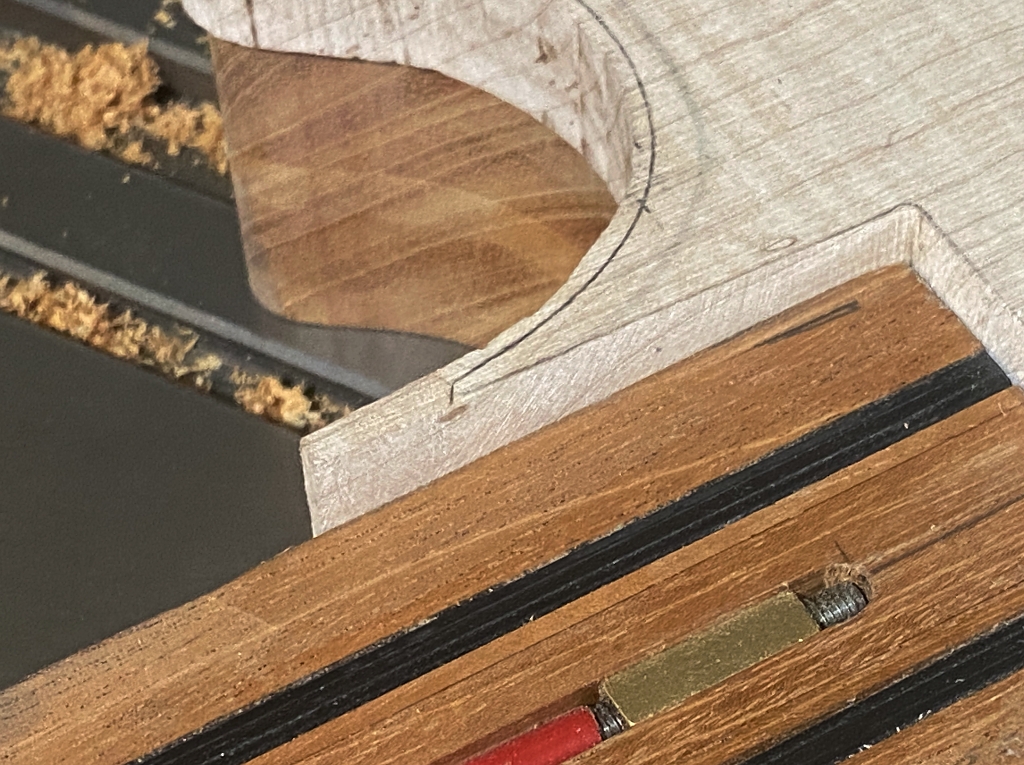
The access for the neck is carefully shaped so that it fits snugly around the neck. I dry-fit this repeatedly to get it perfect.
A nice even coating of my favorite UF glue…
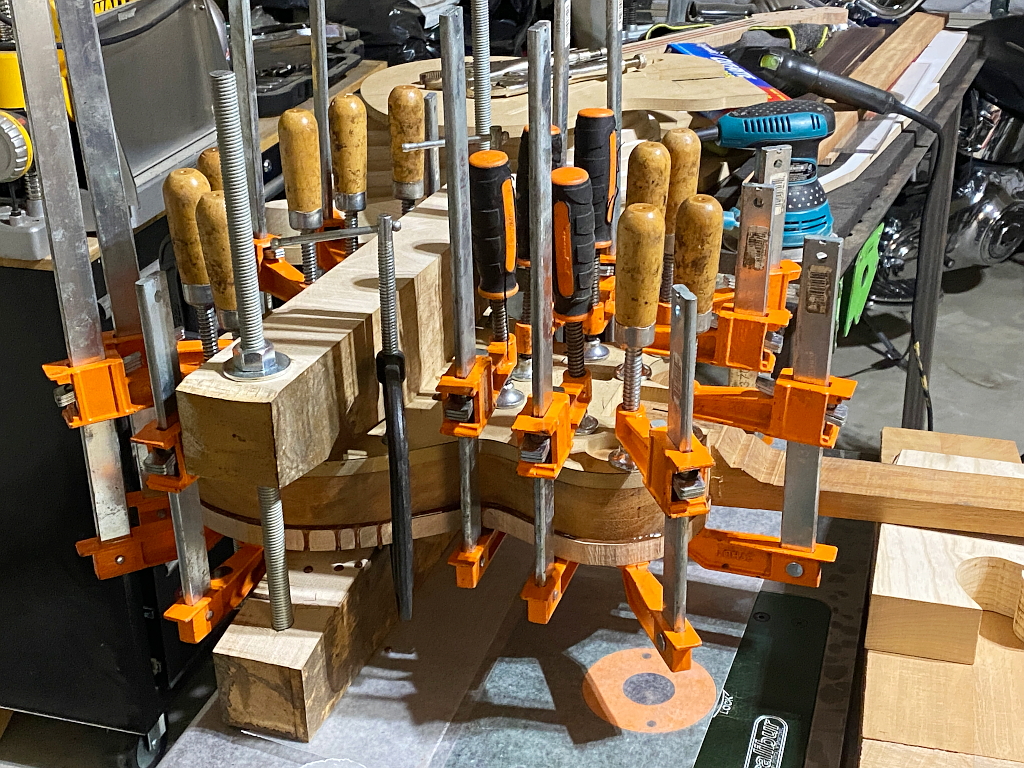
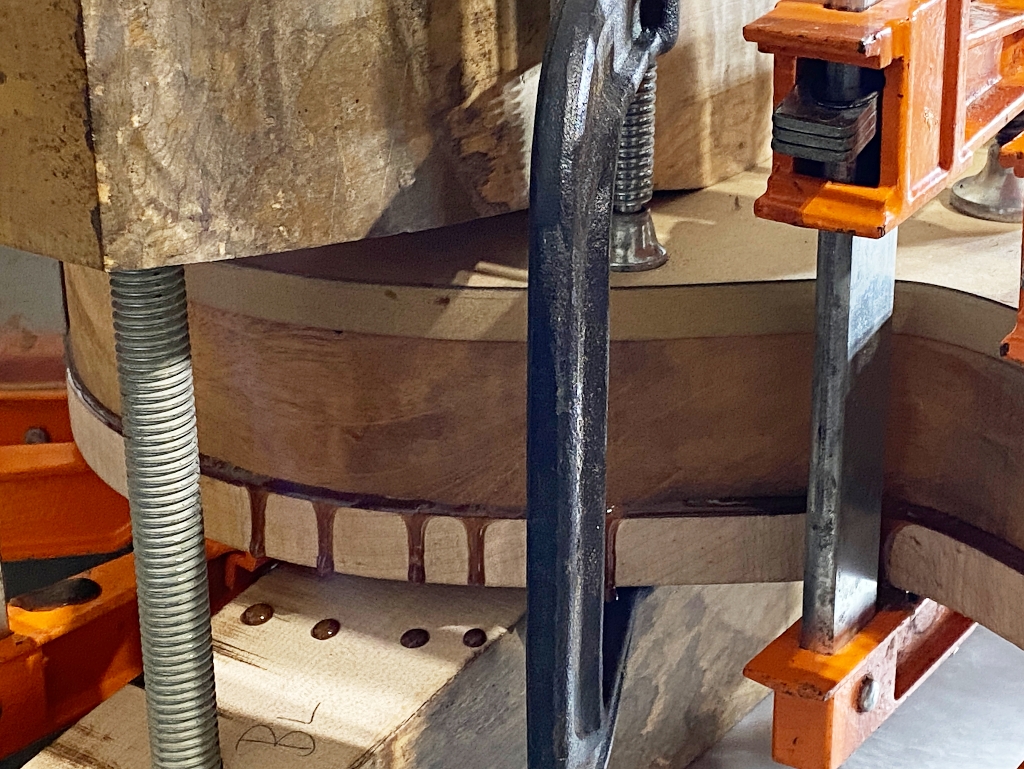
…and clamp the crap out of it. I start with a very large, wood clamp thats designed to apply the pressure directly in the center of the body, and then work my way gradually out from there out to the edge with clamps. I do this beacause even though I take pains to not use too much glue, this joint has a very large surface area, and even the thin film of glue can build up if you start at the edge as this will push any excess “squeezeout” in toward the center. It can cause the joint to no be completely closed. Starting in the center and working outwards forces any squeezeout completely out of the guitar, as you can see in the photo. that glue you can see in the photo would be trapped inside if you just clamped the edges.
Next day I can remove all the clamps…
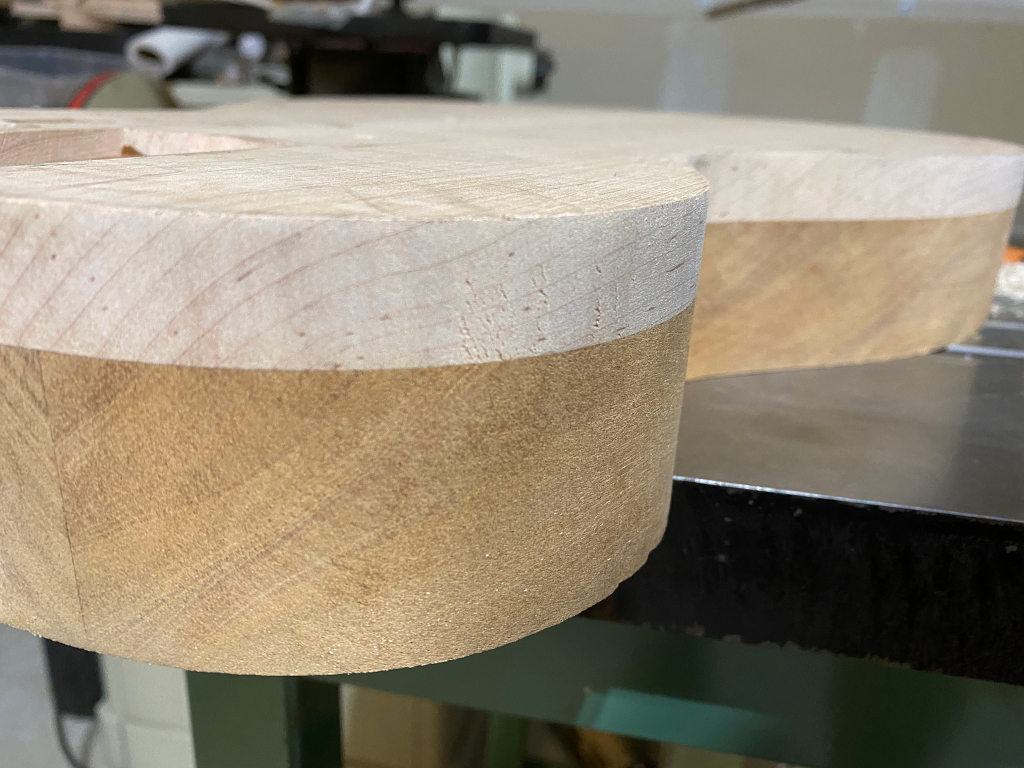
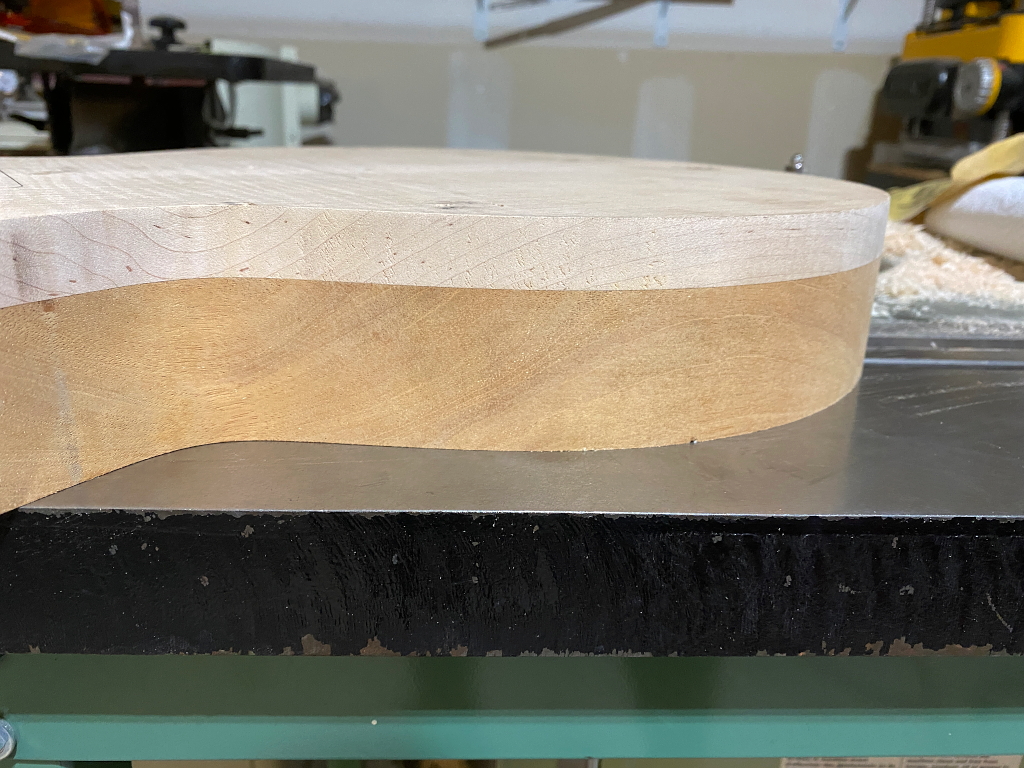
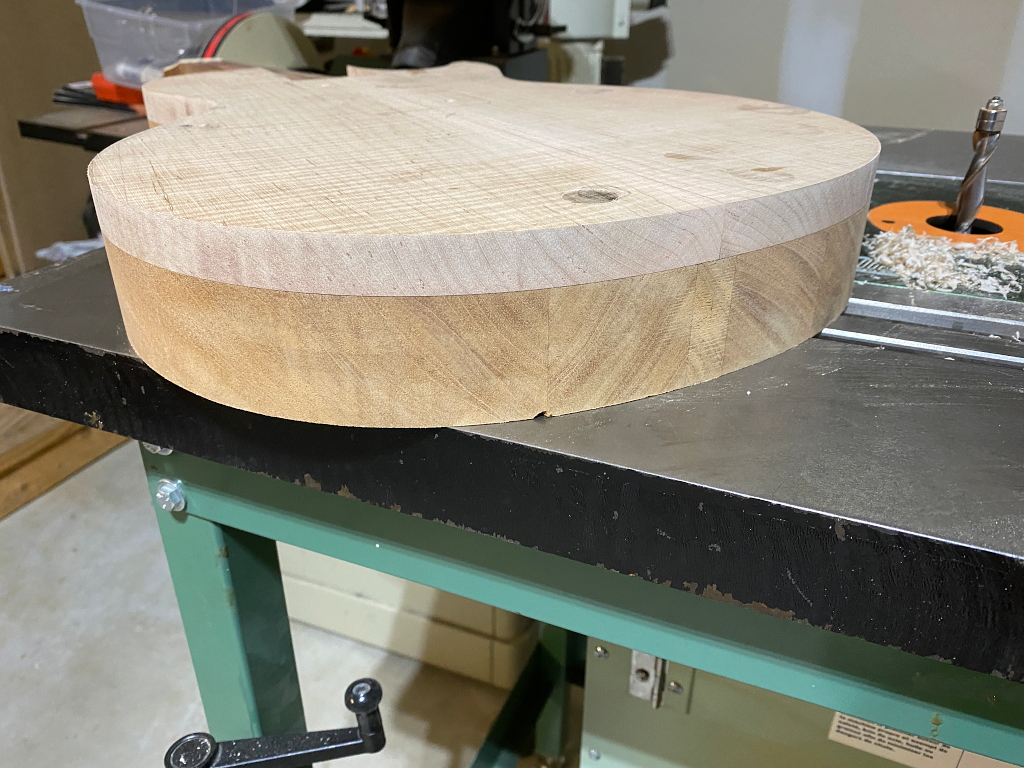
The top is still oversized, and now we can route it down to the same dimension as the back. No template is needed this time since the body itself is the template now…
The result is an awesome joint. Too bad its going to disappear behind the binding 🙂

