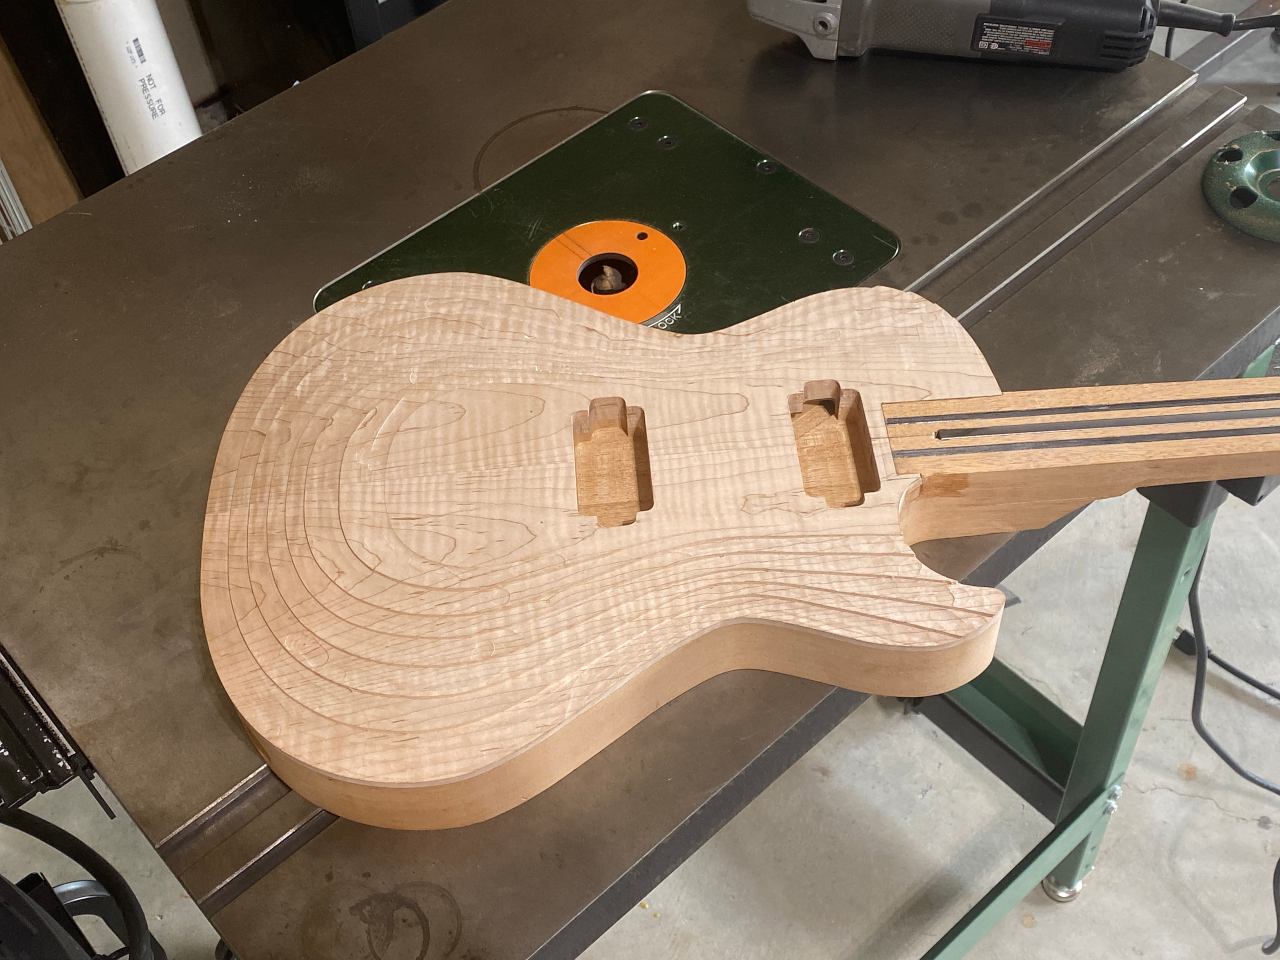
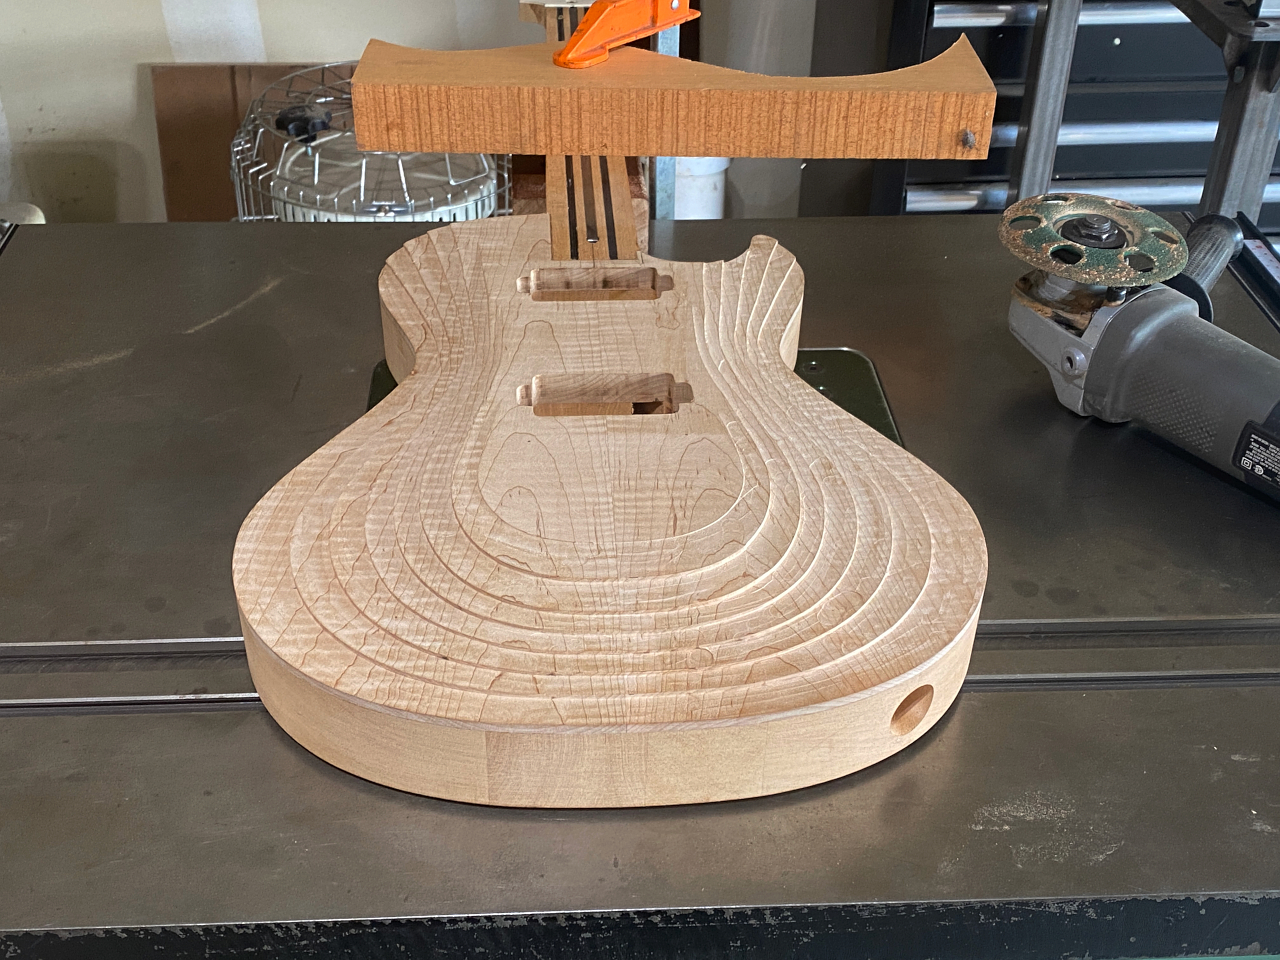
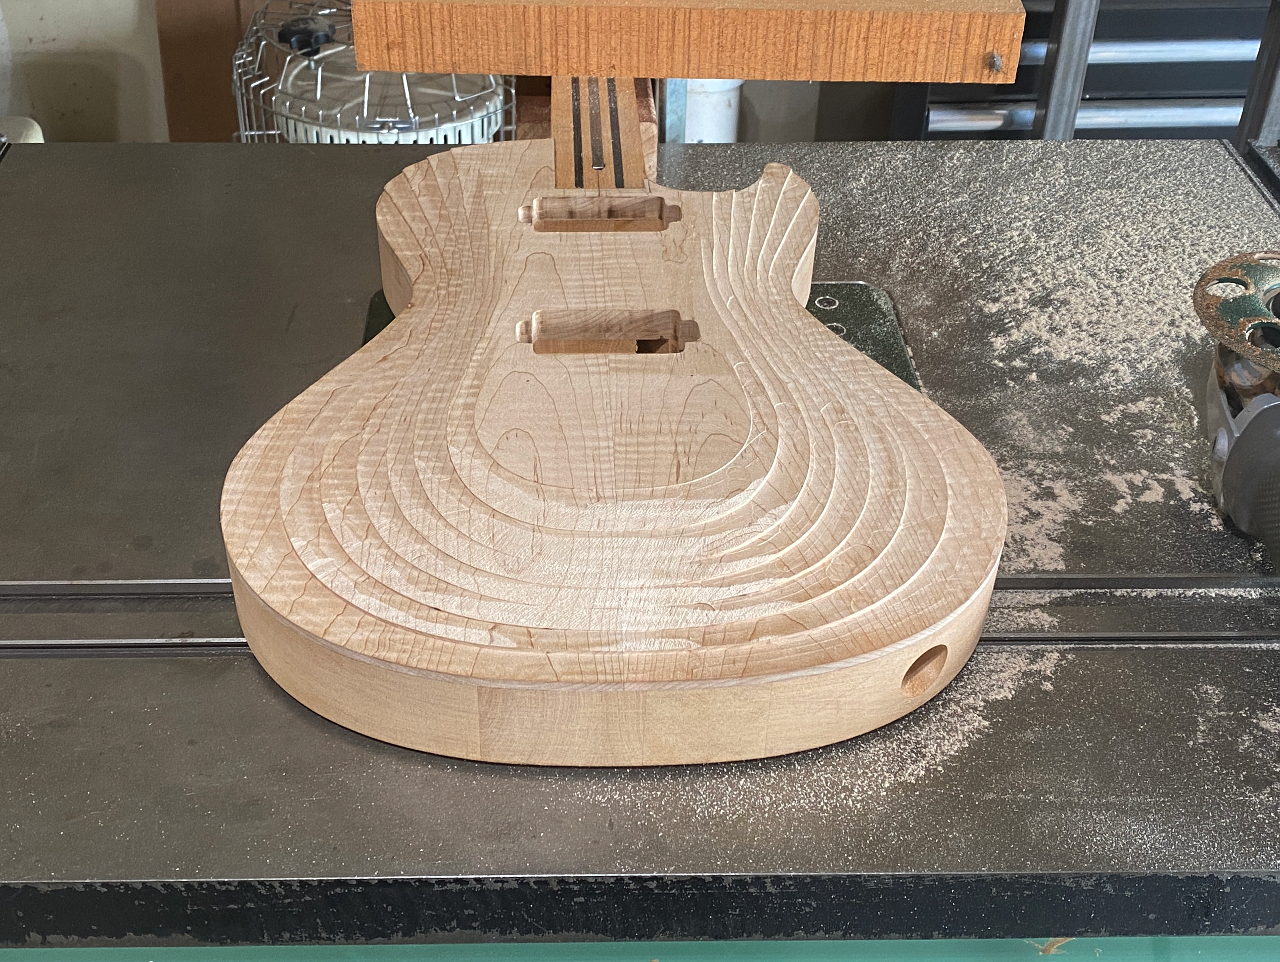
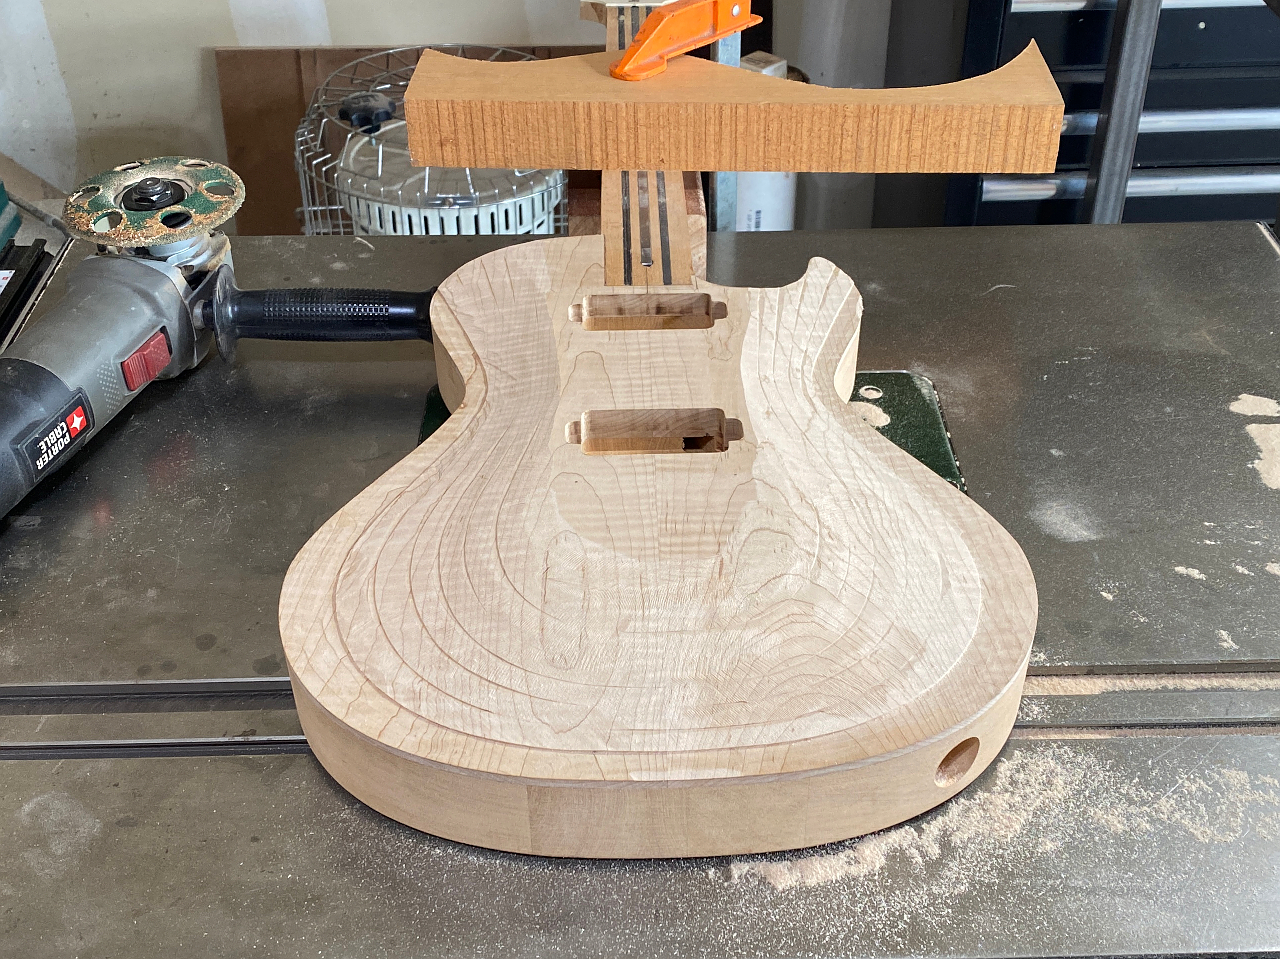
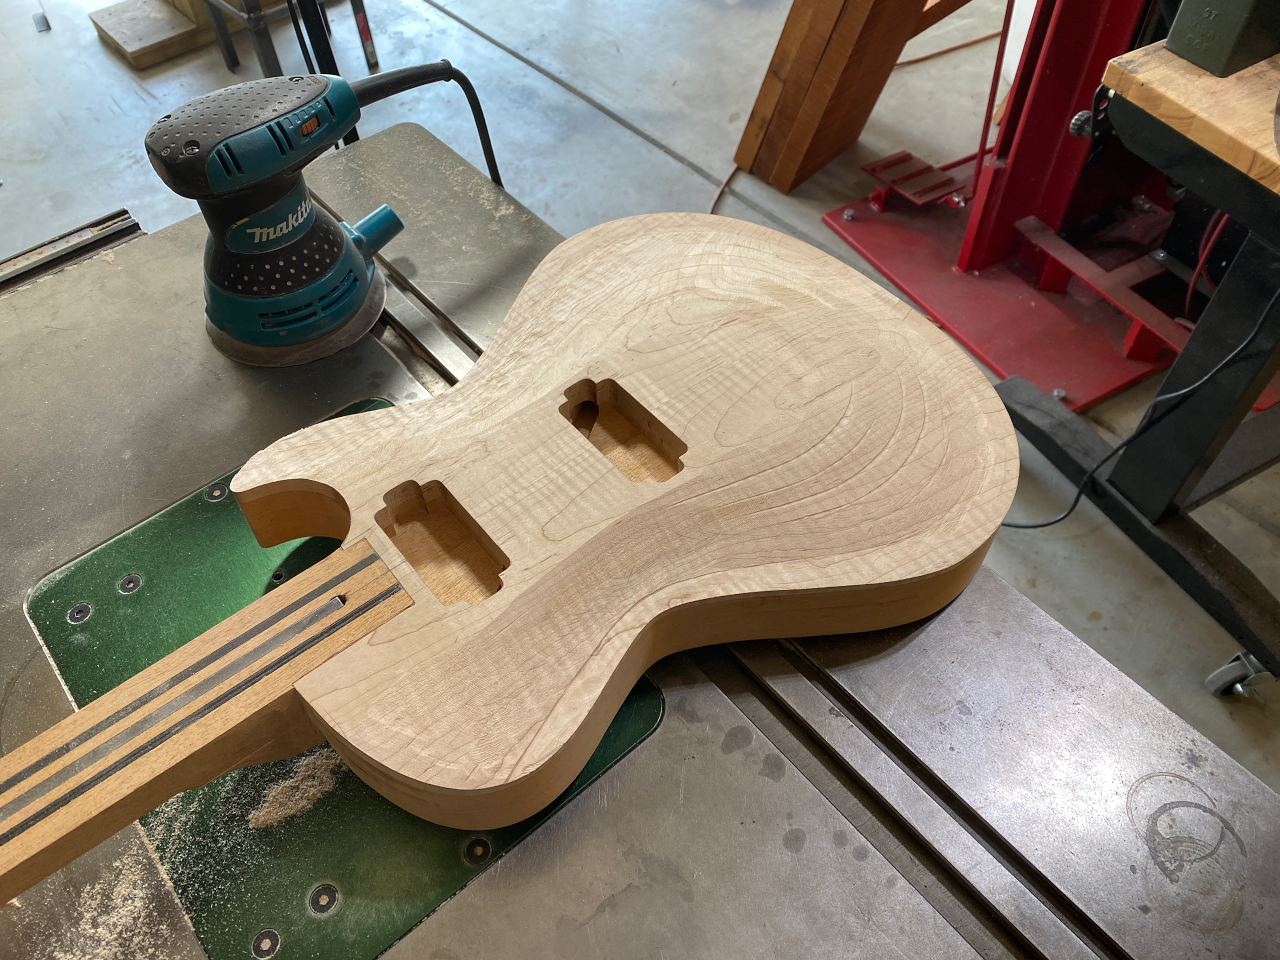
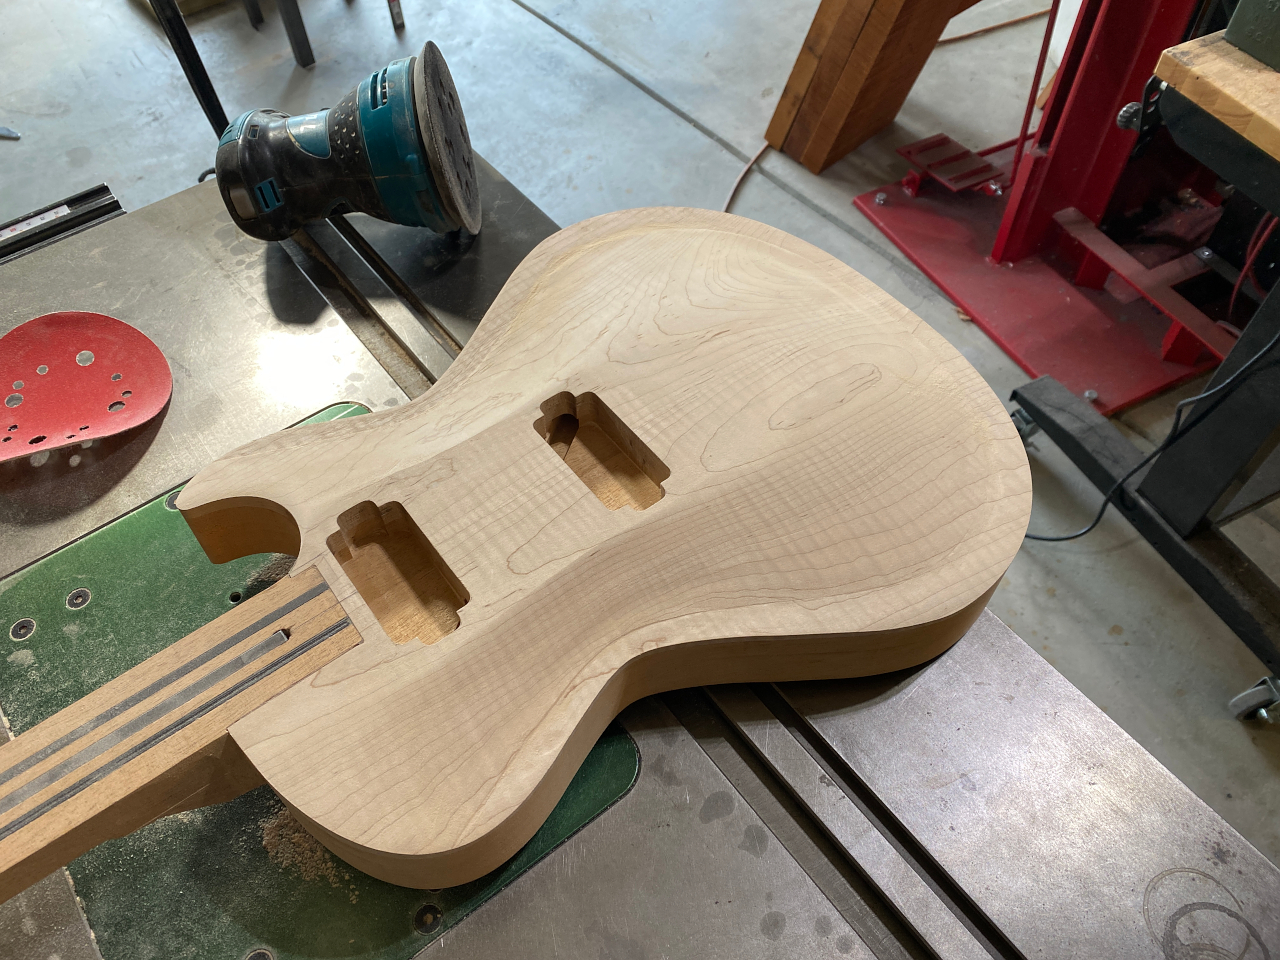
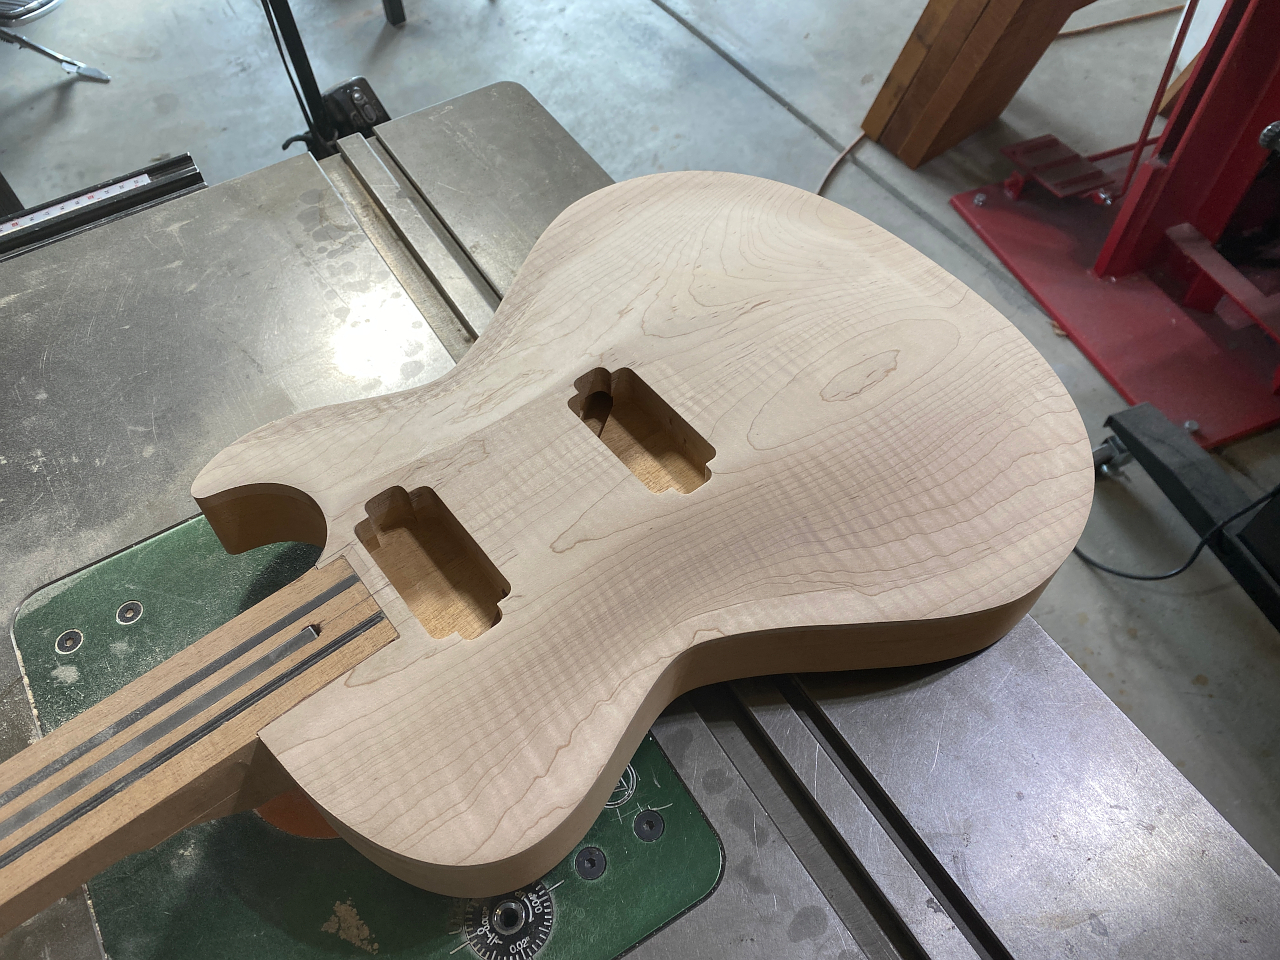
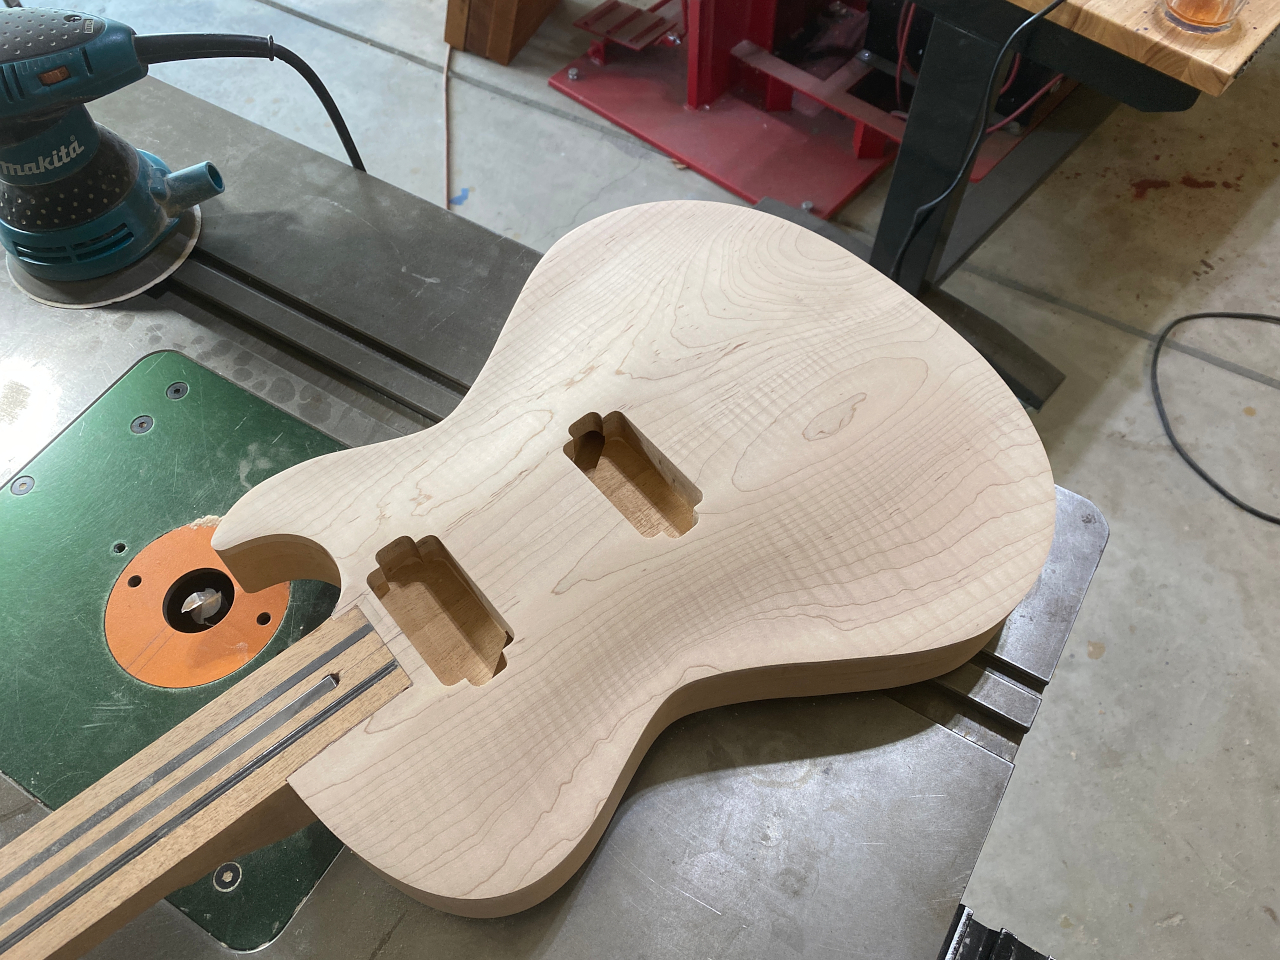
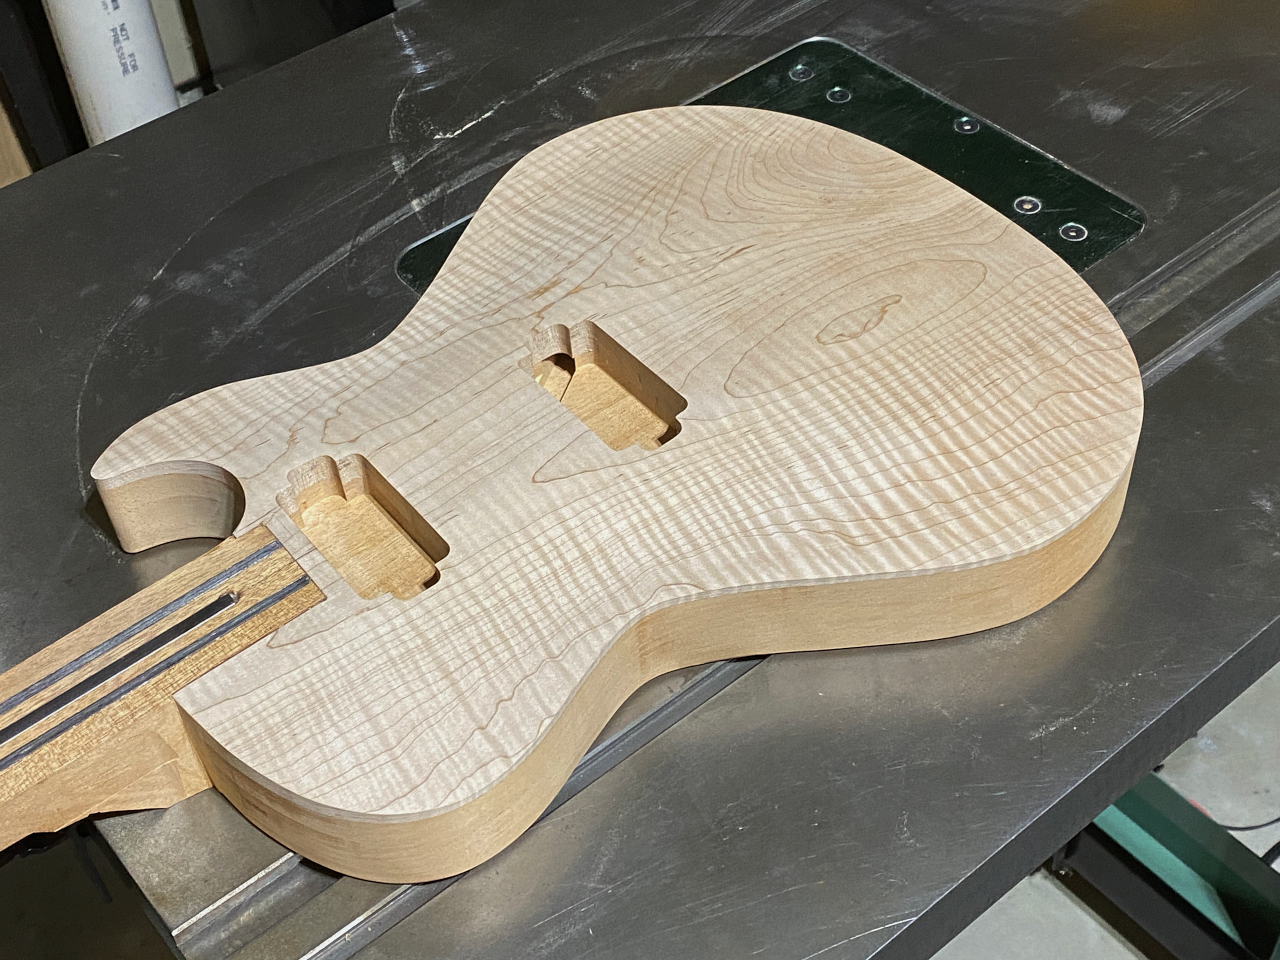
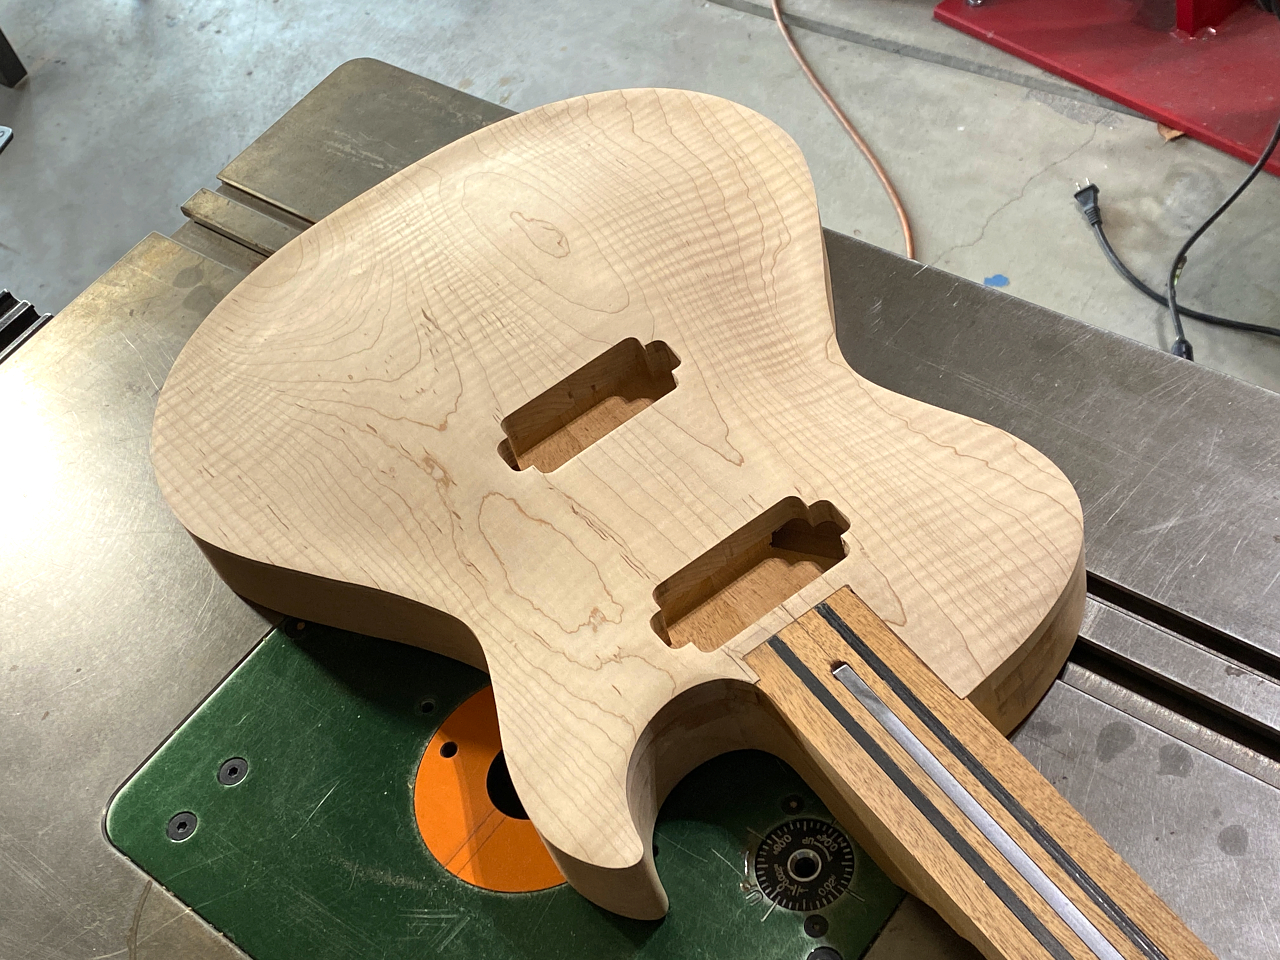
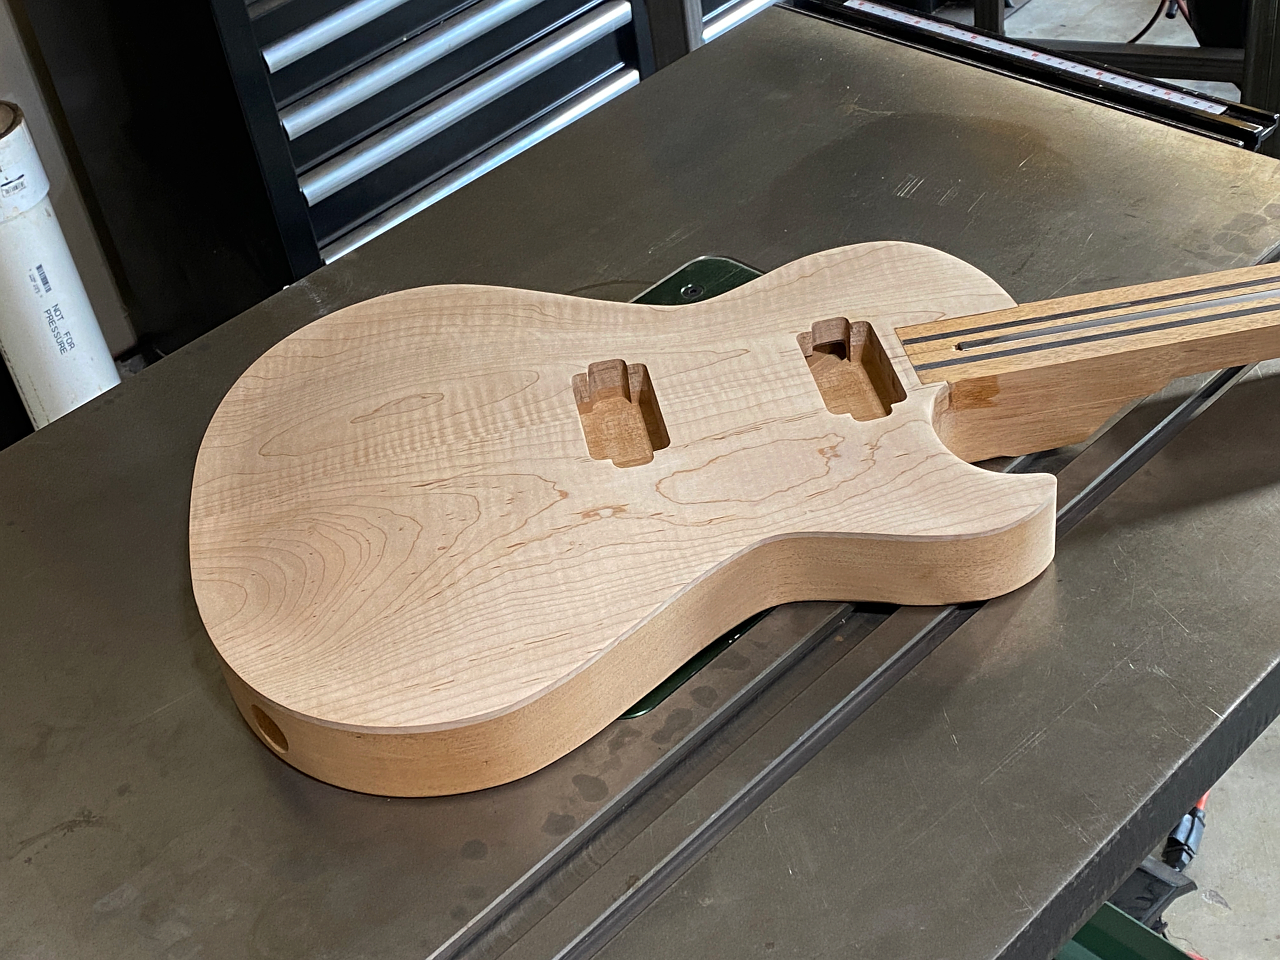
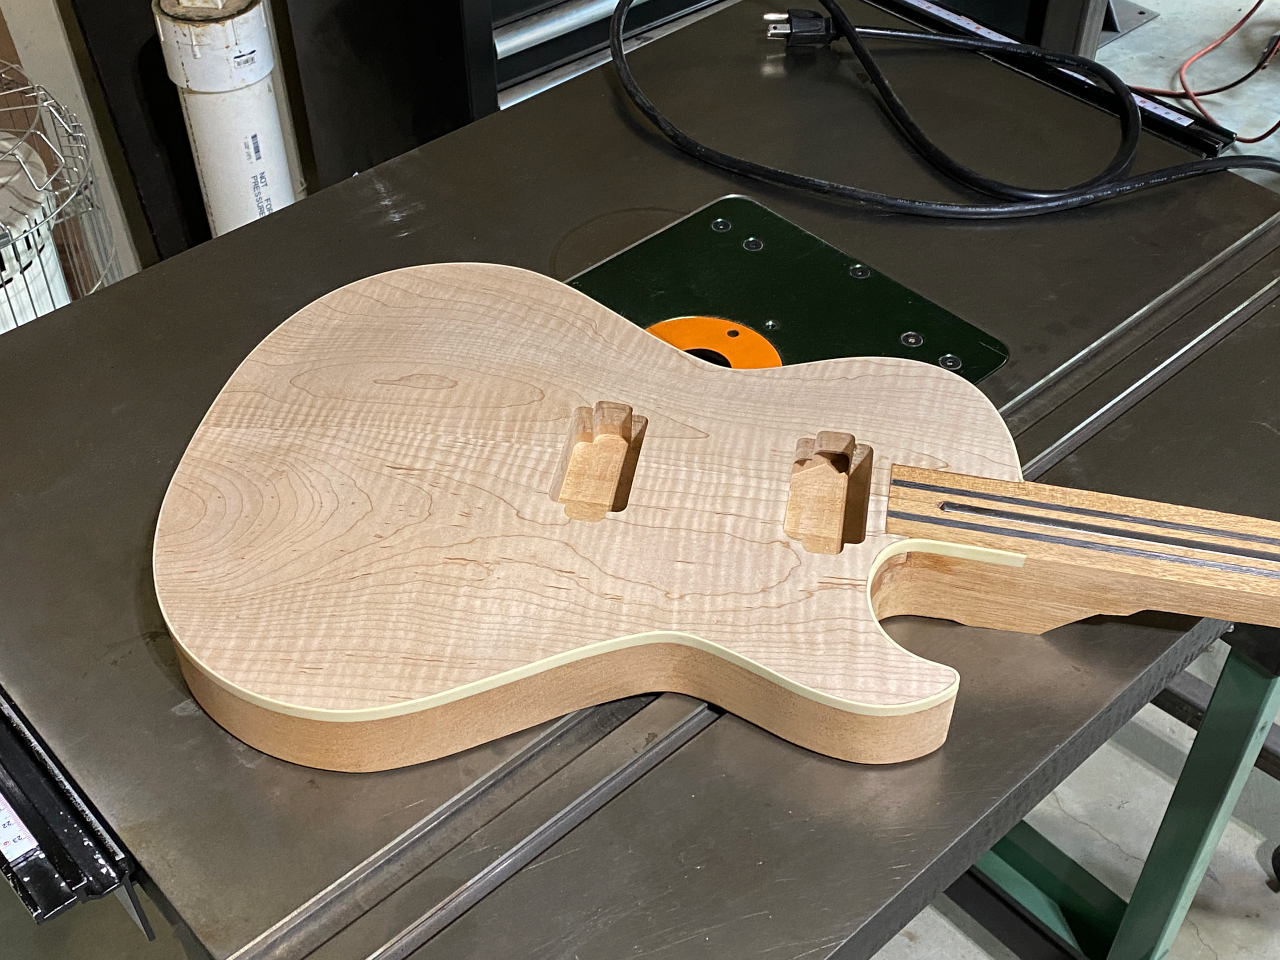
Next up is arguably one of the more messy jobs. Unlike routing which makes wood into huge piles of shavings and chips, carving the top makes wood into billowing clouds of dust that goes everywhere, covers everything, cant be contained, and can only be cleaned up with a blower 🙂
The steps in the top which were created with a router and templates now have to be carved down and smoothed off.
The tools for this job are a small angle grinder with special grinder attachments called “Holey Galahad”, which makes short work of any wood by reducing it to its component molecules on contact. OK, not quite that small, but small enough.
Once I get it into the general vicinity of the shape I want, I then switch to a random orbital sander, which makes even finer dust than the grinder.
I hate the mess, but I love the results 🙂
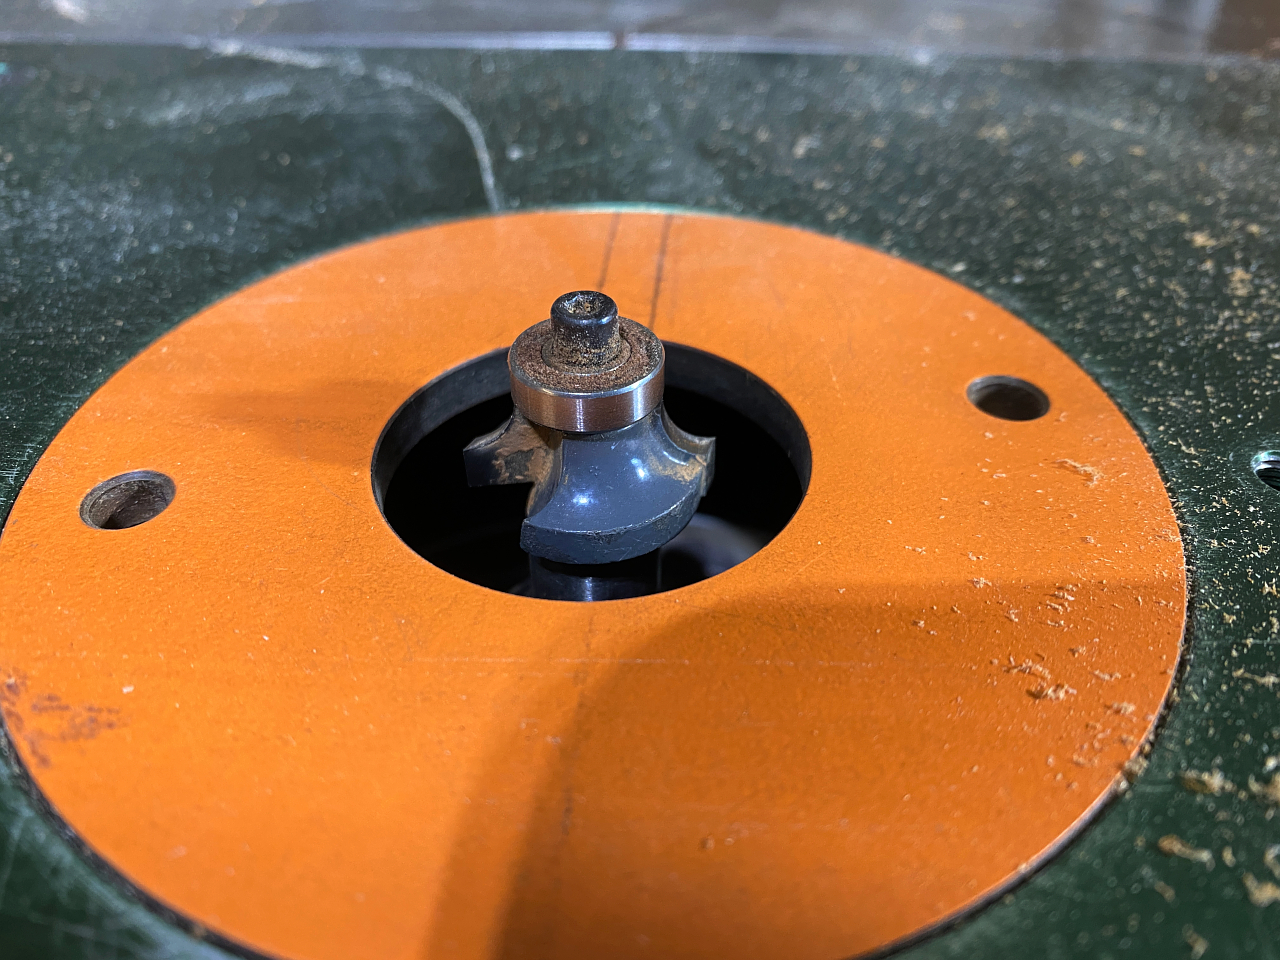
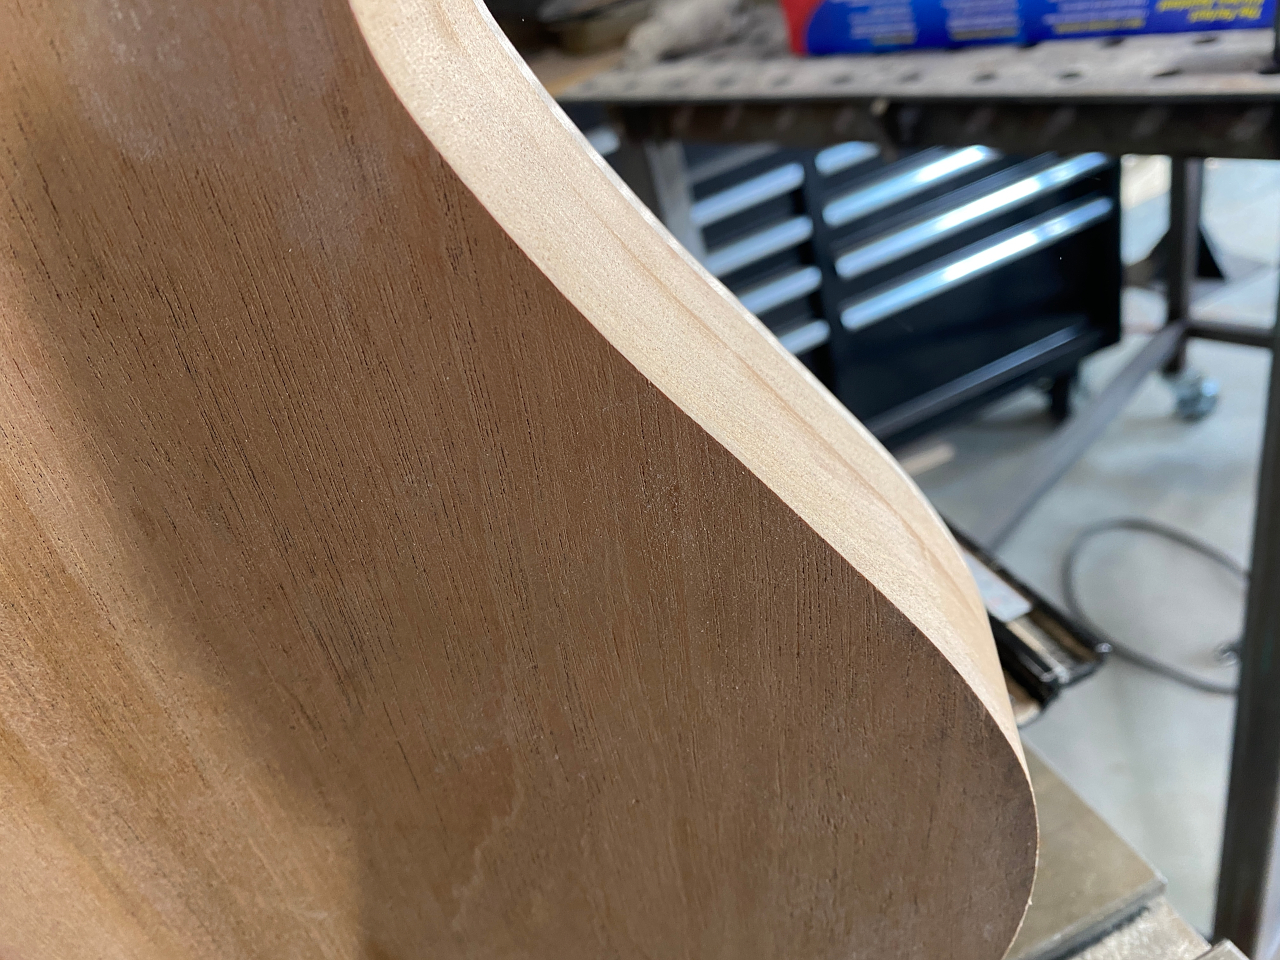
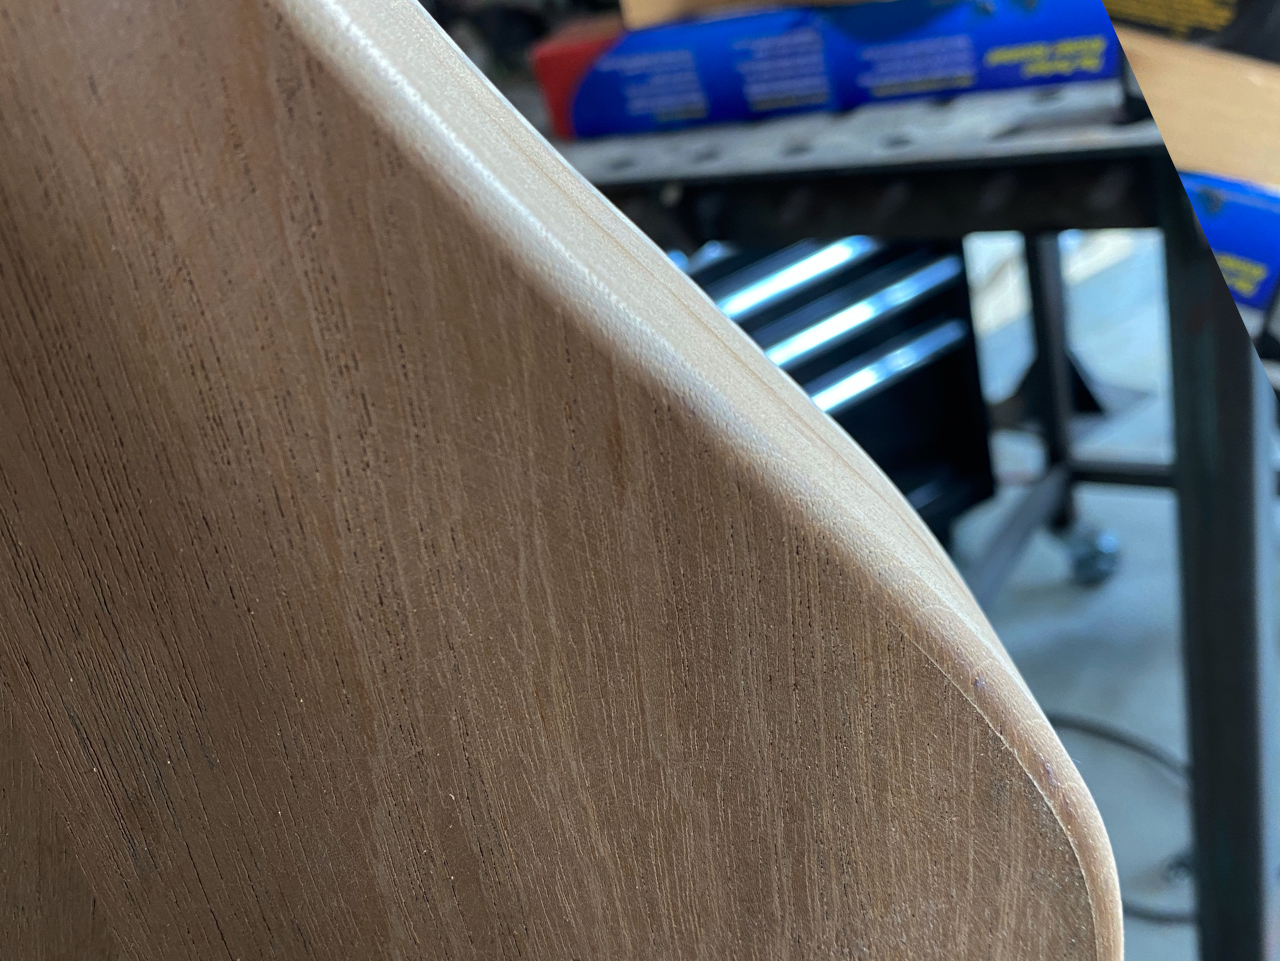
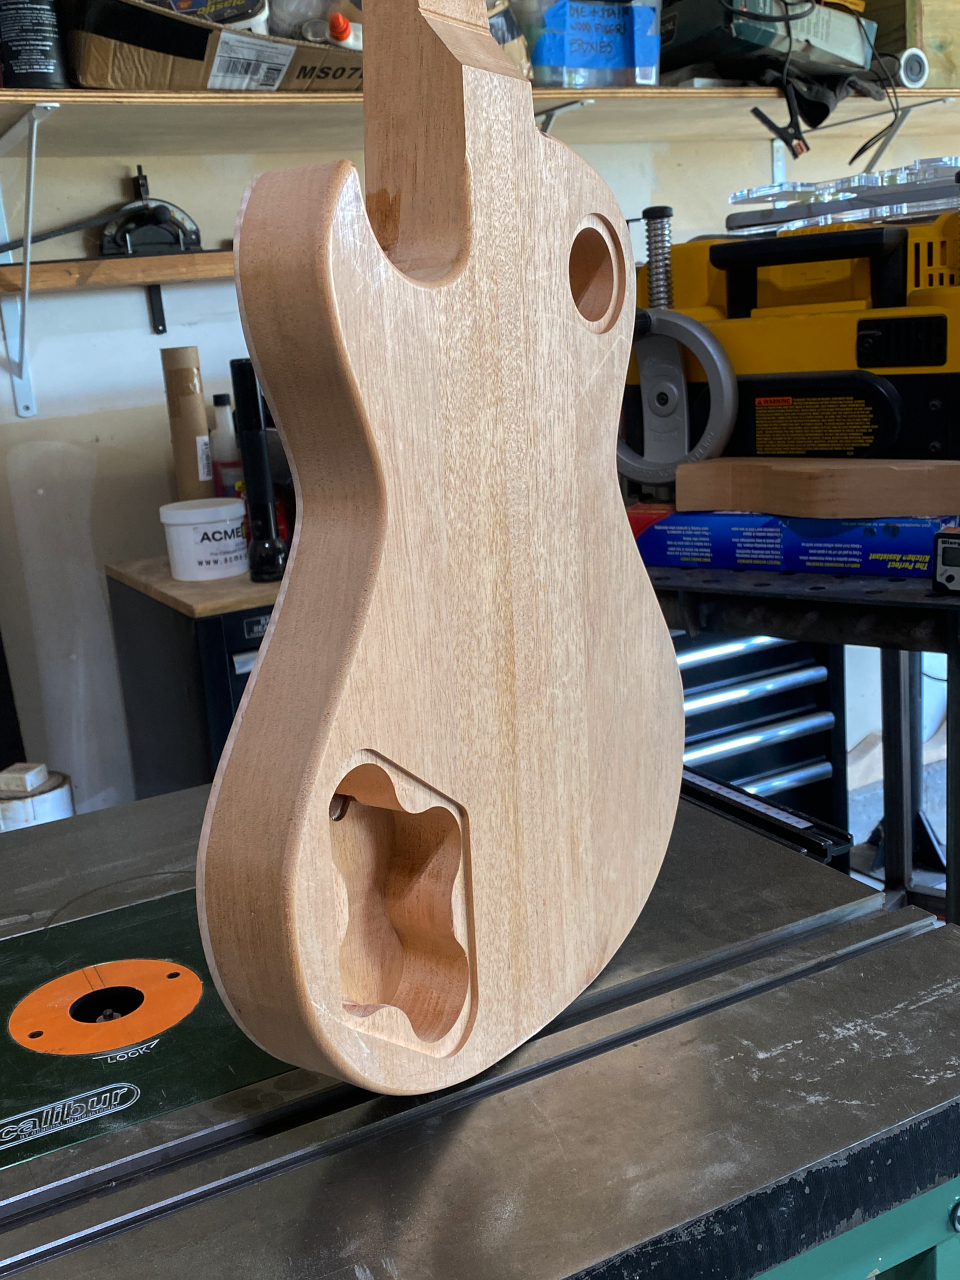
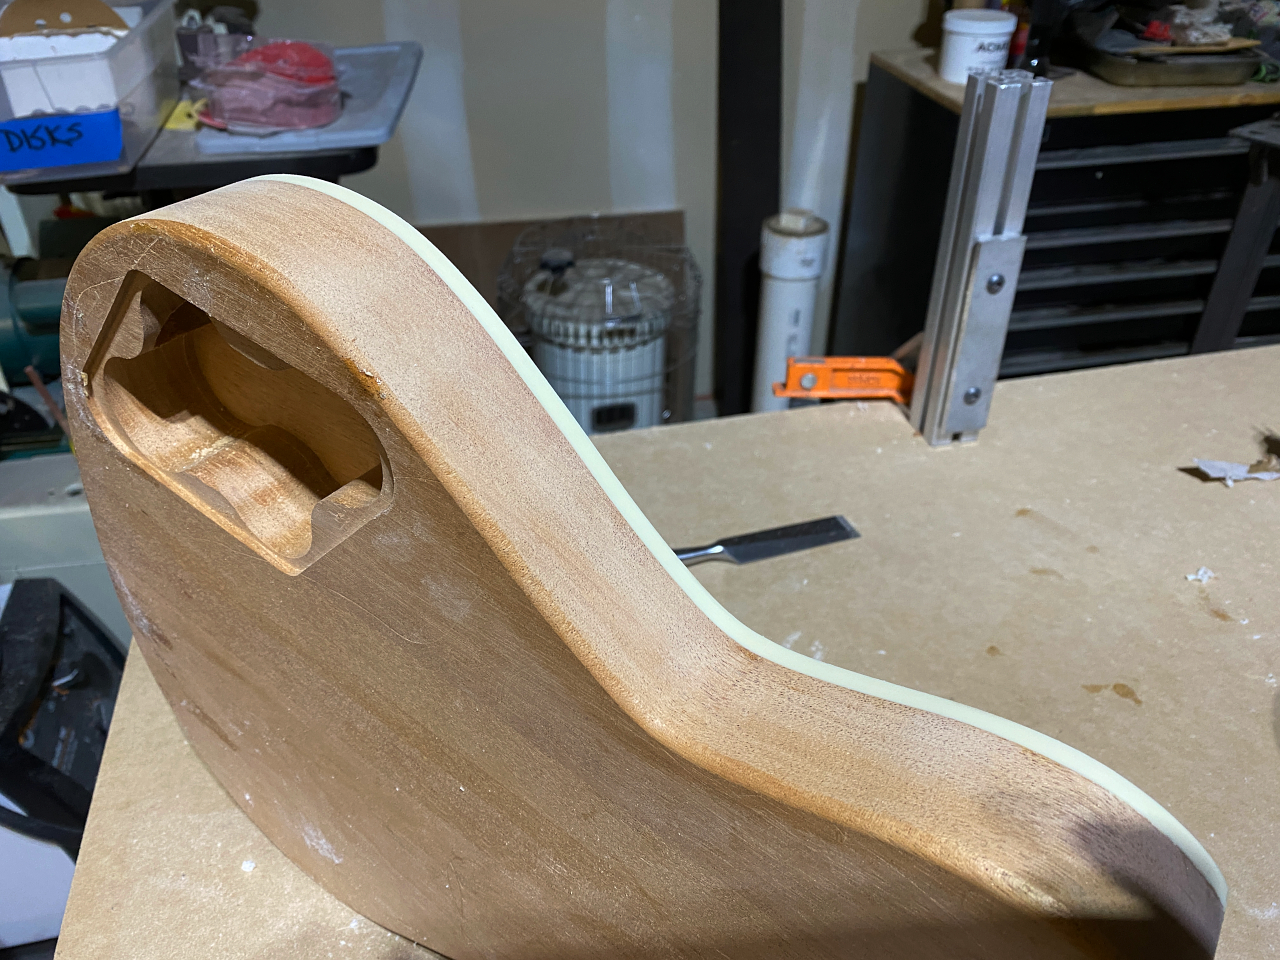
The next “finishing touch” is to do the roundover for the rear edge, which is currently a hard 90 degree angle. For this, another specialized router bit which does a perfect job.
Before
After
Much better, and more comfortable too 🙂
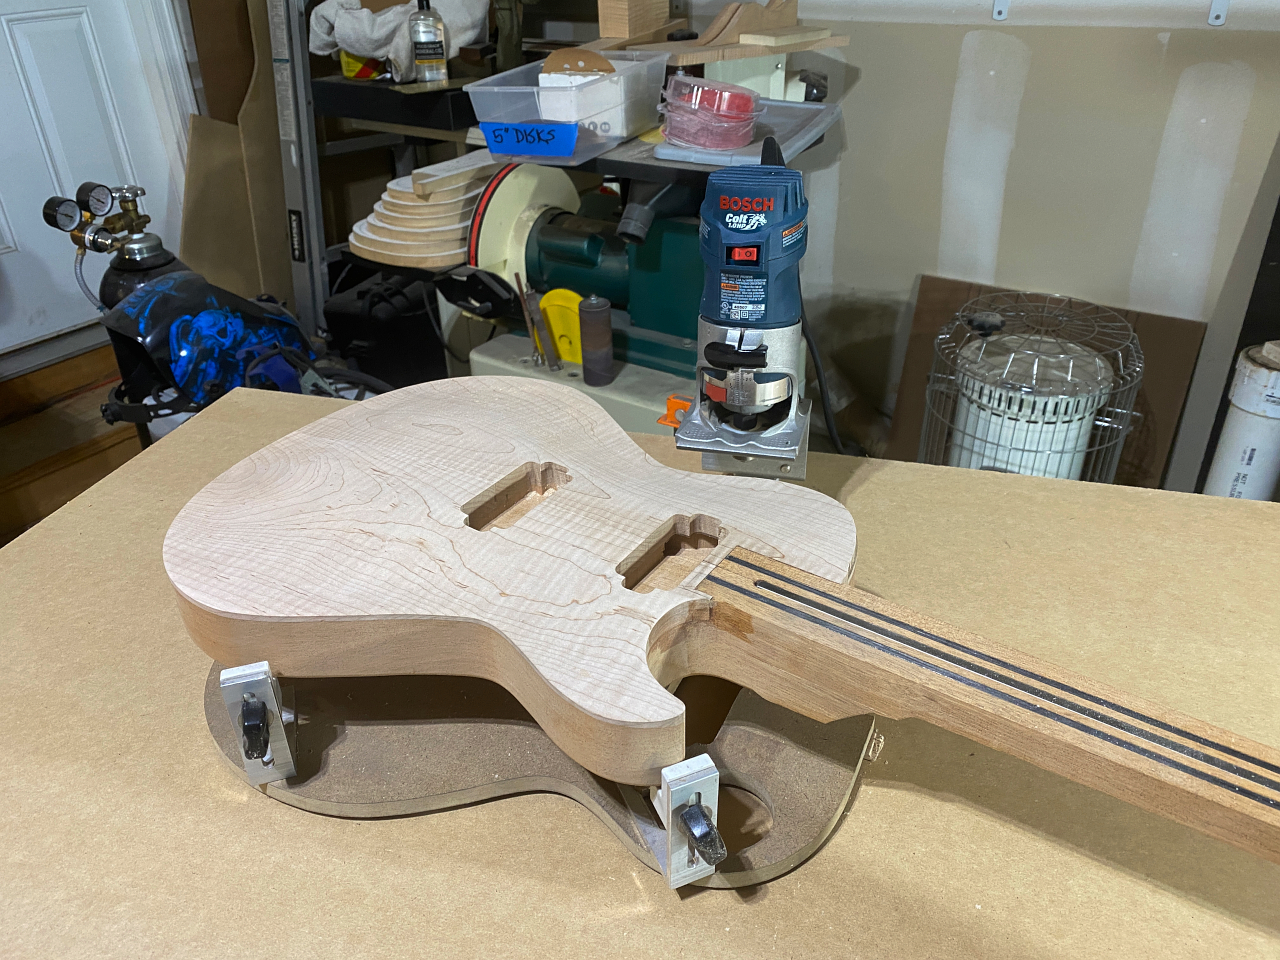
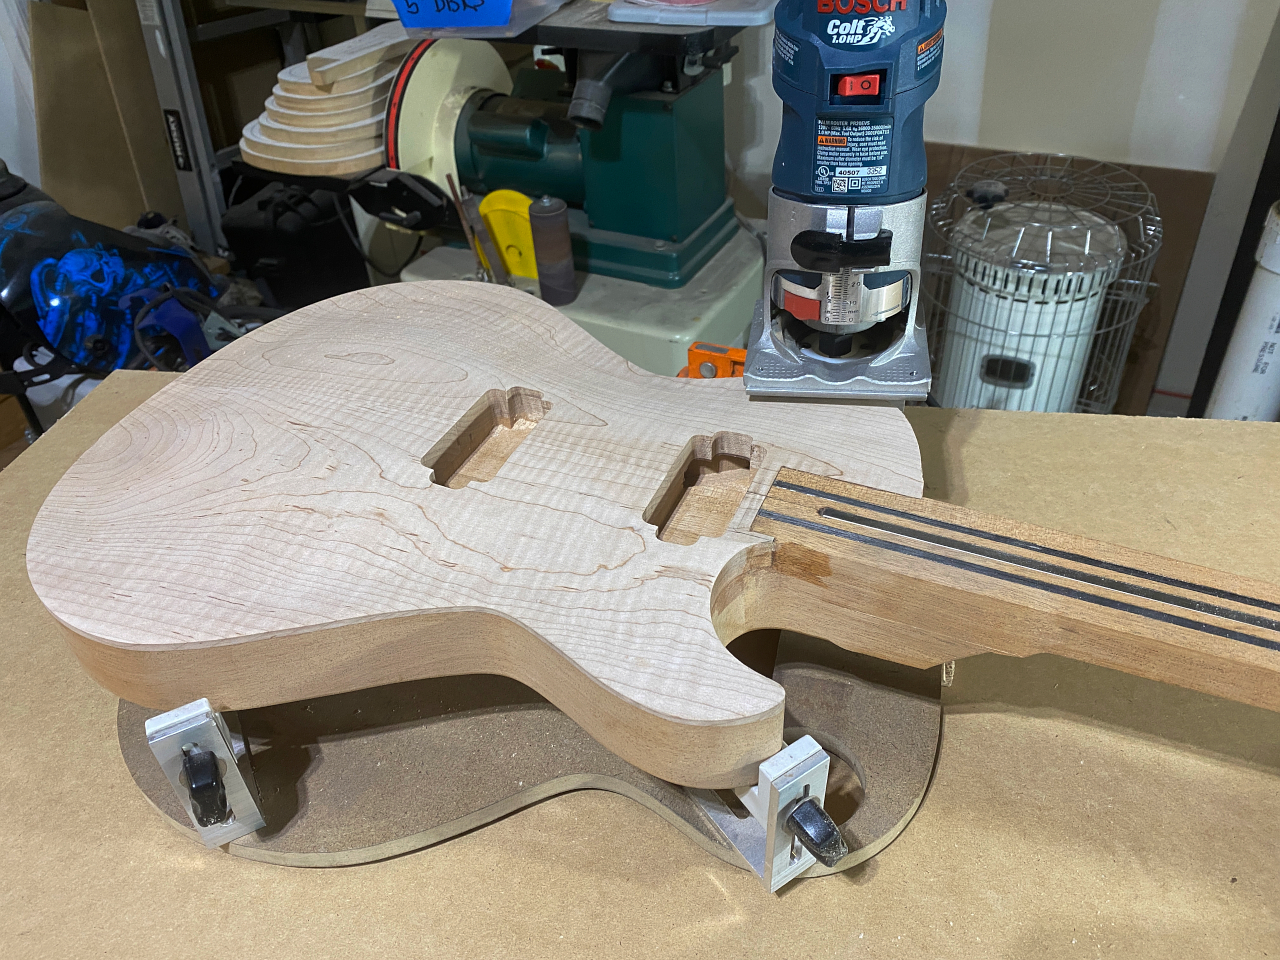
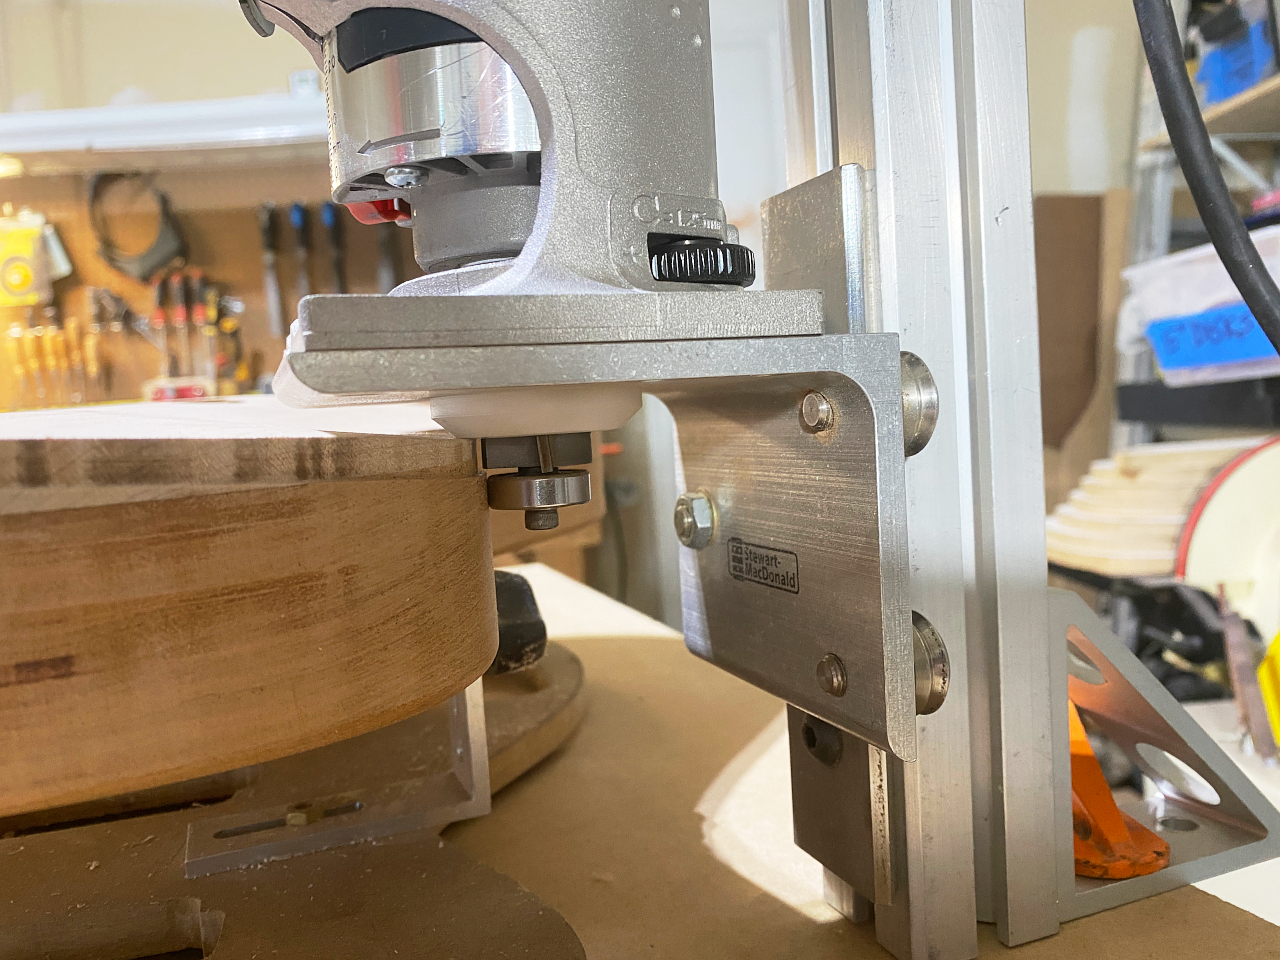
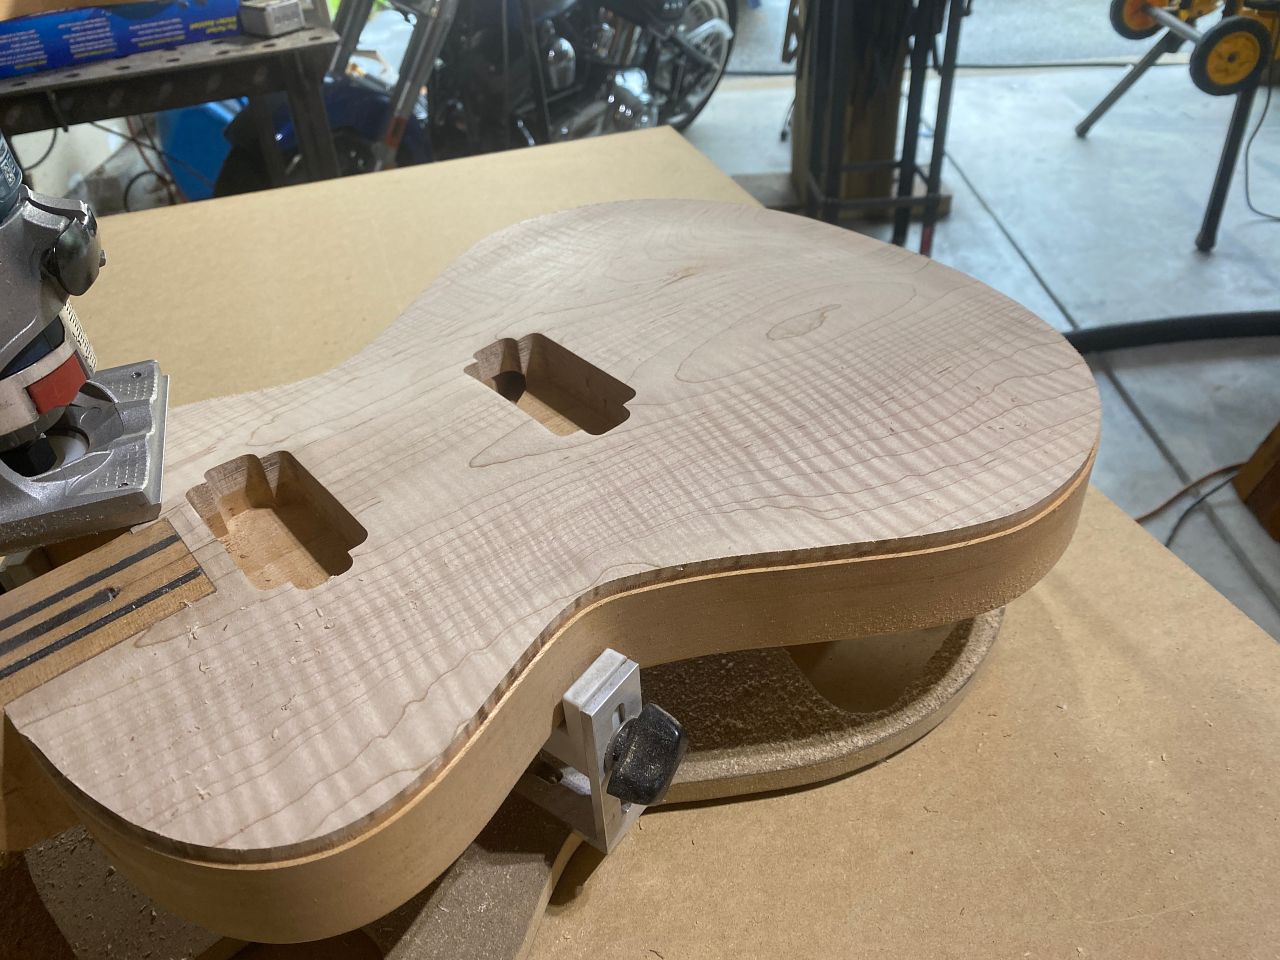
so the next step is adding the body binding. This is an ABS plastic strip inlay into the top edge of the body. I have a trim router jig to create the channel for the binding
this follows the body edge and cuts the channel
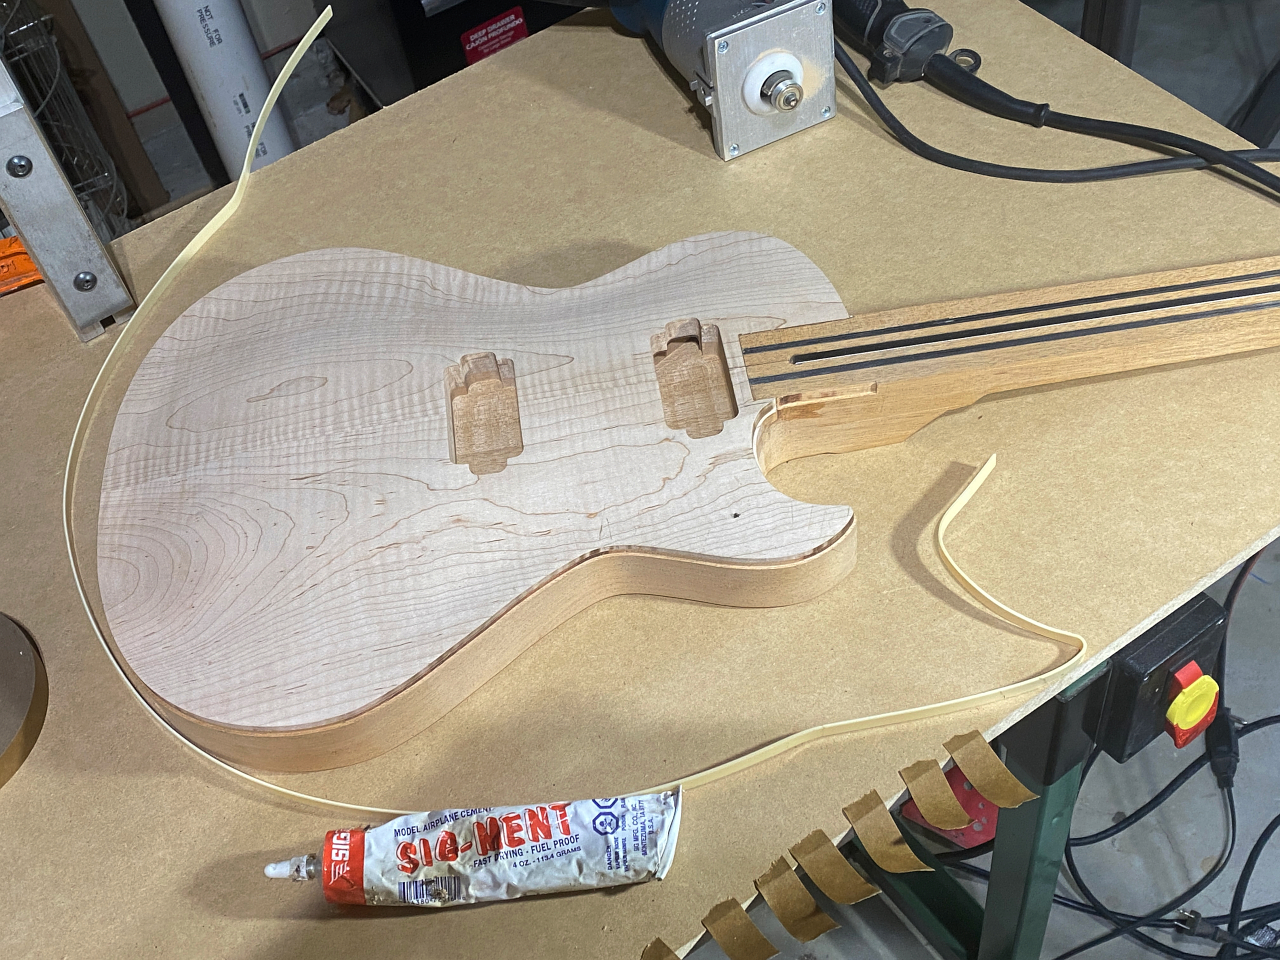
I pre-bend the binding at a few key points. This is because the binding is pretty stuff and doesnt want to fit tightly. I warm it with a heat gun in order to get the tighter bends to work, and then use sig-ment, a solvent based glue, to glue it in place all around
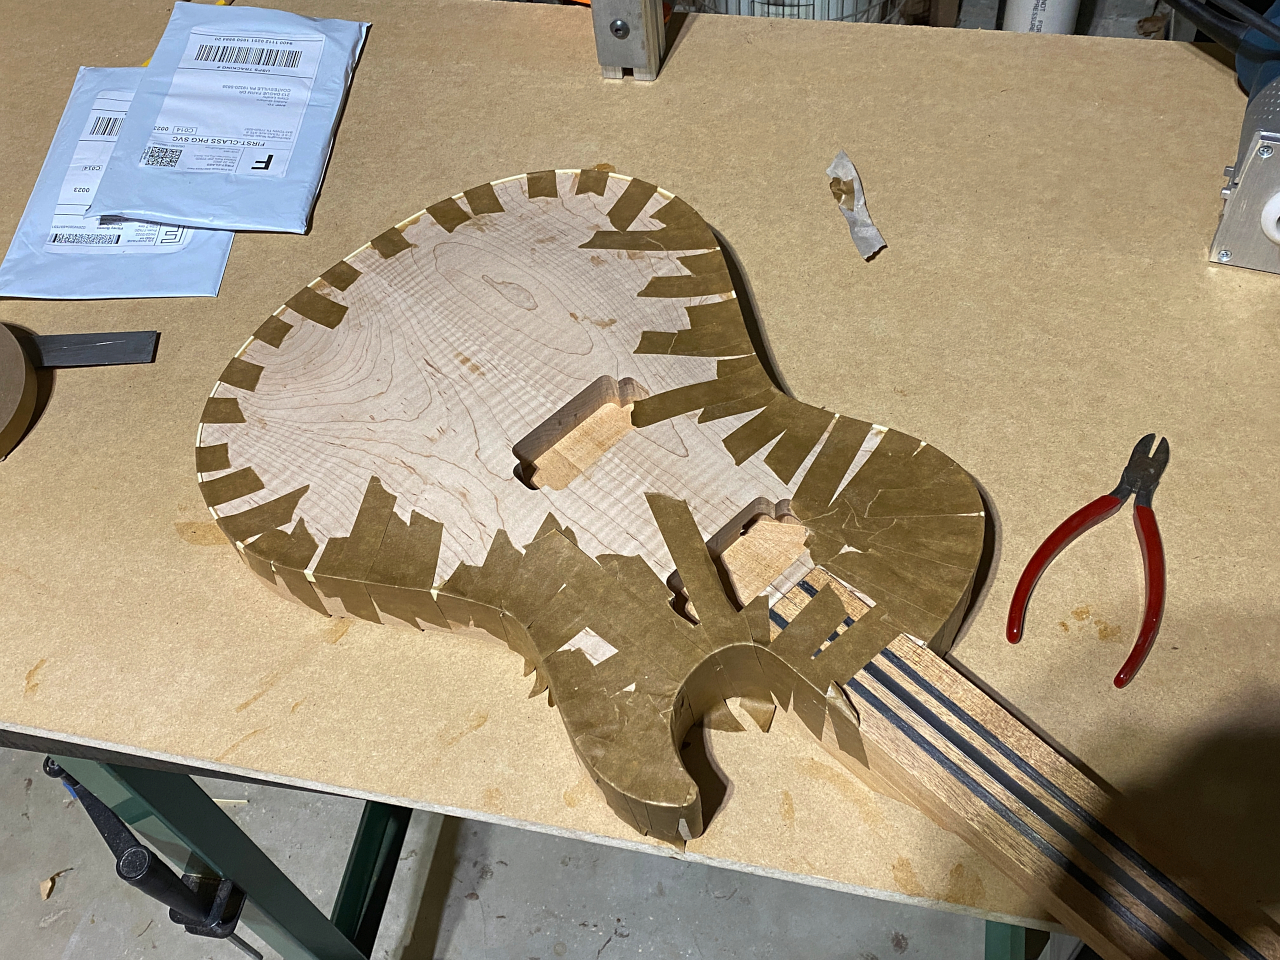
I use paper tape to hold it tightly in the channel while the glue dries overnight.
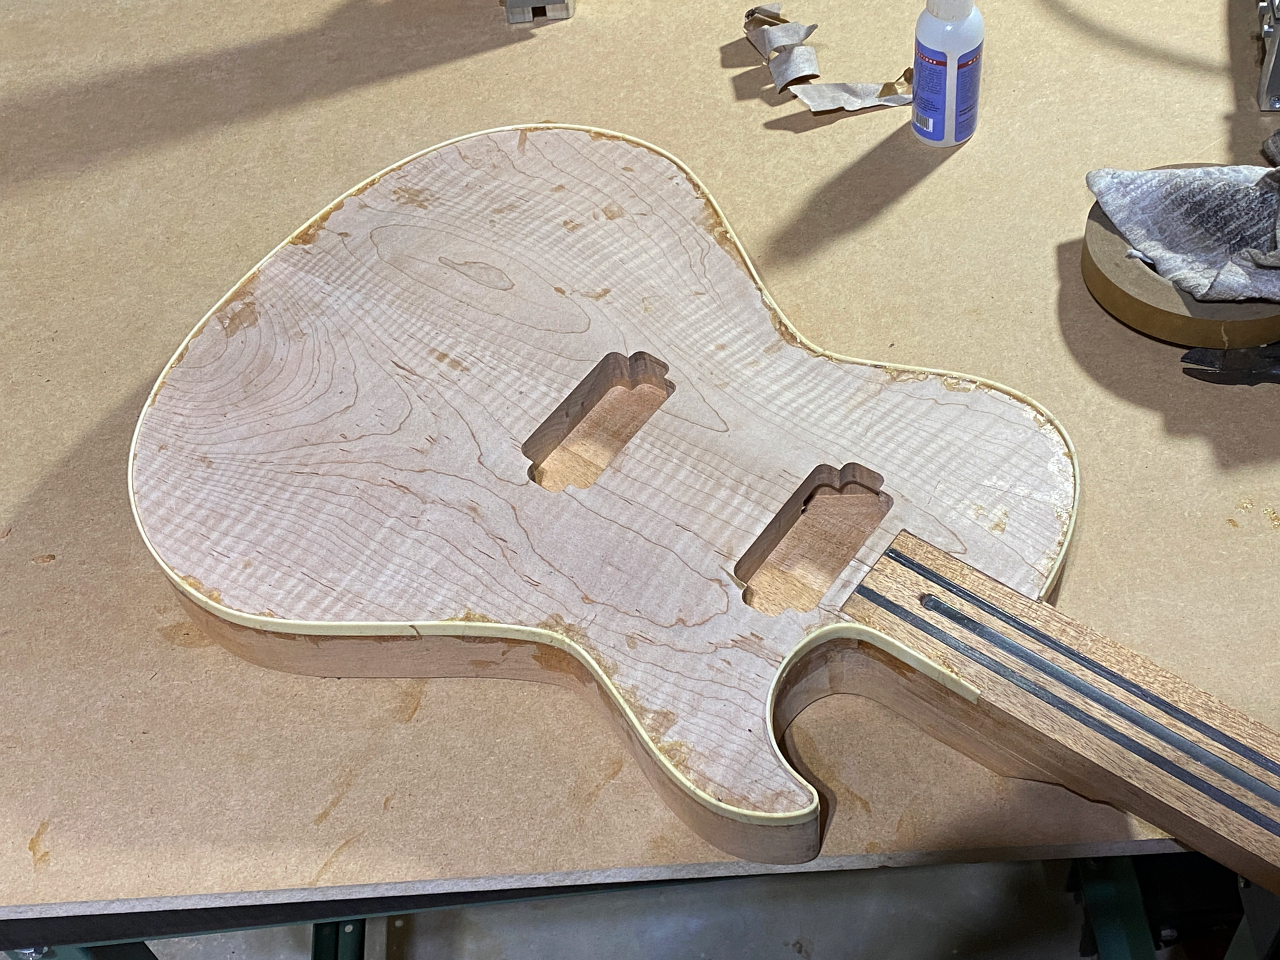
Once the glue is dry I remove the tape. As you can see, the binding is taller than the body, and also thicker than the channel so it protrudes out the sides and over the top as well
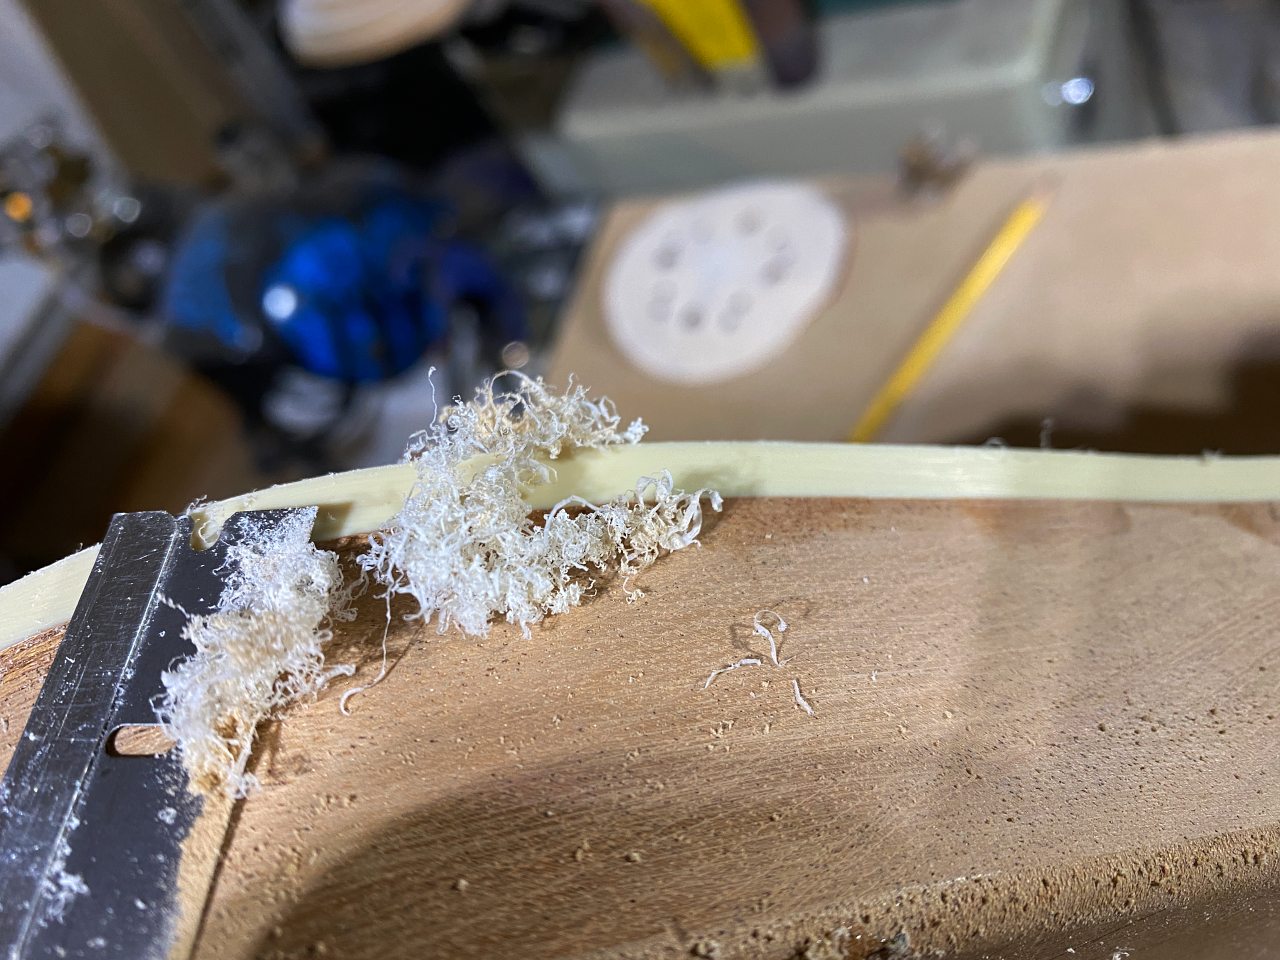
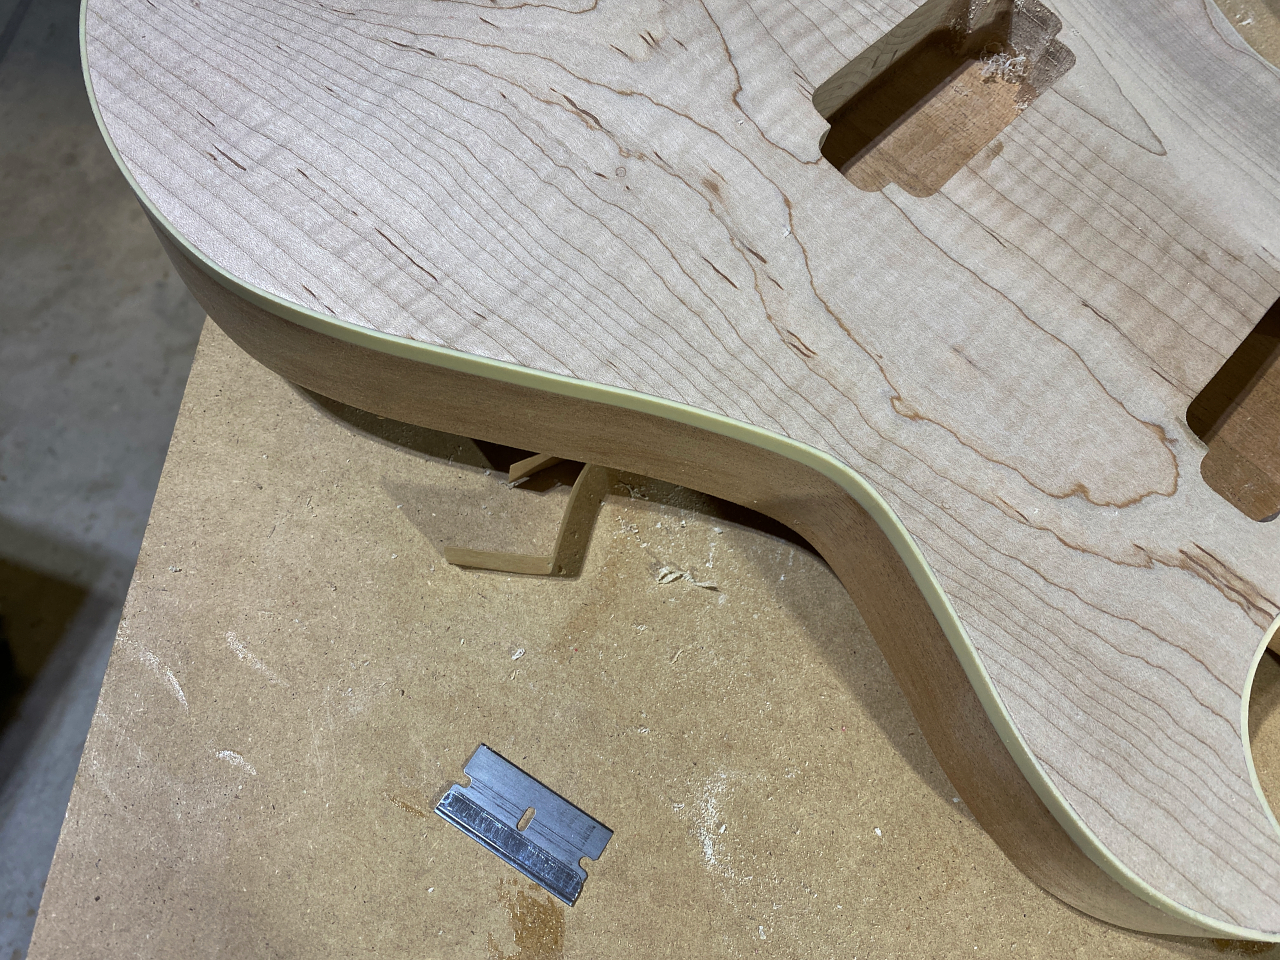
Razor blades and cabinet scraper is used to scrap the binding down flush around the sides and on the top

