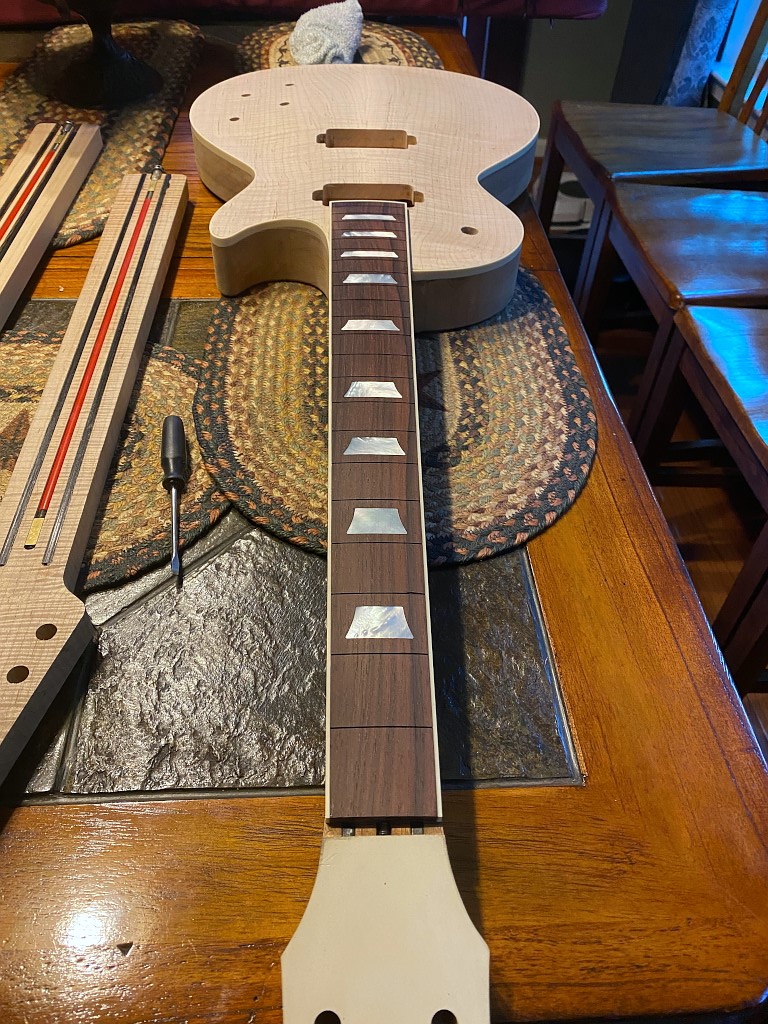
So now that the board is finished we have to add the binding. Since the board is actually cut to the final dimensions I’m going to have to actually shrink the board by exactly the width of the binding on both long sides as well as the top end where it sits on the body.
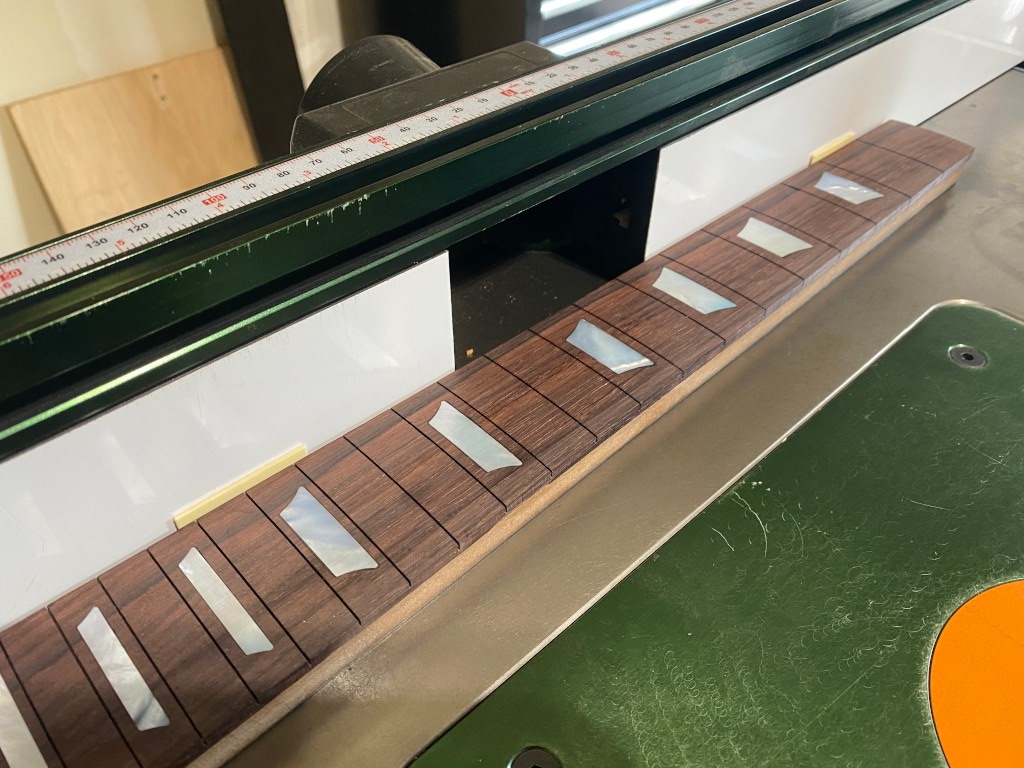
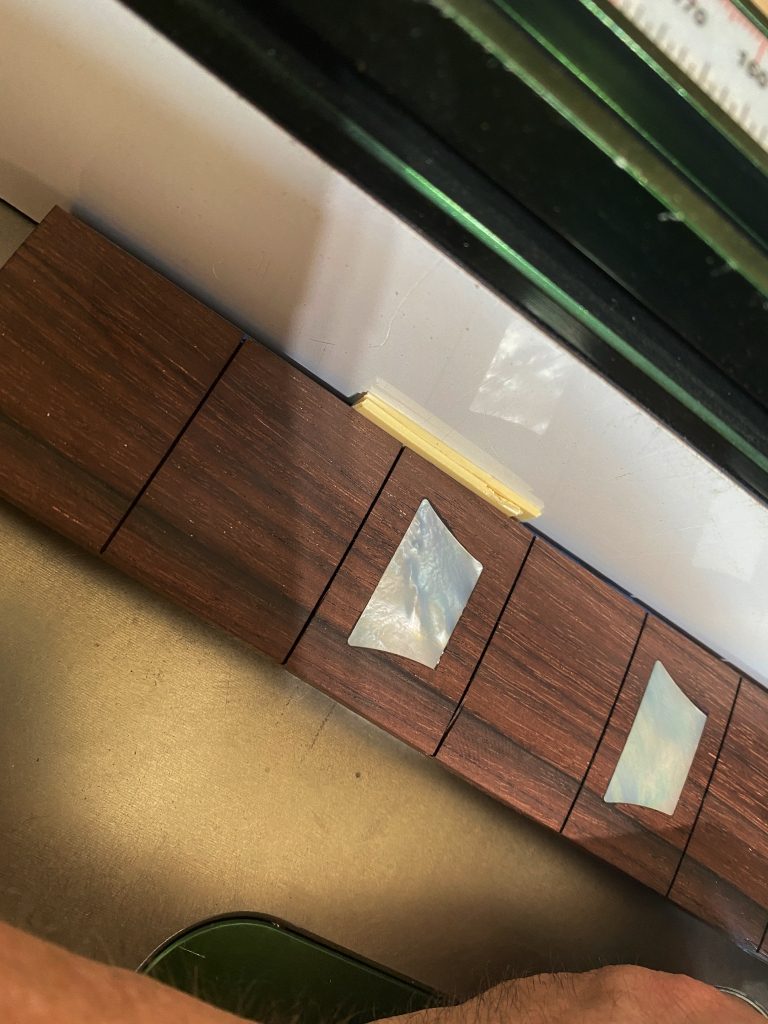
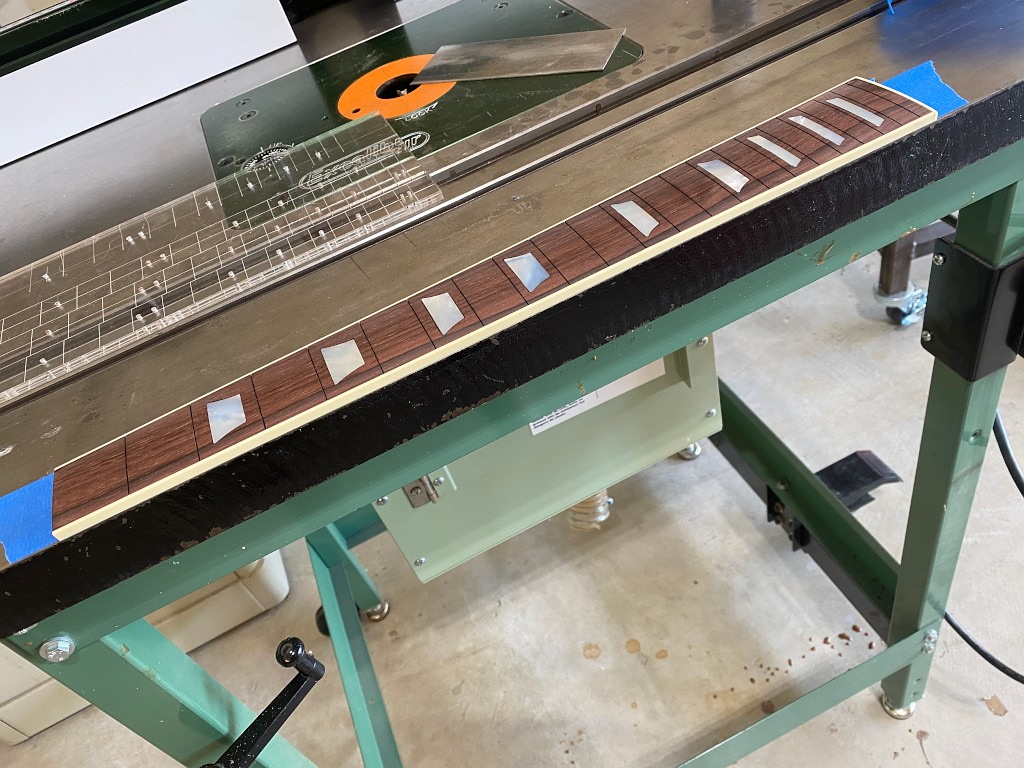
The simplest way to do this is to sit it back on the template, and then push it off one side the exact width of the binding. I simply sit a couple pieces of binding next to it to move it exactly one binding-width over 🙂
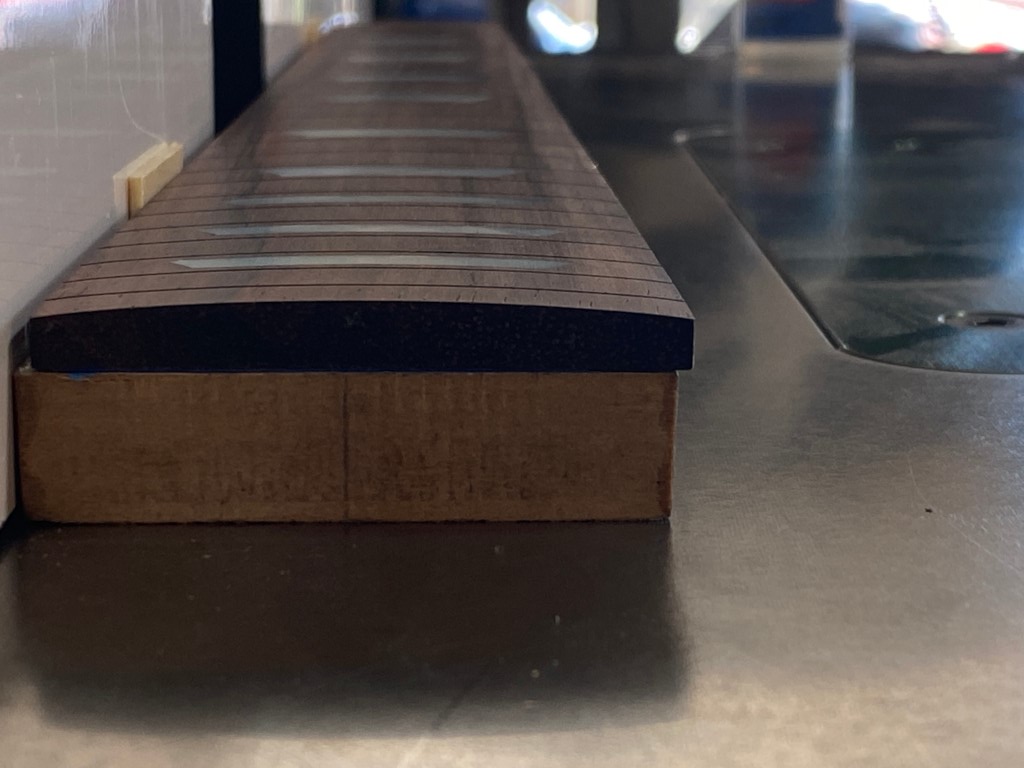
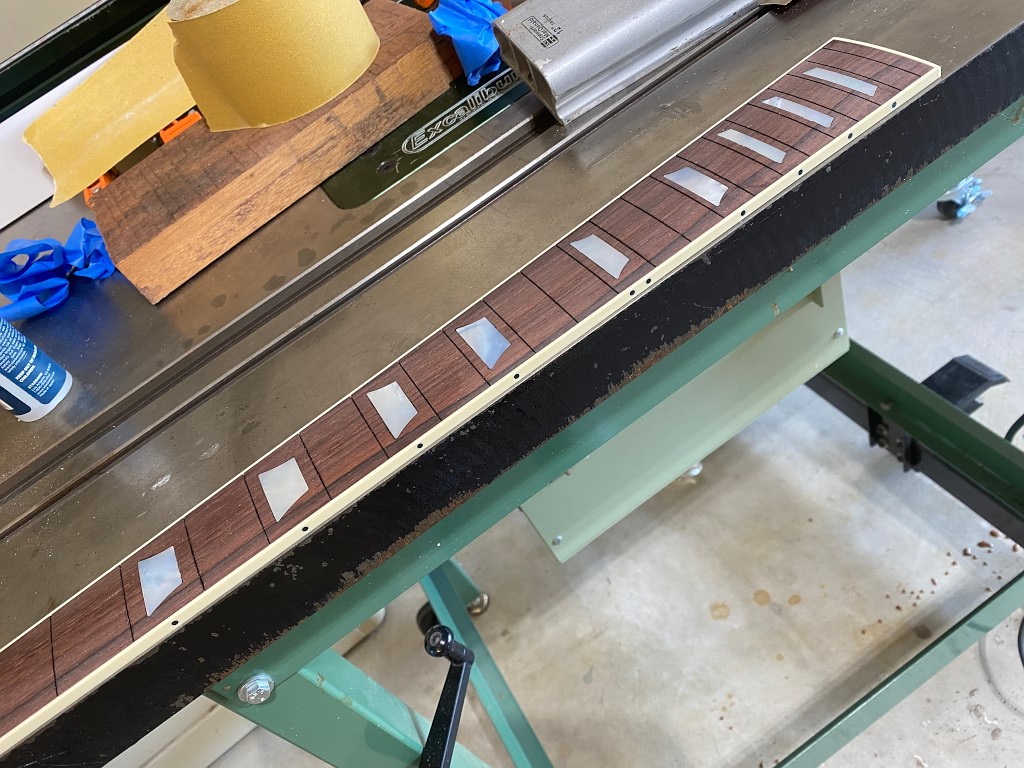
Here you can see its now overhanging the edge by the exact amount we need to cut off. fixed in place with the old masking tape/CA glue trick, I then just route the edge off on the router table.
Then I repeat the procedure for the other long edge, only this time I have to use 2 thicknesses of binding. Since the board is now narrower by one binding-width using only a single piece will just make it flush on the other side, no overhang.
No you didnt miss anything important. Once the board is all prepped, I simply run a line of glue down the edge and push it against a strip of binding and hold till its sets, then do the same for the other side, and again for the top end. I cant hold the board against the binding and take a pic at the same time, so no pix of this step 🙂
All done.
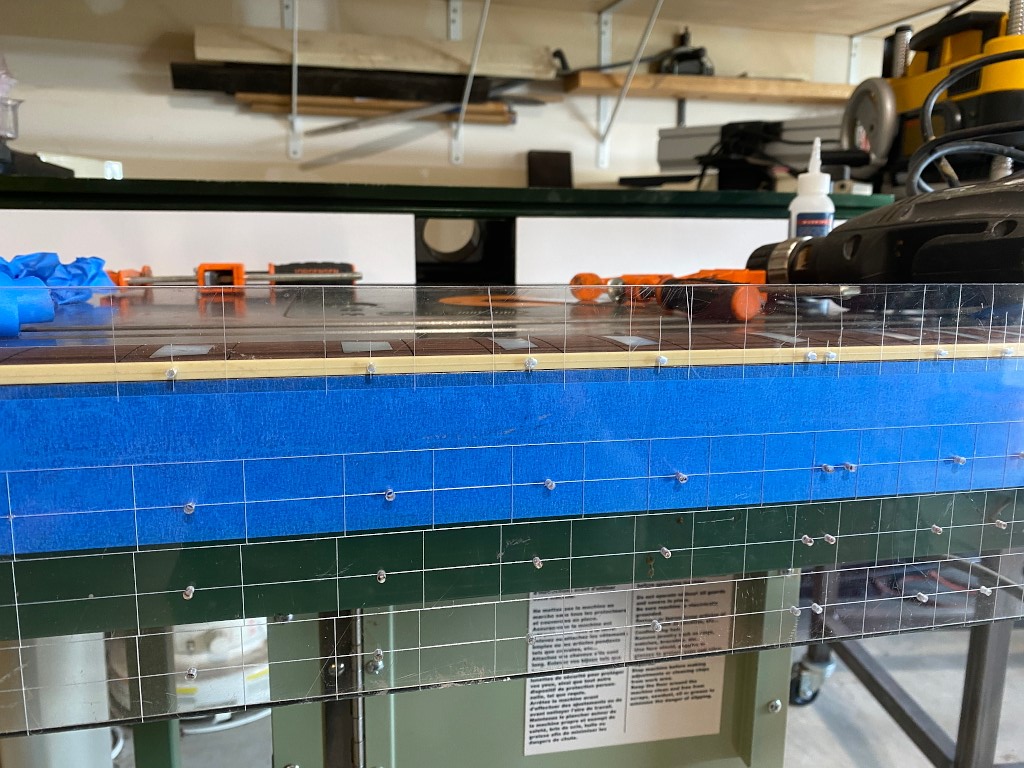
Now we need some side dot markers. I have a template I made that I use to drill the holes so that they stay in a nice straight line.
I just stick down the fretboard, stick the template alongside, line it up, and drill a 3/32″ hole in the fretboard through the hole in the template.
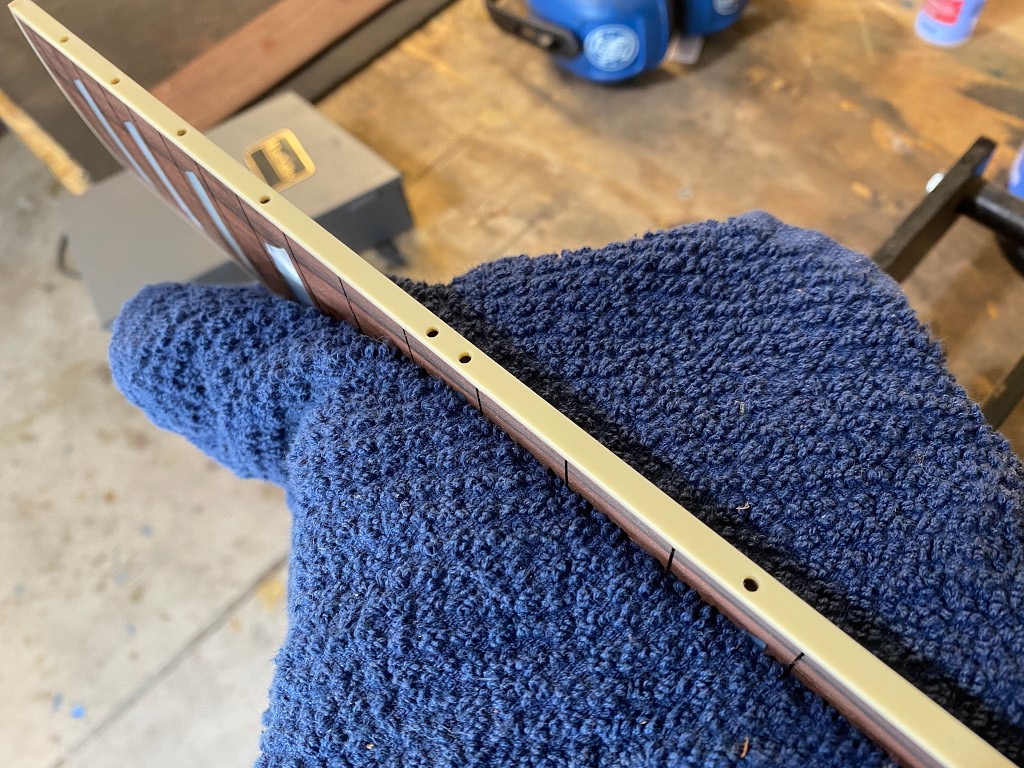
Holes.
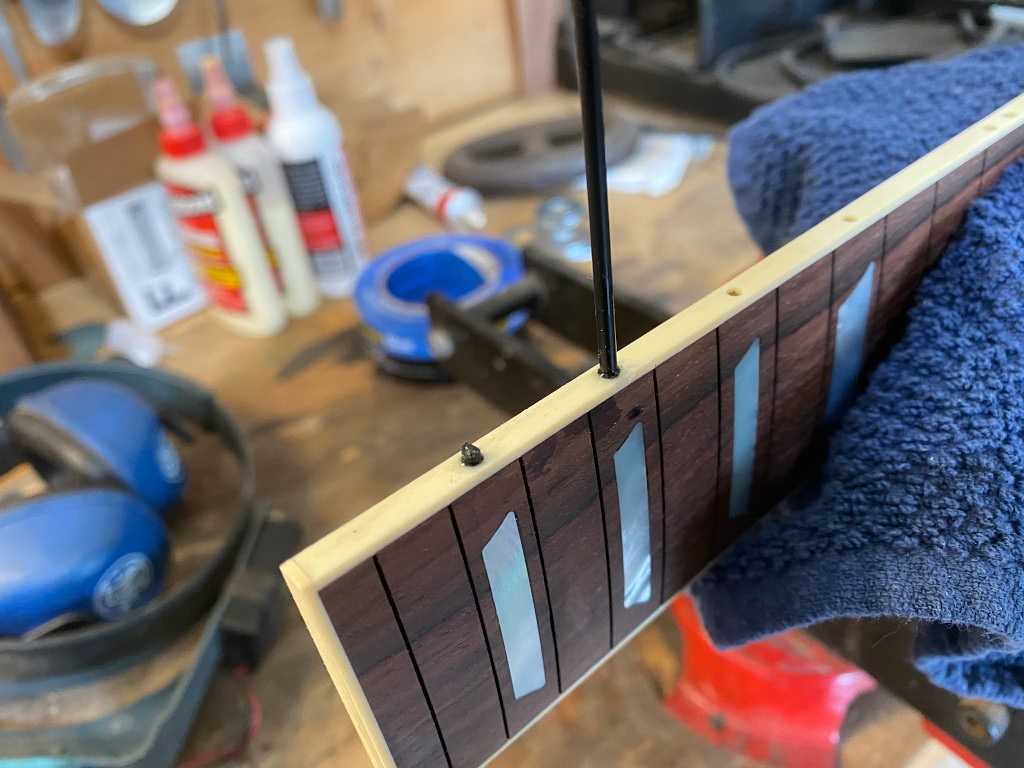
Then a drop of CA and stuff in the black plastic rod, and clip it off. Once all the holes are plugged I just sand and then scrape the dots flush.
Looks good 🙂
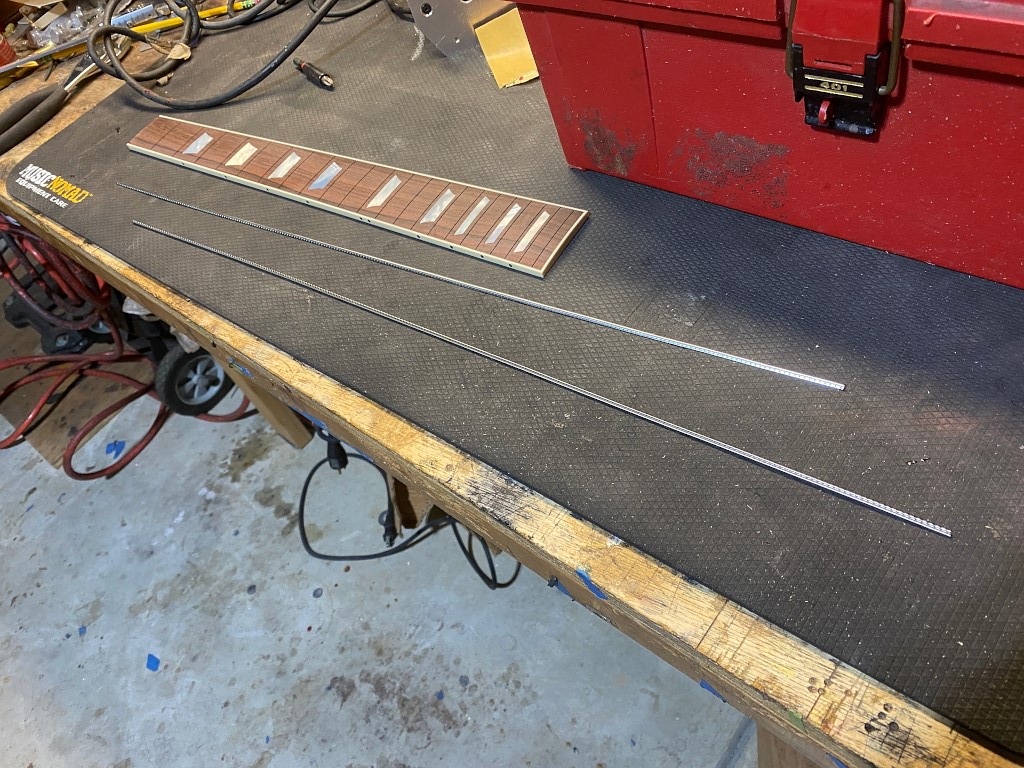
Fret time. This usually takes 2 pieces. This can vary depending on how many frets a given board has.
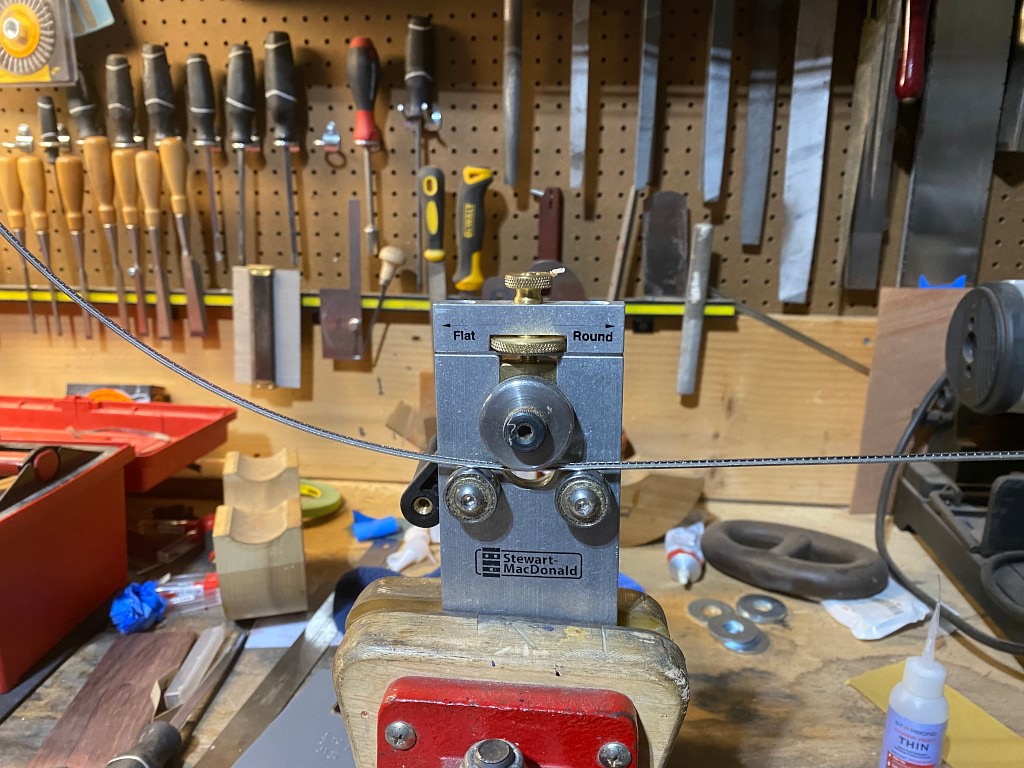
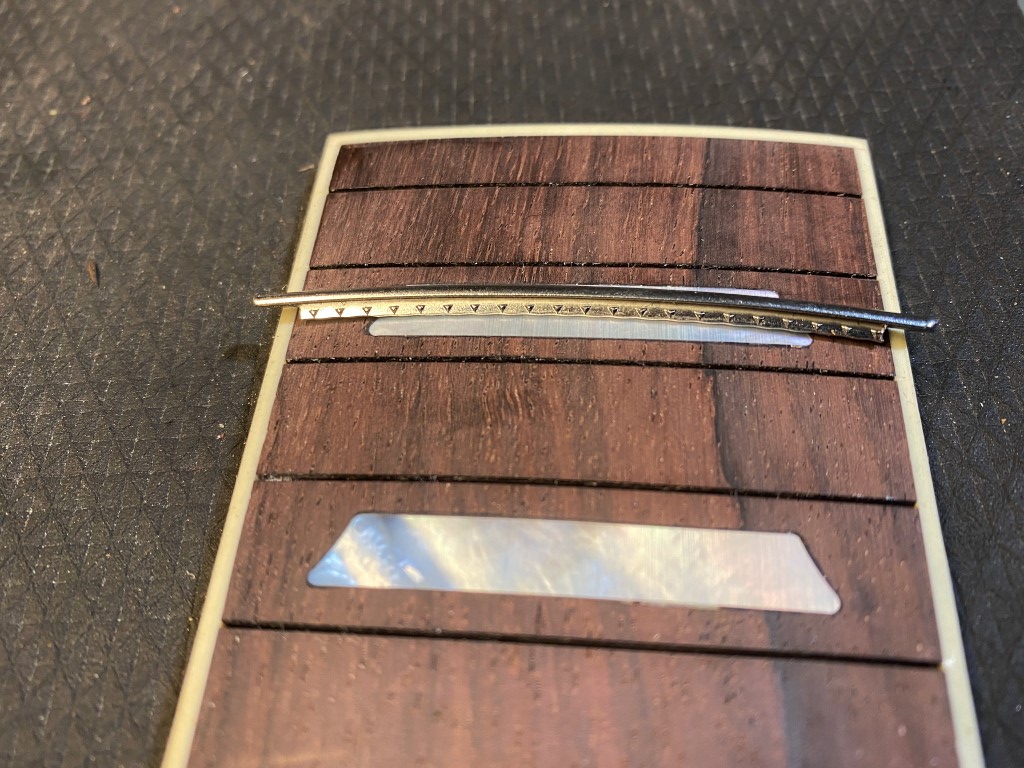
first I pre-radius the wire. This helps fit the frets
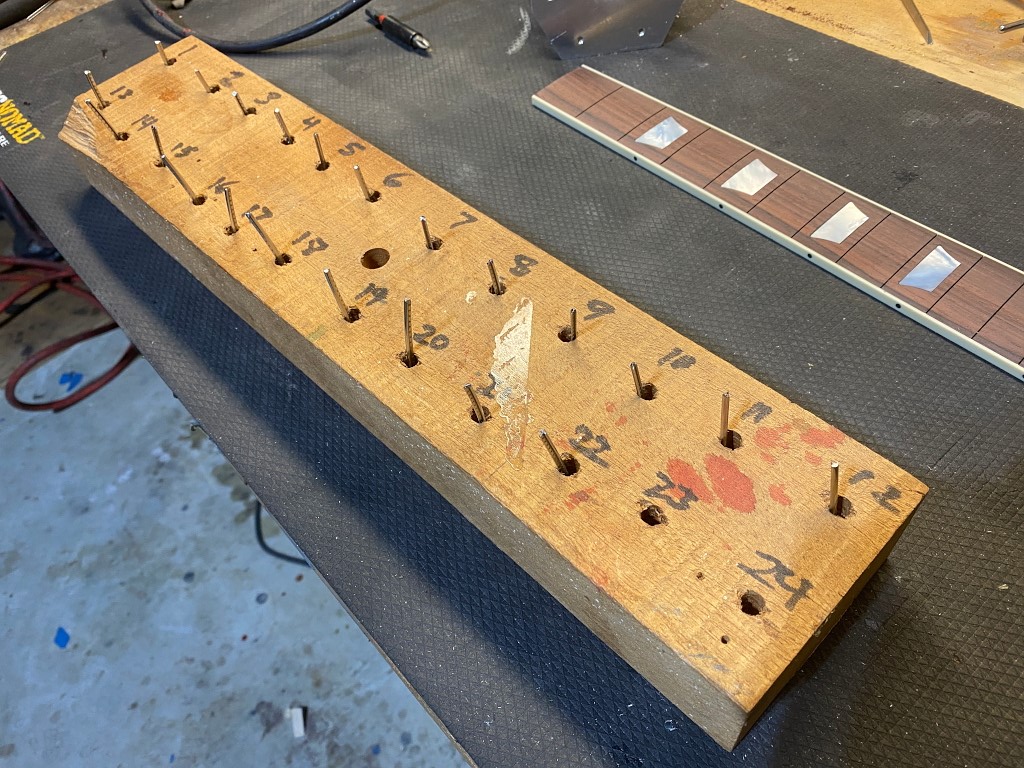
Each fret is cut to the specific slot, and since the board gets wider from nut to body, every fret is slightly different length. I use this sophisticated tool to organize them 🙂
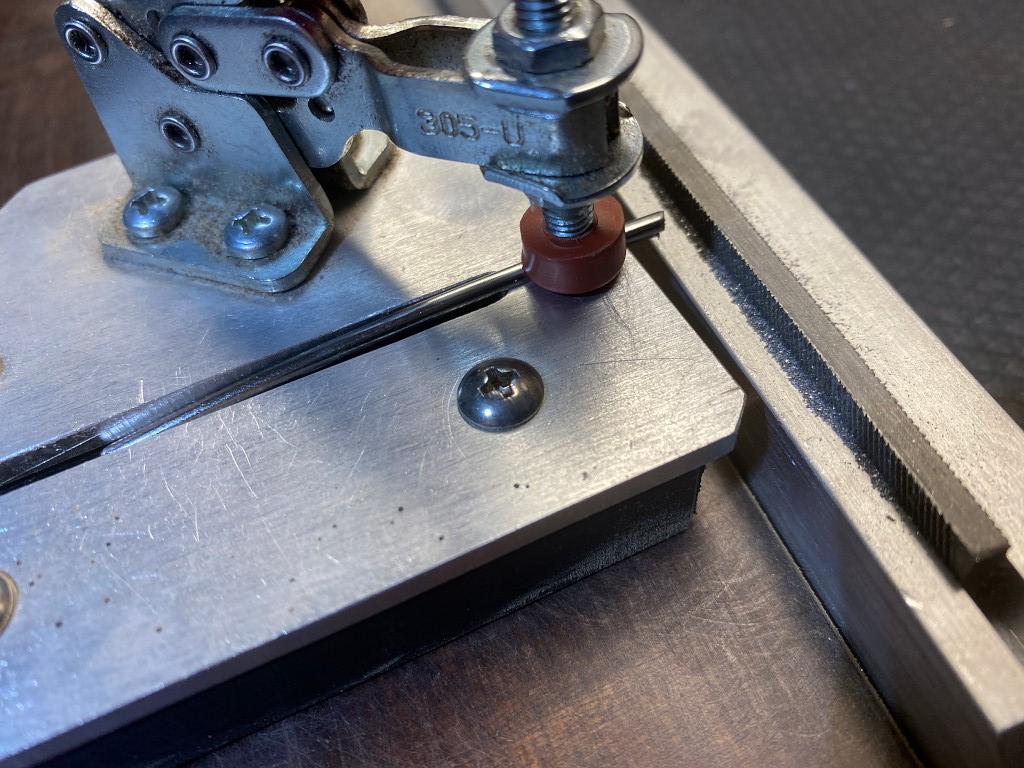
Then I use this doohickie to file the tang off each end of the fret
This is because on a board with binding the slot doesnt go all the way to the edge. The tang has to fit between. the frets are then hammered and pressed into the slots firmly.
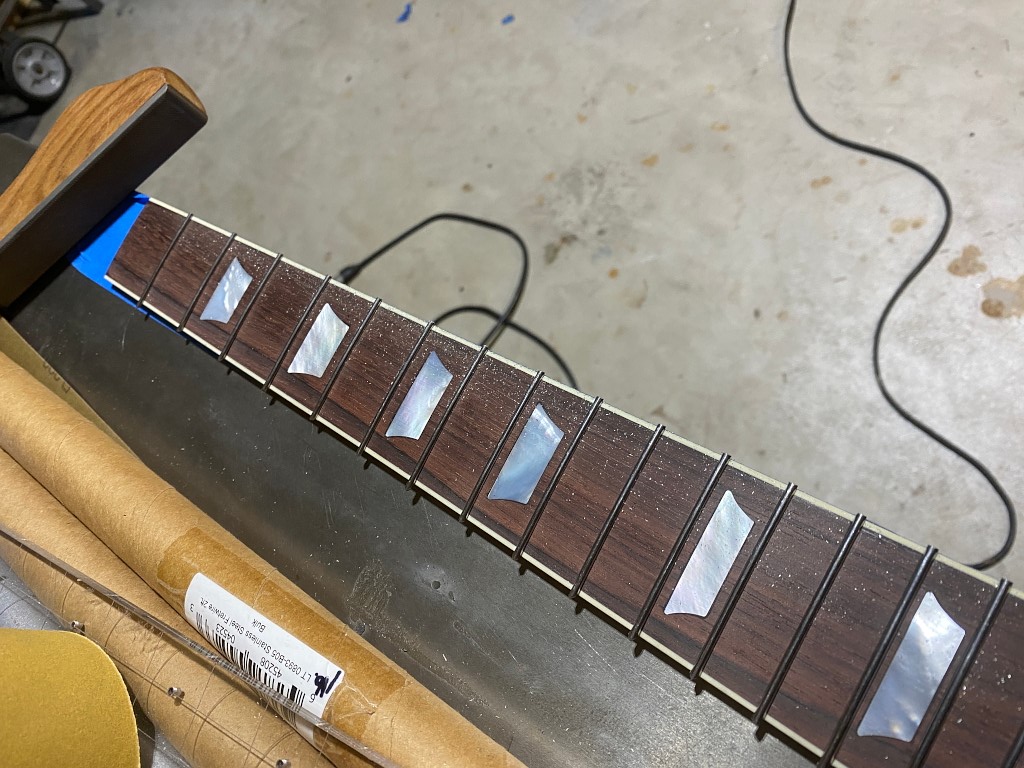
then this file is used to file the ends down flush with the edge of the board, and are slightly bevelled inward.
At this point thats all the work I’ll do on the frets. Leveling, crowning, and polishing of the frets will happen after I’ve applied a finish to the guitar,
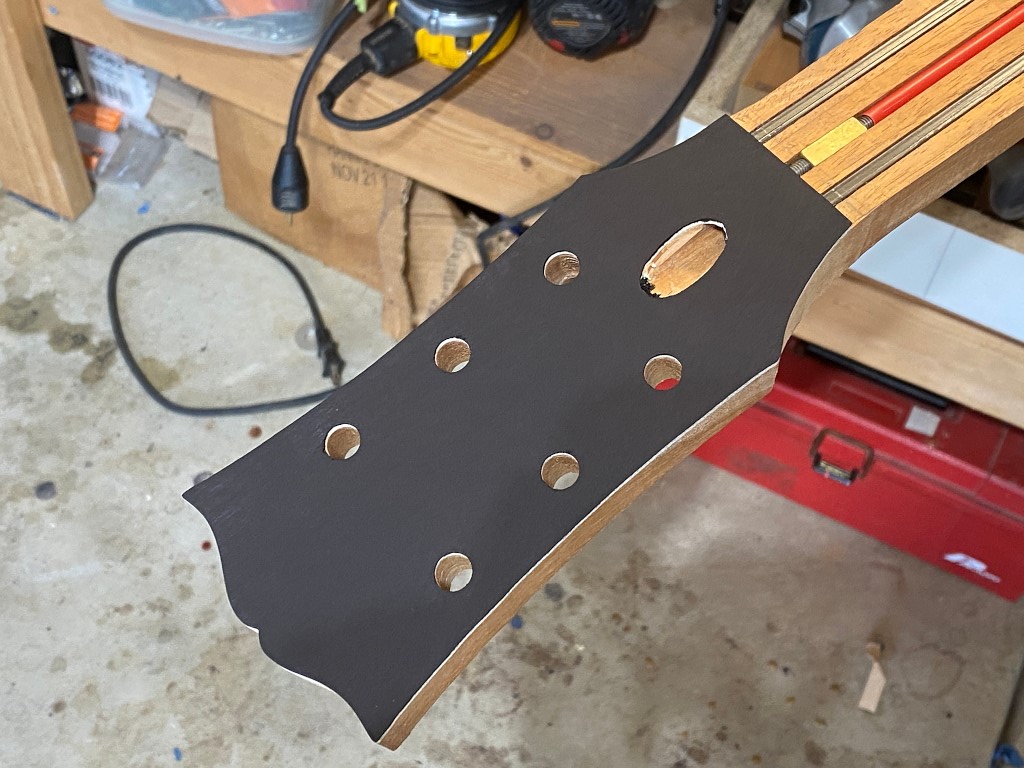
I also used my dremel to route a hole in the headstock veneer to expose the truss rod adjustment.
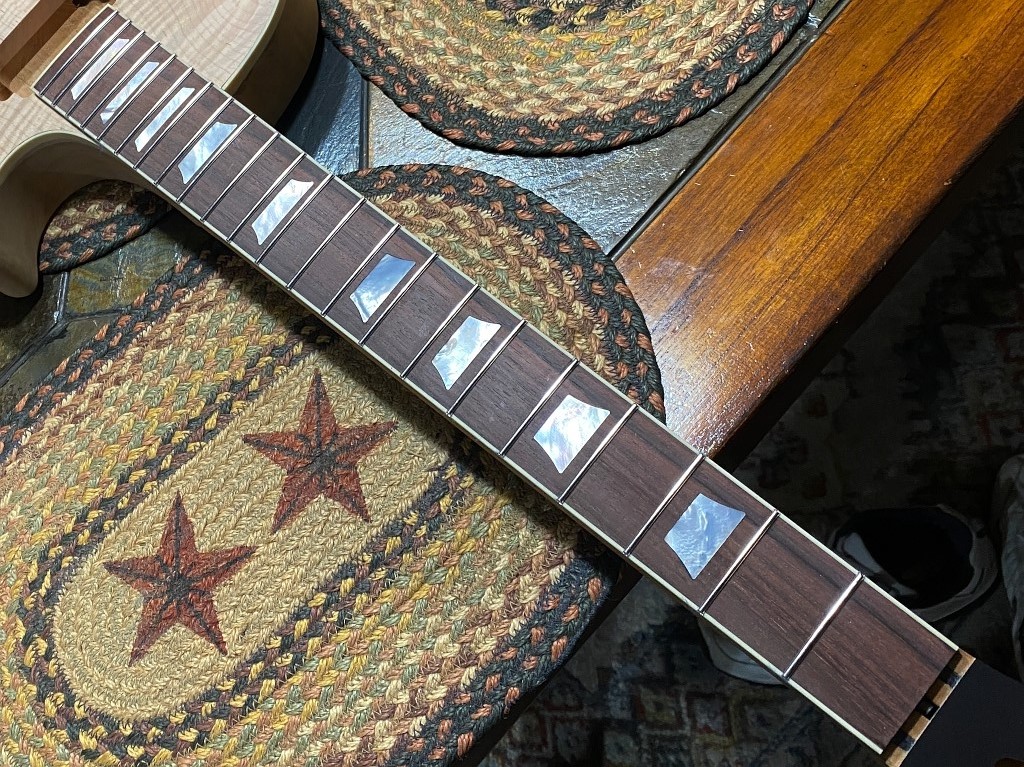
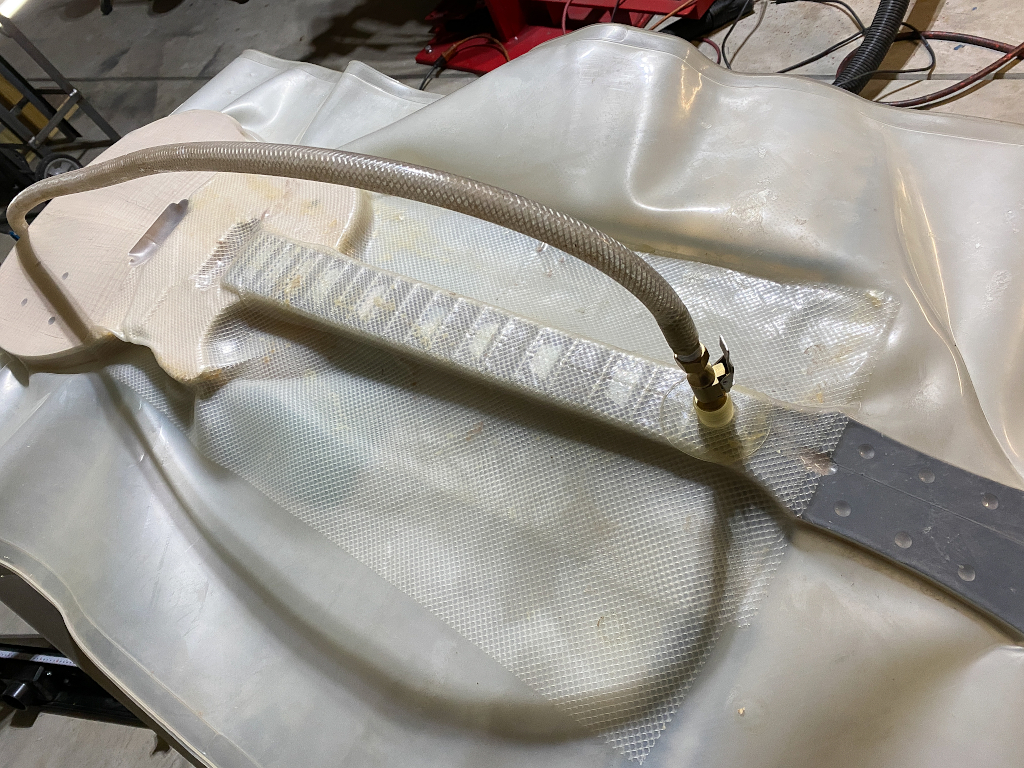
Then its into the vacuum bag to glue the fretboard in place.

