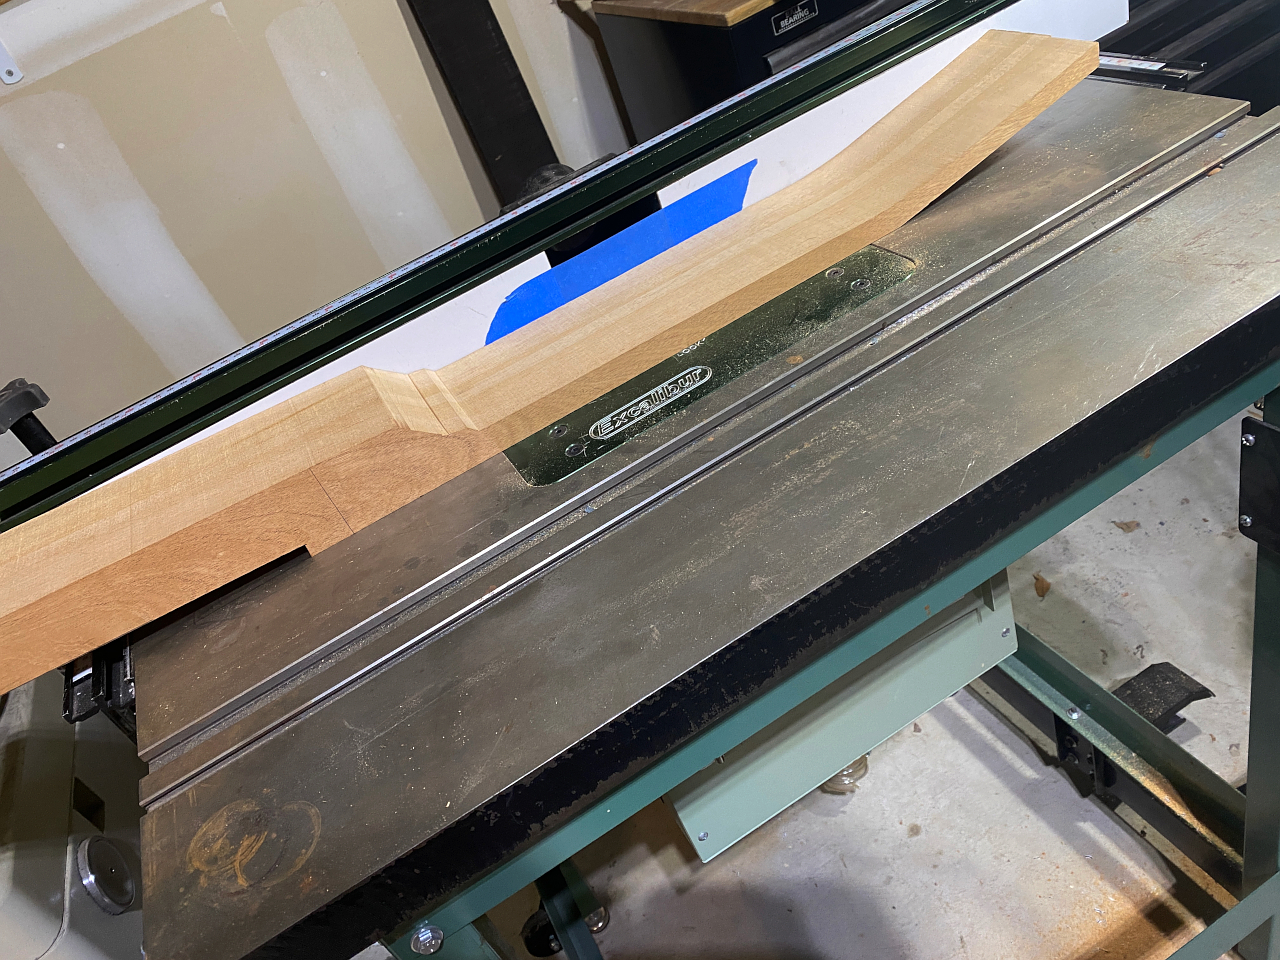
So the next operation is another where the initial flatness, and squareness of the neck blank plays a crucial role, and its why I have not yet removed the remaining excess material on either side of the neck. That is cutting the channels for the carbon fiber rods and the truss rod.
There are many ways of doing this, but by far the fastest, cleanest, and most accurate is to use a router table with a fence.
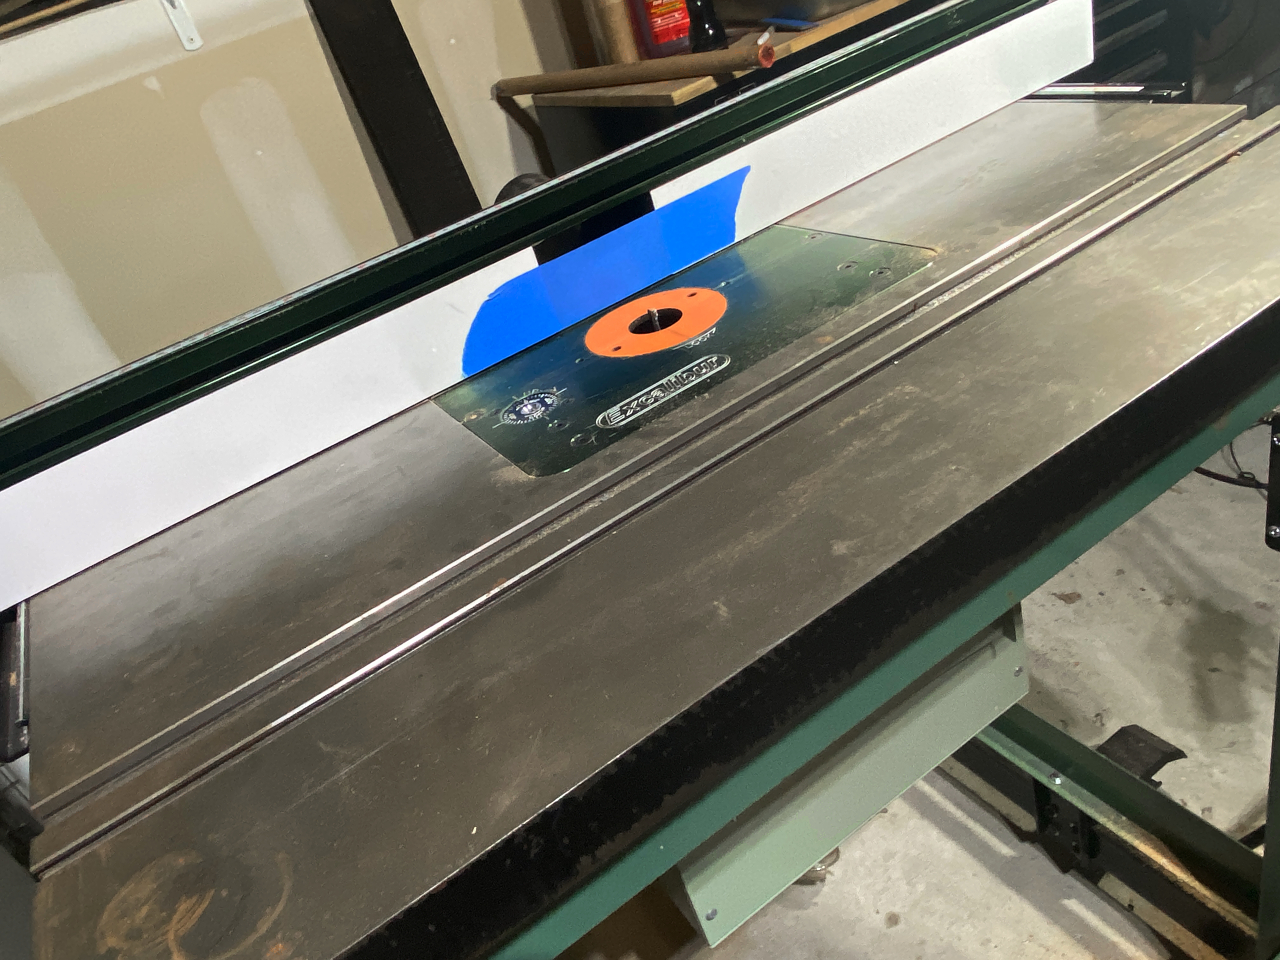
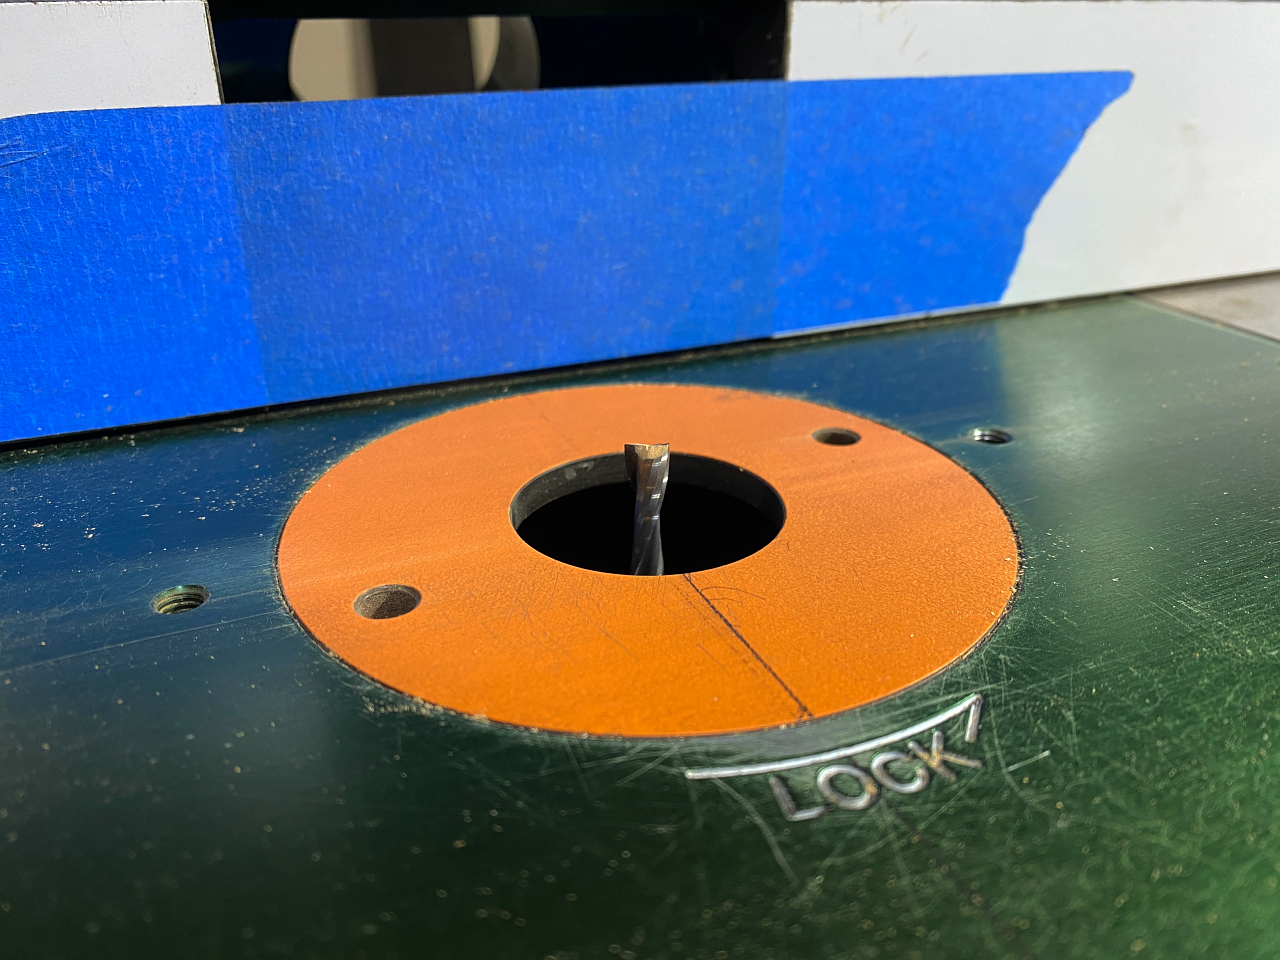
For this operation I use carbide spiral bits, and I run the motor at 21,000 rpm. Dont touch it 😉
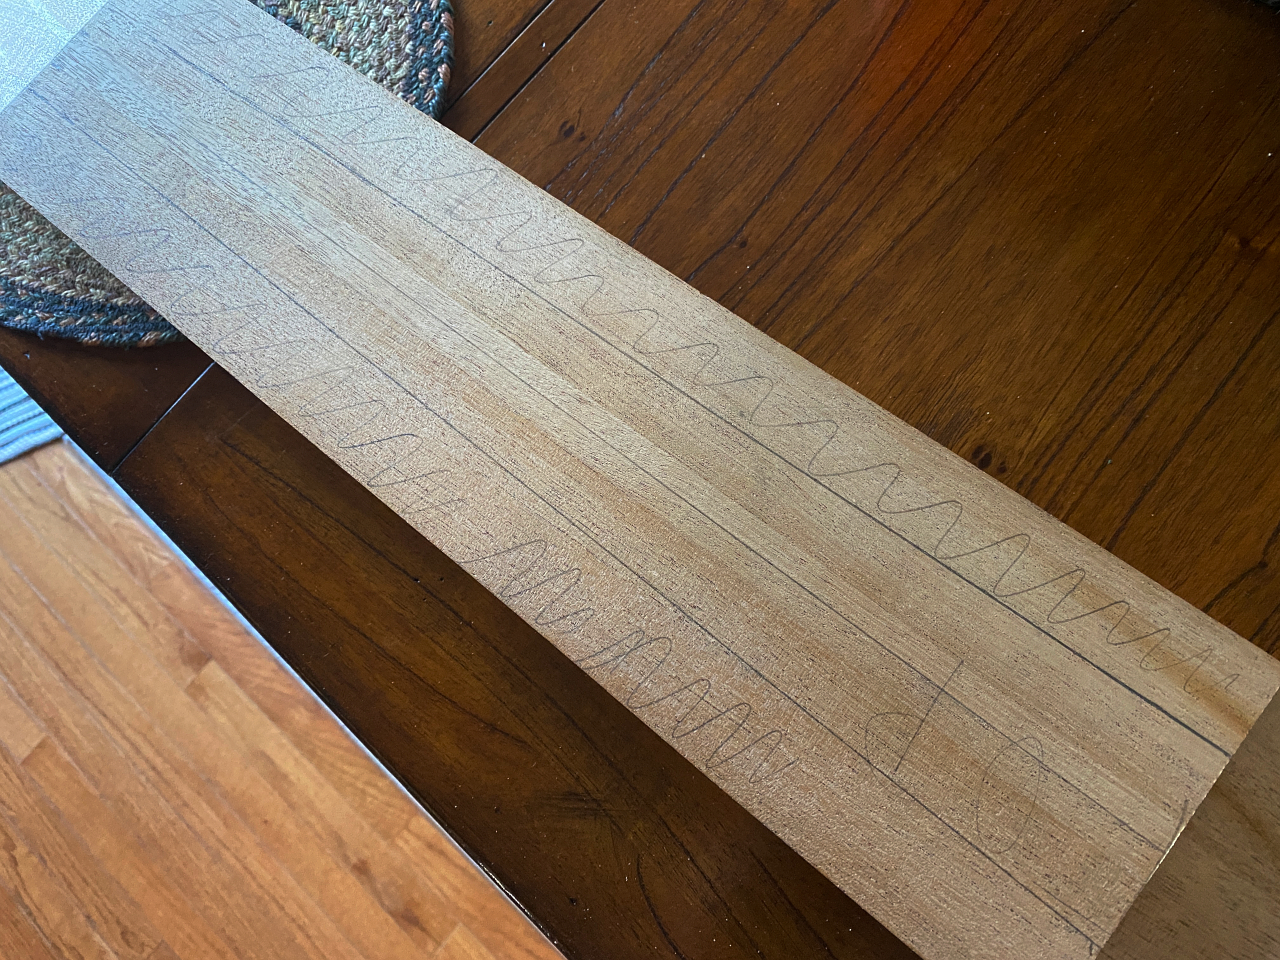
the workpiece is inverted and run across the table, guided by the fence, to cut perfect channels. I make several passes per channel, raising the bit fractionally each time, until the channel is the correct depth. As you can see, this would not work unless the neck blank was perfectly square. If the blank tapered even slightly from one end to the other, the channel would be crooked.
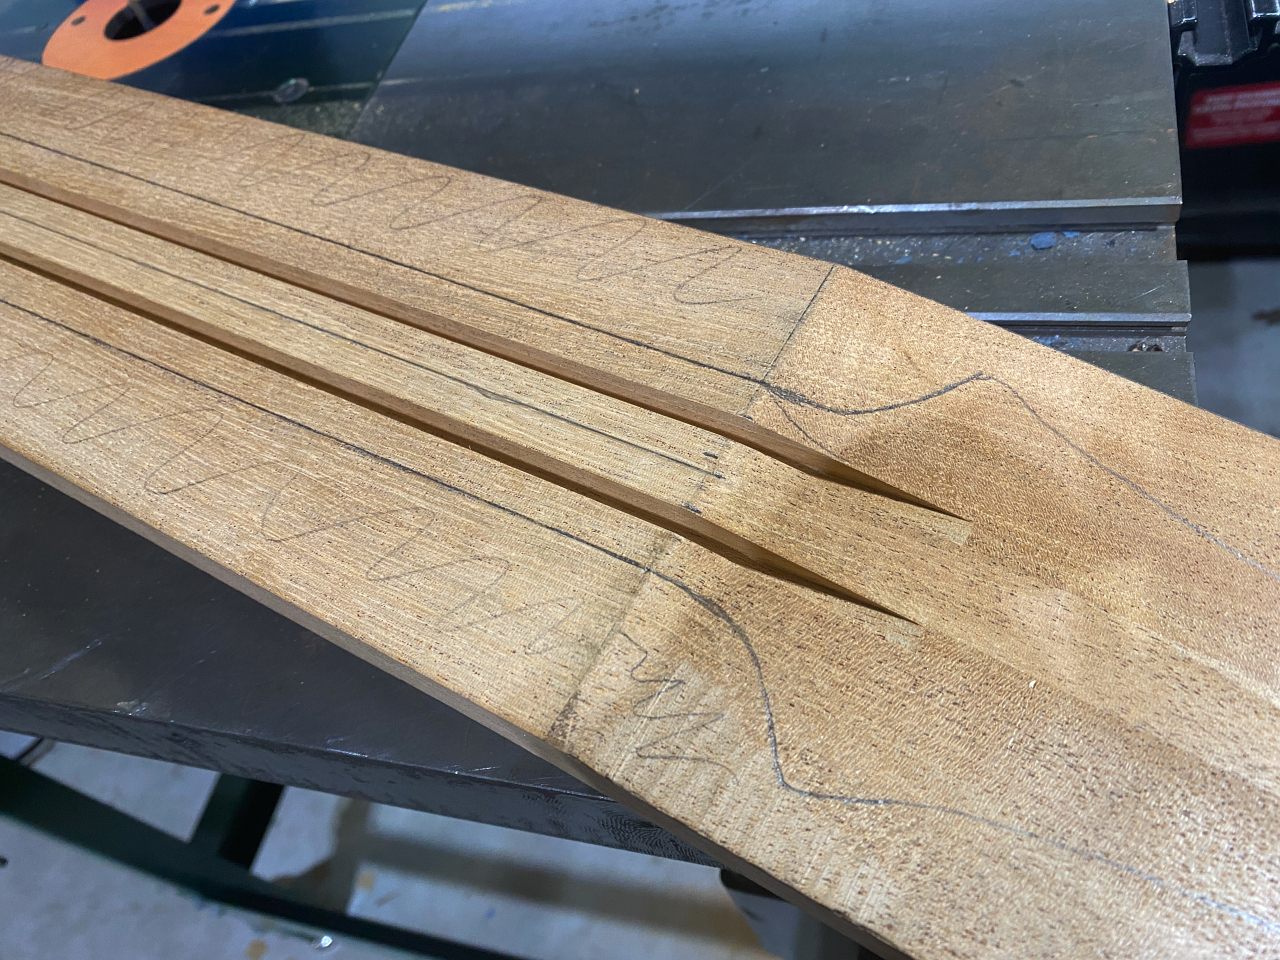
I cut the channels for the carbon fiber rods first. The actual routing doesnt take too much time, but rather a lot of time is spent adjusting the fence so that its precisely the right distance from the cutter. I use one of the scrap pieces from the blank to test it until its just right, then I cut the actual neck.
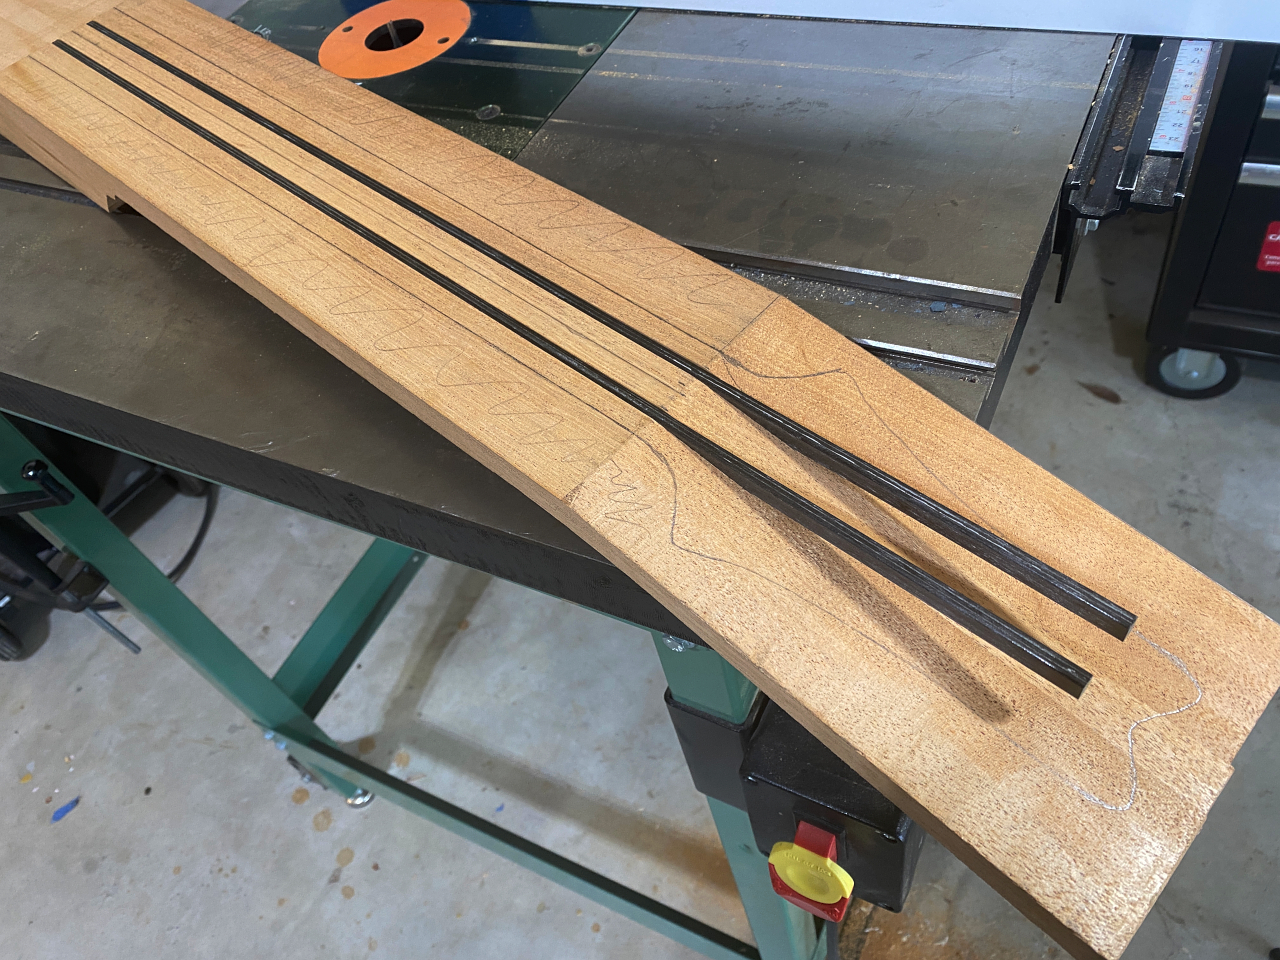
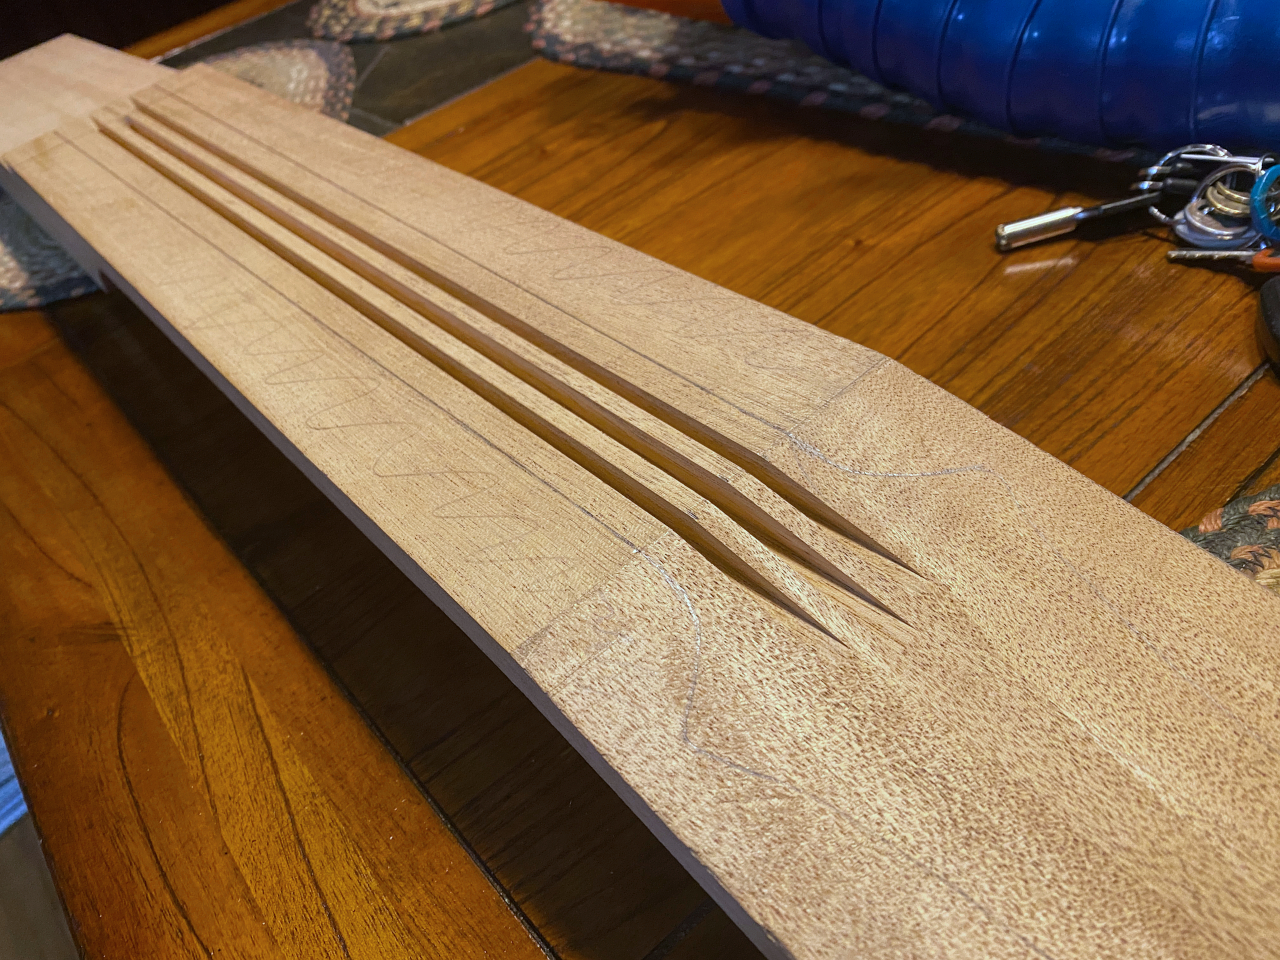
Perfect fit. I wont actually epoxy them until I’ve completed a couple other operations
Repeated the process for the truss rod. I use a different bit for the truss rod. the bit for the carbon fiber is 0.20″, while the truss rods channel is 0.25″.
All 3 channels are 0.375″ in depth
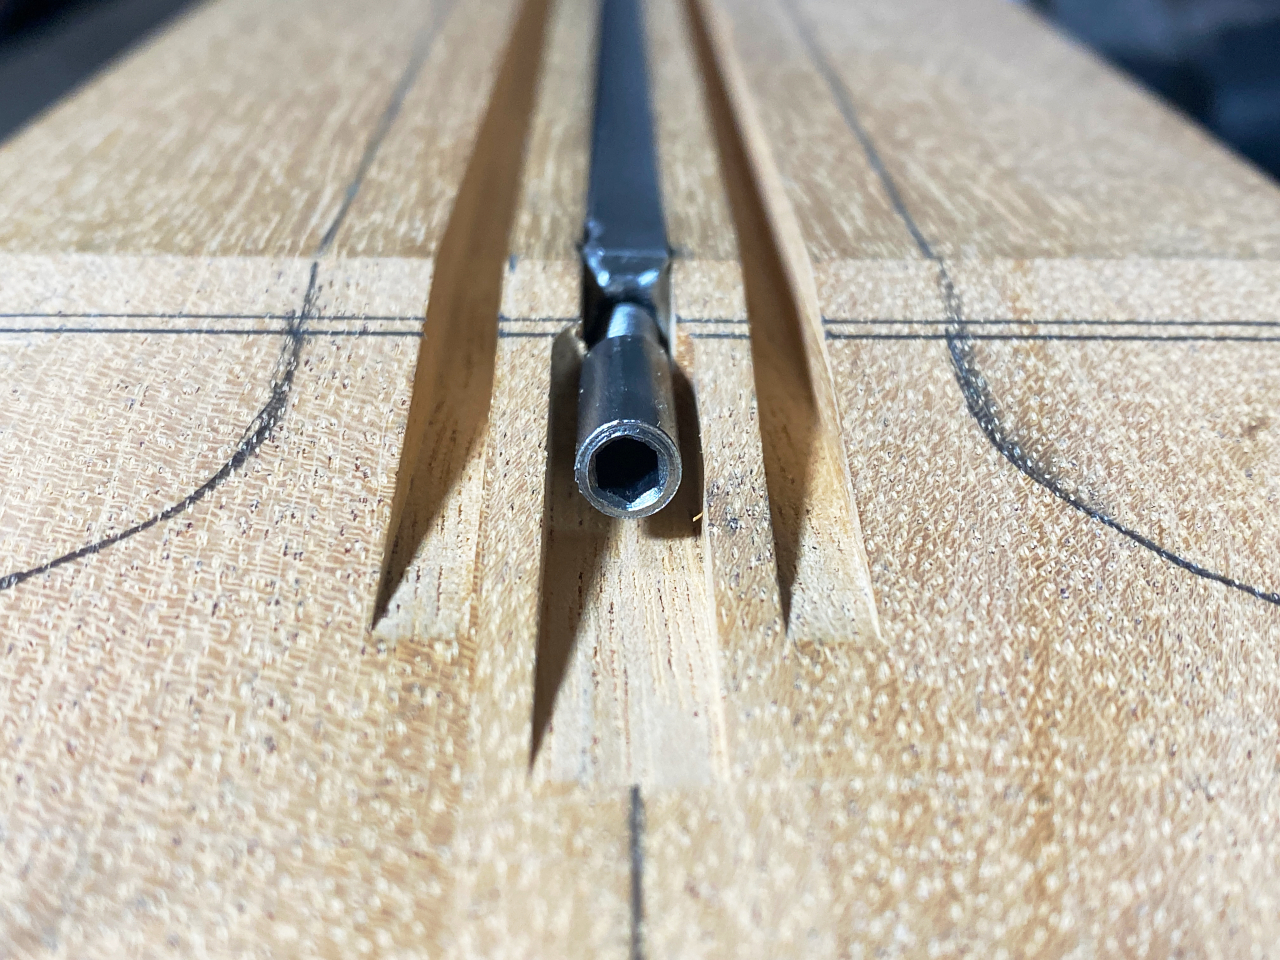
Nest we fit the truss rod. This is a welded, double-action truss rod from Luthiers Mercantile. I consider these to be the Cadilac of truss rods. Best on the market.These are a significant improvement over the traditional single action, compression truss rods that Gibson and other manufacturers use. they are stronger, they dont strip, and they can correct the neck bow in either direction rather than just pull the neck back.
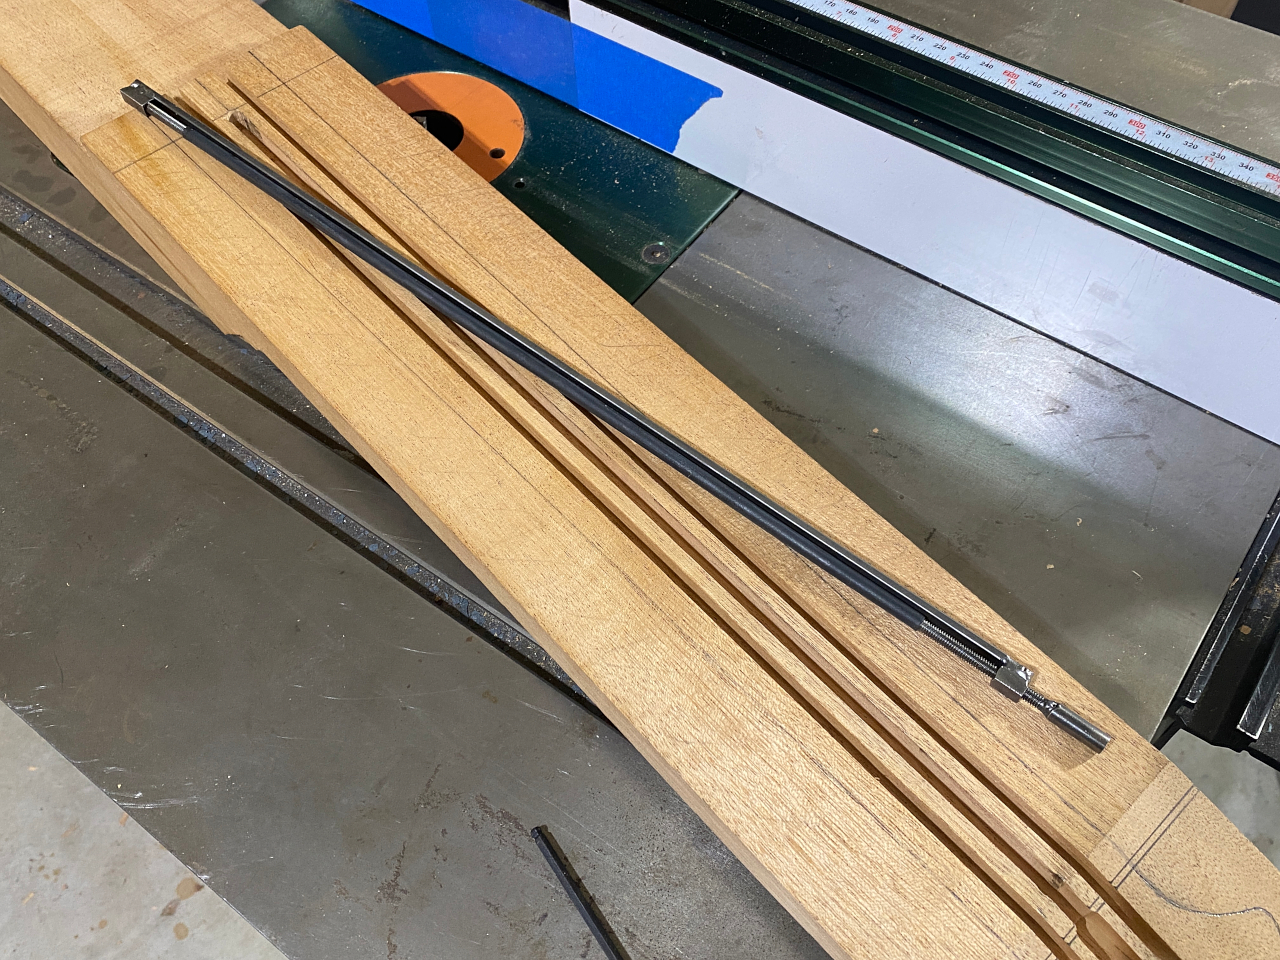
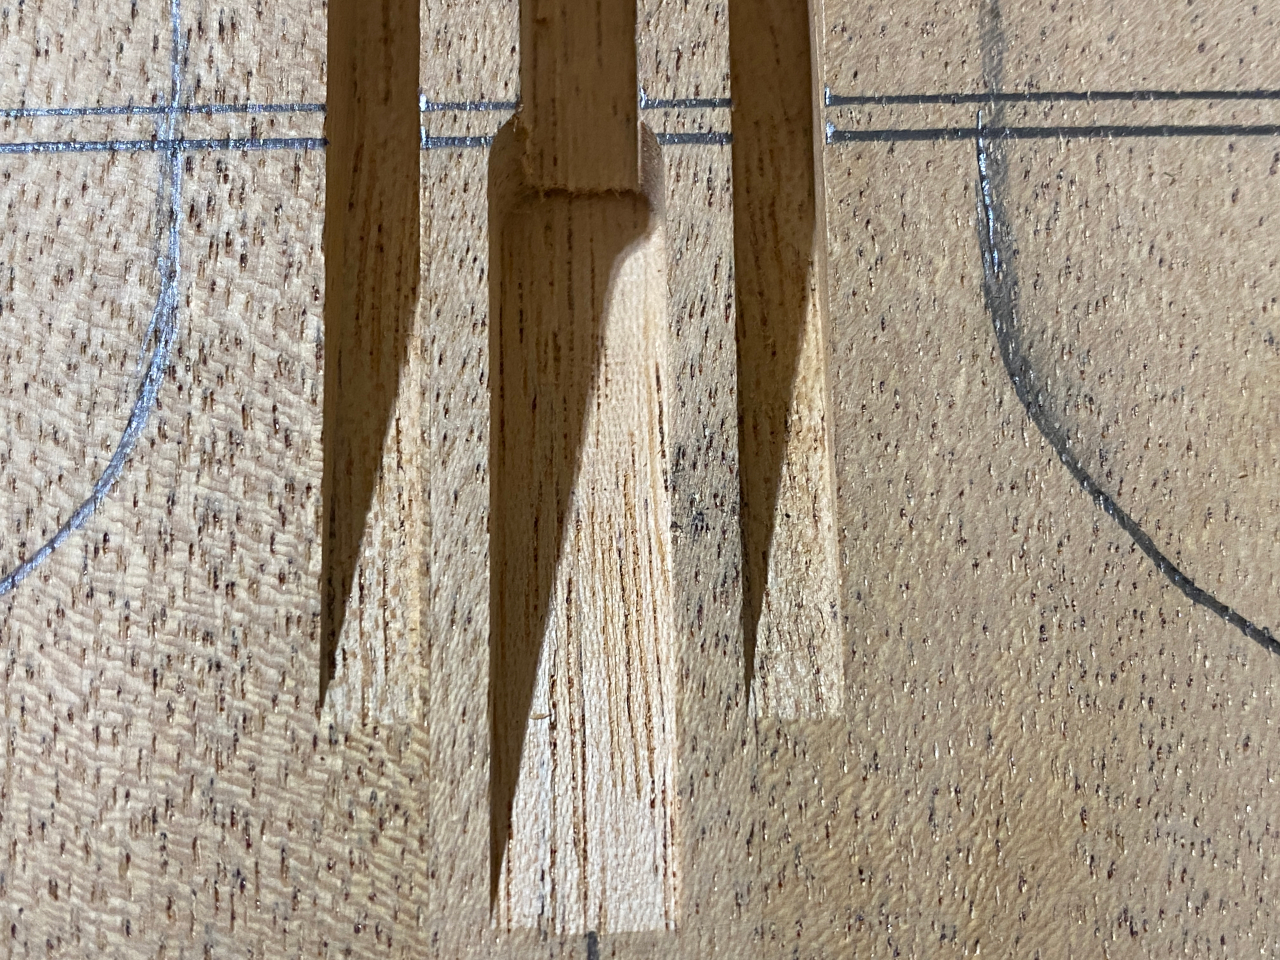
At the adjustment end of the rod I create a little extra clear and underneath and the sides for the nut. This allows it to turn freely
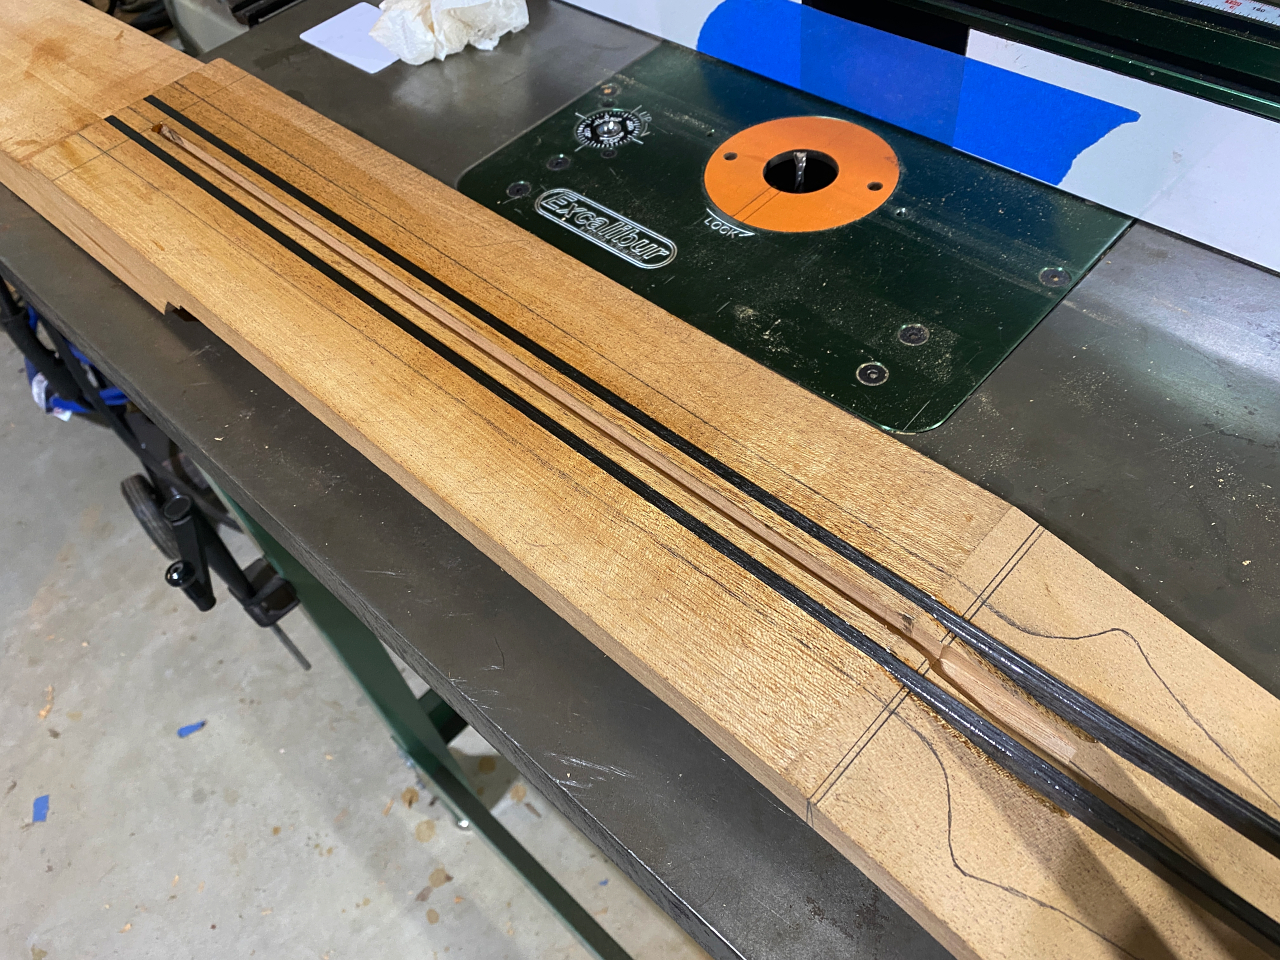
Next the rod comes back out, and the carbon fiber rods are glued into place using a medium viscosity CA gel. the sides and bottom of the rods are completely coated, as is the channel itself, and the rods are pressed in. They are a loose friction fit so they push in easily and contact all sides, but not so tight that all the glue is squeegeed (is that a real word?) off.
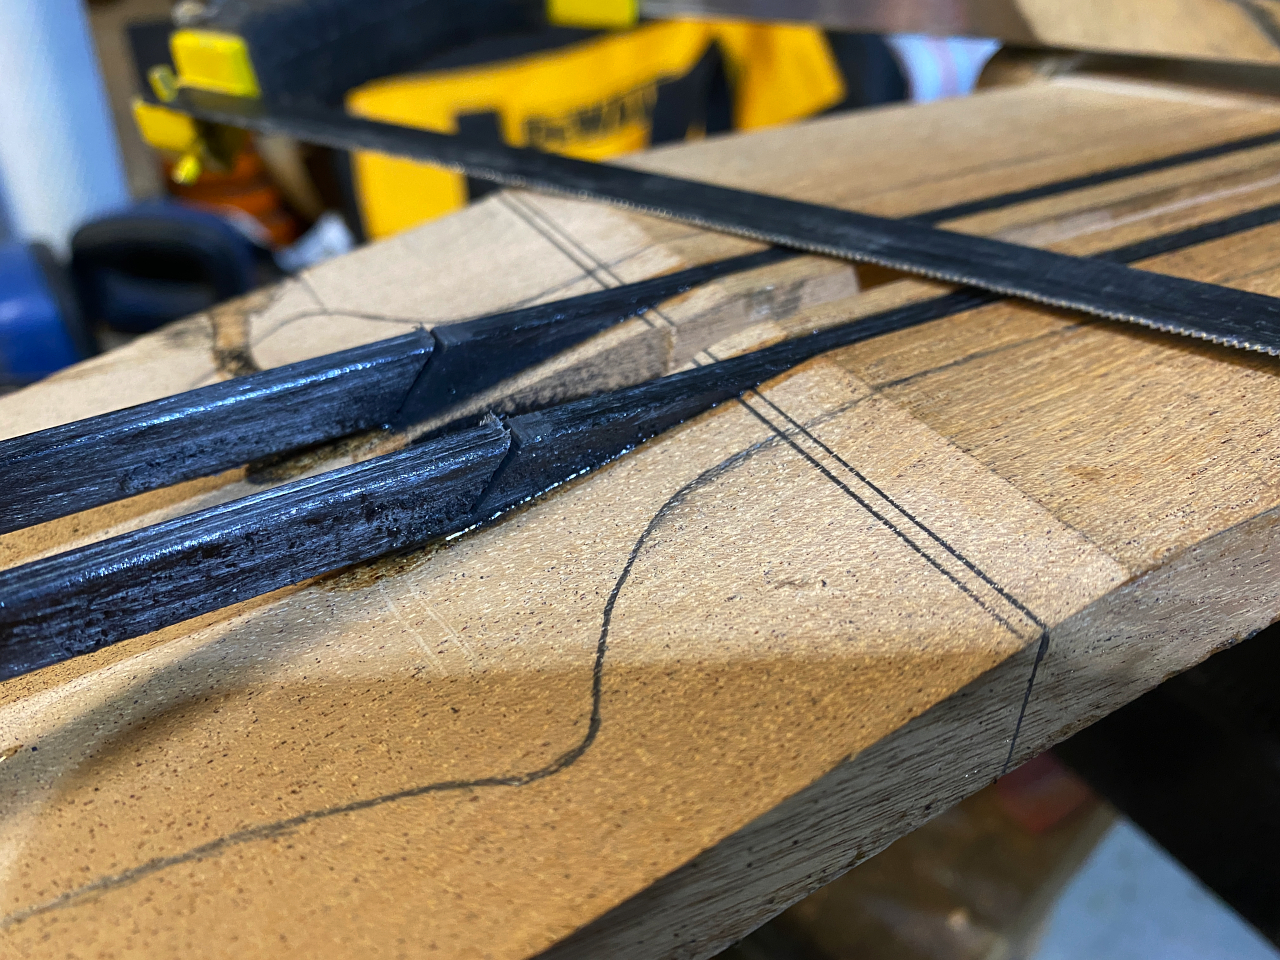
Once the glue is fully set, I cut the excess off with a good, old-fashioned hack saw. One thing about carbon fiber is that they instantly wreck any edge you use to cut them, so you want to use cheap, easily replaceable blades. The first time I did this I used a $150.00 carbide tooth resaw blade on my band saw. It cut the rods very easily, and then never cut anything again. You could practically put your arm against that blade it was so dull. $150 down the tubes.
Now I wreck a $ 0.50 hacksaw blade. Takes a little longer but its a LOT cheaper 🙂

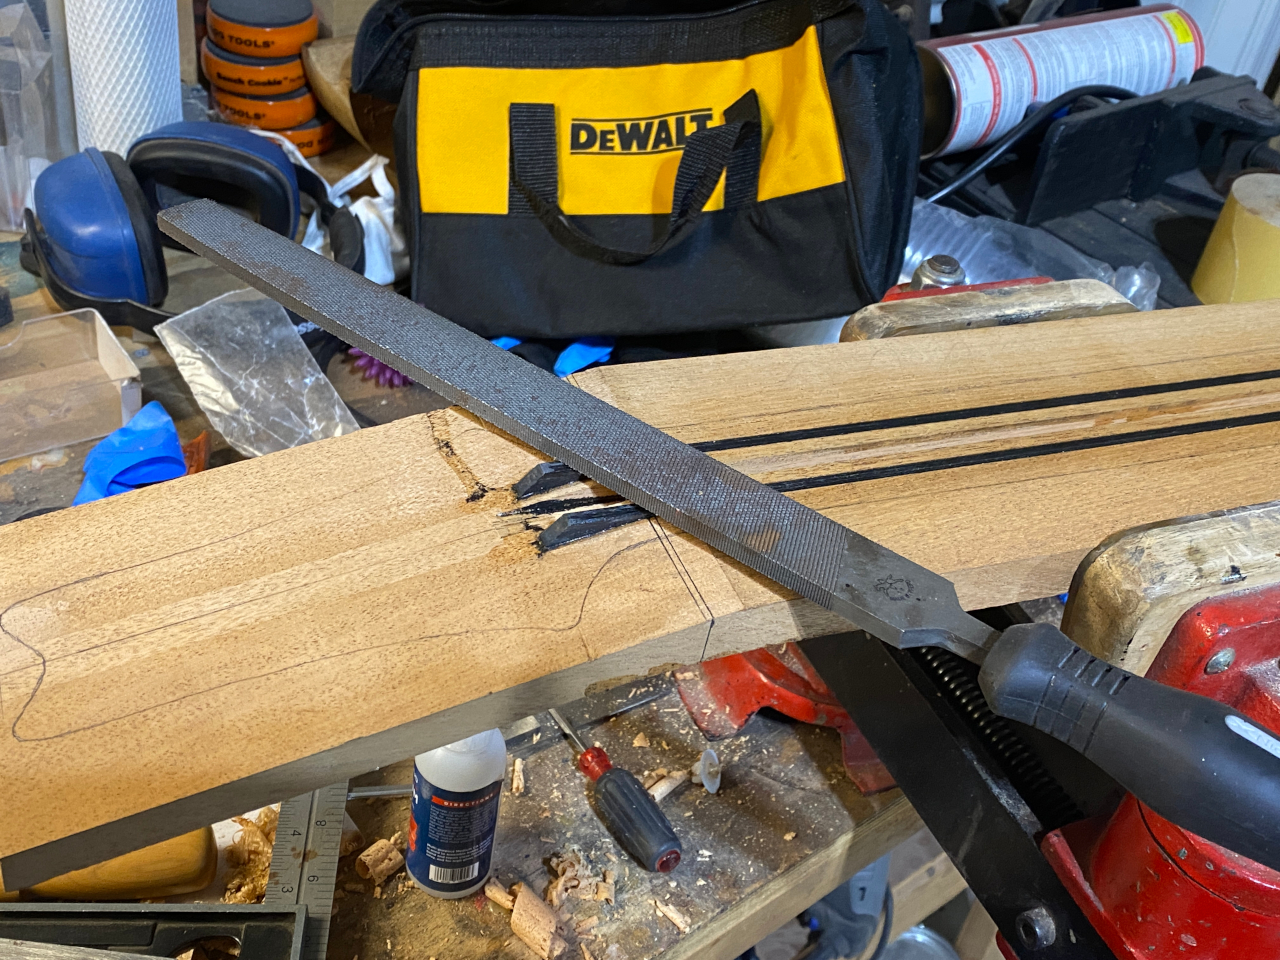
Again, old fashioned hardened steel file does most of the rest of the work
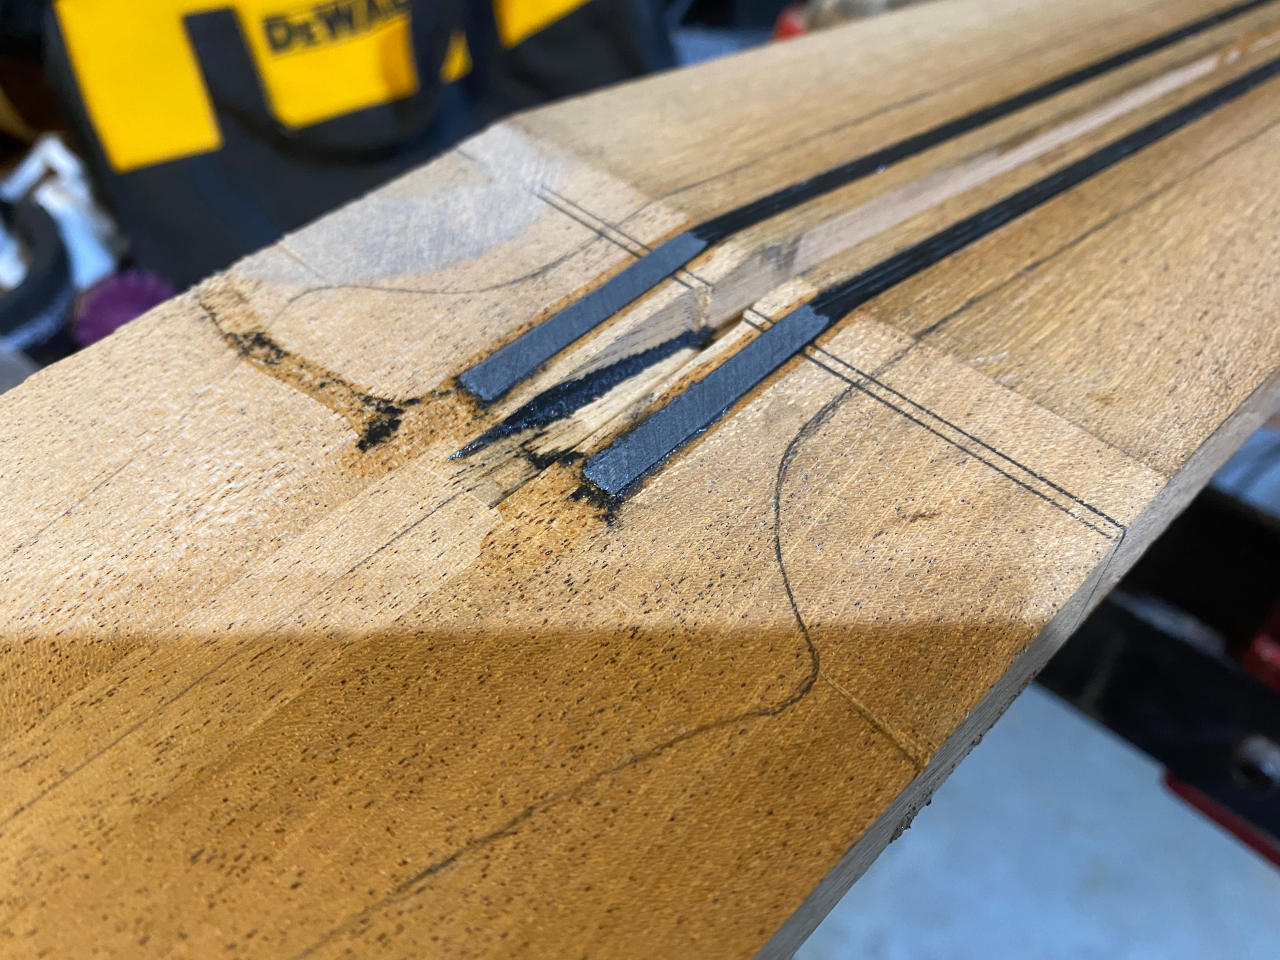
When I first started using the carbon fiber I ended them at the end of the fretboard, but then I decided to let them run out on the headstock like this. Since the face of the headstock gets an overlay, its not a cosmetic issue, but it does significantly increase the strength of that area we discussed earlier. the laminate construction of the wood increases the strength quite a bit, and the carbon fiber spanning across the angle increases it even more. Again, I’m quite confident that should one of my guitars ever fall over and hit the floor, it will survive the fall unscathed, whereas a Gibson, or other brand, would siffer what you might have found earlier looking up gibson headstock breaks.
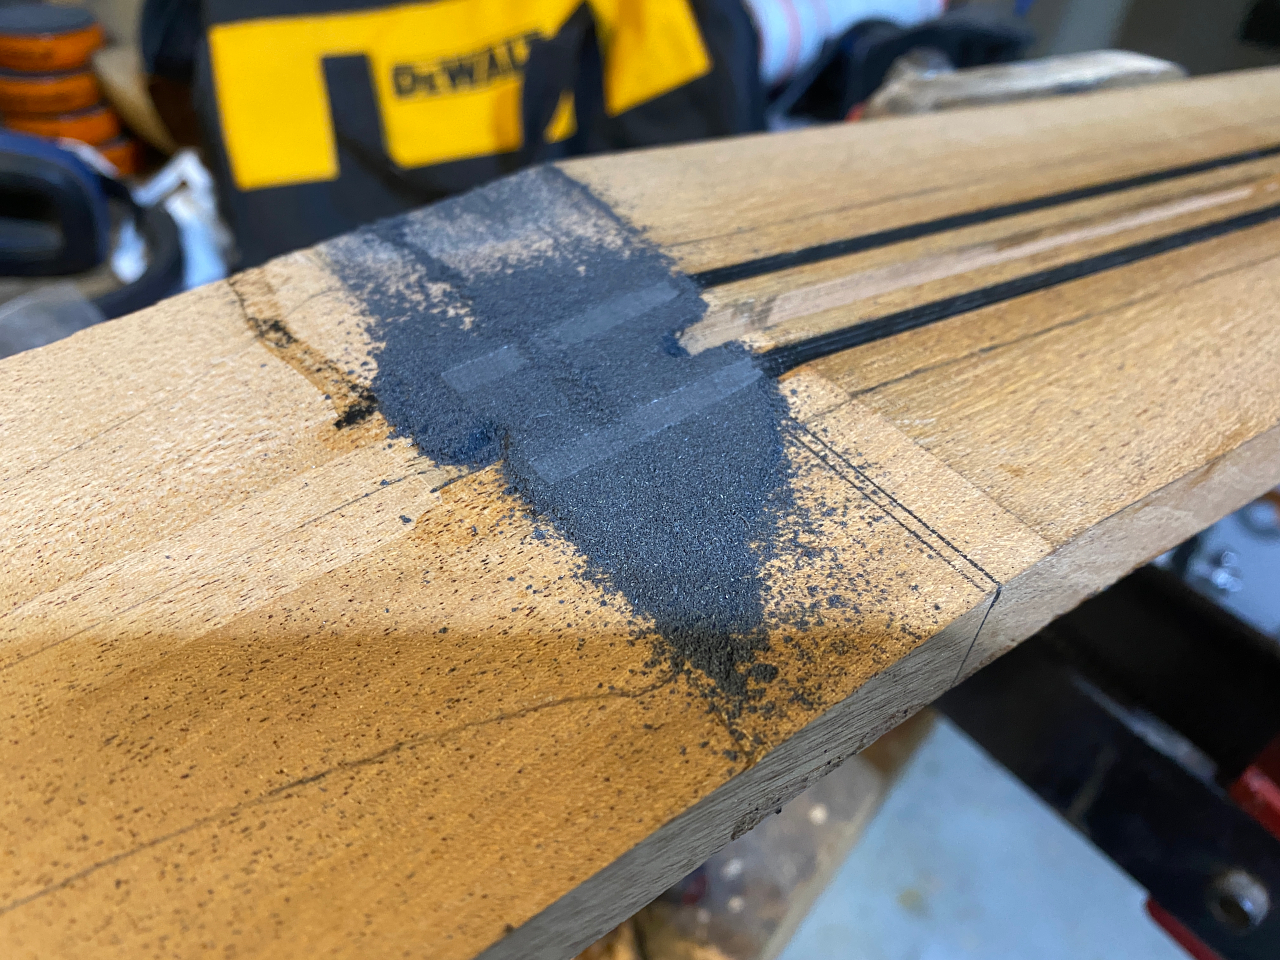
And I finish it off with a sanding block to take it down flush with the face.
