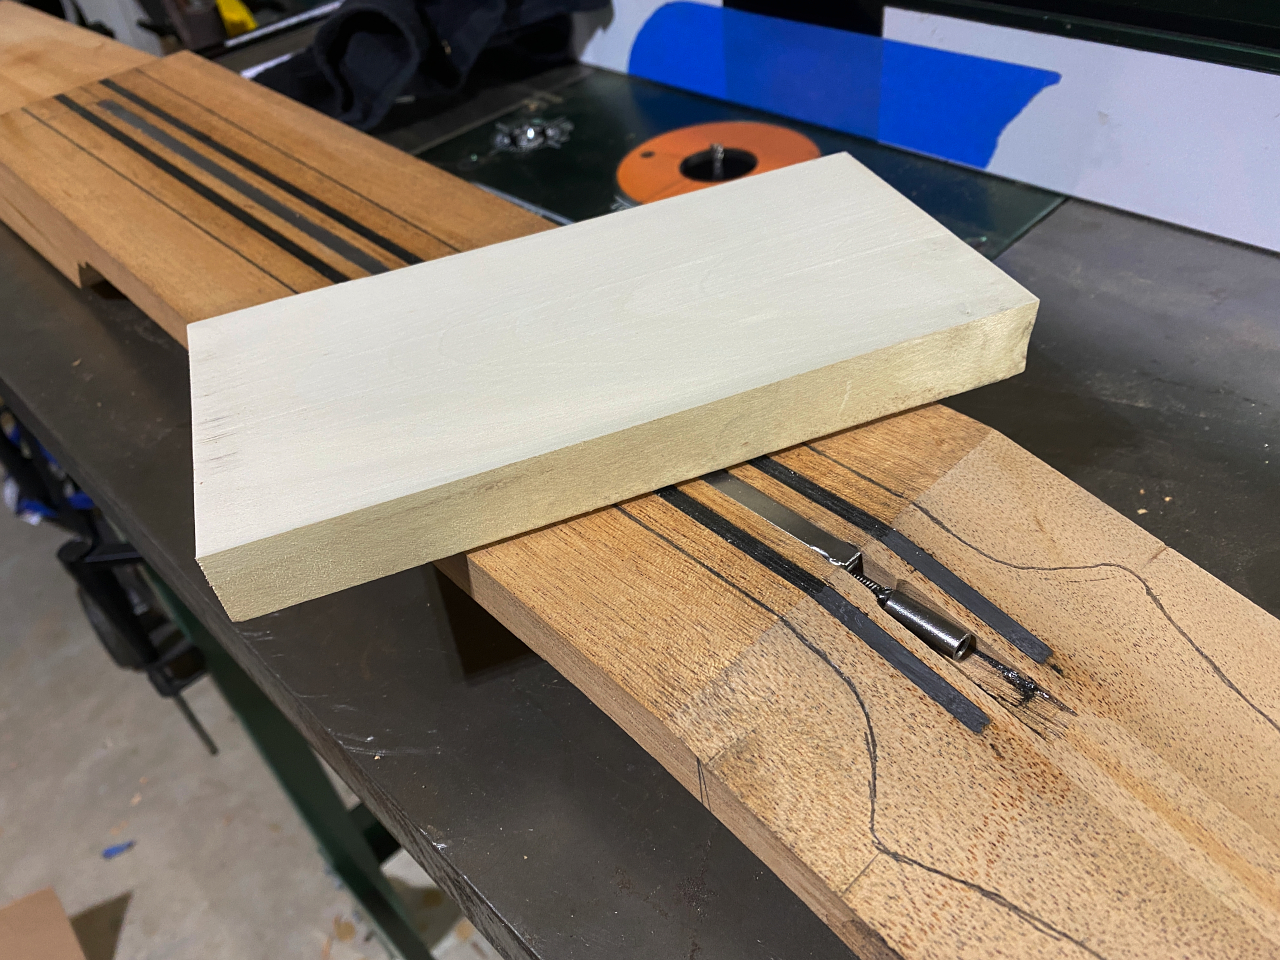
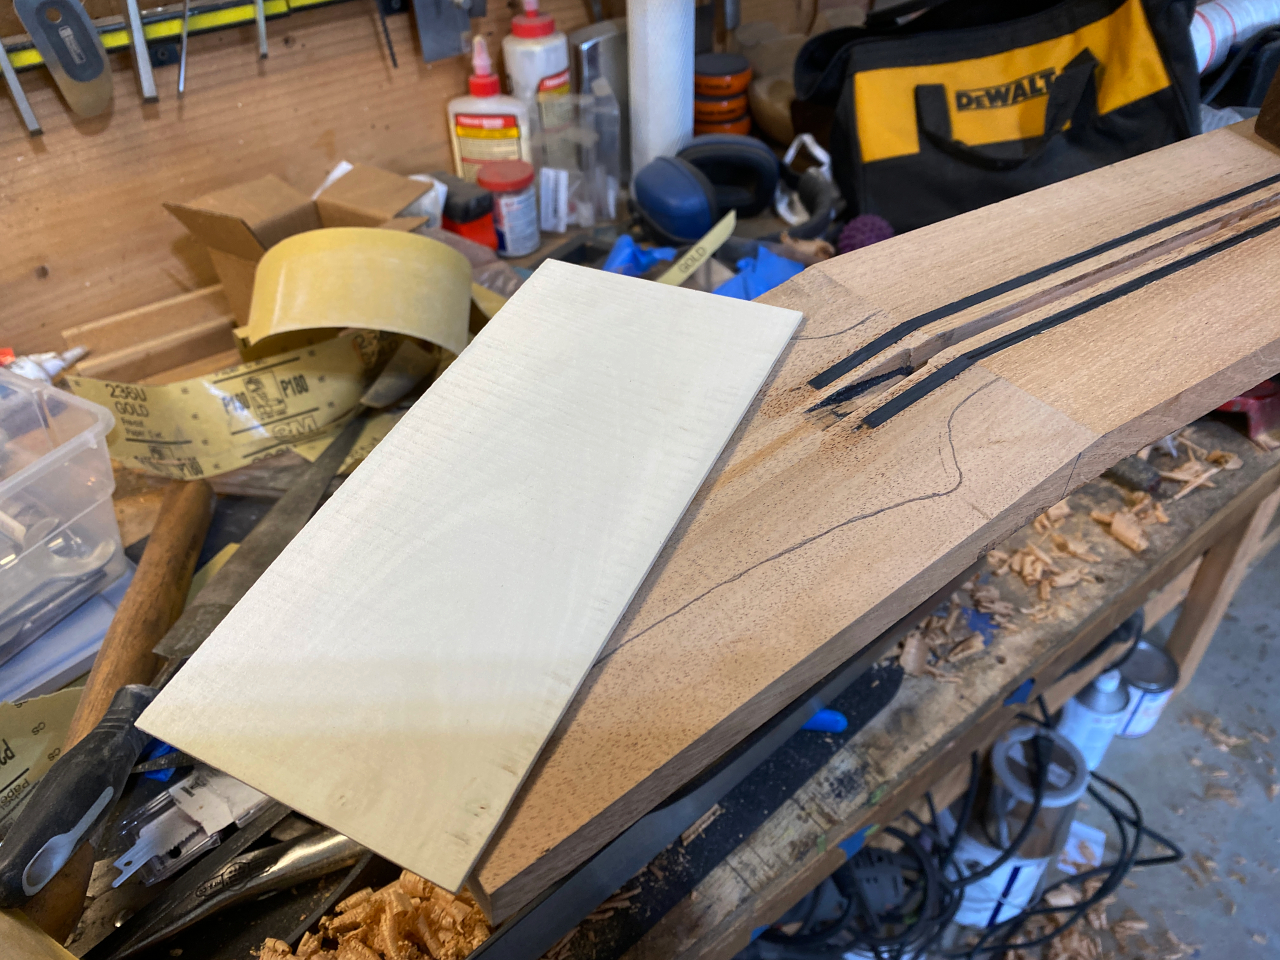
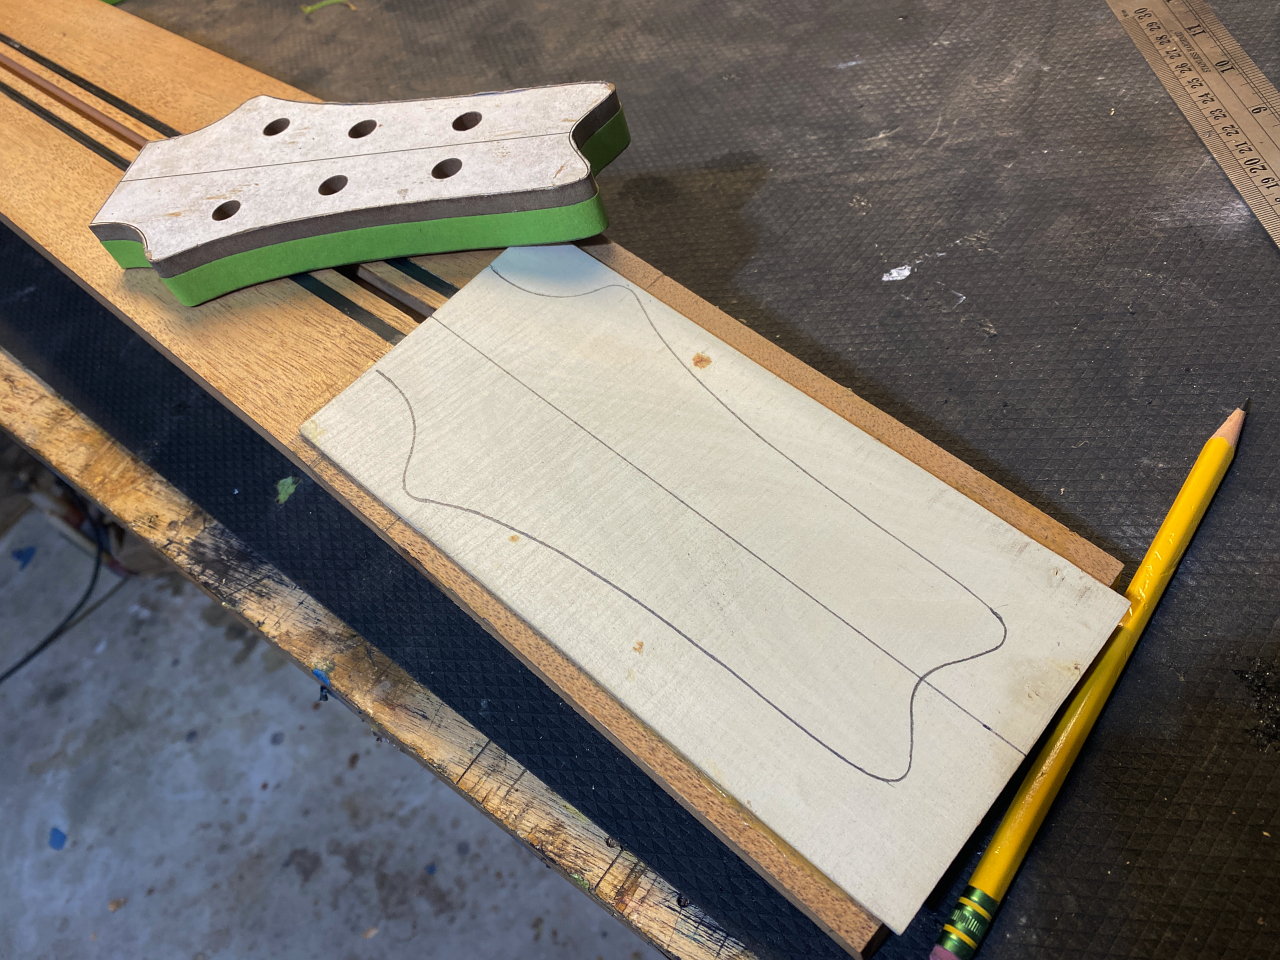
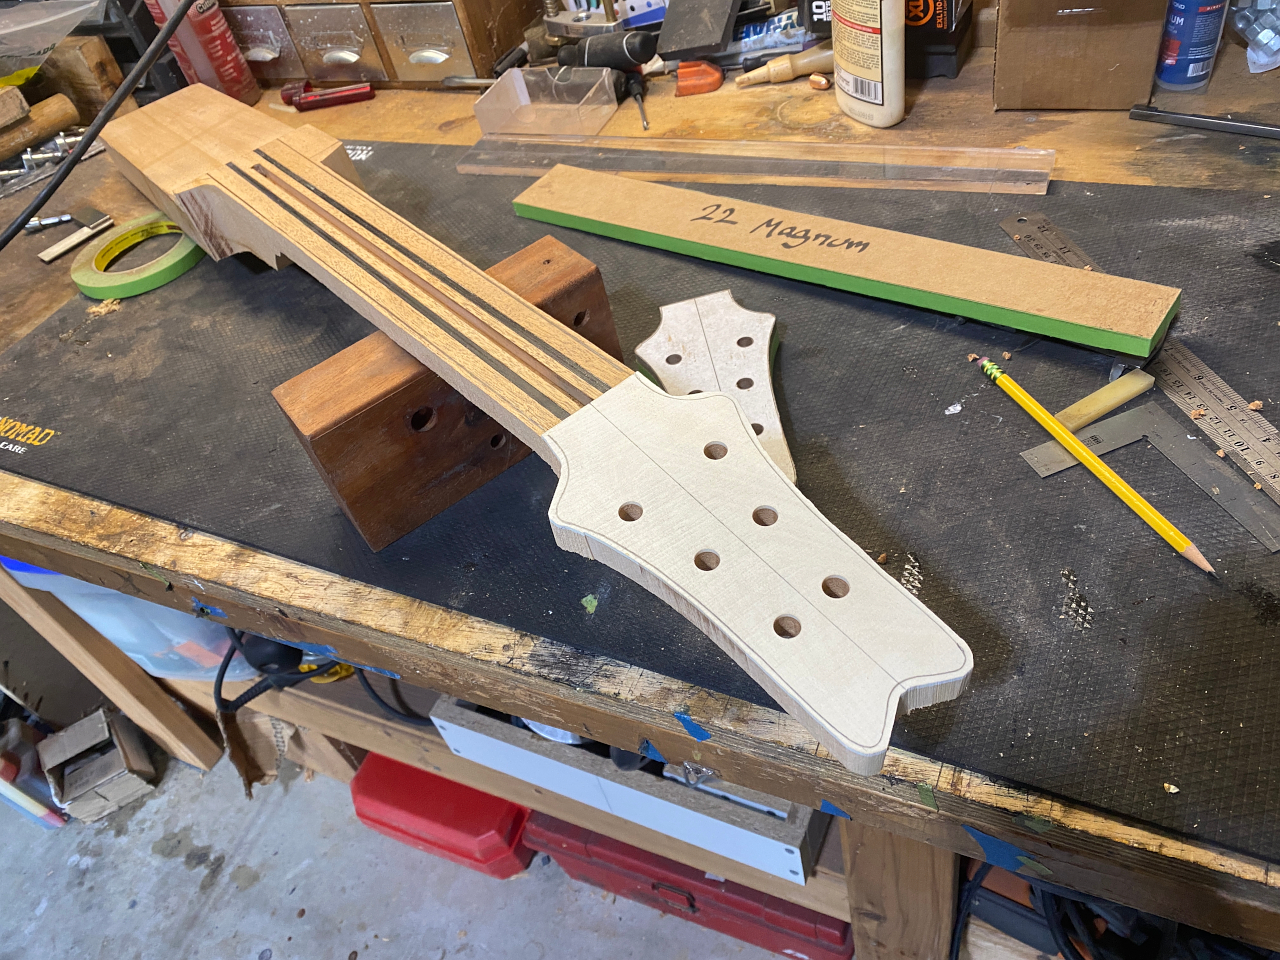
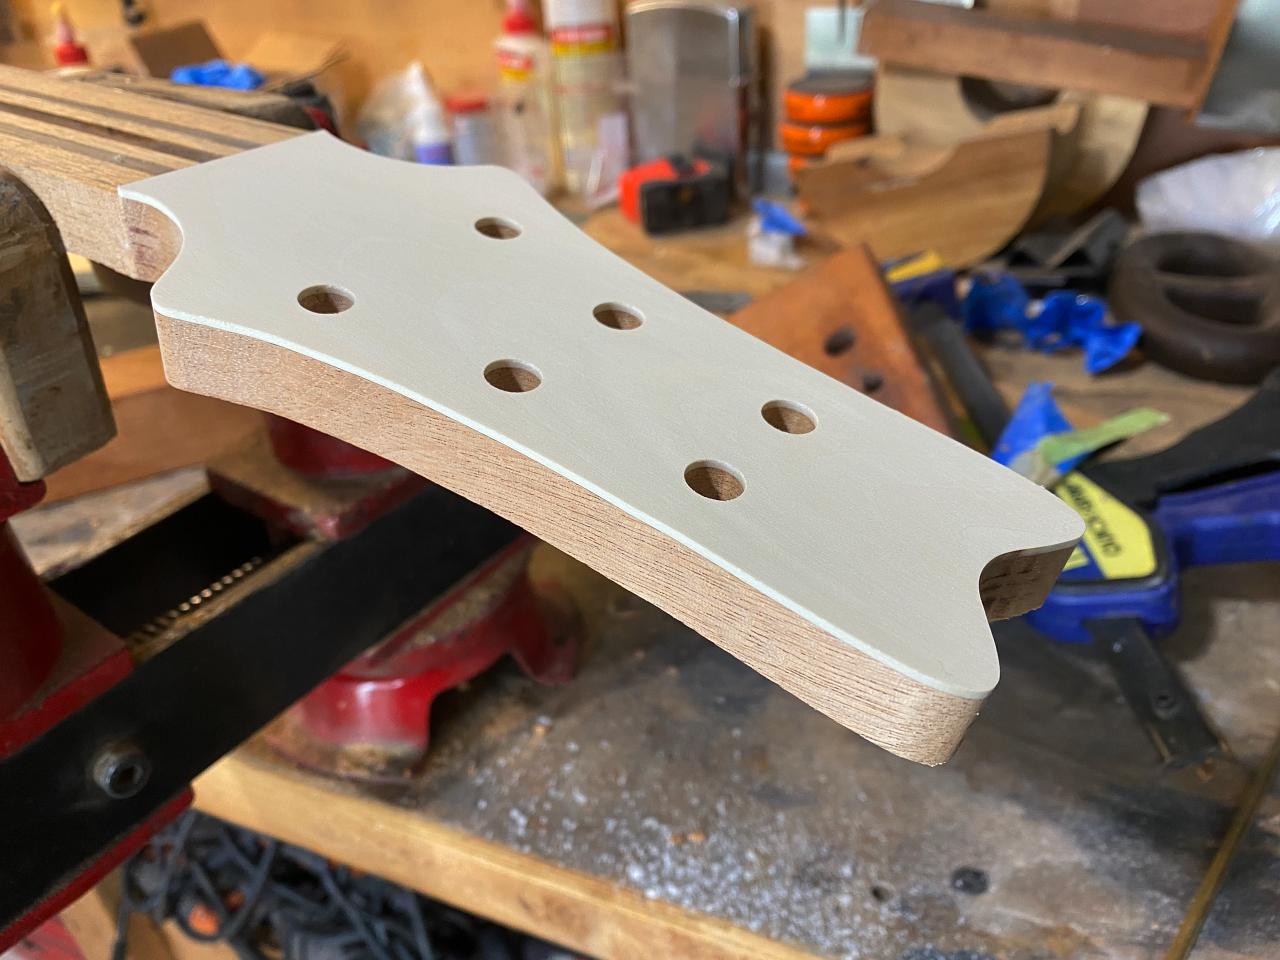
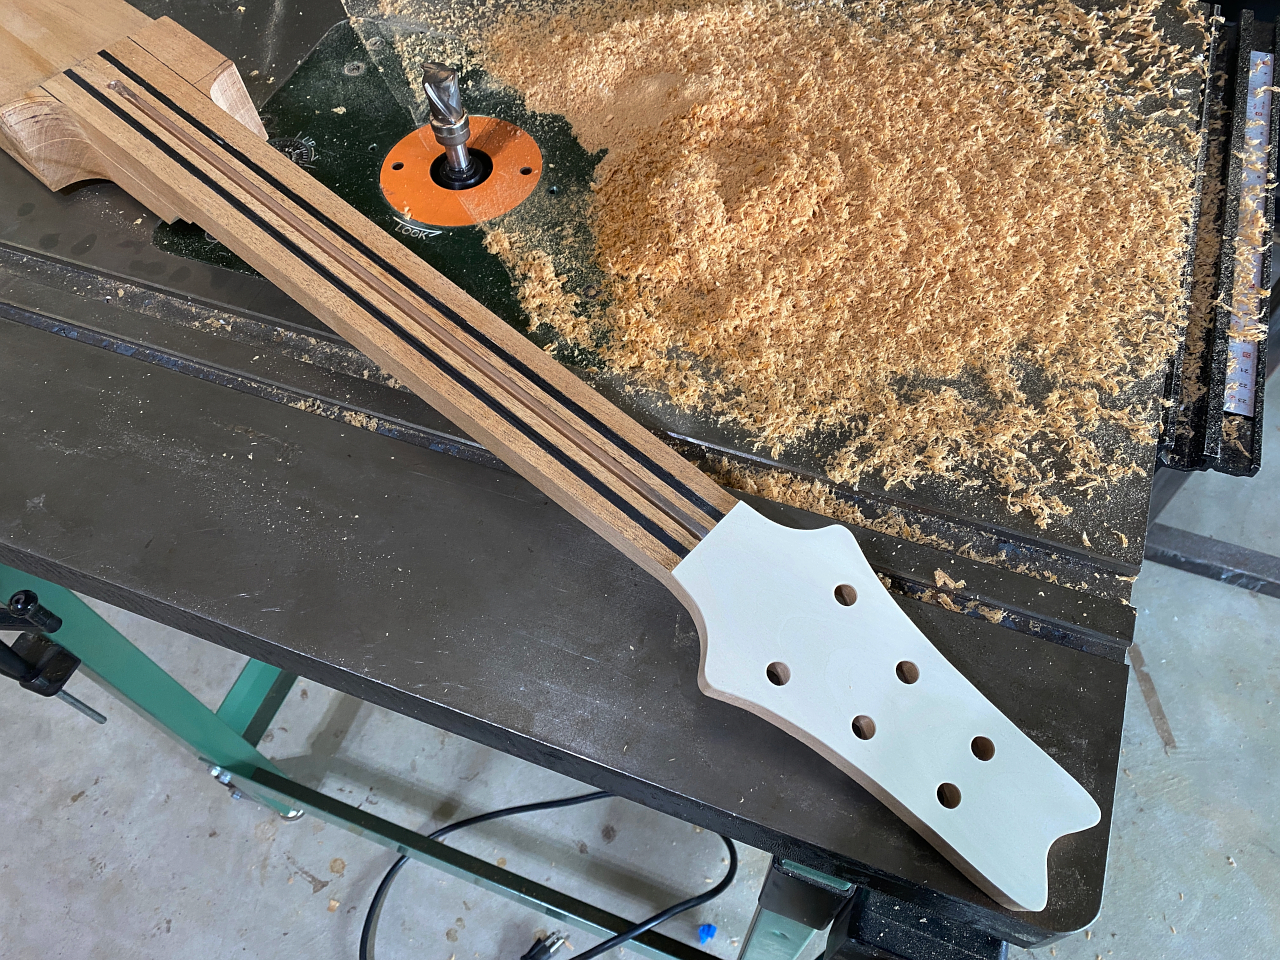
Last step here will be to apply a veneer, or overlay, on the headstock. For this I use the traditional material. A block of American holly. Although white, this wood has the properties we need. Unlike mahogany, it has closed pores, and it also takes up the black dye used on the headstock extremely well. This will give us that perfectly black, glass smooth face when its lacquered.
.Using the resaw blade and a fence on my band saw I slice off a nice overlay just over 1/16″ thick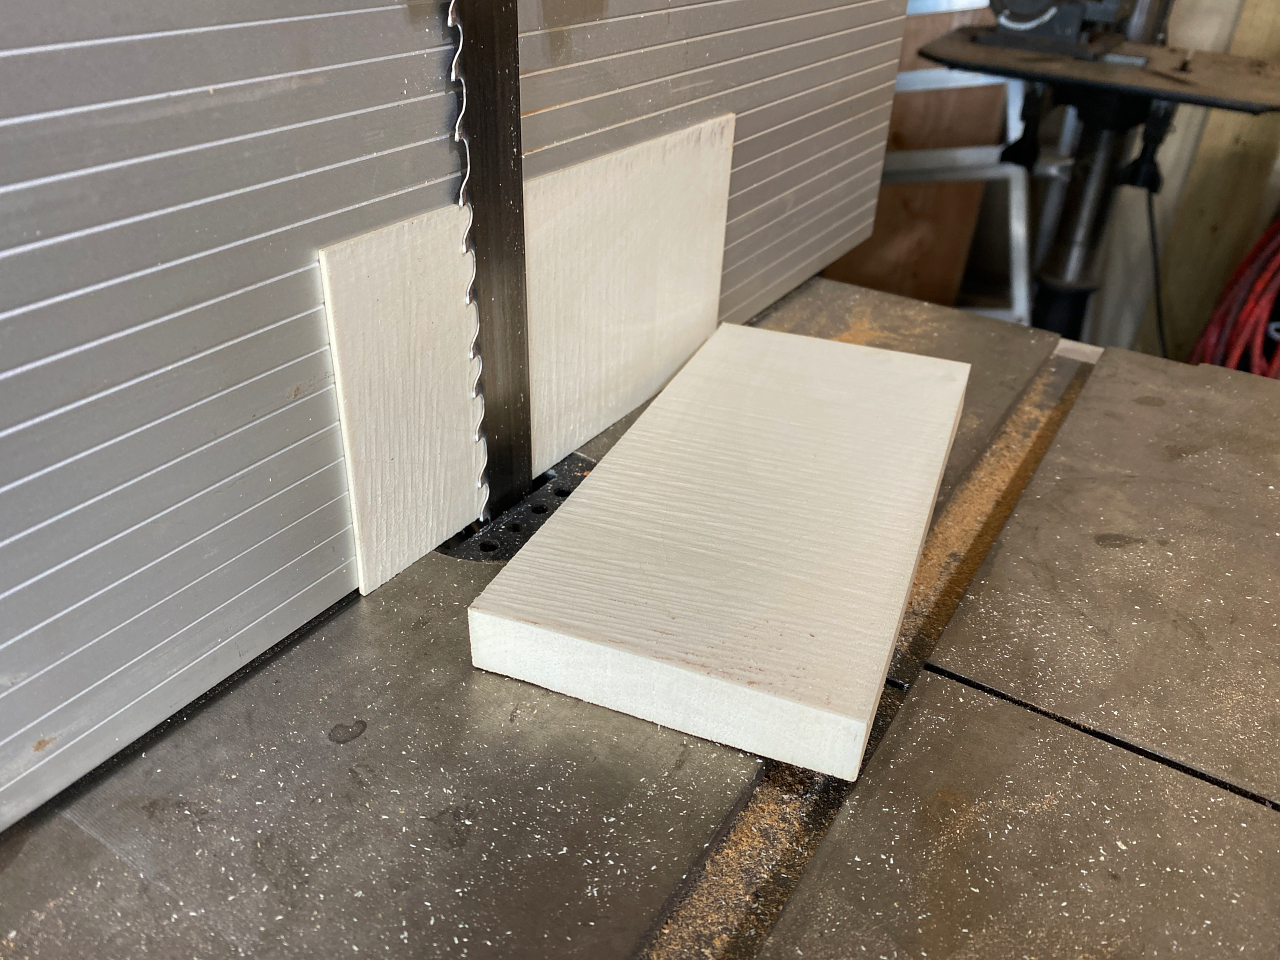
This will go on the face of the headstock
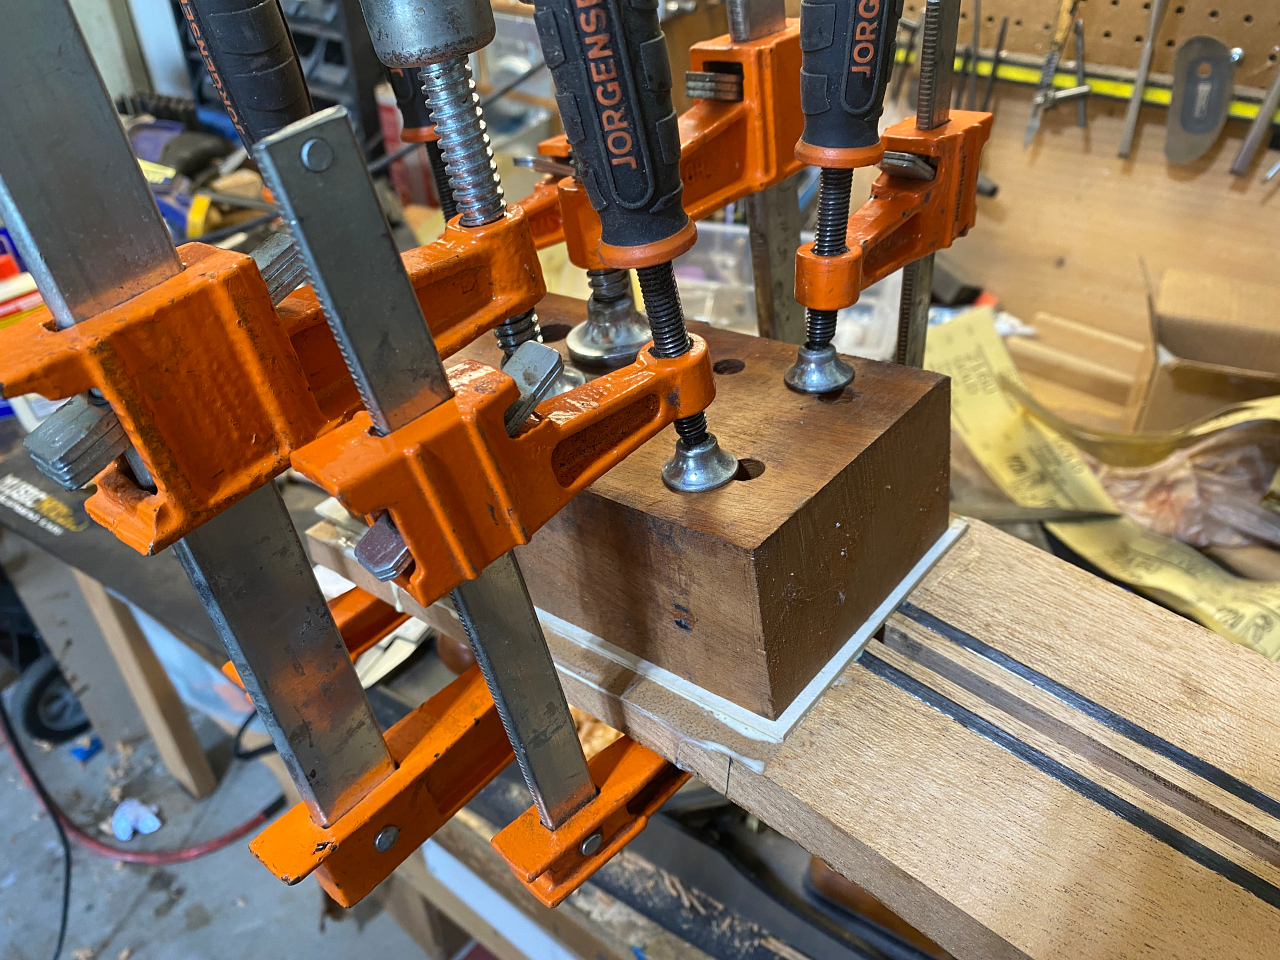
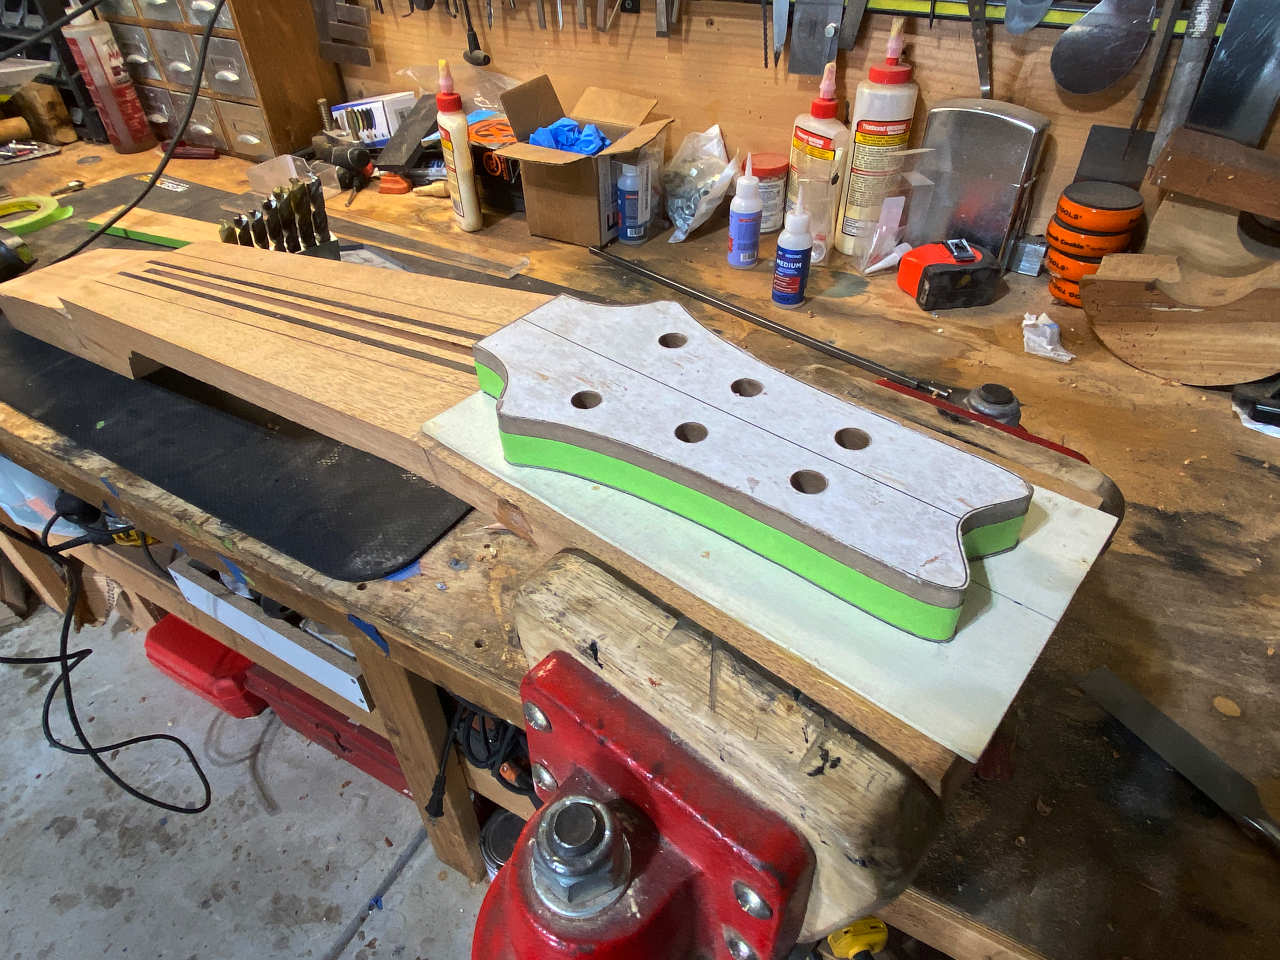
I apply a layer of glue to both faces, and then using a bock of wood with a perfectly flat, jointed face, I clamp the overlay tightly to the headstock face.
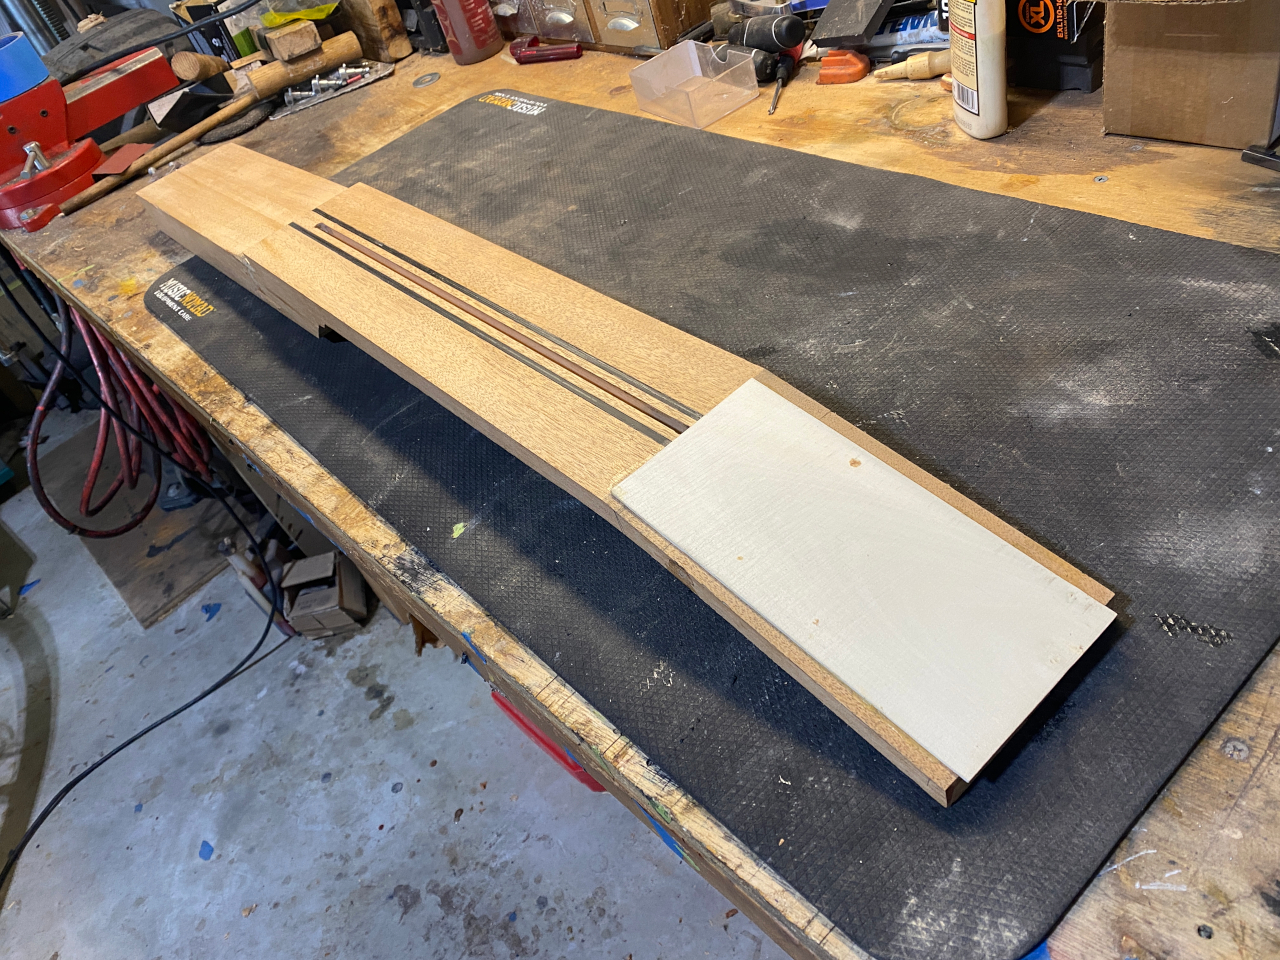
Next day I remove the clamp…
I draw it first just to make sure I have the template perfectly aligned
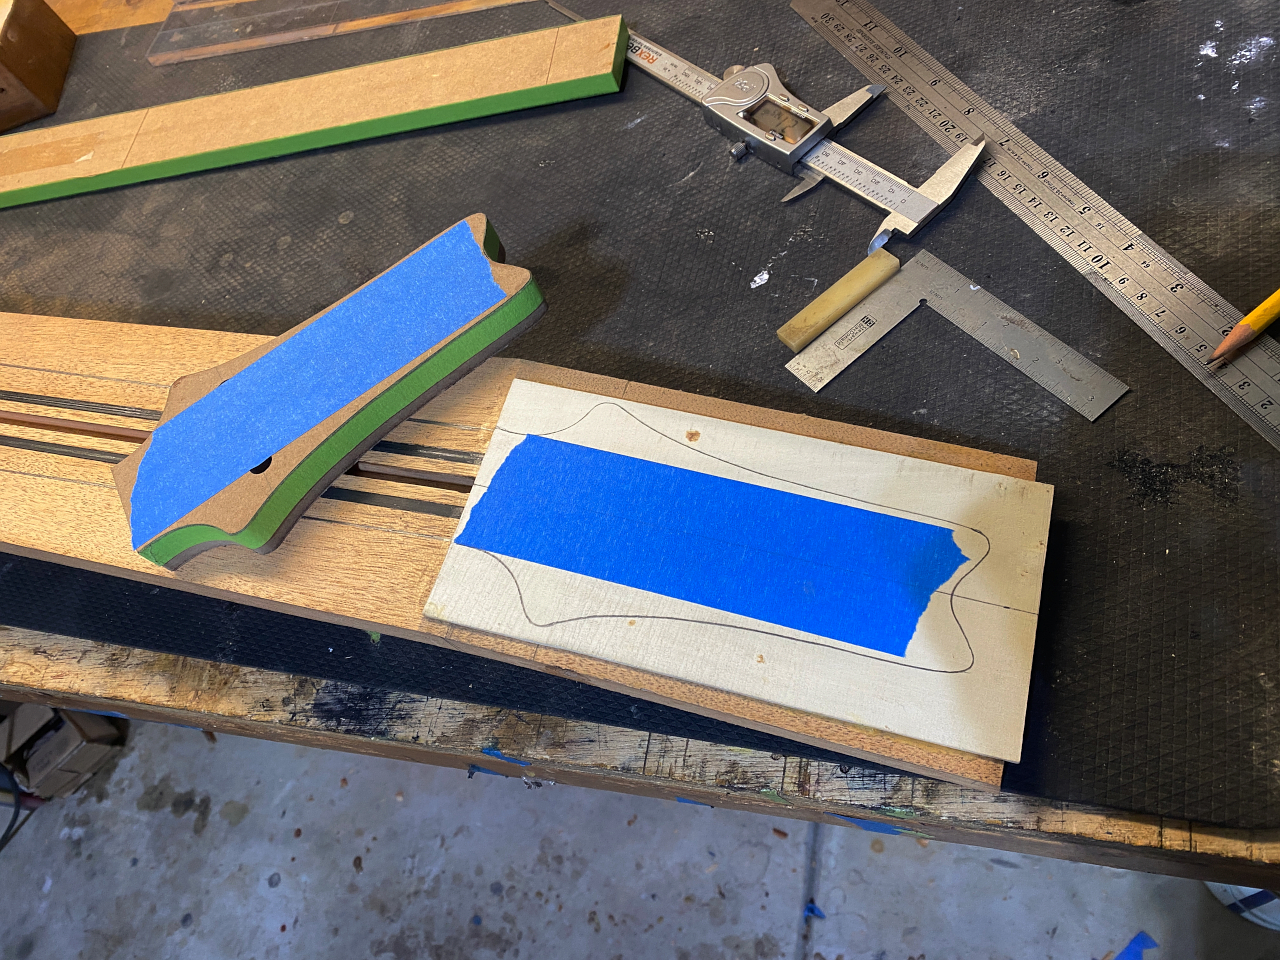
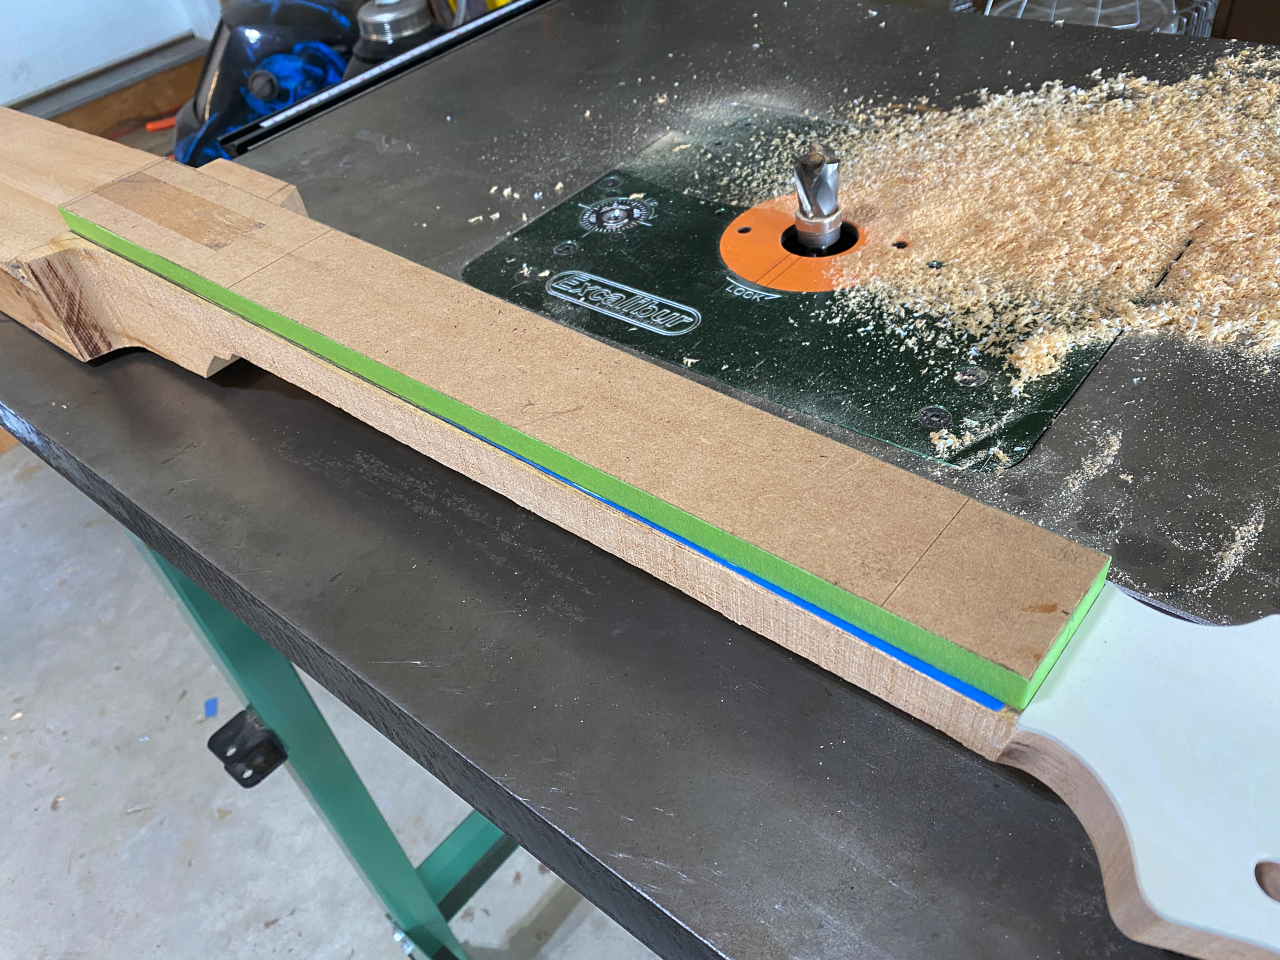
This is called “the masking tape and super glue trick”. I need this template to be attached solidly to the headstock. It CANT slip while I’m drilling the tuner holes, not when I’m routing the headstock share as either of those mishaps would ruin it, and everything I’ve done so far. Still, I cant actually glue the template to the headstock since I actually need to remove it when I’m done without ruining the headstock or the template. So a strip of wide mashing tape is applies to both surfaces and burnished down as well as can be.
a film os super glue is applied to the tape on the headstock, and the template pressed on, and once the glue sets you can apply as much lateral pressure as you want, and the template will not move. I mean, you CANT make this thing move no matter how much pressure you apply. I’m very strong, and I can push as hard as I can and it isnt going anywhere.
BUT, if you pull the pieces straight away from each other, they come apart with no more force than is needed to remove the tape from one surface.
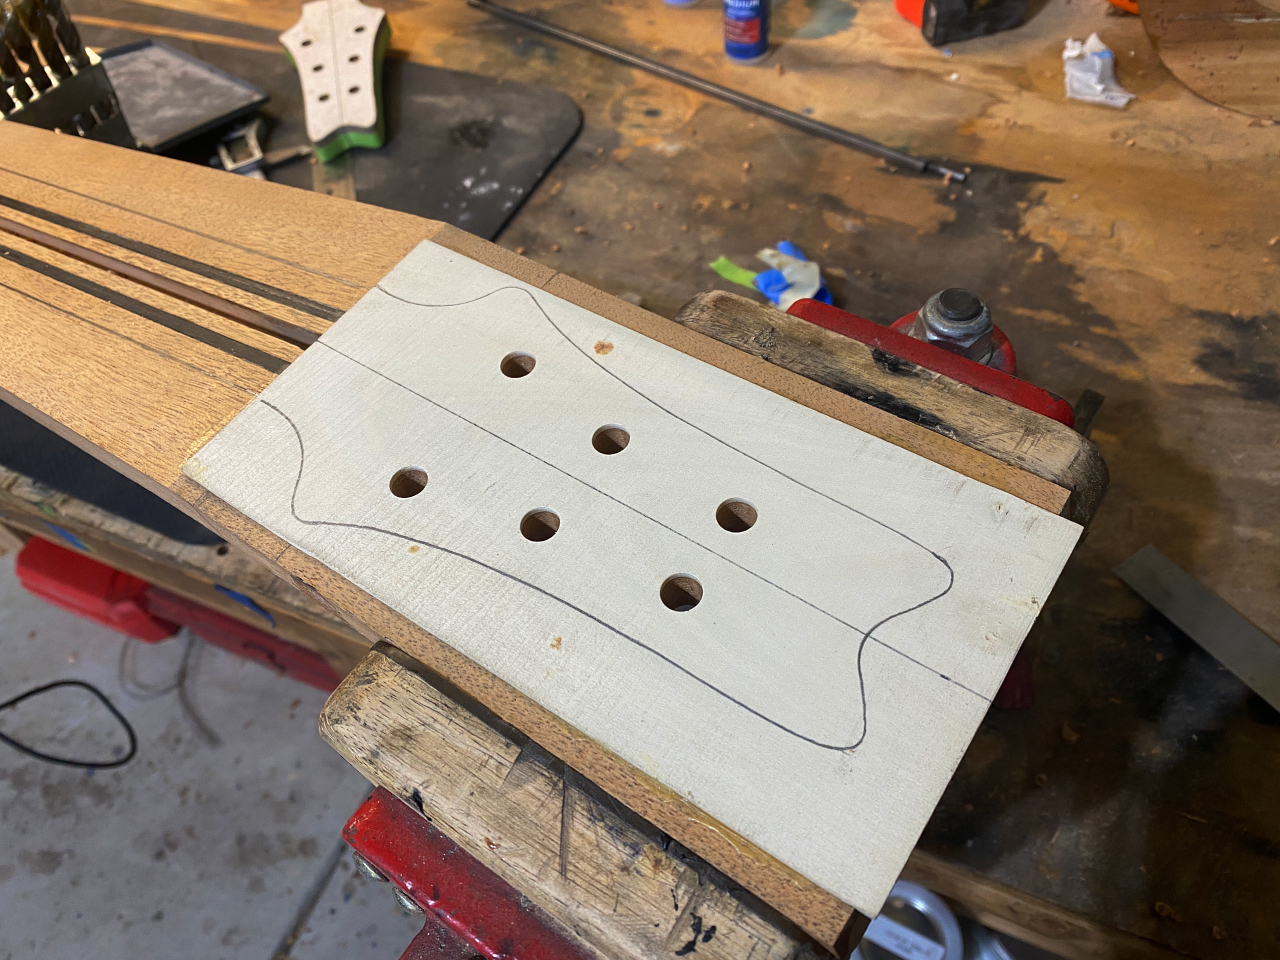
tuner holes drilled
Once the holes are drilled theres no longer any need to keep the neck square, so I rough cut the bulk of the excess material away in preparation for routing.
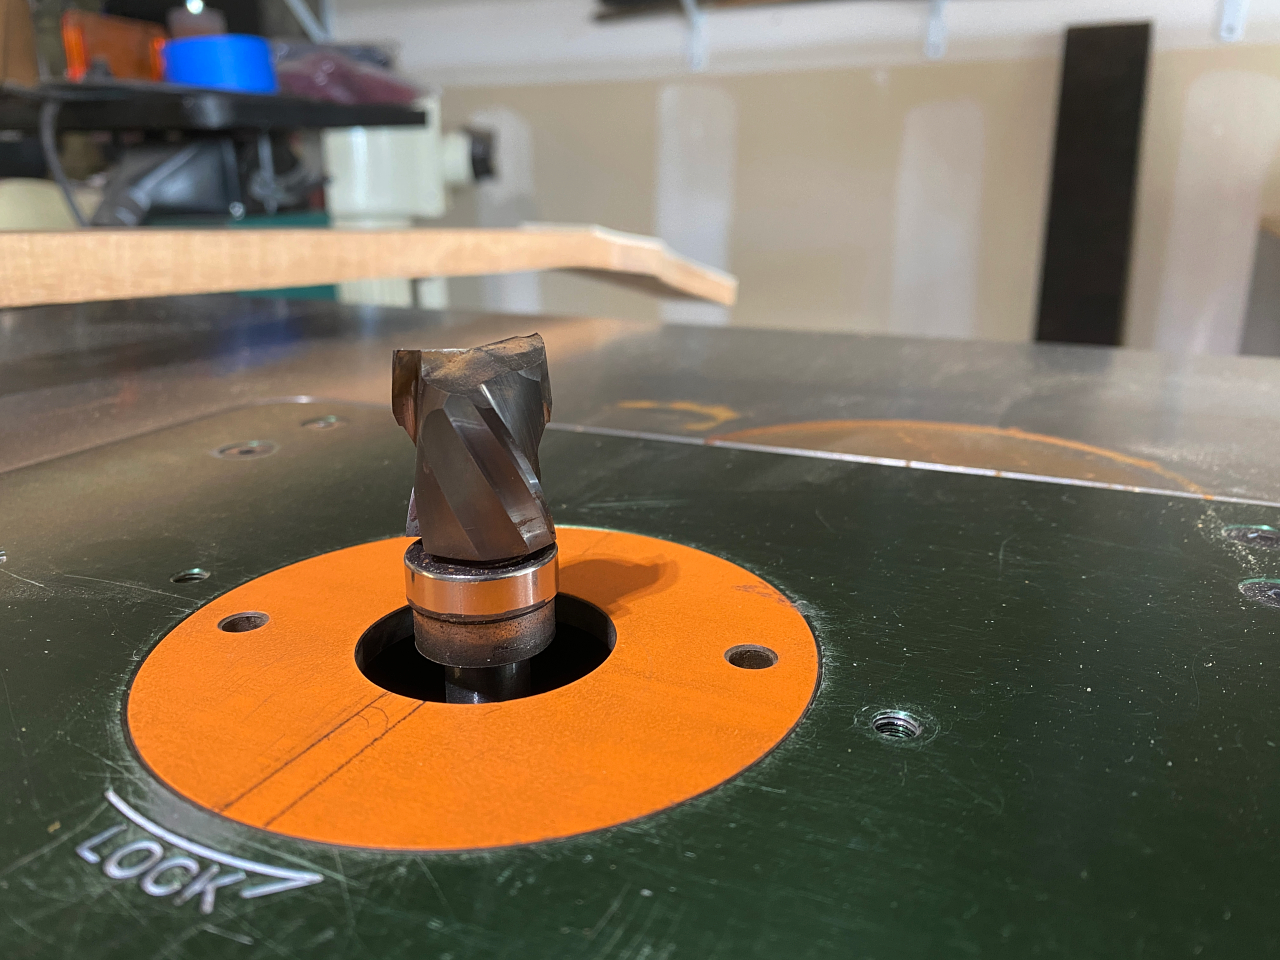
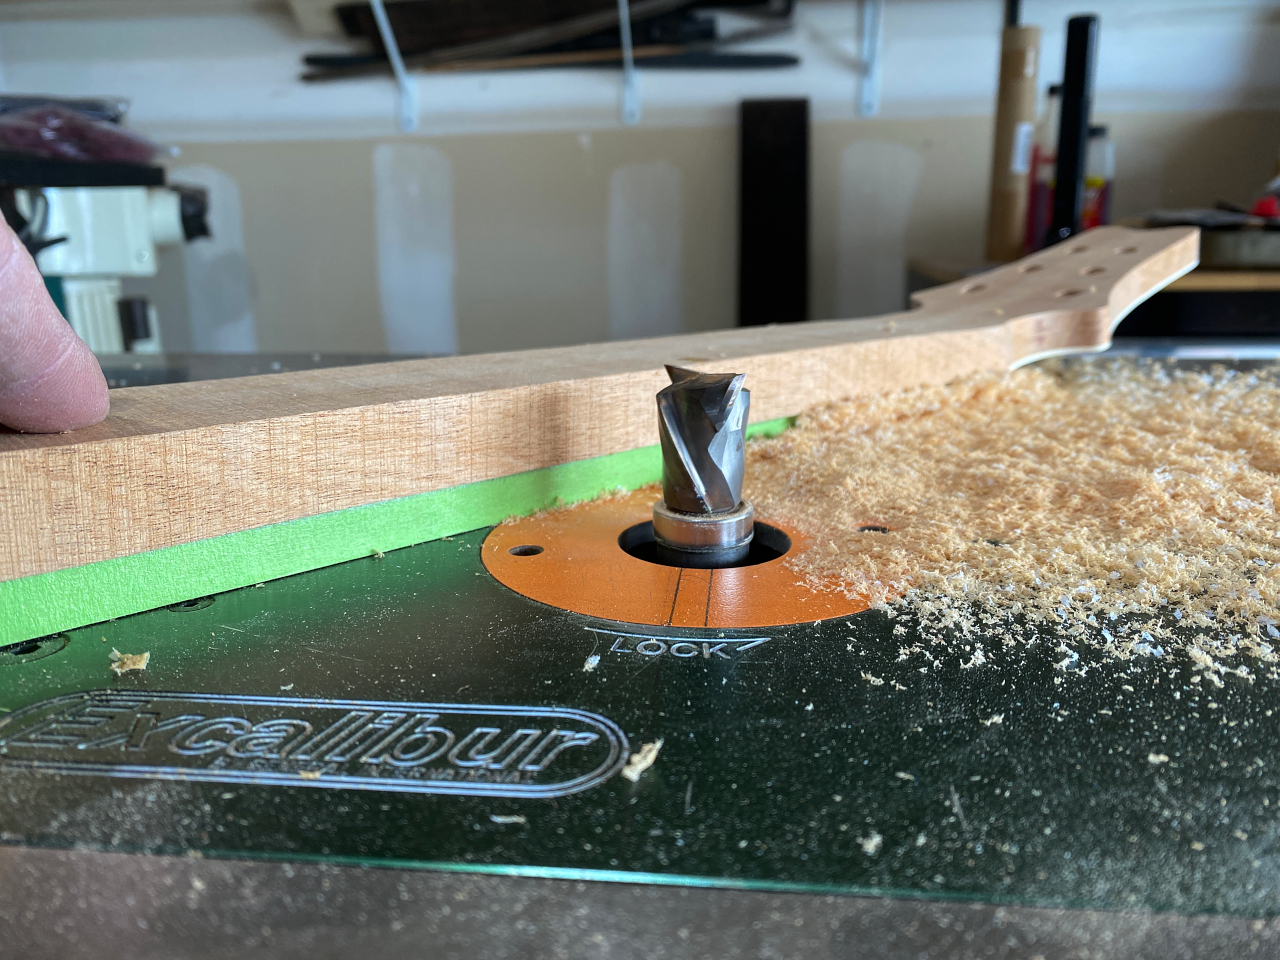
Now this bad boy will ruin your whole day if you aren’t careful. This is called a solid carbide, spiral, top bearing pattern router bit. Its purpose is to cleanly route wood to a template without burning or tearing out splinters or chunks of wood. Its a larger bit so I have to run it at a slower RPM than the smaller bits I used for the truss rod and carbon fiber, but its still 16,000 RPM and if you touch it by accident it will do to your flesh exactly what it does to wood 🙂
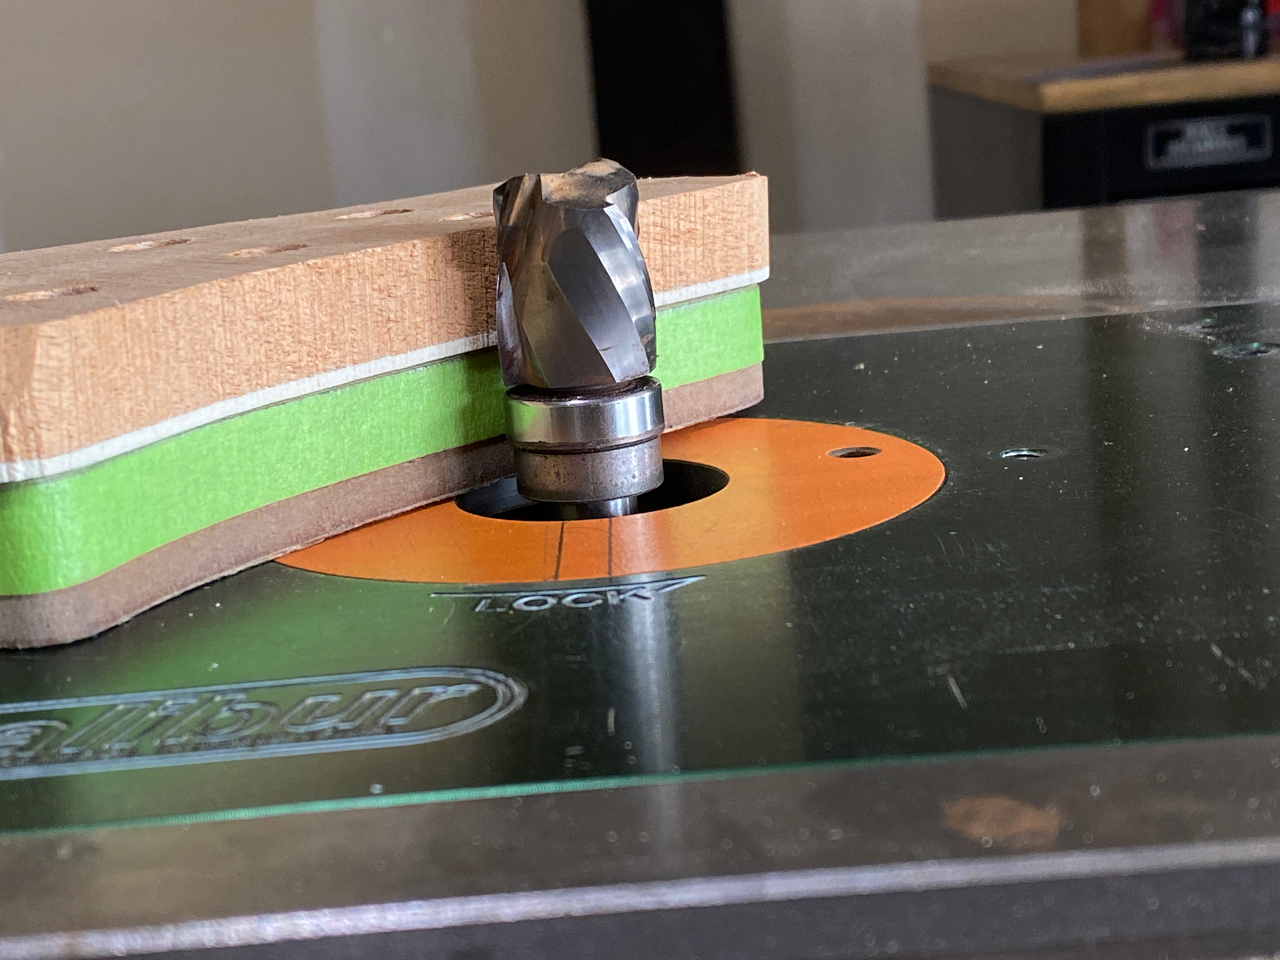
Its called “top bearing” because the orientation in the name assumes it will be in a hand-held router, in which case it would be inverted from how it is used in a table router. So technically the bearing is on the bottom here 🙂 the bearing is the exact same with as the cutter, so while the bearing rolls along the template edge the cutter routes away the wood to the exact shape of the template.
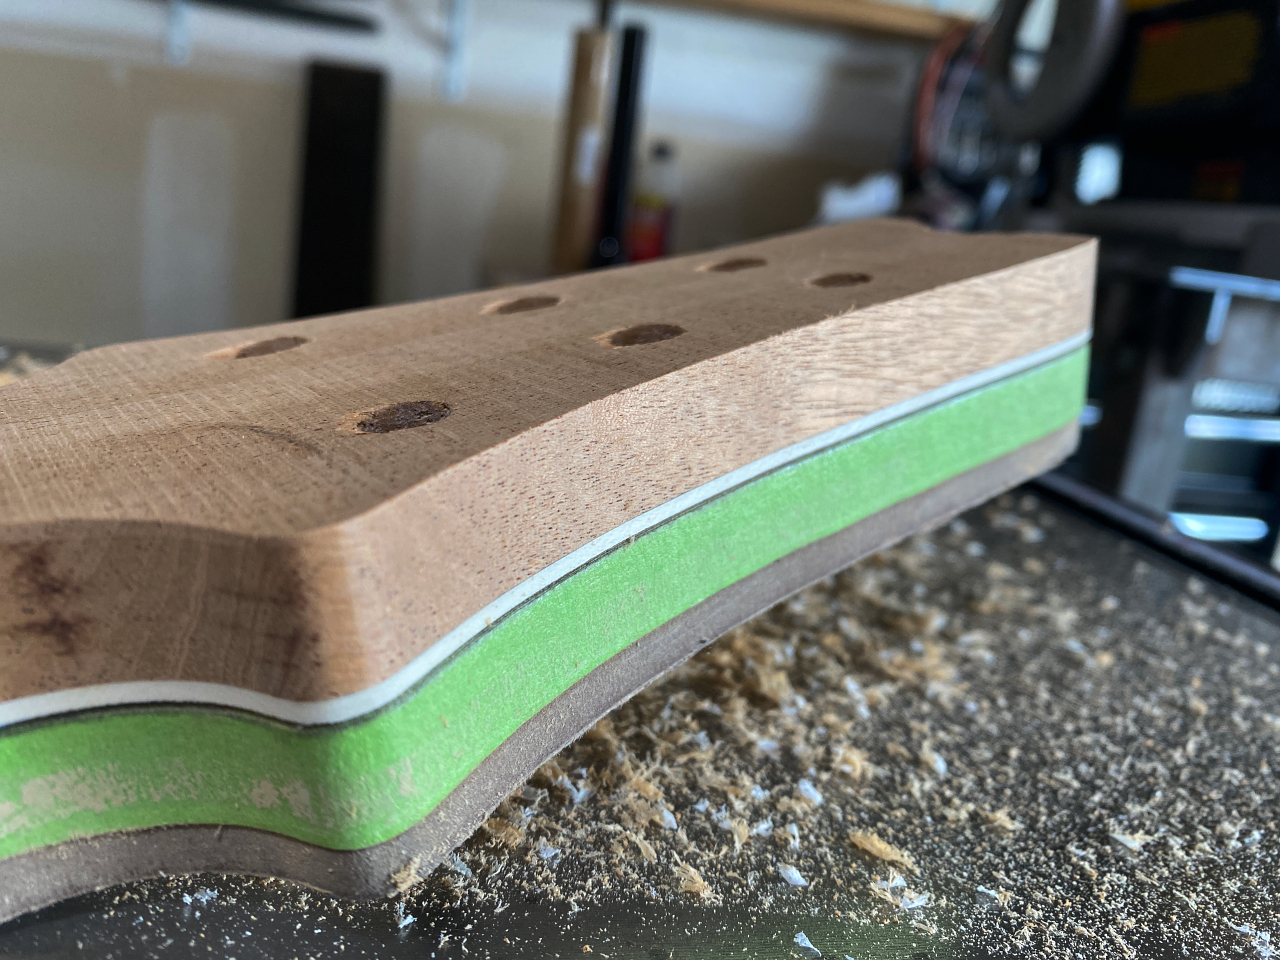
Like so
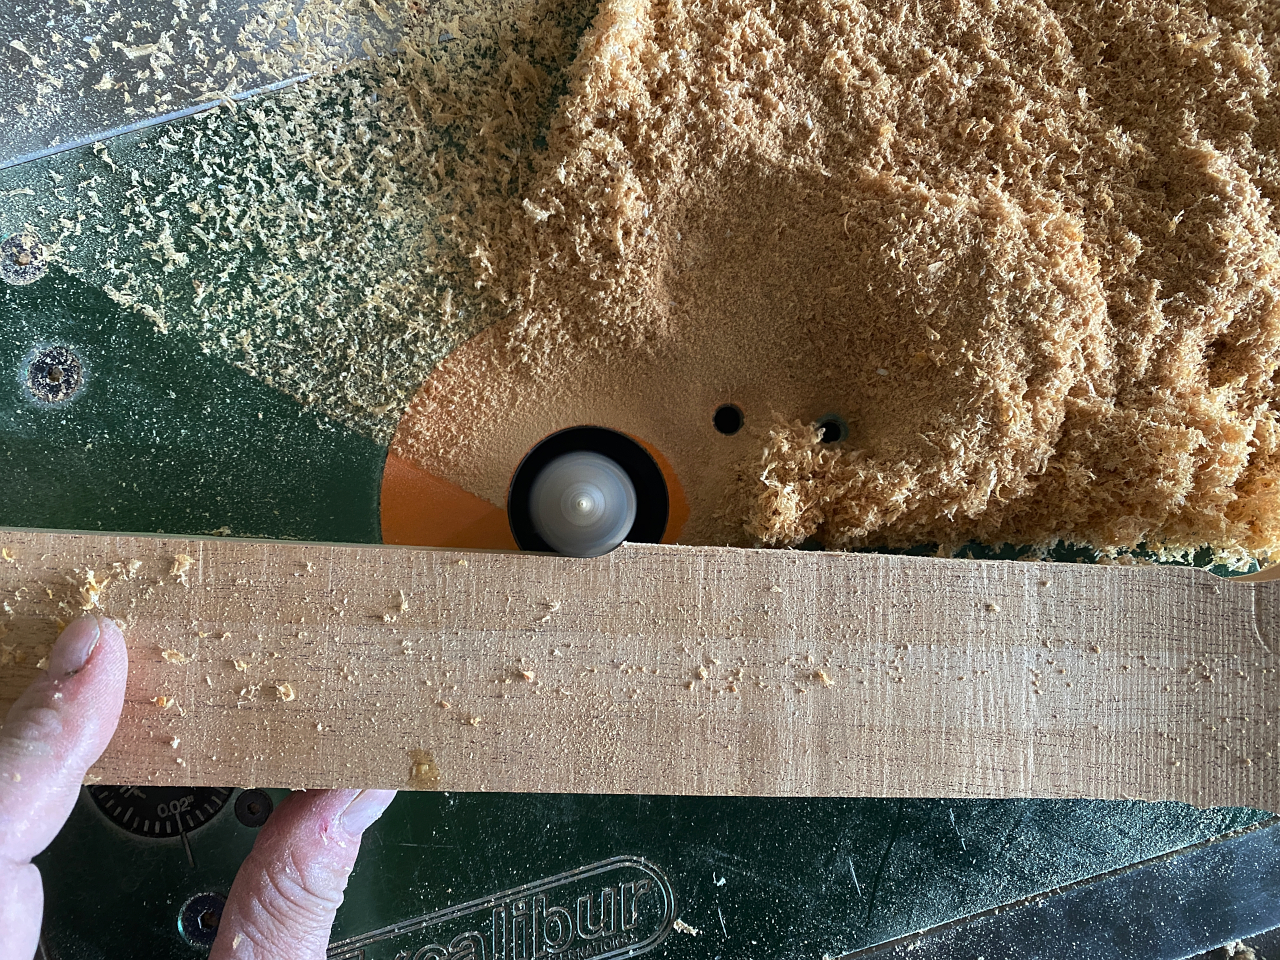
The same treatment is done to the rest of the neck…
Looking straight down…
Neck completed

