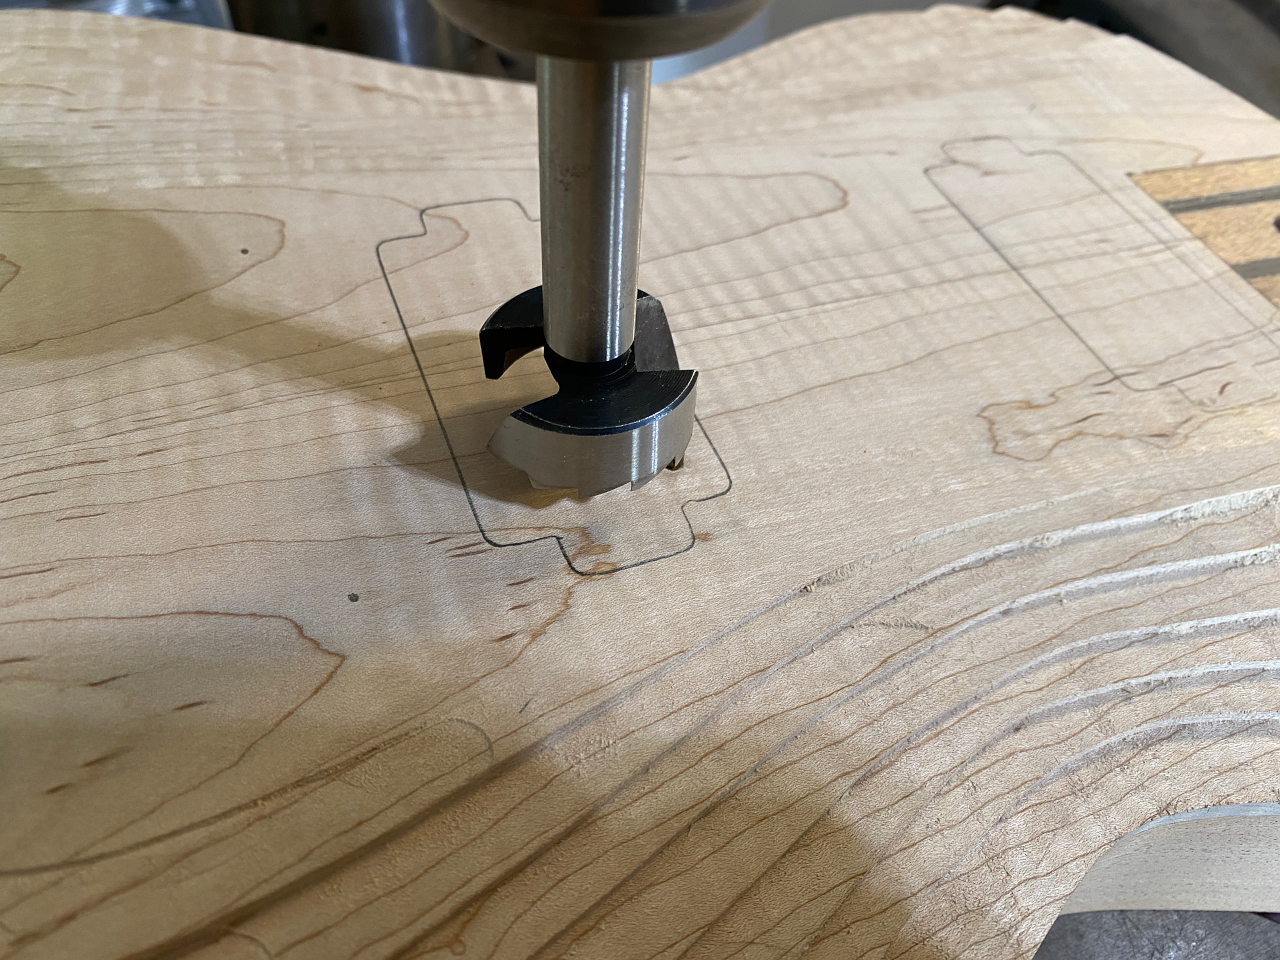
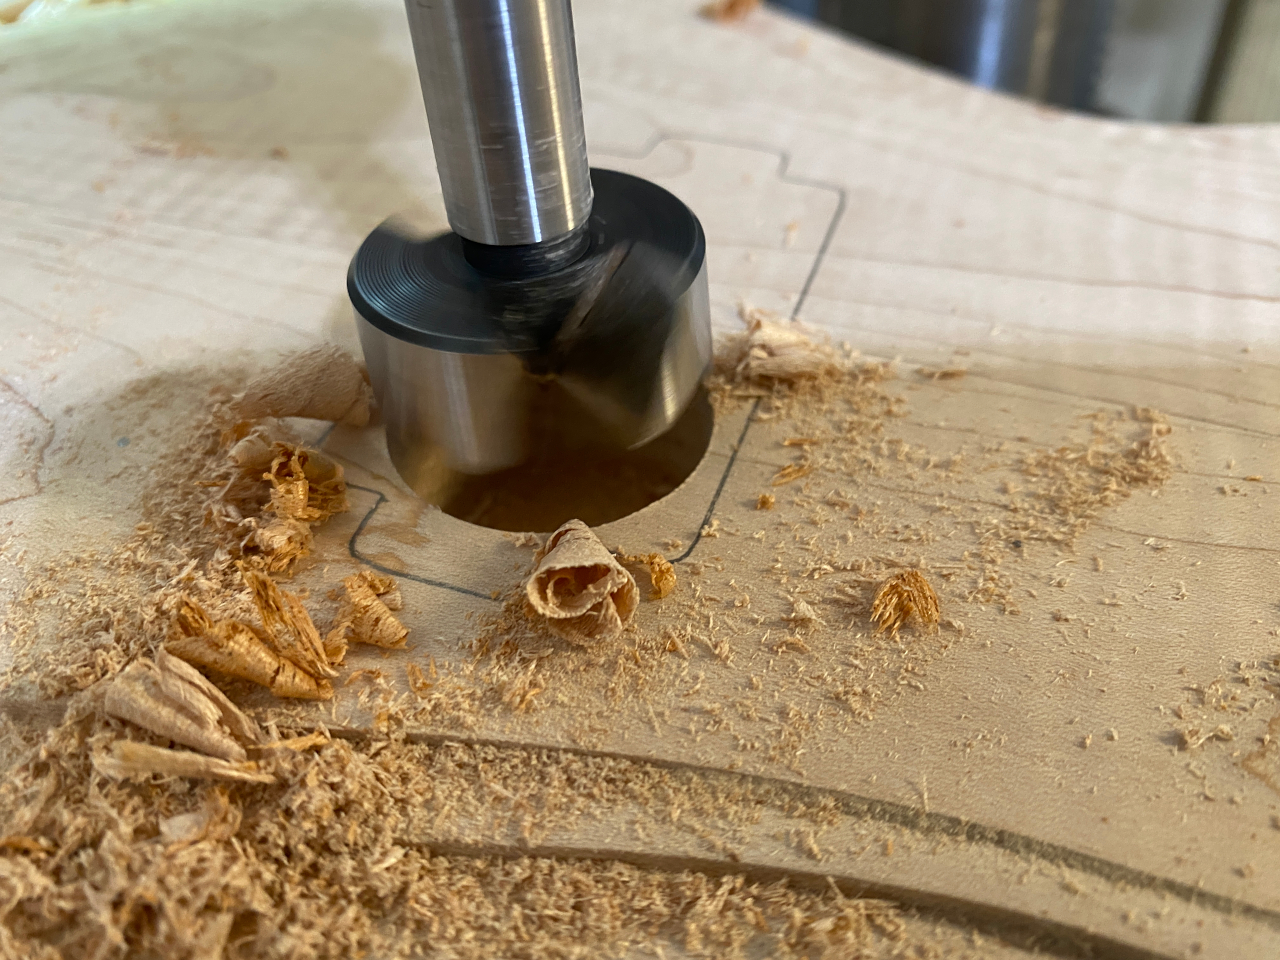
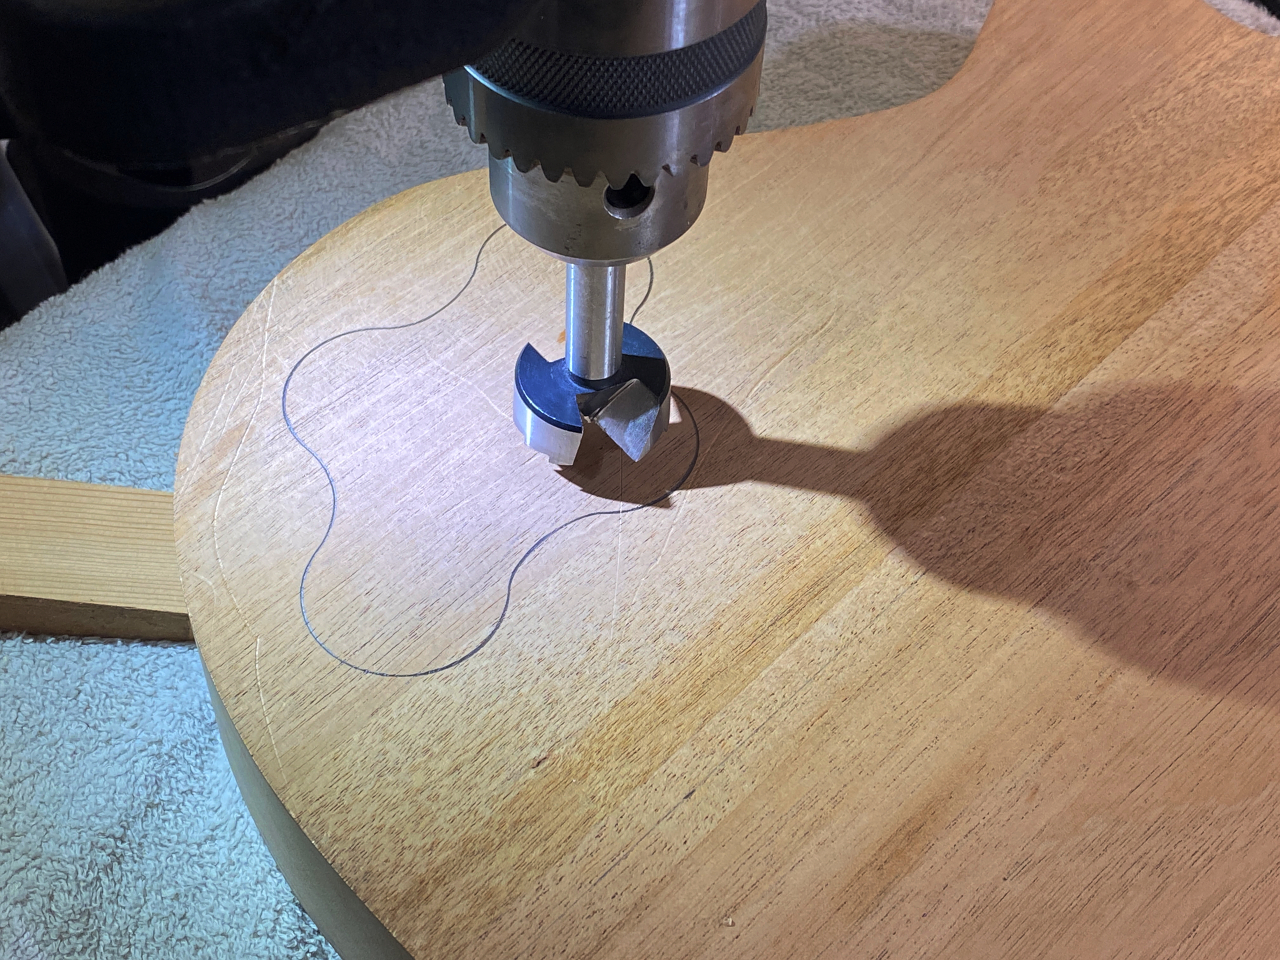
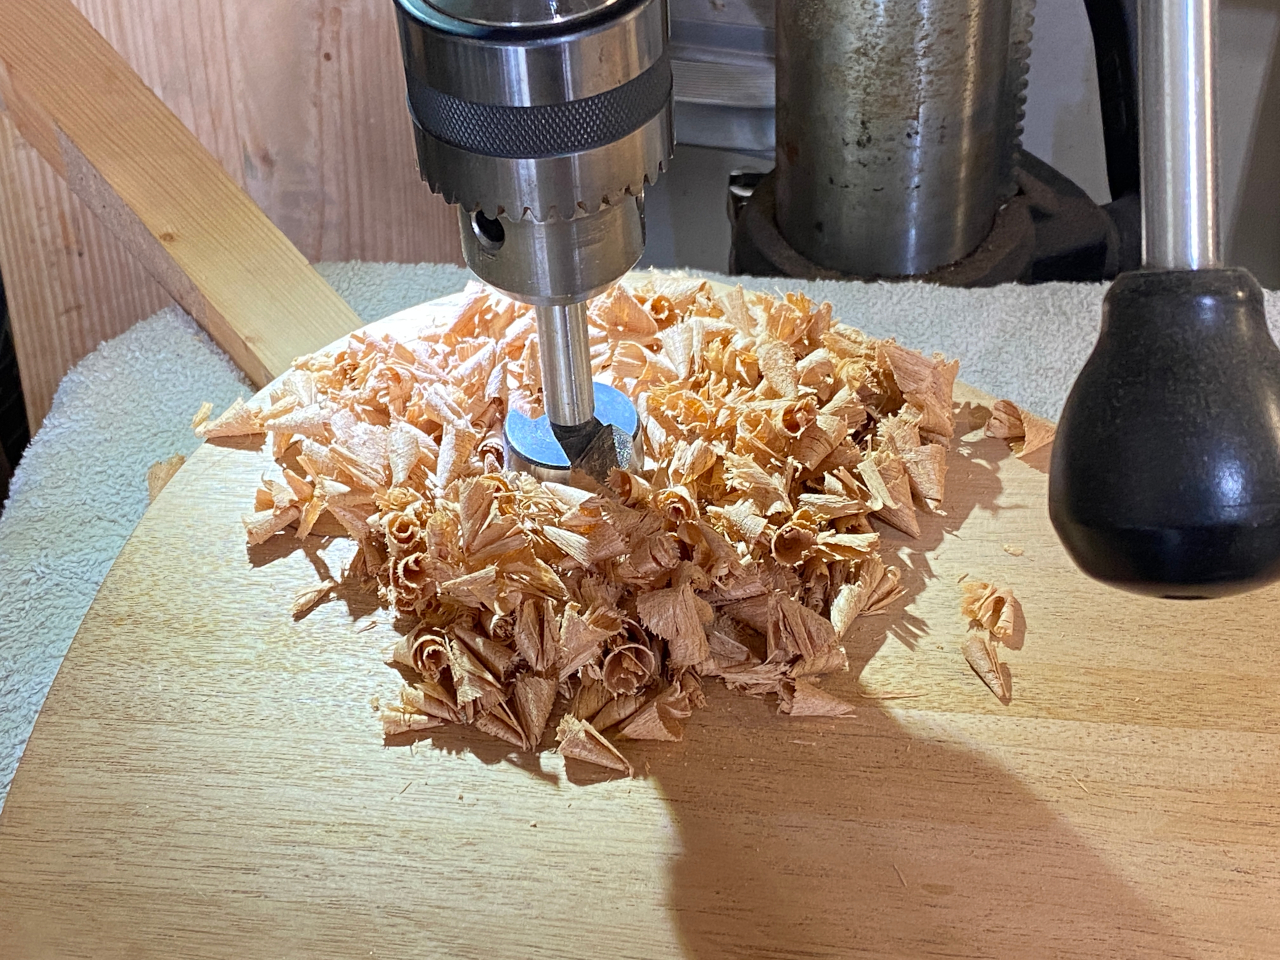
Next, using the pickup placement Ive drawn onto the top, rather than grinding away so much wood with a hand held router, I remove the bulk of it with a 1.25″ forstner bit in my drill press. Its a lot faster, and much less wear and tear on the router and bits.
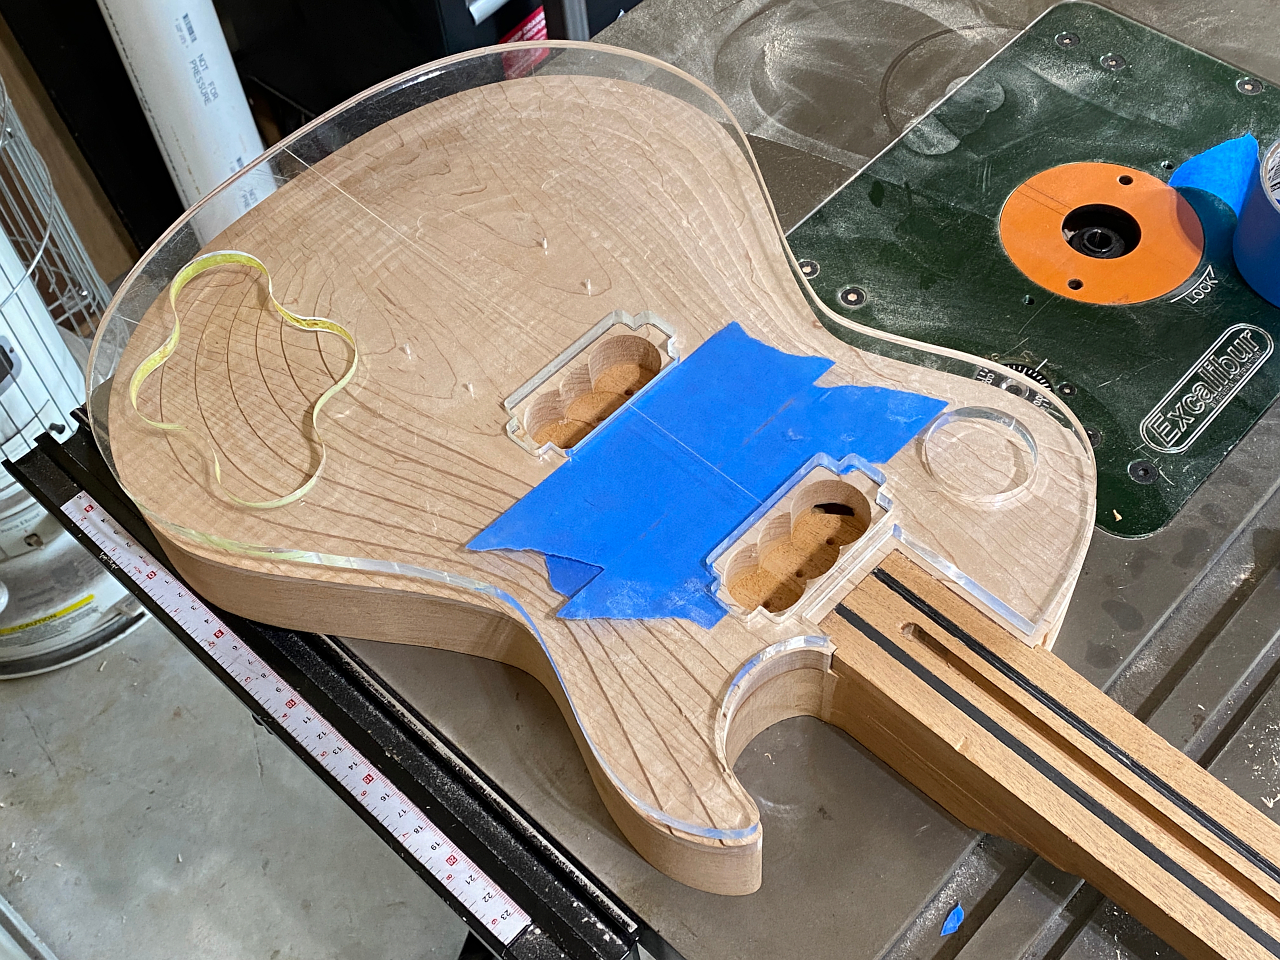
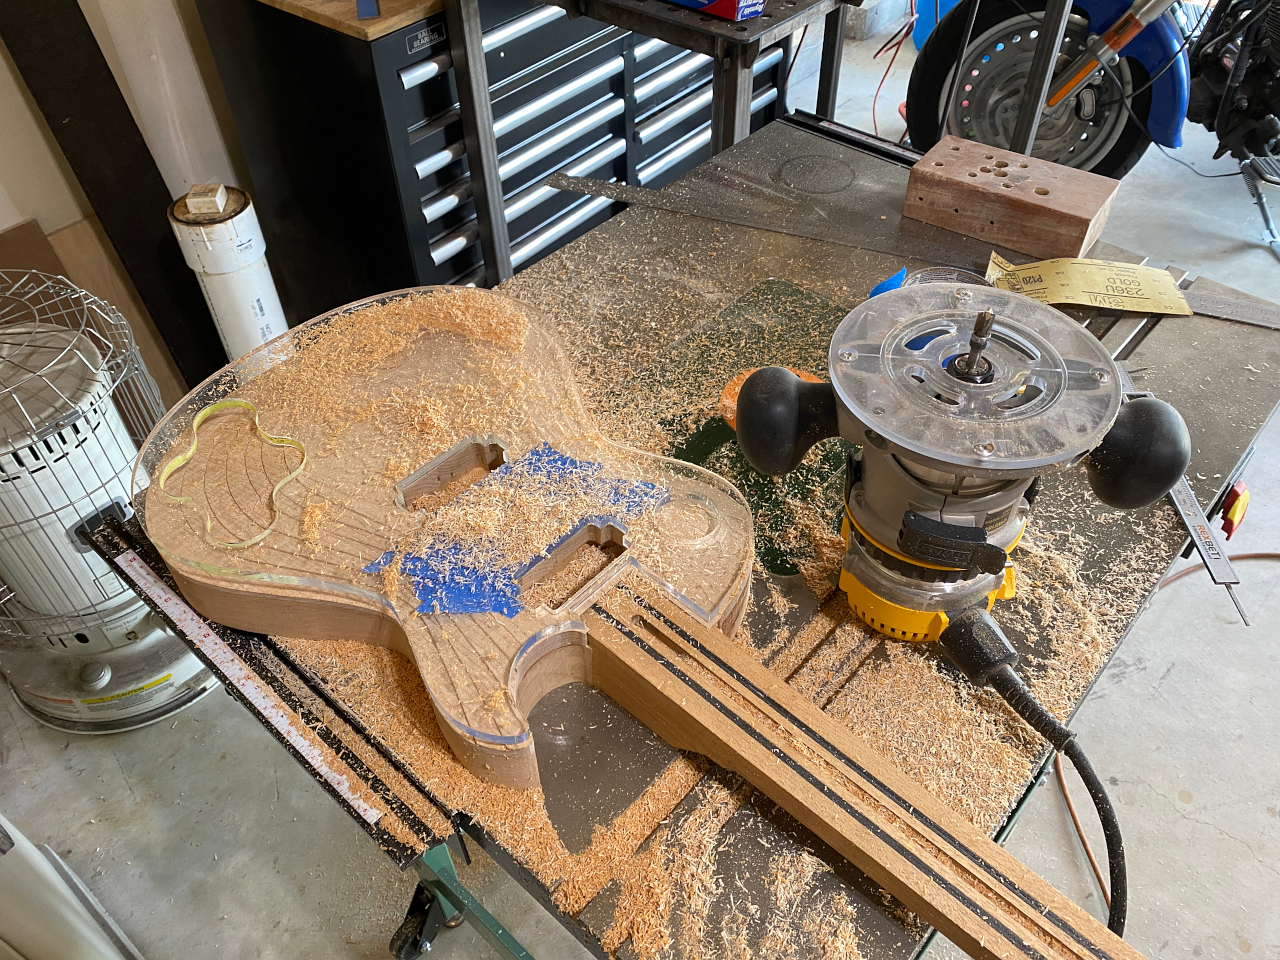
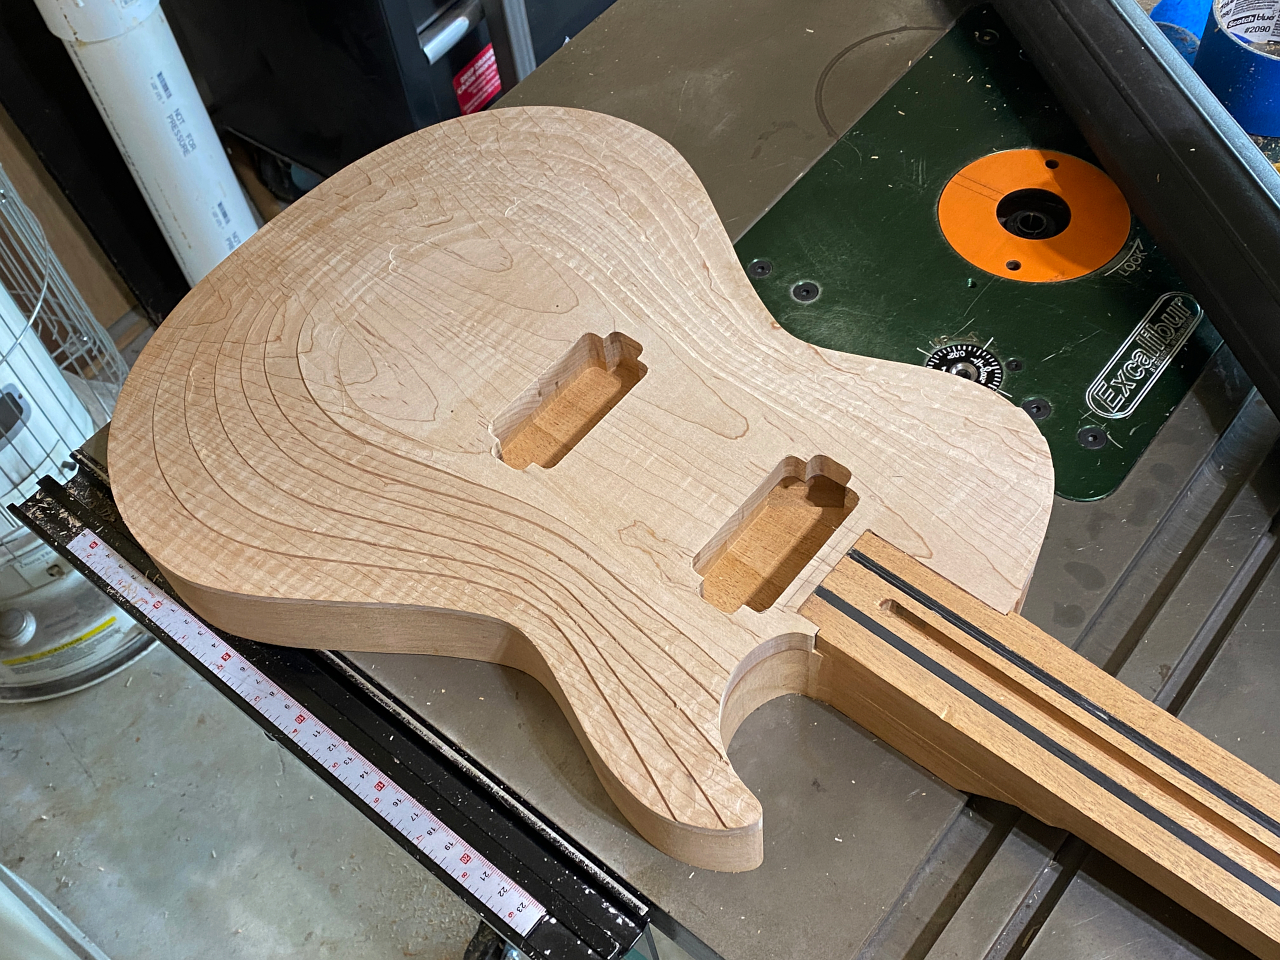
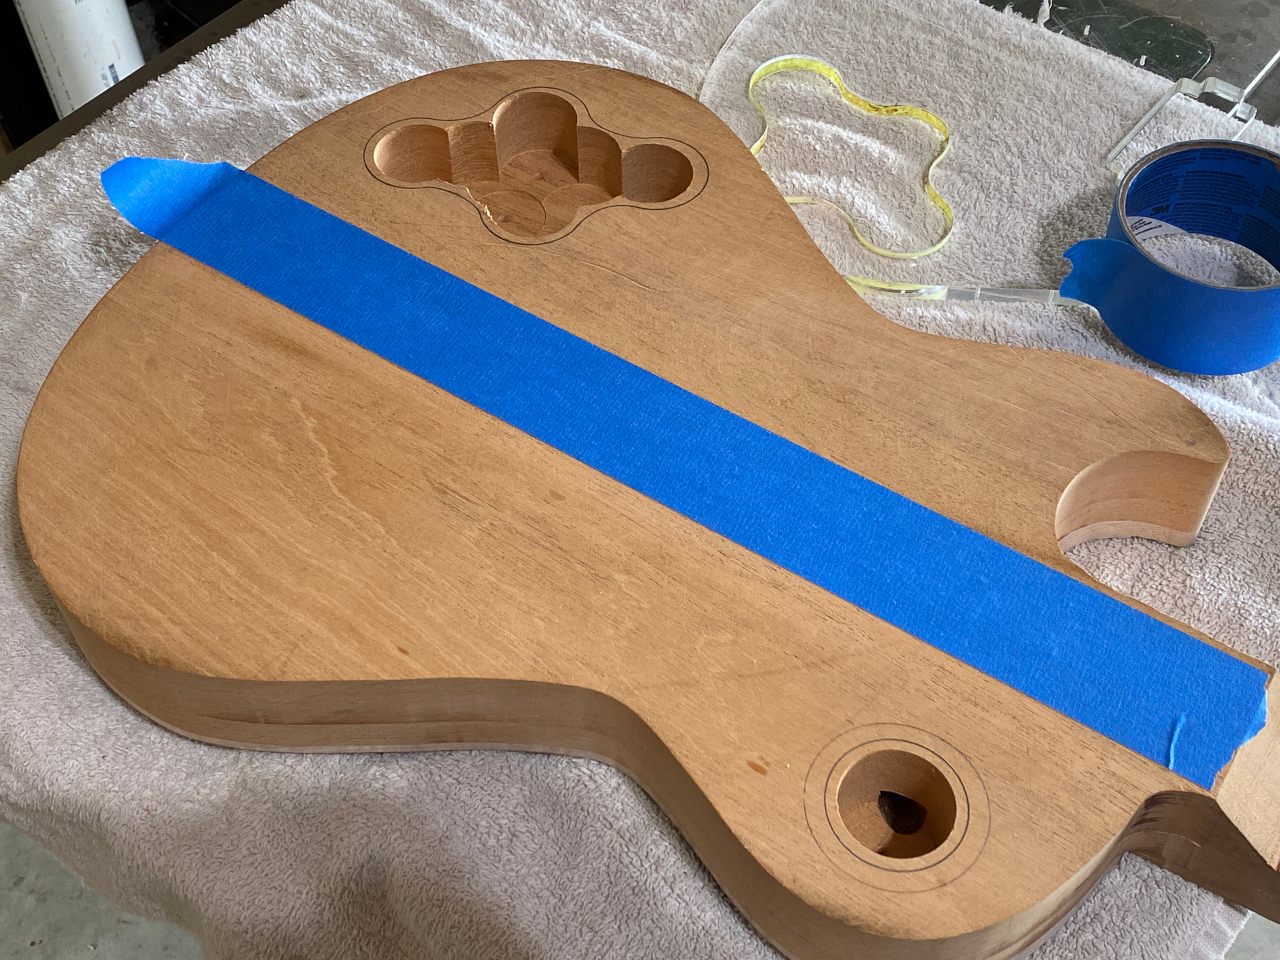
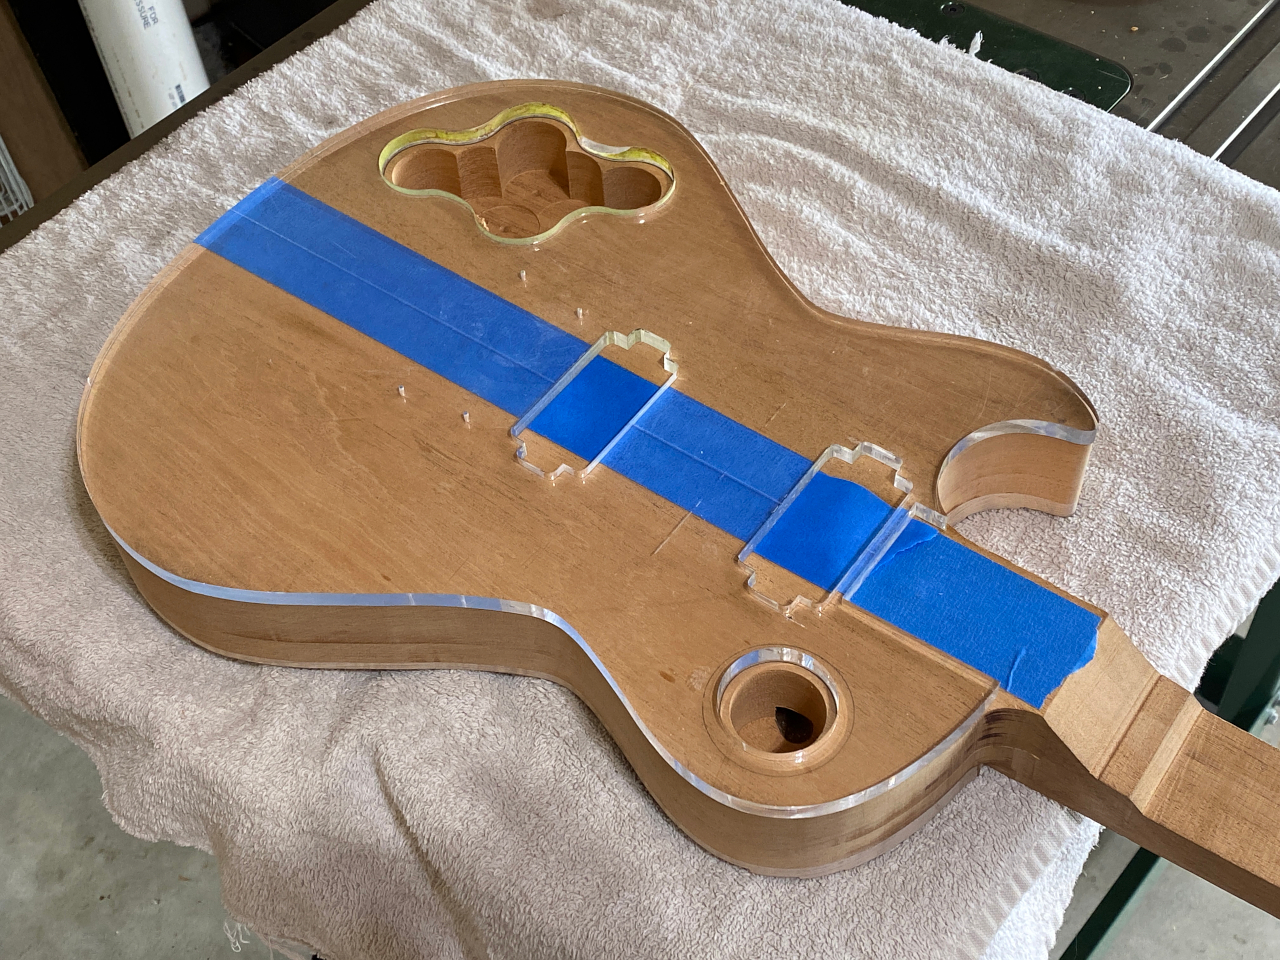
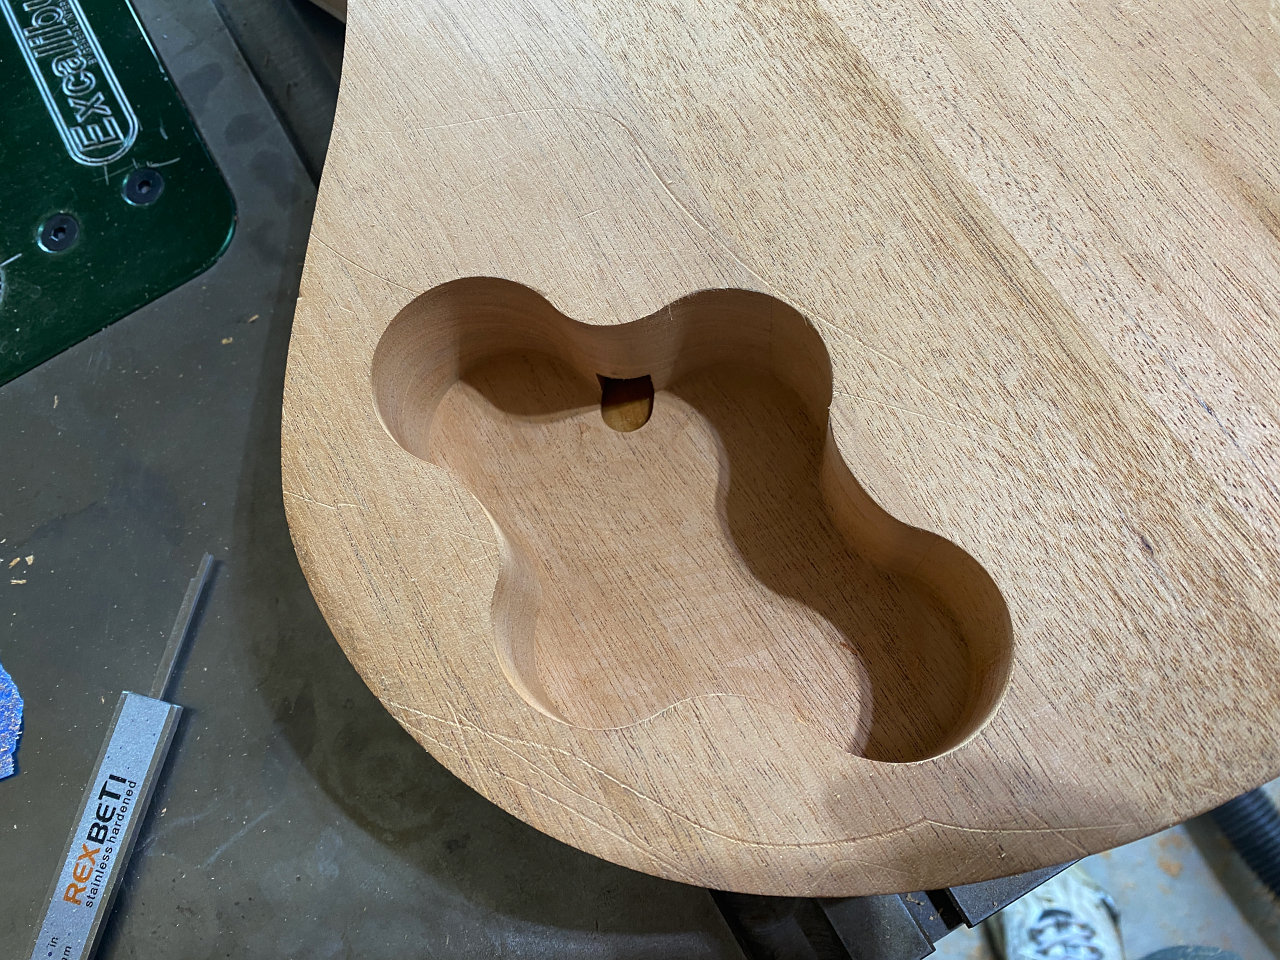
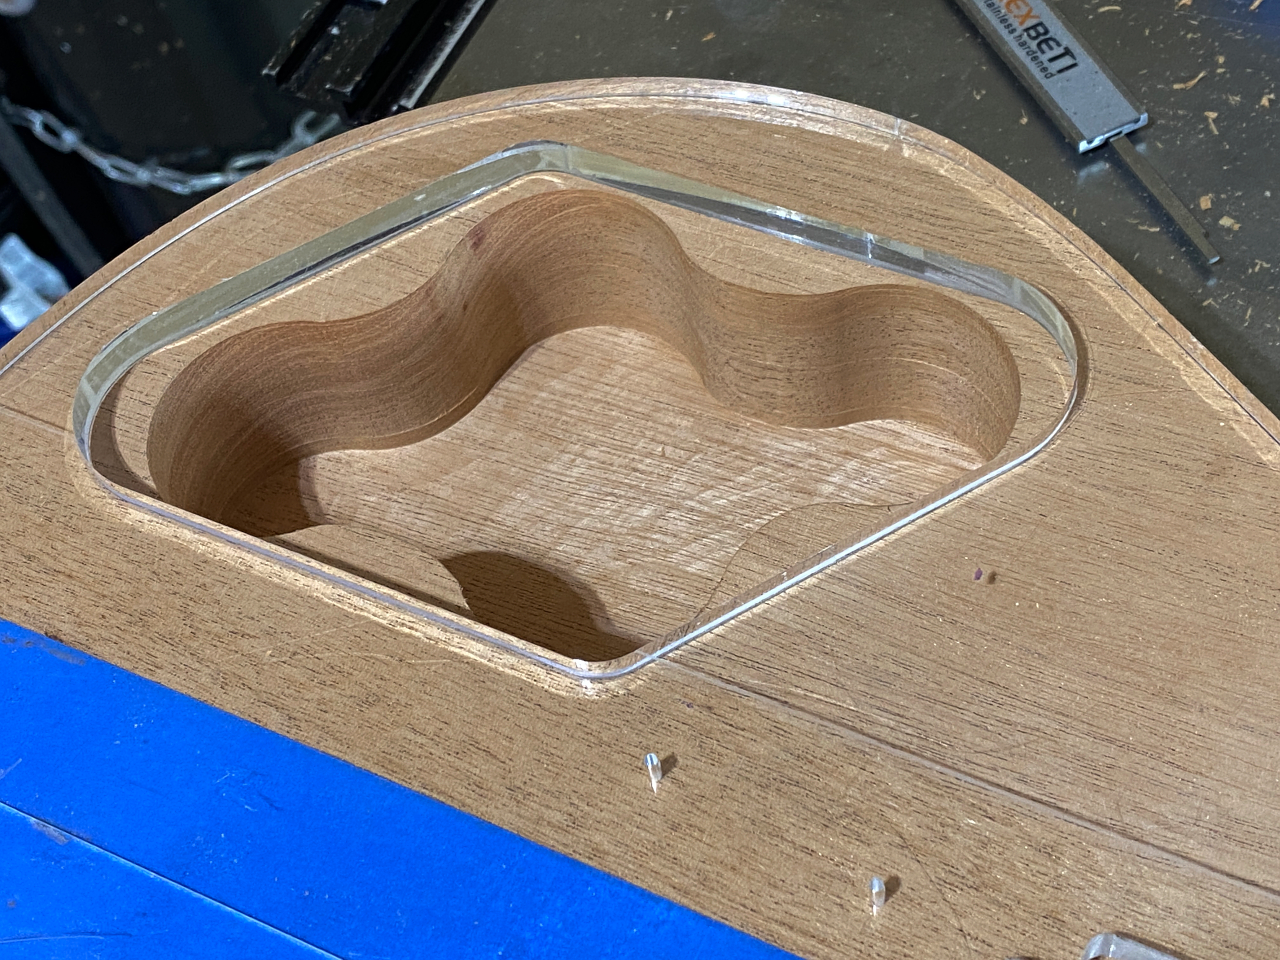
Once the bulk of the wood is removed, I attach the routing template and clean them up with the router
Too bad I couldn’t make a living selling sawdust.
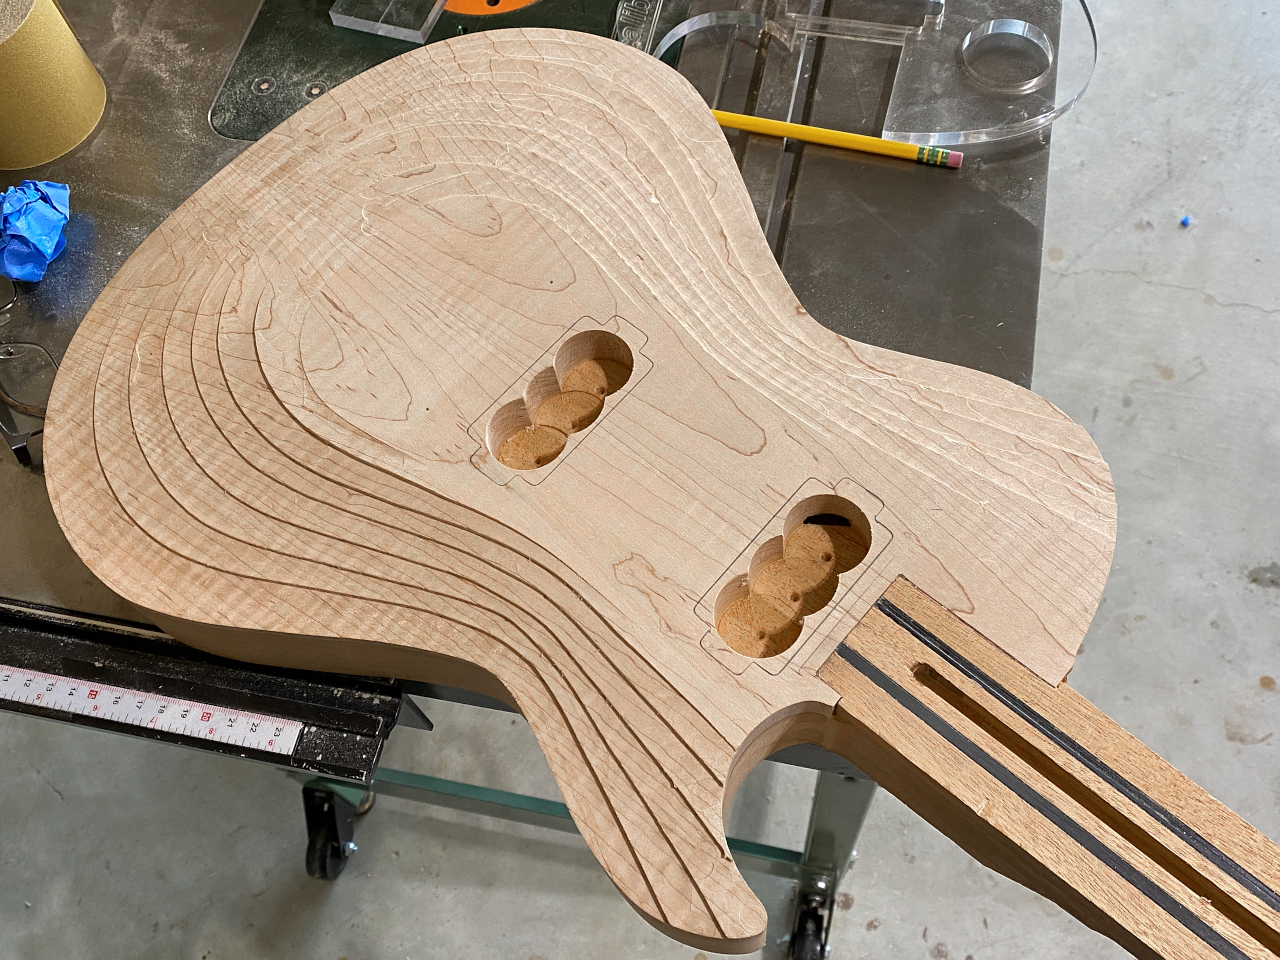
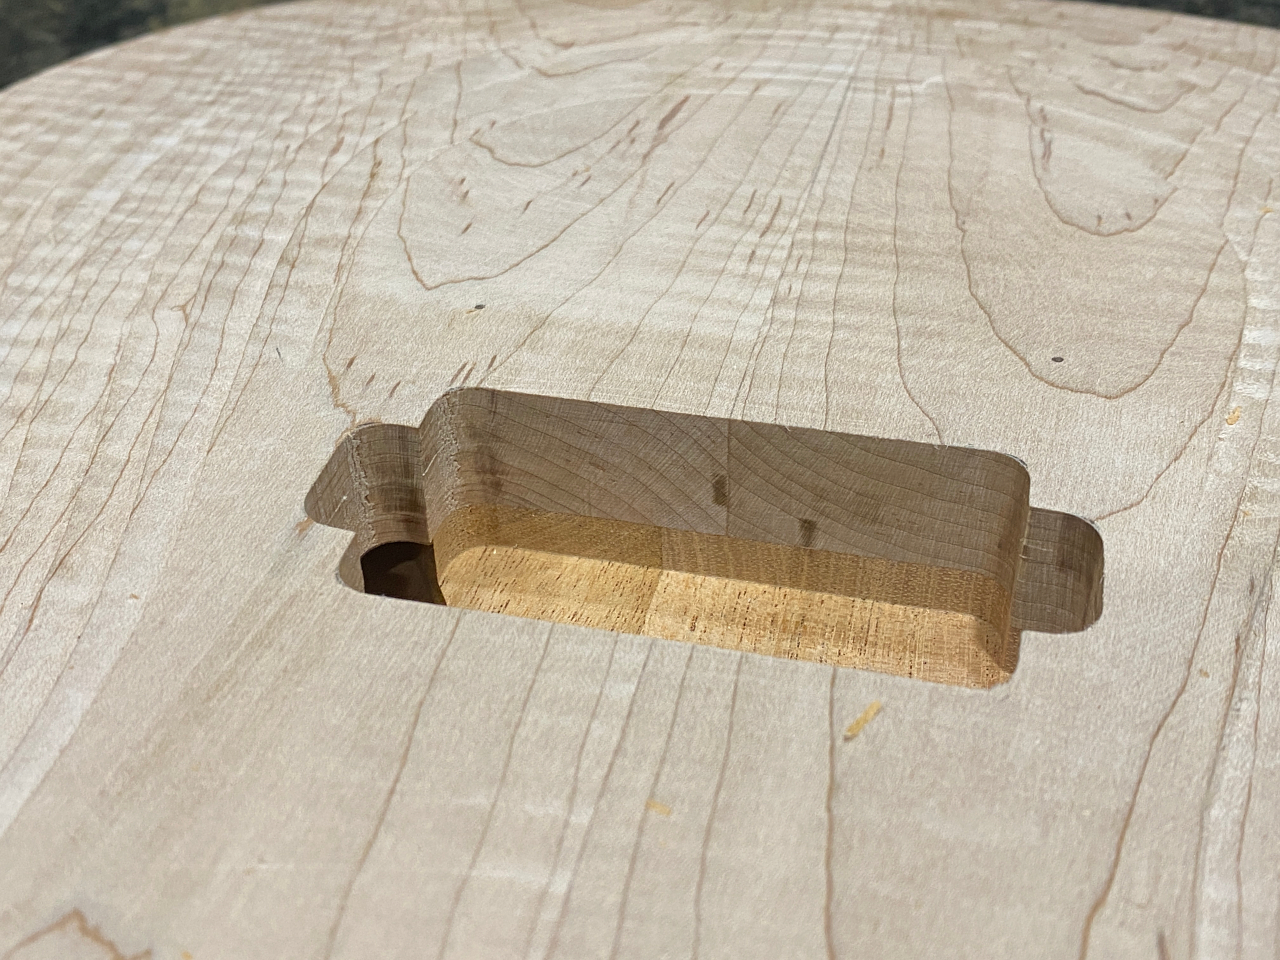
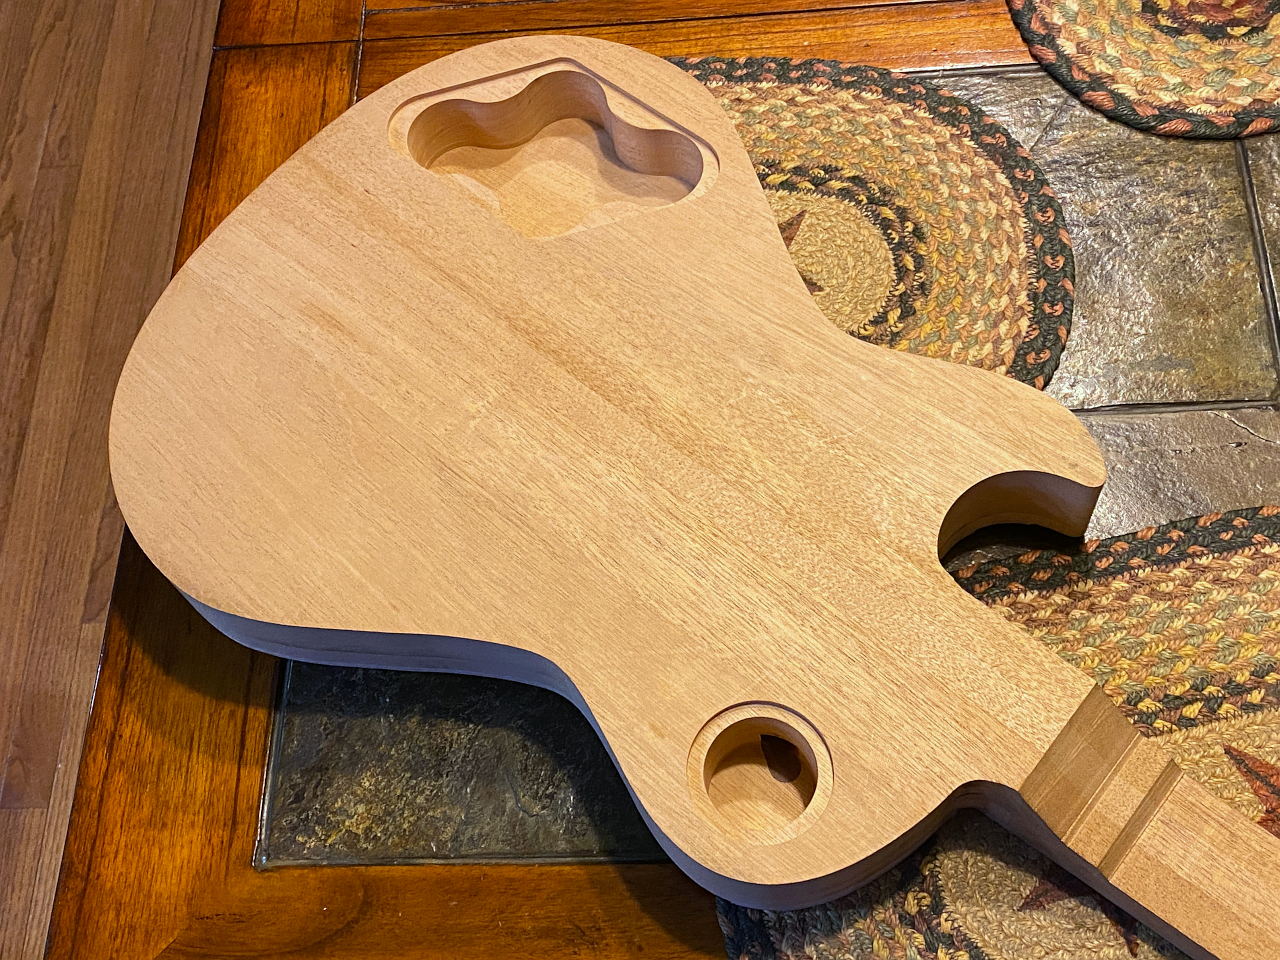
Nice and clean. These cavities are actually identical in size. Lens distortion from iphone camera is making one appear larger than the other.
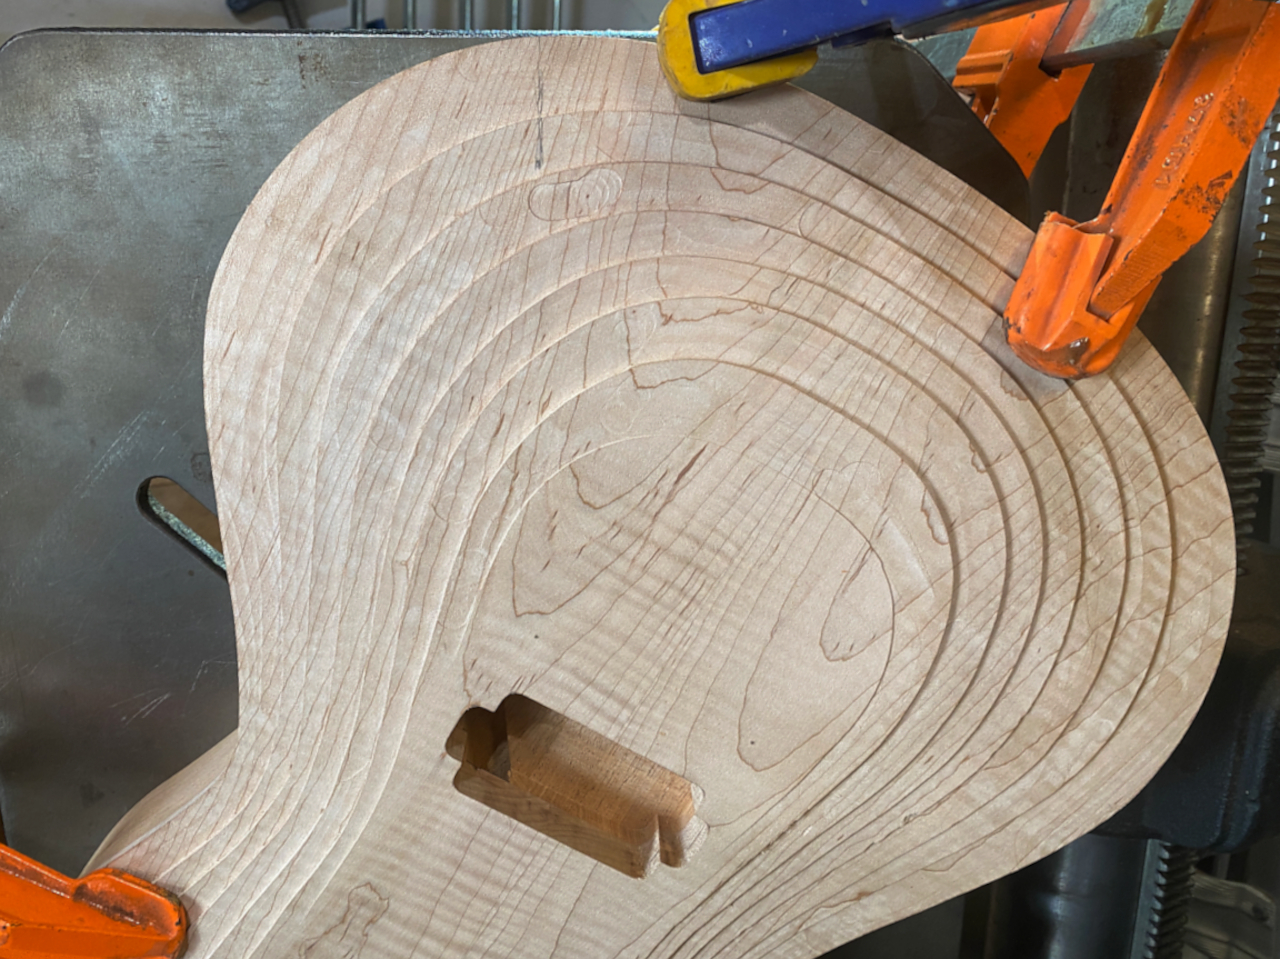
As promised before the top was glued on, the wiring channel I routed on the body appears intersecting with both pickup cavities. The toggle and control cavities routed from the back will also intersect at each end allowing all the wiring to pass through.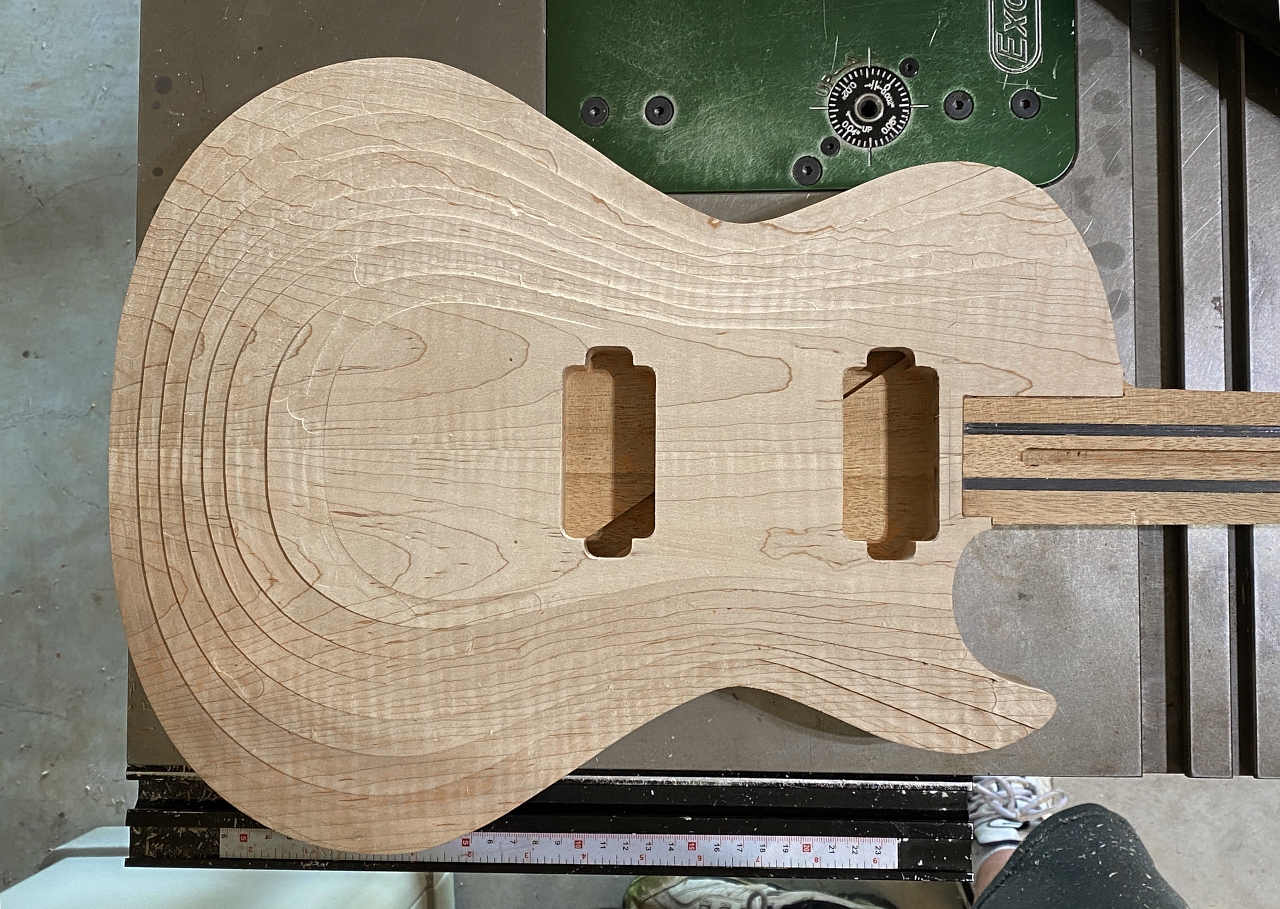
As advertised previously, the joint underneath the bridge area is perfect, and just as tight as the edge. No layer of trapped glue.
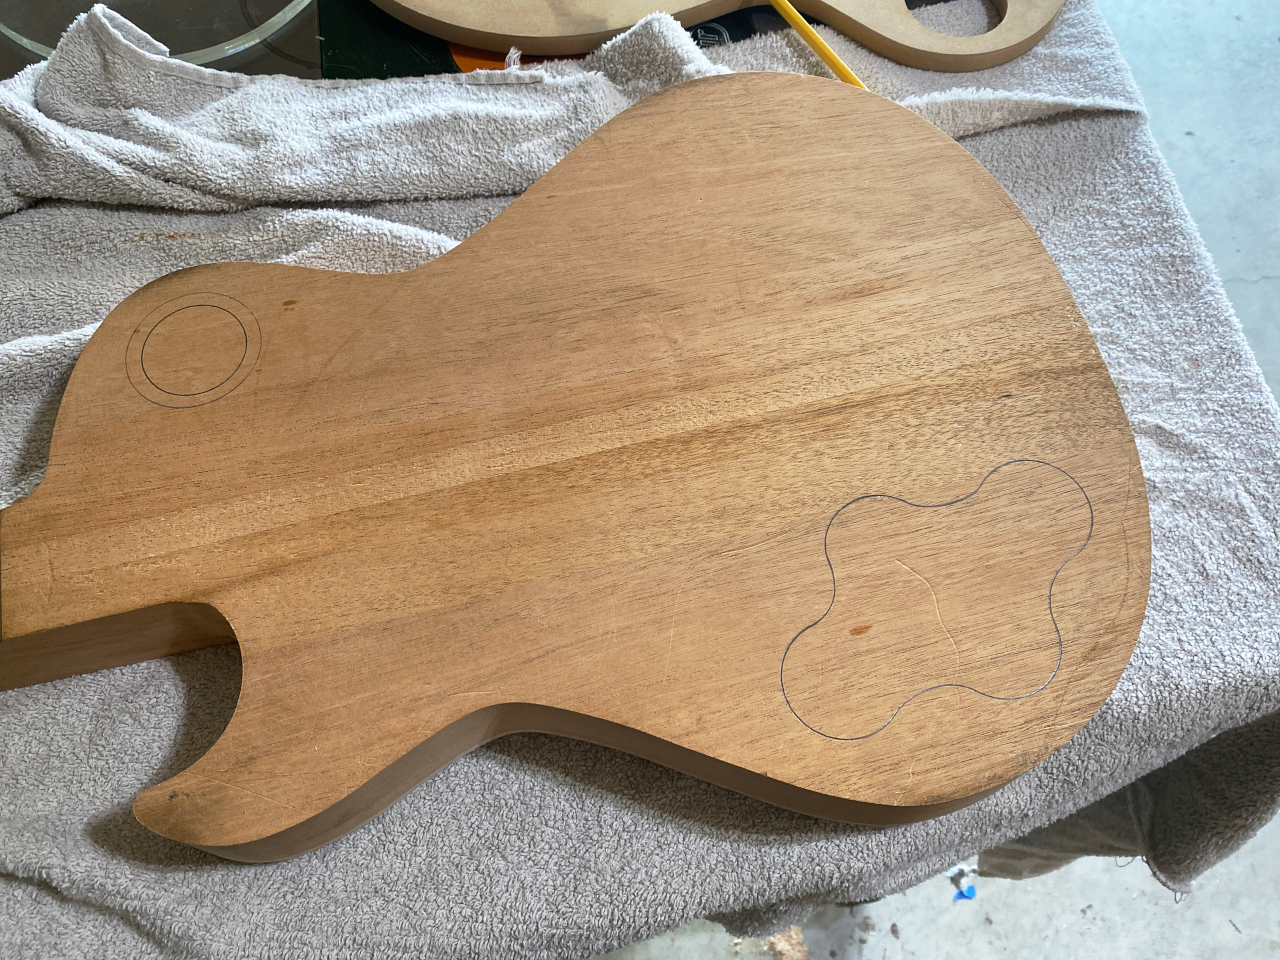
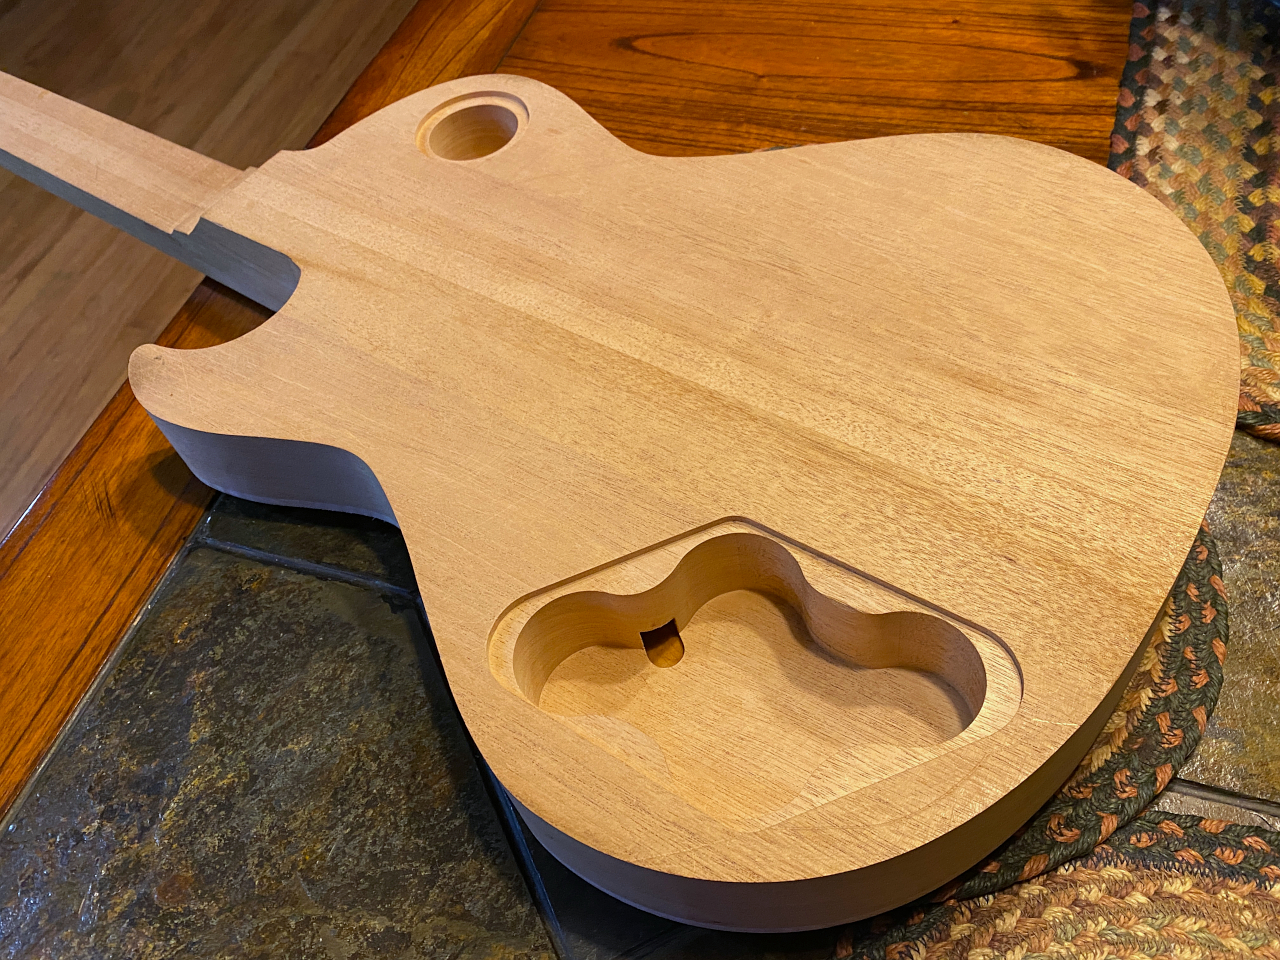
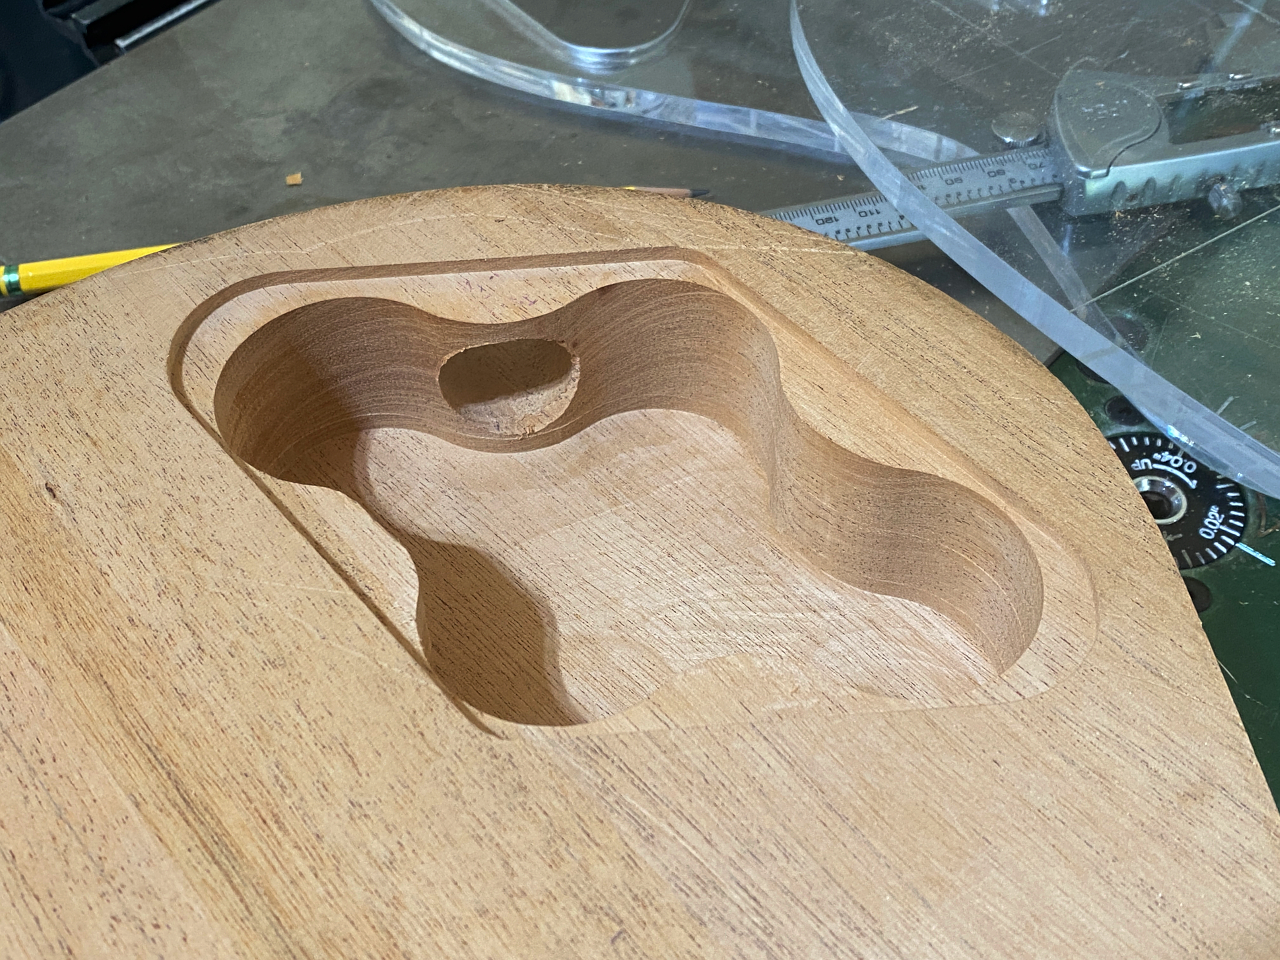
Next on the list of cavities to be routed are the toggle switch cavity, and the control cavity which are routed into the body from the back.
Like with the pickup cavities, first I draw the locations where they will be located
and use a 1 3/8″ forstner drill bit in my drill press to remove the bulk of the wood first
then attack my routing template and use a hand held router to clean it all up
Always nice to see my wiring channel appear right where expected. Not that it could actually go anywhere, but just the same…
Another template is attached then to route the recess for the cavity covers, so they will sit flush with the back
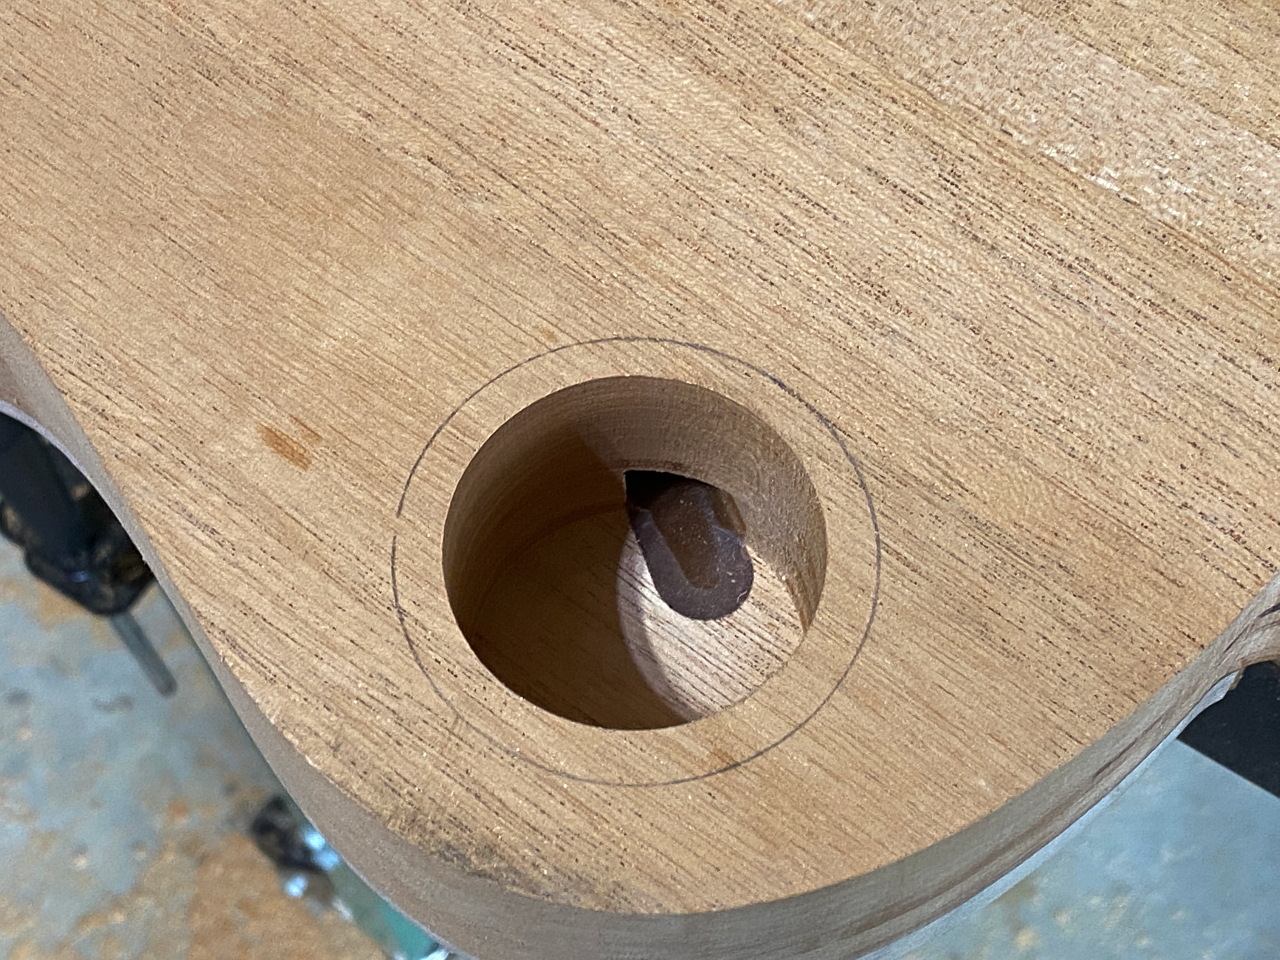
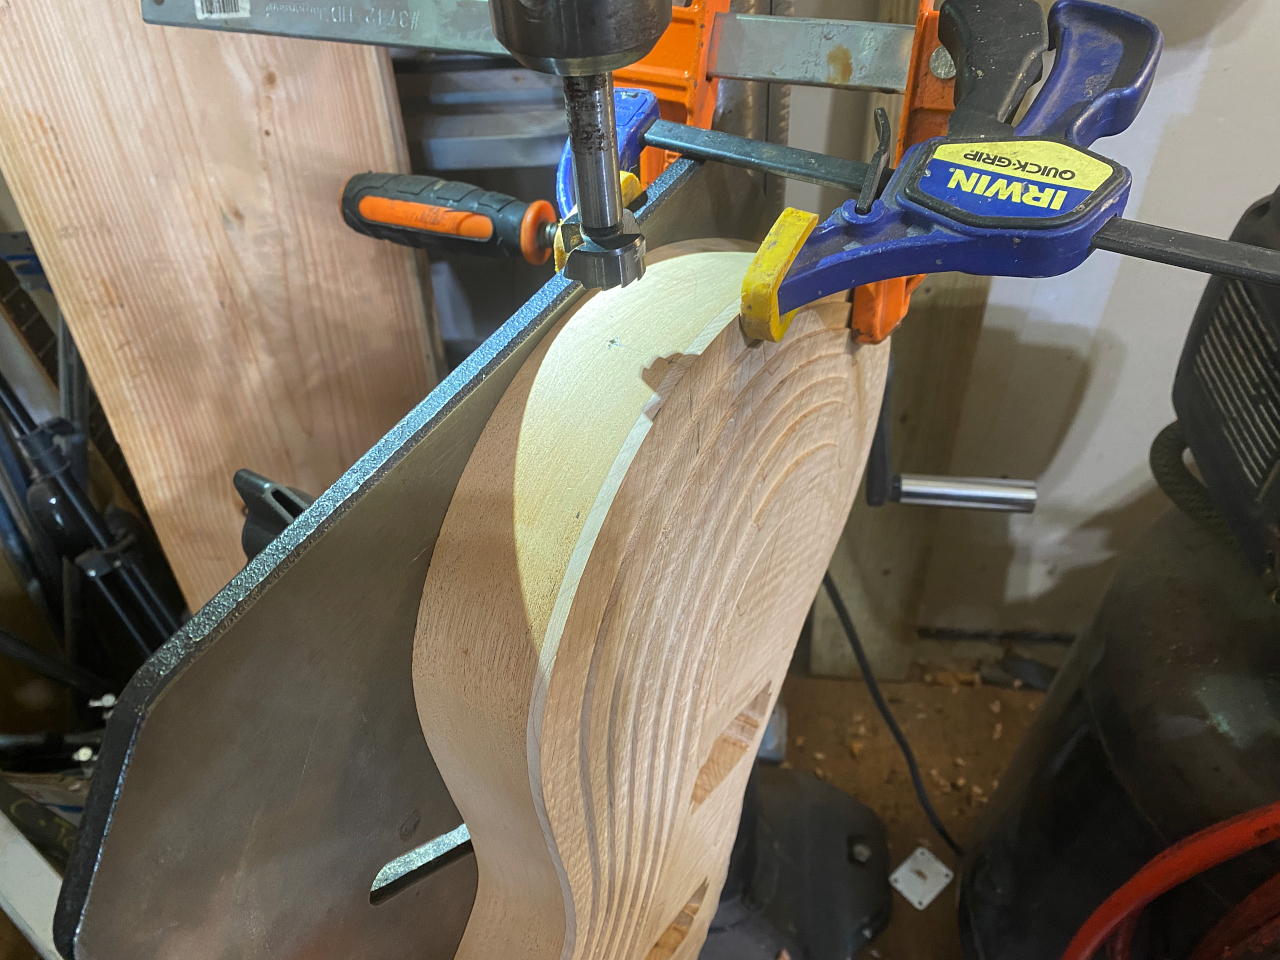
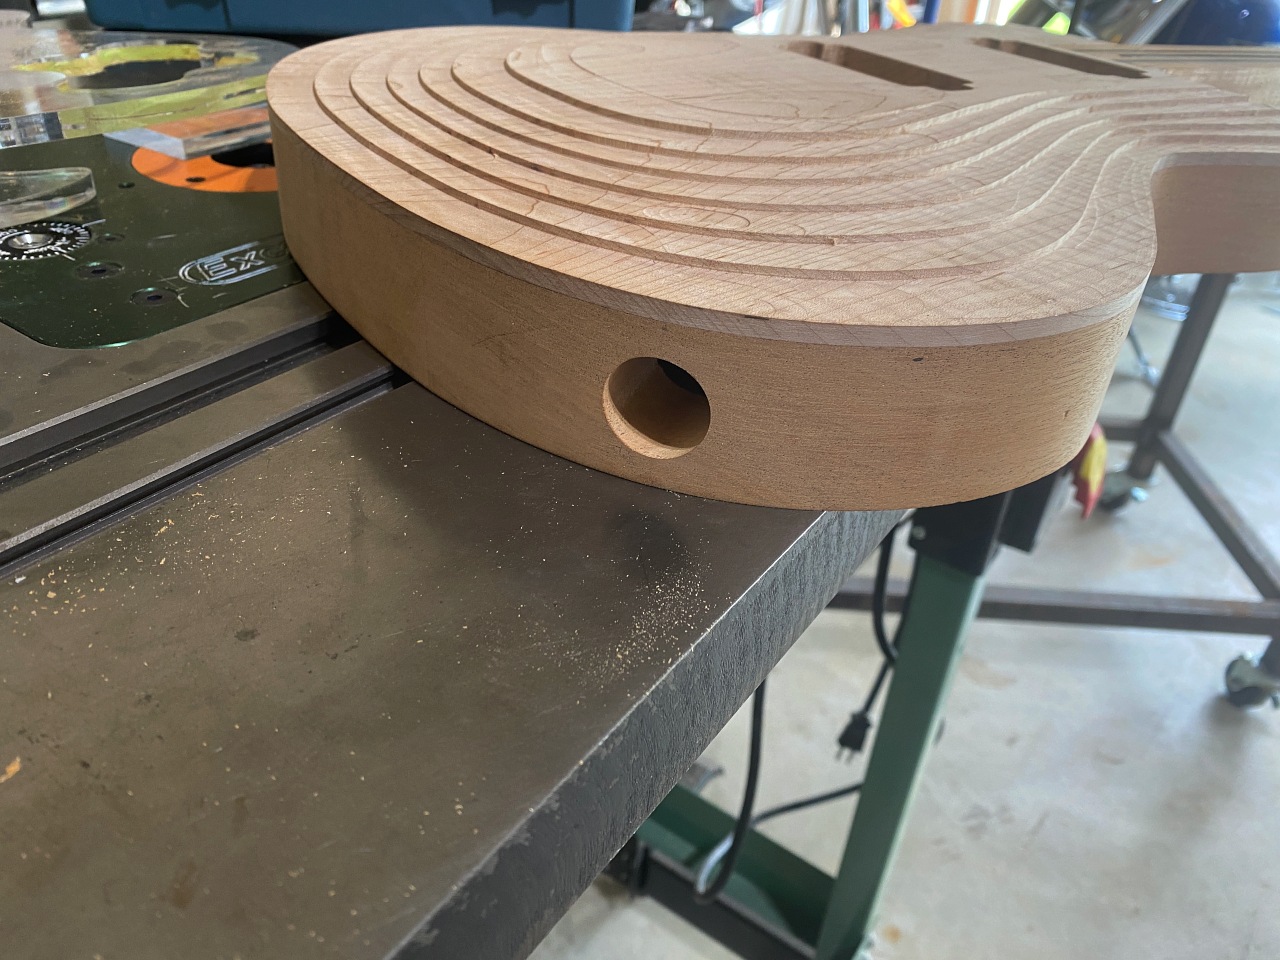
Next, drilling the output jack. Some builders simply chuck the bit into a hand drill and get good results. I have occasionally had mishaps doing it that way, so to get a nice clean, crisp hole I figure better safe than sorry. I clamp the guitar to the table on my drill press, and carefully line it up and lock it all down.
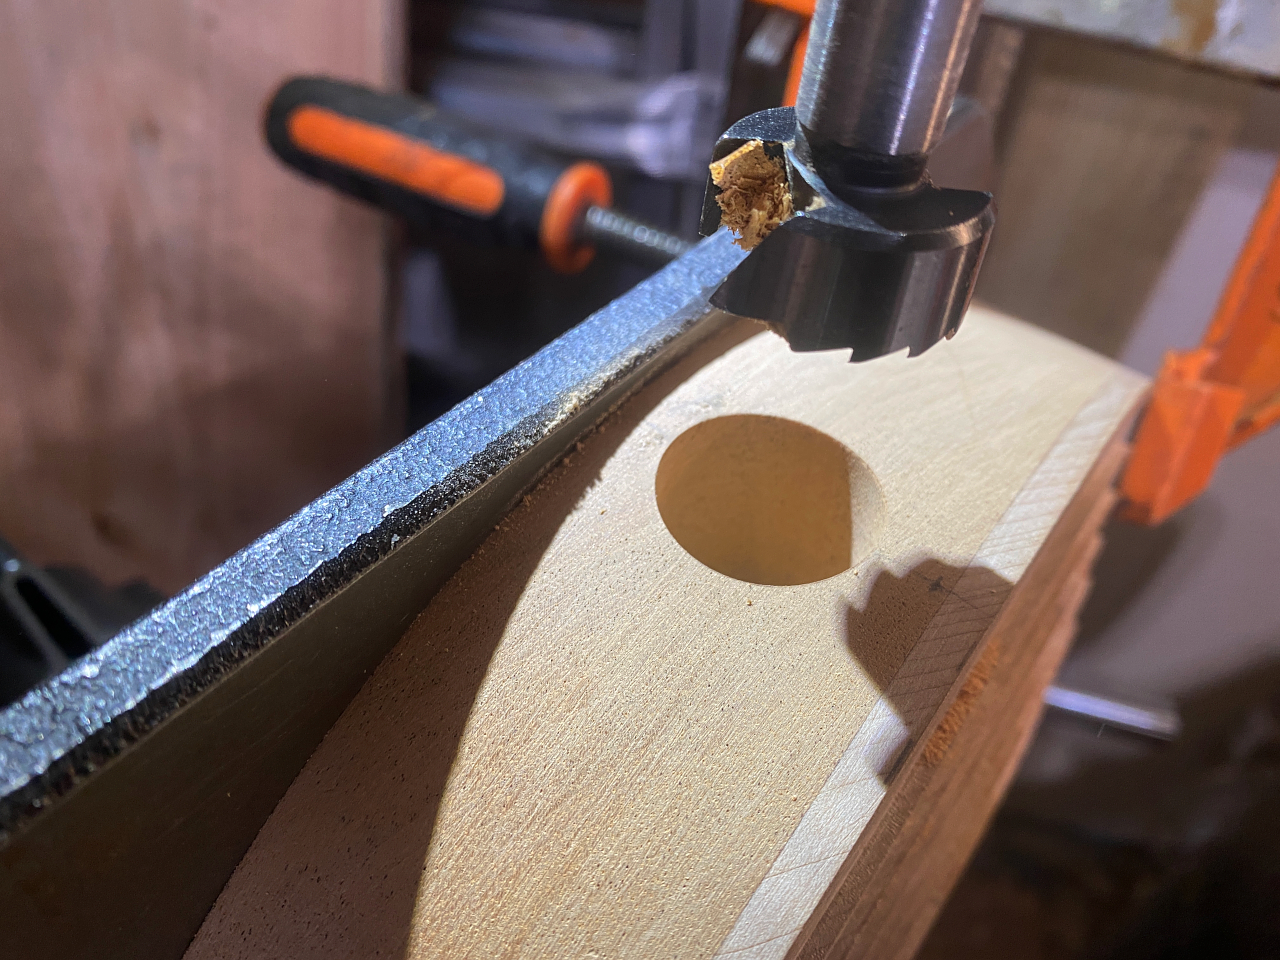
and drill a hole….
Its not fancy. Its just a hole. As holes go though, I think its a very nice one 🙂

