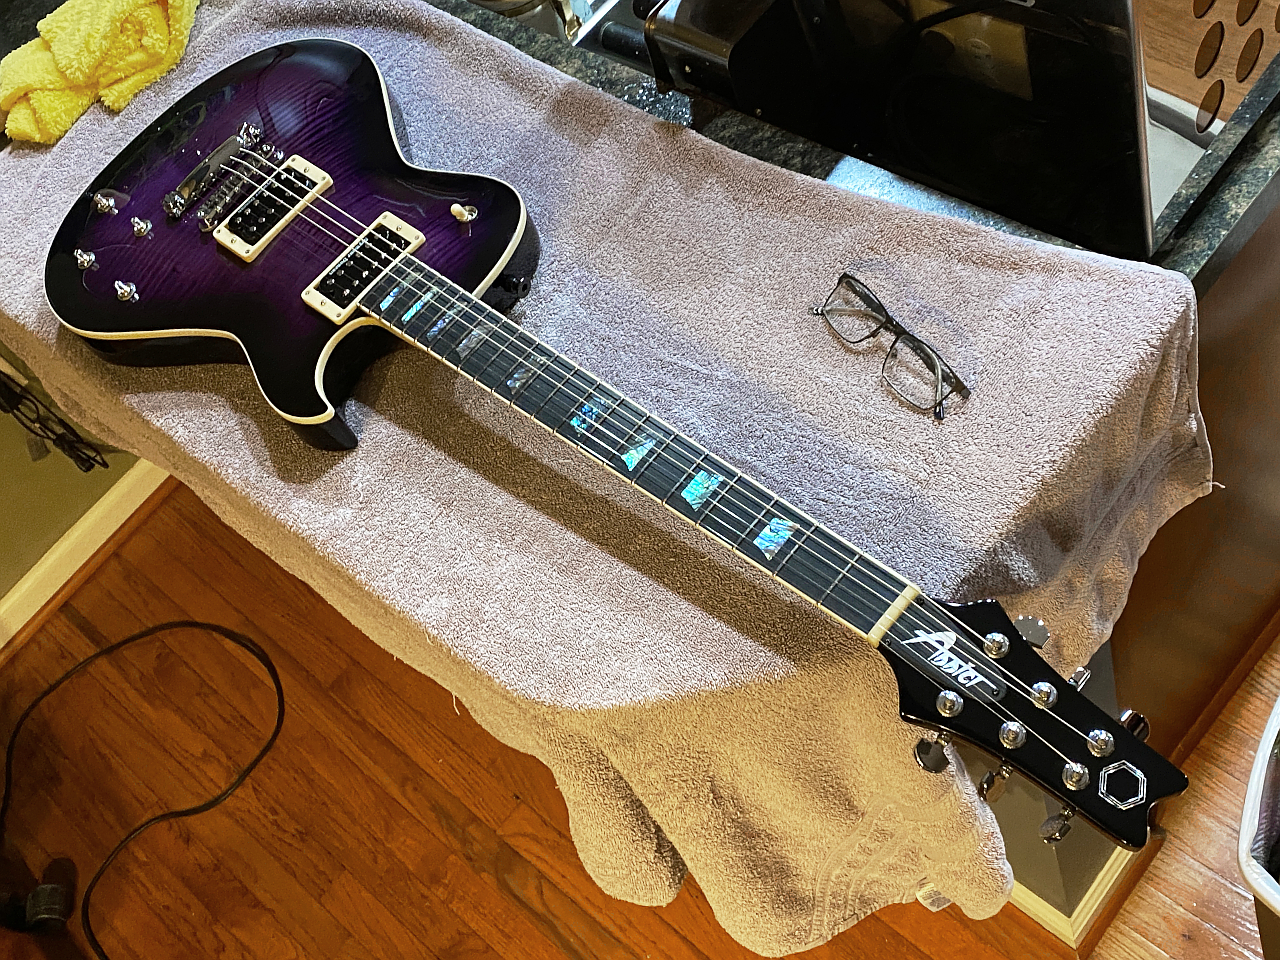
So, the final steps!
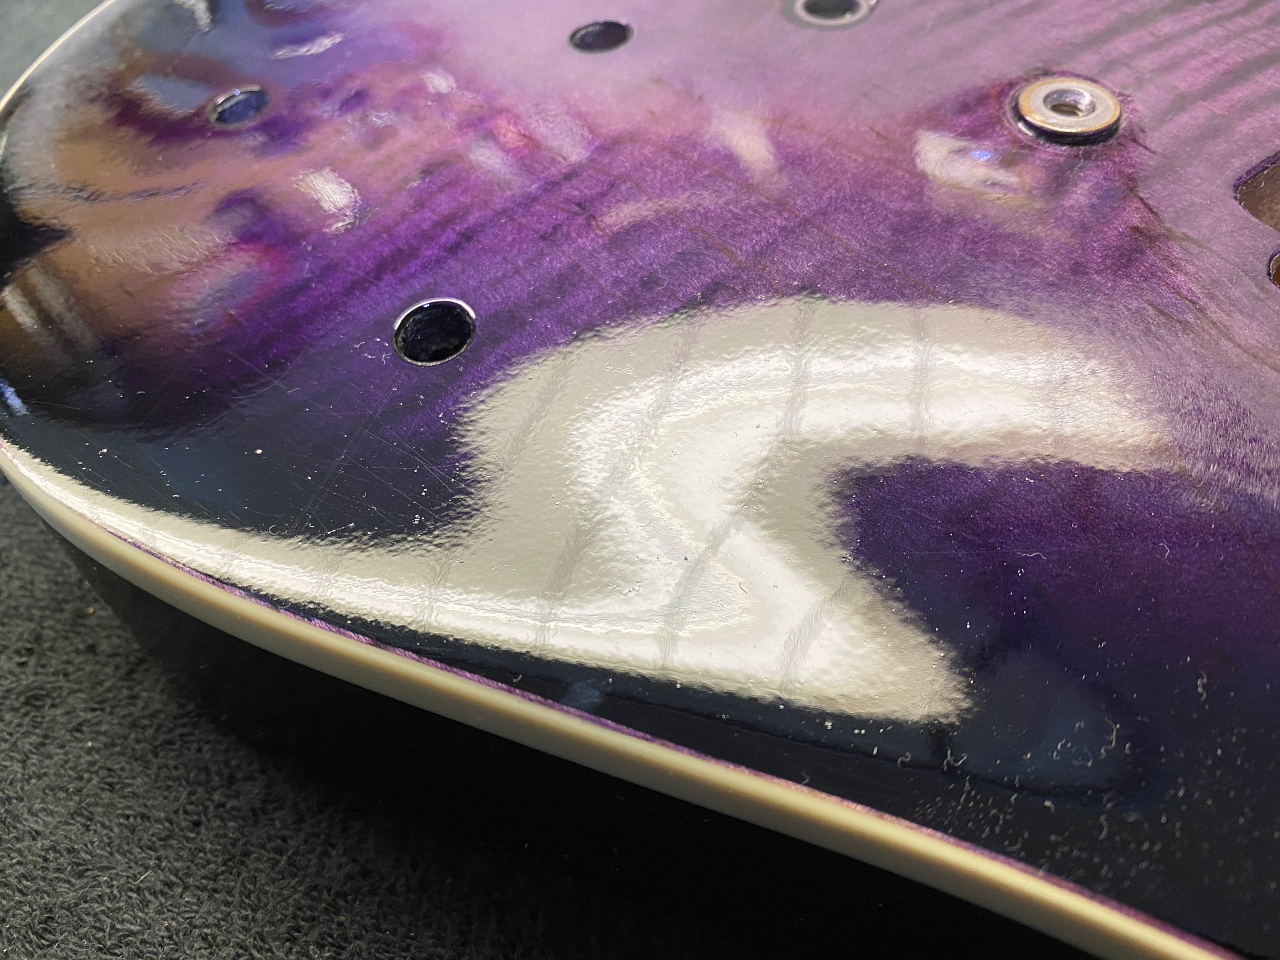
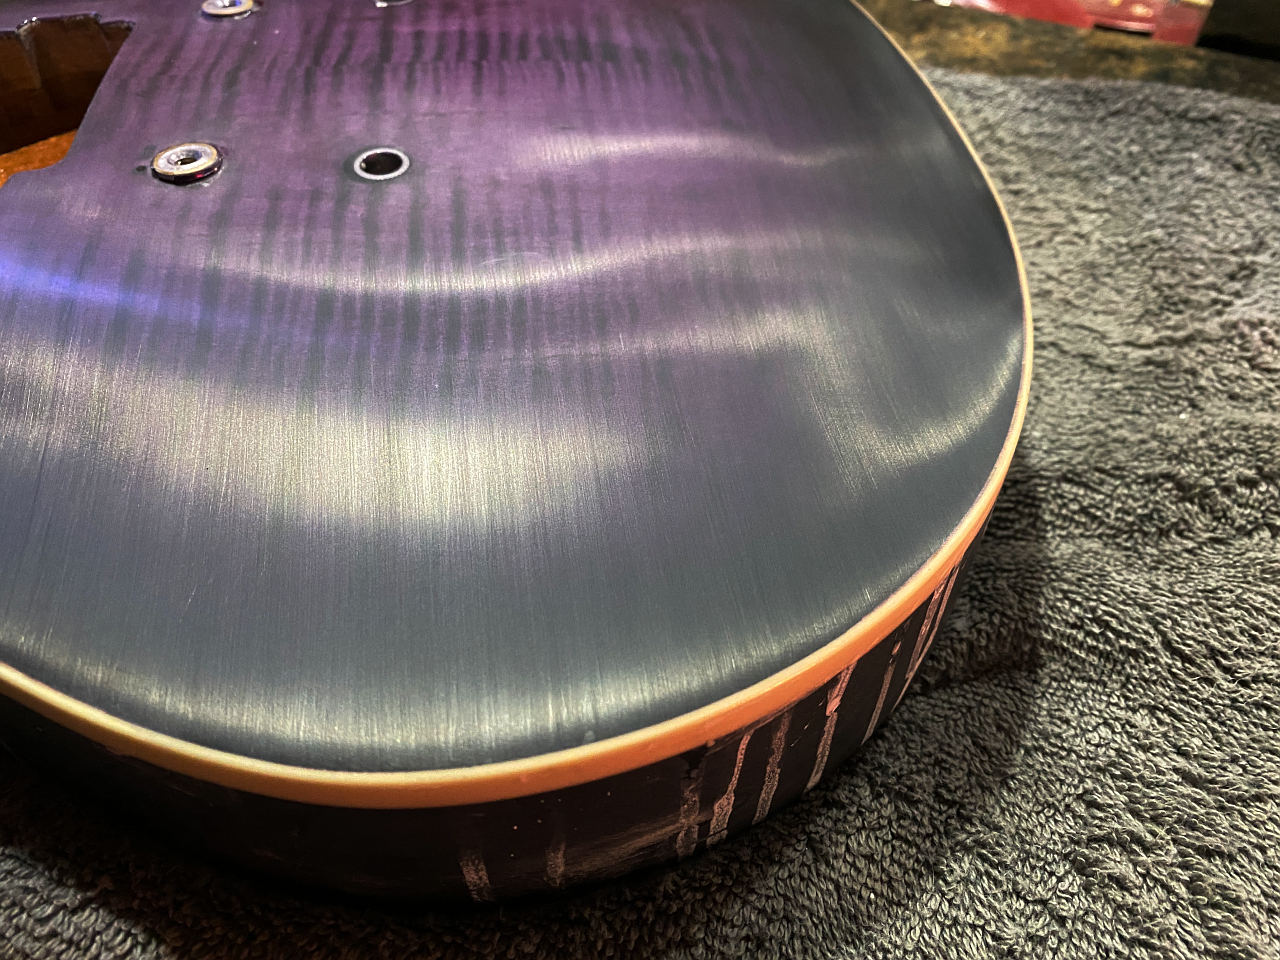
The finishing process leaves what appears to be a shiny surface from a distance, but up close we have whats called “orange peel” for obvious reasons.
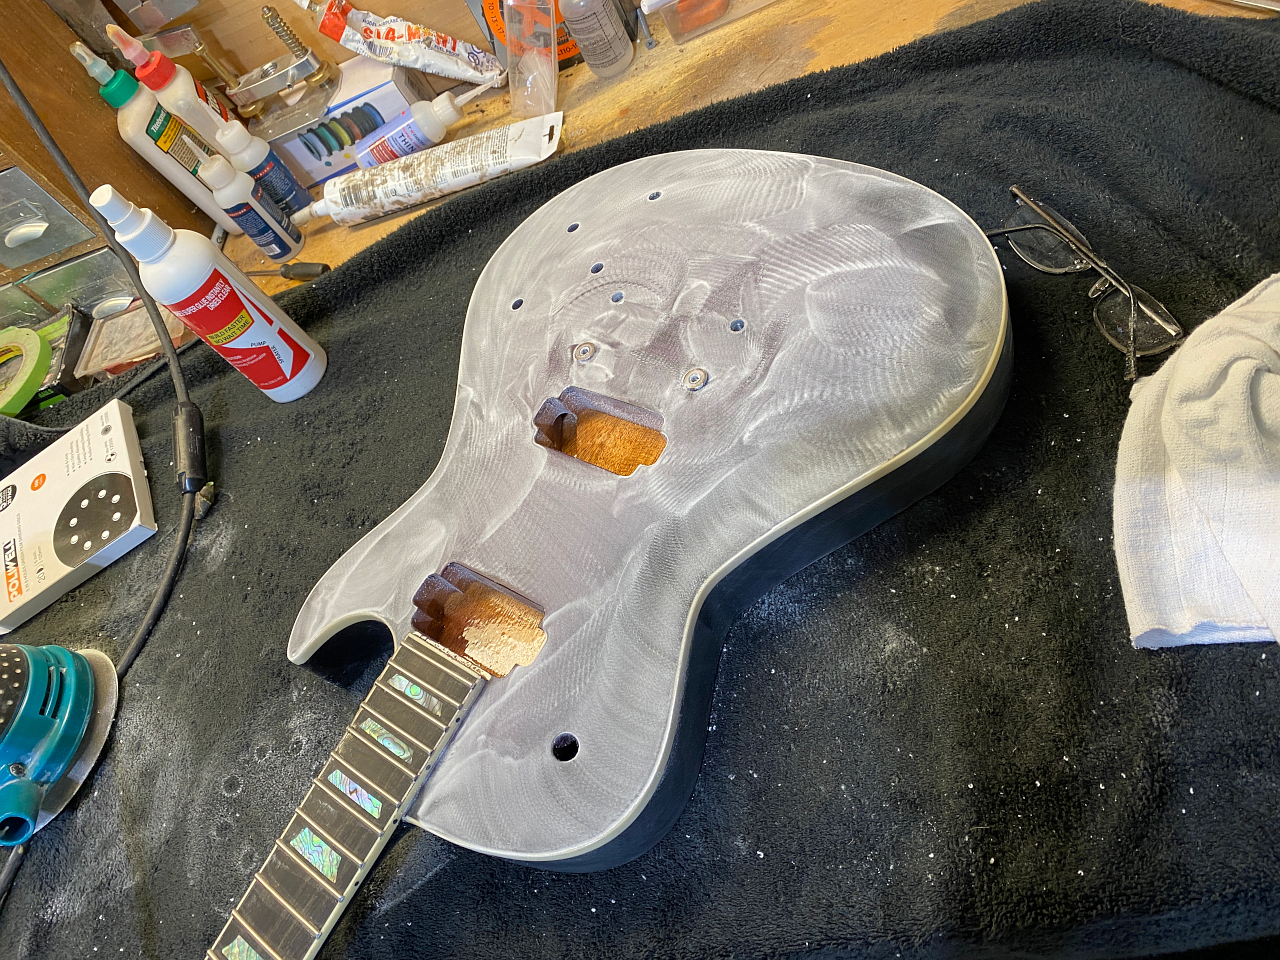
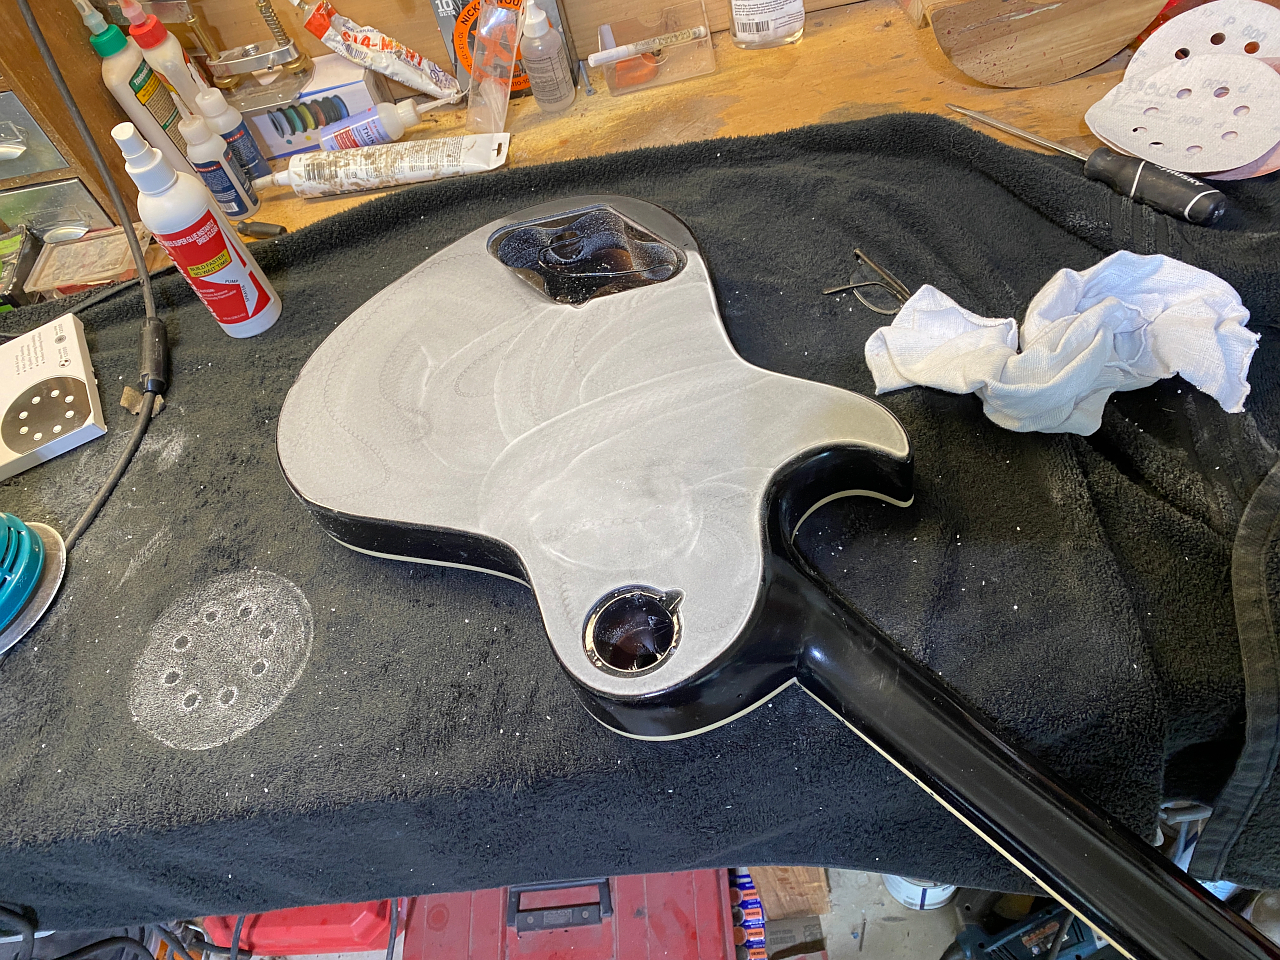
The orange peel needs to be flattened again, using an orbital sander on low speed with 600 grit sanding disk.
The top and back can be done this way, but the headstock, neck, sides, etc all have to be done by hand
Next is wet sanding by hand. I start out at 800 grit going in a circular motion until all the 600 grit scratches from the orbital sander are gone…
After that I repeat the same process with 1000 grit, but going in a straight line pattern until the 800 grit scratches can no longer be seen.
the reason for sanding in different patterns is that it makes it easier to see when the previous grit scratches are gone.
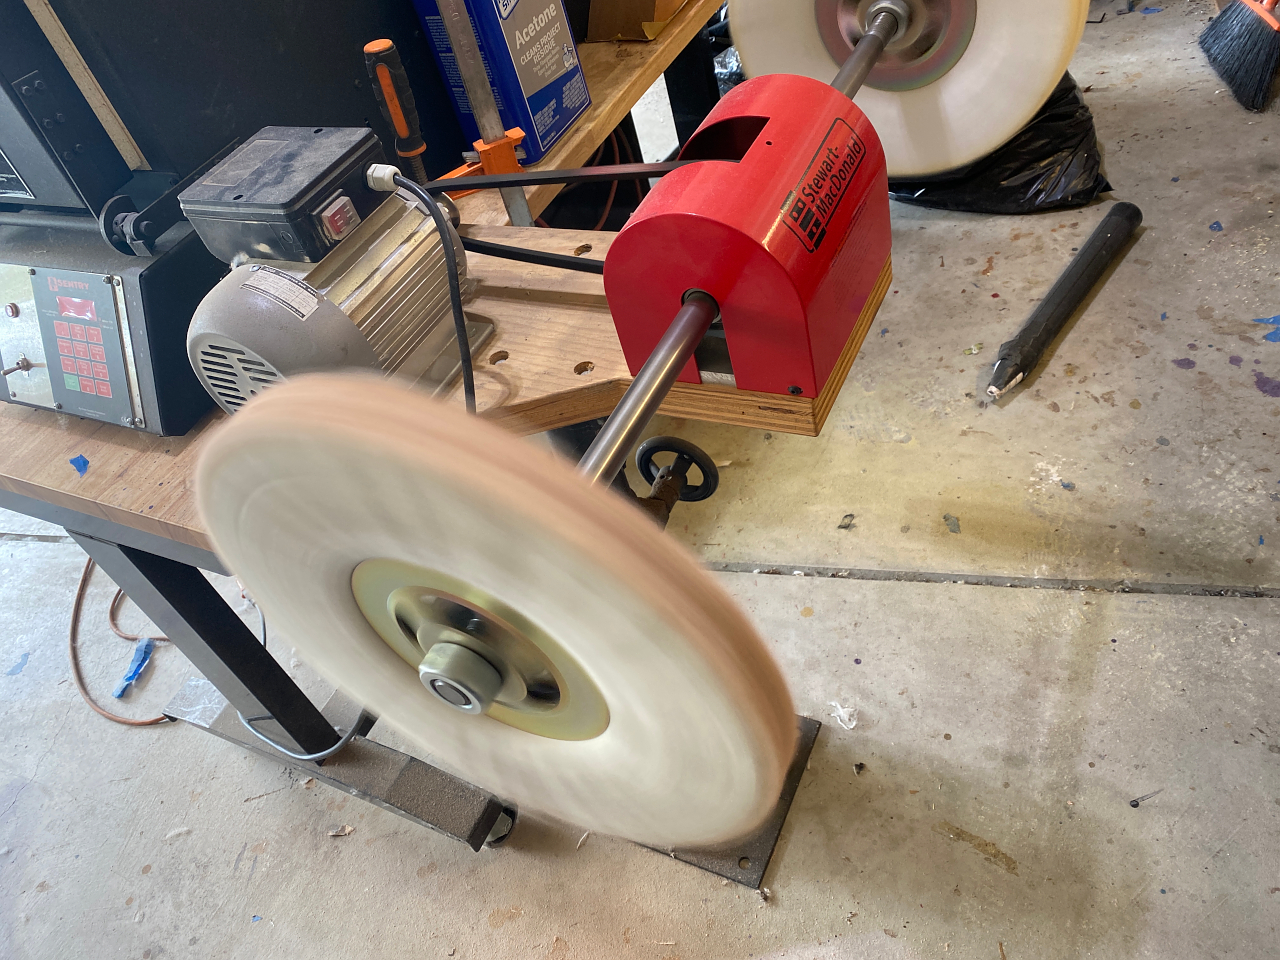
After 1000 grit I go to the buffing wheel. First with medium compound on one wheel, and then fine compound on the other wheel
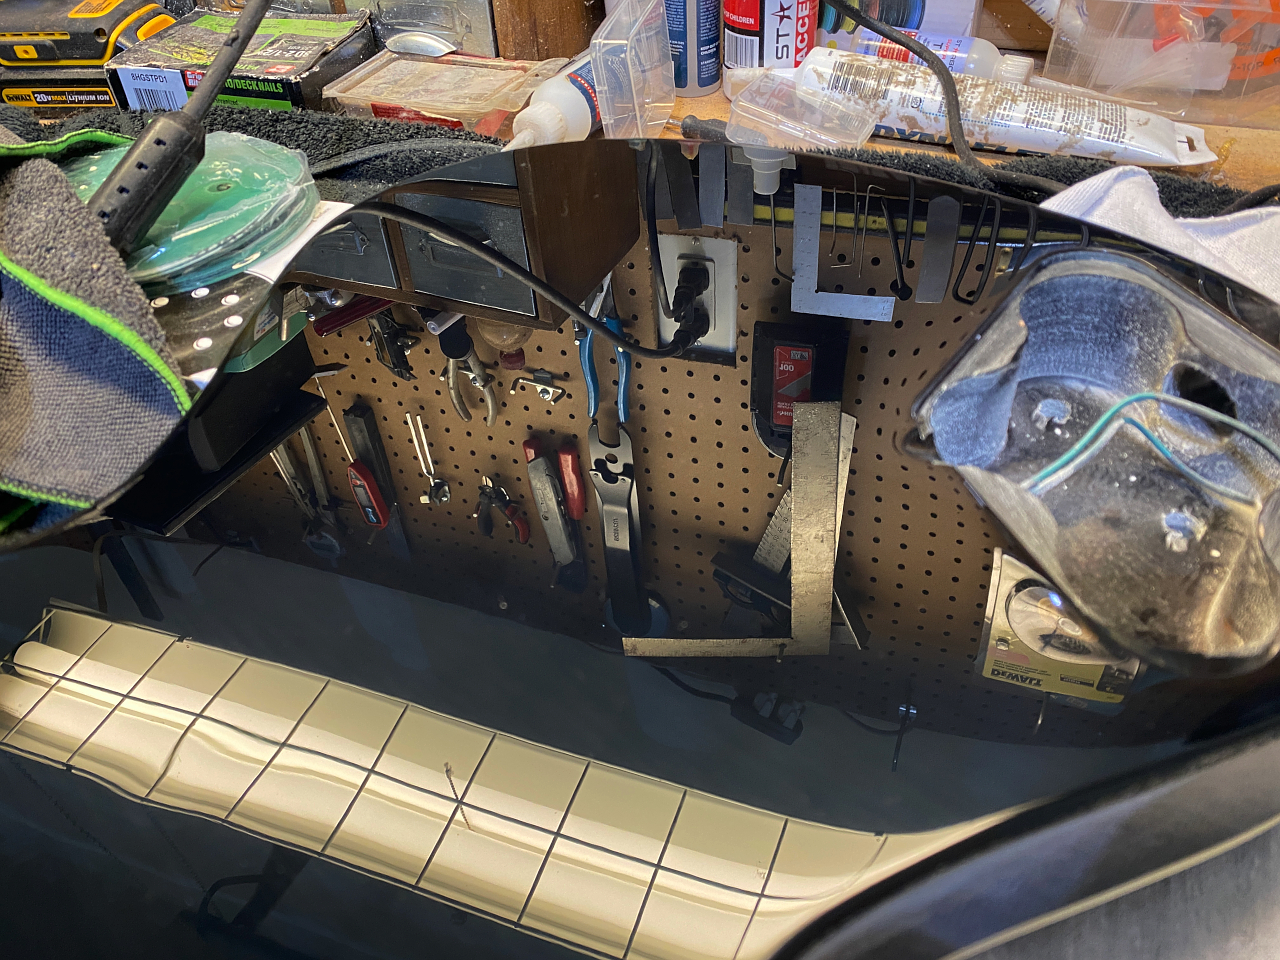
then some hand polishing, and all the orange peel is gone and leaves a nice mirror finish.
Next!
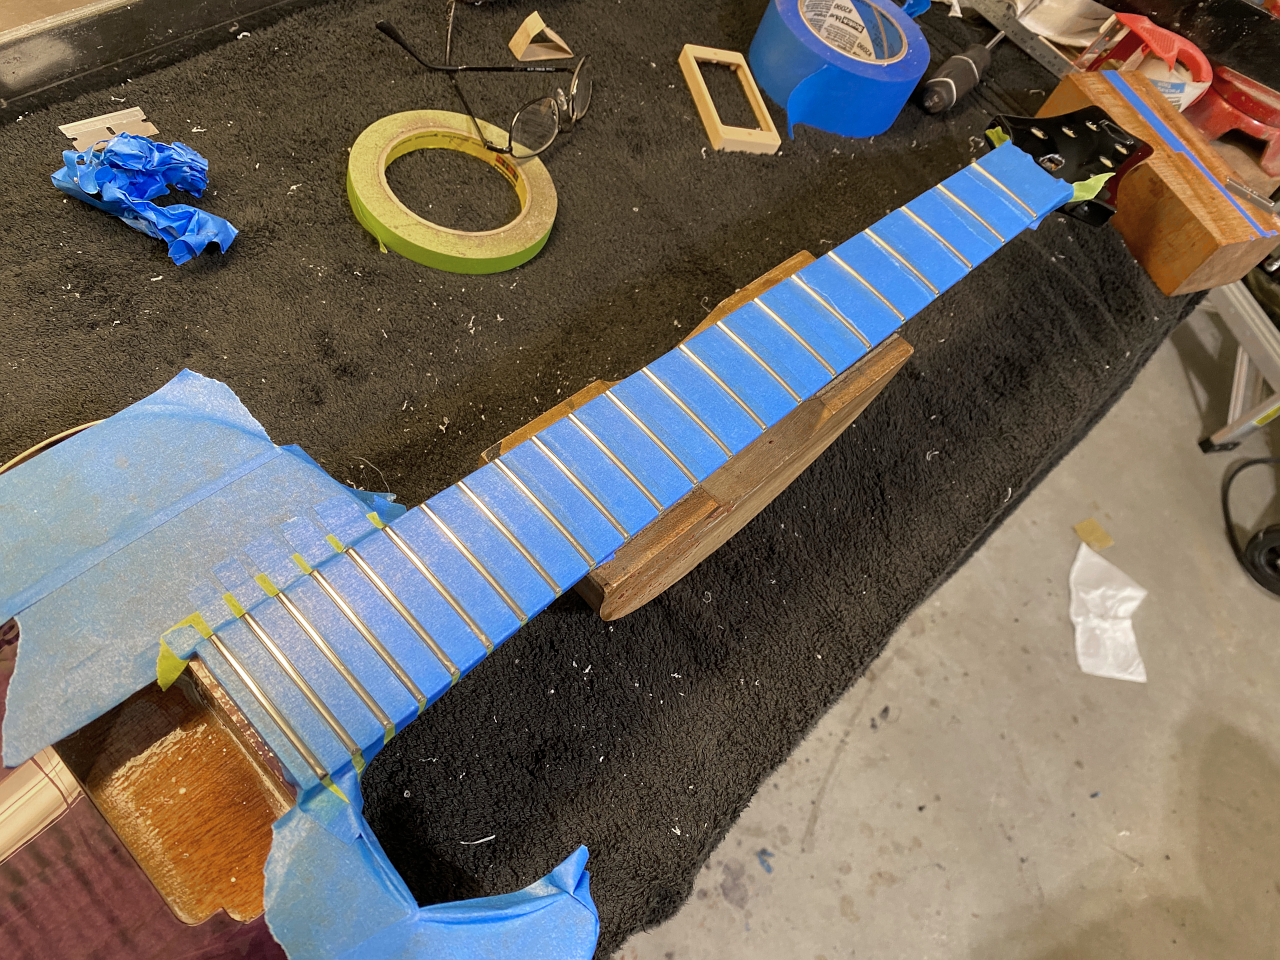
Now I have to level, crown, and polish the frets. This is one of the most important jobs. All the frets have to be dead level with each other, or you’ll get lots of buzzing and dead notes.
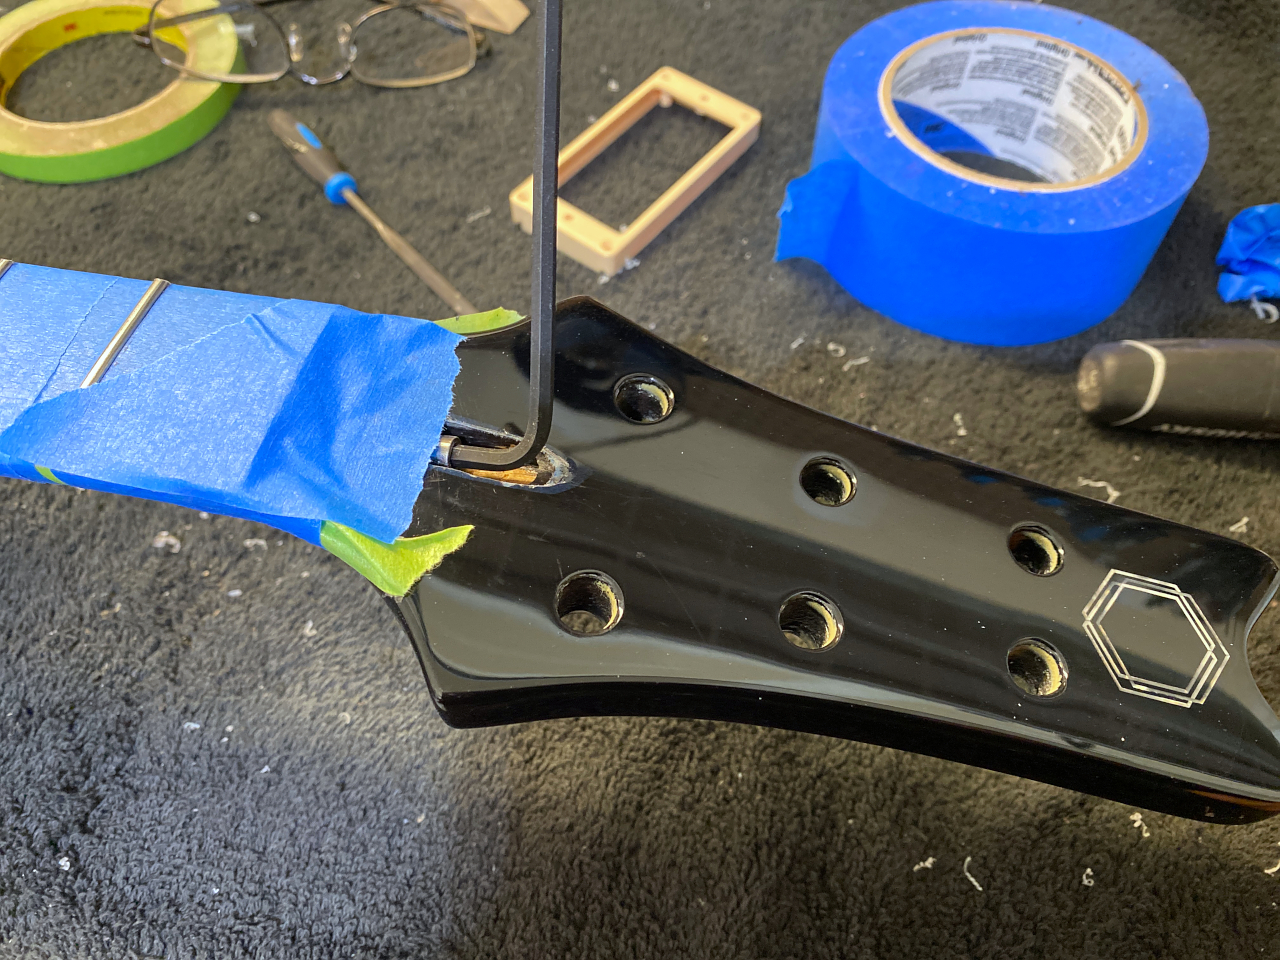
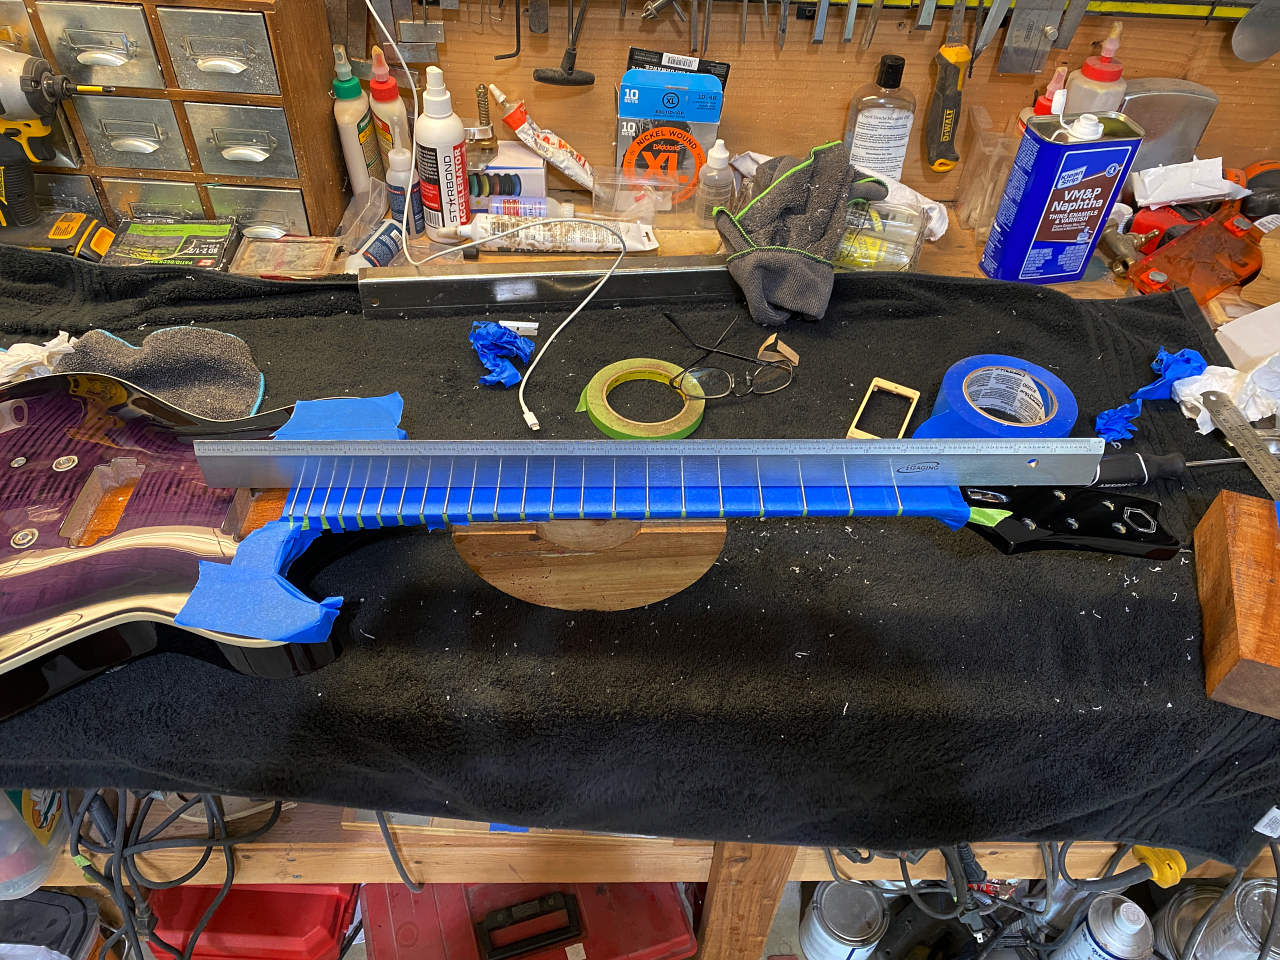
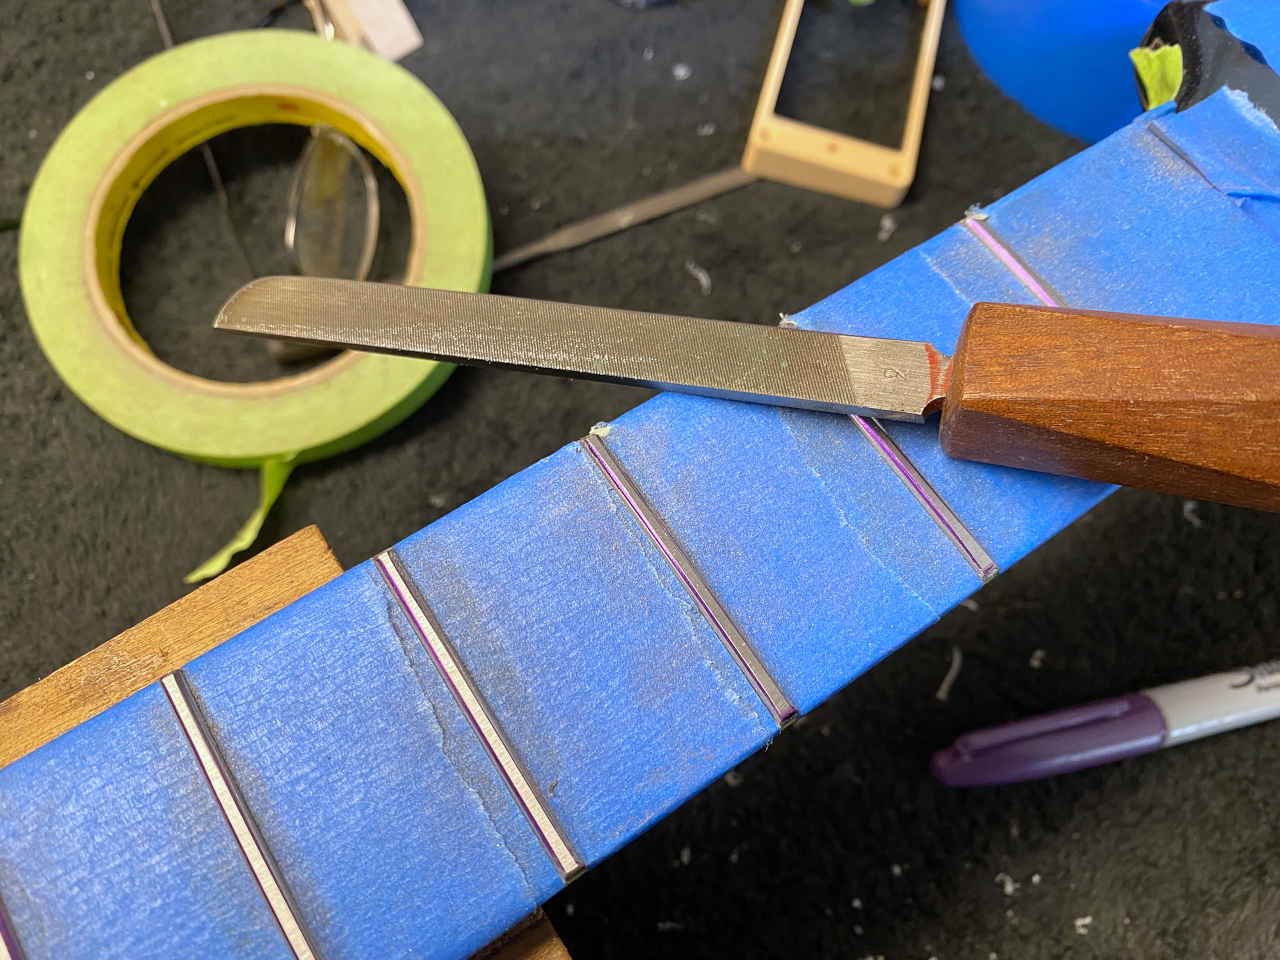
First thing I have to do is mask off everything except the frets so I dont scar up the fretboard
Then using a straight edge and allen wrench in the truss rod I get the board as flat as I can make it.
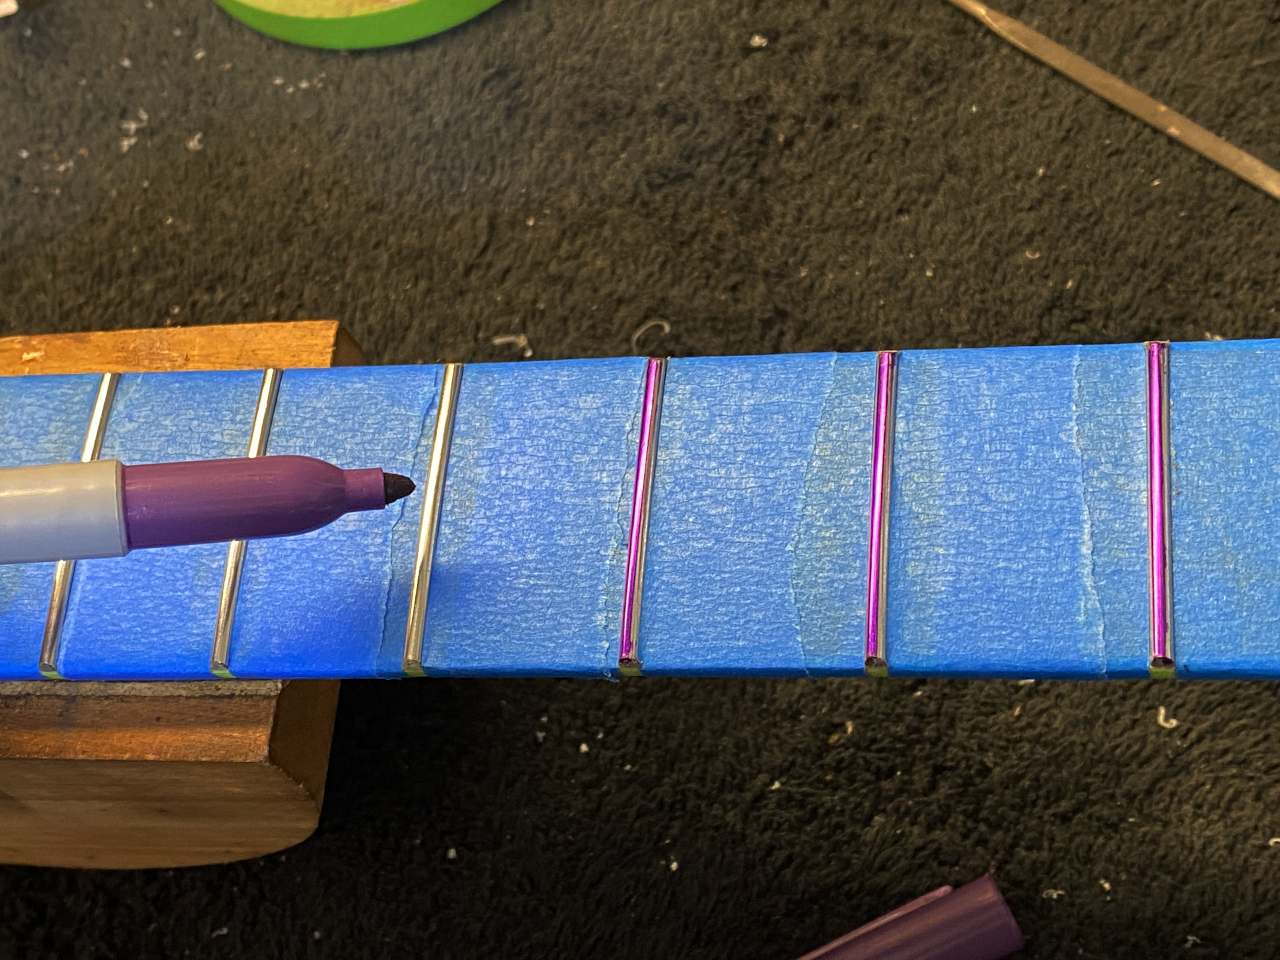
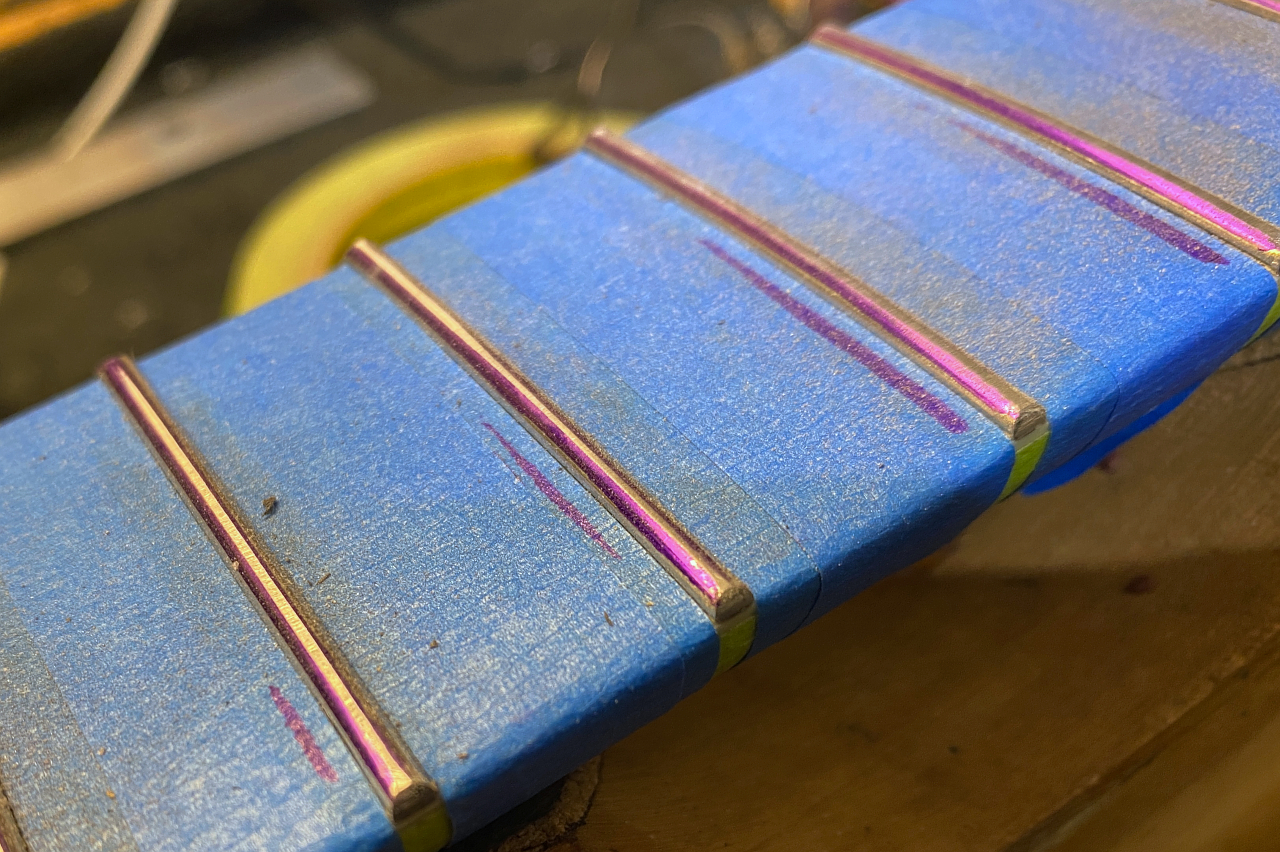
I use a purple sharpie to mark all the frets. Its just a coincidence that it matches the guitar 😉
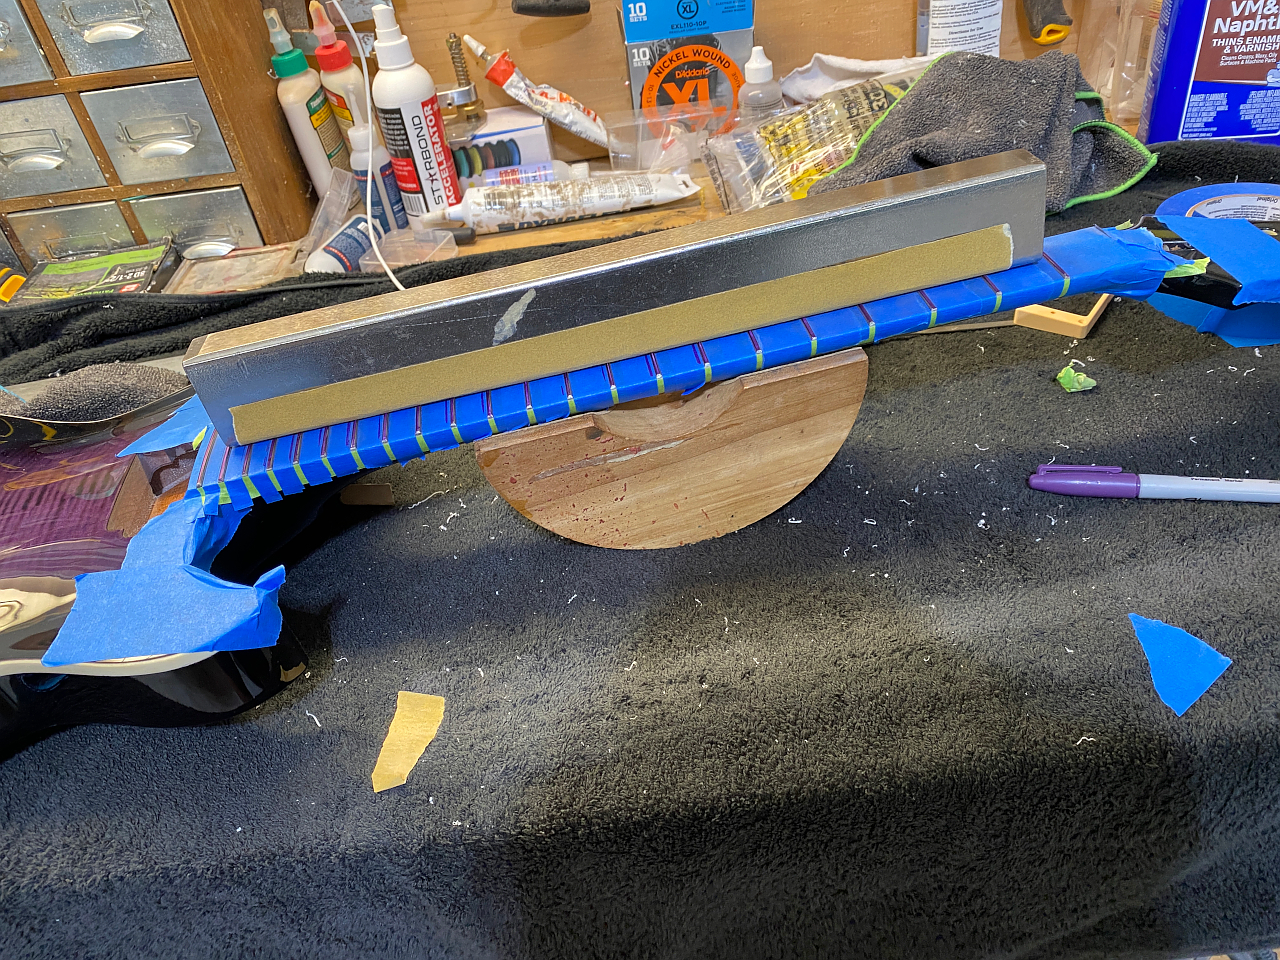
Then a fret levelling beam with 220 grit sand paper makes the tops of all the frets dead level
once you can see a clean like across the full width of every fret you know you are level.
Then I use this file to round off the ends of the frets
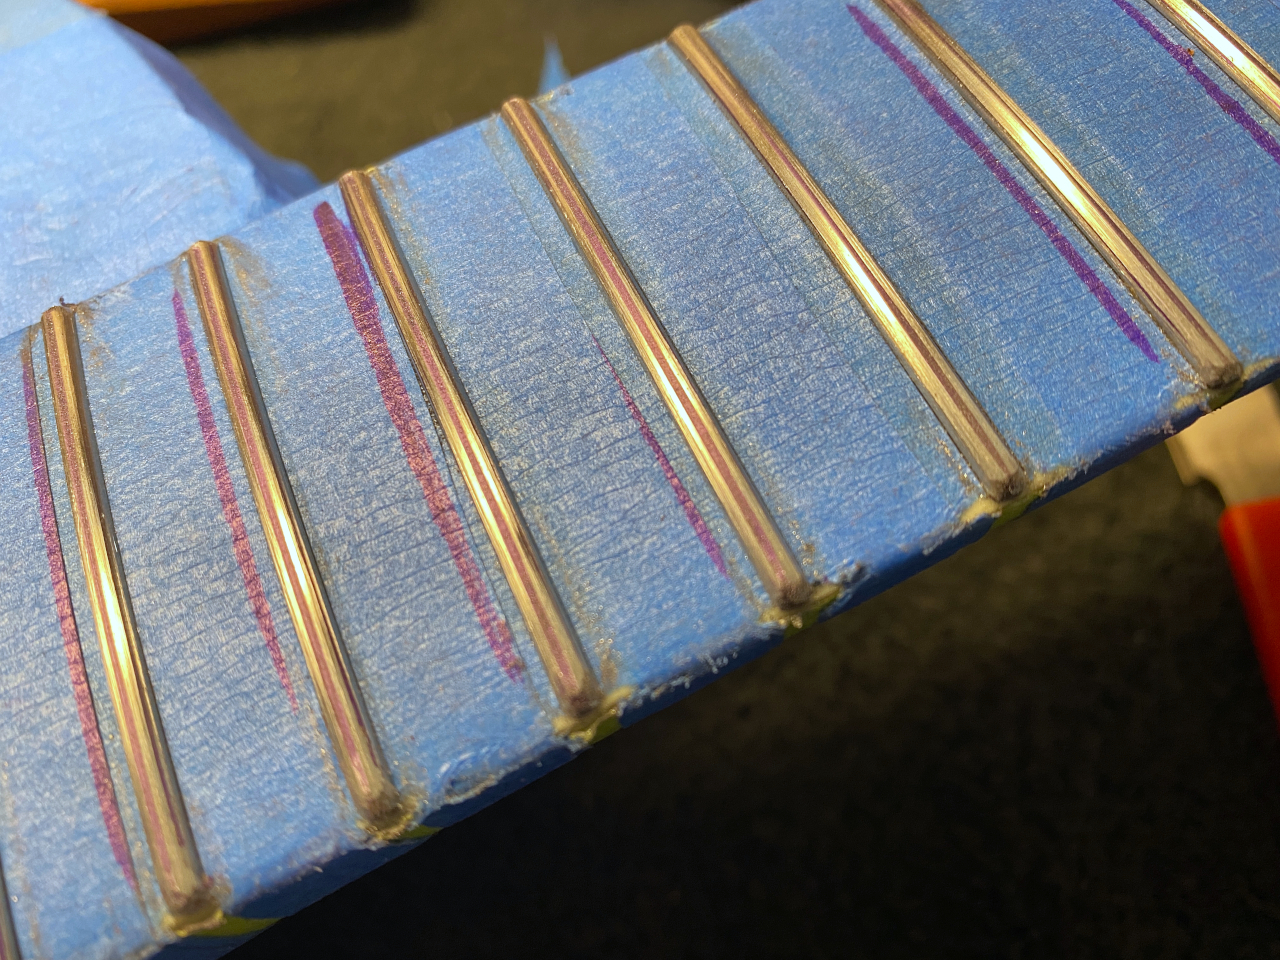
Then I re-purple all the frets and file them again, this time I remove the sides of each fret and leave the top. I know I’m done when I have only a thin purple line down the center of each fret.
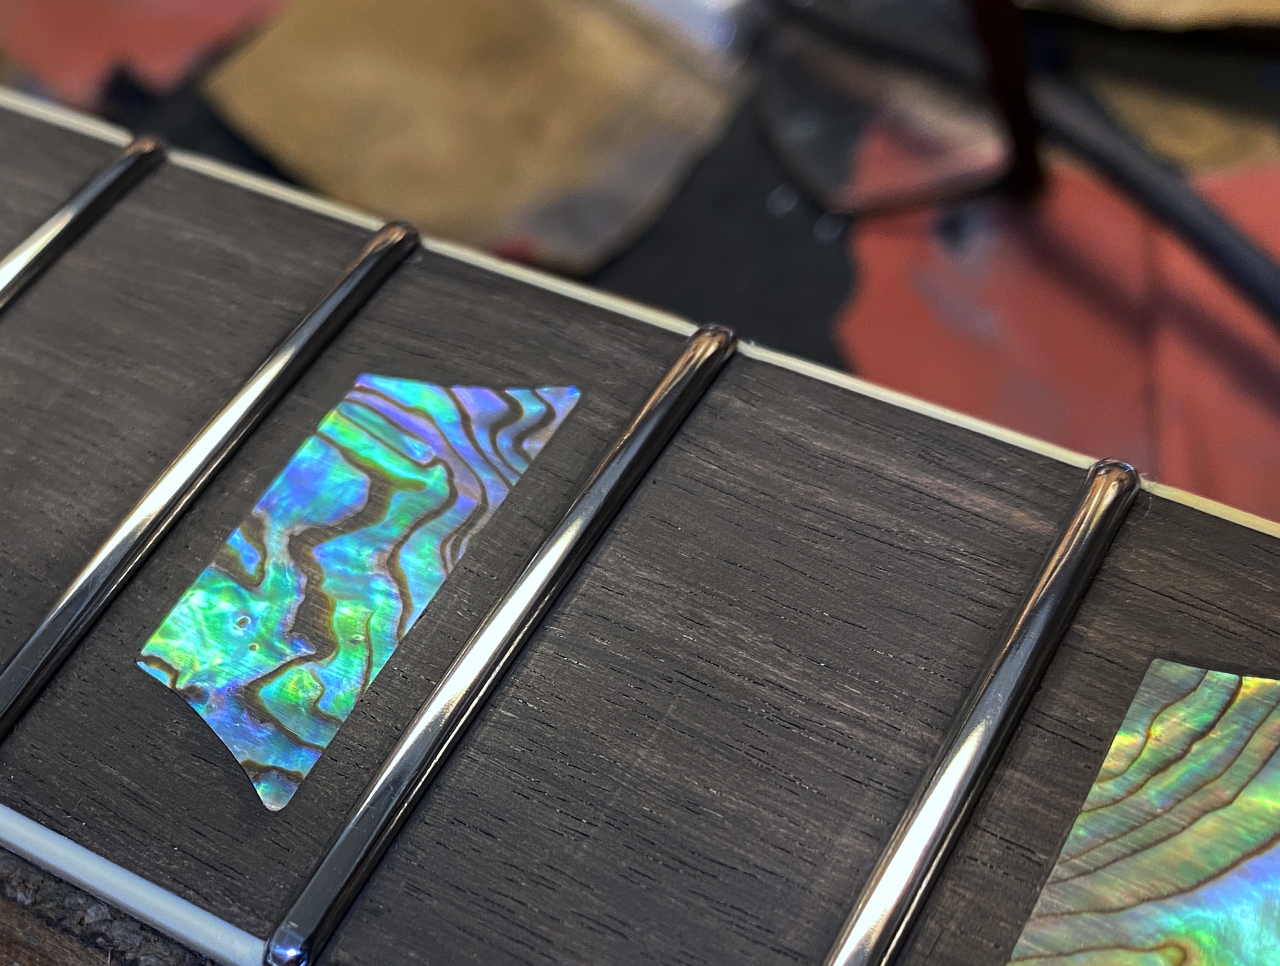
After which I use increasing grits of sand paper starting at 400 and working my way up to 1500 grit to remove all the scratch marks left by the files (as well as previous paper grits) and last step is polish them with a rotaty took and small bugffing wheel with green jewels rouge compound. Now they are all level, smooth and shiny. Great for fretting and bending buzz-free
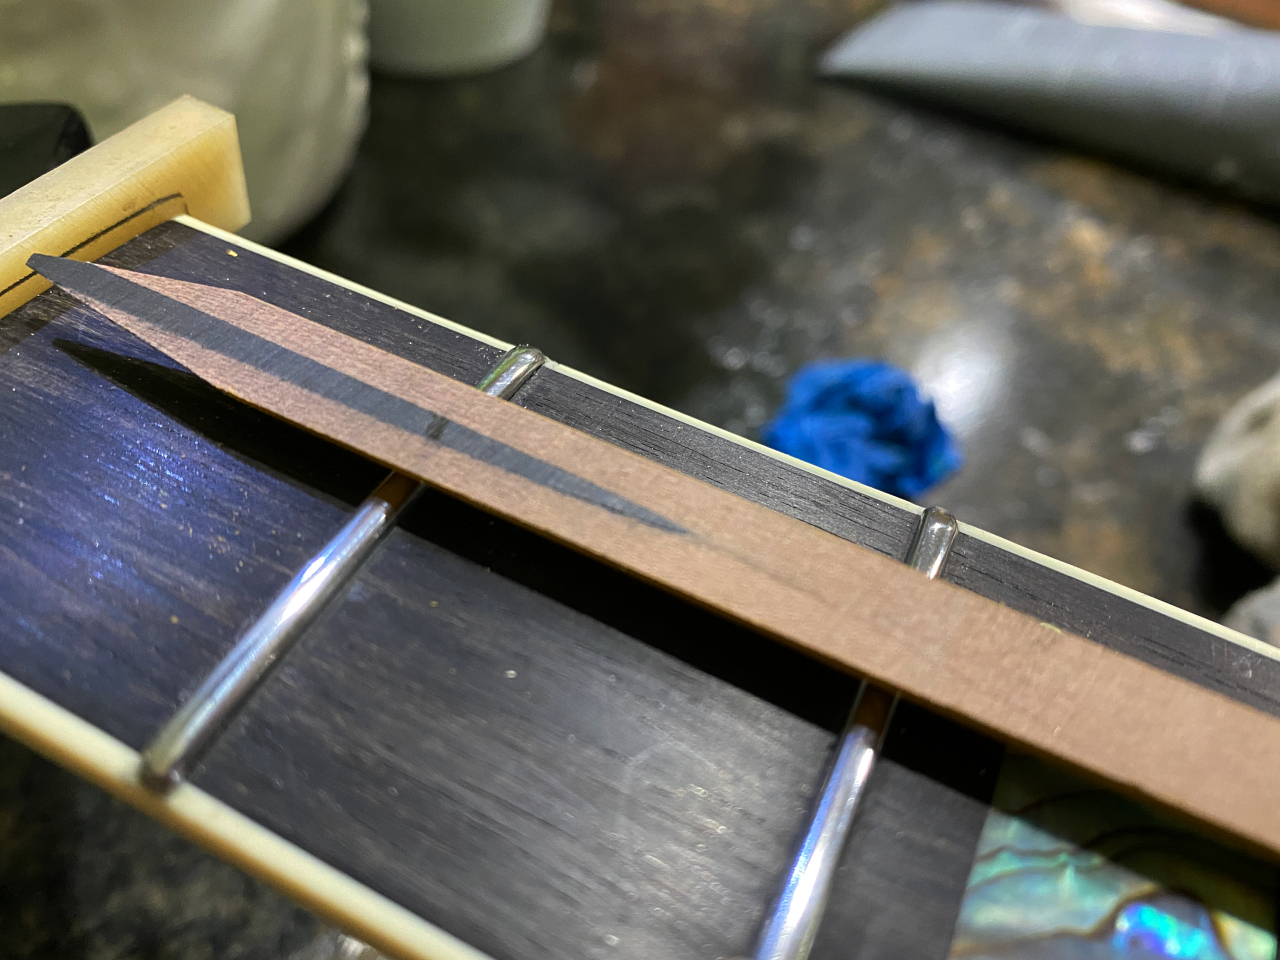
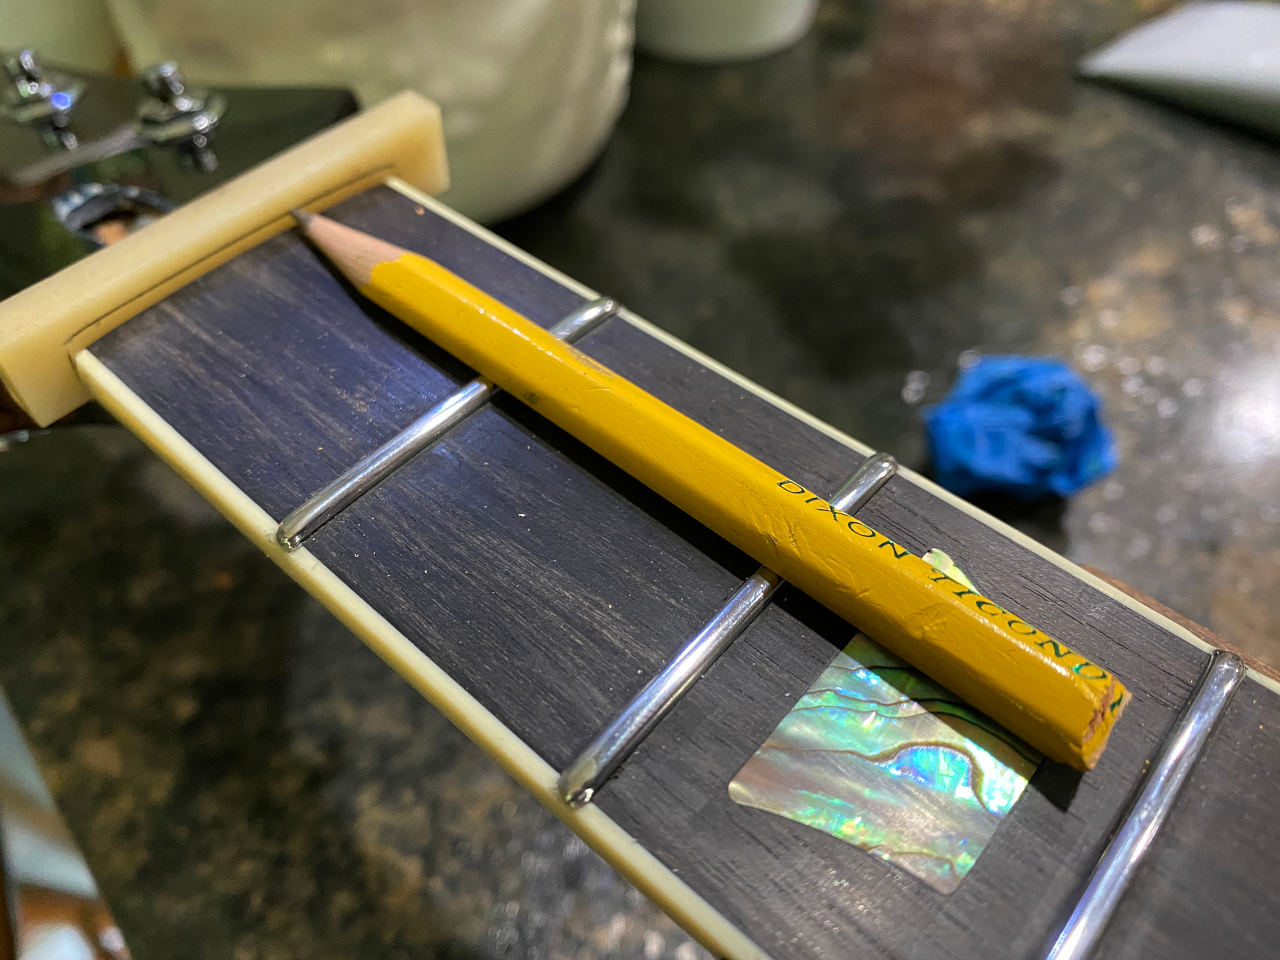
Last piece is making the nut. The nut is just as important as the frets in sounding clean. I use an unbleached bone nut blank fit snugly into the slot created for it. Then I take a pencil with half the body ground off lengthwise to mark the nut
Laid across several frets, this gives me a line at exactly the height of the frets and I mark it, as well as the sides, and then grind away the excess with a disk sander.
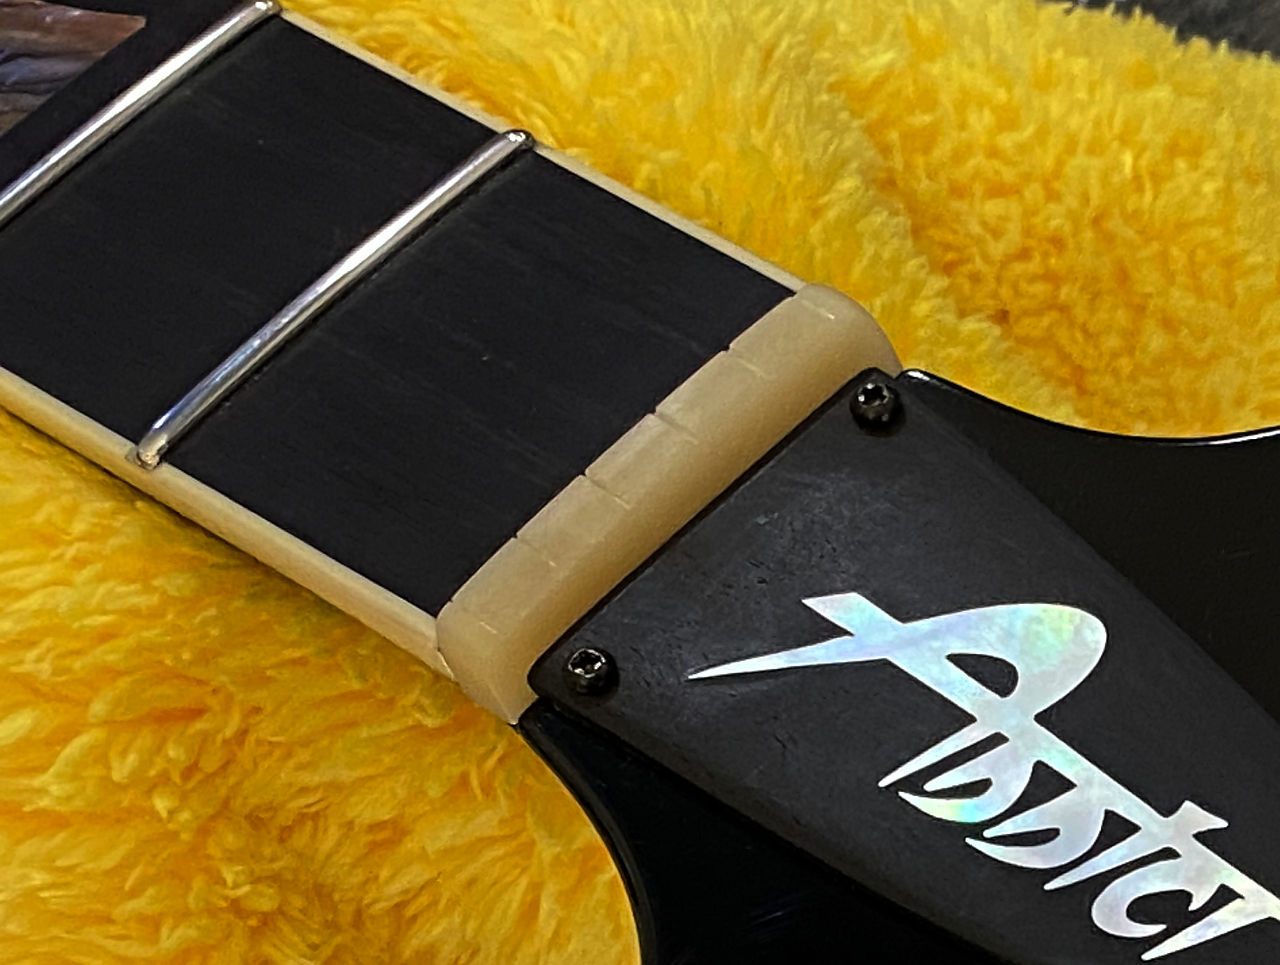
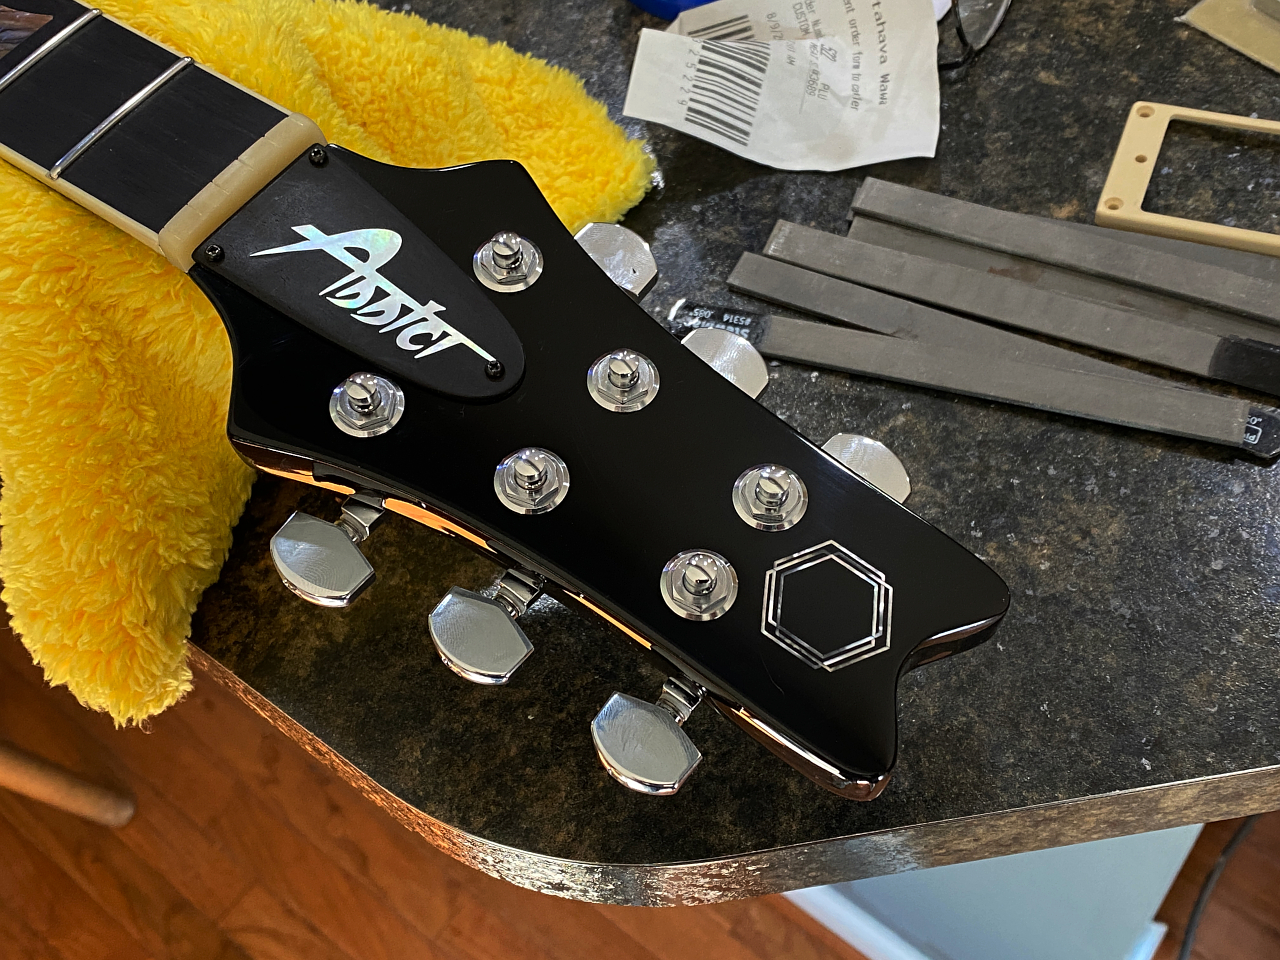
Once shaped, I use the gauged files seen on the table there to file the individual slots for the strings. each slot is as close to the exact diameter of each string as possible. This prevents buzzing and allows the string a clean exit point onto the fretboard.
Also shown here is the truss rod cover which I make from ebony with my Addict logo inlaid in white mother-of-pearl.
Here she is with all the hardware mounted and wired (except the knobs)
