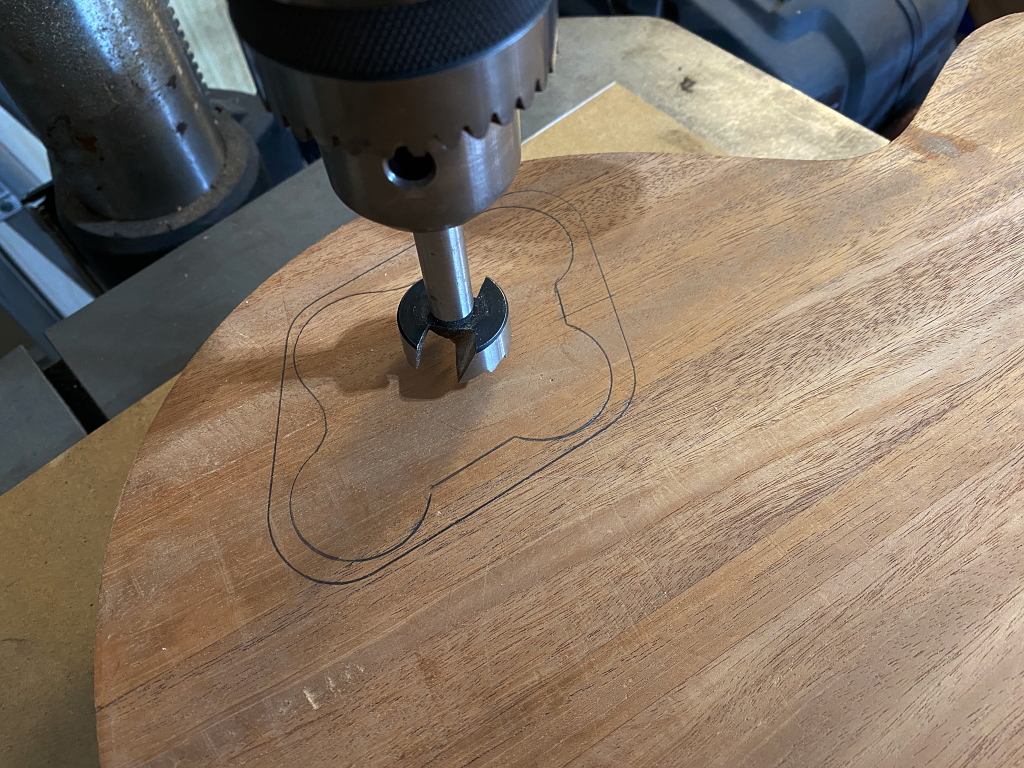
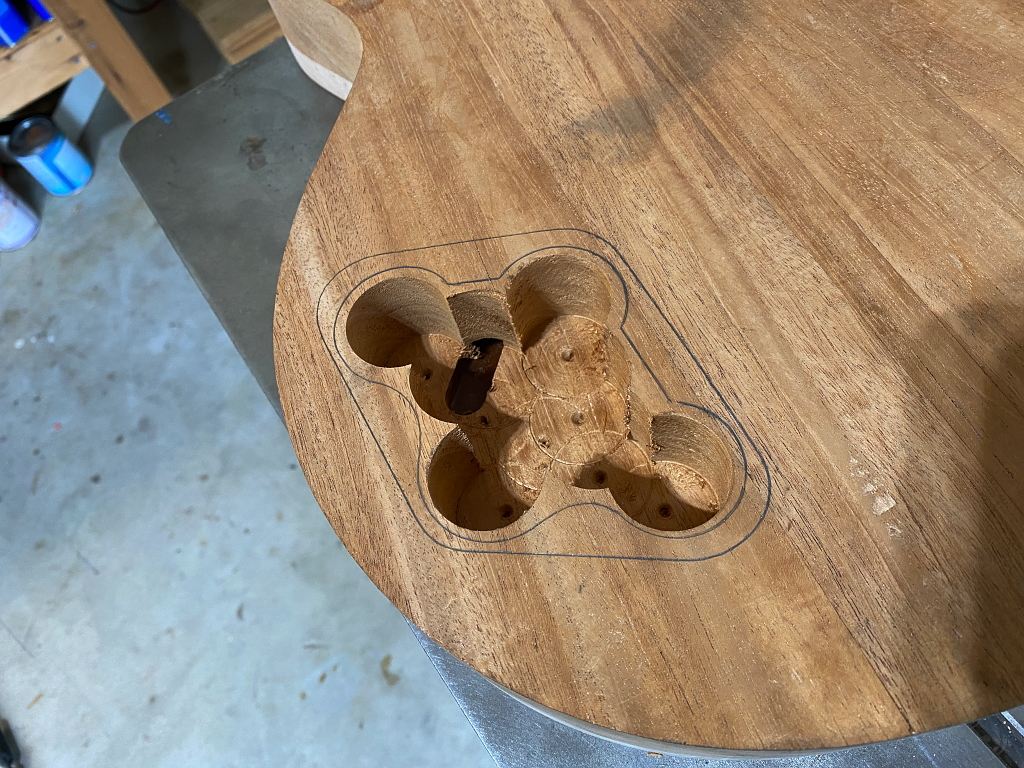
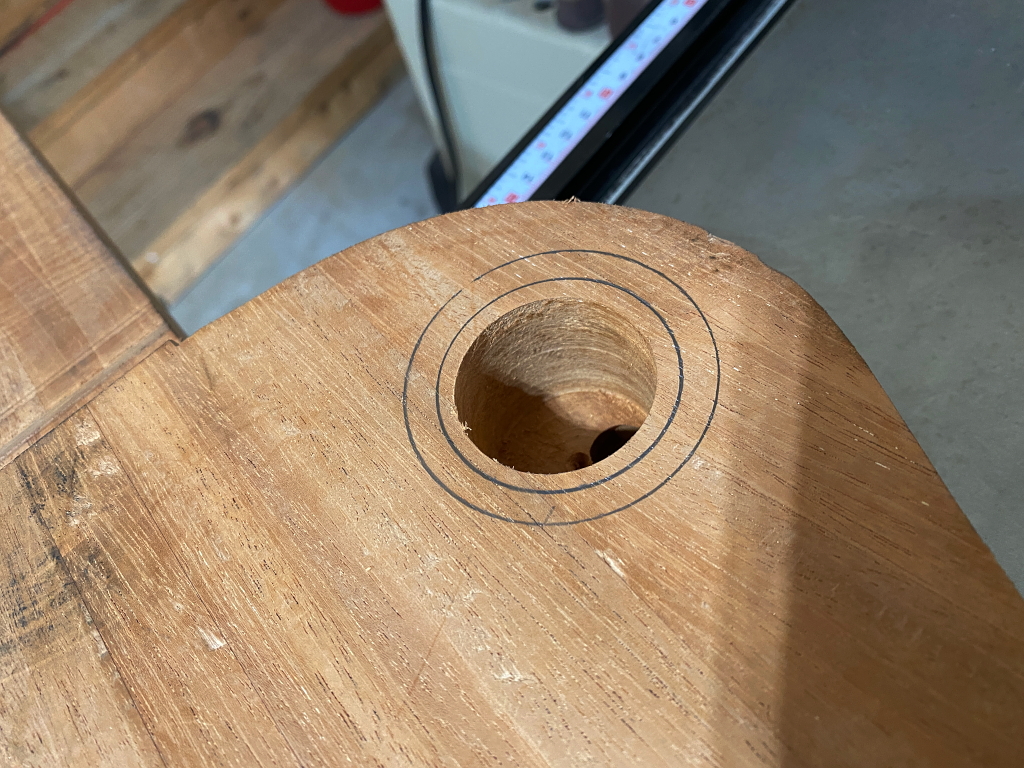
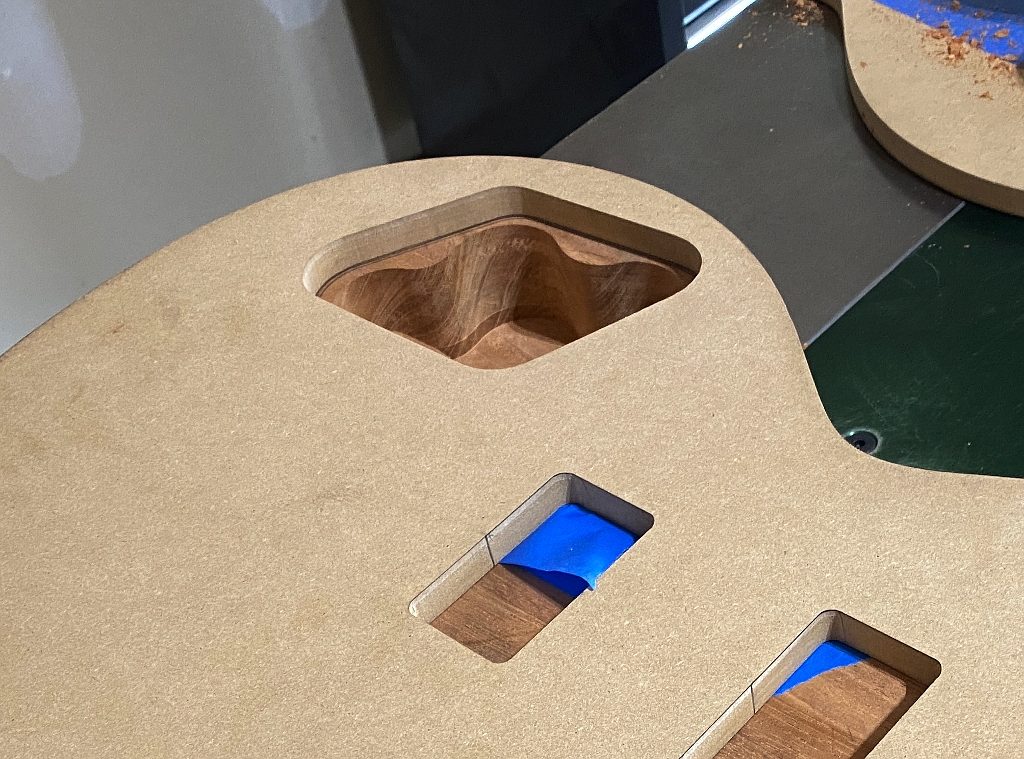
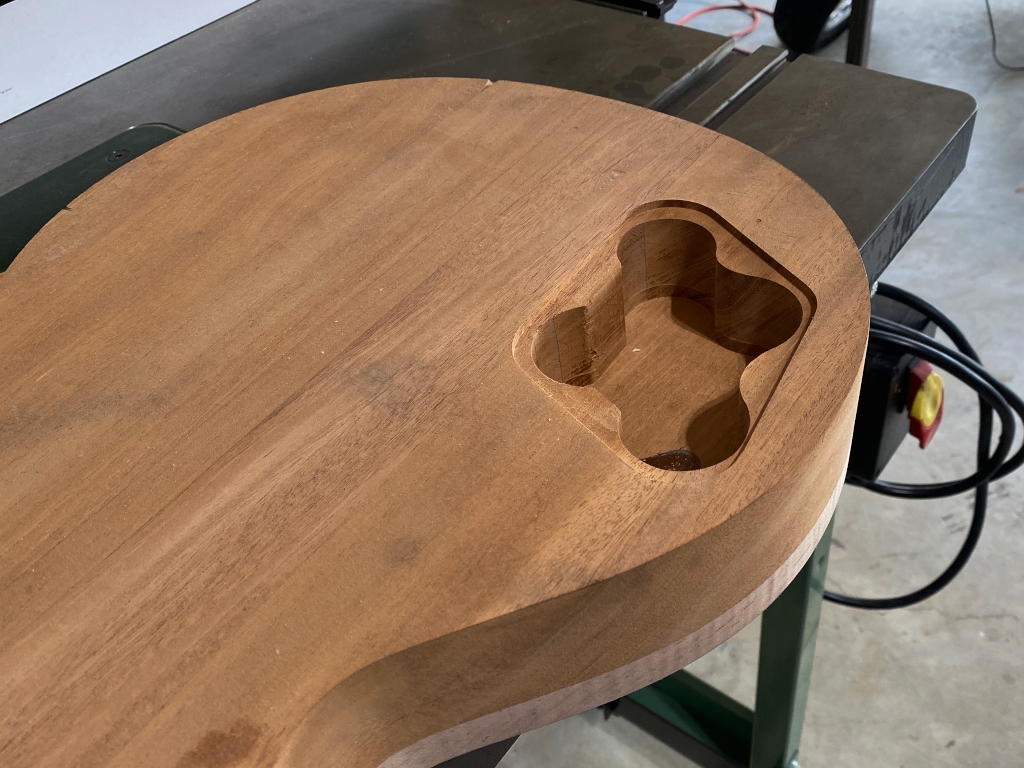
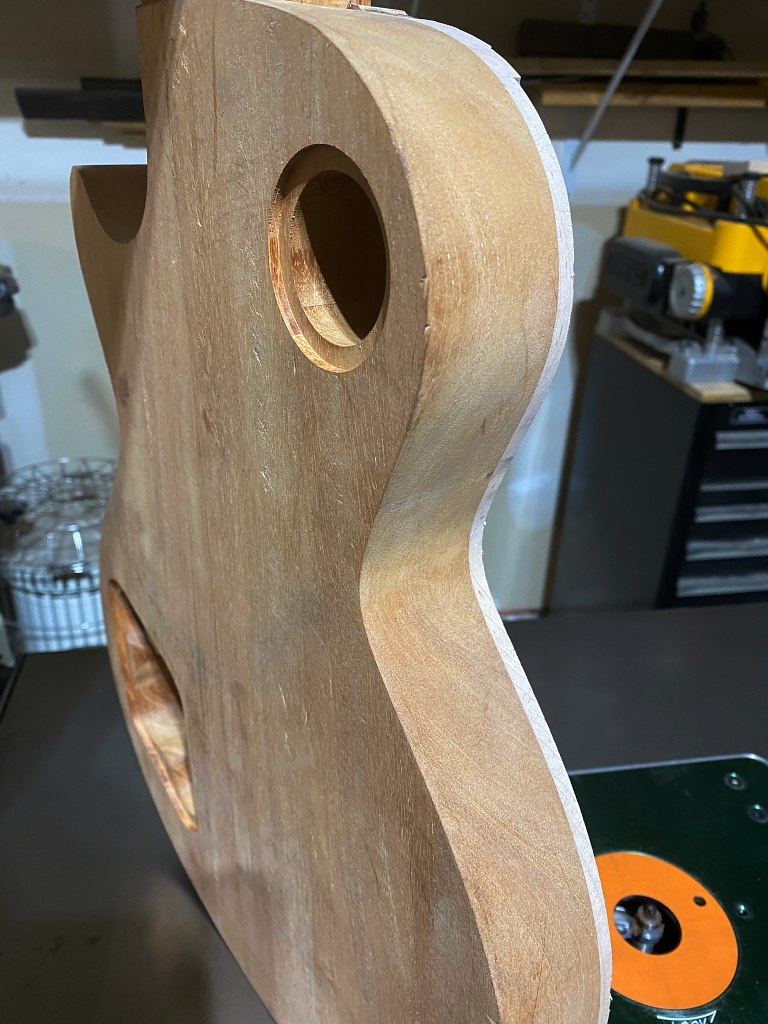
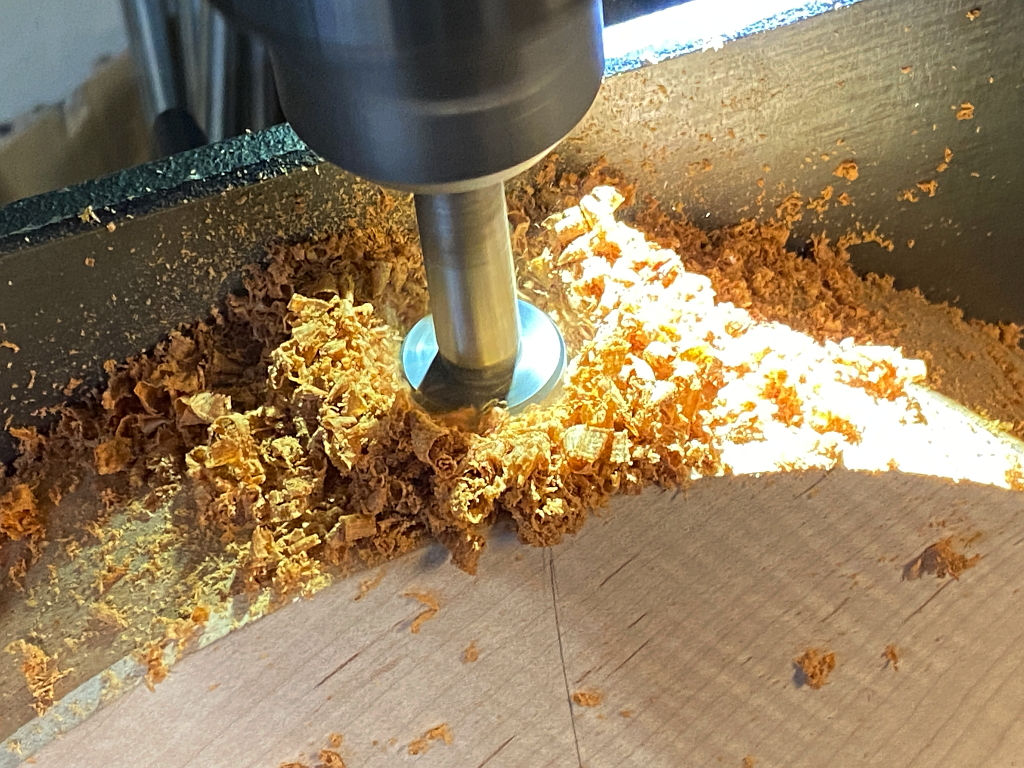
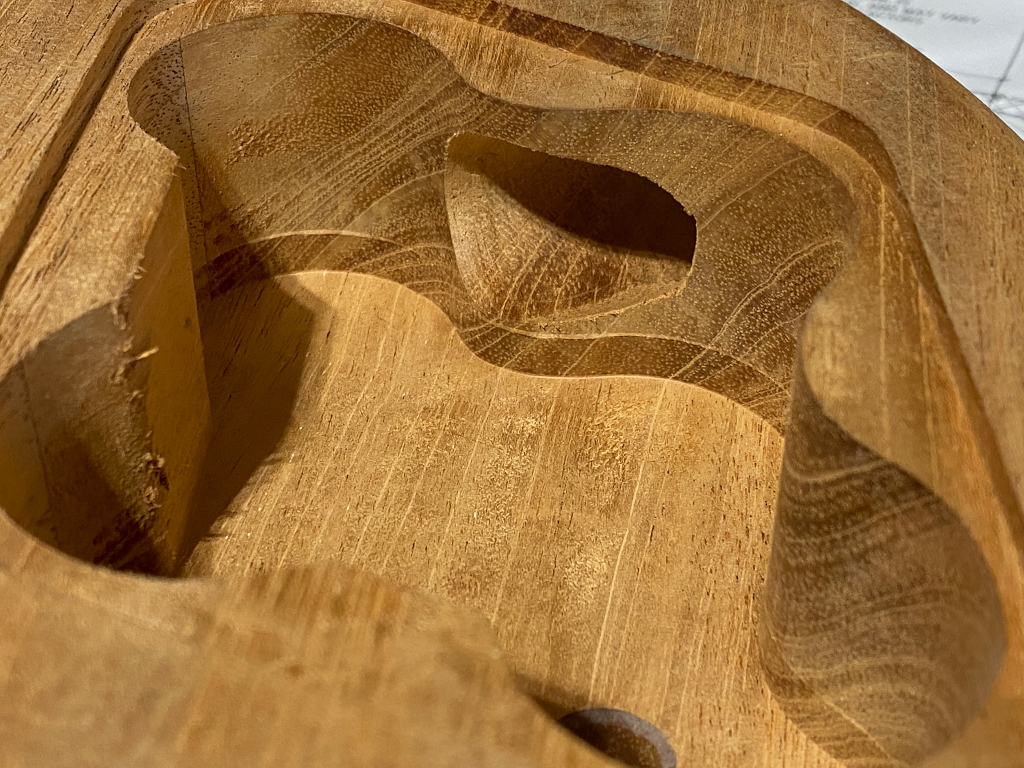
Ok next we need to create the control and switch cavities. After drawing the outlines on the body I use my drill press and a forstner bit to remove the bulk of the wood. Its a lot faster than routing the whole thing, and a lot easier on the router as well
Like so
Same action with the switch cavity.
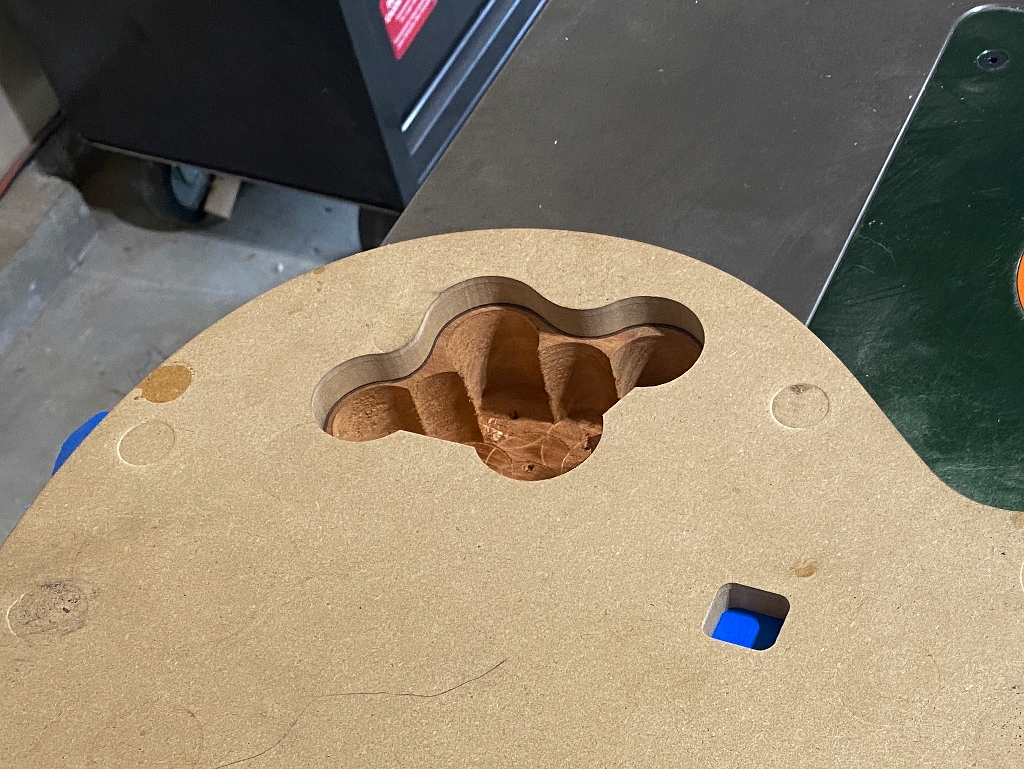
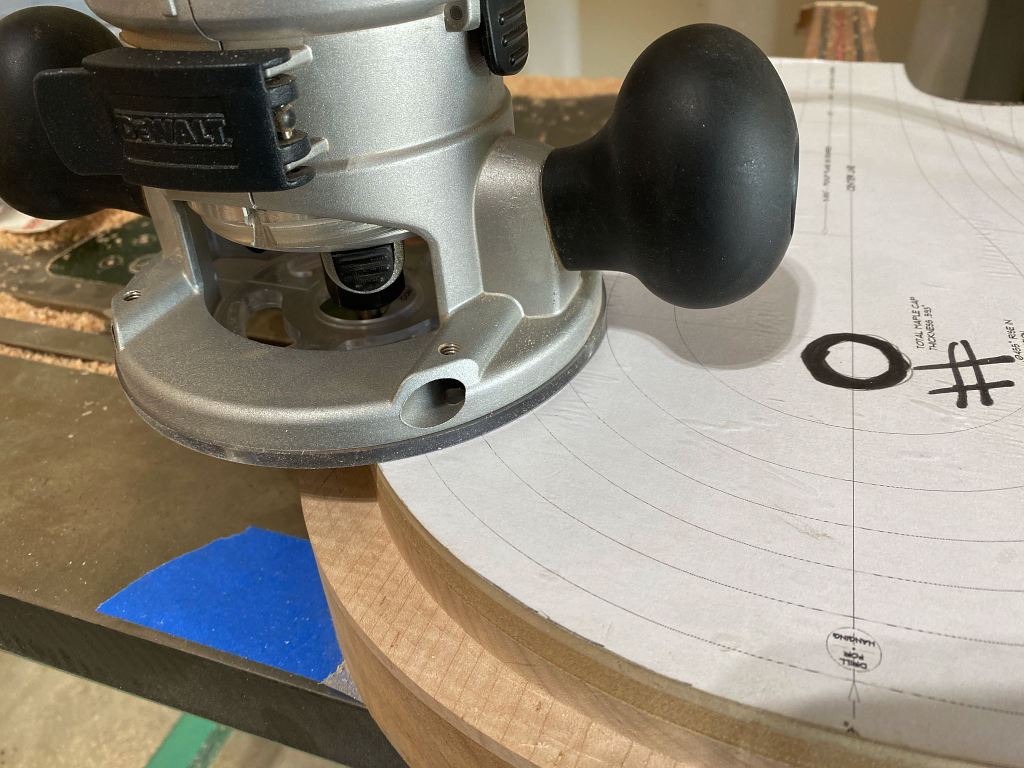
Then I attach my routing template, and use a hand-held router to clean out and shape the cavity to its final shape and depth.
After which I have another template that I use to route the recess for the cover
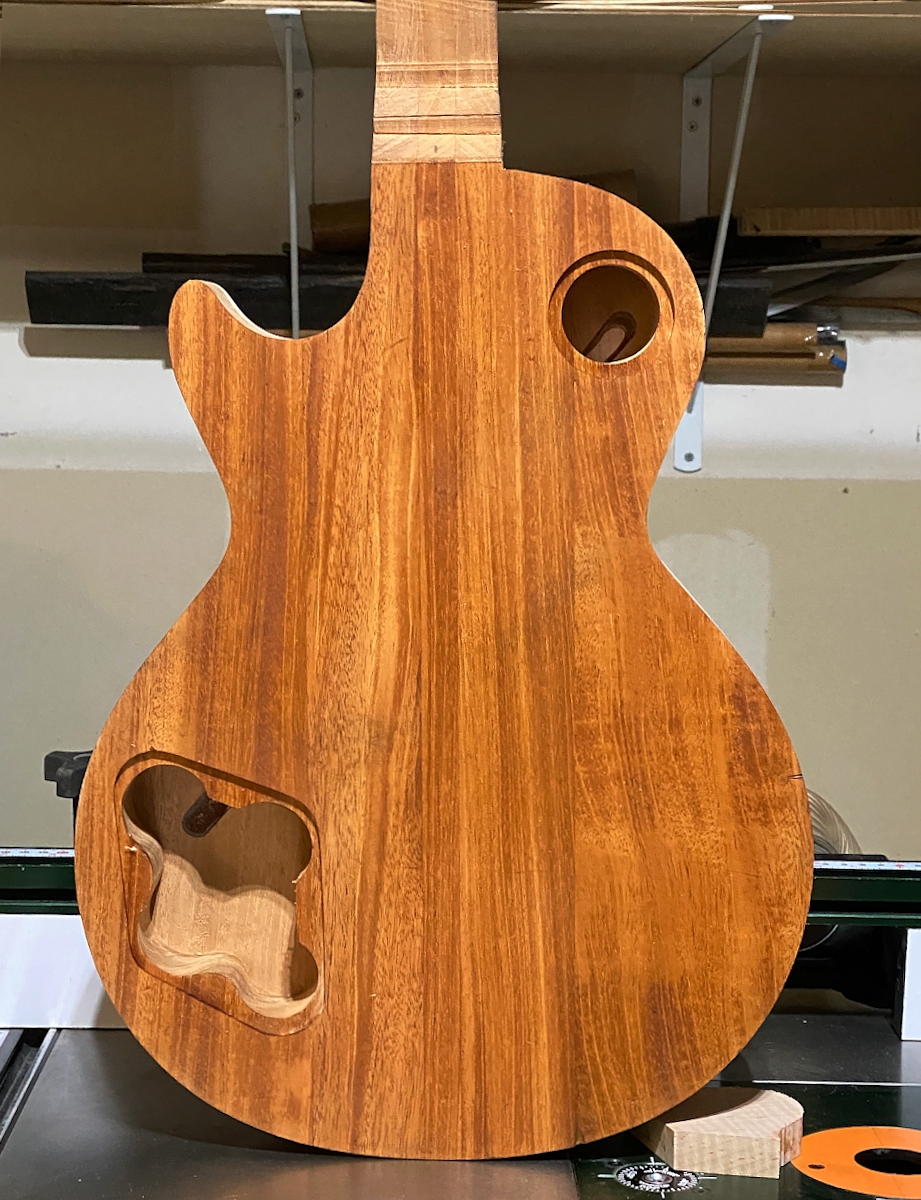
This is the final result
A quick wipte of naphtha shows off the wood even though its still dirty and rough.
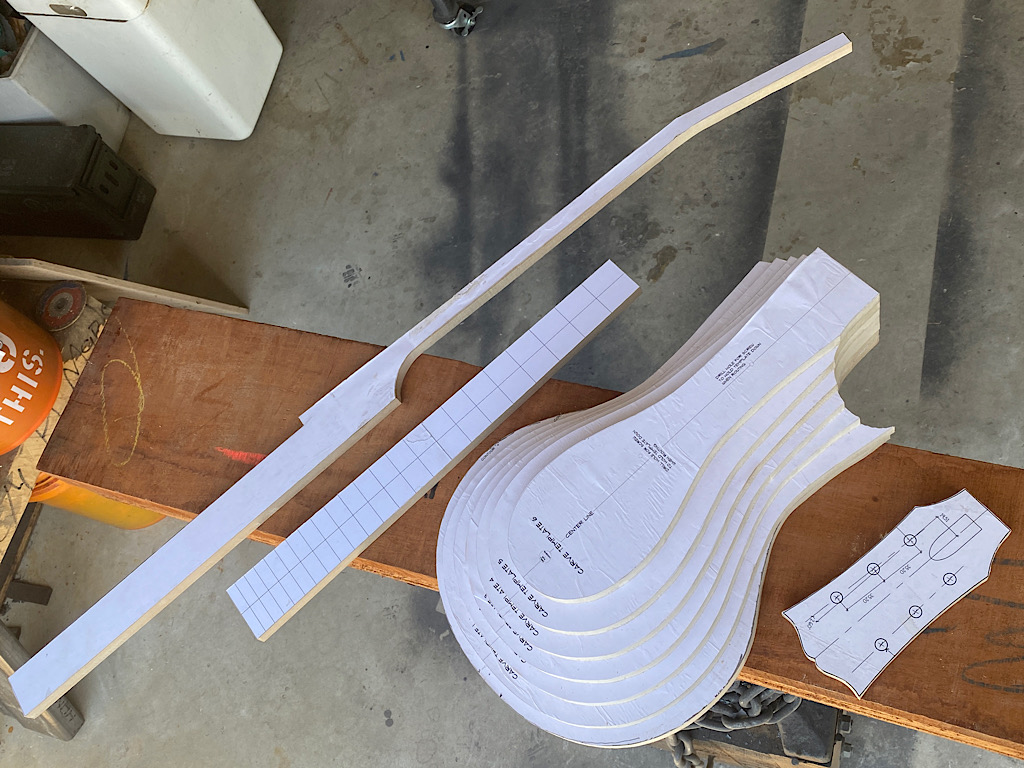
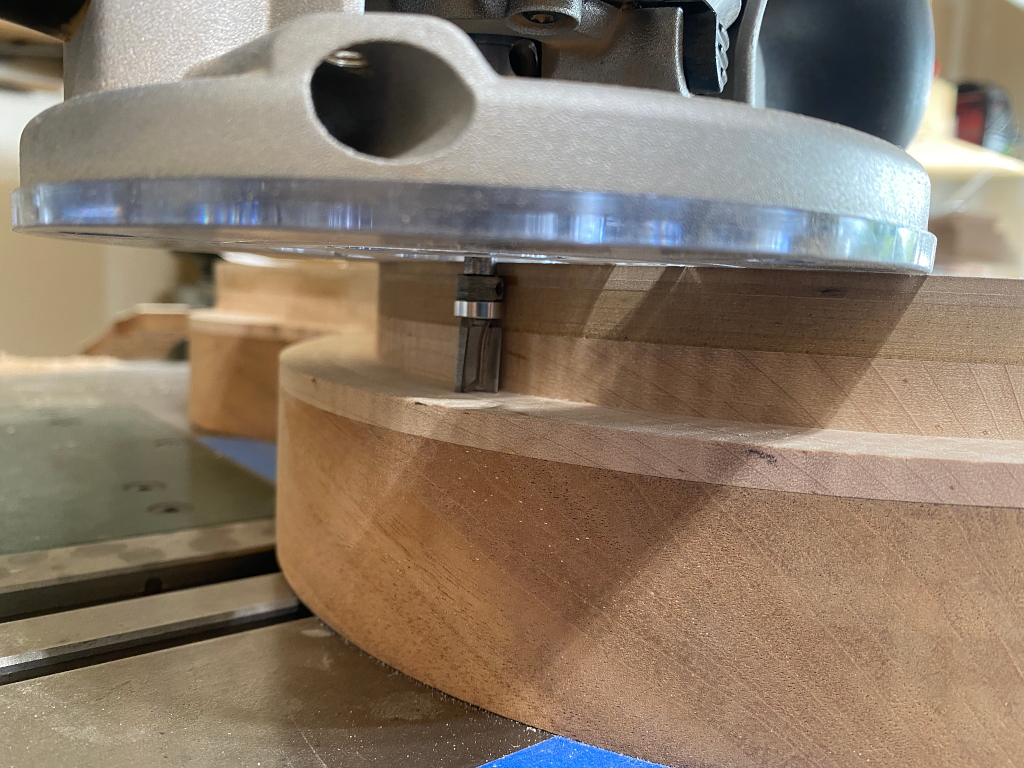
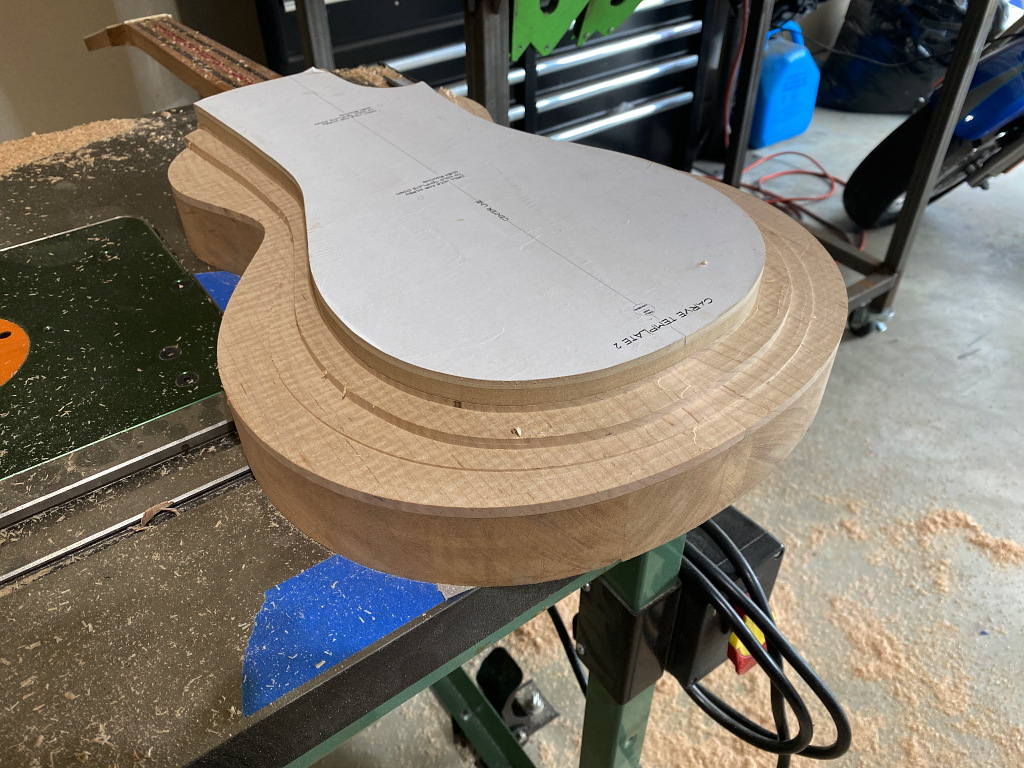
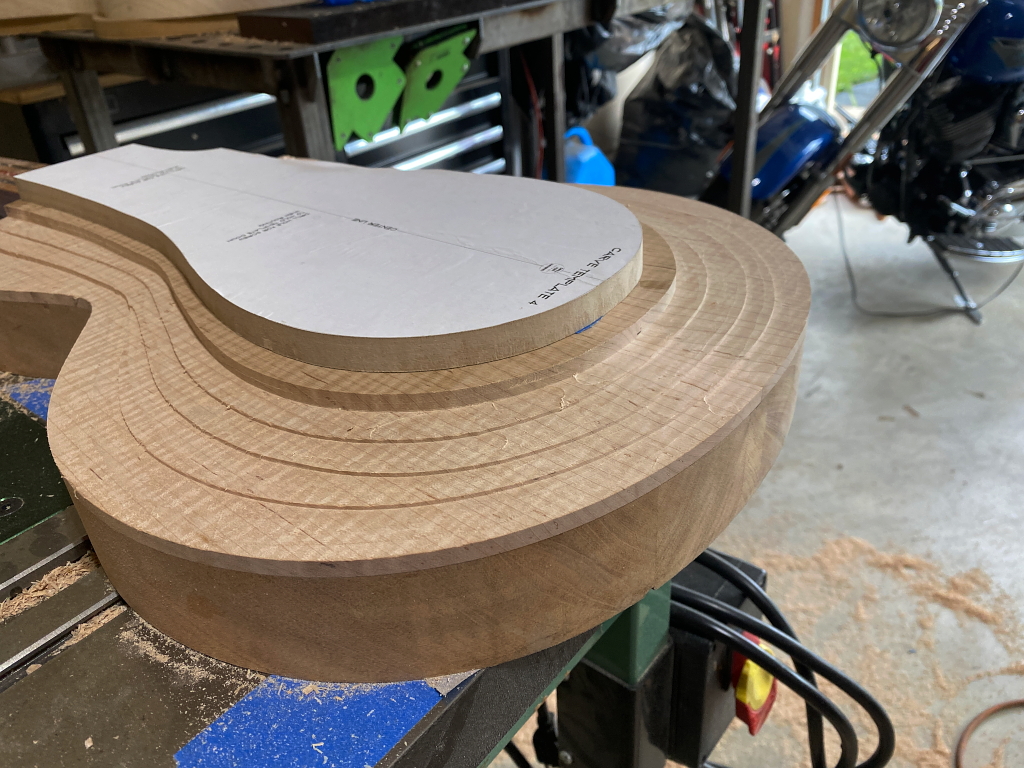
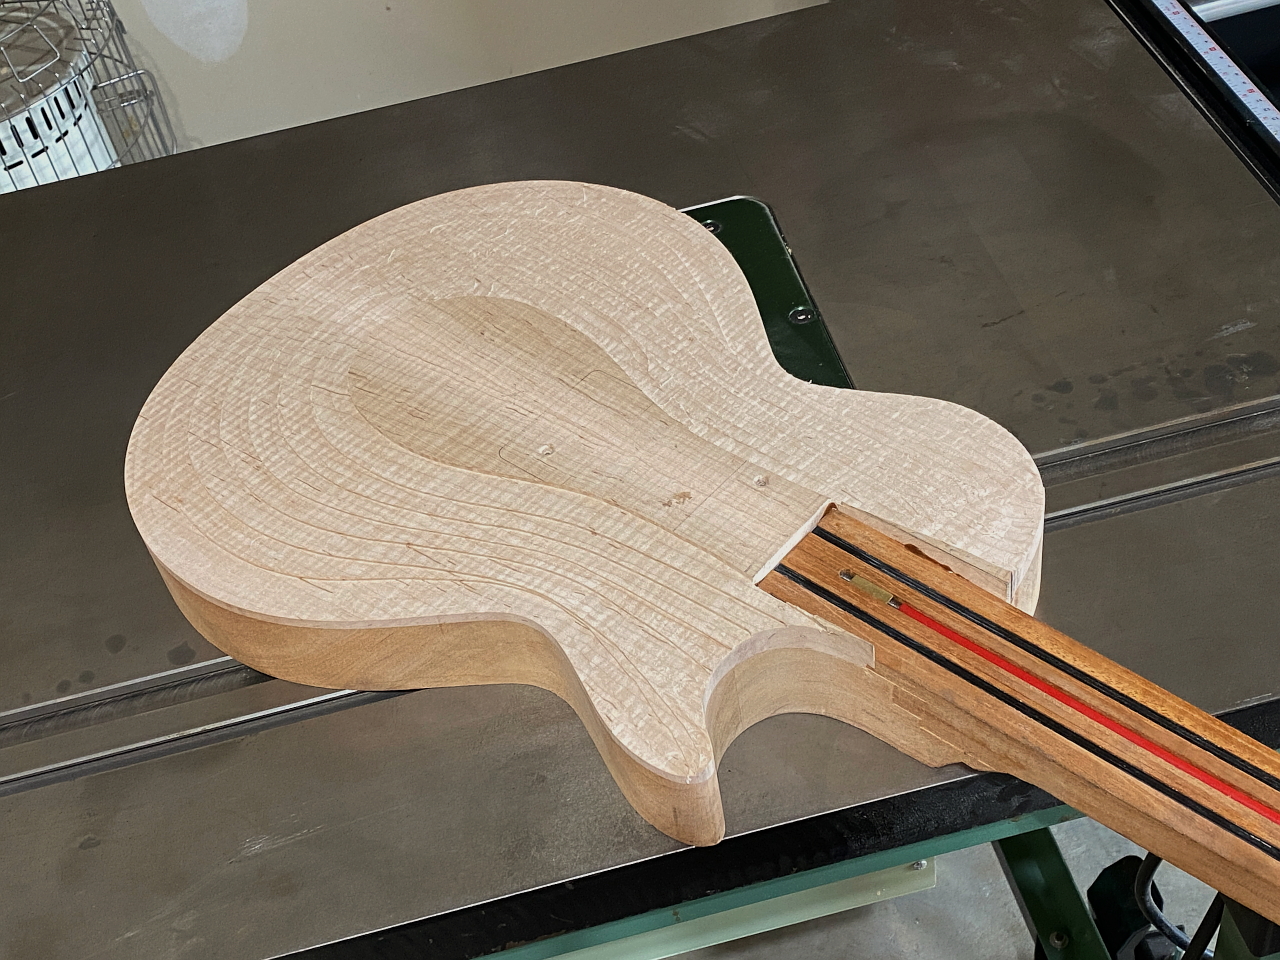
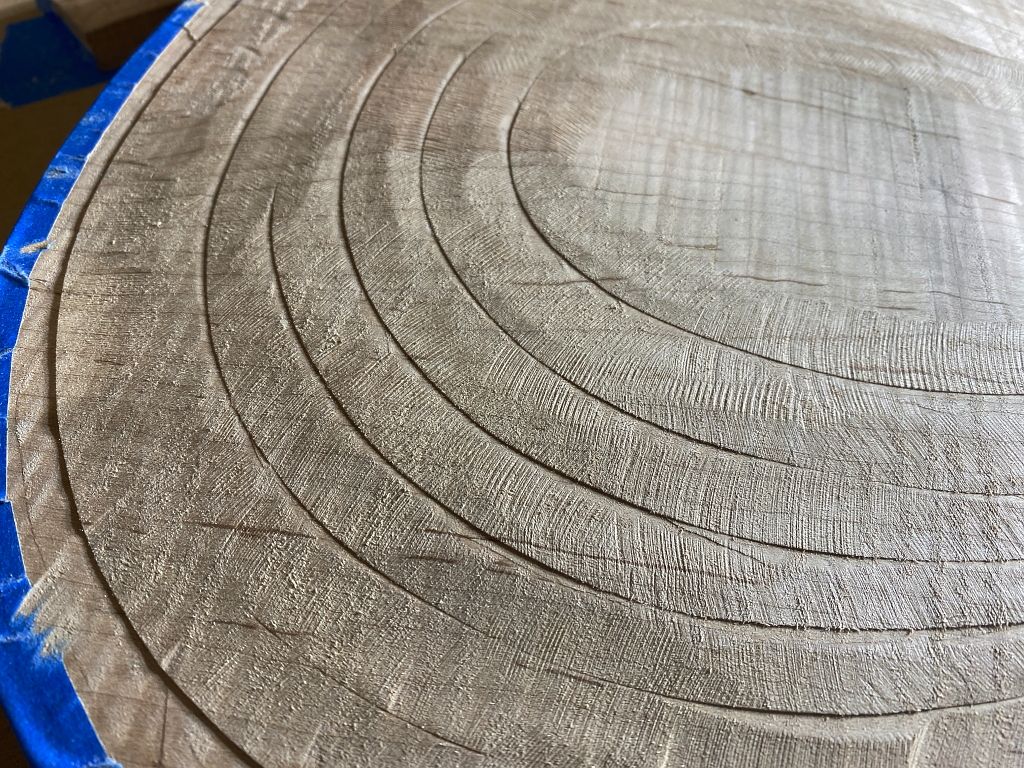
I’m re-showing these templates, and specifically the stack of concentric round templates. These will now be used to route a series of steps on the maple top to get the basic shape of the carve into the neighborhood, after which the top shape will be refined with planes and sanding.
The following picture illustrate parts of this process.
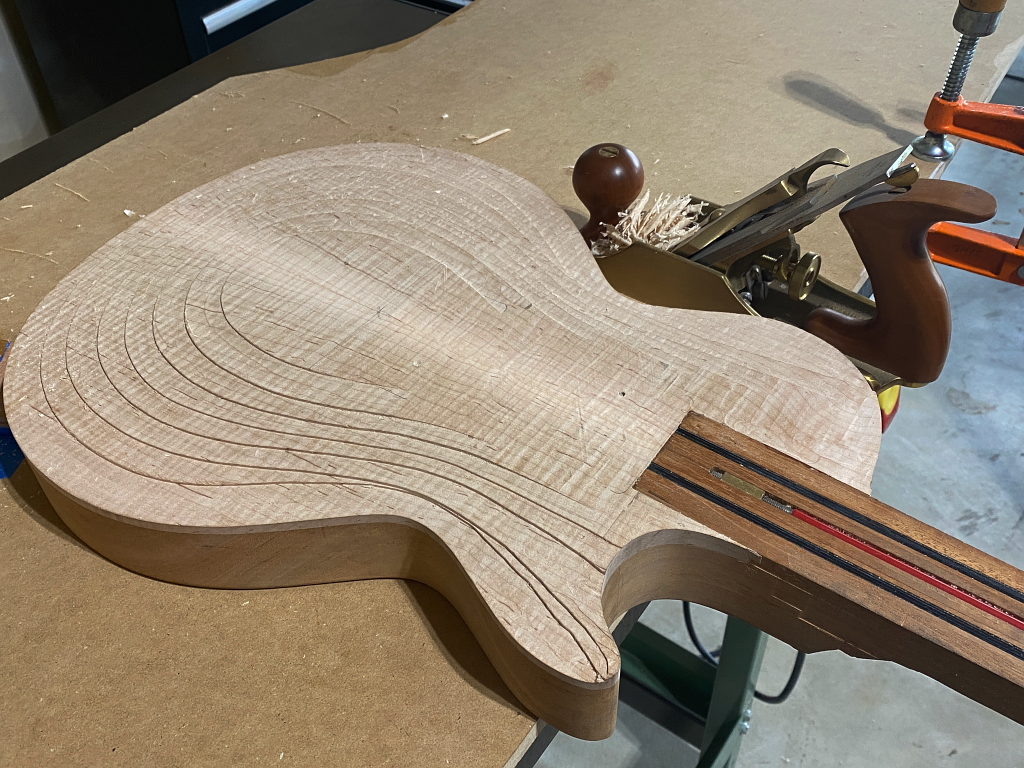
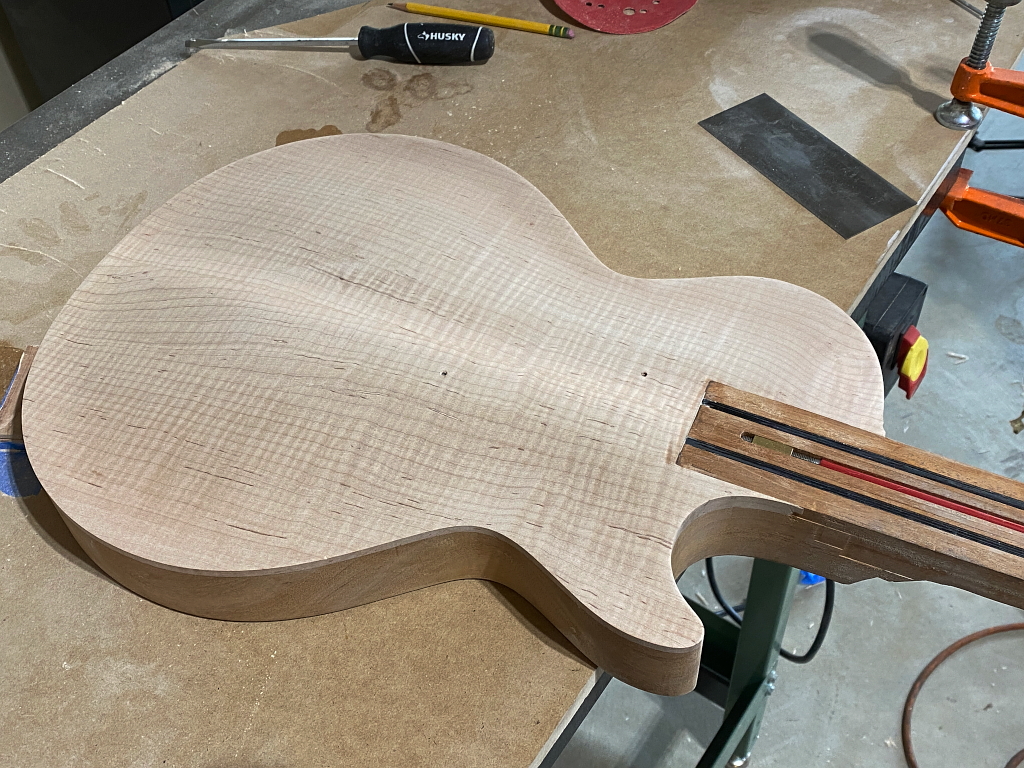
The outcome of all that routing is the basic rough shape.
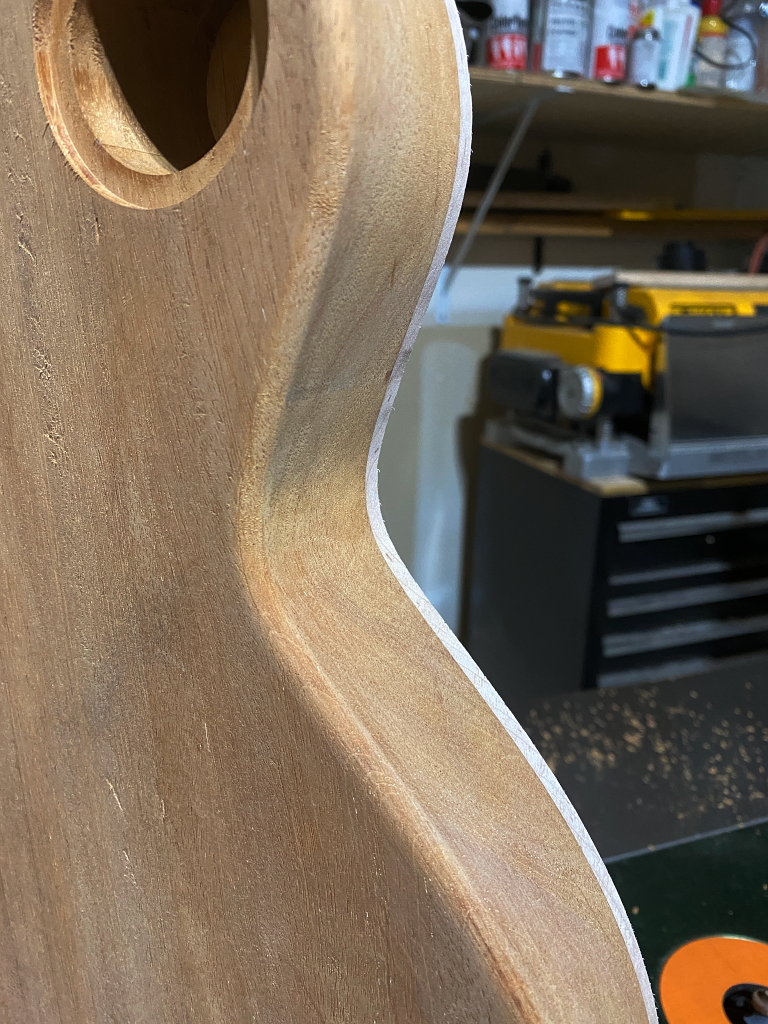
Next I round over the back edge
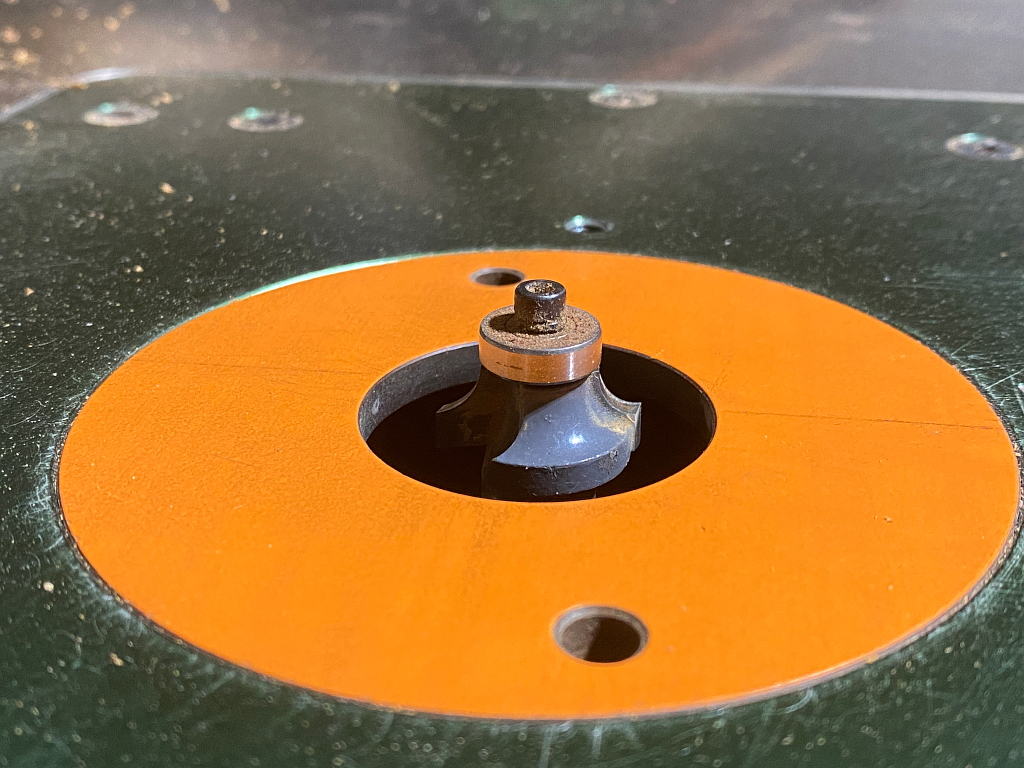
I use this fancy-looking router bit in my router table
This gives us the nice, rounded corner that looks better, feels better, and tastes better 🙂
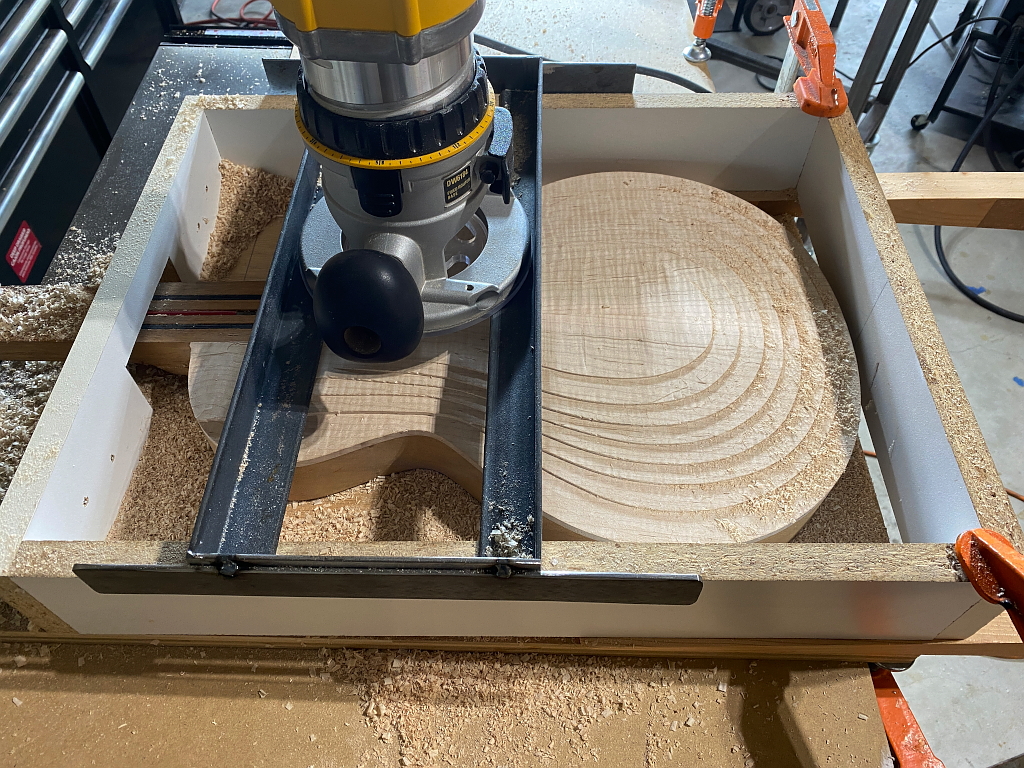
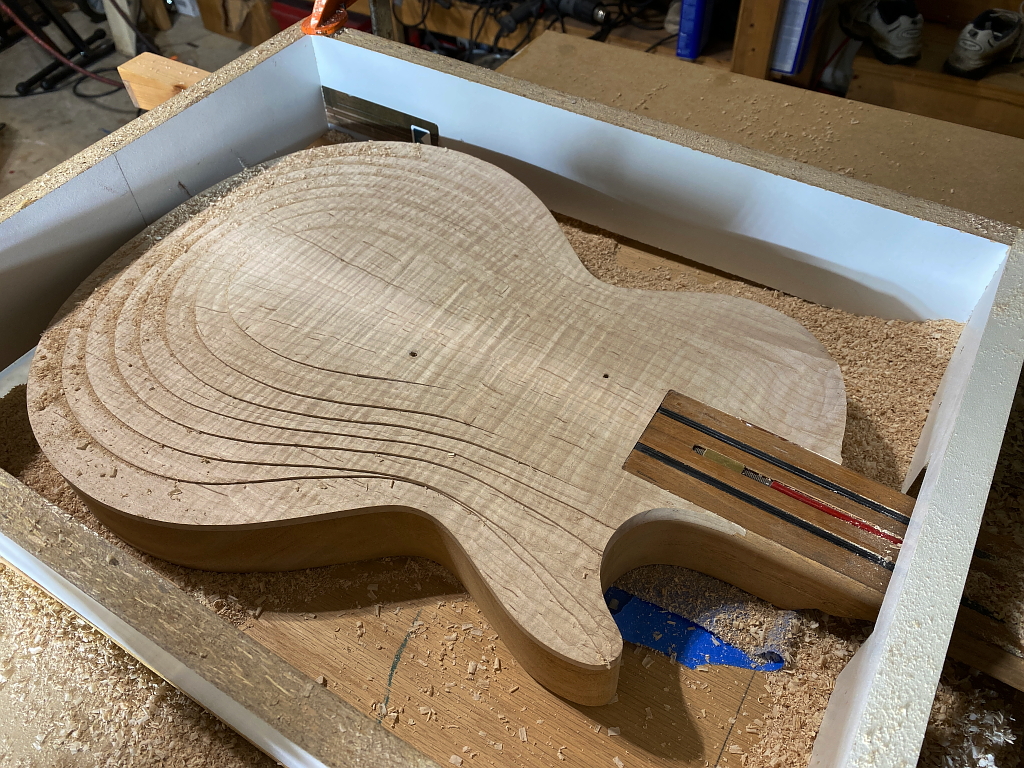
The next step is to route what are commonly referred to as neck plane and pickup plane. I use this amazing-looking, complicated device thats essentially a box without a top, a hinge, and a little sled I welded together out of a couple pieces of angle iron. The box can be raised to whatever angle is needed for a particular cut and the router slides across the top and cuts at the angle of the box.
the result is this. The neck plane goes from the point the neck joins the body and stops at the neck of the neck. The maple is routed down in this area to be perfectly flush and at the exact same angle as the neck, The pickup plane starts at the end of the neck and runs to the flat top right where the bridge will be placed.
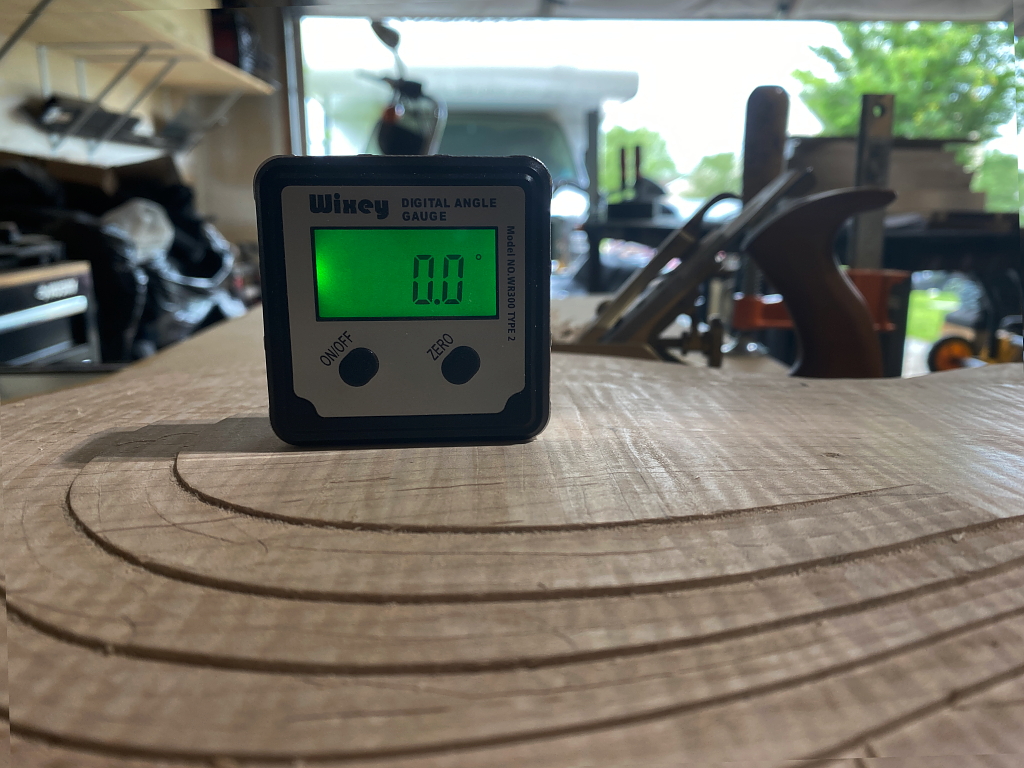
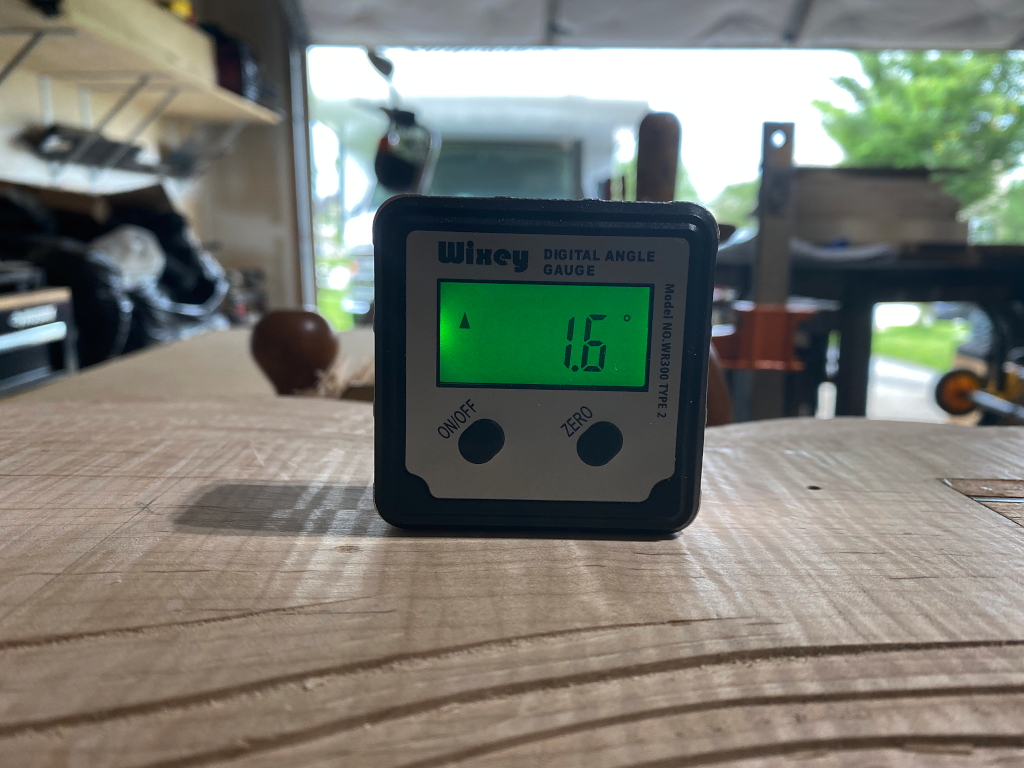
I use a digital angle gauge to set the routing box to the critical angles before routing so I know it works out exactly to my design.
The top is perfectly flat with no angle.
the pickup plane angle
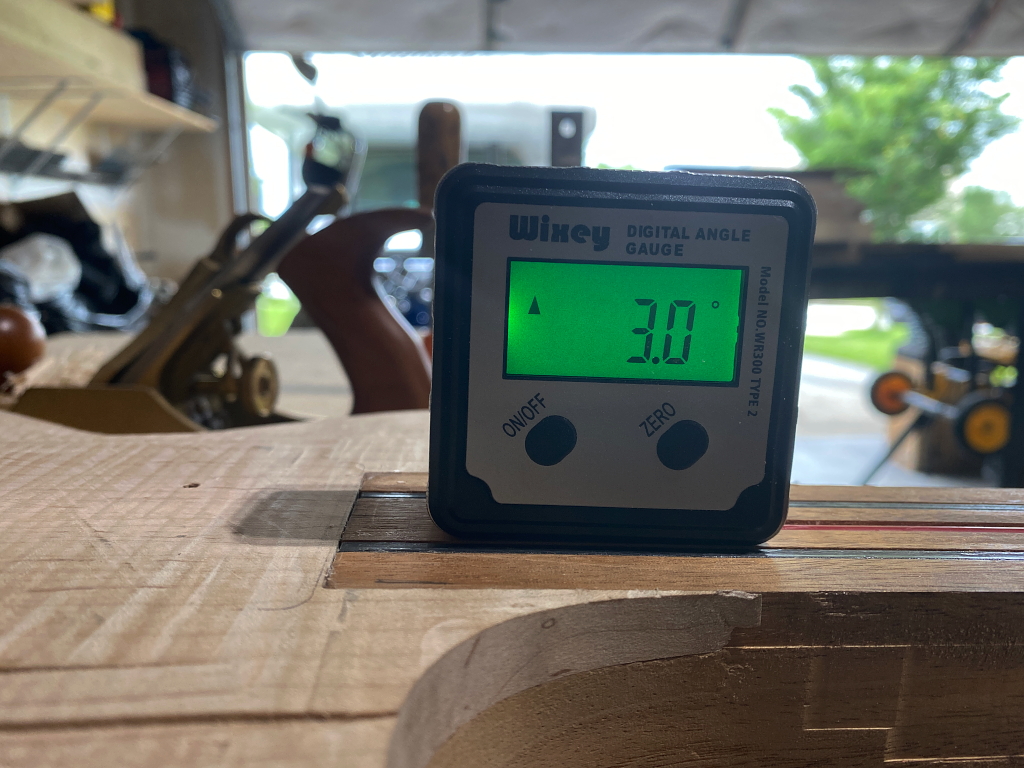
Neck angle. This is really the critical angle as it basically determines the string height, the pickup height, and the bridge height. People that are “in the know” with regard to what these angles are on a vintage Les Paul will say “HEY THATS NOT RIGHT!!!” and get all worked up when seeing this number. On a vintage Les Paul this angle would be between 4 – 4.4 degrees.
Well, this aint a vintage Les Paul guys. Chill out. Its my guitar and I’ll make it whatever I want. You’ll probably have a seizure when I tell you headstock angle is only 14 degrees 🙂 For me, I personally do not care for how high the bridge, string, and pickups have to be on a vintage Les Paul. I like it all a bit closer to the body. Reducing the neck angle by one degree down to 3 degrees puts these things right where I like em.
I use an hand plane to flush things up where the top wraps around the neck
The scary part is in making those steps into a smooth flowing curve. My chief weapons are fear, surprise, ruthless efficiency, and near fanatical devotion to the Pope!
Wait, no thats the Spanish Inquisition. Sorry (didnt expect that, did you?)
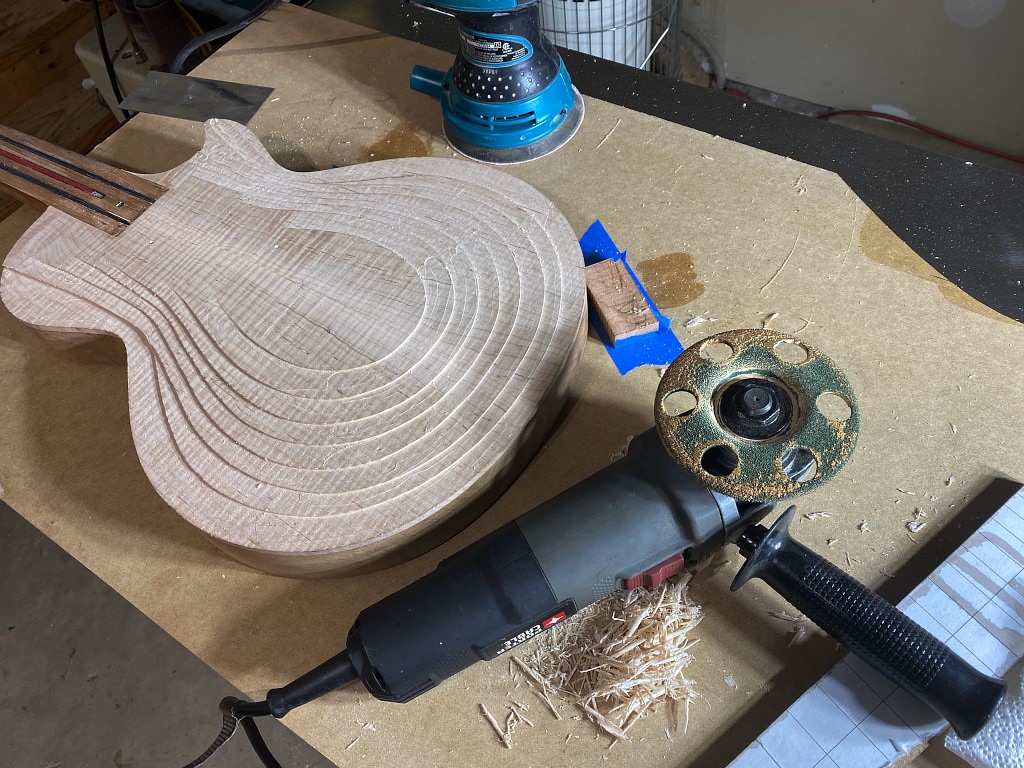
My chief weapons are an angle grinder with an attachment called a “holey galahd” which is basically a lot of closely packed carbide teeth that grinds away wood like butter, and the holes allow you to actually see the progress without pulling it away for a look. Once finished with that tool I use a random orbital sander to refine and smooth the shape
holey galahad leaves a pretty rough finish but makes vert short work getting to this point.
the sander, first with 120 grit and then with 320 grit finishes the job. Smoooooth 🙂
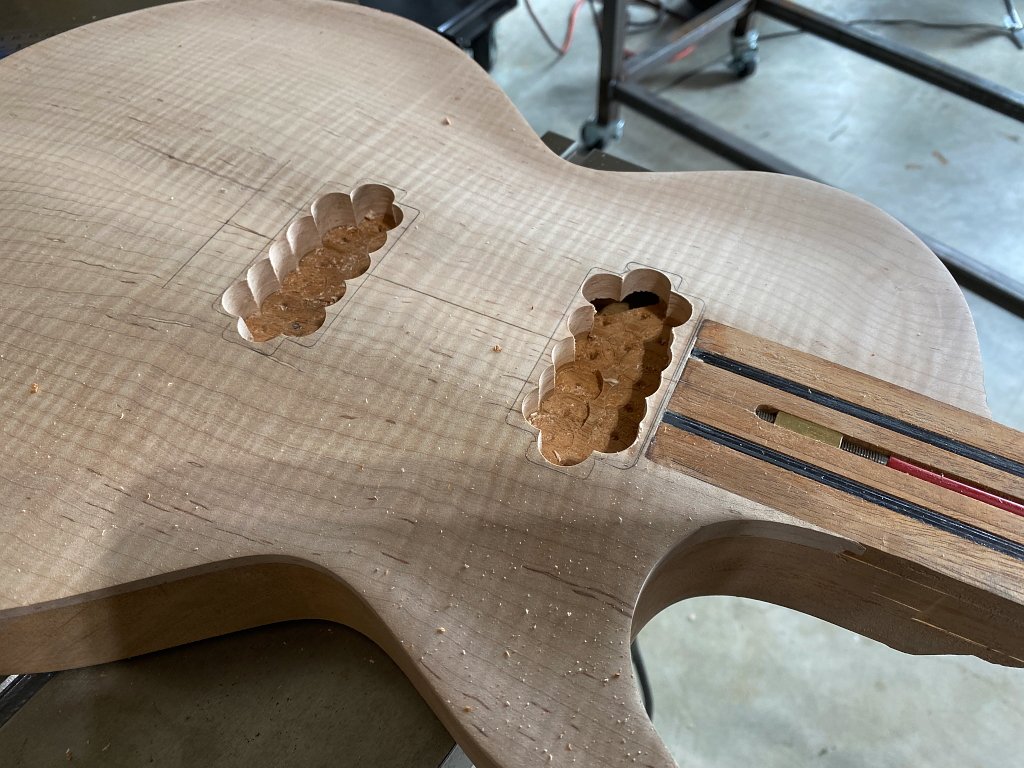
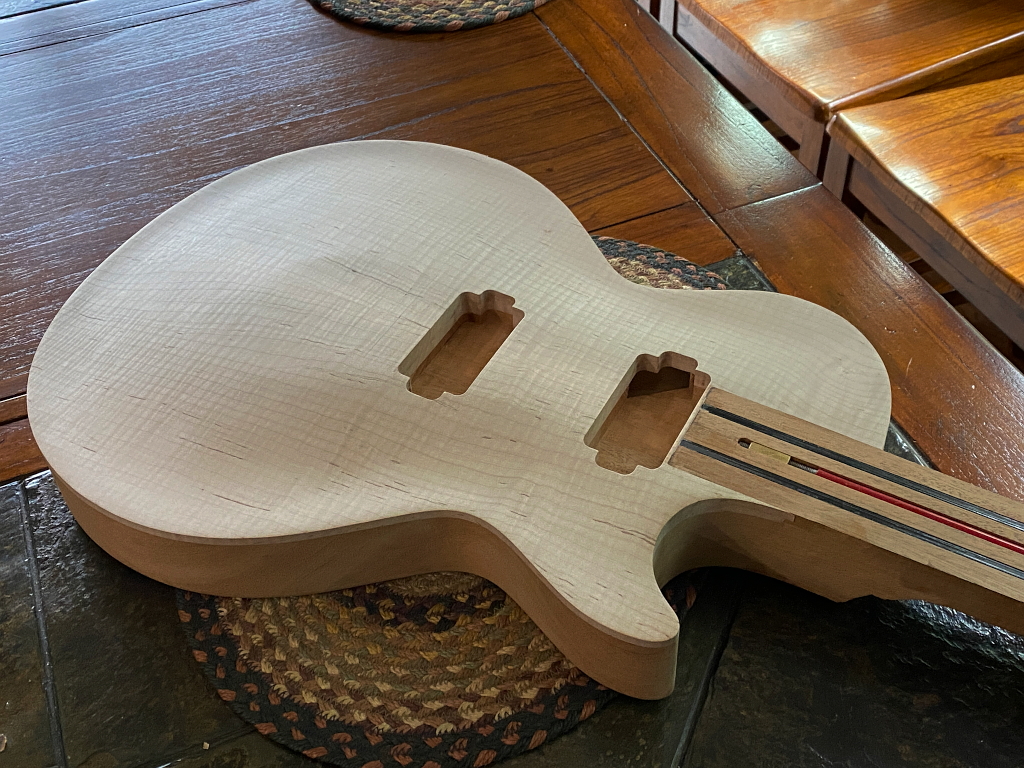
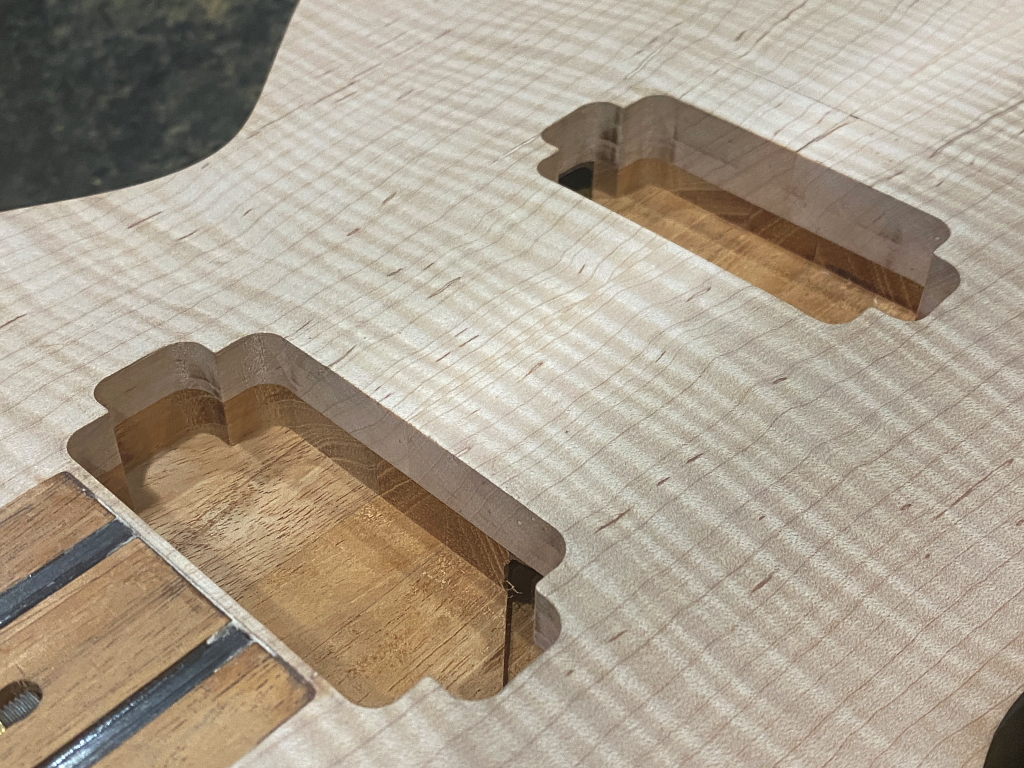
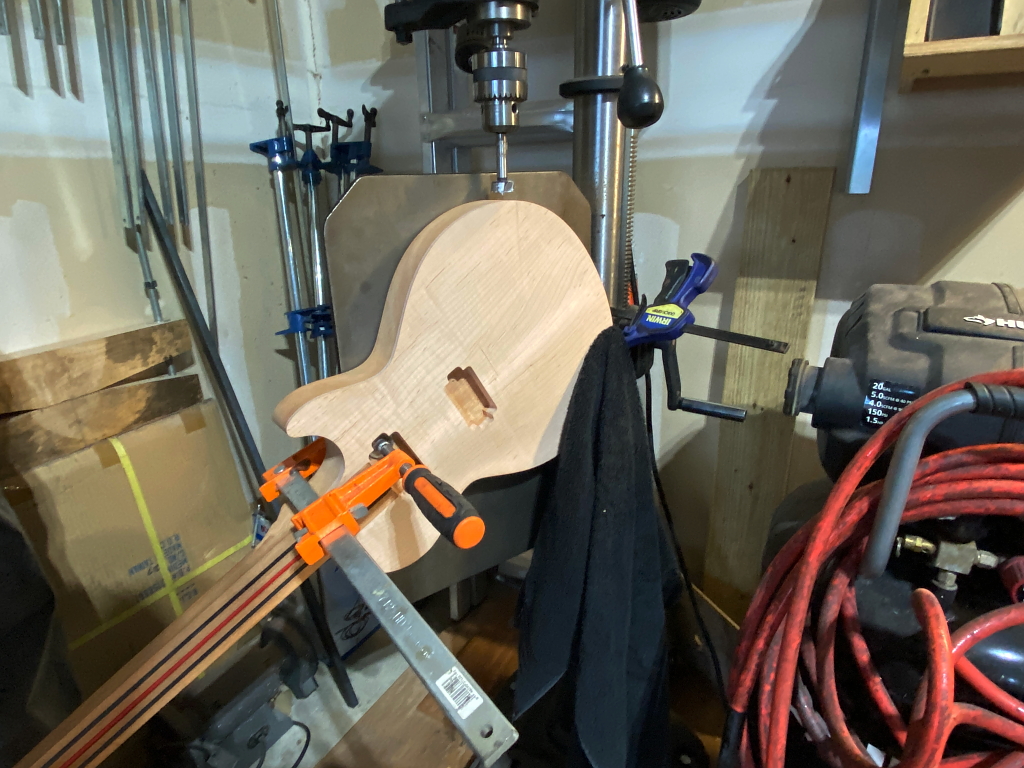
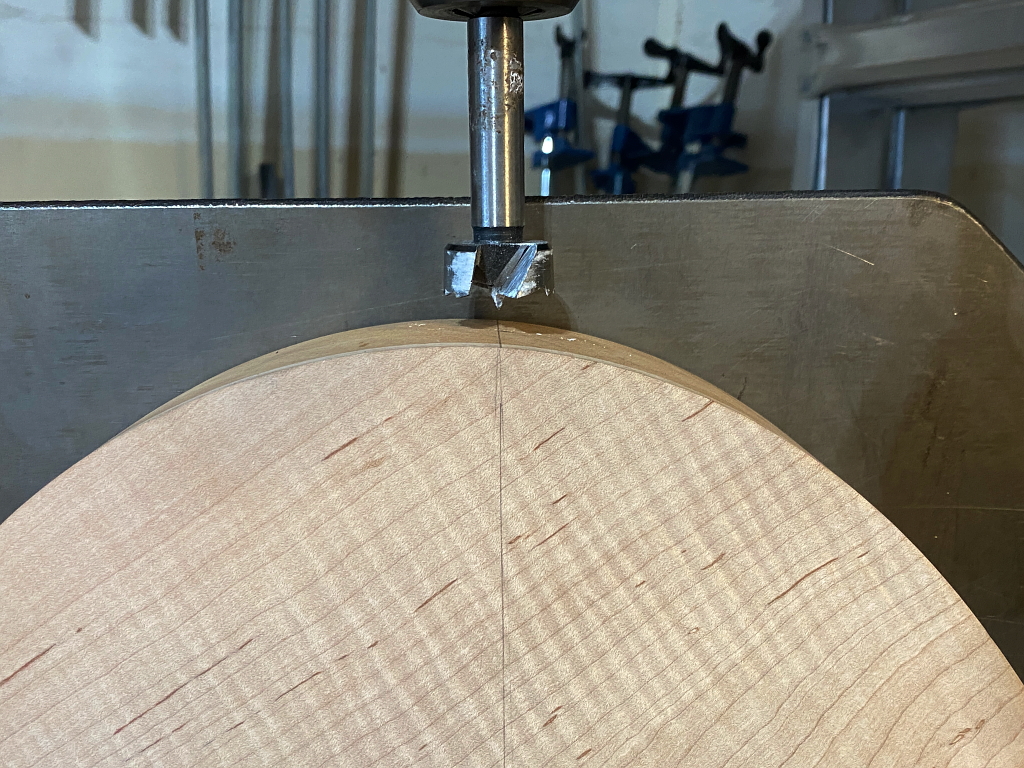
Next the pickup cavities are routed. I start using a forstner bit in the drill press to remove most of the wood.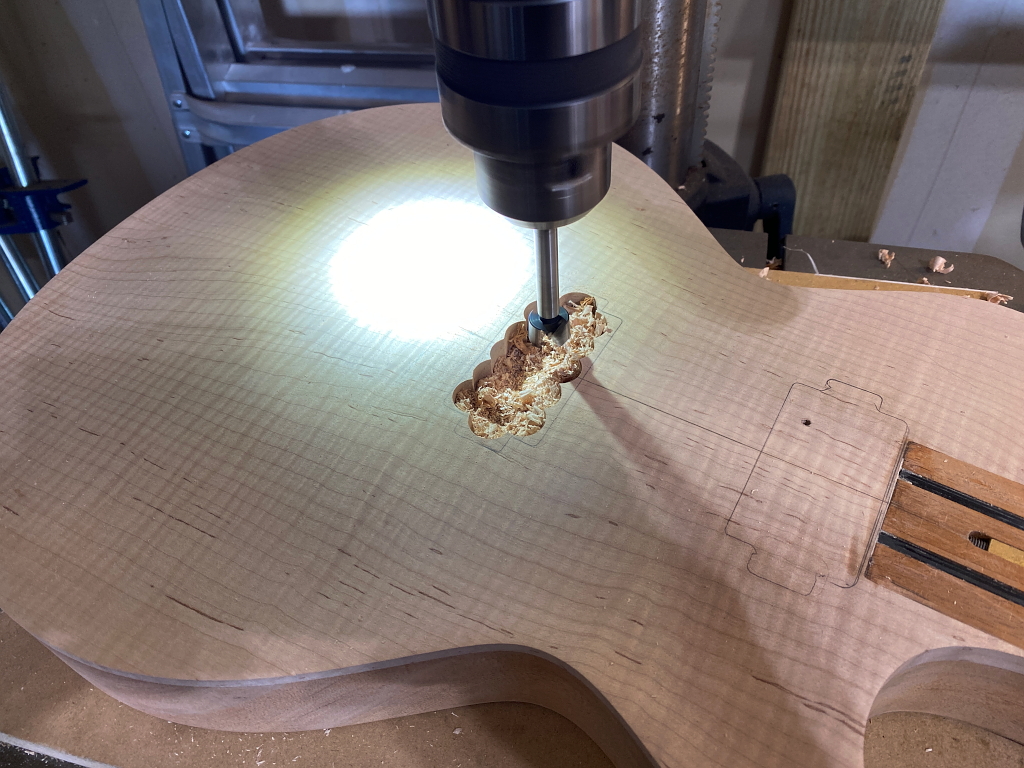
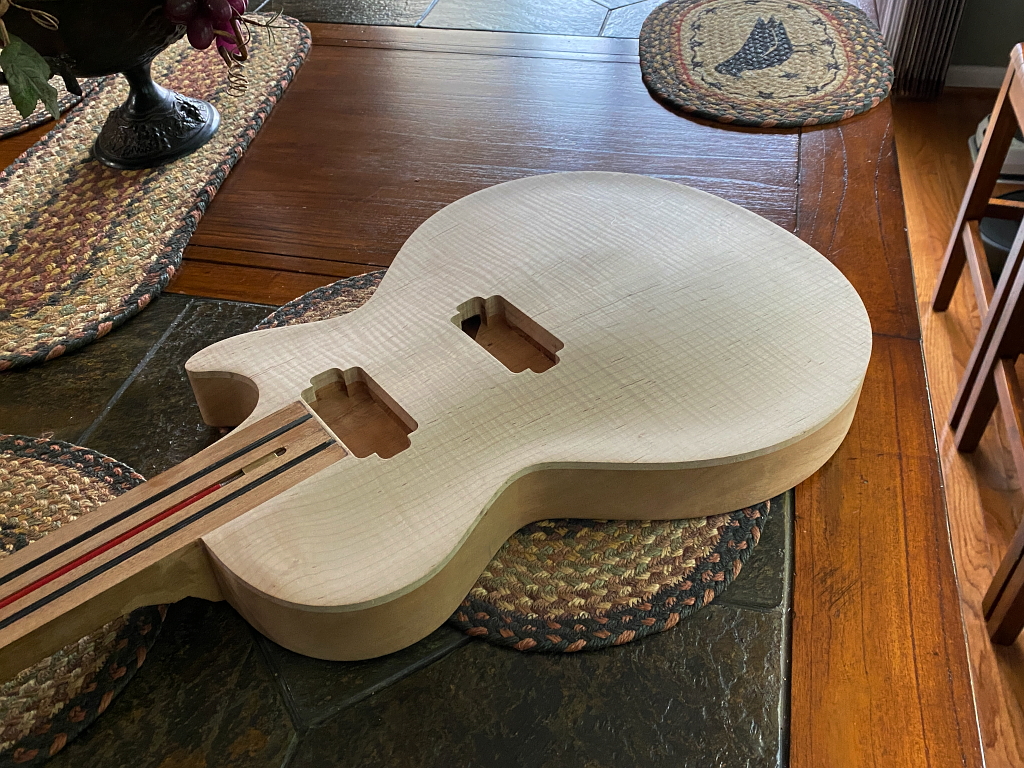
and finish with a hand held router to clean them up nice.
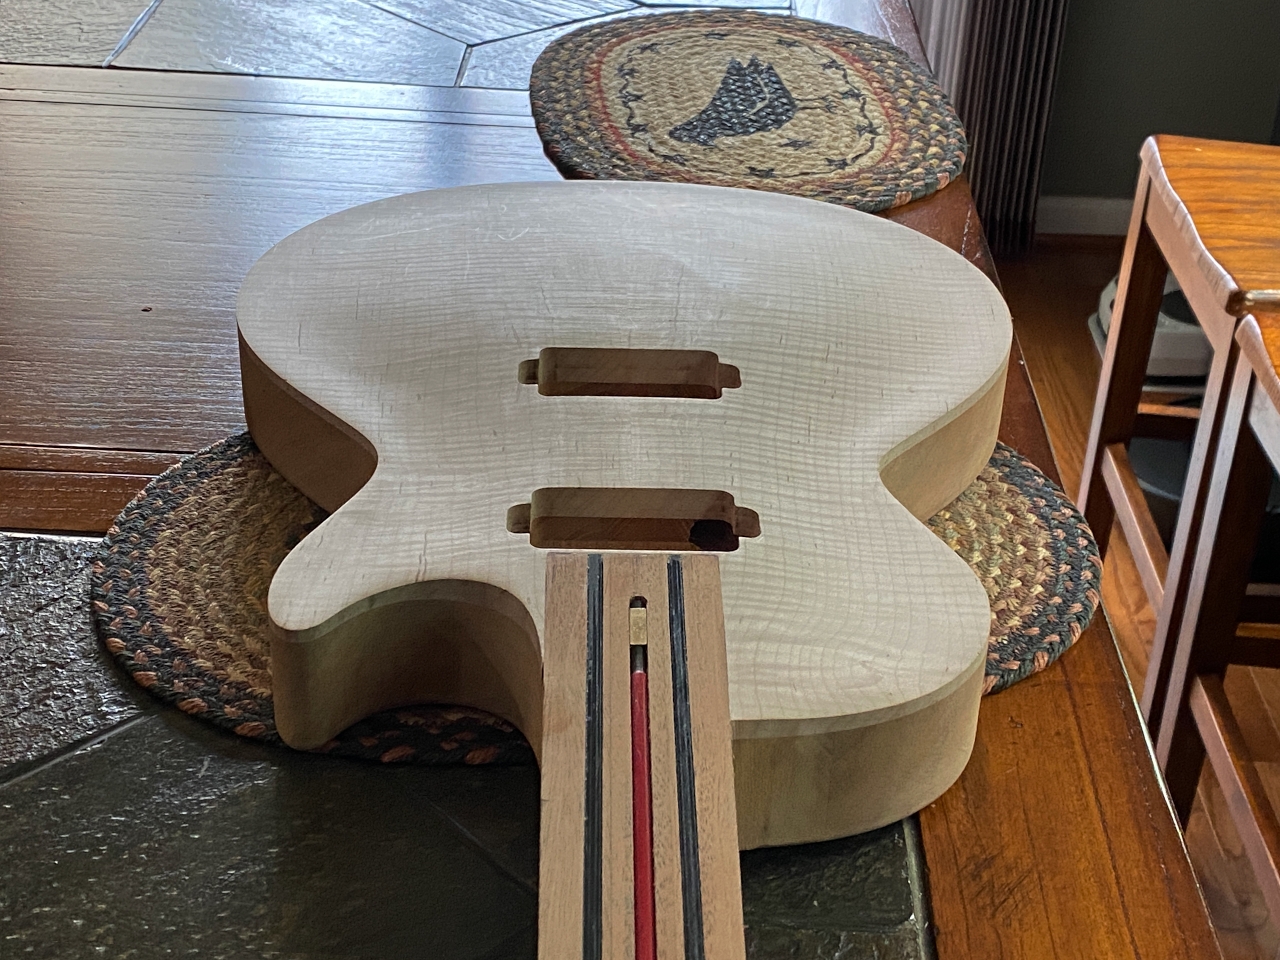
The wiring channel that I routed into the mahogany back before I glued the maple top on is revealed in the pickup routes. This is by design. The wires from the toggle switch and pickups all run through this channel down into the control cavity.
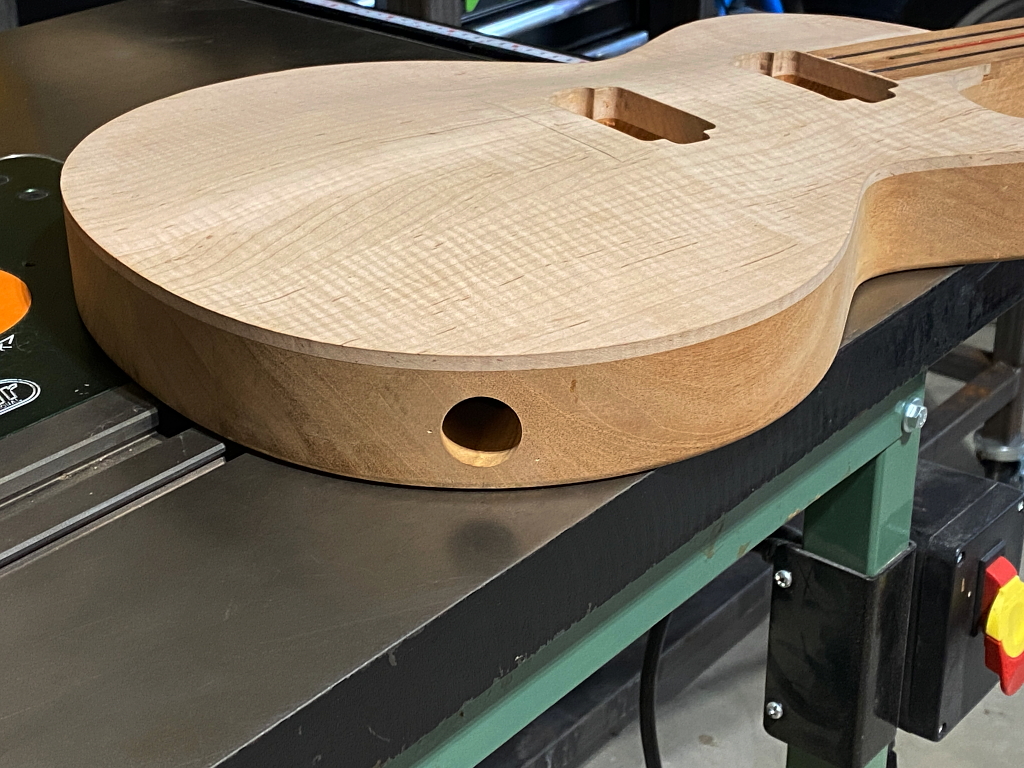
Signals from the guitar also need to get out of the guitar and into an amplifier, so I guess I need to drill the output jack hole. People often refer to this as an input jack. They are wrong every time they say it. Signal comes out of the guitar, not in. Its an output jack.
I like a nice hole.

