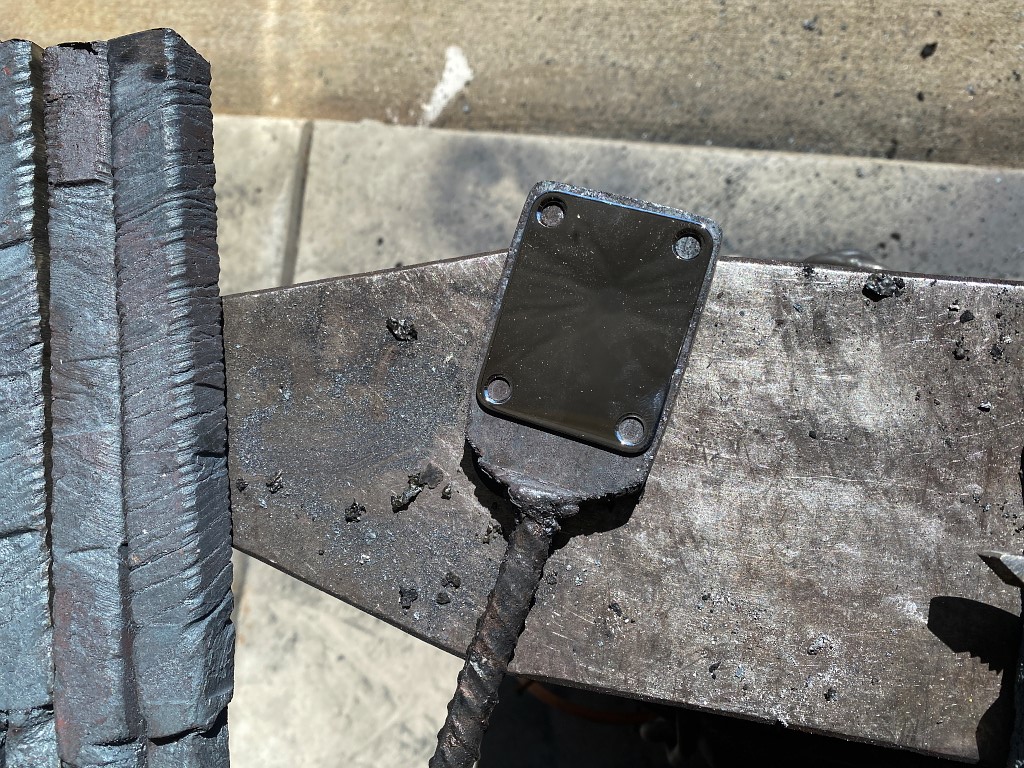
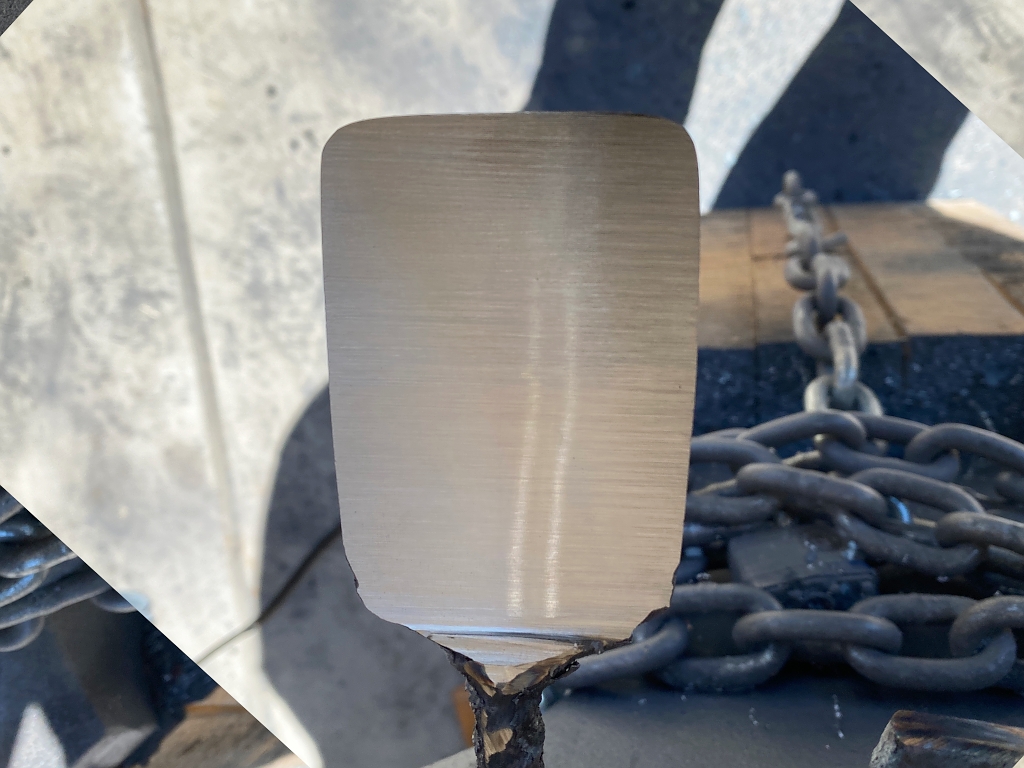
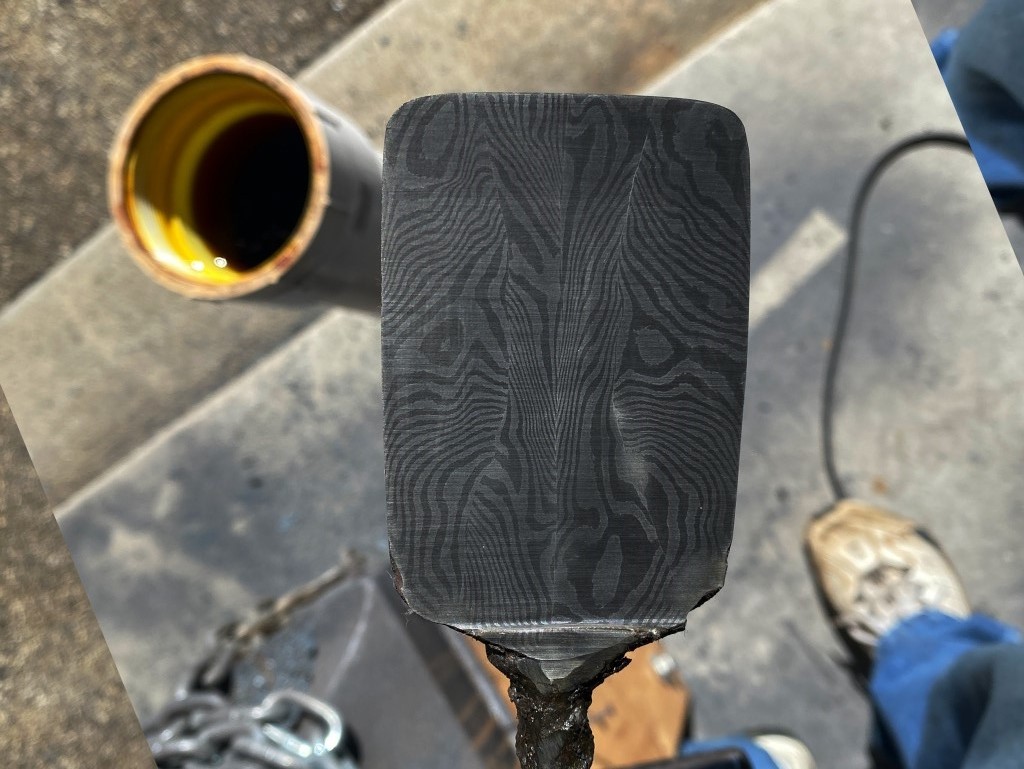
This is the process of forging my own custom, damascus steel, neck mounting plate for this Stratocaster build.
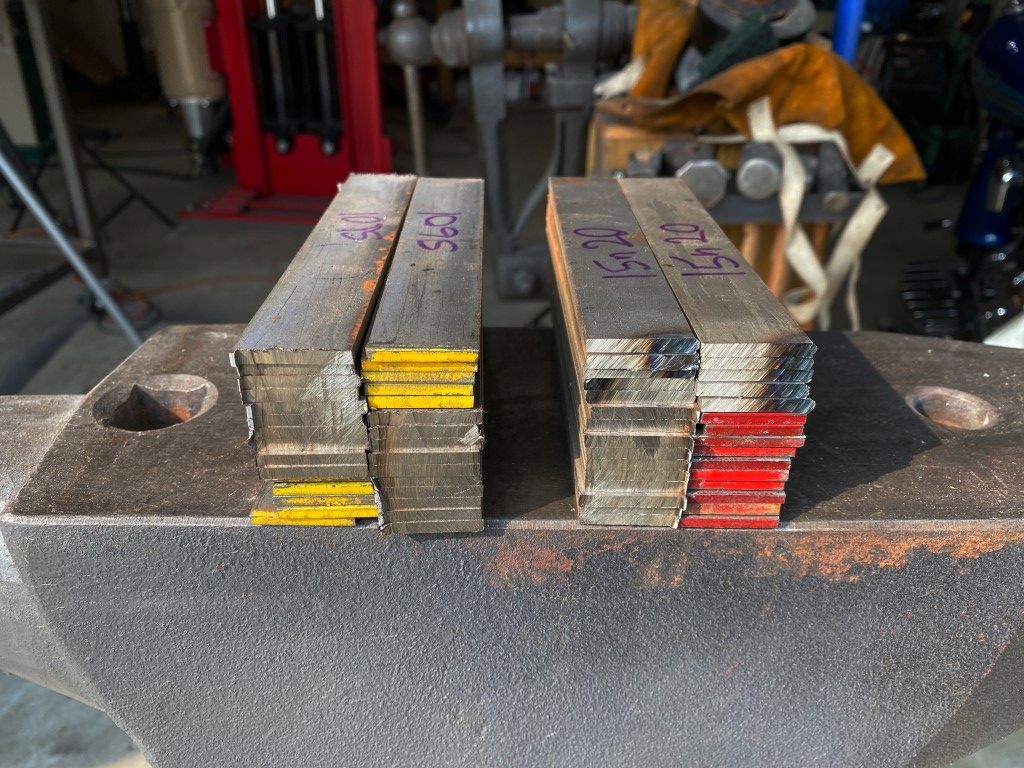
This is two stacks of different types of high carbon steel. 1095 on the left, and 15n20 on the right. The only major difference between the two types is the 15n20 is alloyed with a decent % of nickel, which makes it much more resistant to corrosion than the 1095. The result of that difference is that when the finished product is etched in ferric chloride, the 1095 will turn dark, and the 15n20 will remain brigher. the contrast between the two can be formed into various cool patterns depending on how you forge it.
This particular pattern is called a 4 bar turkish twist. Dont blame me, I didnt come up with the name
There are 60 pieces here, all cut to 6″ x 1″ x 1/8″ totaling around 14 lbs of steel.
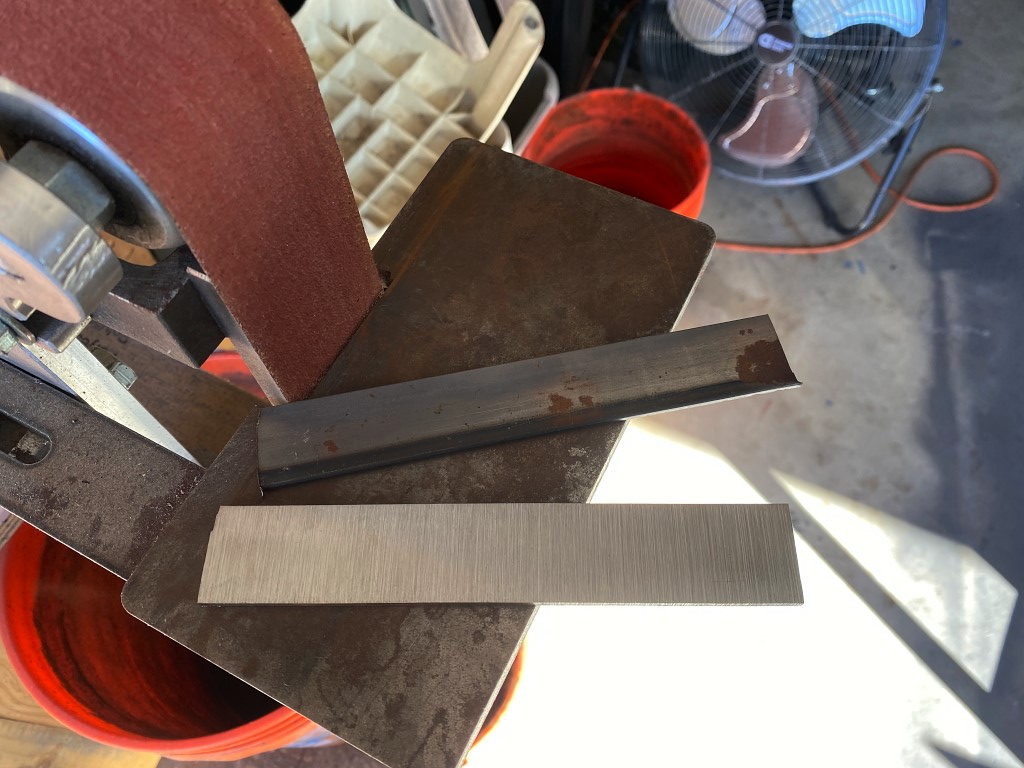
I use my 2×72 belt grinder to remove all the rust and mill scale from all sides. the steel has to be as clean as possible in order to get solid fusion between all the pieces
Its a tedious job. I have a full face respirator as the dust from steel and mill scale isnt really something you wanna be breathing
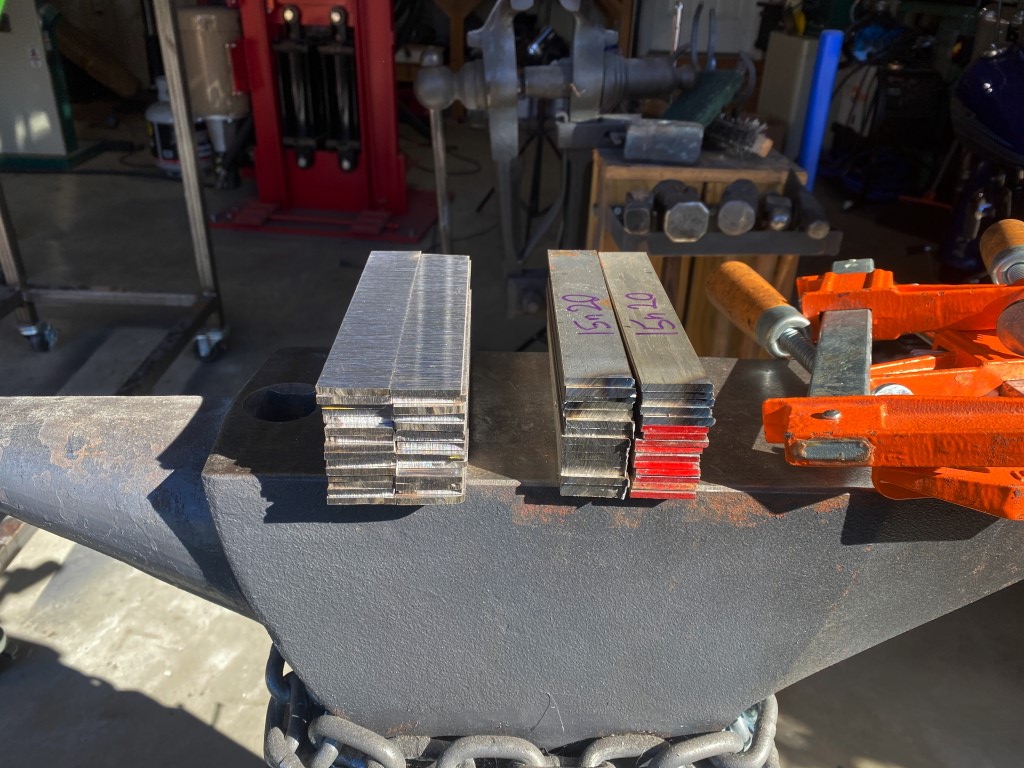
then I wash it all in acetone. residual oil and grease can also screw up the fusion. 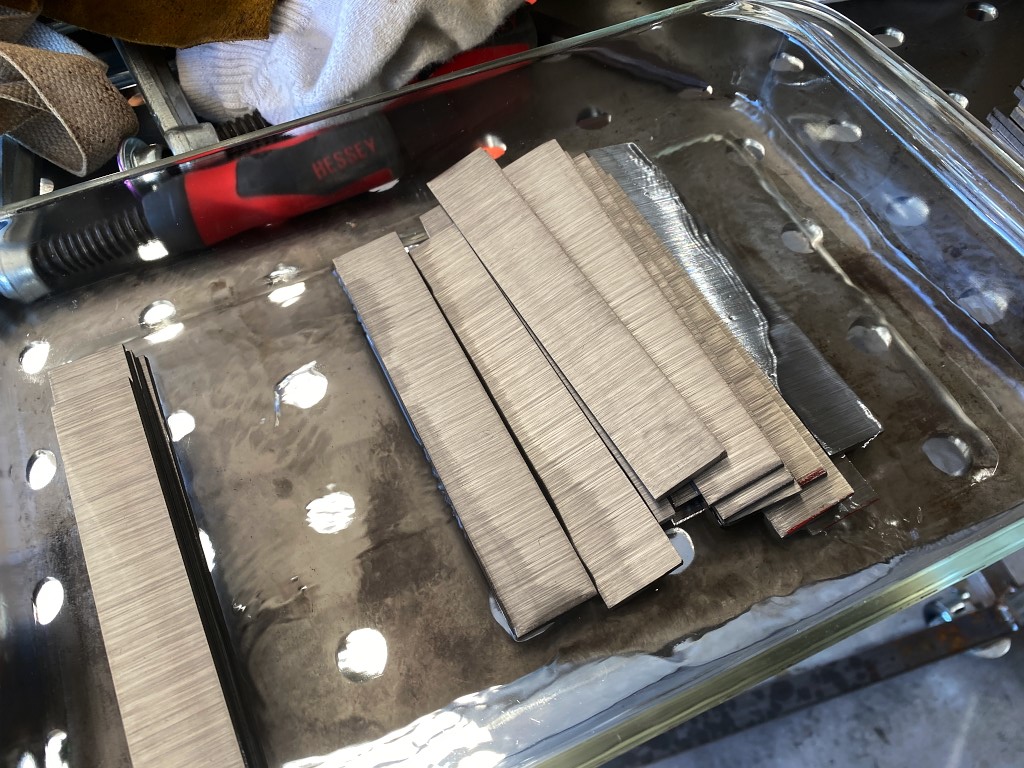
Good to go. At this point its VERY important I dont mix these up or knock them over. I will have no way to know which steel is which.
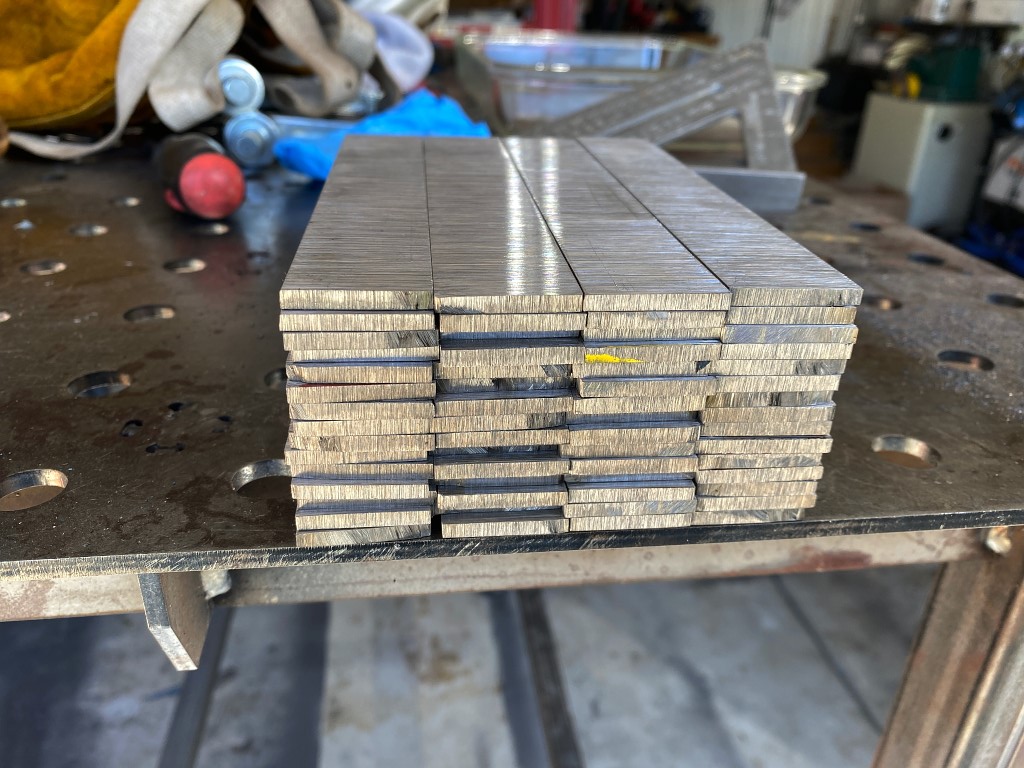
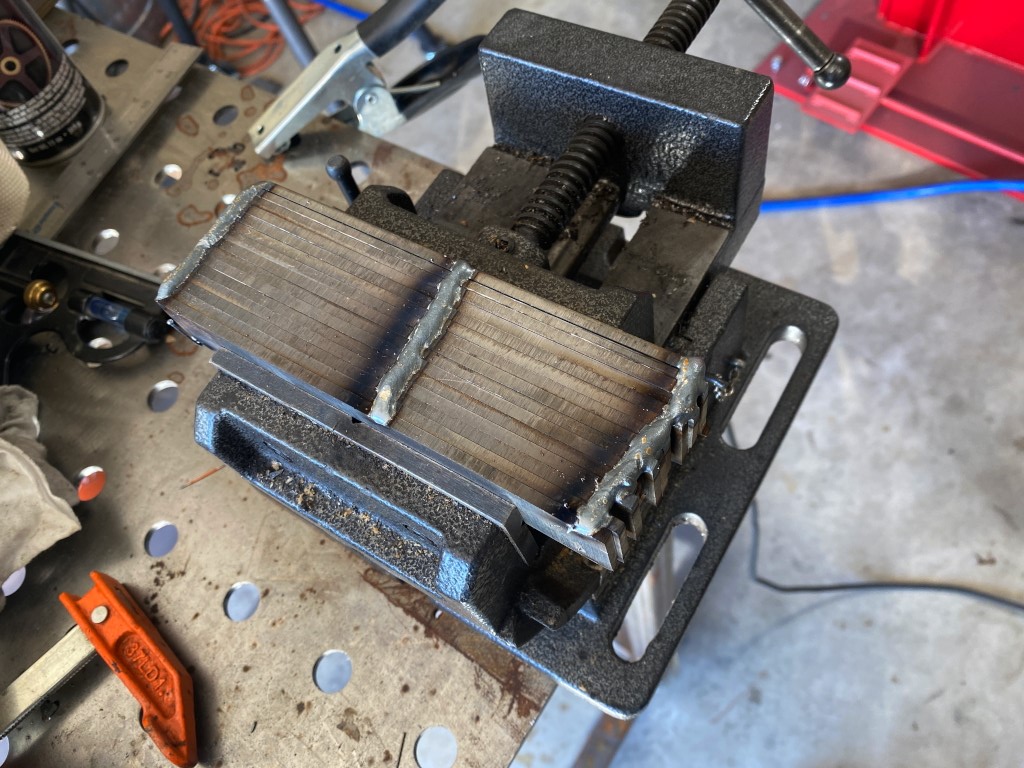
Next I make 4 stacks of 15 pieces each, and the two steels are mixed together at this point. I alternate every other layer. 1095, 15n20, 1095, 15n20, etc.
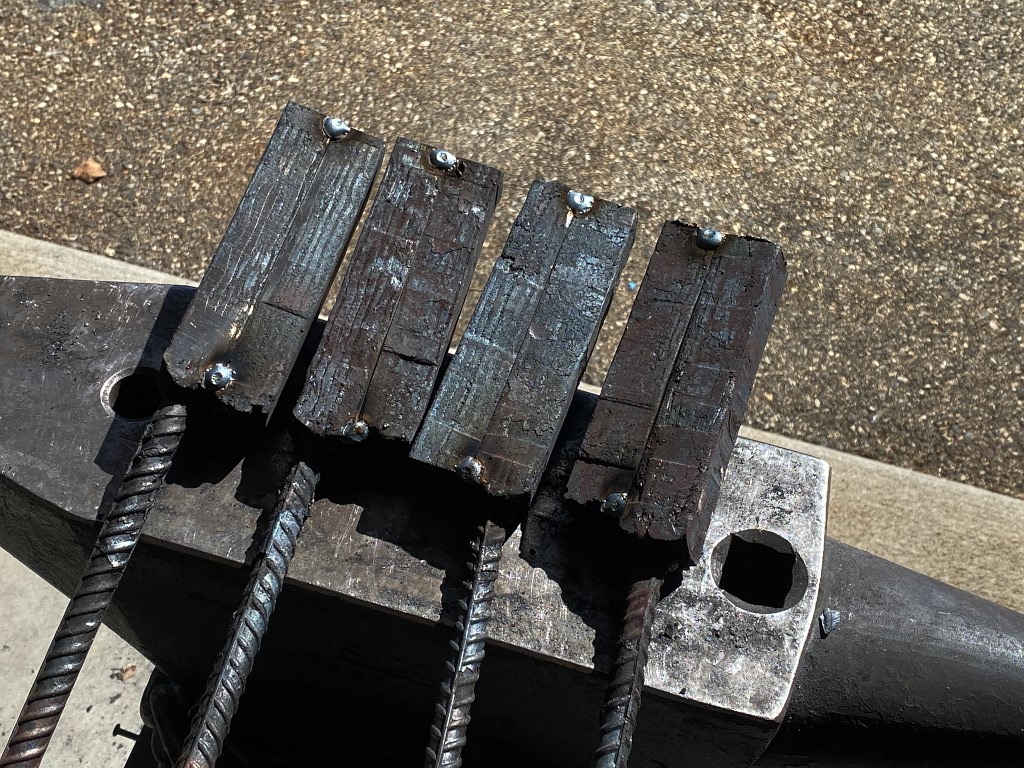
I clamp them in a vice and then weld the stacks together at the corners and one through the middle. The middle one is necessary because when heating in the forge it obviously heats from theoutside in and the temp differentials will cause the middle to bow outward and separate the pieces in the center. I want them all as tight as possible.
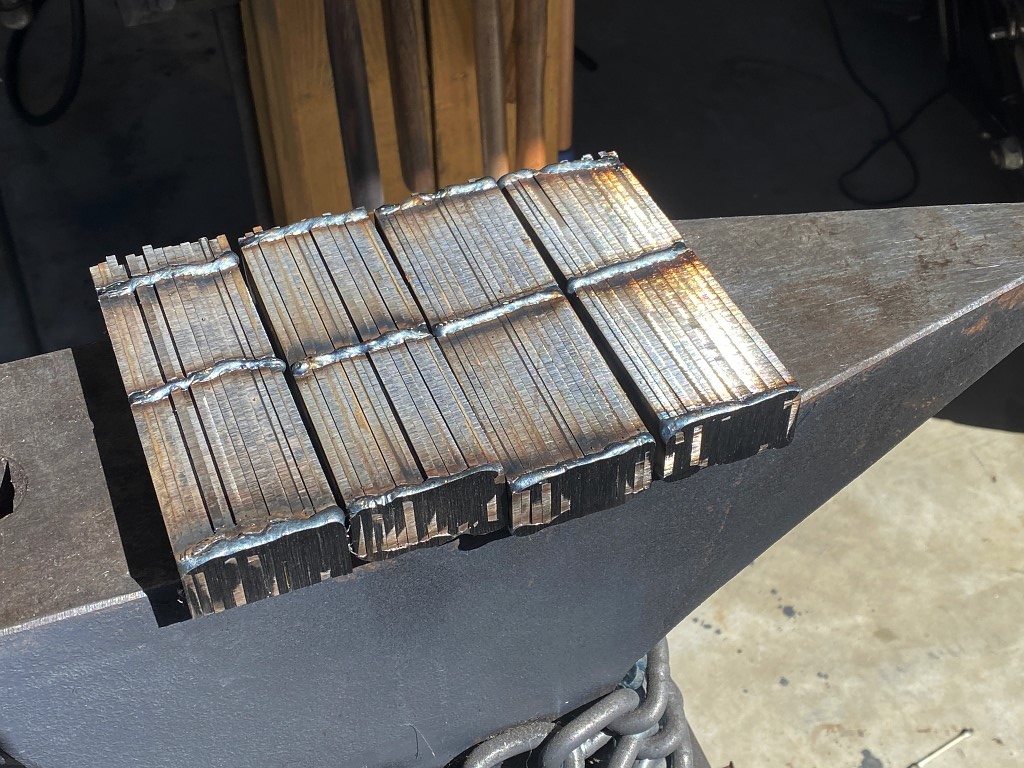
4 lovely stacks
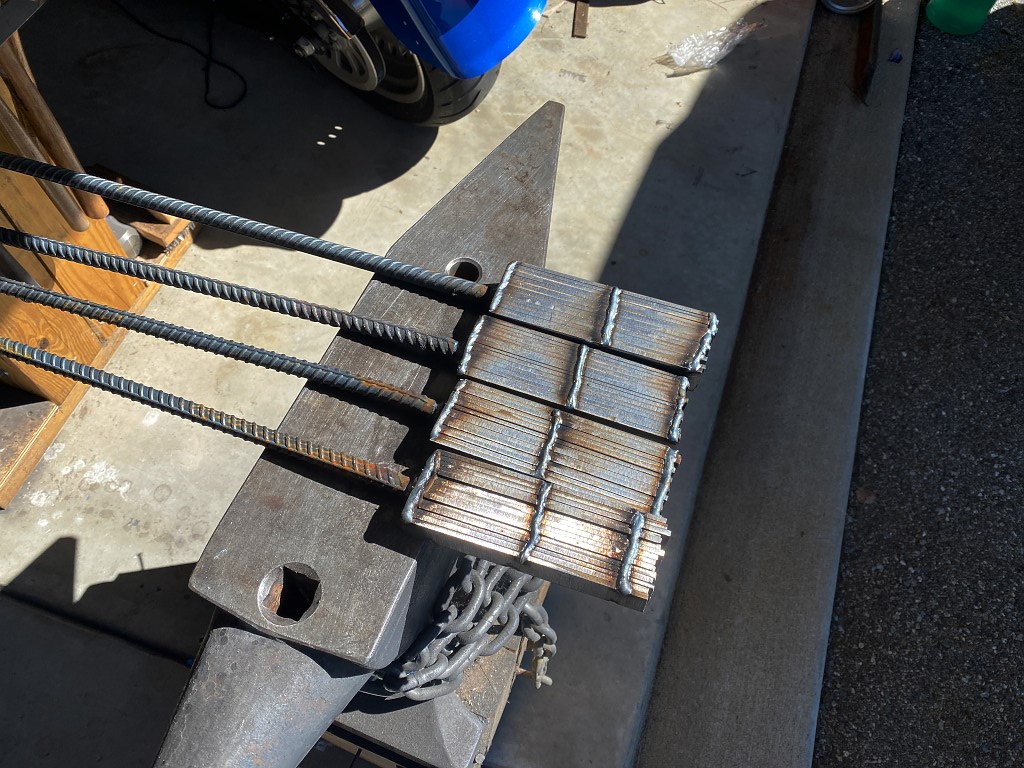
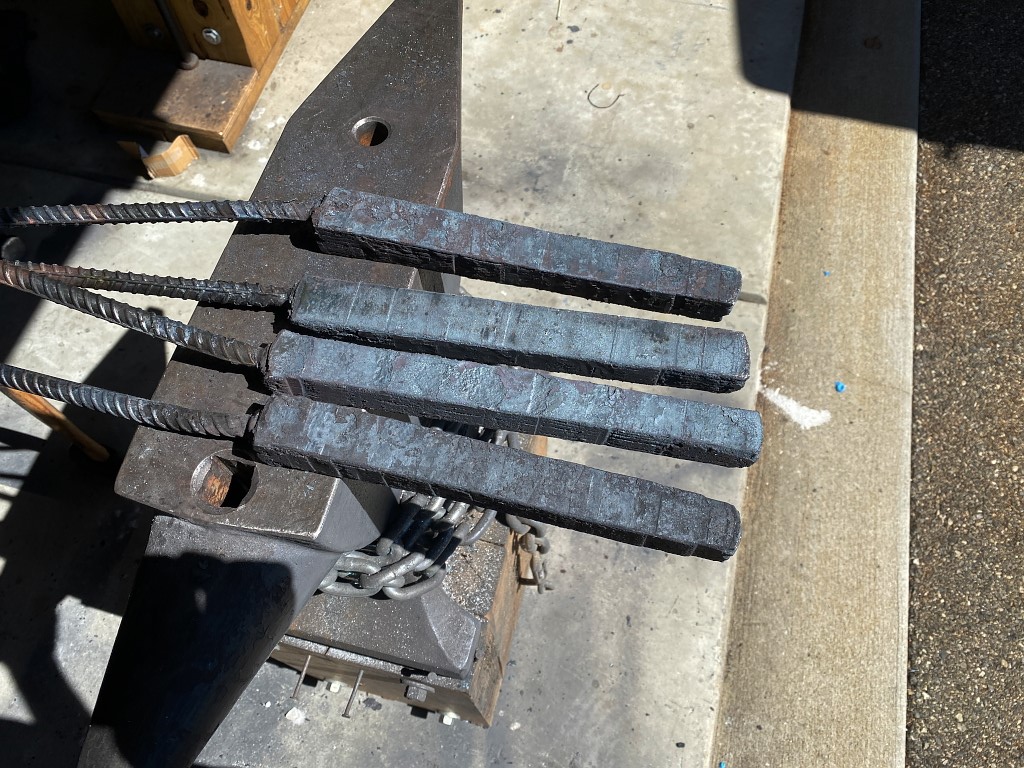
To make them easier to work with, I then weld a piece of rebar to each one to use as a handle. The stacks are too large to use tongs at this stage. The handle makes life a lot easier.
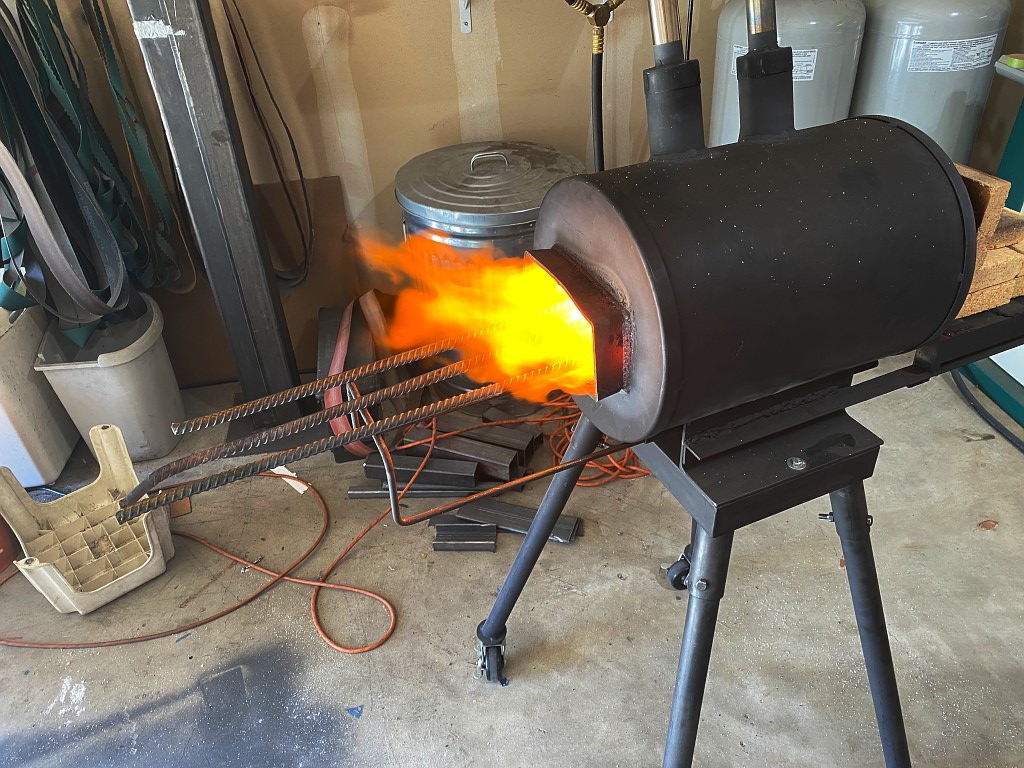
I can only fit 3 at a time in the forge so one has to wait…
Below is a video of one of the 4 stacks. I edited together 3 heats. a “heat” is simply going into the forge to get hot. While forge-welding damascus it has to be forged very hot to prevent the layers from de-laminating, so it goes back in the forge to heat back up.
Up till this year I did this with a hammer on the anvil. It took a solid day to draw out one single billet, fold it, and draw it out again. during that time I lost half of the steel to scale on the floor because I had literally dozens of heats. Because of that, as a practical matter making damascus on a regular basis just wasnt going to happen.
This 50-ton hydraulic press changed all that. You can see exactly how much time it took to draw it out once. Maybe 2 minutes of forging time, and 10 minutes heating in the forge. So the video here is about 15 minutes of real time. I edited out the heating time.
The first heat is critical. you’ll note I just barely compressed the stacks and then took it away. That initial compression is what fused the layers. Its necessary to keep forging at the very top of the heat at this stage so right back into the forge after that initial setting of the welds.
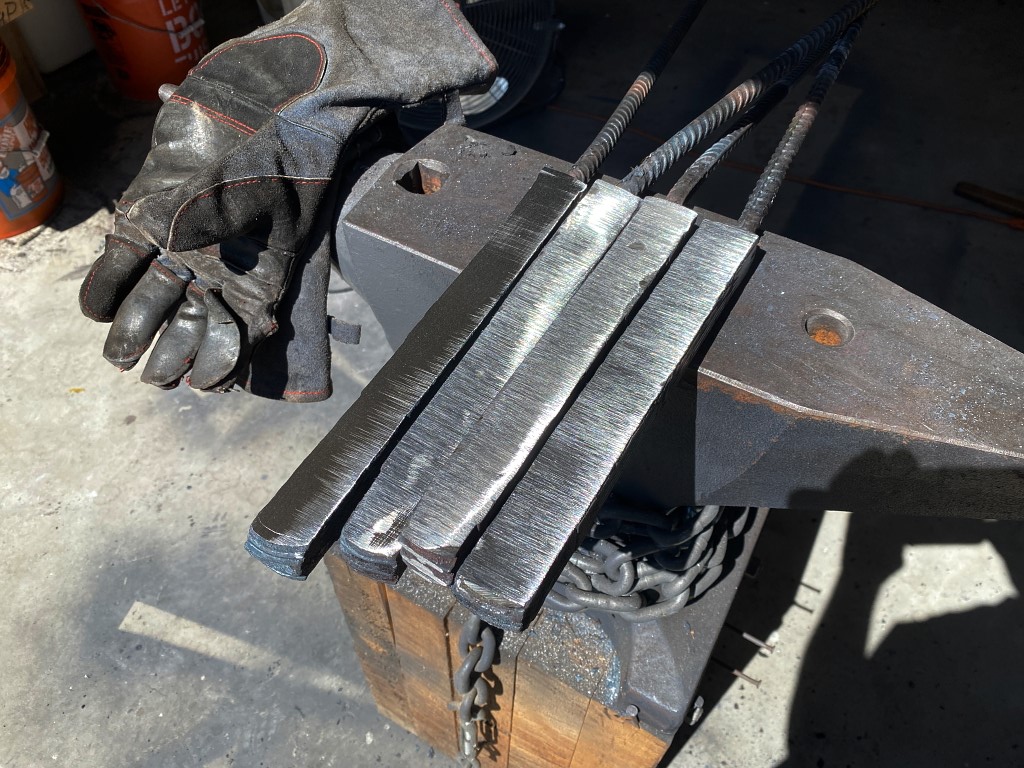
So after doing what you saw in the video to all 4, I’m left with 4 bars, about 11″ long. At this point they are no longer stacks. The forging process fuses the layers together into solid pieces of steel. the layers are still distinct in there. they are not mixed because the steel didnt get hot enough to become liquid, but they did fully fuse together
Next, I ground all the scale off of one face on each bar revealing clean steel.
Then I cut each bar in half and folded them over and tack-welded them together like this. The clean faces are inside against each other. Then I repeated the initial process and forge-welded these all together. Of course now they are 30 layers each instead of the 15 they started with.
Once I set the welds I then drew them out again in the press as I did before so I had 4 square-shaped billets all roughly 11-12″ long.
Some folks would keep repeating this process and doubling the layer count. 60. 120, 240, etc. and crow about hopw their whatever-it-is is 300 or 600 or 1000 layer damascus. the problem is that while the number is impressive, i think the higher layer counts become so fine that they lose visual appeal. for my money, 4 bars of 30 layers twisted is a very good balance….
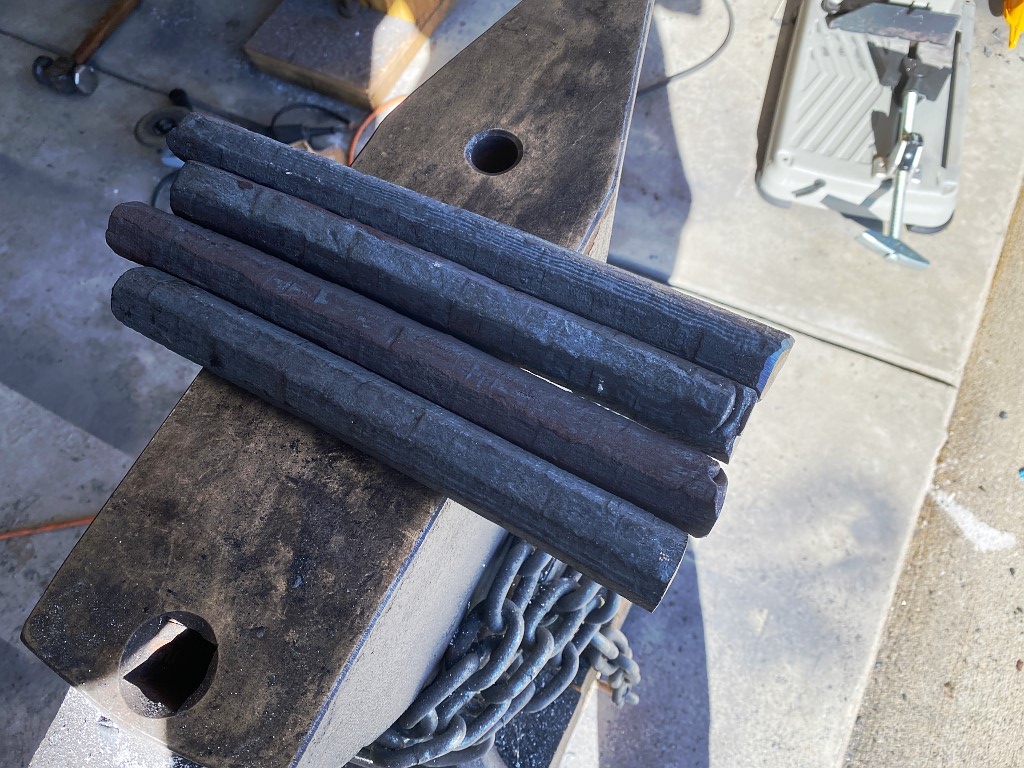
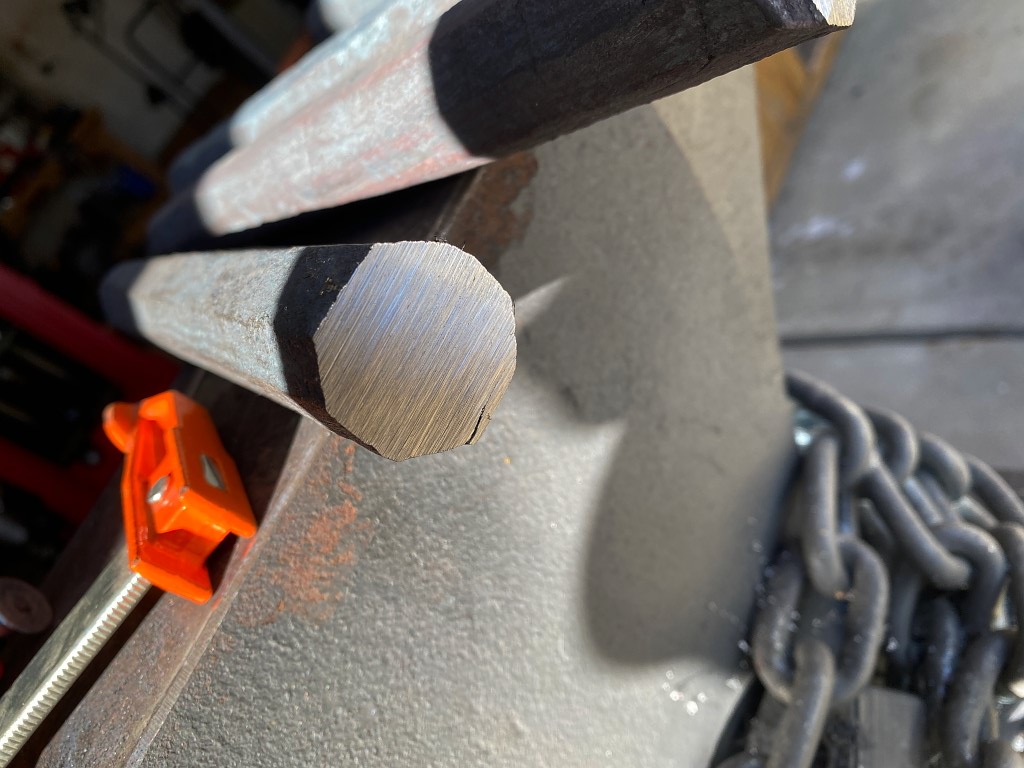
Once I had them drawn out into squares, then I turned them on 45-degree angle and forged the corners in, so now I’m left with octagonal-shaped bars.
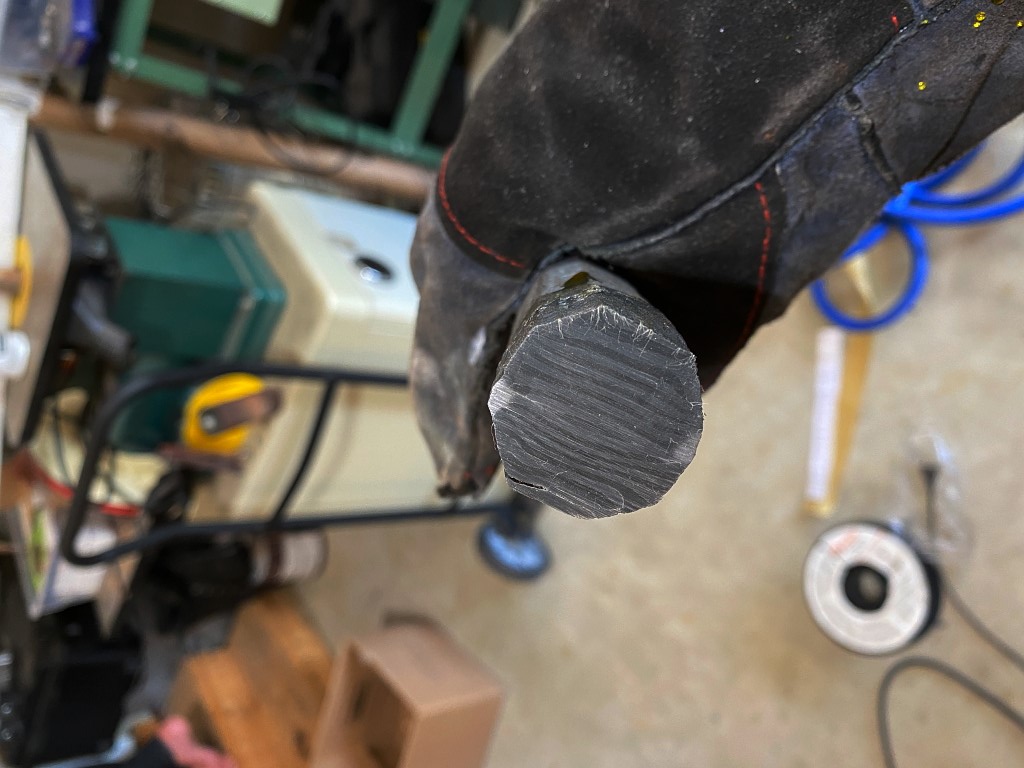
I ground the end off of one here. You can see its solid metal. No layers visible. Except that little split near the edge. the ends are always a bit messed up, but they get cut off and discarded anyway…
however, a quick dip in the ferric chloride shows the layers are indeed there, although slightly distorted from the steel being molded around. So this was the end of day 1, and it took about 8 hours. The forging part goes pretty quickly with the press, but grinding and cutting and cleaning all take FAR longer and are pretty boring, dirty jobs.
Day 2. (yesterday)
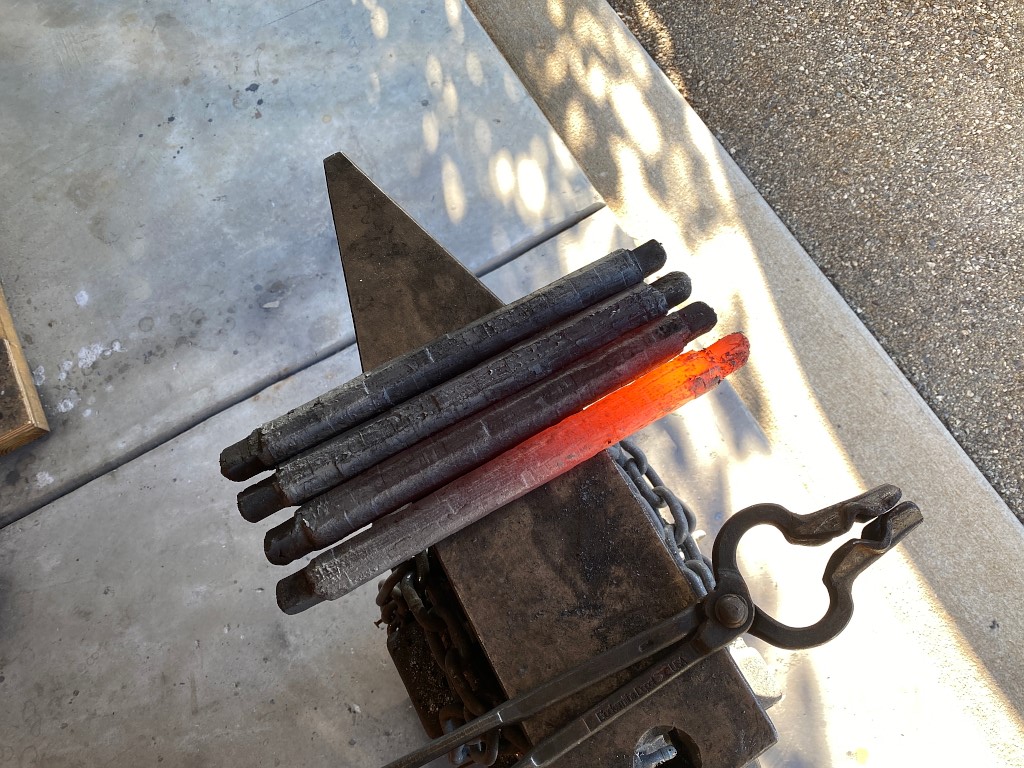
first thing I did was forge the shorter pieces out to be the same lengths as the longer ones, and re-forge the ends of the bars into square shape. This is because I’m about to twist them and I need square ends to clamp in the vise, and hold with my “twisting wrench”. The twisting wrench is a large pipe wrench with a 3′ steel pipe welded to the top end
So here is video number 2″ this is how I twist the bars. The mysterious other figure is my son Jake. I’ve done this by myself, but its a lot harder. The mumbling I’m doing is counting. I wanted a full 8 twists for each bar.
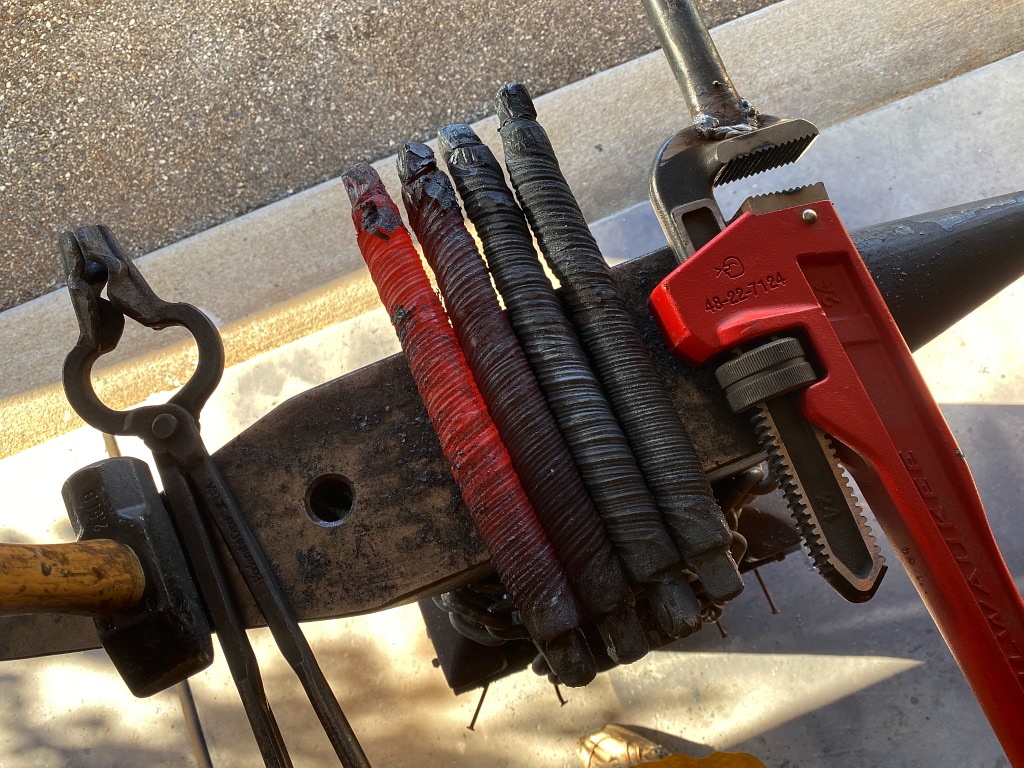
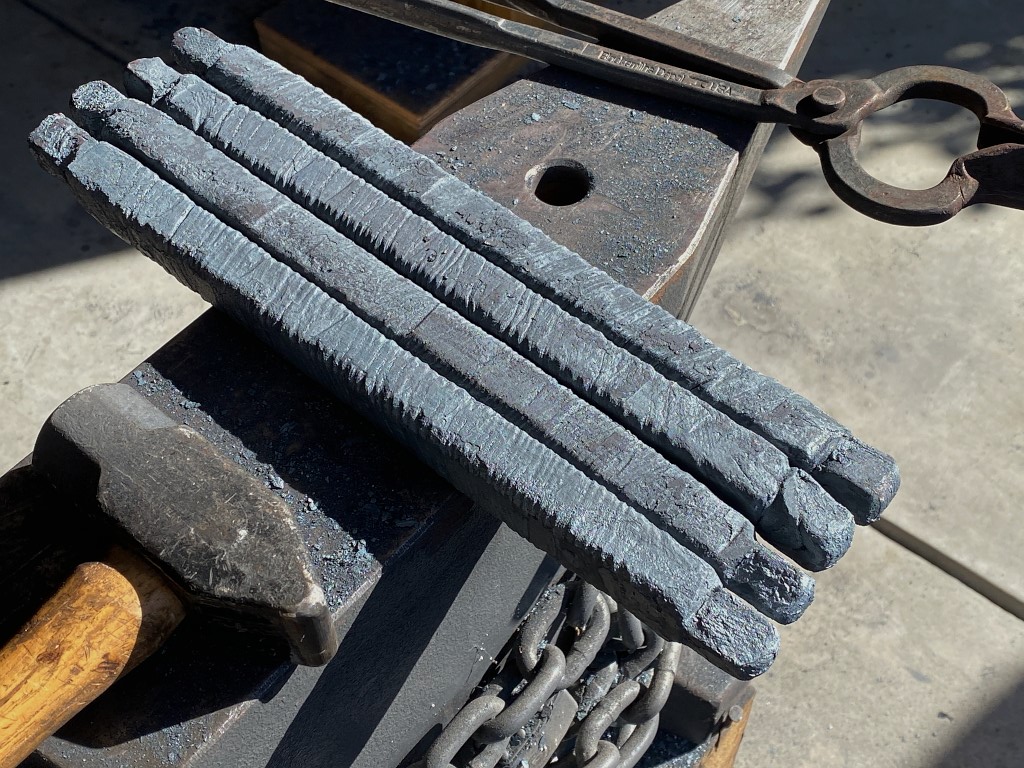
Now I have 4 bars all twisted. Note that two are twisted clockwise, and two are counter-clockwise.
No flat layers in the bars now. each bar has 30 layers. started with 15, then cut and folded, doubling to 30.
So 30 layers of alternating steels, all twisted 8 full revolutions.
Next I forge the bars back into a square shape. The reason I forged into octagons in the first place is because If I twisted them while square, the corners would shed scale a lot faster and I’d lose more mass to scale when twisting it.
So now I have 4 square bars about 15″ each, not counting the end pieces which will be scrapped anyway. The ends get narly.
So now I arrange them, alternating the rotation. Clockwise, counter-clockwise, clockwise, counter-clockwise.
At this point I dont want to work the entire bars. Simply because I dont need that much damascus to make a neck plate
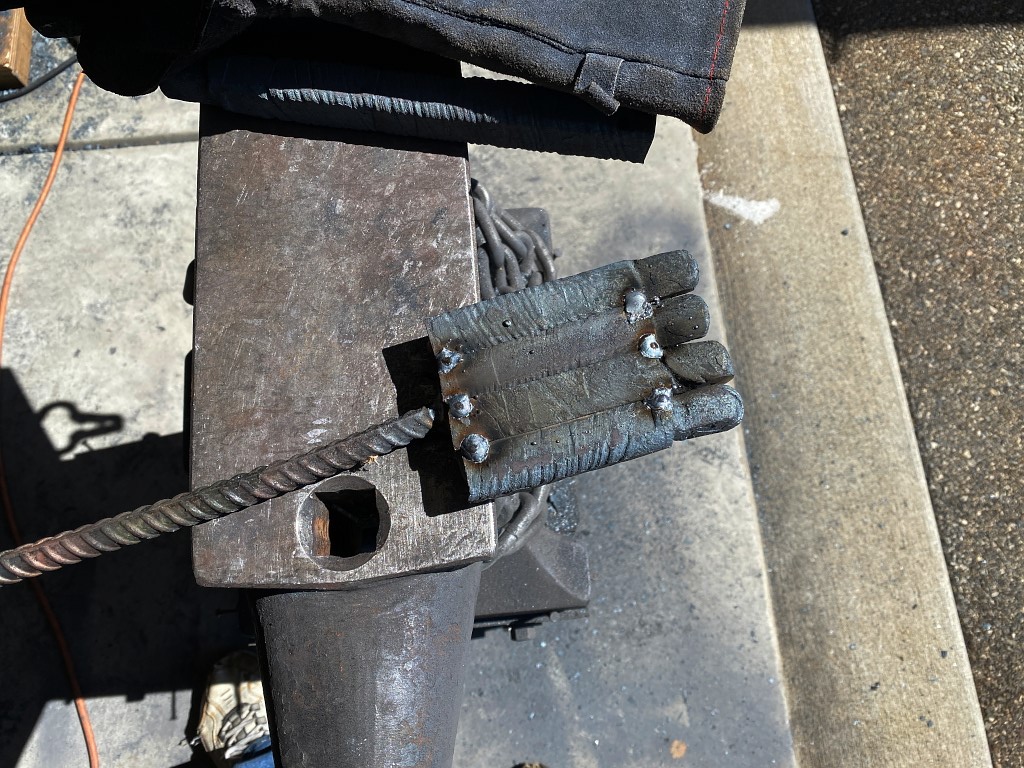
I cut of about 4″ of each piece, (not counting those ugly end knobs). This is stull far more steel than I need, but its difficult to work with little tiny bits. I grind the scale from the mating faces of each one, and tack weld them together like this and give this a handle.
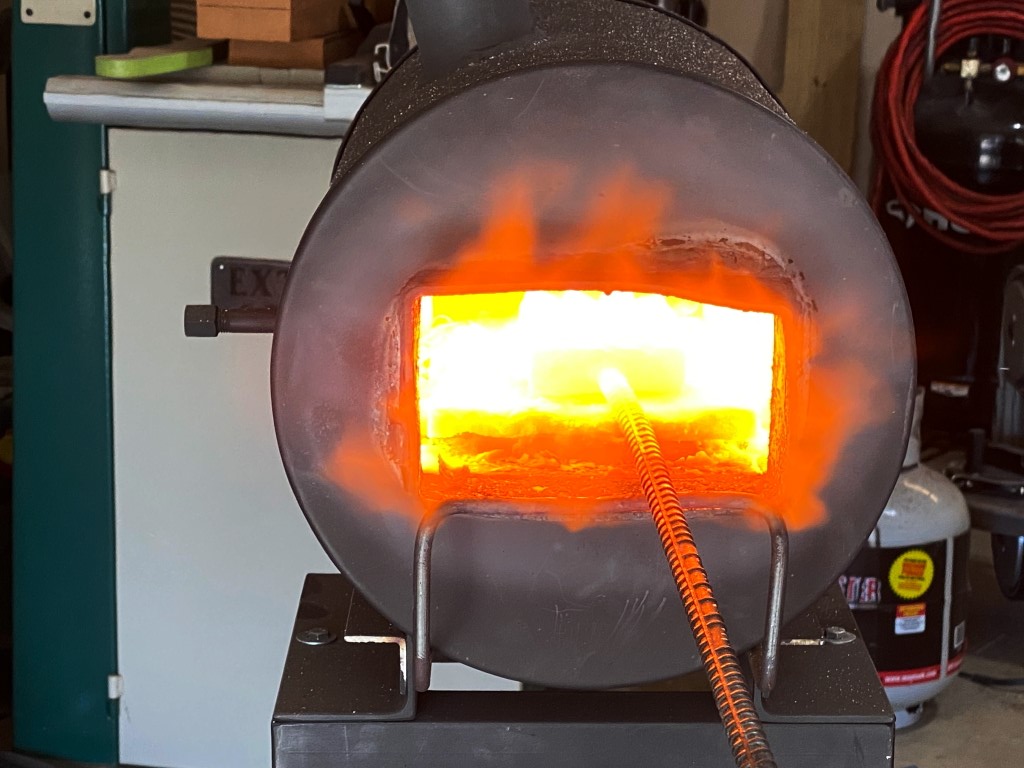
I’m sure you can guess what happens next
I wouldn’t want to be in there…
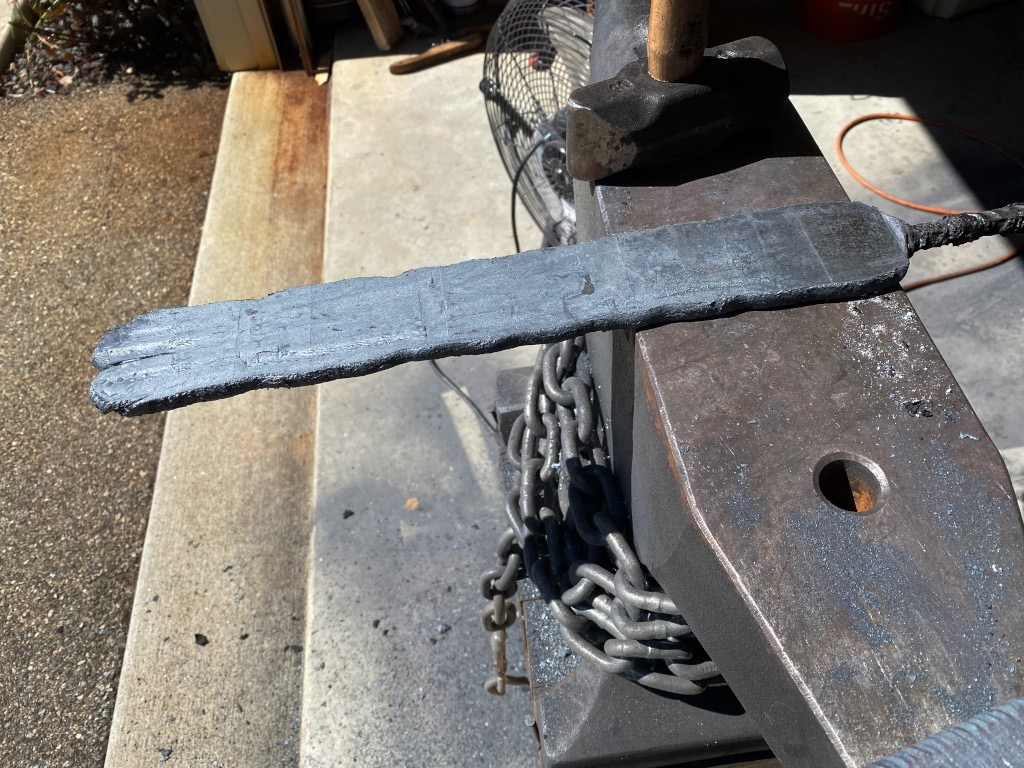
So I forge-welded that little piece, and drew it out into about a 12″ long flat bar (not counting the ugly nubs at the end ) which is about 1/4″ thick
I cut the bulk off, and set aside for other projects. The rest of that flat bar can easily make a pair of 8″ chef knives. The remainder of the 4 long bars are going to be made into a couple other knives, and a couple tomahawks. For now I’m only concerned with the remaining little piece for this project. I used a real neck plate to make sure i have the size i need. I’m leaving the handle on for as long as I can because its a lot easier to work with.
No, its not a spatula
Now I get to take a sneak peek as what I’ve wrought. I ground the scale off and got a flat, clean face and gave it a quick dip in the ferric chloride.
and this is what I got…
In the finshed piece the pattern will be a lot more distinct. It etches with a lot more contrast after its heat treated.
You can make out here where the 4 bars are fused together, and why I alternated the rotations.
I’m super pleased with this outcome.

