As with any other graphic art, creating a look we want is a process with multiple steps and layers. People often refer to this as paint, but its not paint at all. Paint is a fairly opaque substance that forms a layer on top of the wood and covers it.
We use dyes, some of which are applied directly to the wood, which then absorb right into the wood, changing its color, but leaving a lot of the features and character of the wood still visible.
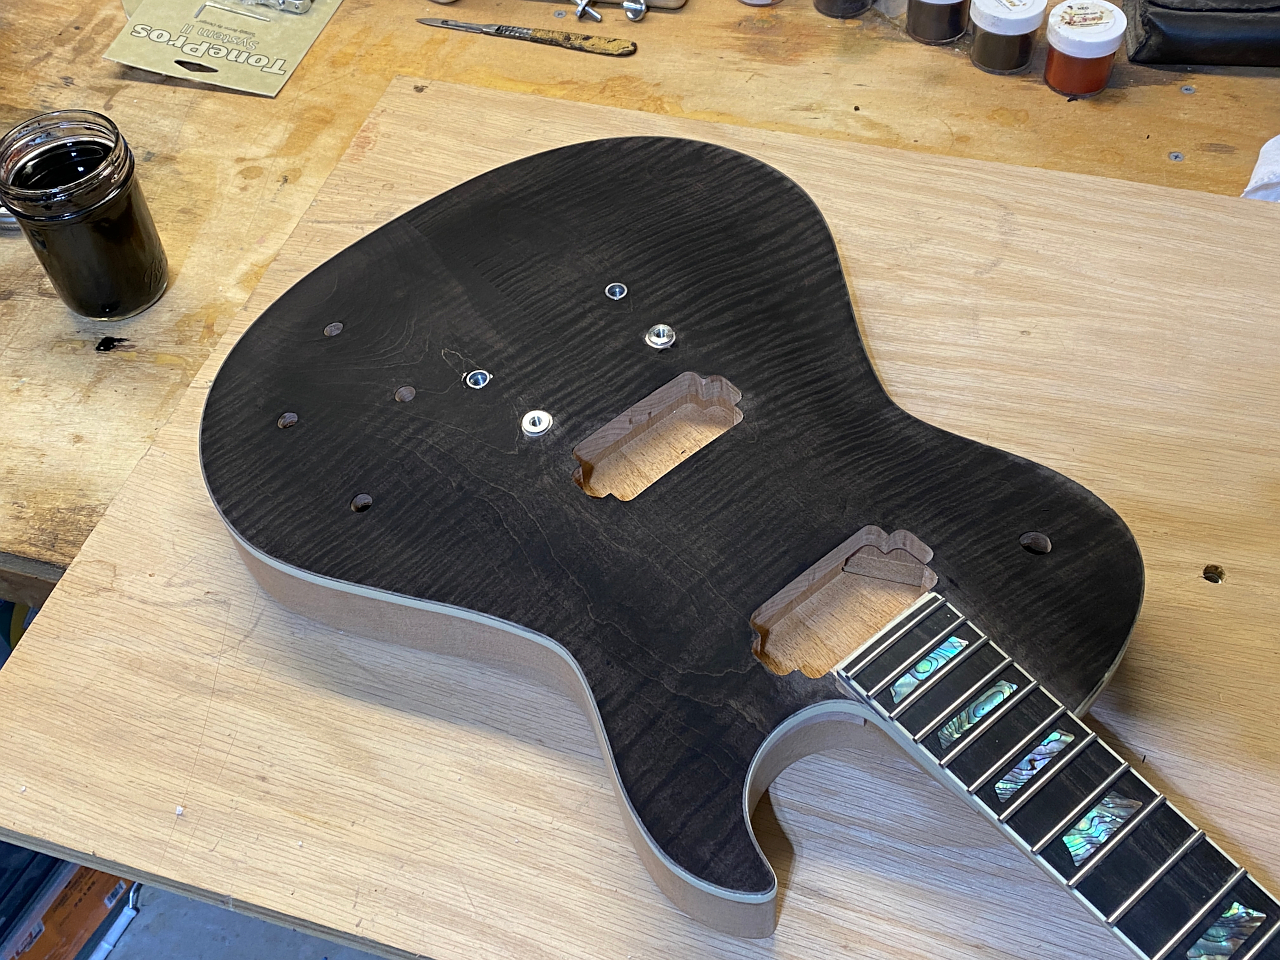
The first step is to dye the entire top totally black. This is done using a water-based aniline dye. 🙂
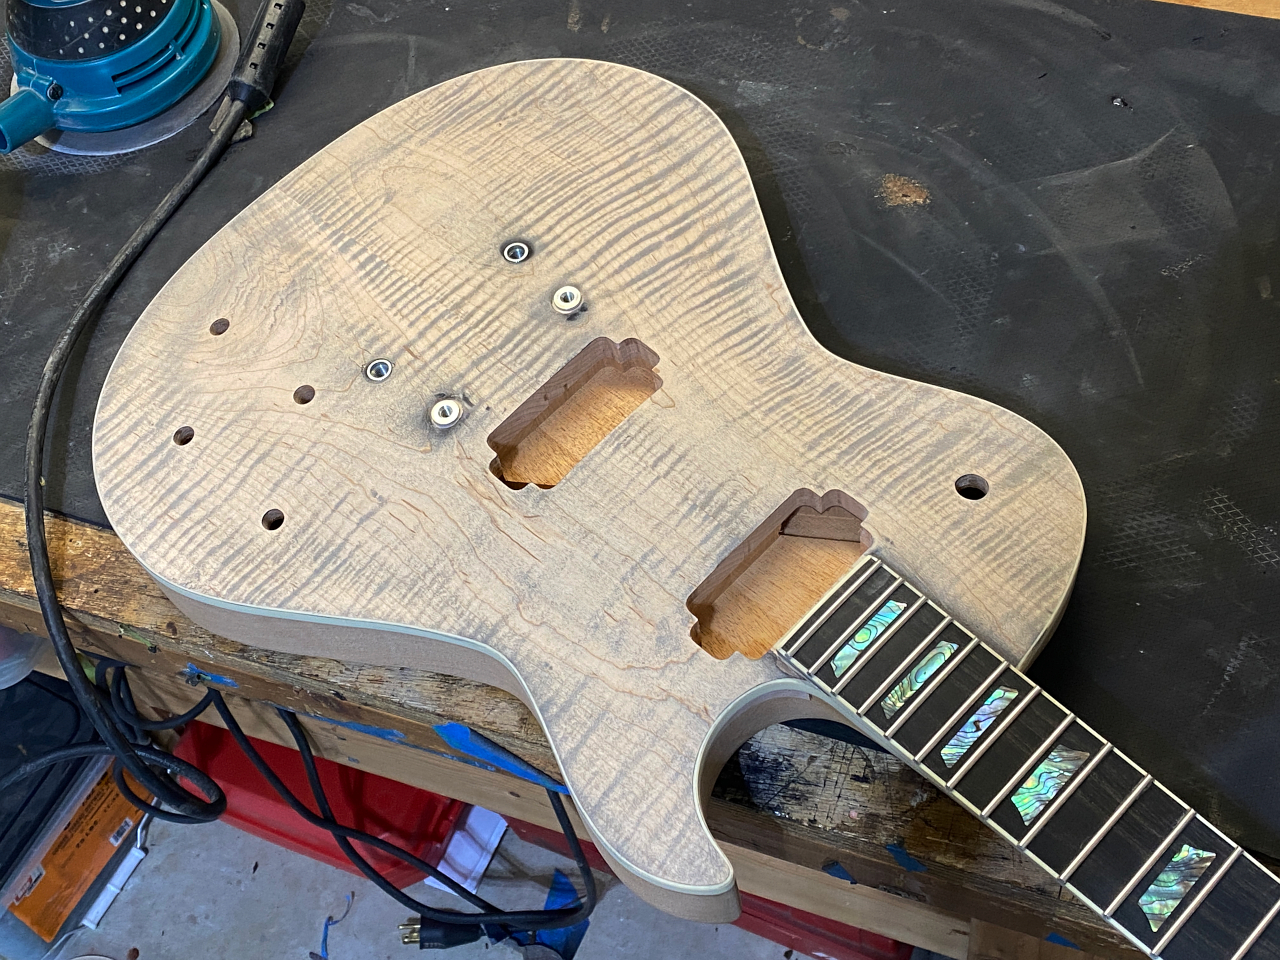
Then we sand of the majority of the black. The figure in the top causes the wood to absorb more or less dye depending on the orientation of the fibers. It penetrates more deeply in some places and so leaves the black visible where the figure is.
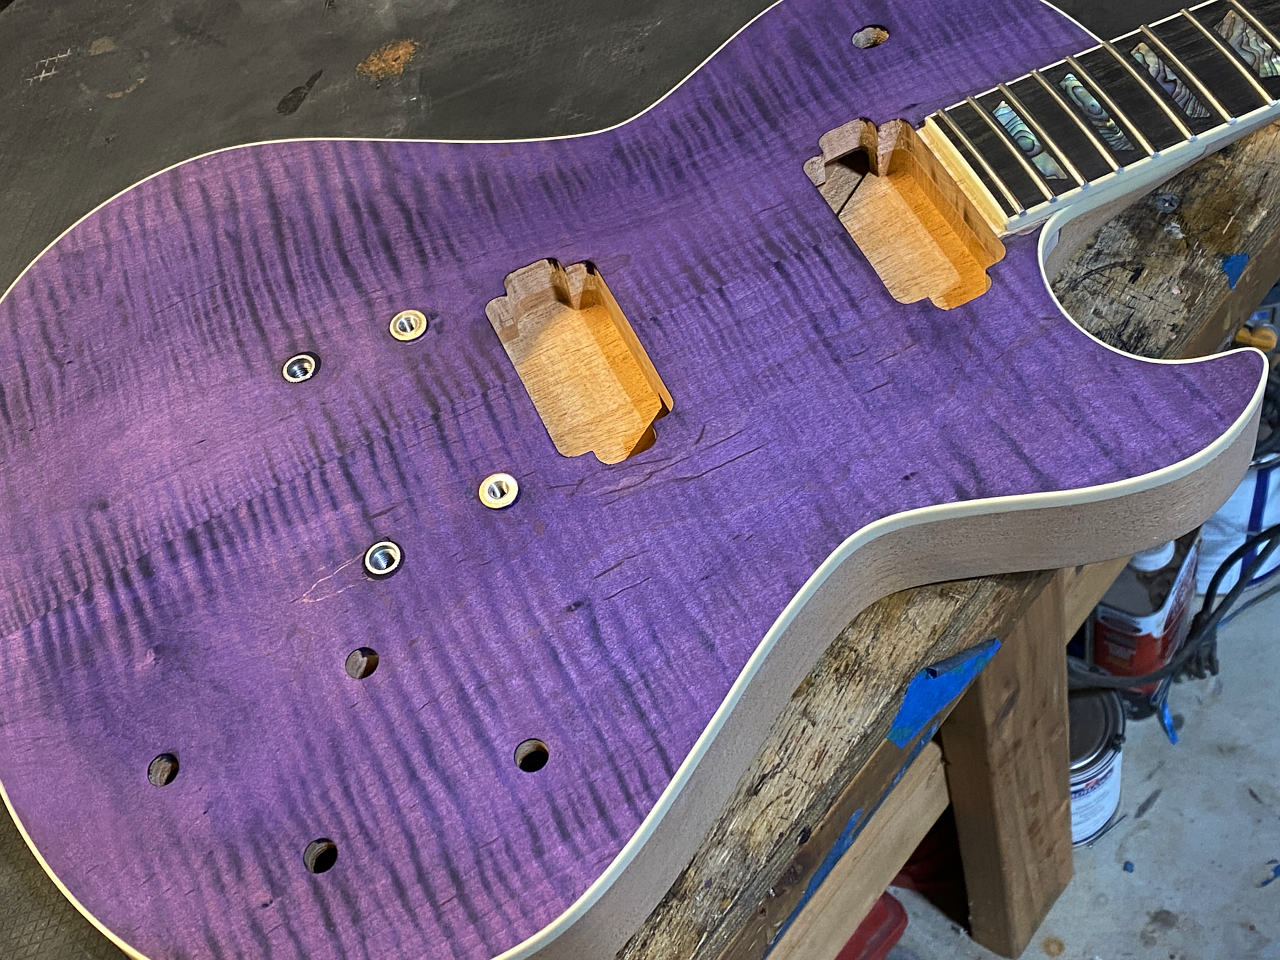
Once completely dry, another dye is applied evenly over the top but you can still see the black figuring where it was left from the previous step.
This is also an aniline dye that colors the wood directly, but again leaves the natural features and figuring more or less visible
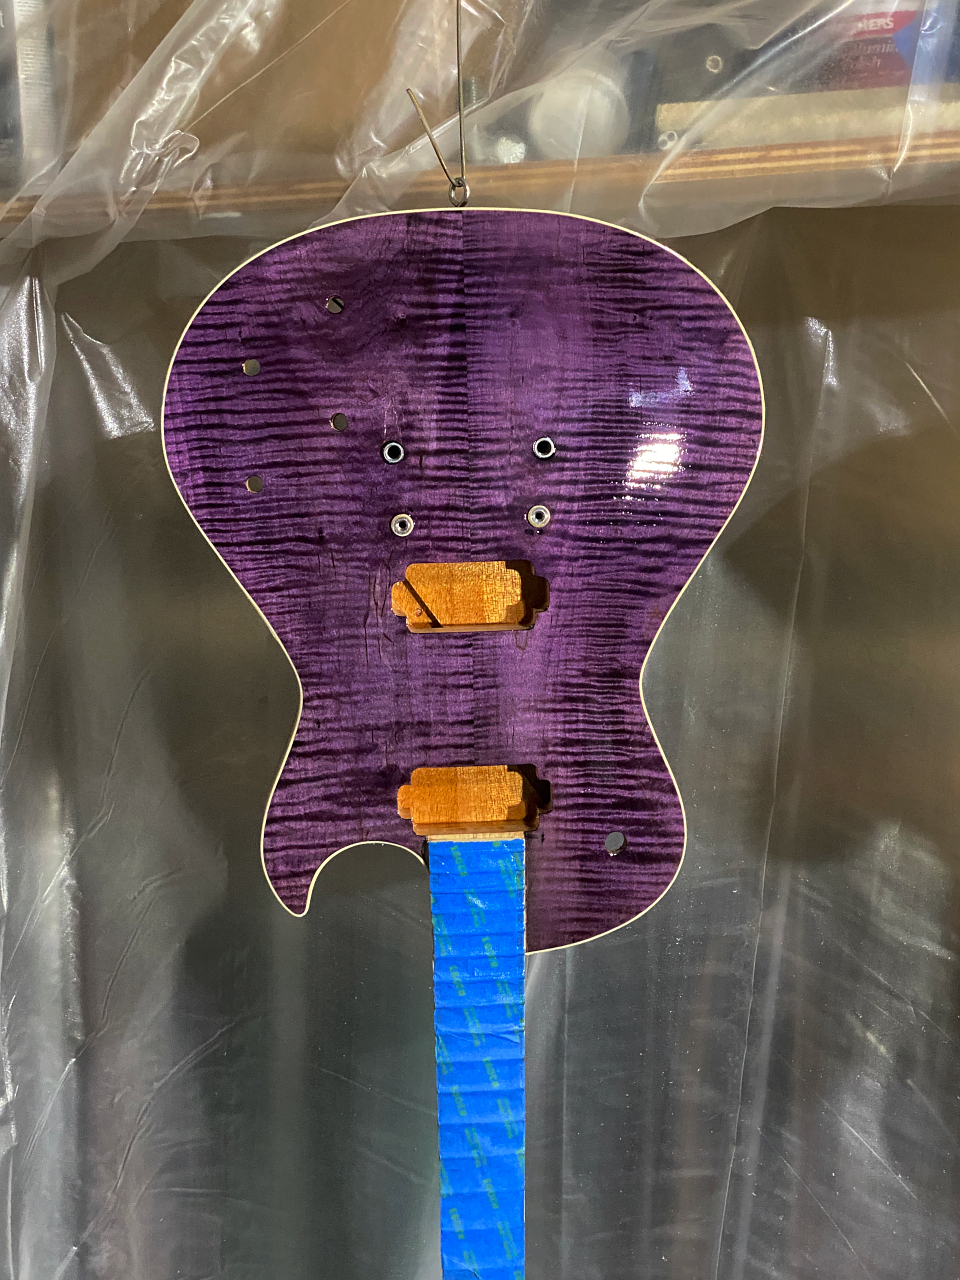
Now the dyed top is sealed by overshooting a couple coats of clear, nitrocellulose lacquer using an HVLP spray gun, which also gives the top a slightly glossy look at this stage.
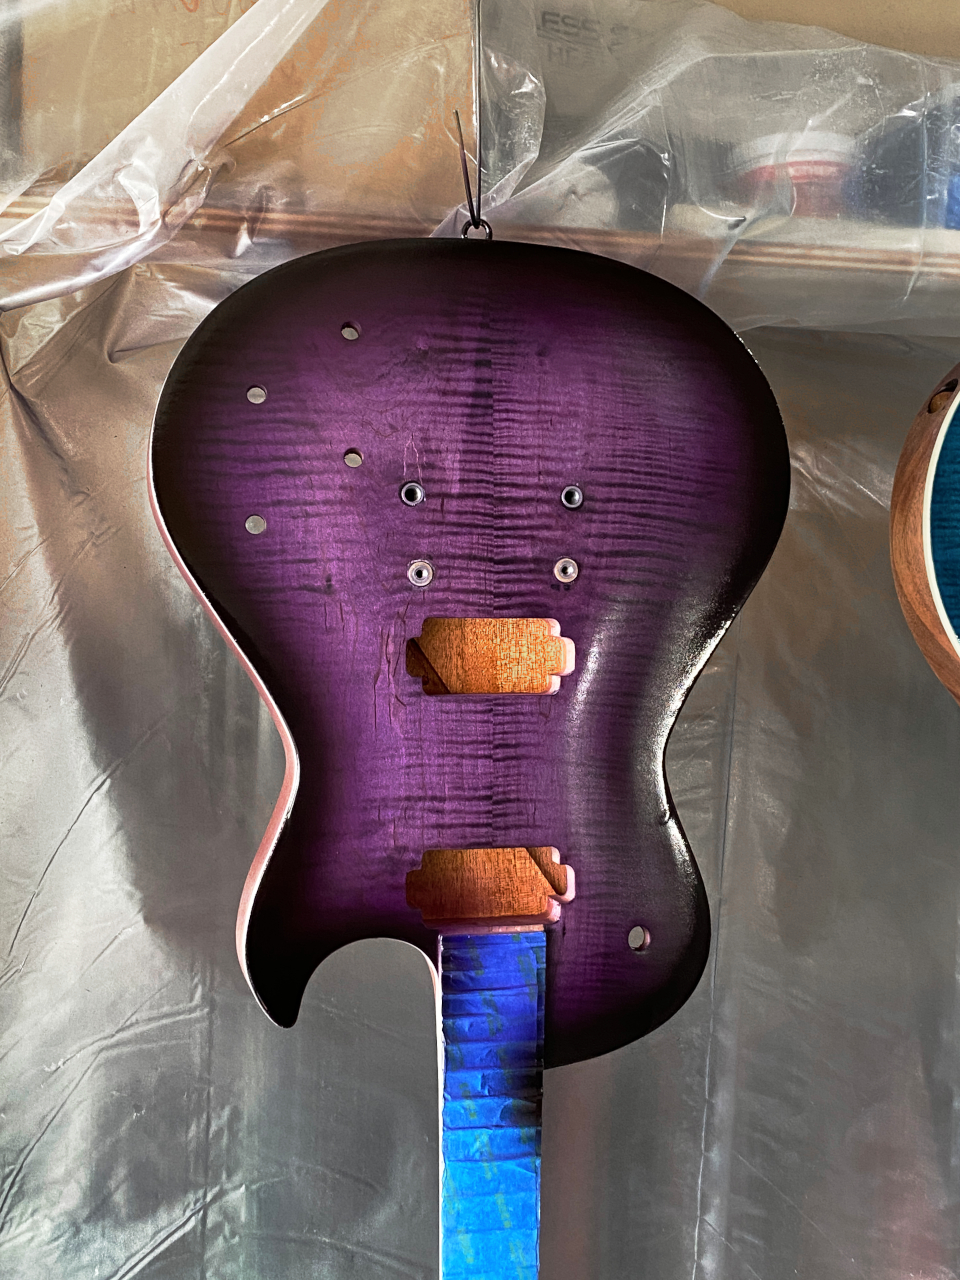
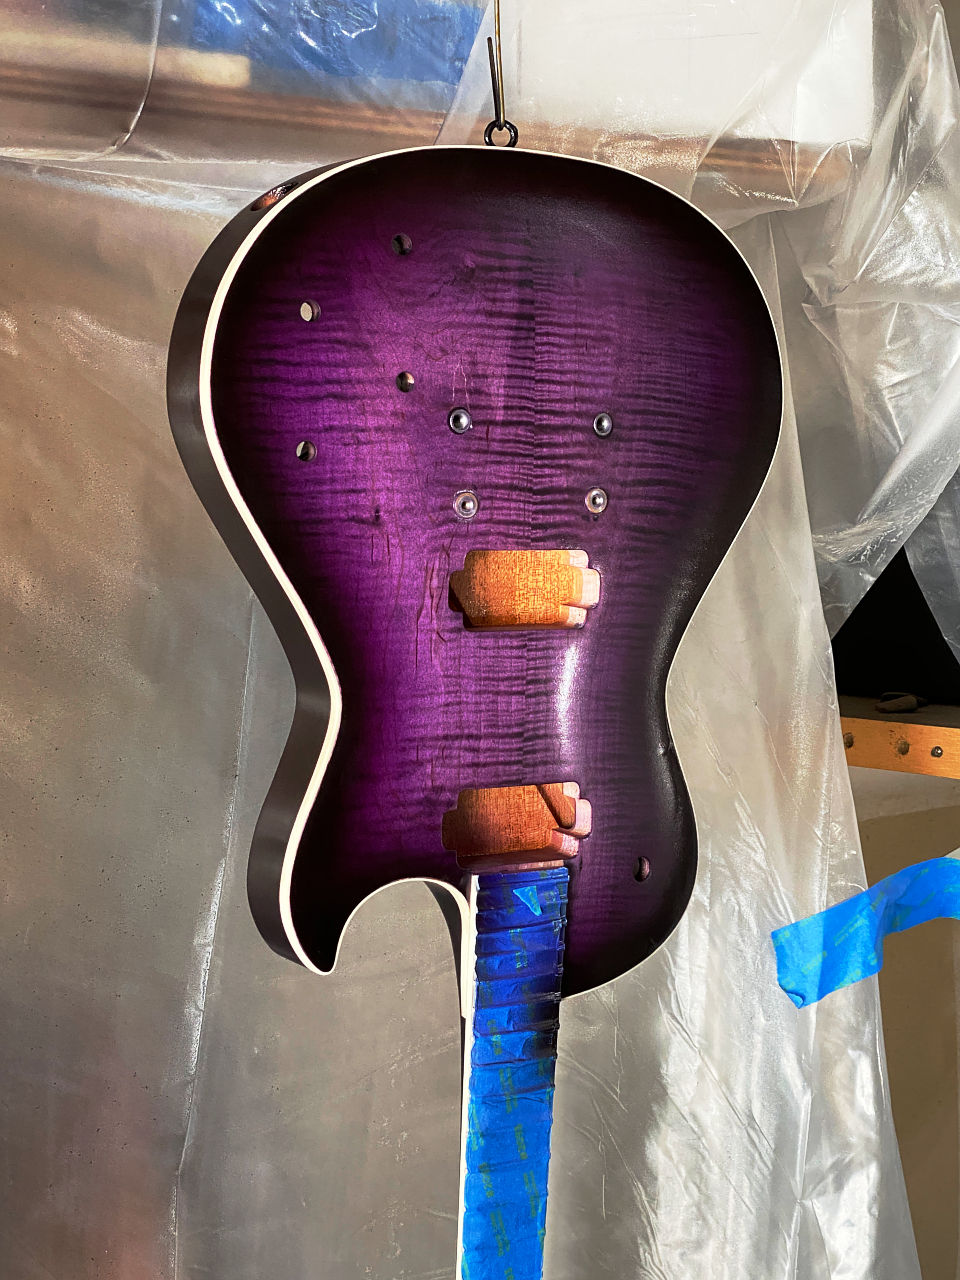
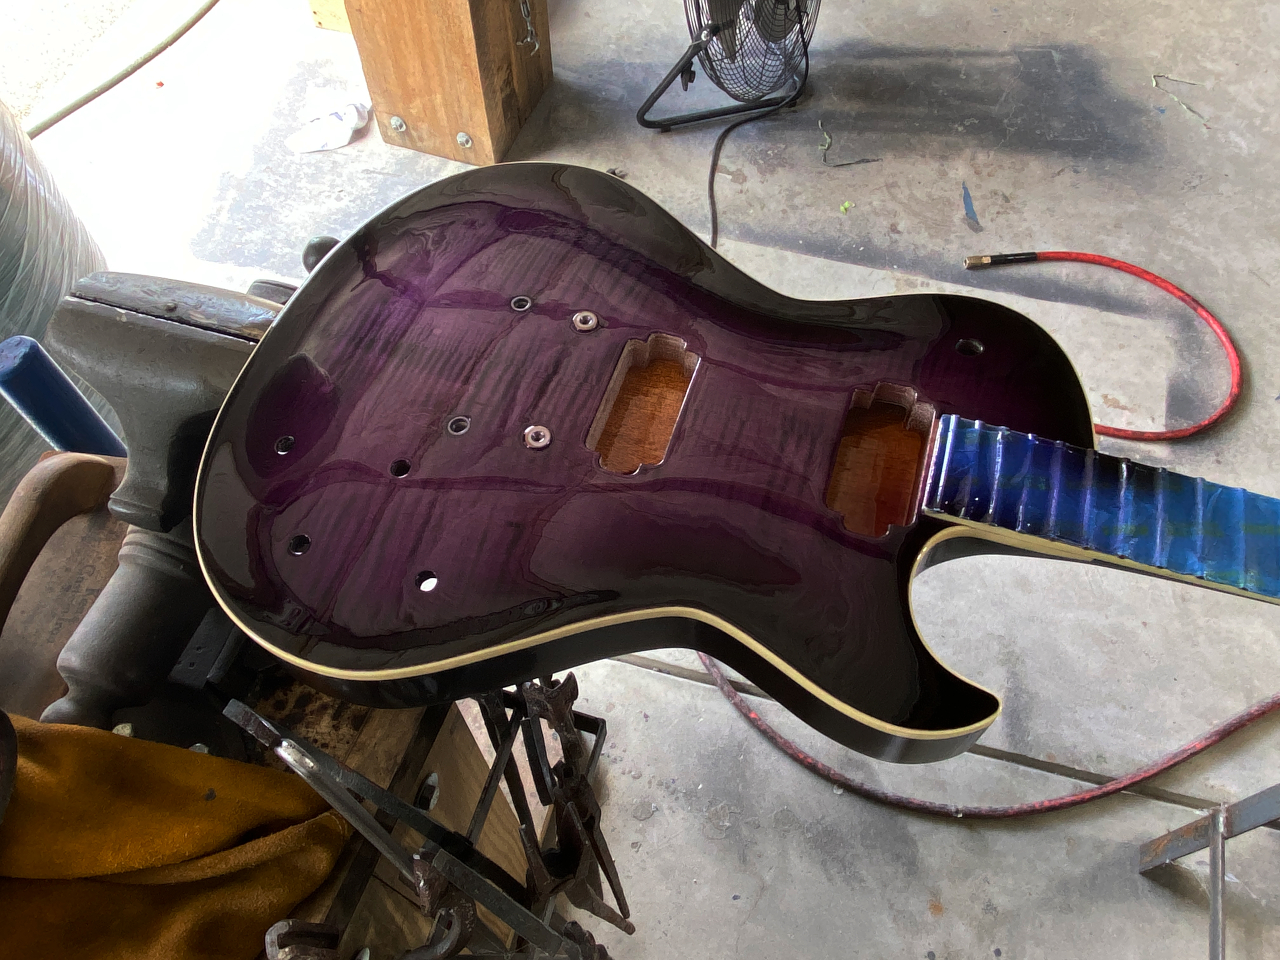
Next I use a detail HVLP spray gun to fist shoot a “burst” of a slightly darker purple which is a blend of clear nitro lacquer with transtint liquid dye mixed in to make the area outside of the center of the body start to become slightly darker purple closer to the edges of the guitar, and finally a very dark mix of that same dye, but mixed with enough black dye to make the color very dark. These dyes live in the clear lacquer that lays on top of the wood and tint it to the desired color, while remaining transparent. Layers are built up working from the middle out to the edge so that it gets darker and at the edge its so dark it looks black and becomes completely opaque.
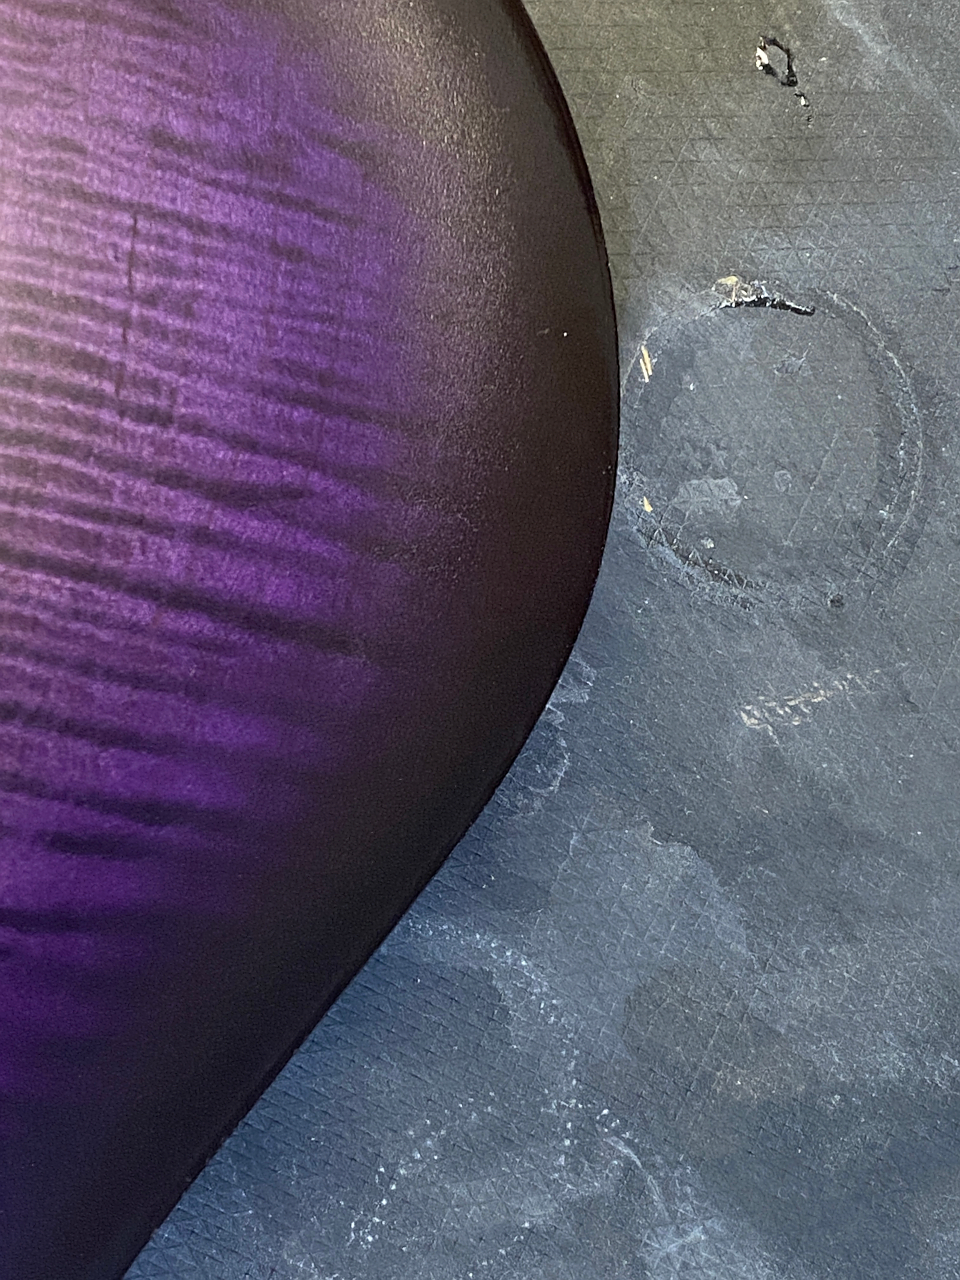
After that dries, the binding neats to have the laquer scraped off. Ass you can see here its completely covered.
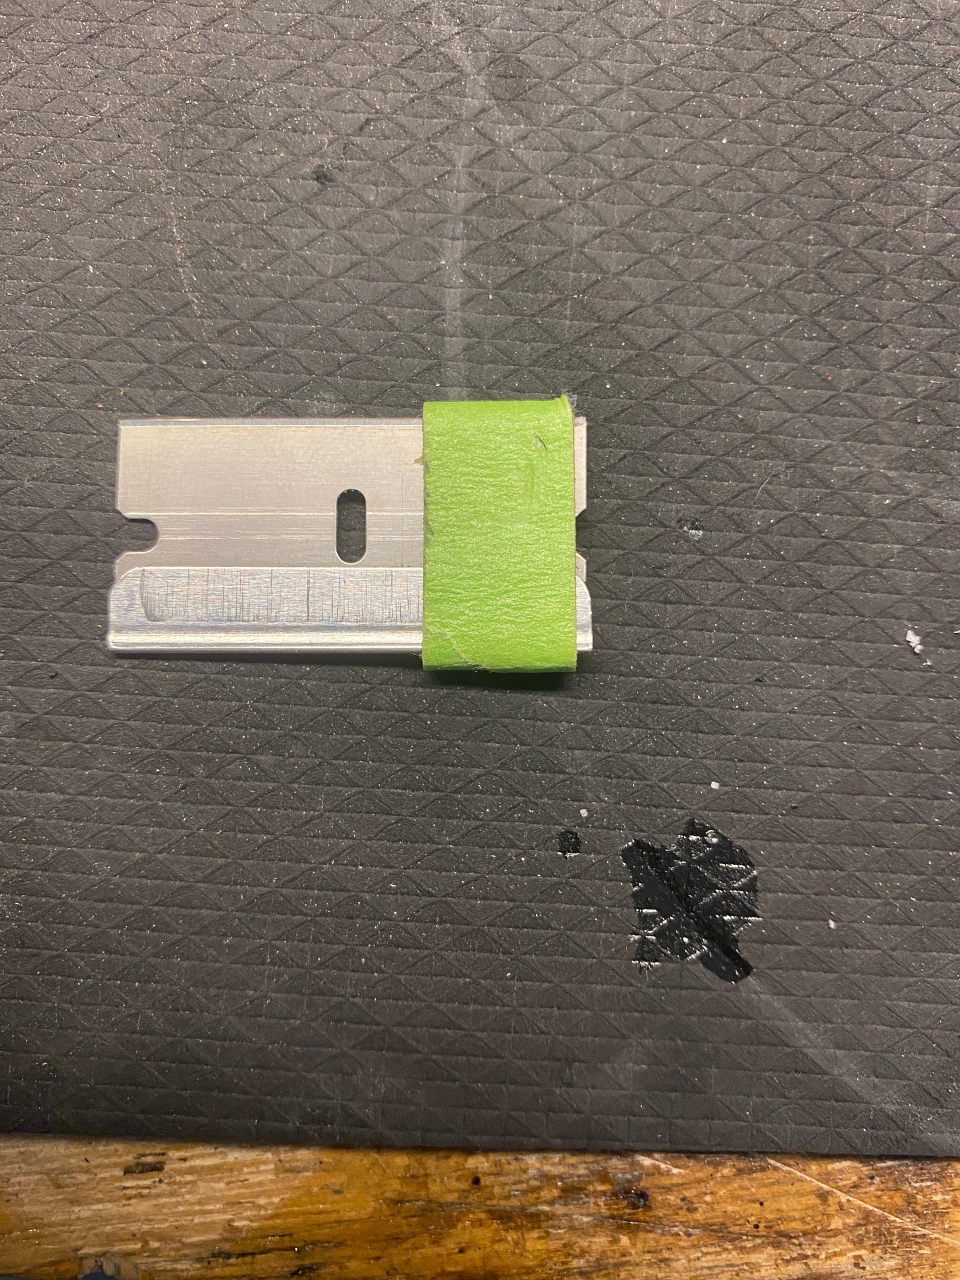
I use this very complex tool to complete this task. Takes a little while….
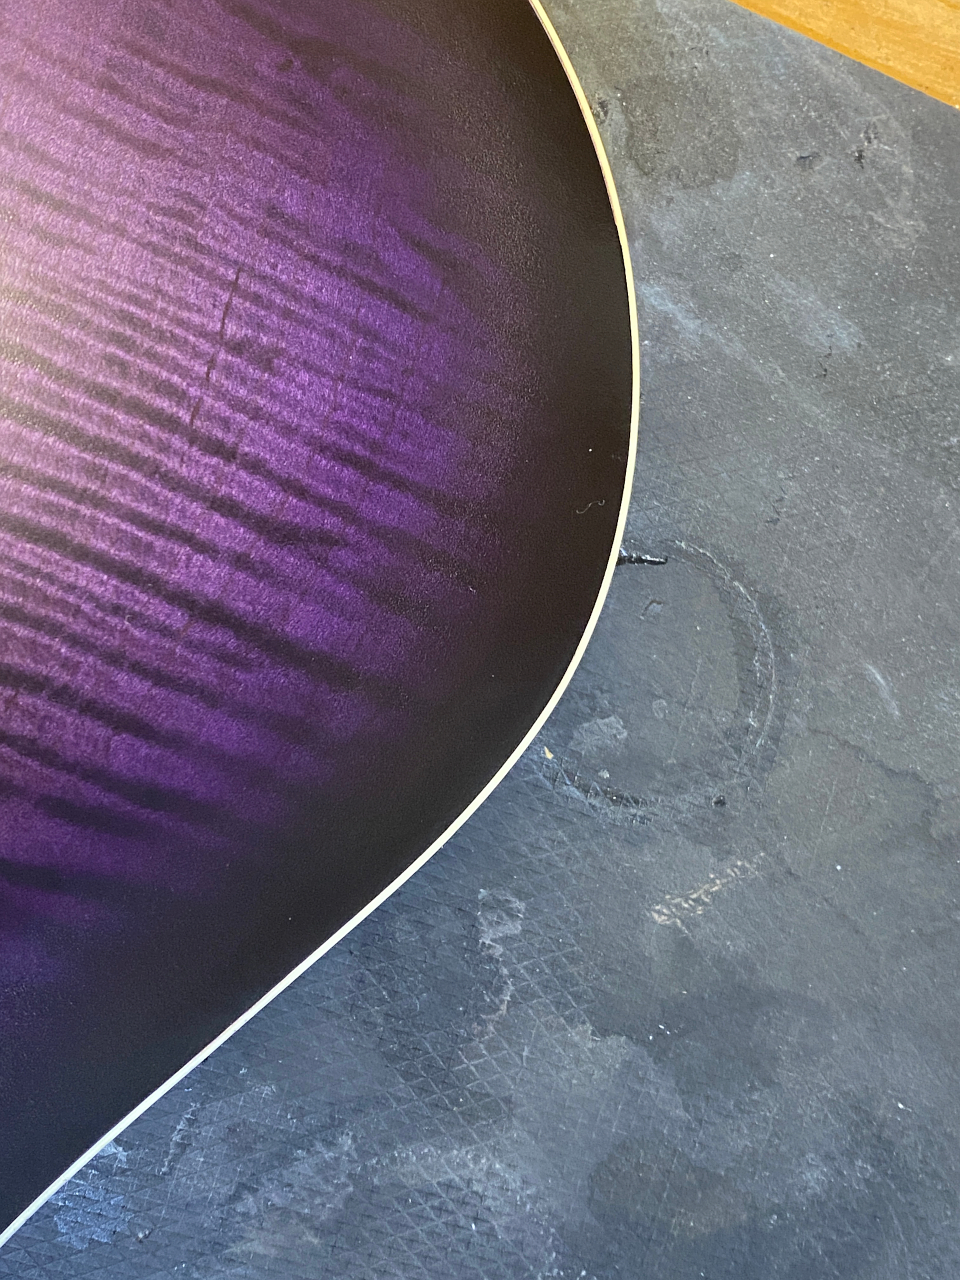
But leaves the binding nice and clean again
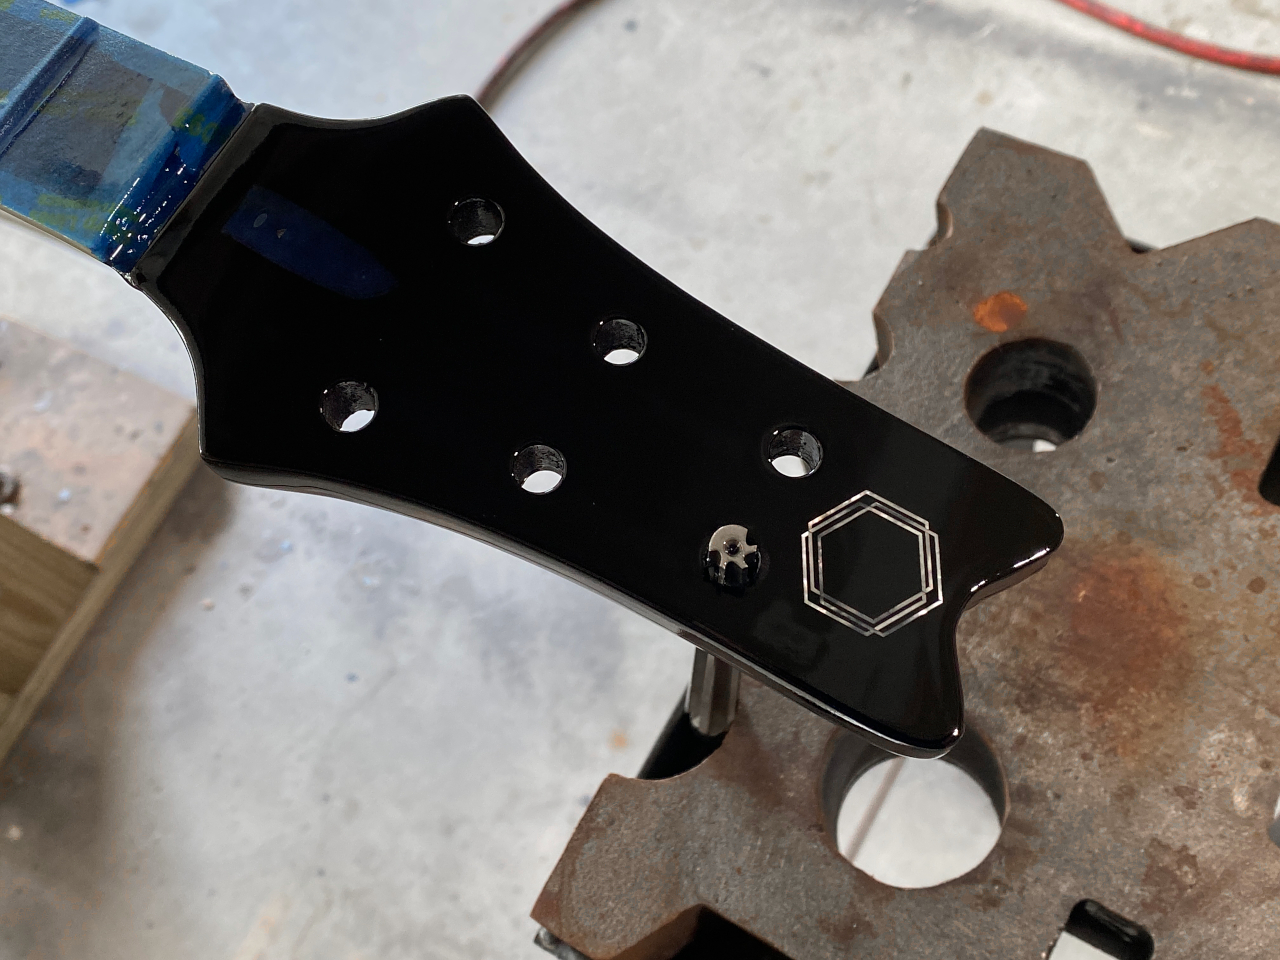
In this last shot, I’ve also sprayed the back, neck, and headstock of the guitar with black.
The story of finishing isnt quite complete yet. One thing to know about lacquer is its a fairly viscous substance and when you spray many layers of it, building up thickness, it doesnt flow out perfectly flat, but forms a bumpy texture called “orange peel” when it starts to shrink. Add to that effect the surface you are spraying it onto is more absorbent in some areas than others due to the figure in the maple, you wind up with a pretty uneven surface which is not idea for a gloss finished musical instrument. All that has to be sanded and buffed at the conclusion of the curing period, but a lot (not all) of that work can be eliminated by taking one final step at this end.
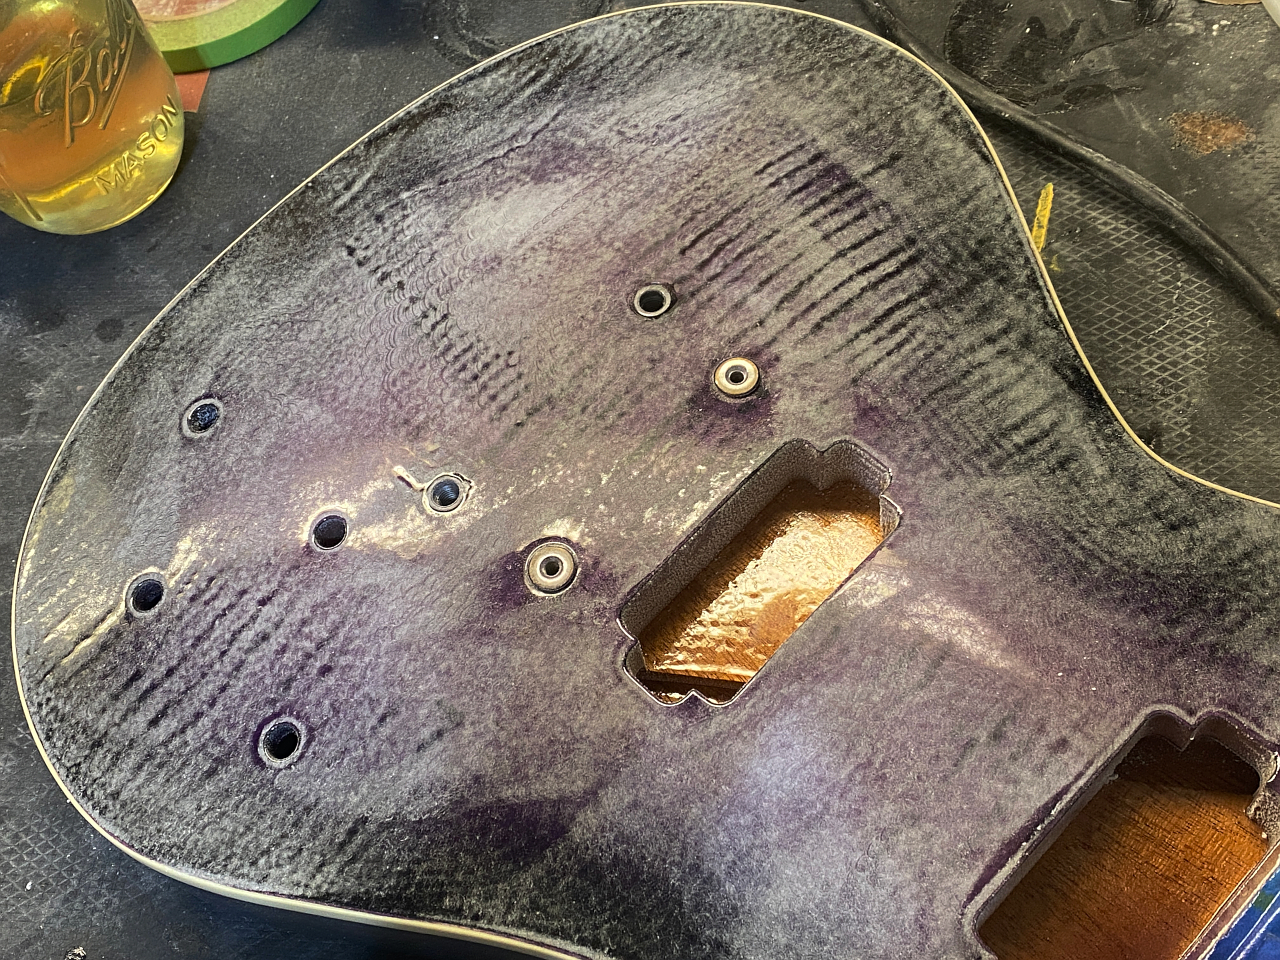
After the lacquer has had a few days to harden I can knock a lot of that orange peel and unevenness down using a 320 grit sanding disk and a random orbital sander.
You can see in this photo what I mean. the dark spots are the low areas in the finish, and the lighter areas are higher. So we have to sand the high spots down even with the low spots until its all smooth.
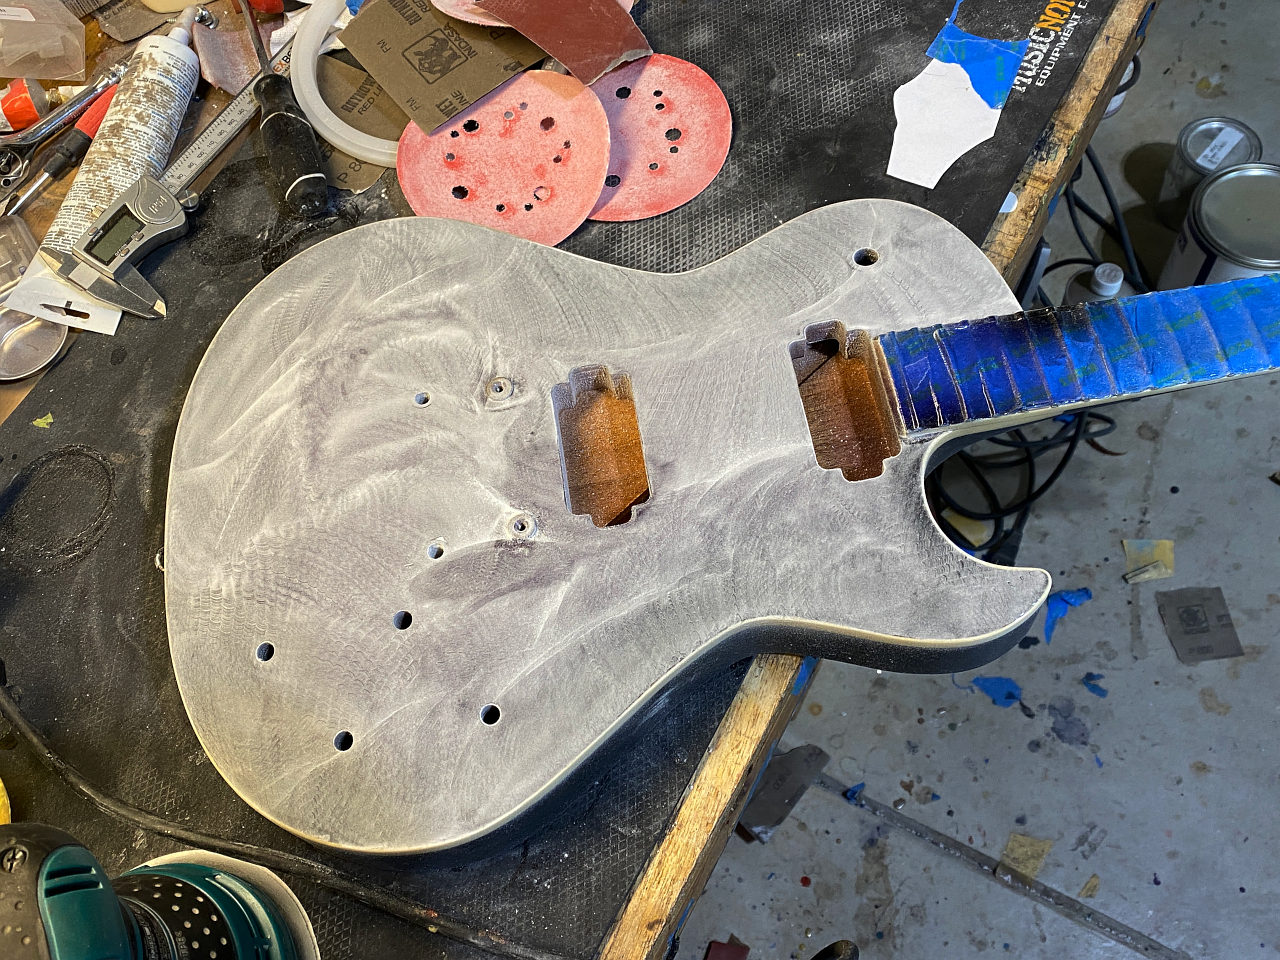
Everything is now smooth and even now,
We cant leave it like this thoughas the surface is now covered with 320 grit scratches which is a LONG way from the glossy look we want at the end,
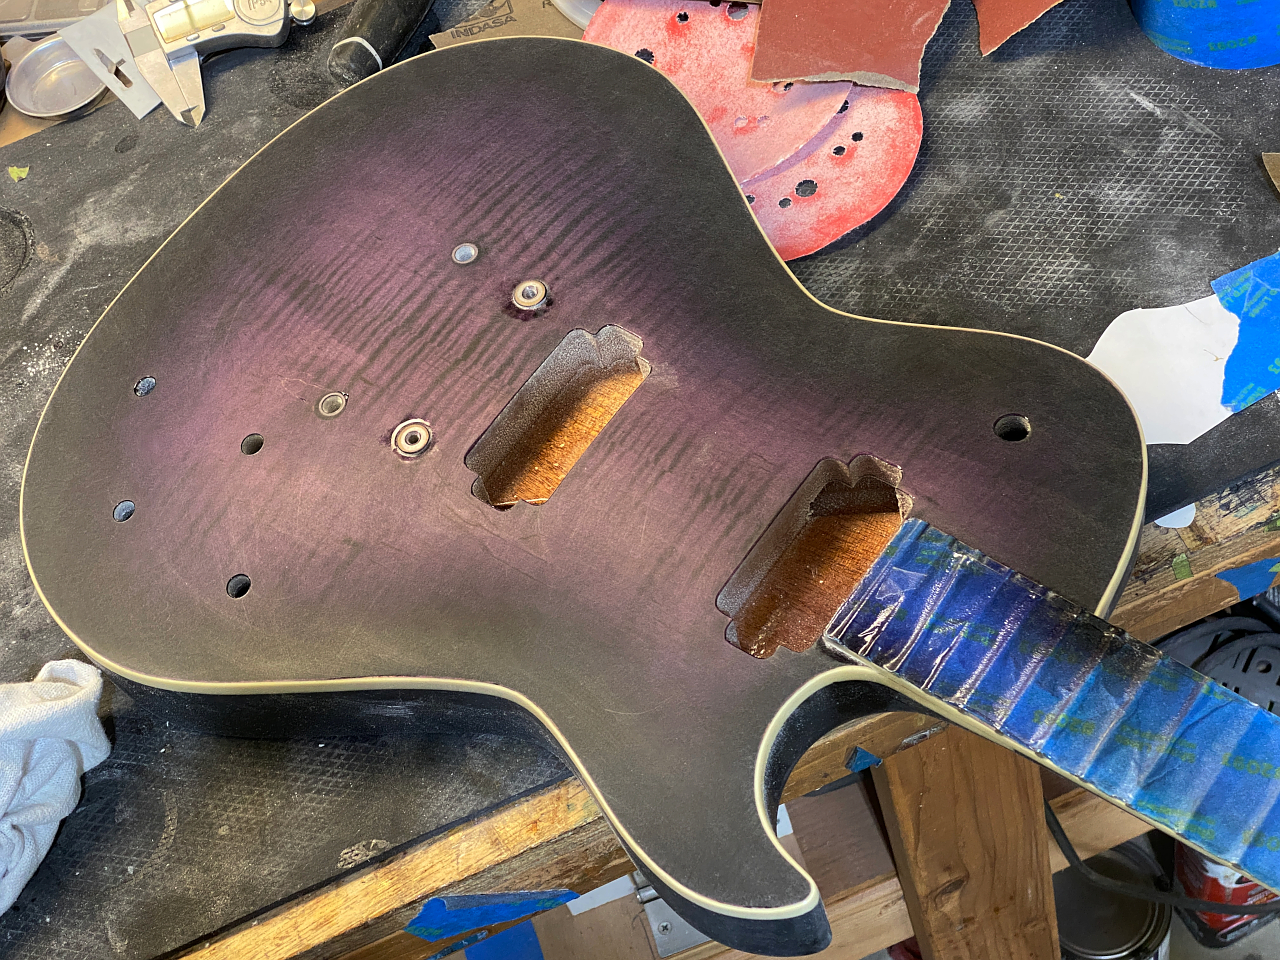
Now at this point I shoot a final coat of lacquer. This time the lacquer has reducer and retarder added in a 50/50 mix. So the viscosity has been reduced until its nearly water thin and the retarder slows down how quickly it “flashes” off so that it has plenty of time to flow out flat before it begins to harden.
what we are left with is a much smoother, flatter finish without scratches. Once hardened this will still have some orange peel and will need to be sanded and buffed, but it will take about 1/3 the time because at that end you cant use an orbital sander, but it has to be all done by hand. So an hour of work now saves about 4-5 hours at the end.
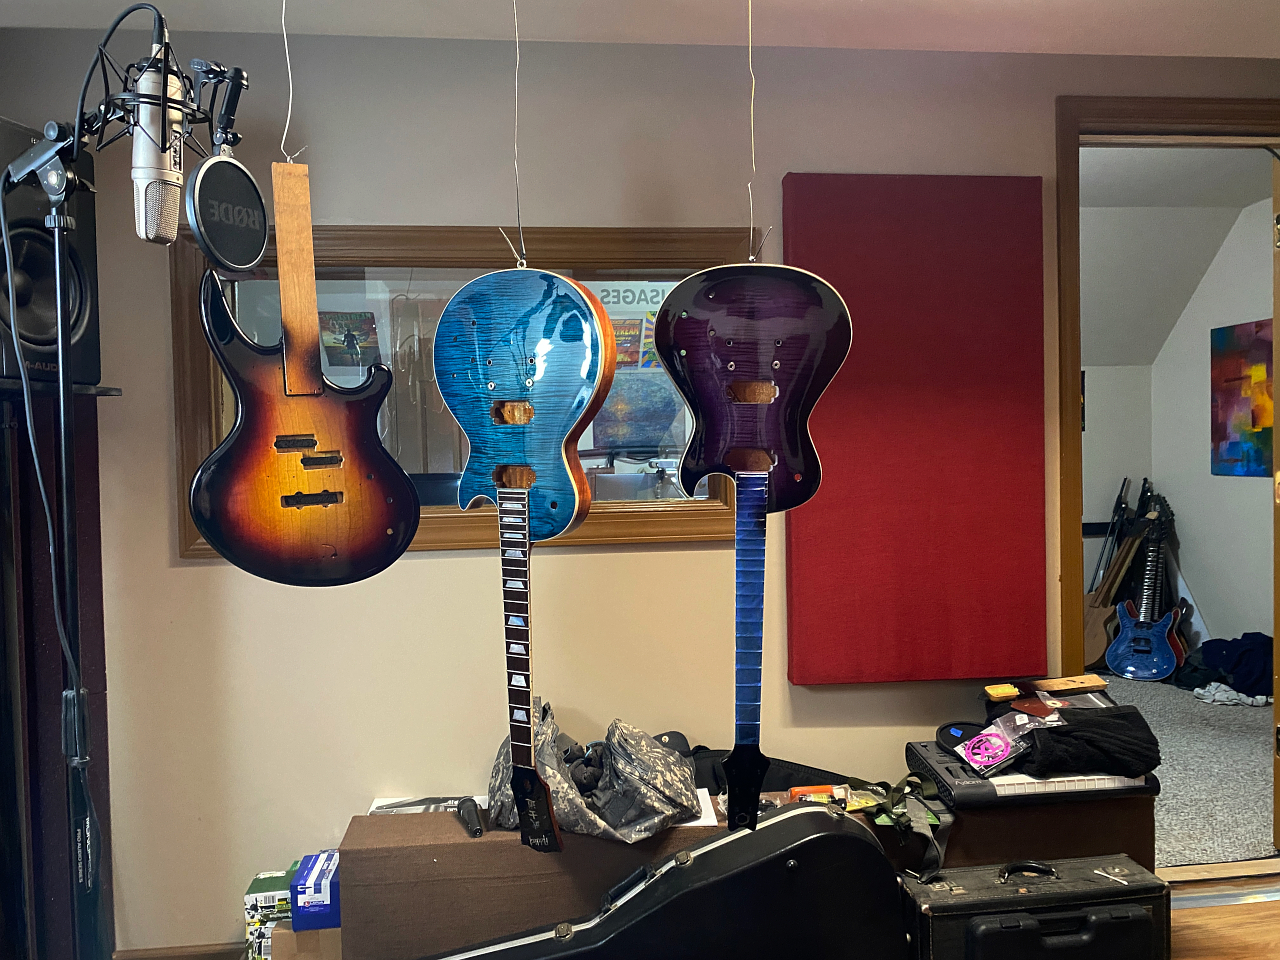
Now it hangs, along with 2 other projects I was finishing at the same time, for a month.

