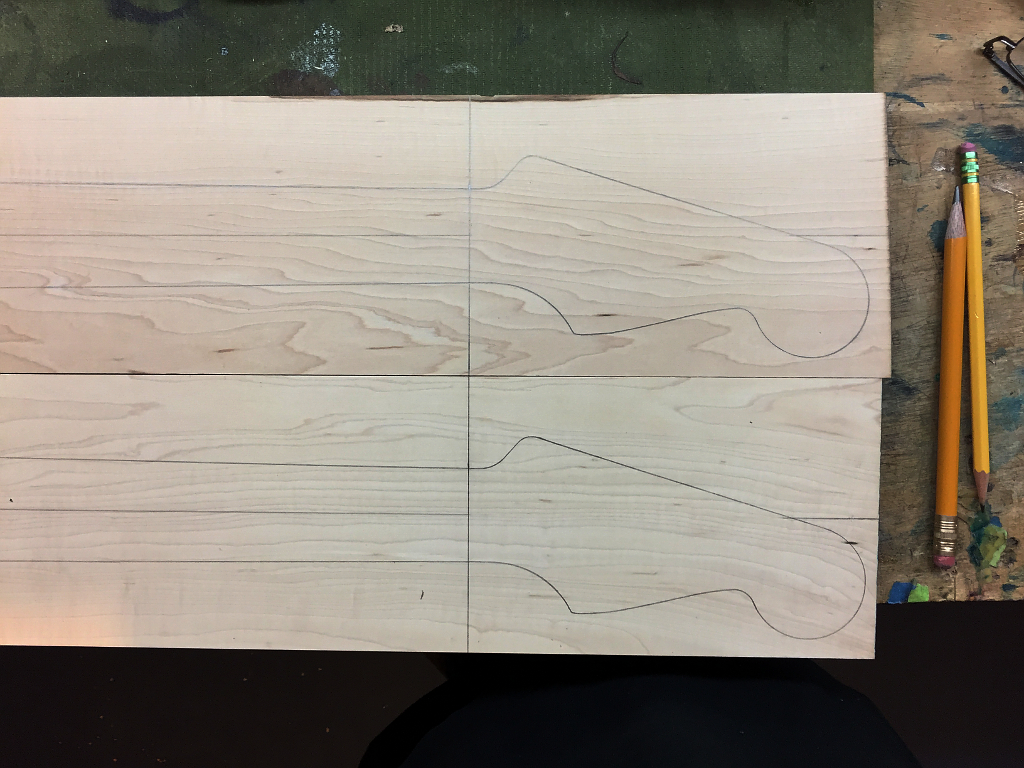
OK, so after discovering that the template I used for the neck was not accurate to the 62 Strat shape I was going for, I made a new template and 2 new necks 🙂
Sometimes you have to take a step back in order to move forward.
Fortunately, hard maple is not a terribly expensive wood so all I really lost was a little time.
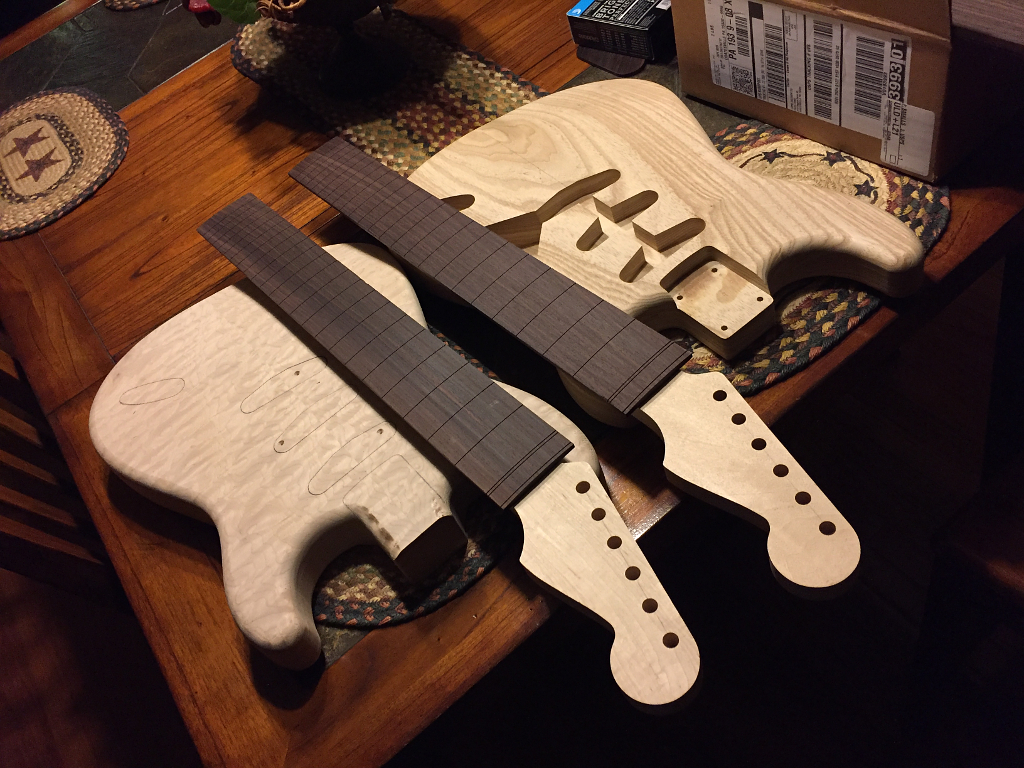
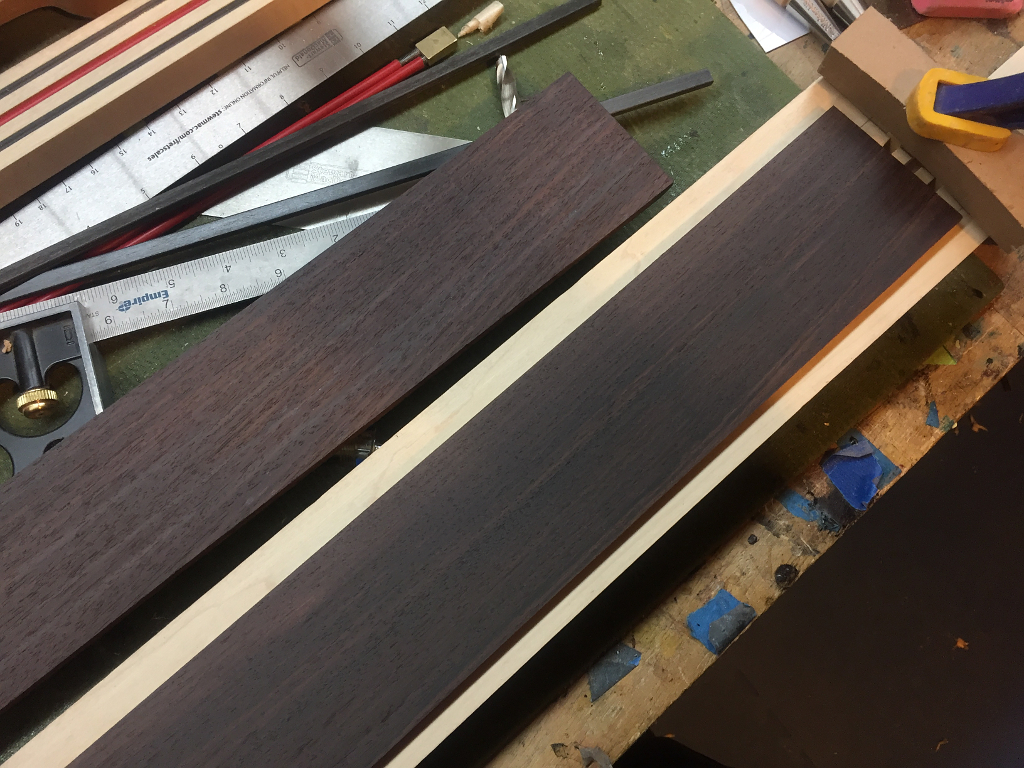
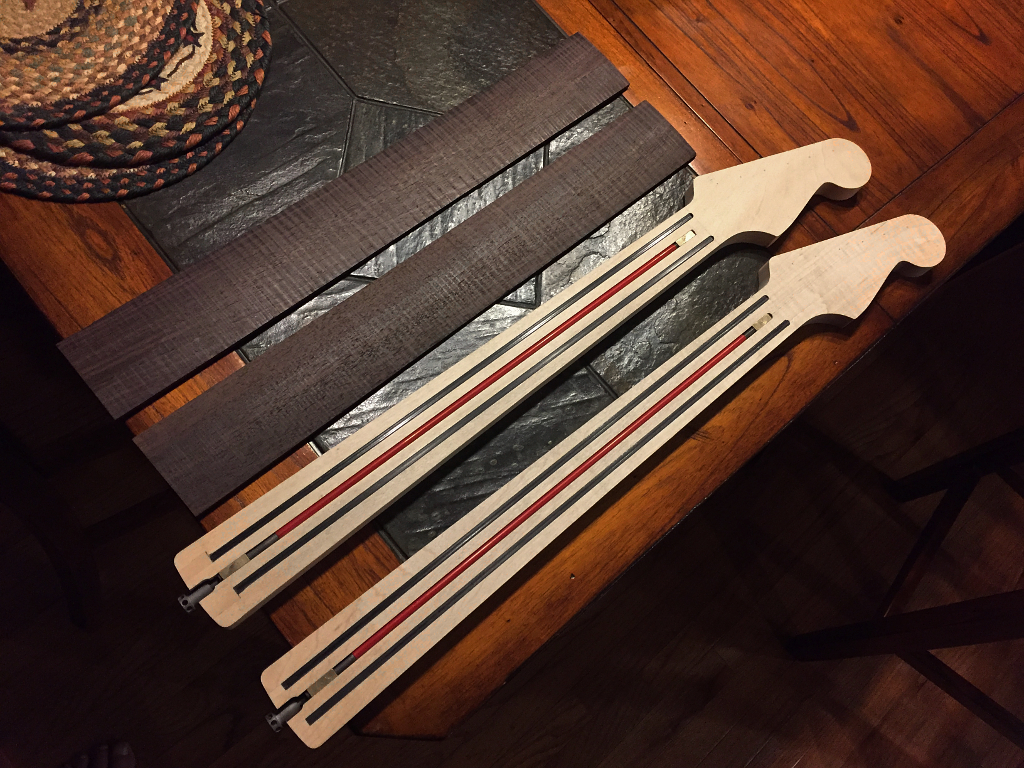
Heres our two new neck blanks…
I also bought a new bit for my router table. a bit on the pricey side, but worth every penny. No tearout. This bit routes an edge as smooth as if it was cut with a razor sharp hand plane.
Solid carbide, spiral upcut flush trim bit.
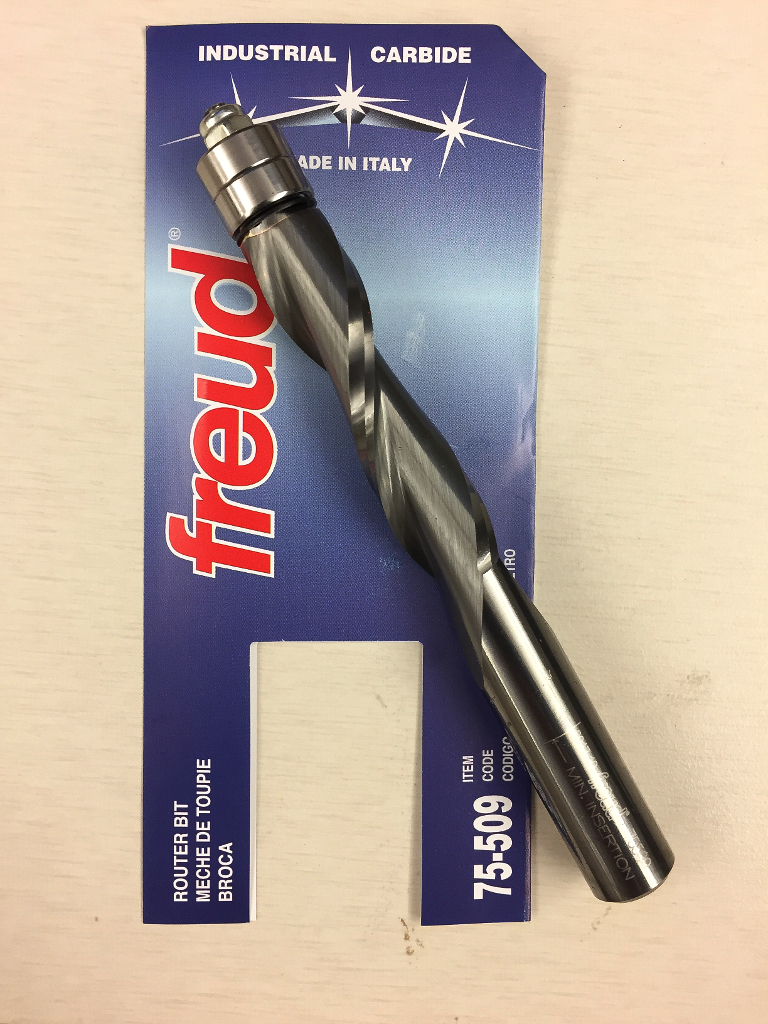
Gives us this 🙂

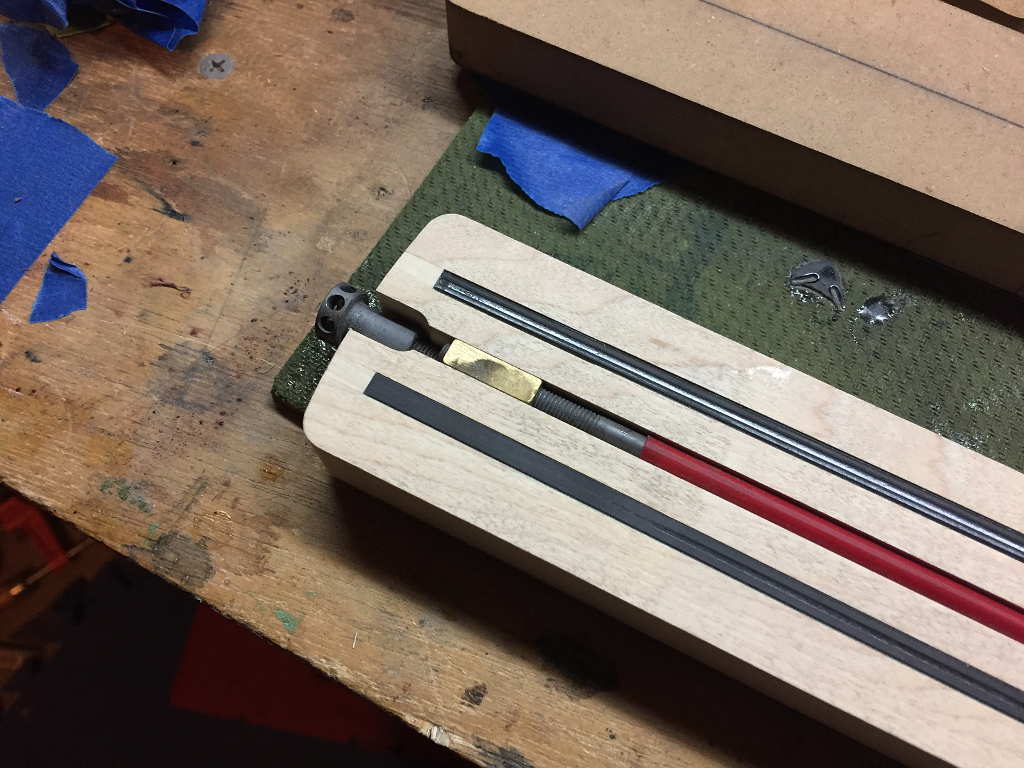
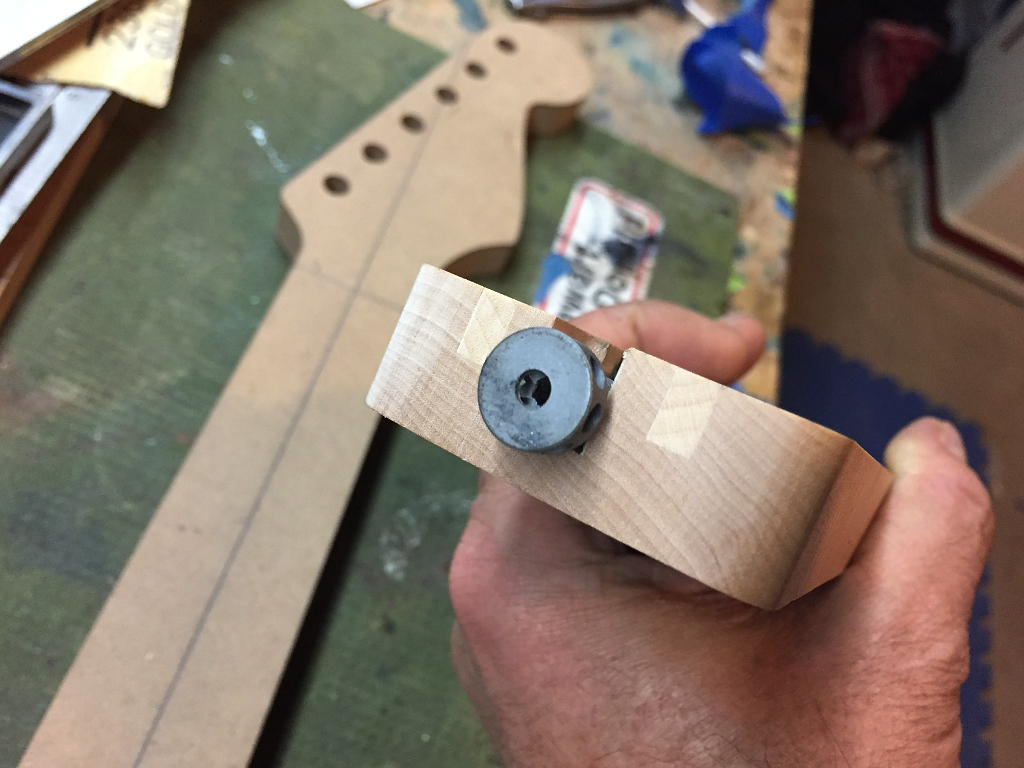
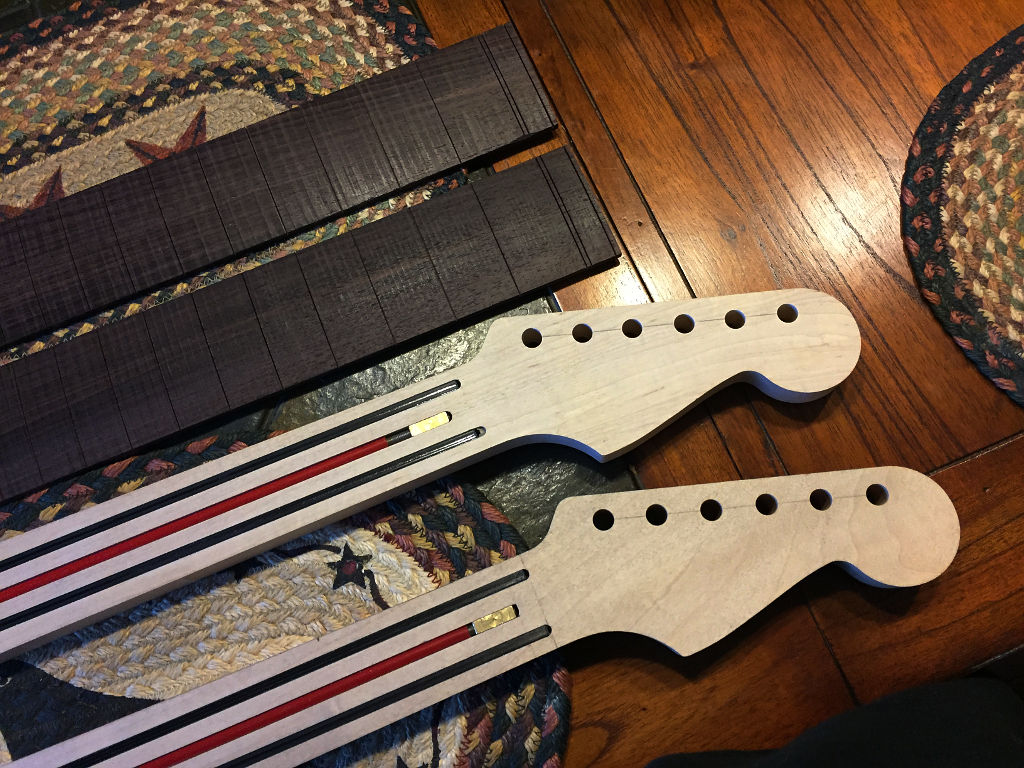
Unlike all my previous Strat builds where I just ran the carbon fiber off the heel, this time I cut them short and filled the remaining slot with strips of hard maple. Ultimately this was really an unnecessary step. Its purely cosmetic, and even then its on a spot you’d never actually see unless you remove the neck, but what they hey. In for a penny, in for a pound.
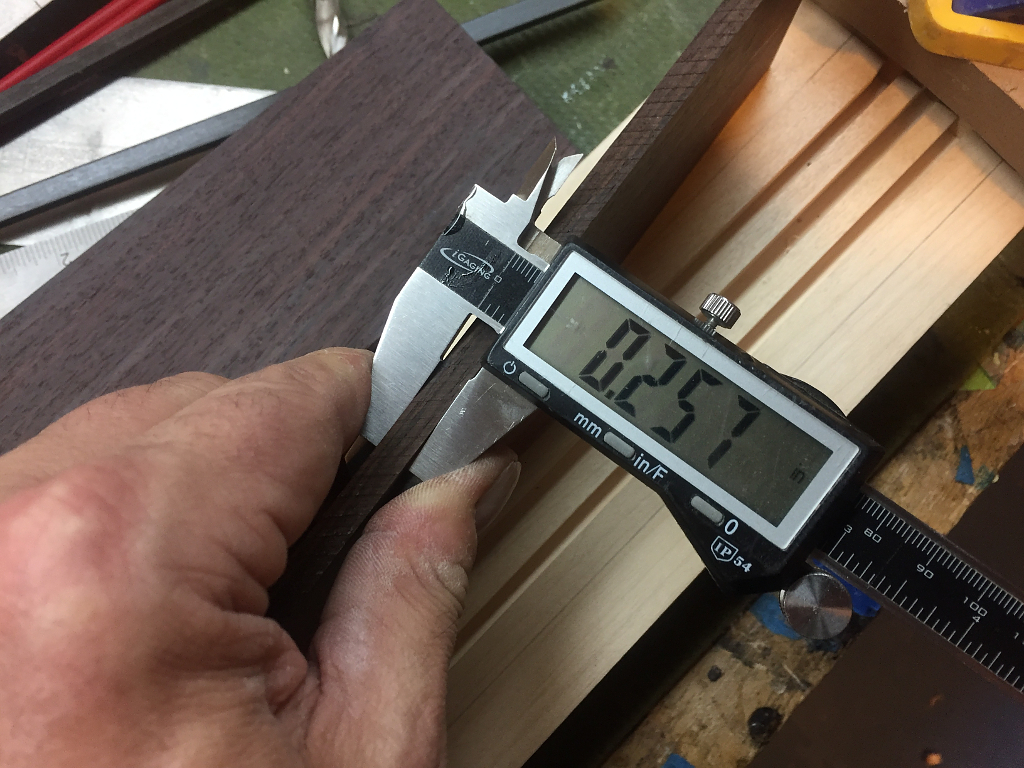
Time to start working on the fretboards. the same steps are taken to get our boards to the right dimensions as I did with the necks and bodies. Flatten and square them up using the jointer and the planer/thicknesser. the total thickness of the necks at the heel should be exactly 1″ at the thickest point (centerline) including the neck and the fretboard. Some folks confuse the terms “neck” and “fretboard” so for the sake of clarification, the neck is the maple part, and the fretboard is the rosewood part. The necks were planed down to 3/4″ so our fretboards need to be 1/4″ to bring the total to 1″
We will still have some sanding to do after the board has a radius on it, so we leave them a few thousandths on the thick side for now.
and we cut them to the right length…
and the right width….
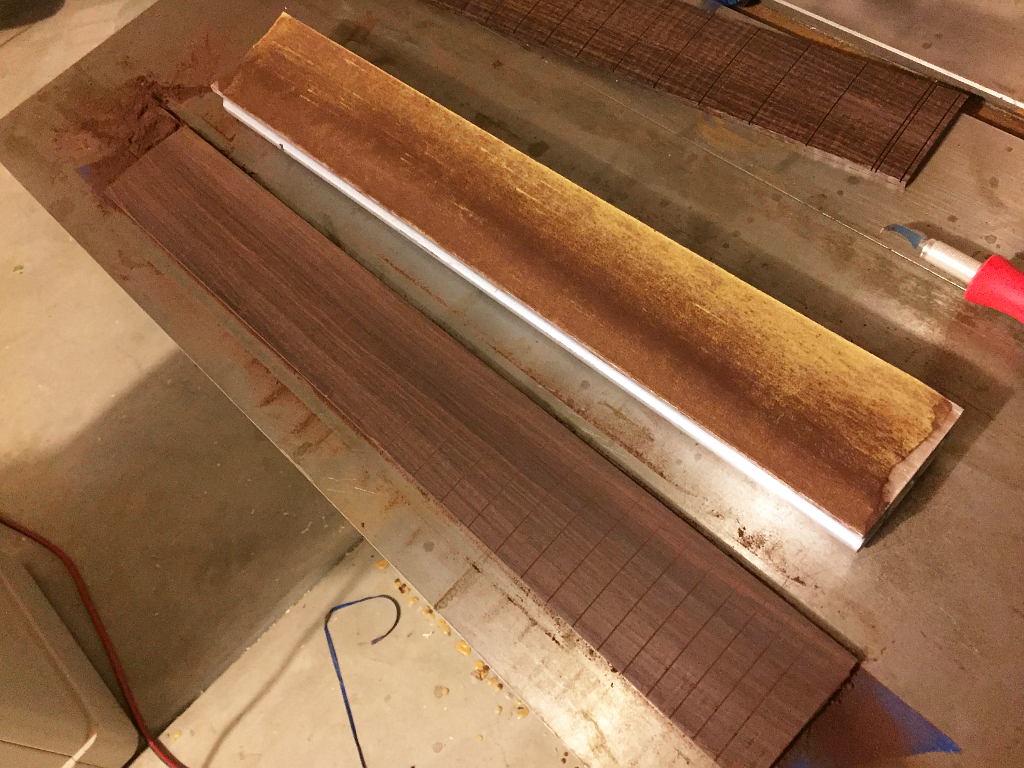
then I mount them into my fretboard radius jig. This is a purpose built jig that allows me to use my hand router to put a perfect radius on the fretboard. In this case we are going for a 12″ radius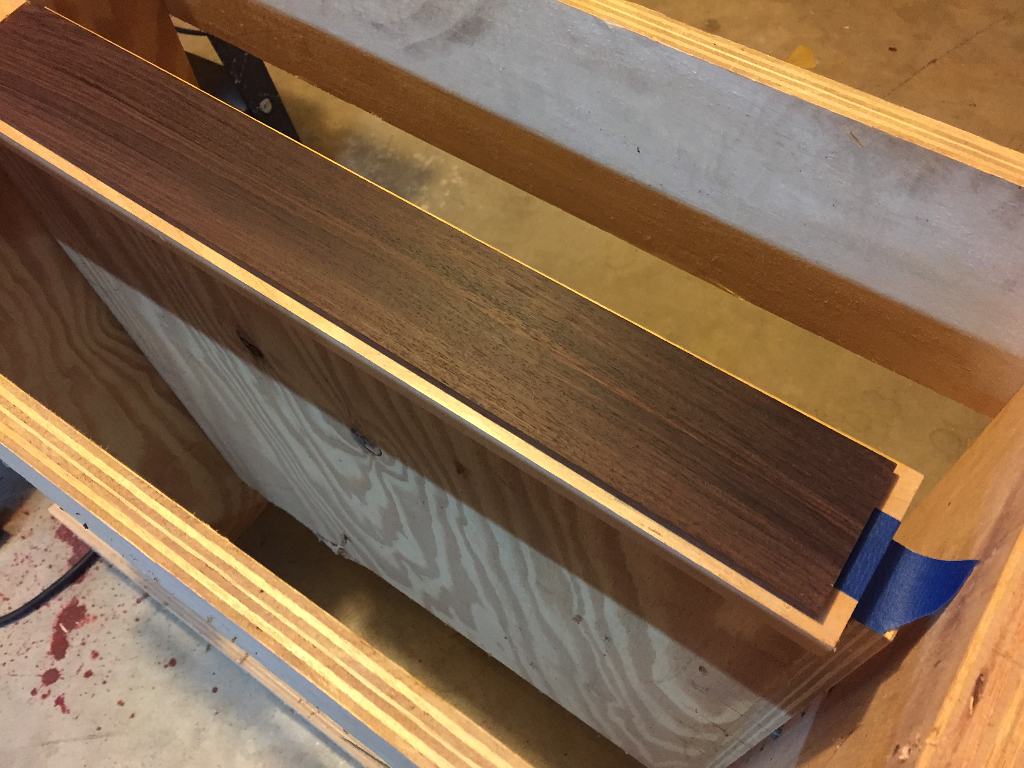
the router sits on top. The fretboard is attached to a board that pivots back and forth allowing the router bit to carve the top of the board. As you have probably guessed, the distance from the top surface of the fretboard to the point where the centerboard pivots is exactly 12″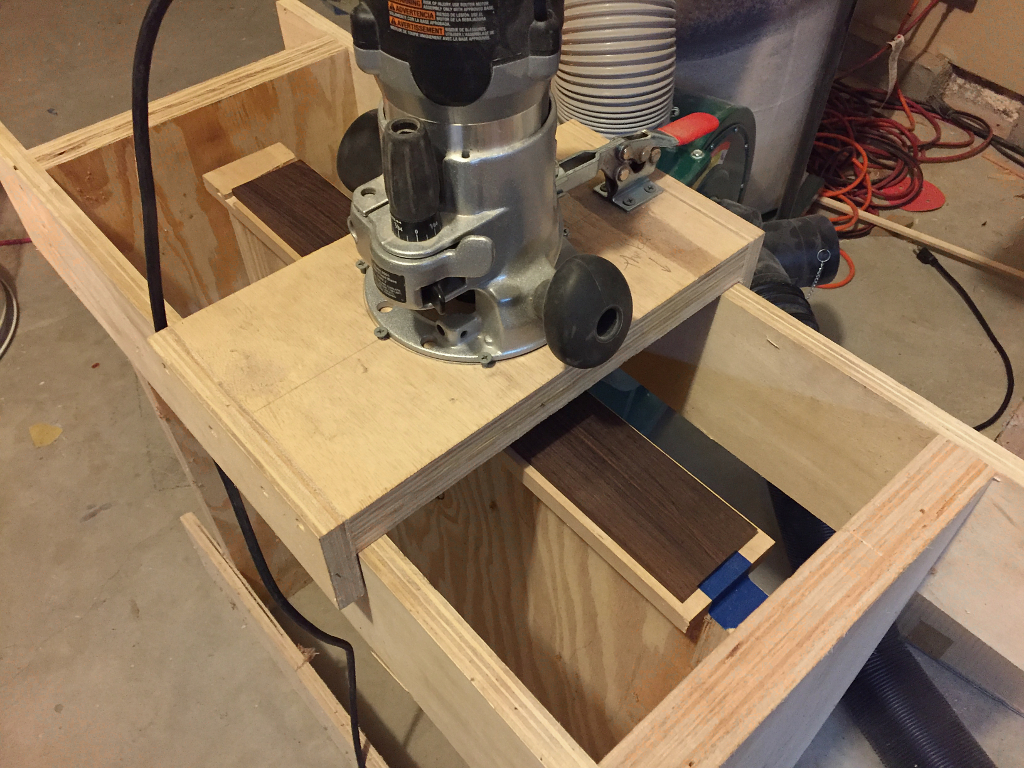
Rocking the board back and forth and moving the router along the top carves a perfect 12″ radius onto the board. The tool marks you can see at this point will eventually be sanded smooth, but not until after the fret slots are cut and the inlays are put in. At that point the whole board will be sanded smooth and the tool mark will be gone and the inlays will be perfectly flush with the surface.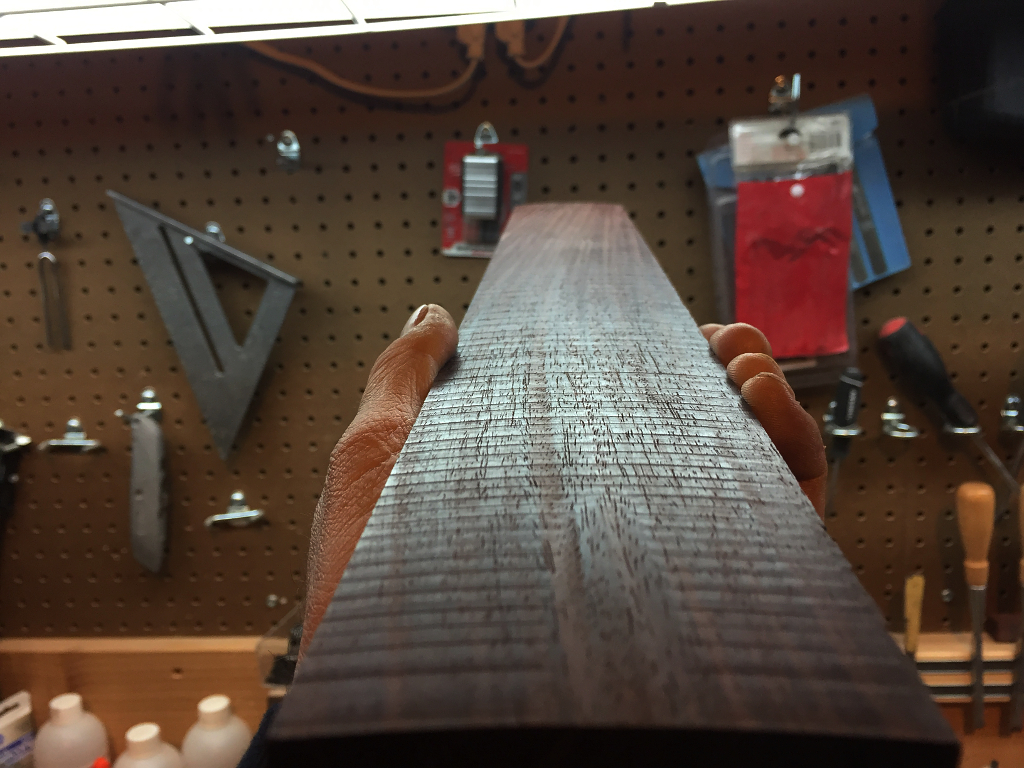
so here we are with two completed necks and two radiused fretboards…
Moving right along, fretboards need slots to press the fret wire into. I used to do this the “old fashioned way” literally using a narrow kerf hand saw. While that works quite well, it is very time consuming and generates the possibility of human error. There are many places in guitar building where being off by small amounts means literally nothing with regard to how well the guitar plays, looks, or sounds. Fret placement and spacing is not one of those areas 🙂
Frets MUST have exactly the right spacing down to a thousandth of an inch in order for the guitar to have proper intonation and the all the fretted notes to be exactly what they are supposed to be.
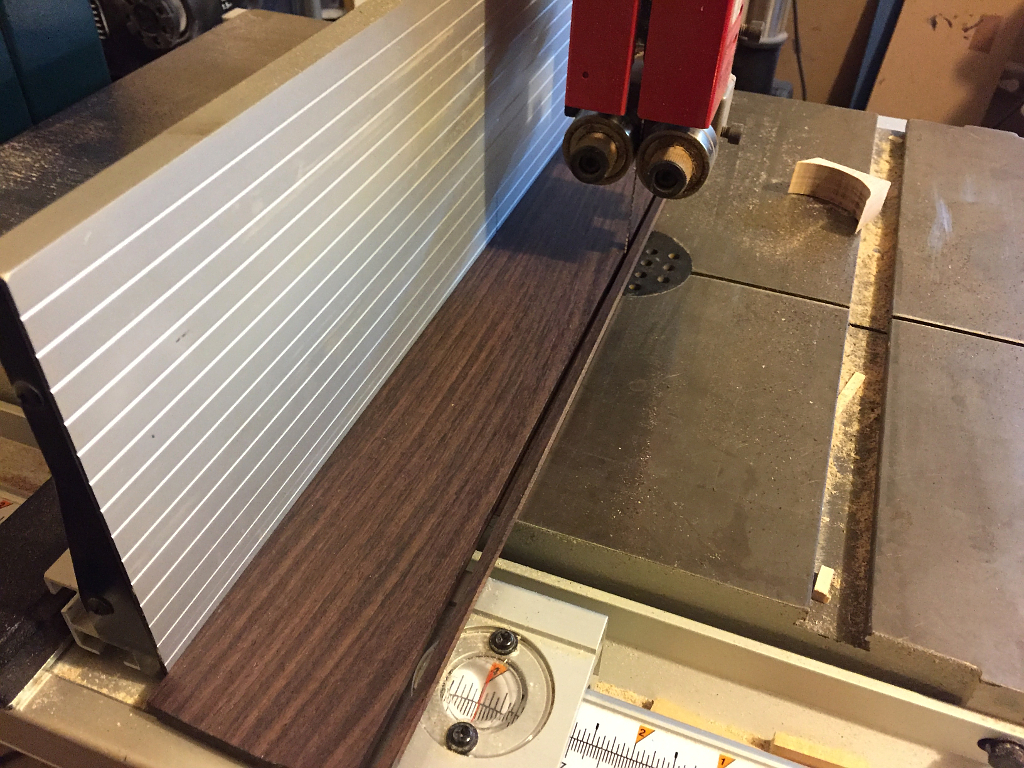
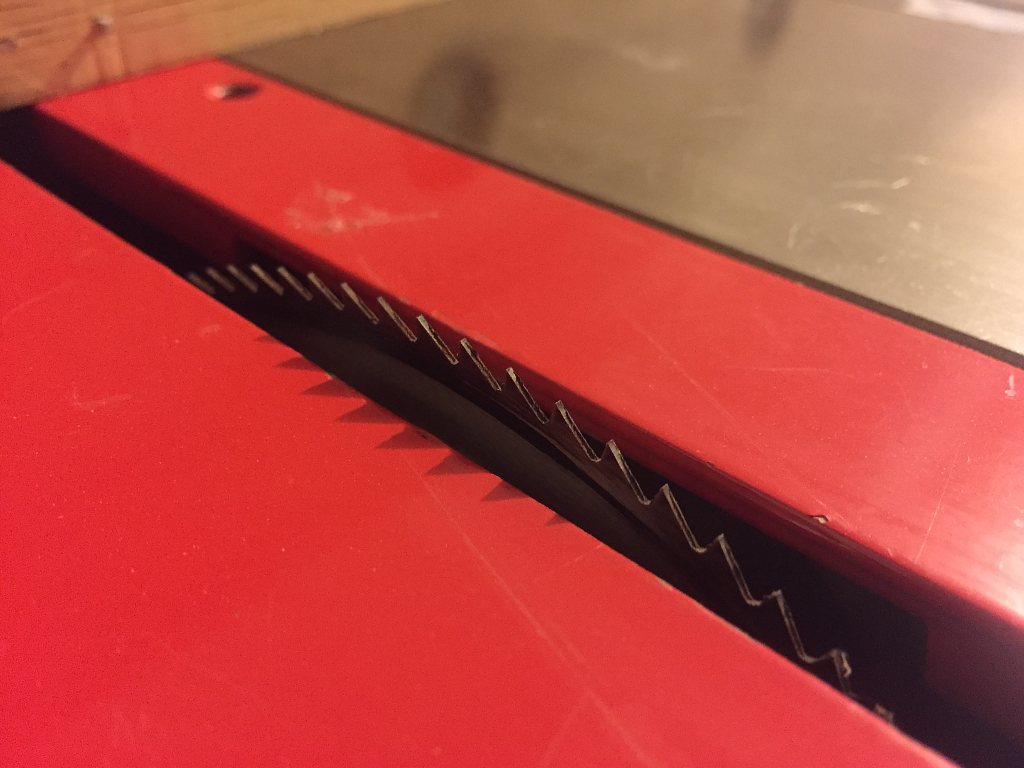
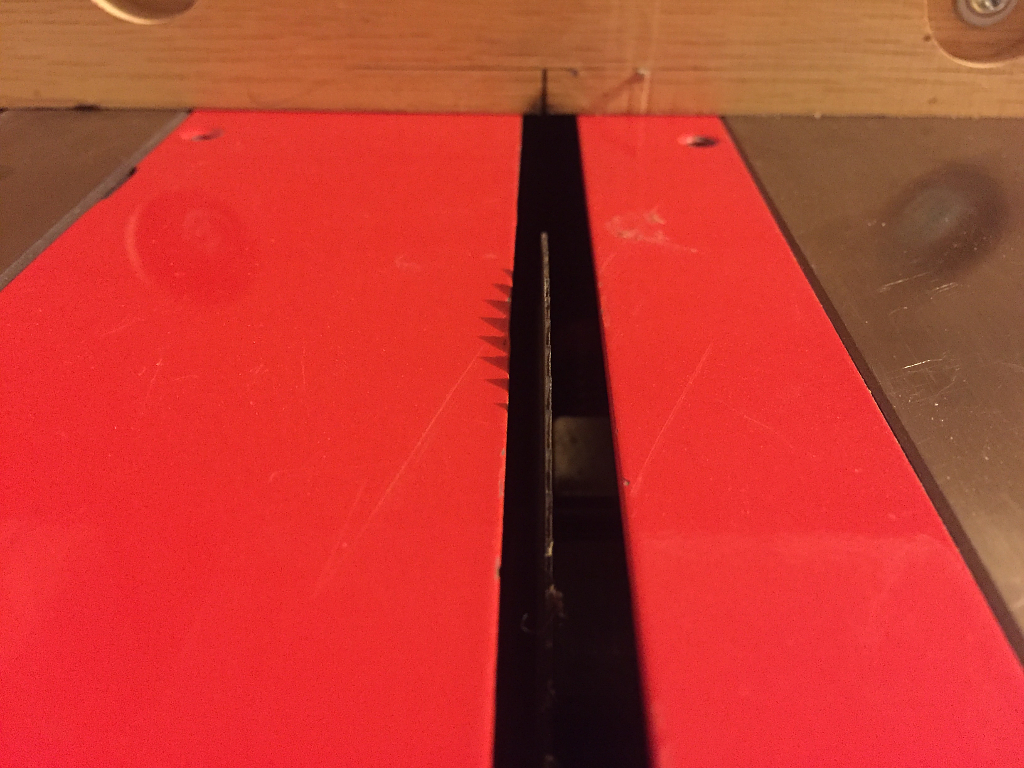
To eliminate the possibility of error in this part of the build, and to speed it up significantly, I acquired a template that indexes the fret slots exactly where they need to be. The template is notched along one edge with the notches being spaced precisely at a 25.5″ scale length. The notches fit against an indexing pin I put into my slotting jig. The slotting jig fits into the grooves on my table saw, and I picked up a saw blade with an extremely narrow kerf (.023″) thats exactly the right width for fret slots.
The fretboard is attached to the template
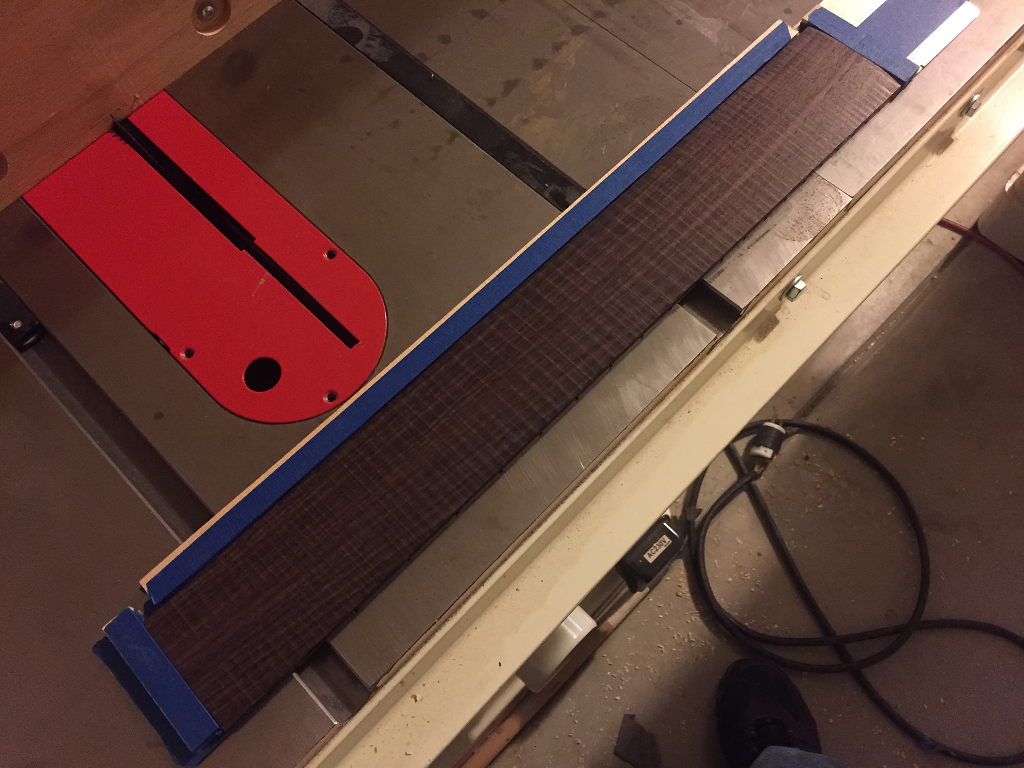
Flip it over…
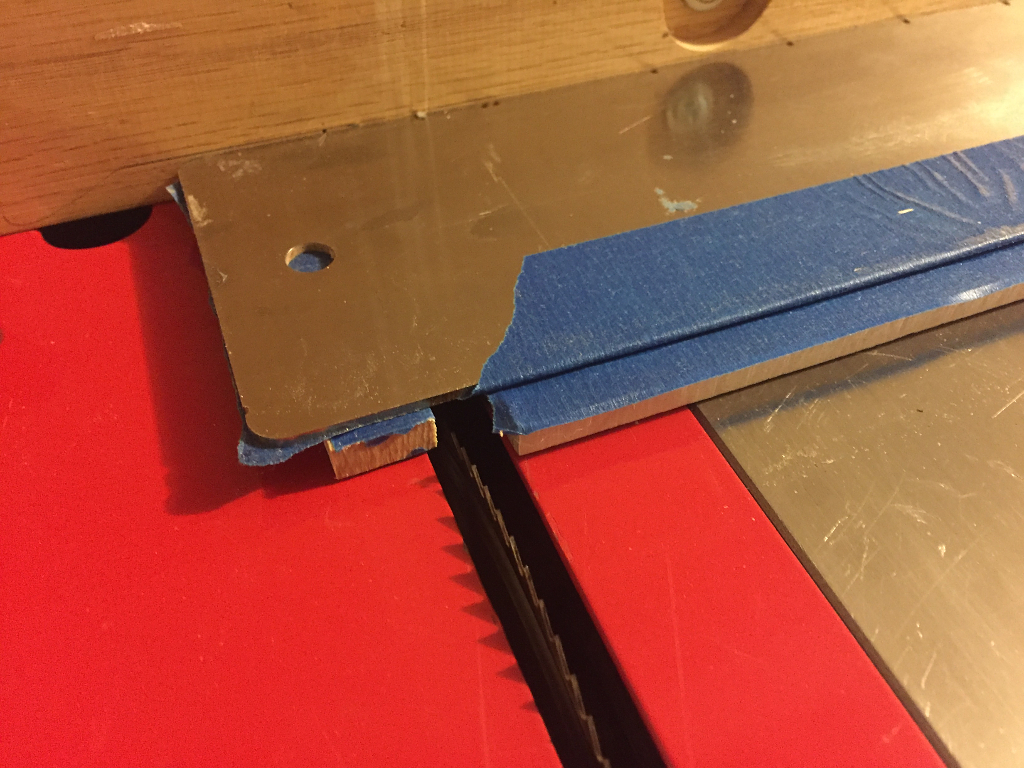
The template fits onto the indexing pin, and I cut the slot. then I move the template down to the next notch and make another slot. Repeat until the required number of fret slots are cut.
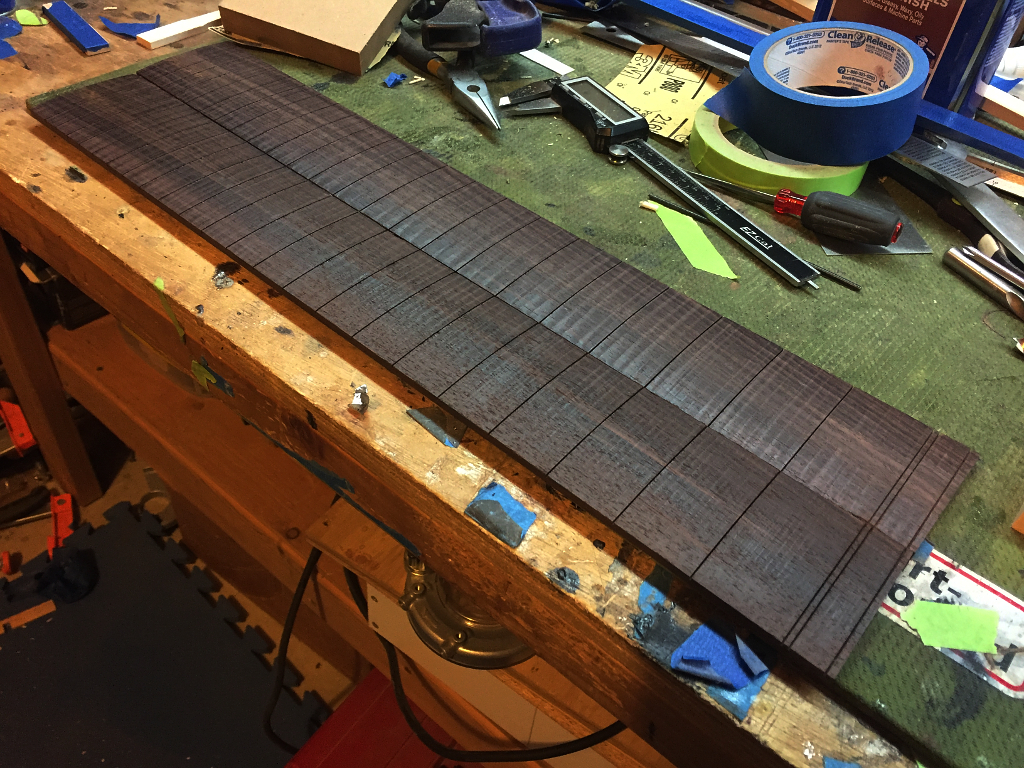
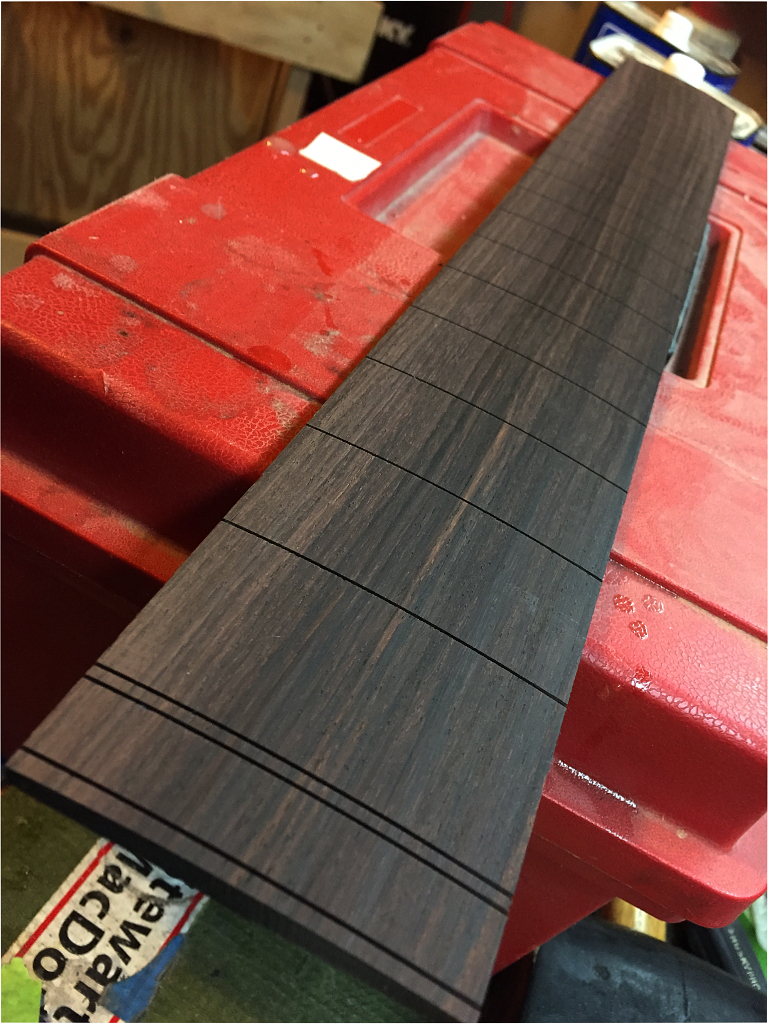
This takes a process that would normally take a couple hours and reduces it to the time it takes to attach the fretboard to the template and make the cuts, as well as assuring the slots are exactly where they need to be. Again, these boards look pretty rough at this stage but fear not. these are really nice pieces of rosewood and once sanded smooth you’ll see how nice they really are. Incidentally, they both have very nice tap tone.
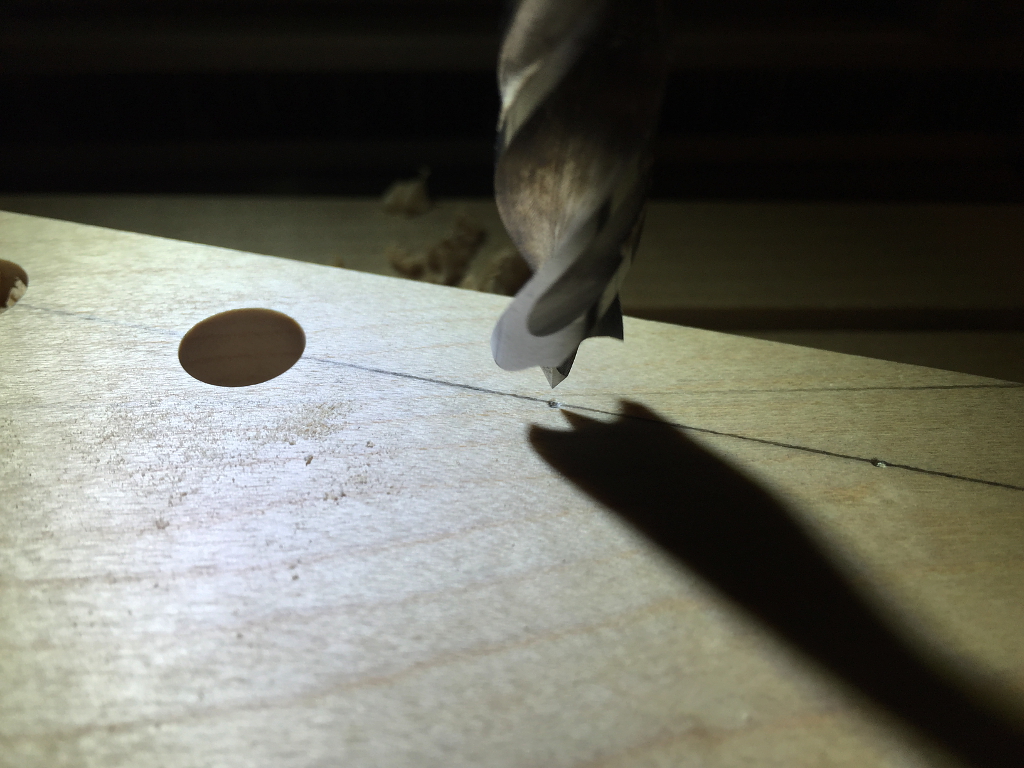
Moving back to the necks, I made quick work of the tuner holes. Marking out the placement and spacing…

The 3/8″ brad point drill bit allows very precise placement of the holes.
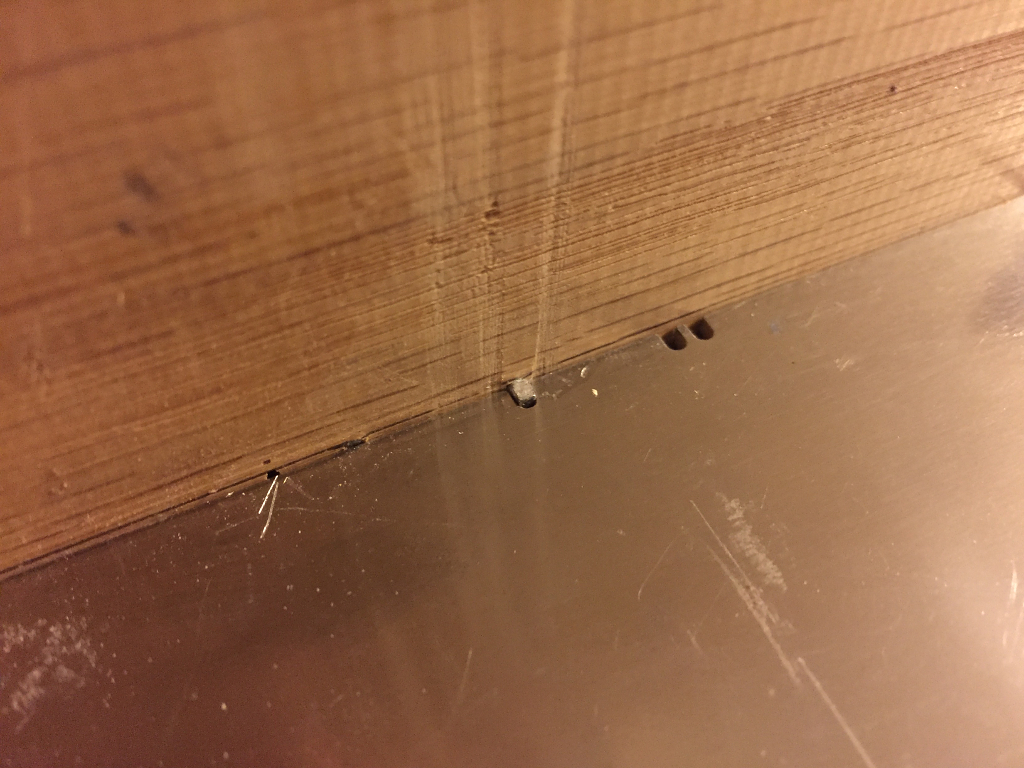
and here we are. You’ll note the 2 slots close together at the end of each board. This little strip gets chiseled out and is where the nut will go on one of the Strats. On Mikes the board I will just cut off cleanly at the first fret because it will have a locking nut for the Floyd Rose tremolo and so has no need for a slot or additional rosewood at the end
Before I do the inlays I have to sand most of the tool marks off the fretboard so I can see the lines I etch around the outside of the inlays. I do this with an aluminum sanding beam that has a radius matching the fretboard. I’m using 120 grit paper for this to take off the marks fairly quickly. I dont sand it 100% to finished surface because I’ll still need to sand down the inlays and I dont want to be removing more surface than needed. I’ll wrap it up with 220 grit after the inlays are in place.
When hand sanding theres always the chance that you can mess up your radius since its being done by hand. Too much pressure in one spot as opposed to another and you can wind up way off, so I check it frequently with my radius gauge to make sure I’m staying true.
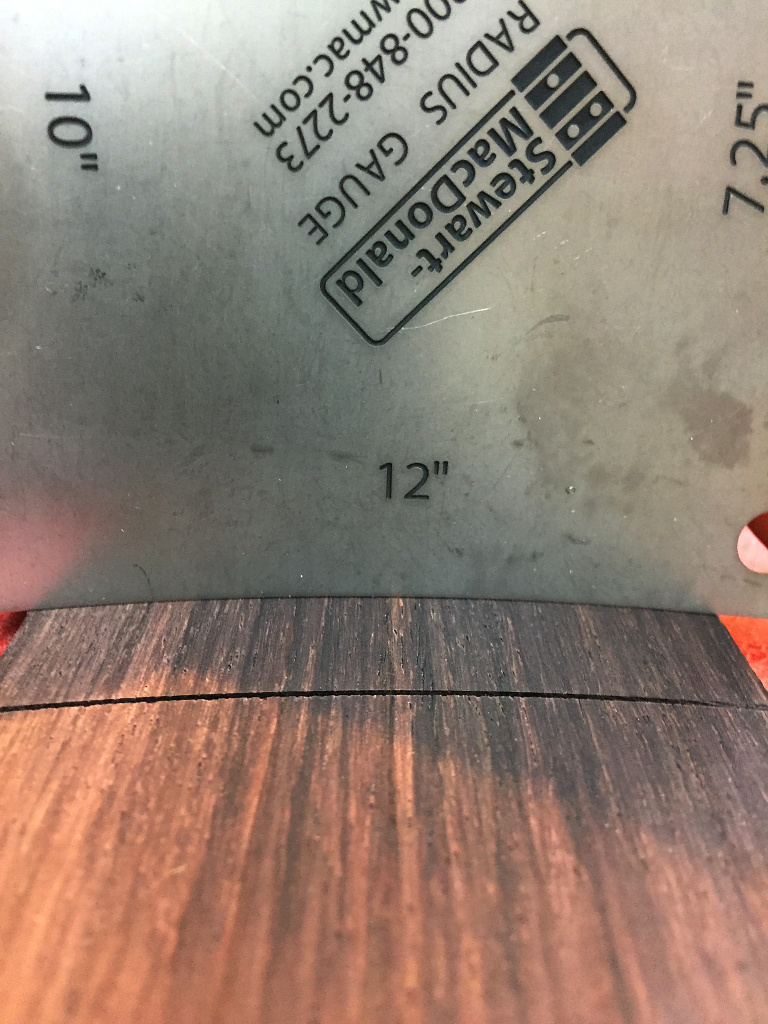
Not even finish sanded, but it looks 100% better than it did just after putting the radius on…
when I sand it, I save the dust. I’ll mix this with clear epoxy to glue in the inlays to match the color of the board as closely as possible.

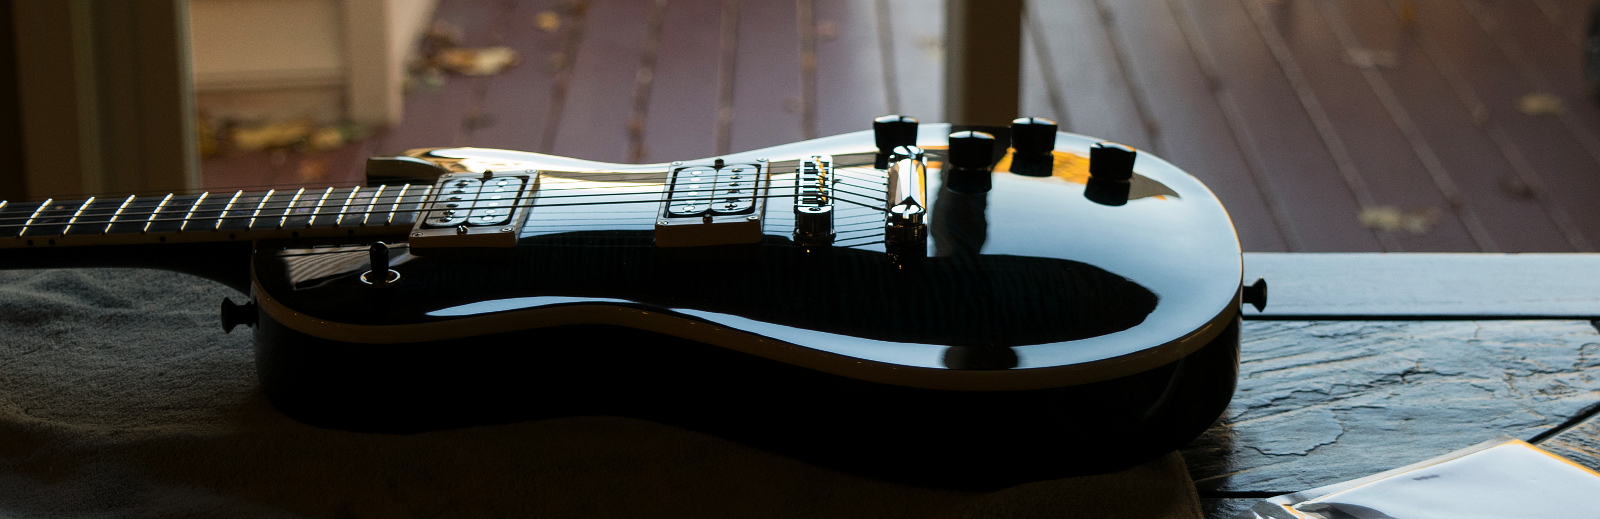
So this is where we are on the double-Strat build