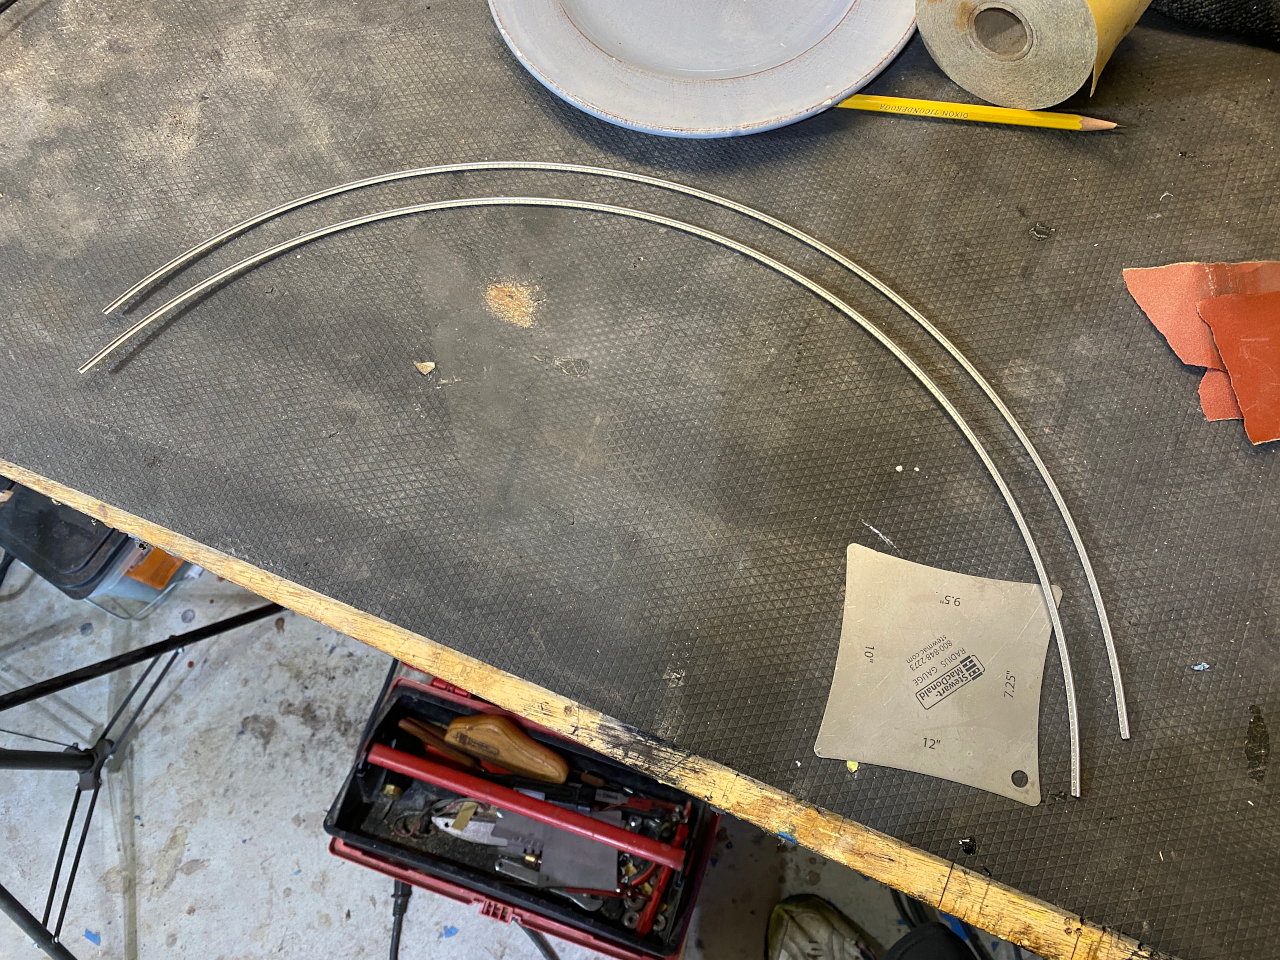
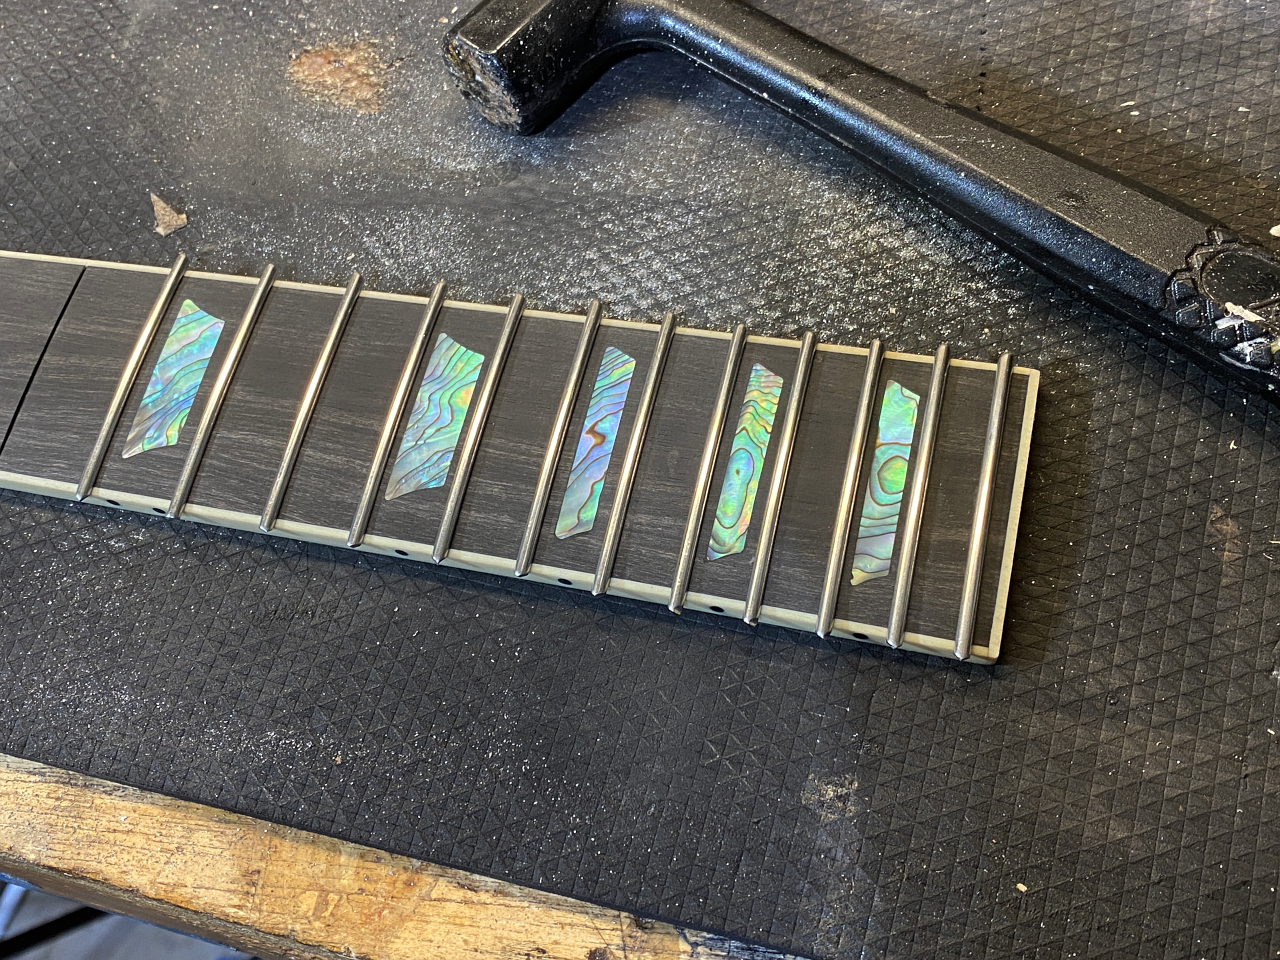
Next I grab a couple lengths of fret wire
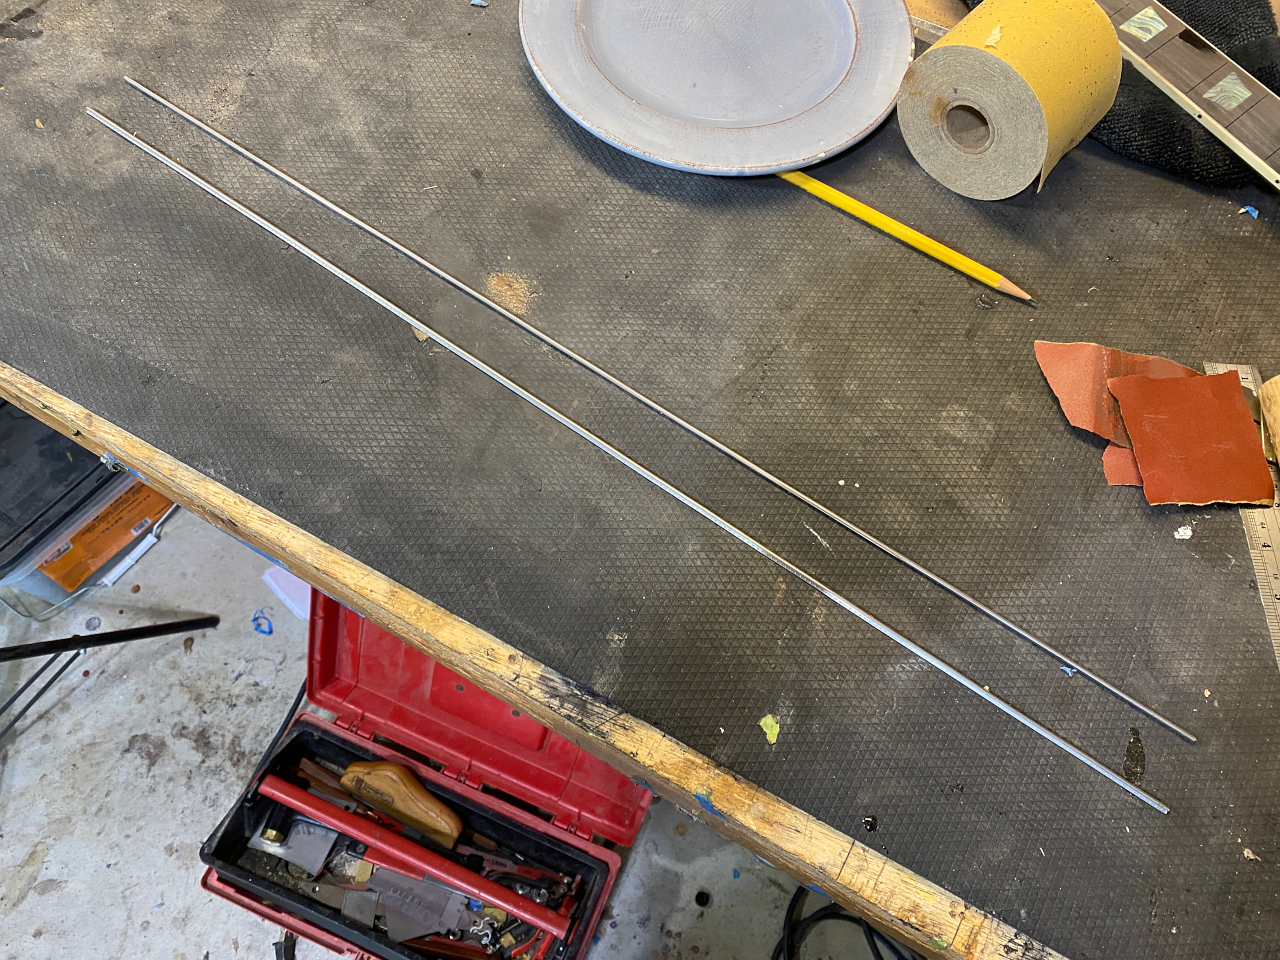
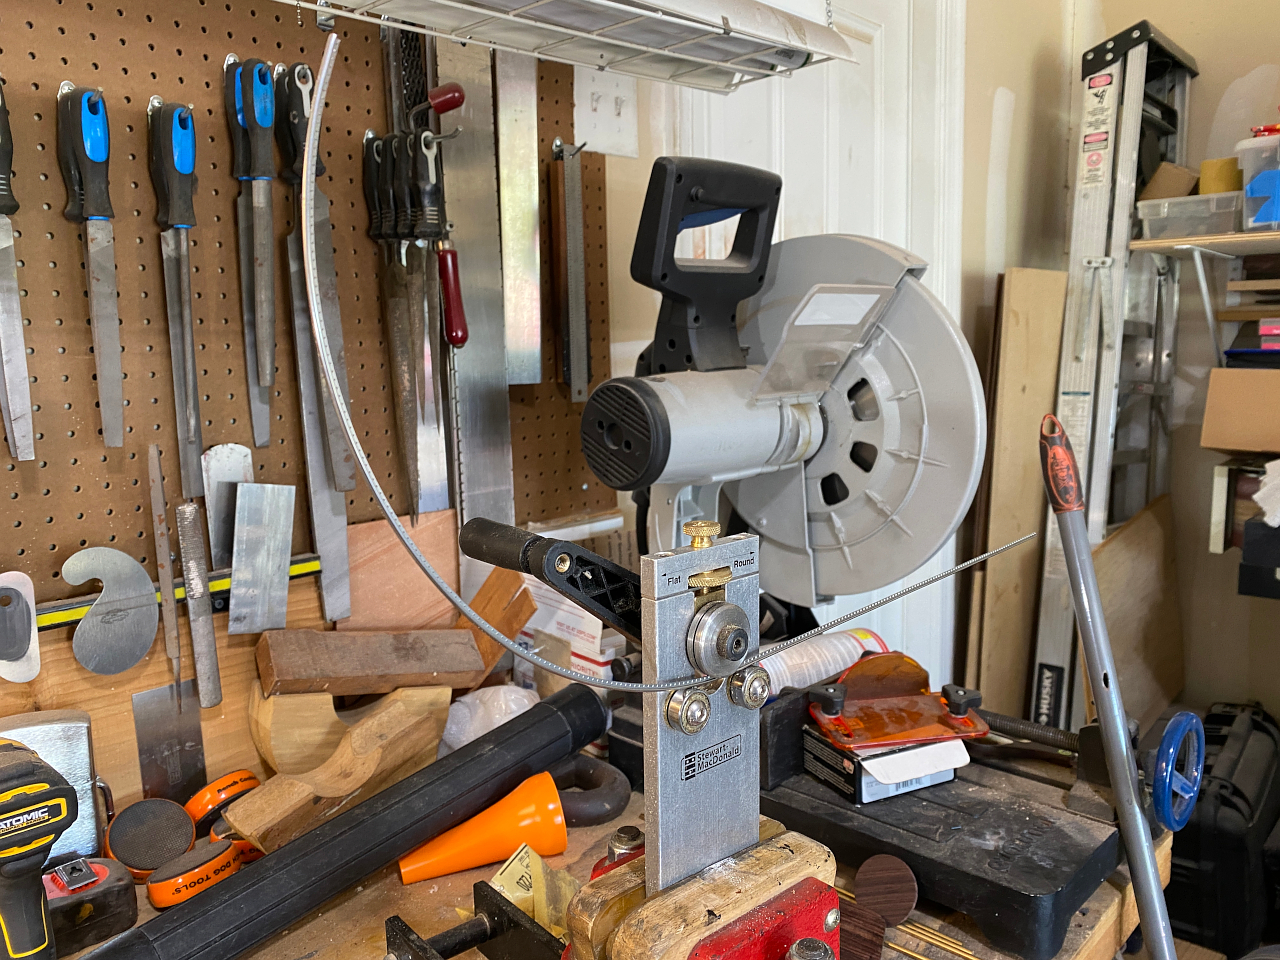
These are stainless steel and quite rigid, so they need to be pre-bent to the radius of the fretboard. If I tried to press them in while straight, they could tend to pop back up
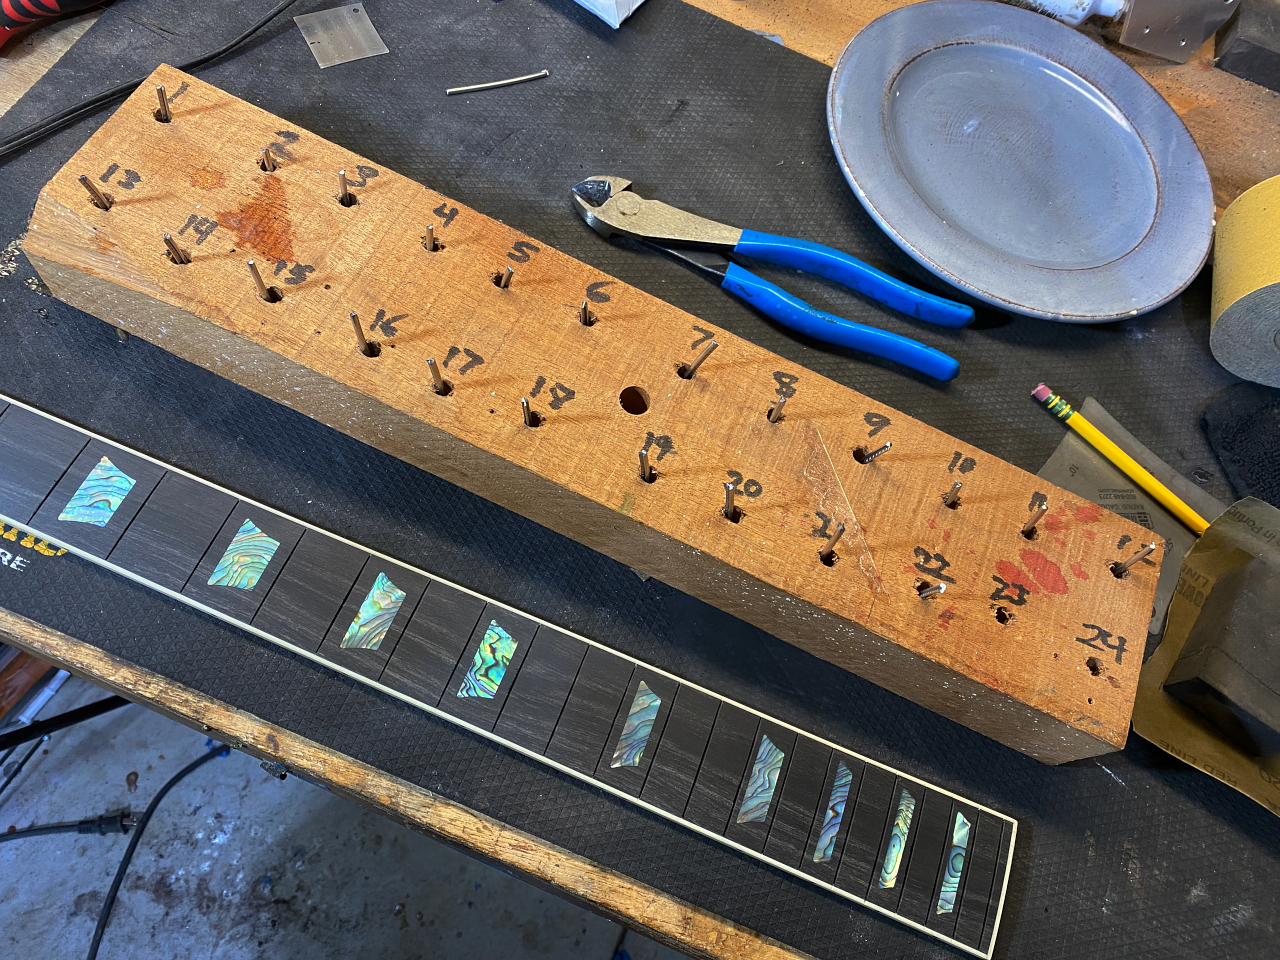
Then I cut the frets to the required length, as they are each a different length, and I keep them organized in this very fancy jig I made from a scrap of mahogany. Being a 22 fret guitar, the last two holes not needed 🙂
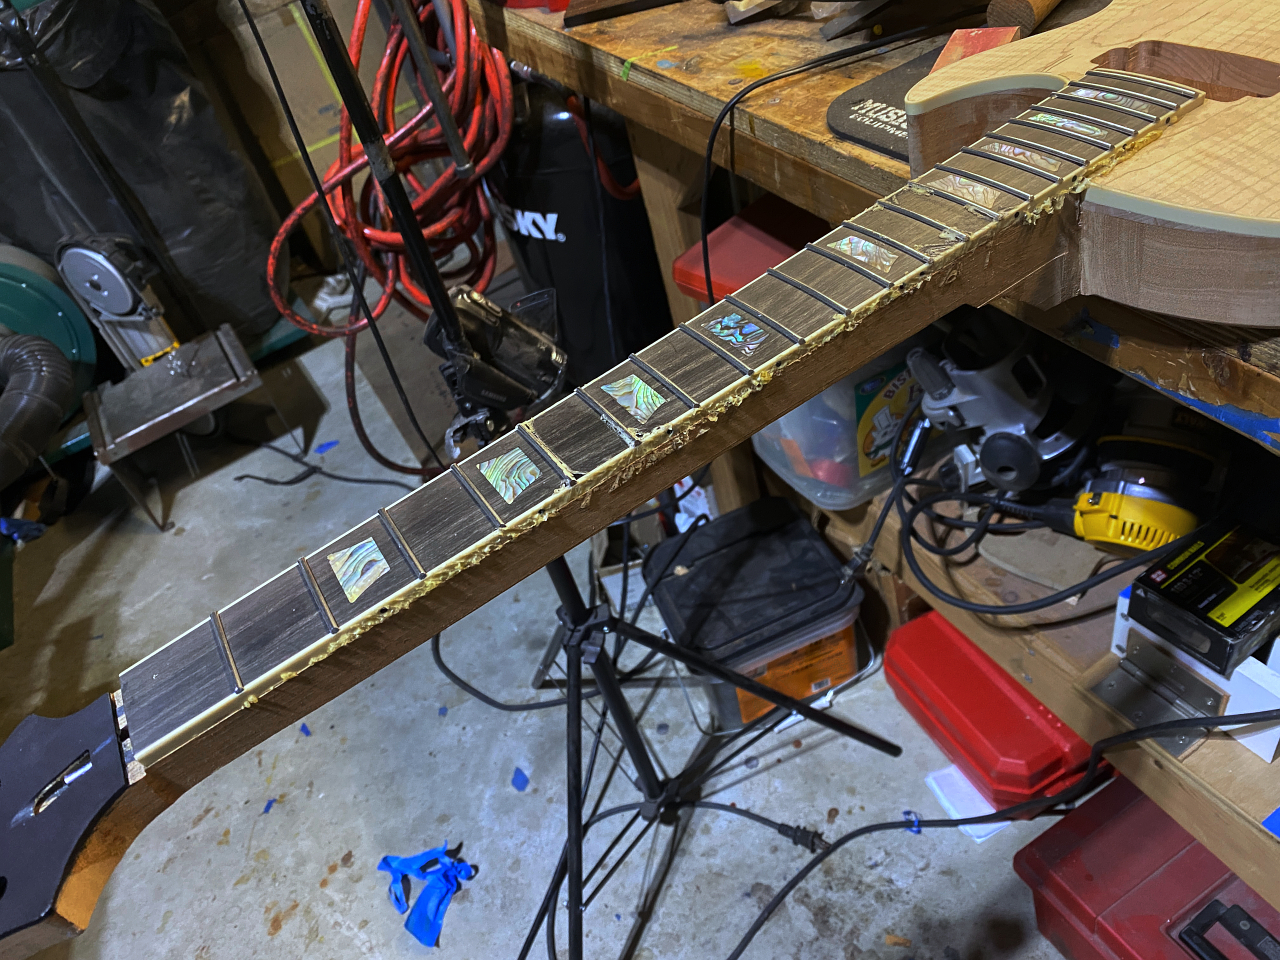
Unlike a Strat or other guitars where the fret tang goes all the way to the very edge, this guitar has binding on the fretboard so we cant just mash it in. the tang would destroy the binding. So I have to file the tang off the underside of each end of each fret. Its a bit tedious, but they have yet to invent a better method for this. I clamp the fret into this little jig and grind away the tang on one end, then flip it around and to the other end…22 times. It takes a few minutes for each fret because I have to use only gentle pressure. If I push too hard I could deform the end of the fret.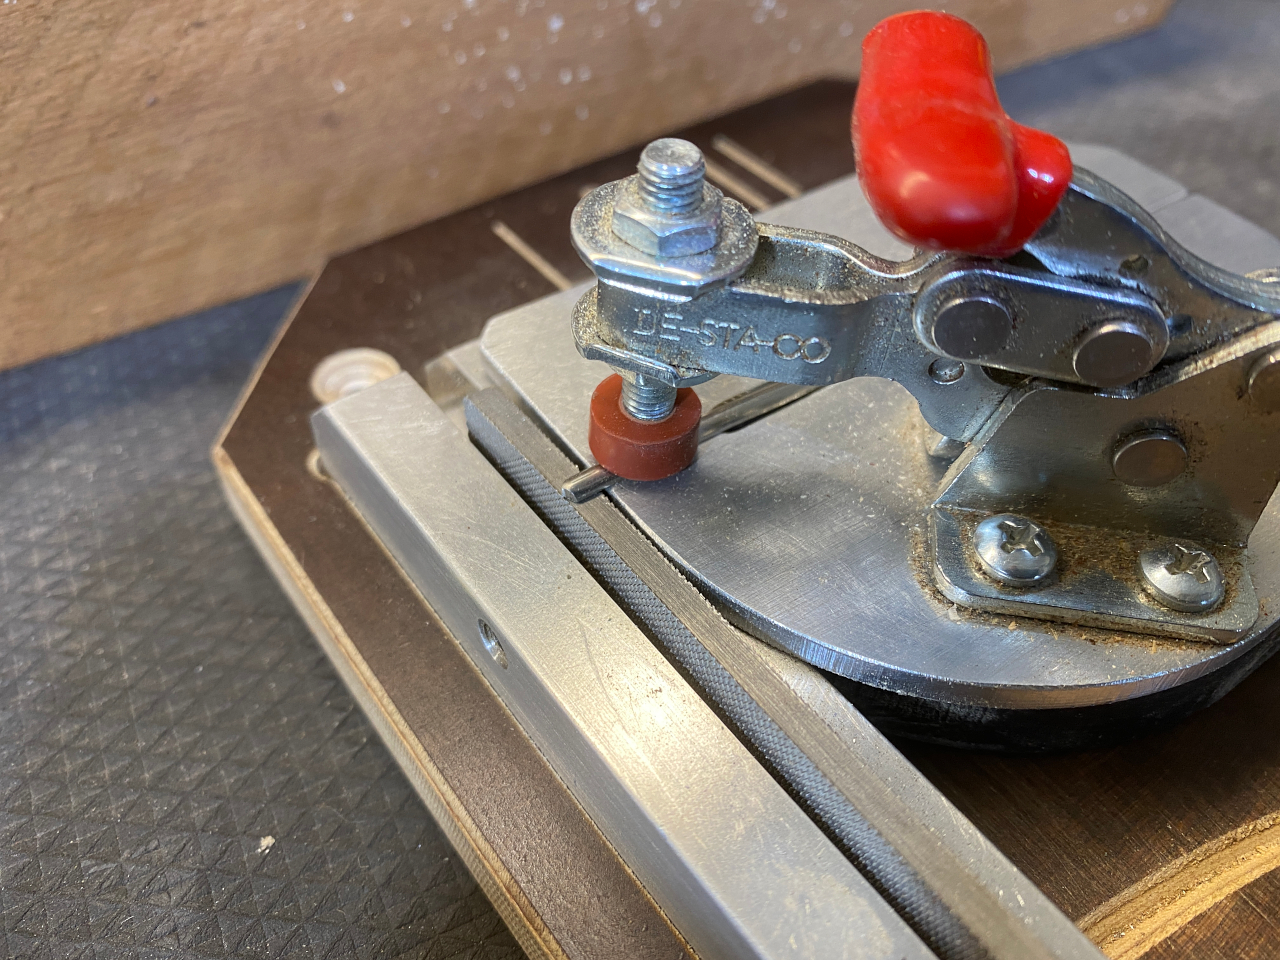
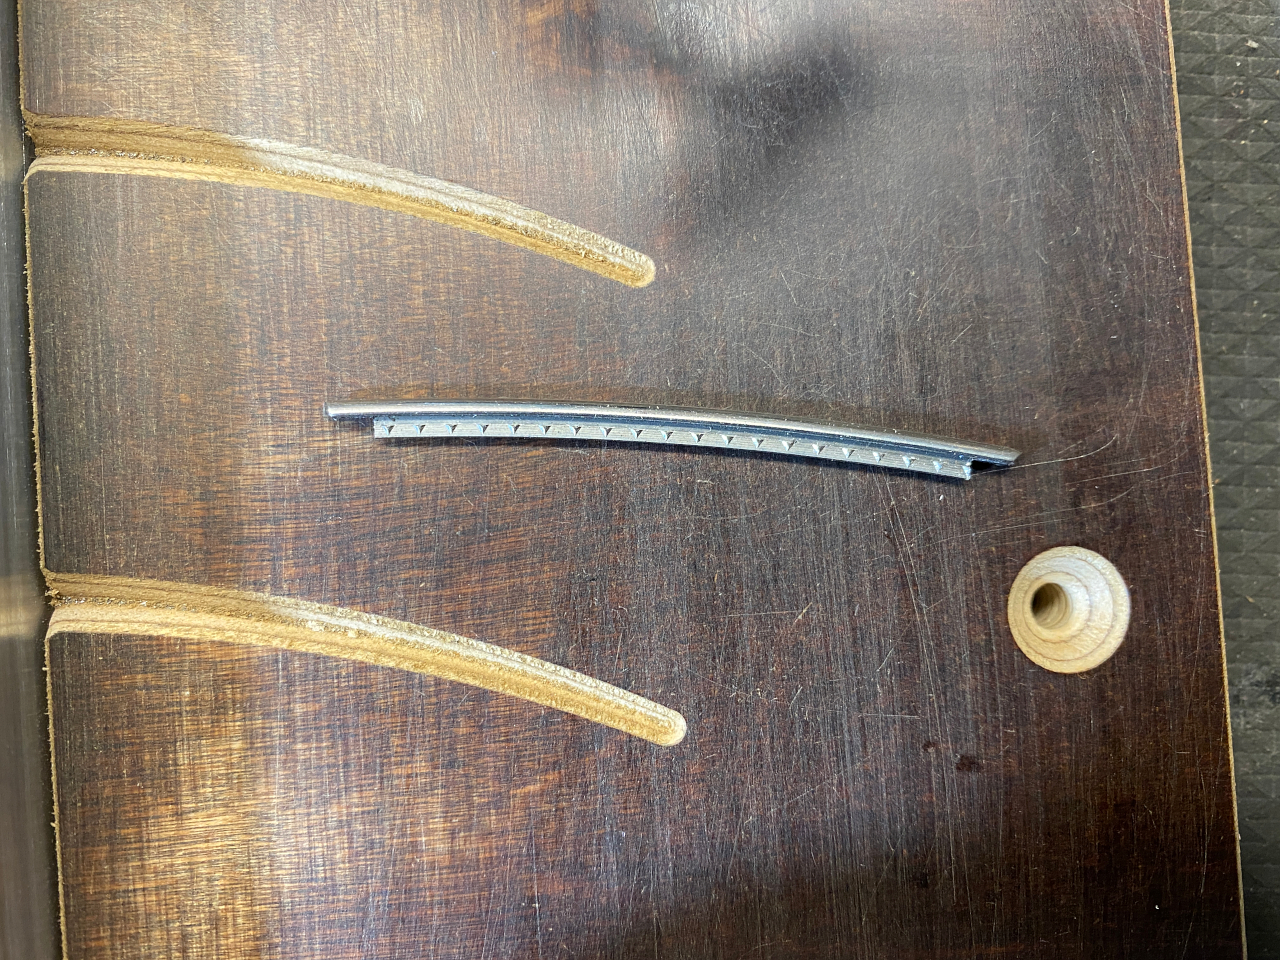
the result…
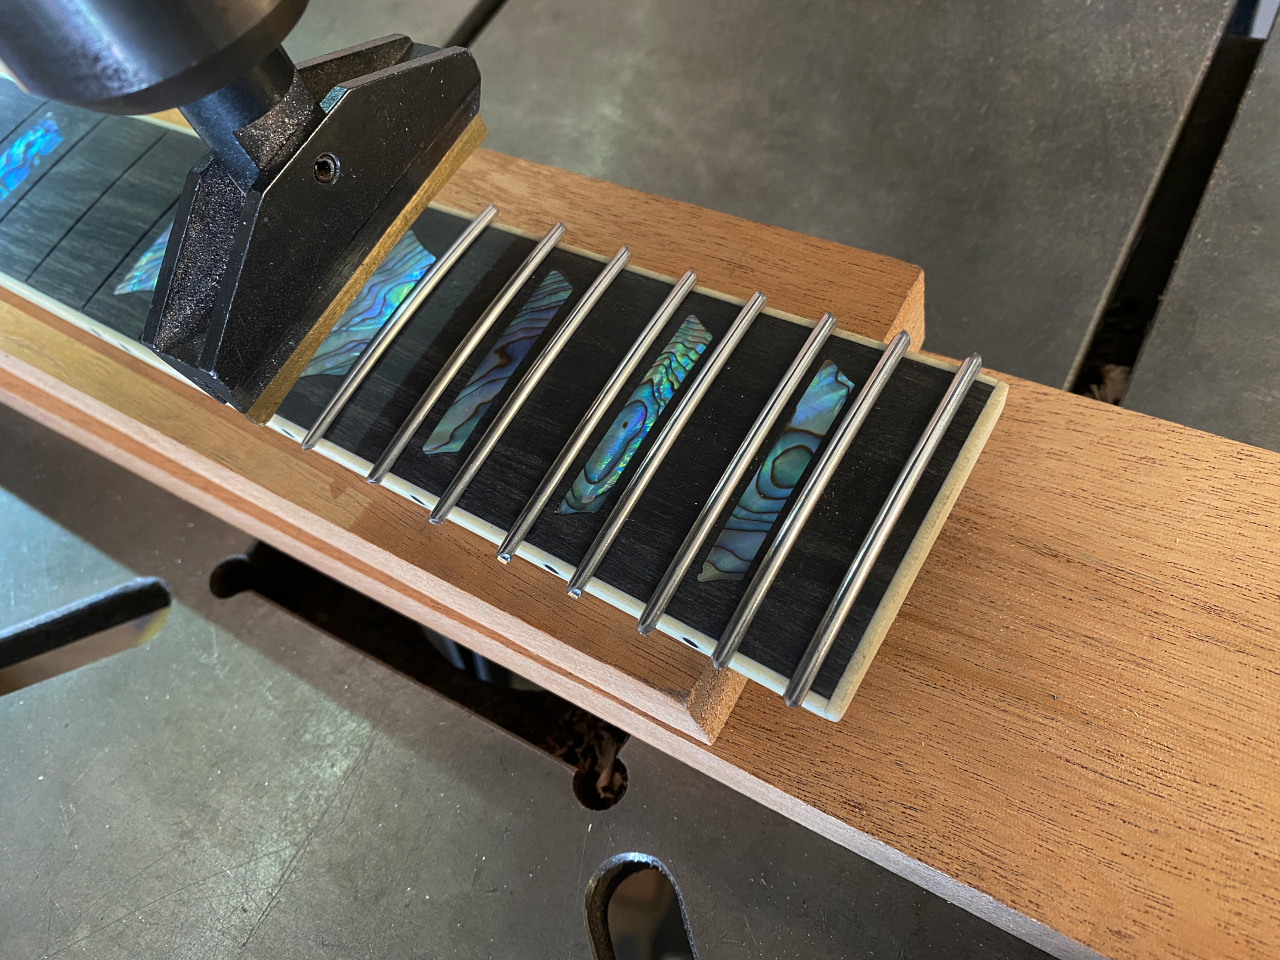
I use a fret hammer to tap in one end slightly
and then press them in the rest of the way for a good, tight fit.
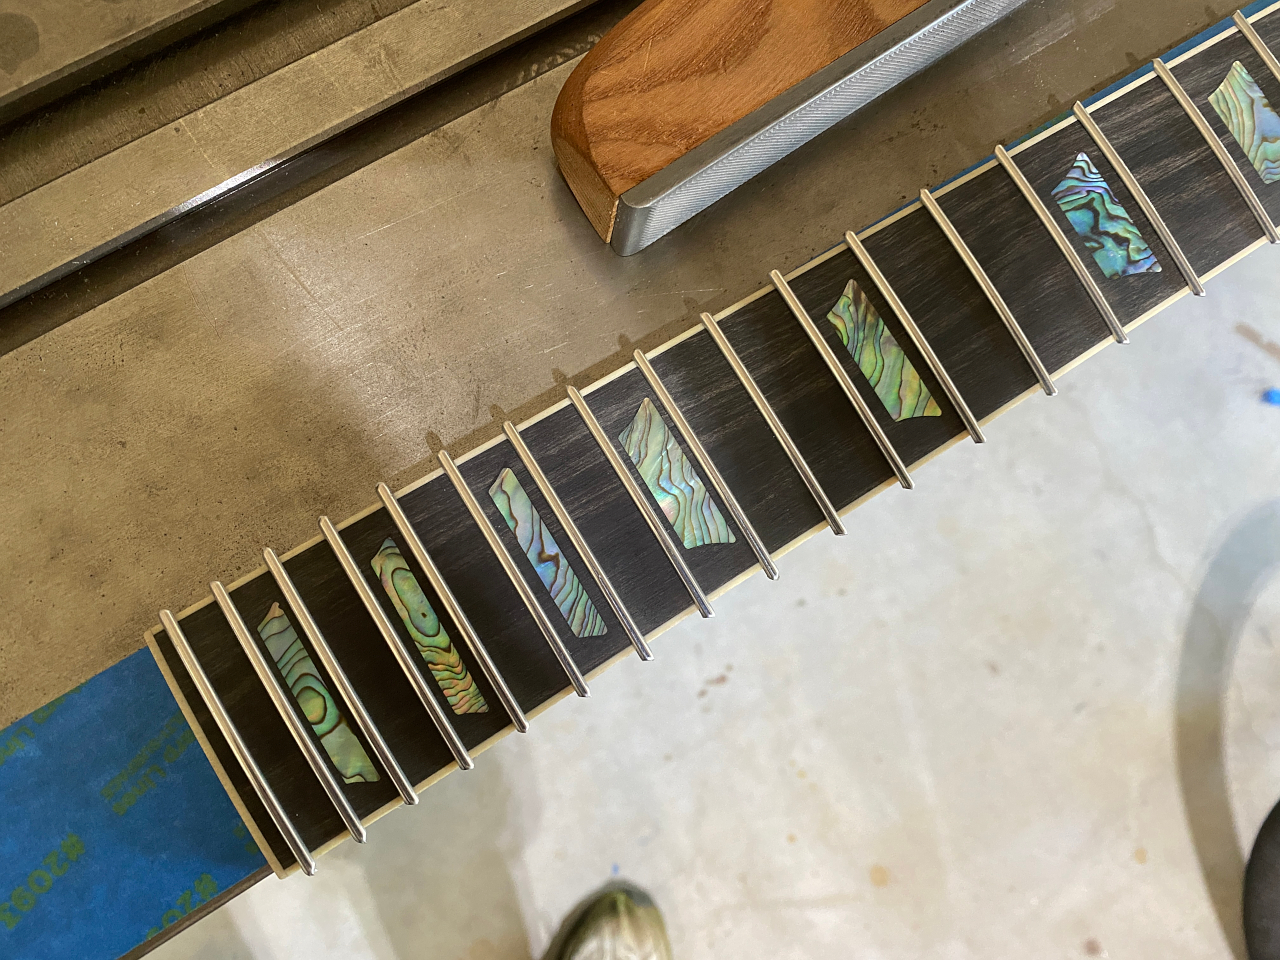
Once they are all in, I attach the board to the edge of the table and use a hand-helf file to file the ends flush with the edge of the fretboard, and give them about a 20-degree bevel. This also takes a while and gives me cramps in my hands 🙂
In the case, I have many electric tools that could do this job, but going fast with this job means heating the frets up a lot, which can damage binding and deform them and remove their temper as well. Its hand work, plain and simple.
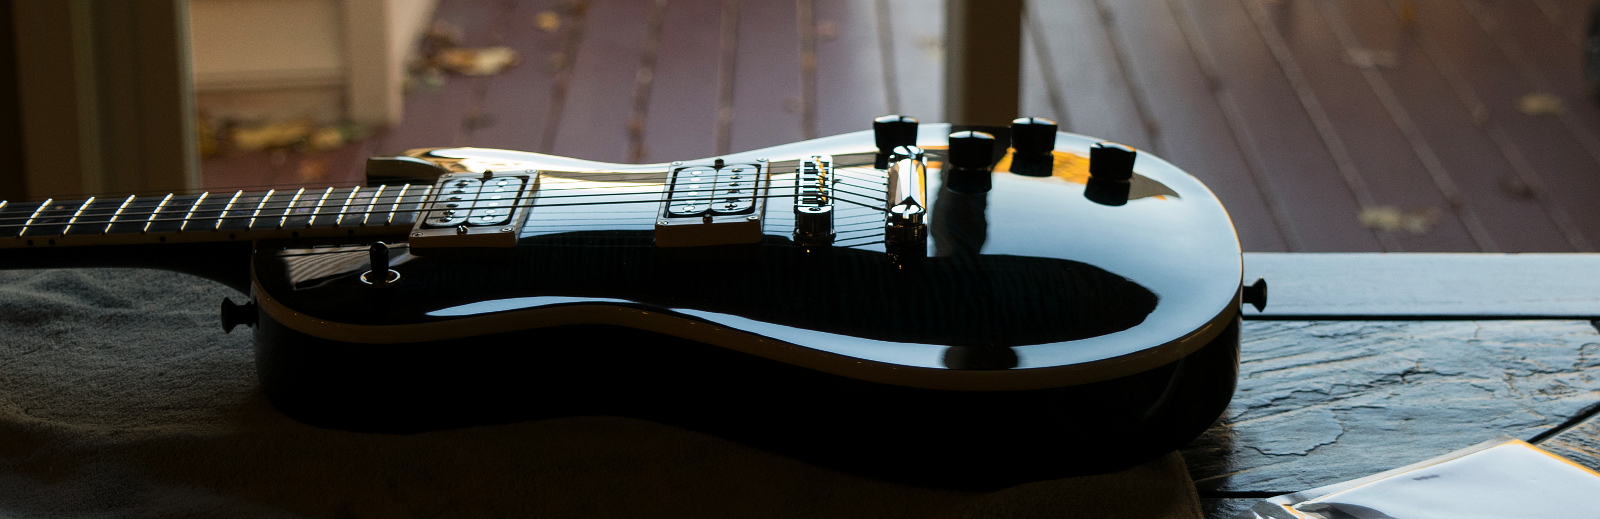
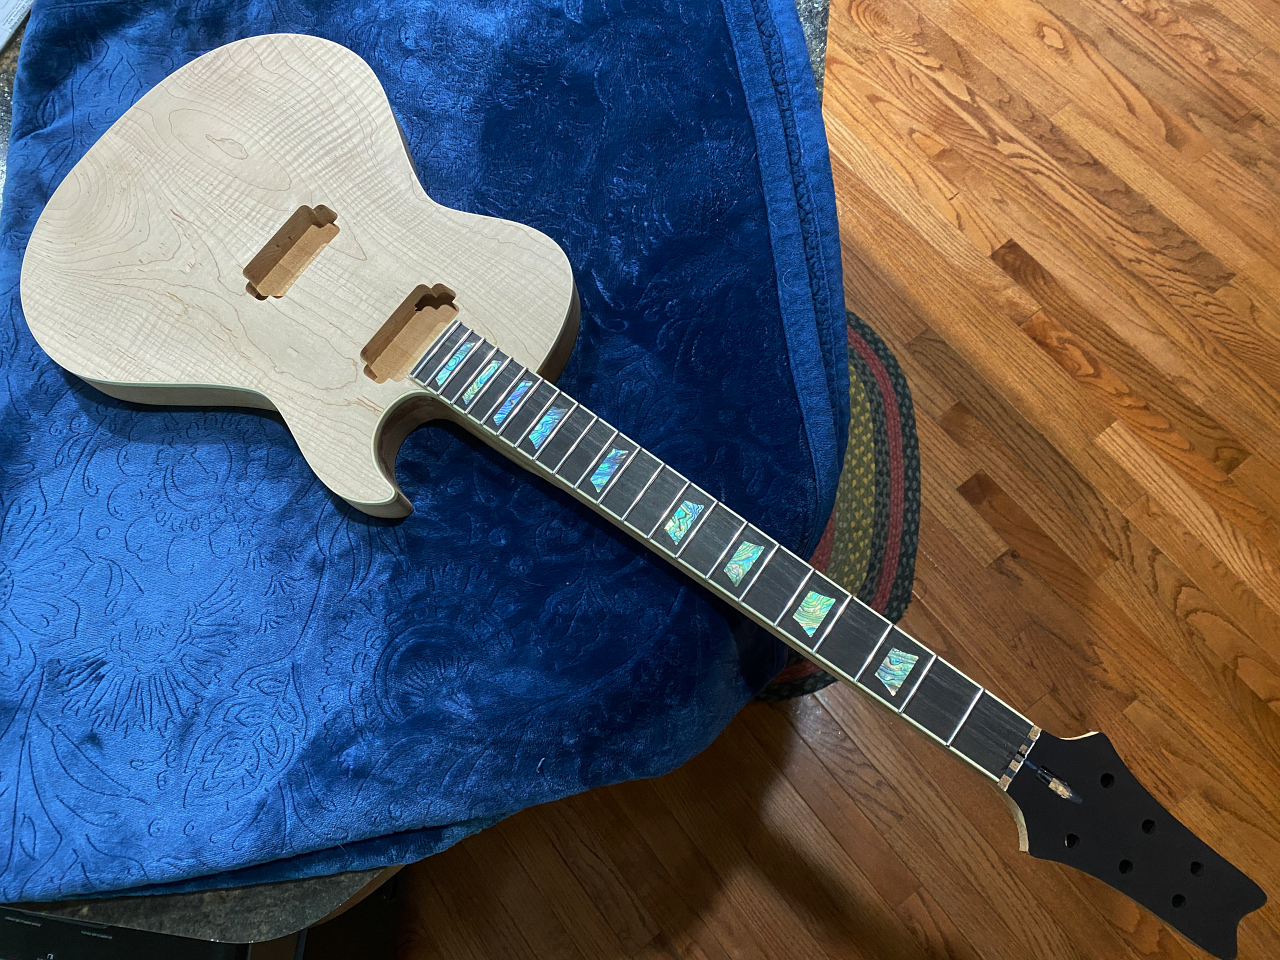
Glamour shots 🙂
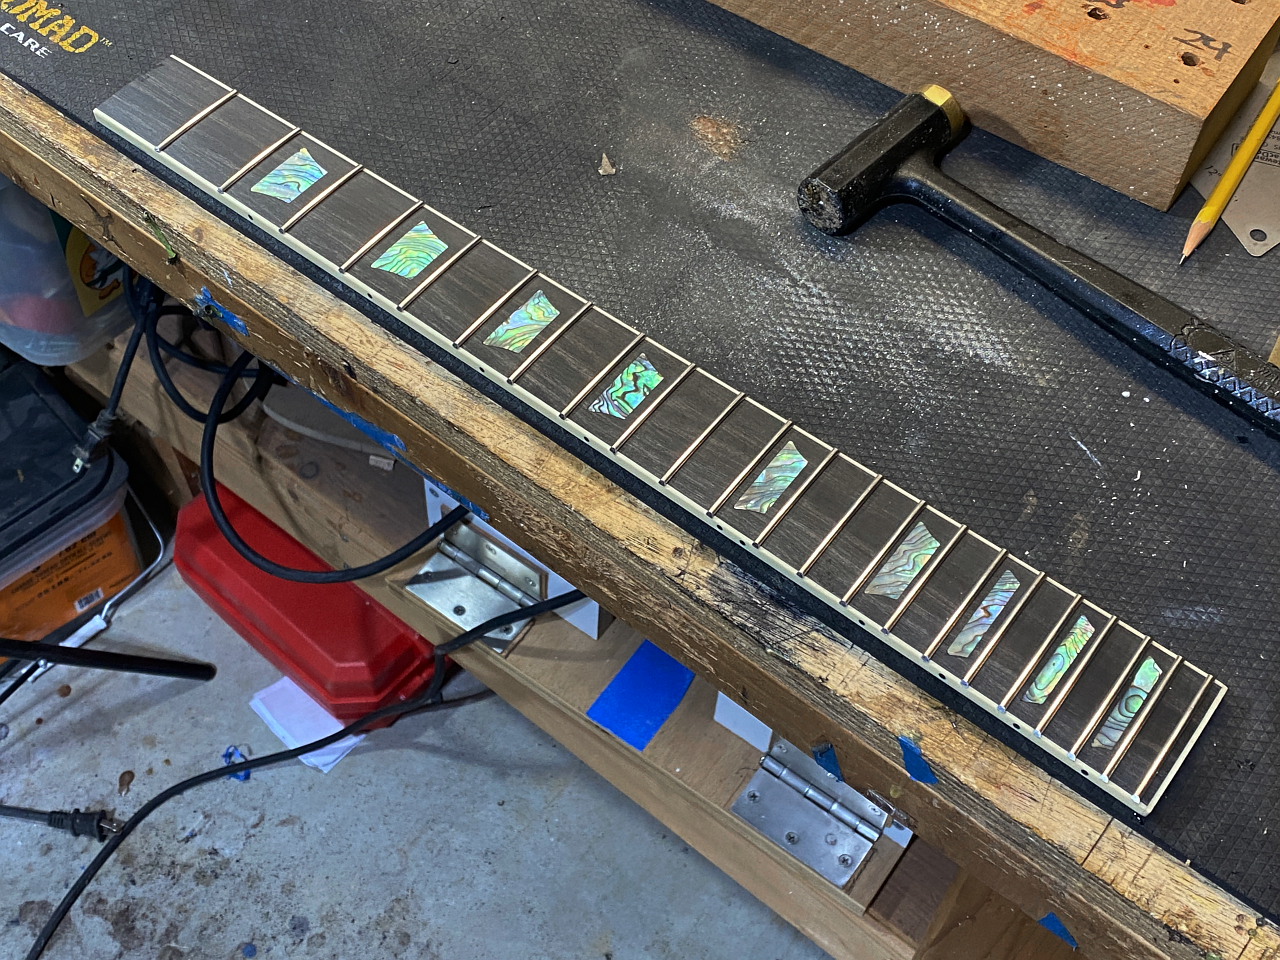
Its just sitting on the guitar, not glues on. I am a big fan of mock-ups. Its like little rewards along the way to keep you going 🙂
Last task with the fretboard is to glue it to the neck.
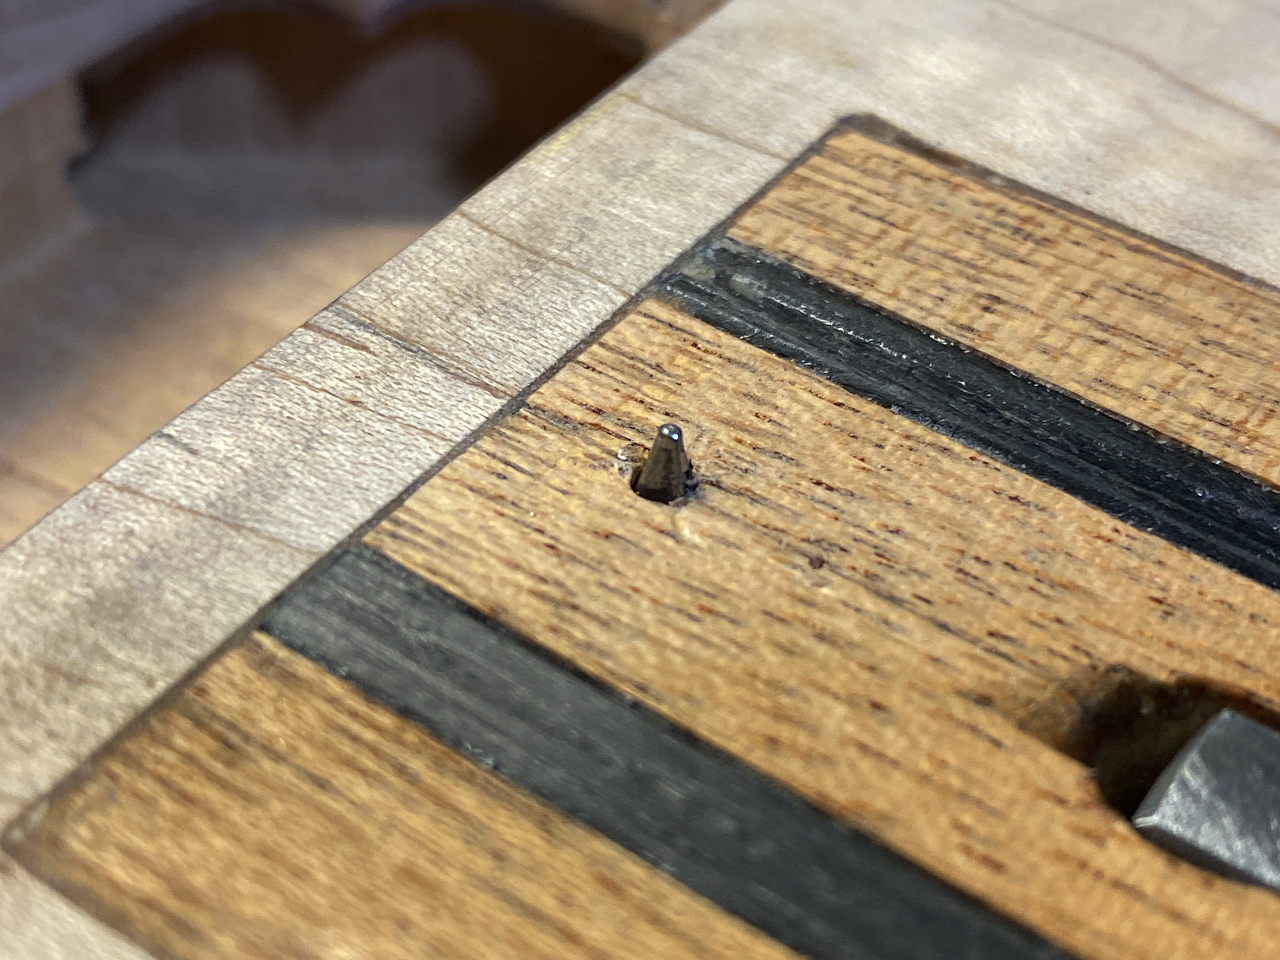
For alignment purposes the first thing I do is drill a very small hole in the neck and both ends, and insert small pointed pins into them, leaving the tips poking up, like this
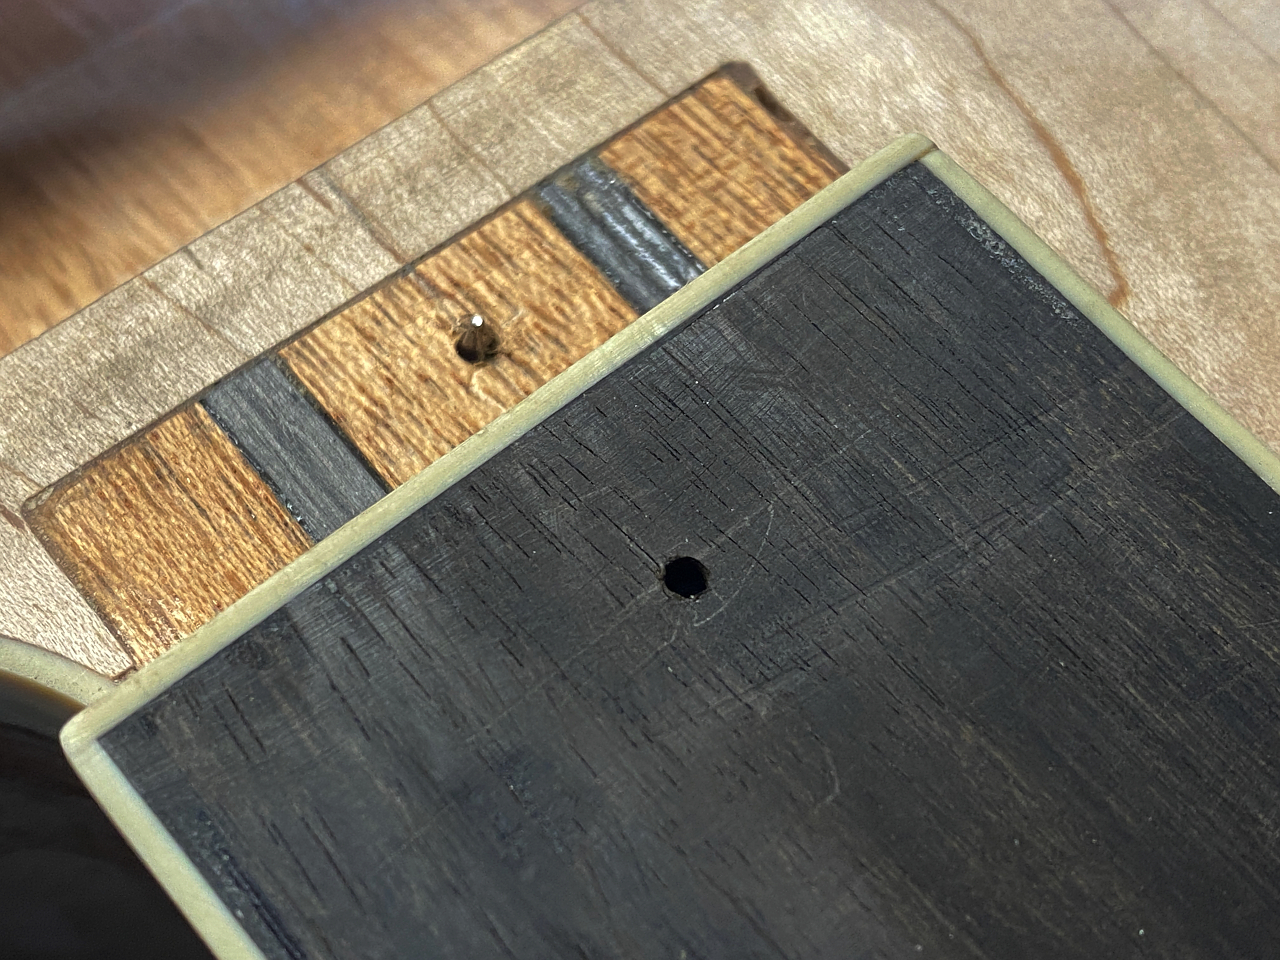
then I line the board up very carefully where it will be places, and give a slight press so that the pin makes a small dent in the underside of the fretboard. Then I drill another, even smaller hole where the dent is on the fretboard. Now these pins will fit into the holes when the board is pressed on and prevent it moving out of position. This is crucial because once you apply a layer of glue to the fretboard and the neck, this can act like a lubricant, and cause it to slide slightly when pressure is first applied, and the way I “clamp” it is a hands off operation.
Once the holes are drilled, the surfaces are prepped with cabinet scraper and wiped with acetone. The cabinet scraper leaves a clean, flat face, and the acetone cleans any residue or skin oil from handling them a lot. Also, the Ebony in particular is a naturally oily wood and removing any from the surface of the wood helps create a better bond with the glue
As you can see, once the glue is applied and the fretboard put in place, I have to take my hands off it and slide it into the vacuum bag. This bag is a laminating system. It puts enormous, perfectly even pressure across 100% of the surface of the fretboard, and not just on the tops of the frets which is what you get when using clamps and a radiused caul. This creates a perfect joint
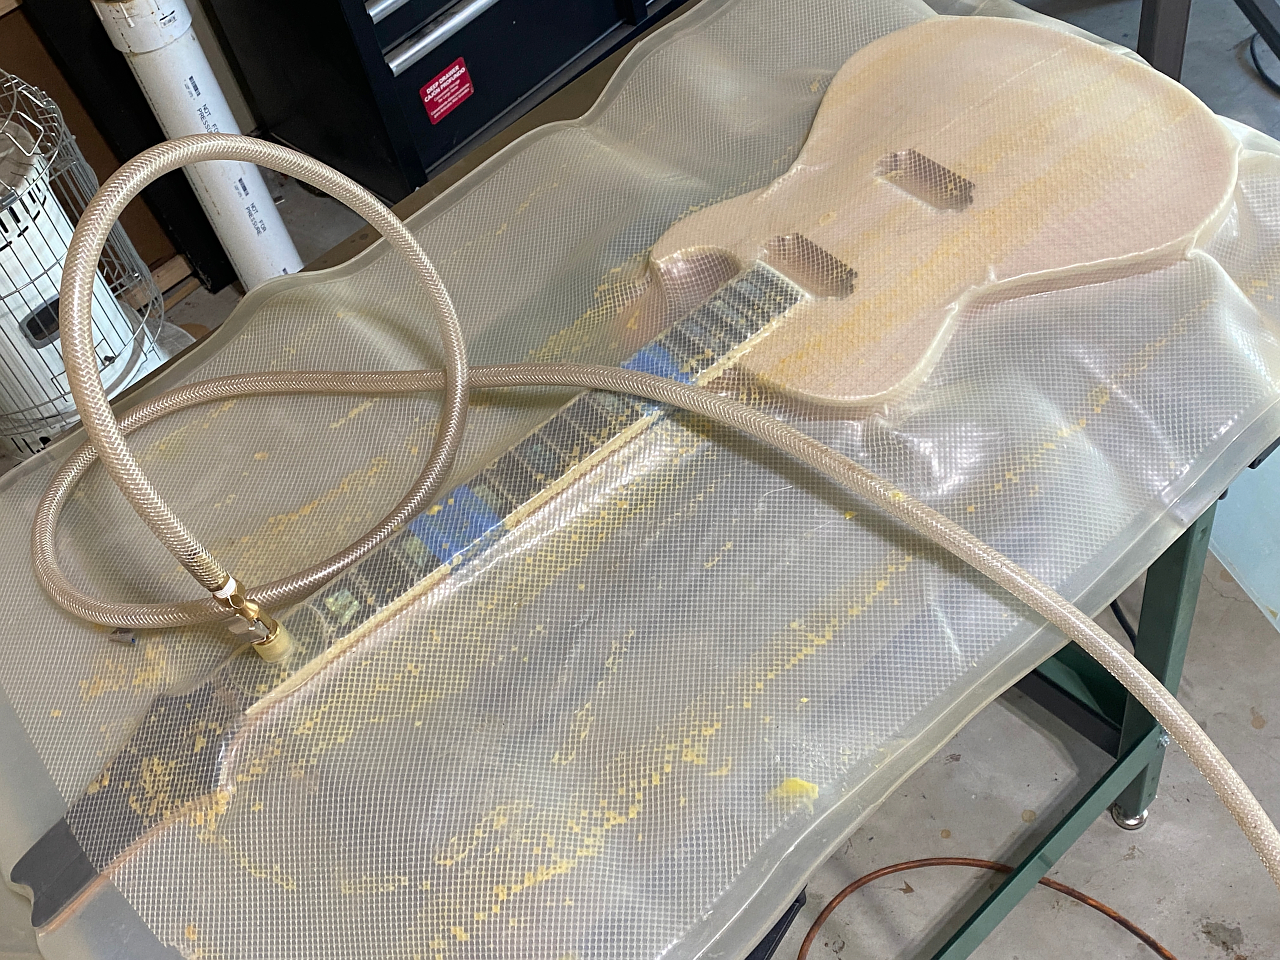
As you can see, the vacuum pulled a lot of glue out of the joint. You cant tell from this ugly picture, but this is a perfect joiny. No gaps at all. Once I carve the back of the neck and heel you’ll see its perfect 🙂