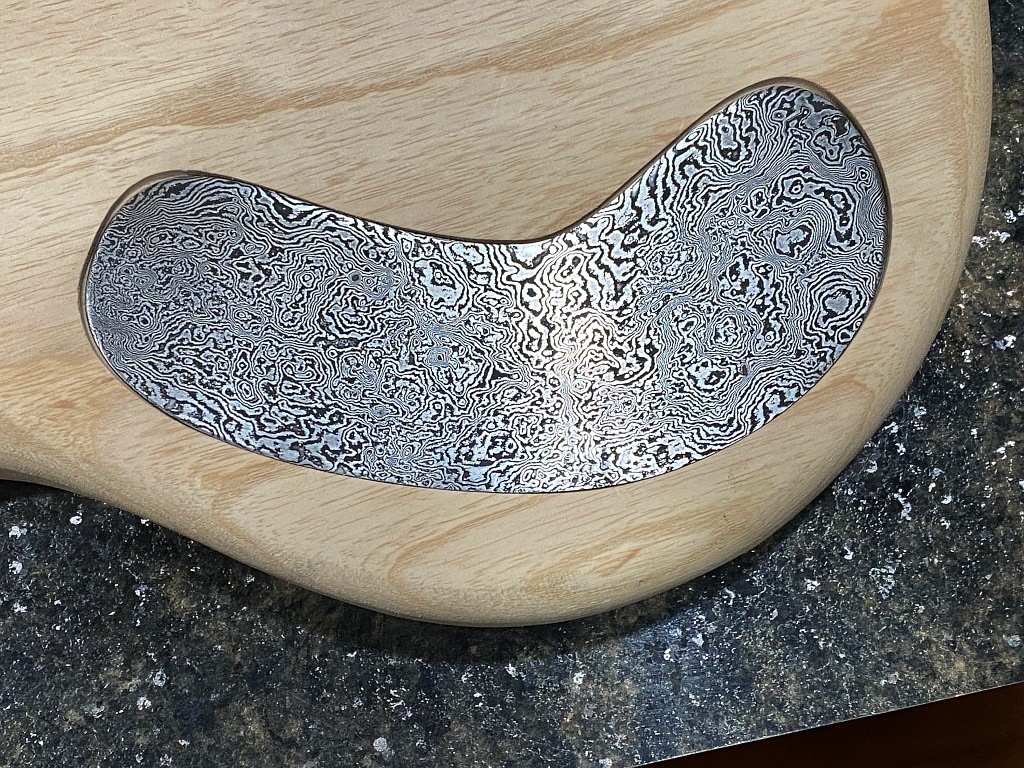
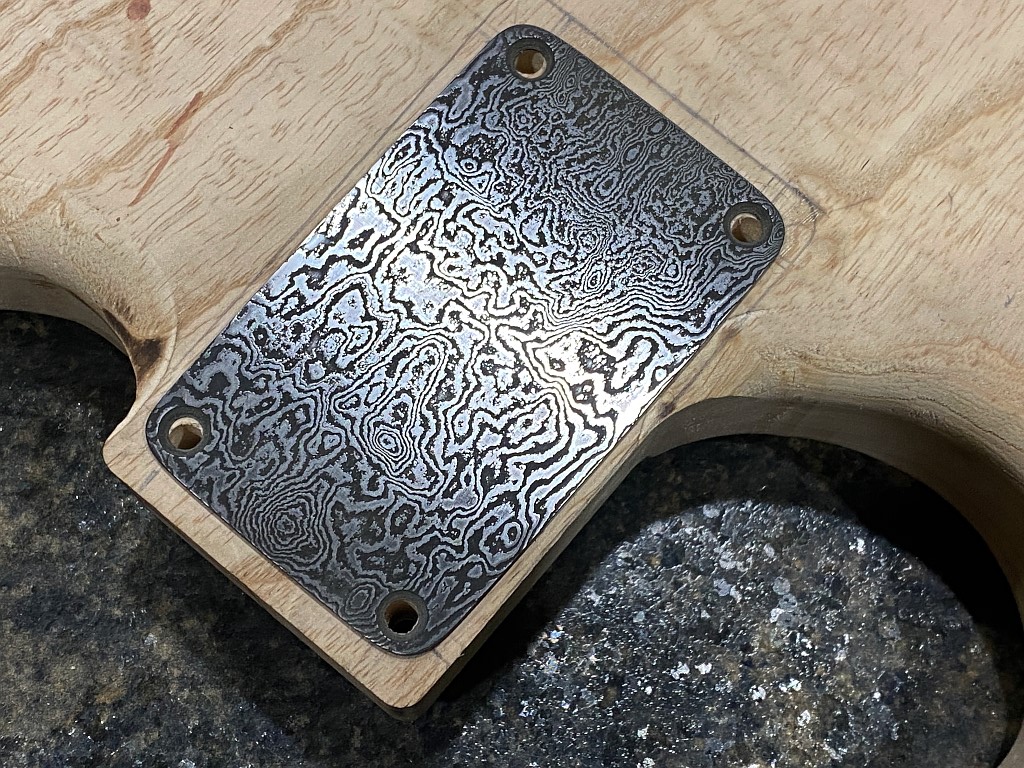
K, this may be a long and tedious post to some, but its a process that you wont see often (ever) in the guitar-building world, so I’ll go into a bit more detail than some of my more common processes.
Its blacksmith work more than luthier work, but since I’m making parts for a guitar, it counts 🙂
This is now I make damascus steel, normally for knives, axes, and similar implements of destruction 🙂
First, its more accurately called “pattern-welded steel”. the term damascus is not technically accurate, but its very commonly referred to as damascus, so thats what I do as well. Easier to be understood than explain everything.
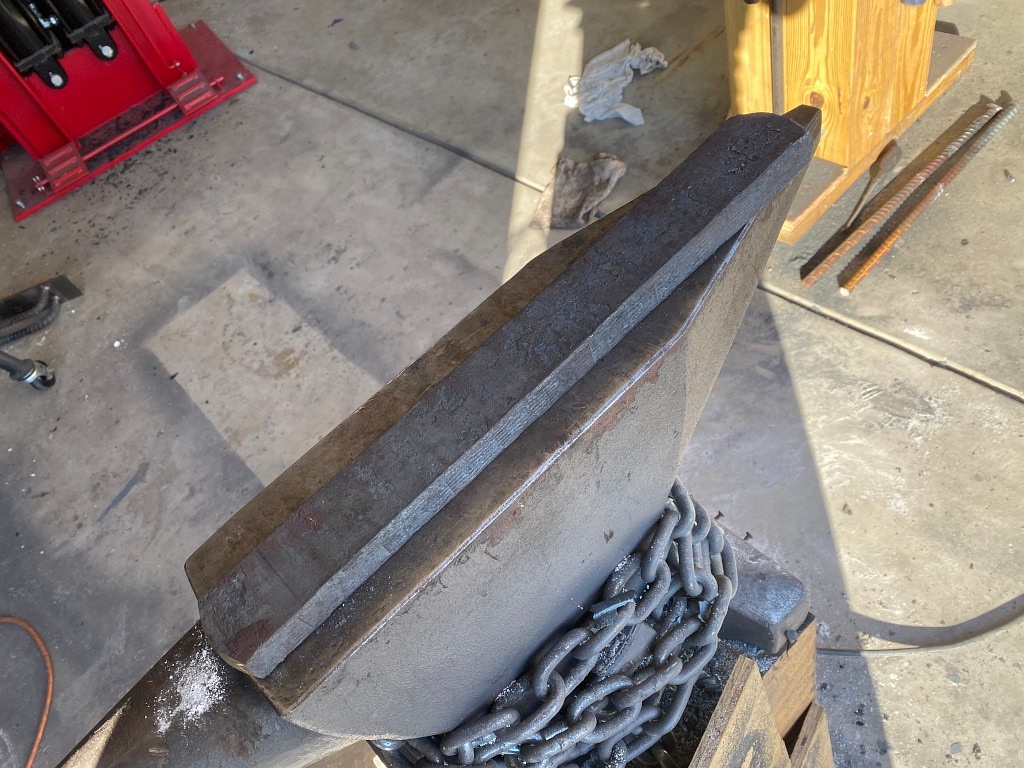
first step. I start out with 2 types of steel. One is called 1095, and the other is called 15n20. They are both high carbon steels, the main differnce is that the 15n20 is an alloy containing nickel. this is important because the nickel makes the 15n20 much more resitant to corrosion than the 1095, and when they are etched in acid at the end of this process, the 1095 corrodes to a very dark color and the 15n20 stays bright and shiny. This is what creates the high contrast in the finished product.
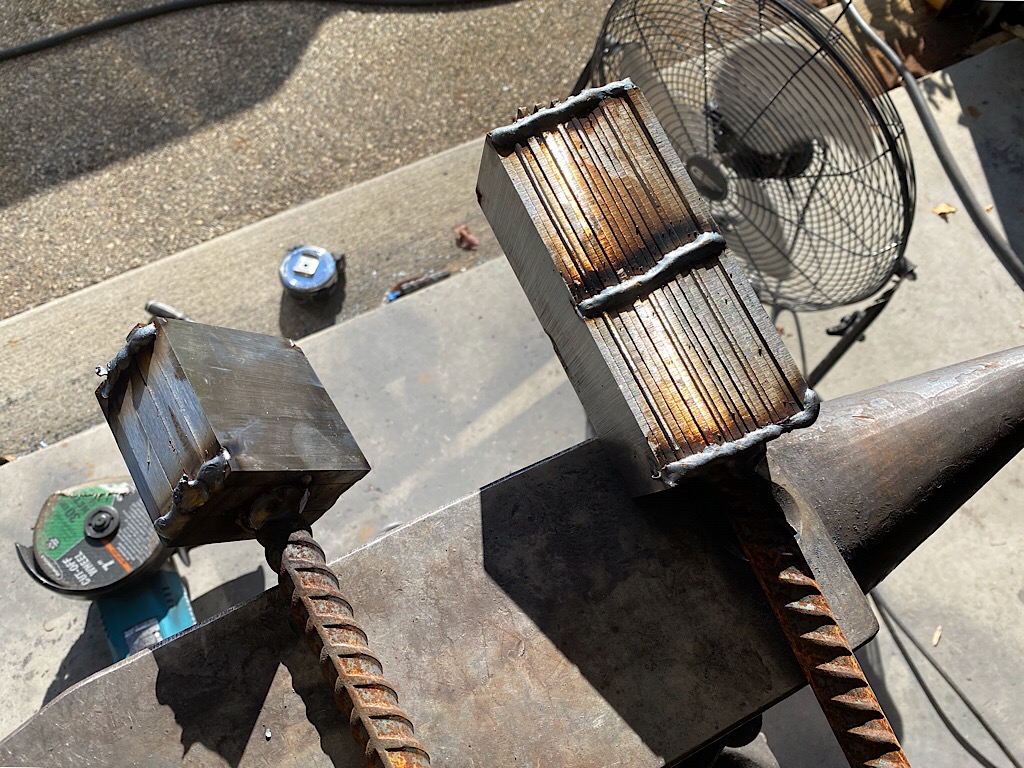
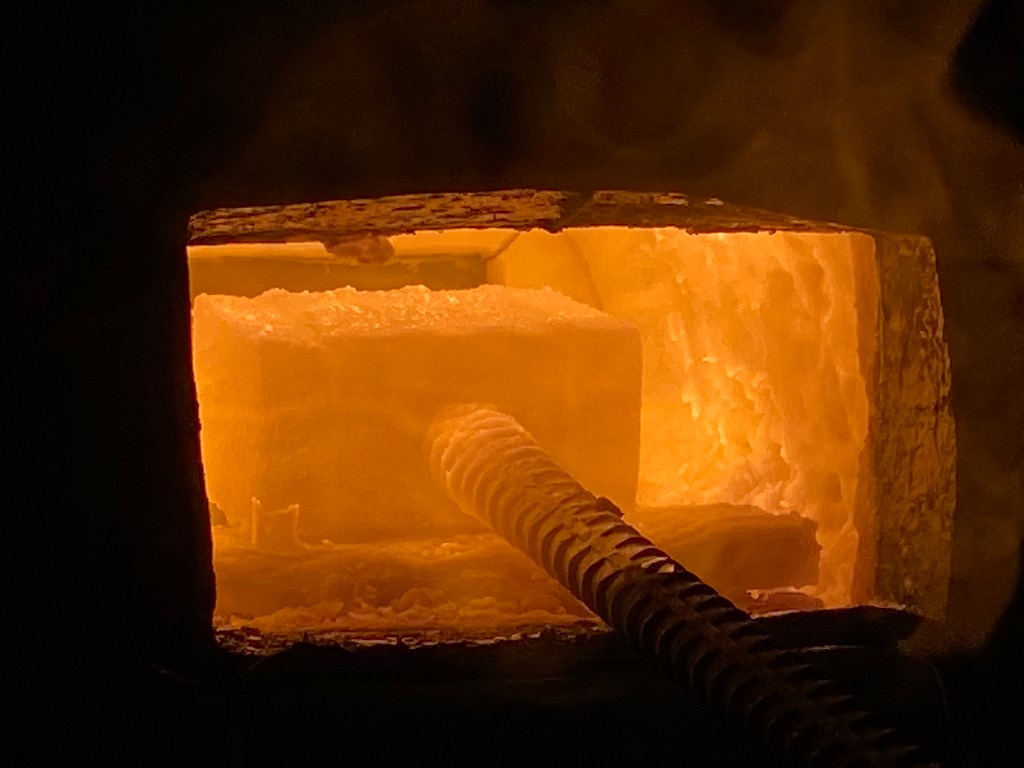
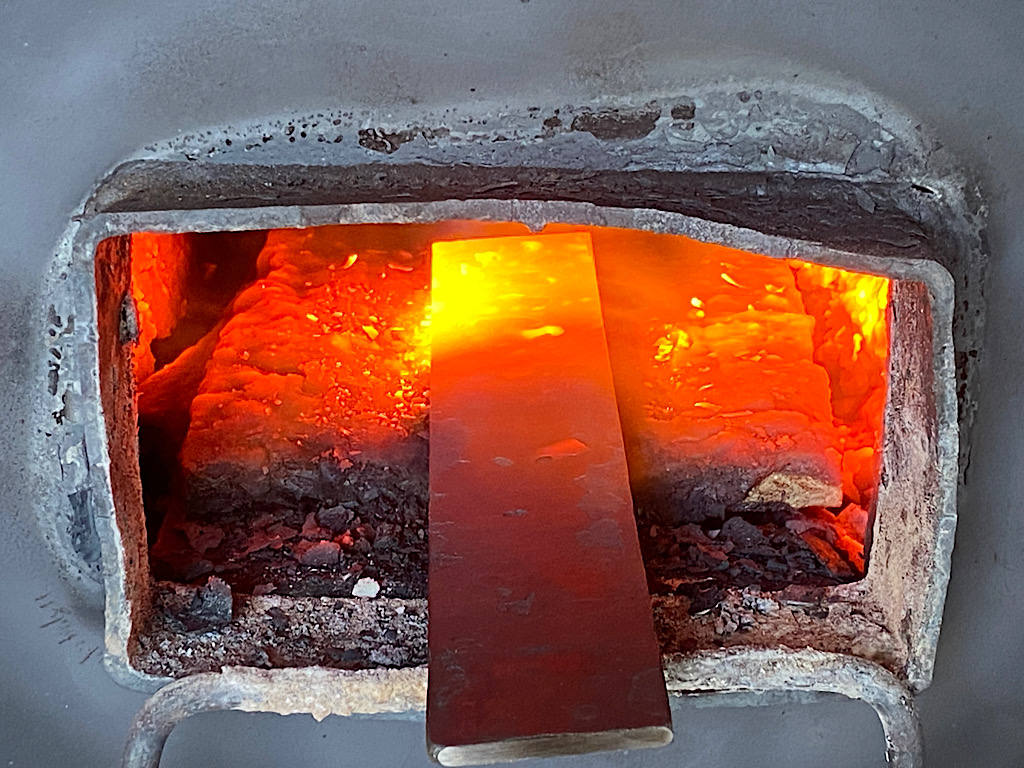
So, I start out by stacking up alternating laters of 1/8″ thick bars and tack weld them together, heat them in my forge to about 2300 F. which is really just shy of the melt point. Then I can hammer them and they basically fuse into one solid piece. This process is called “Forge welding”. Unlike regular welding (tig, mig, etc) there is no filler metal added, and the entire pieces are fused together, not just edges or seams.
the stack on the right is the one used to make these pieces. 20 layers alternating 1095 and 15n20. I also weld on a rebar handle. Its a lot easier than using tongs in a process like this.
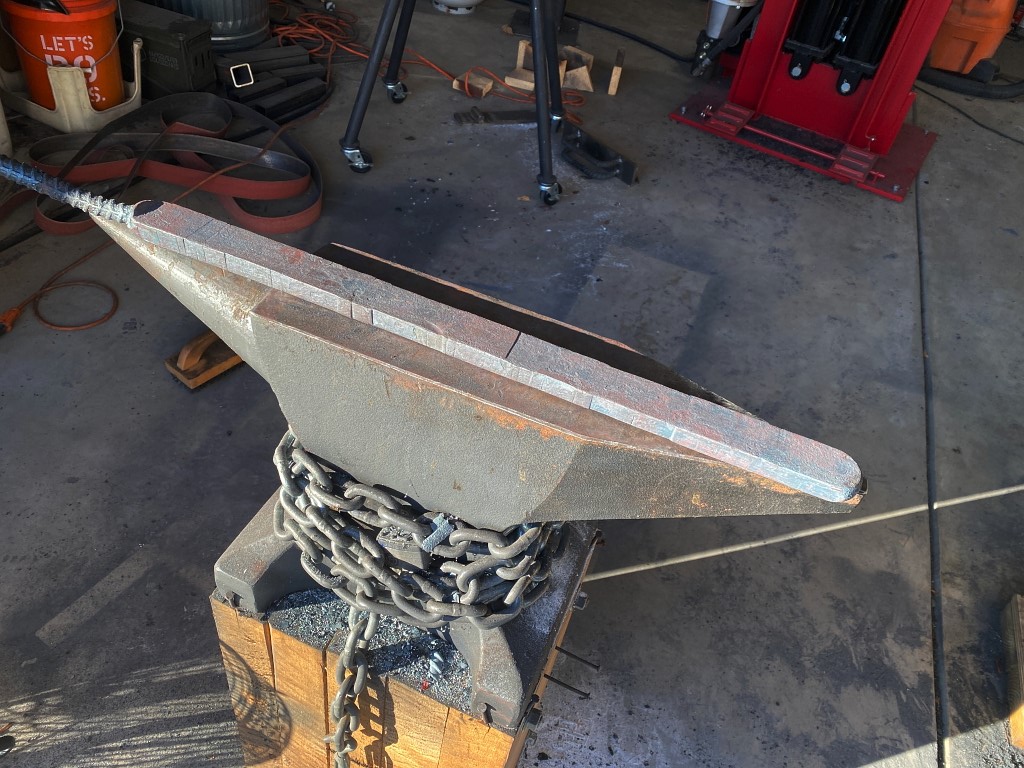
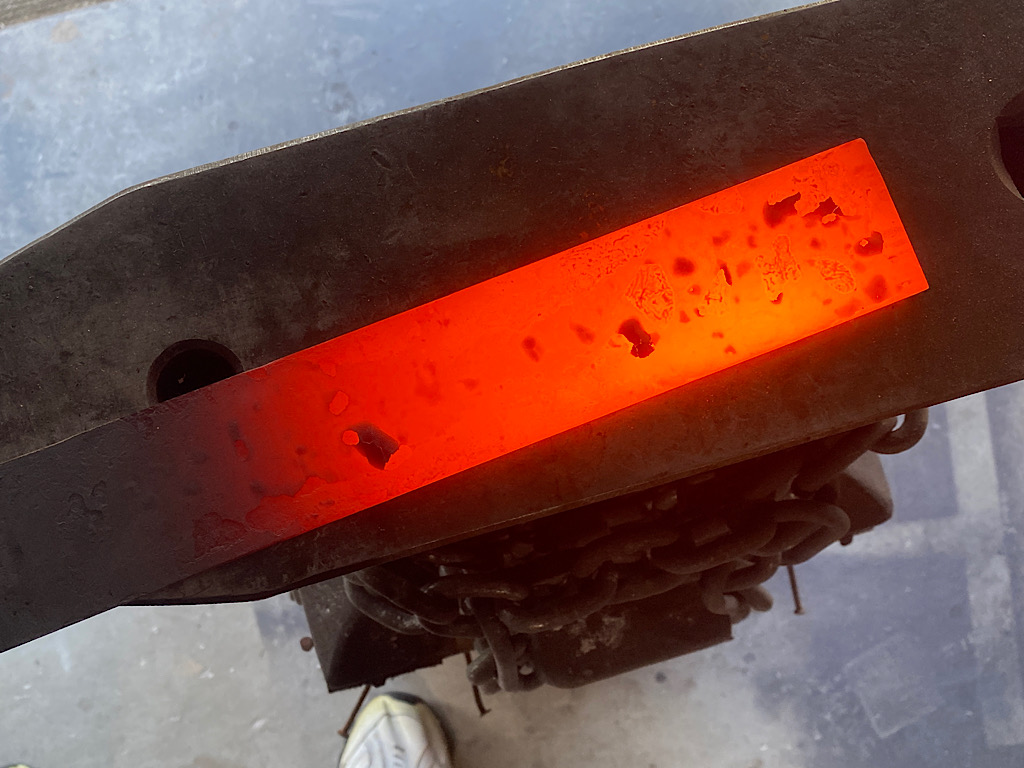
Here it is forge welded and drawn out into a long bar. Currently its 20 layers thick, although the layers are obviously a lot thinner than the initial stack.
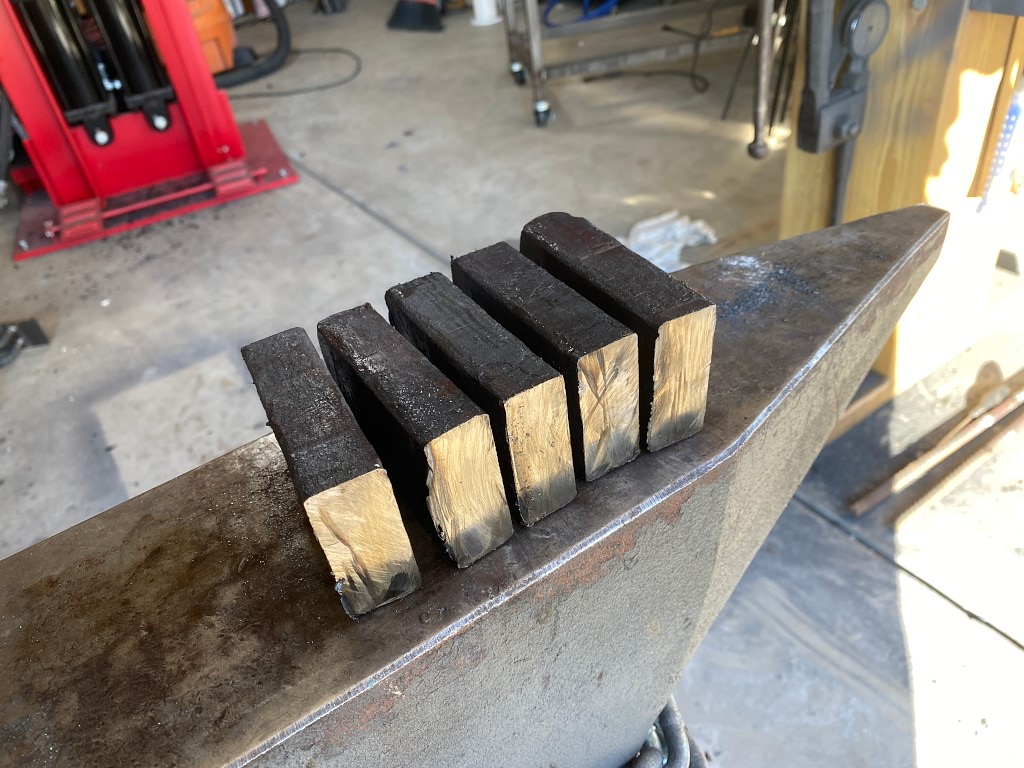
I cut this bar into 5 pieces…
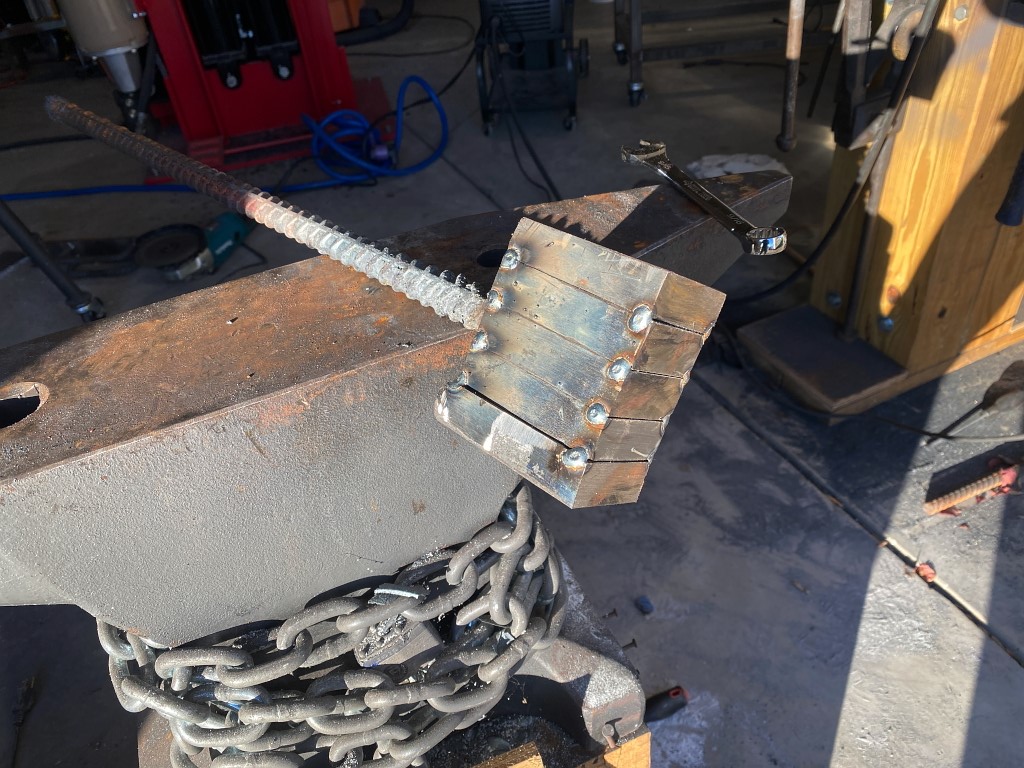
re-stack it, re-tack it, and attach another rebar handle
into the forge…
I forge-weld the stack and again draw it out int a long bar, which is now 100 layers thick.
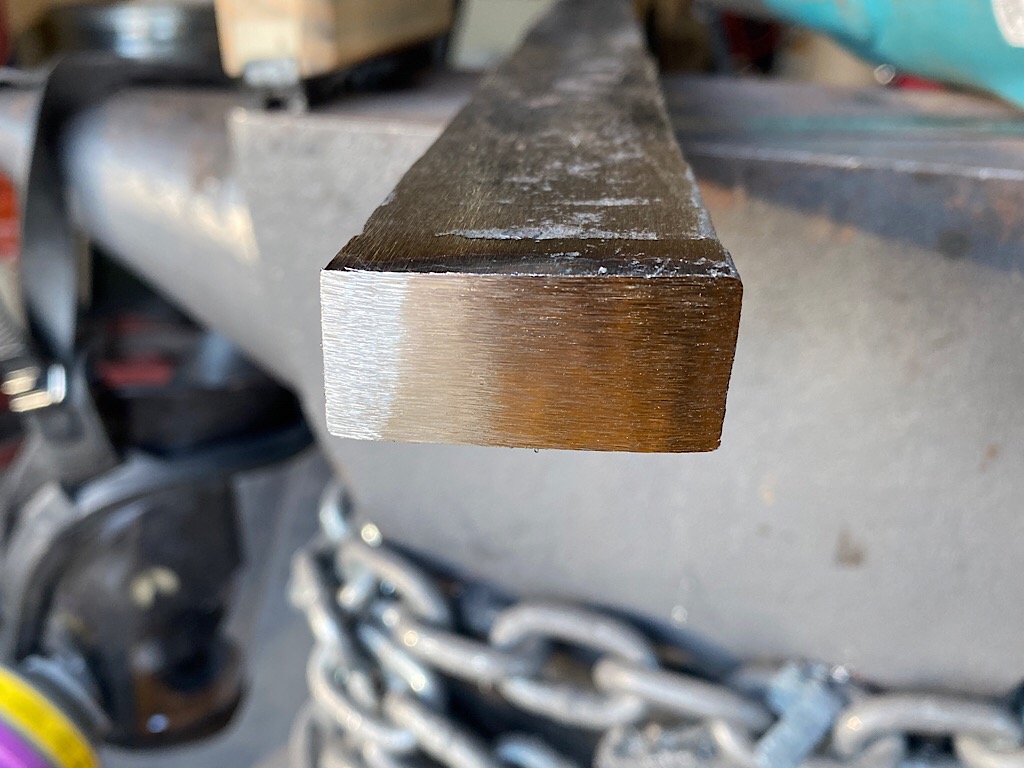
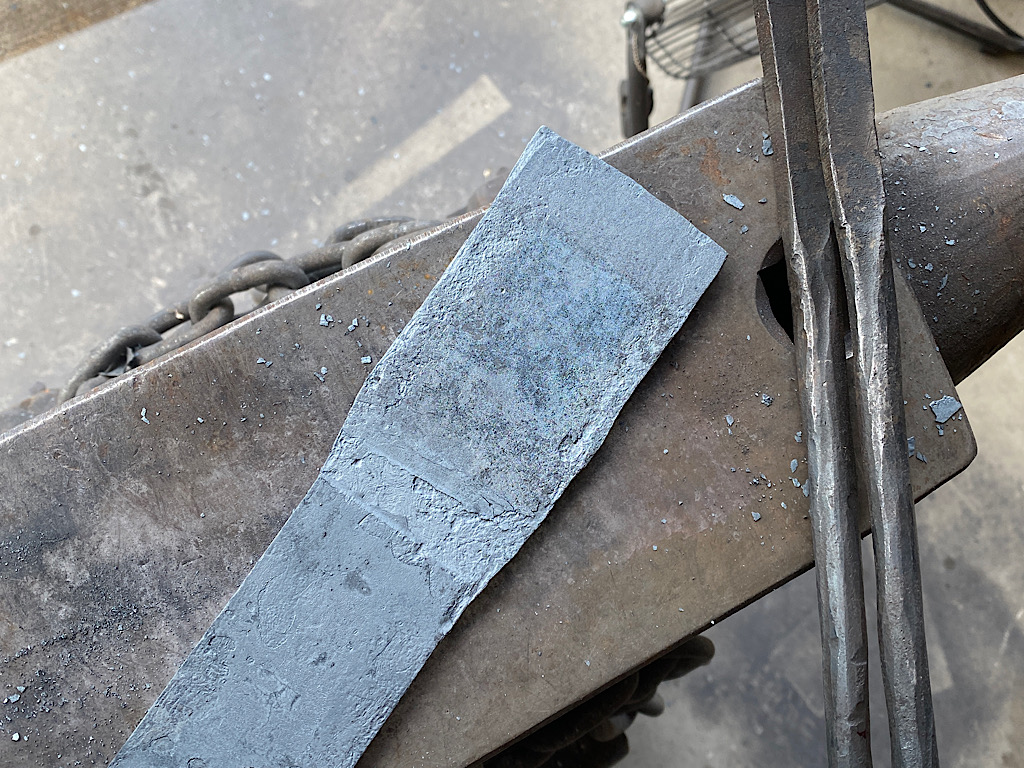
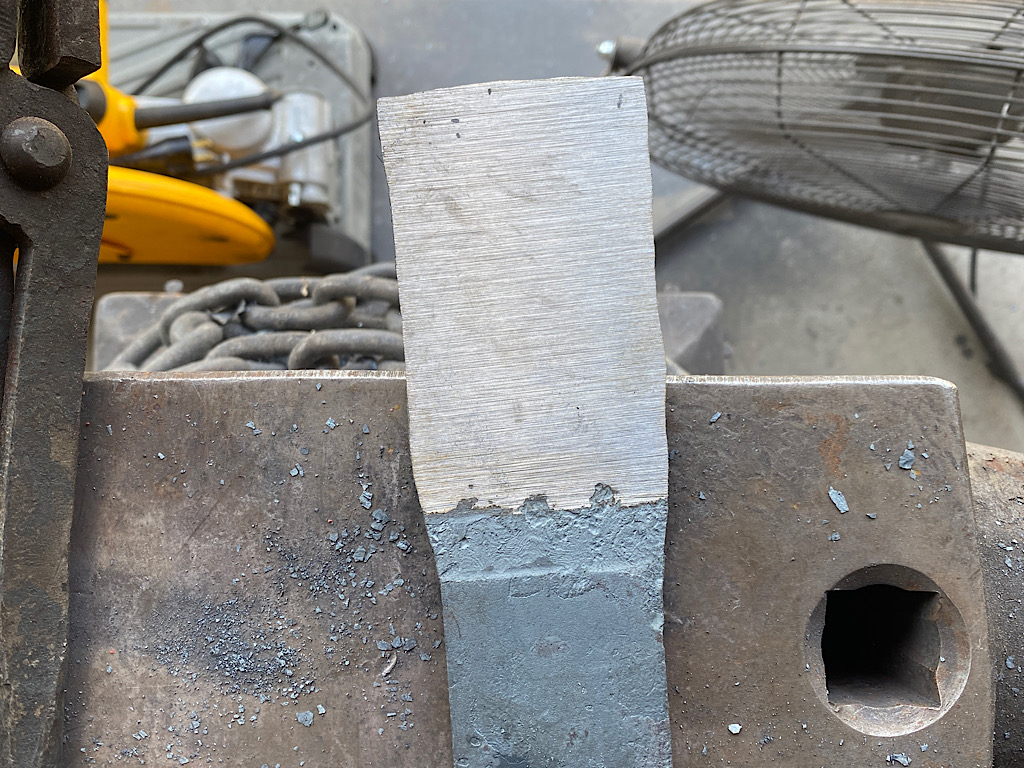
grinding off the end you can see its one solid piece of steel. Since it didnt actually melt, while really thin the layers are still distinct, but they are fully fused.
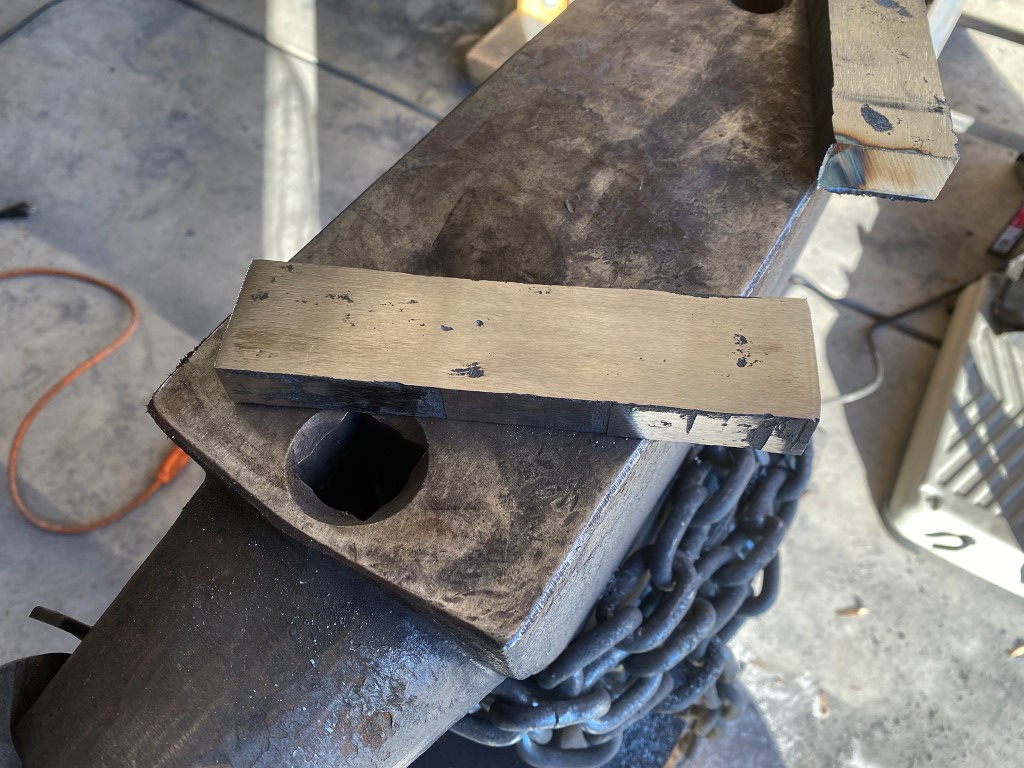
I cut off a piece for these covers, and set the rest aside for other projects…
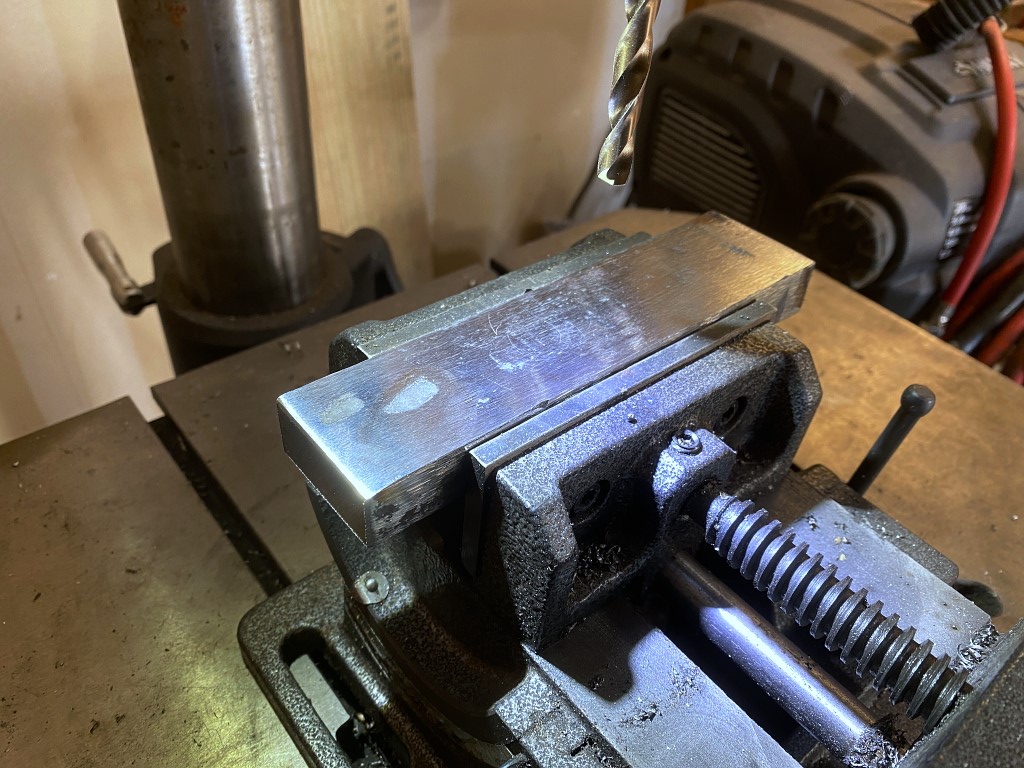
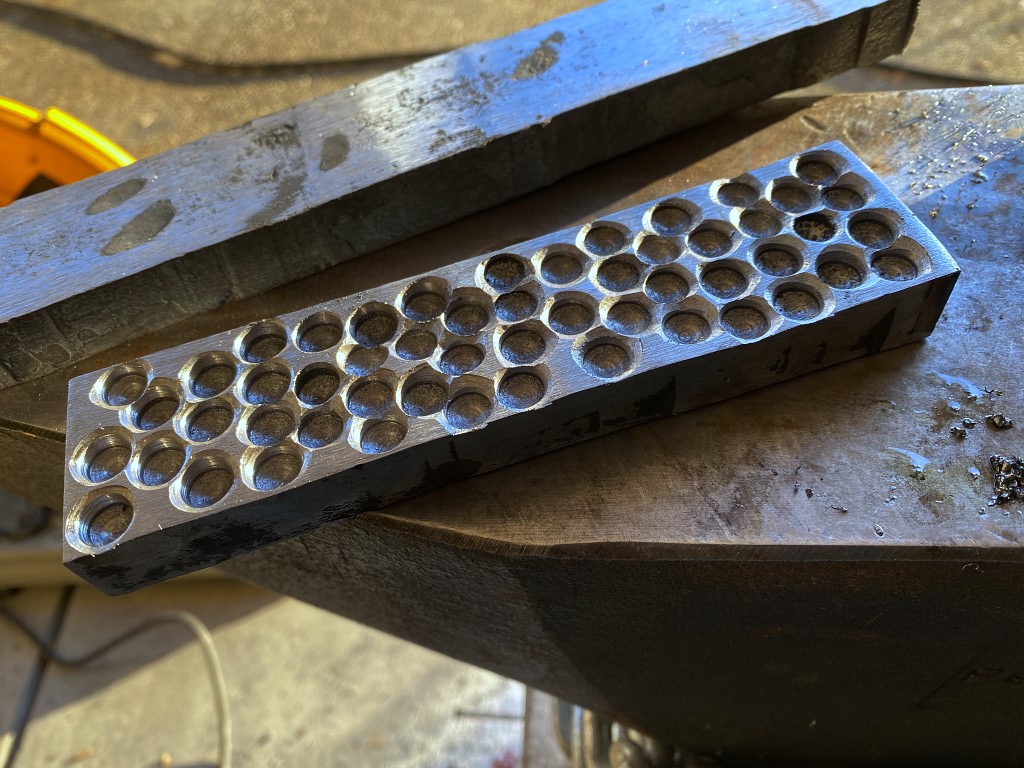
I put this piece under my drill press and drilled a LOT of shallow holes in the bar.
Then I put it back into the forge, got it really hot, and mashed it back flat again. As you might imagine, what this did, since the holes went down through dozens of layers, it pushed all those underlying layers (remember they alternate different steels) all into the same flat plane.
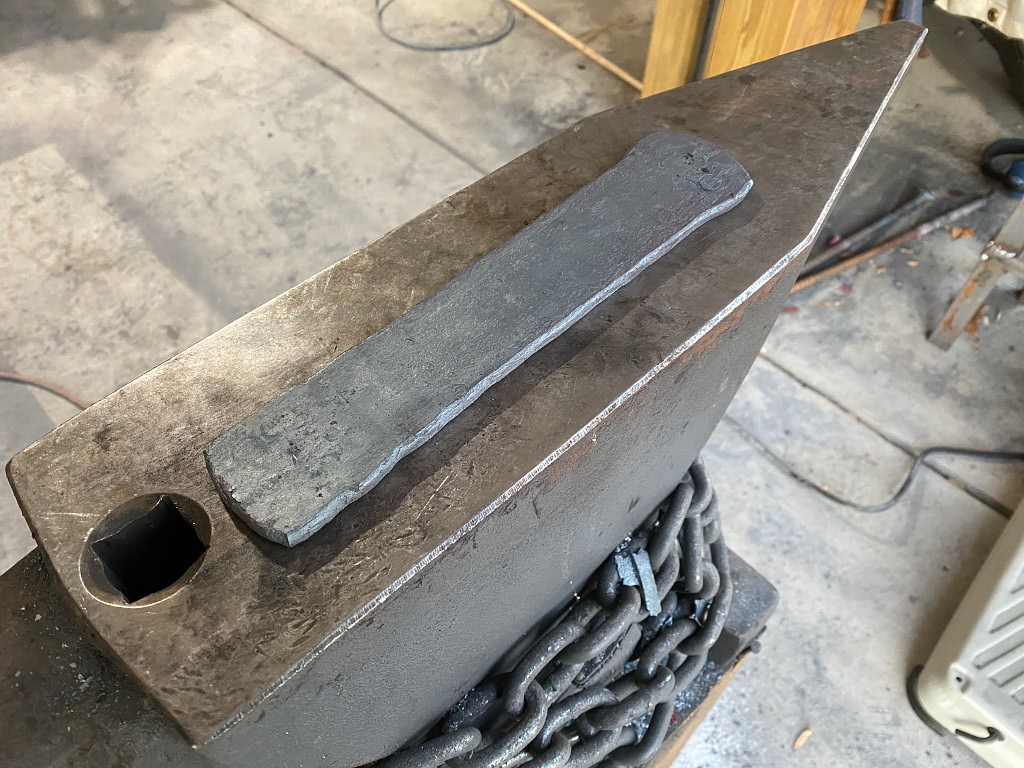
I squared the bar off on the grinder, keeping it actually more narrow than I needed, because the act of using a cross-peen hammer to forge out the width again will now further distort and randomize the layers…
more heating and forging…
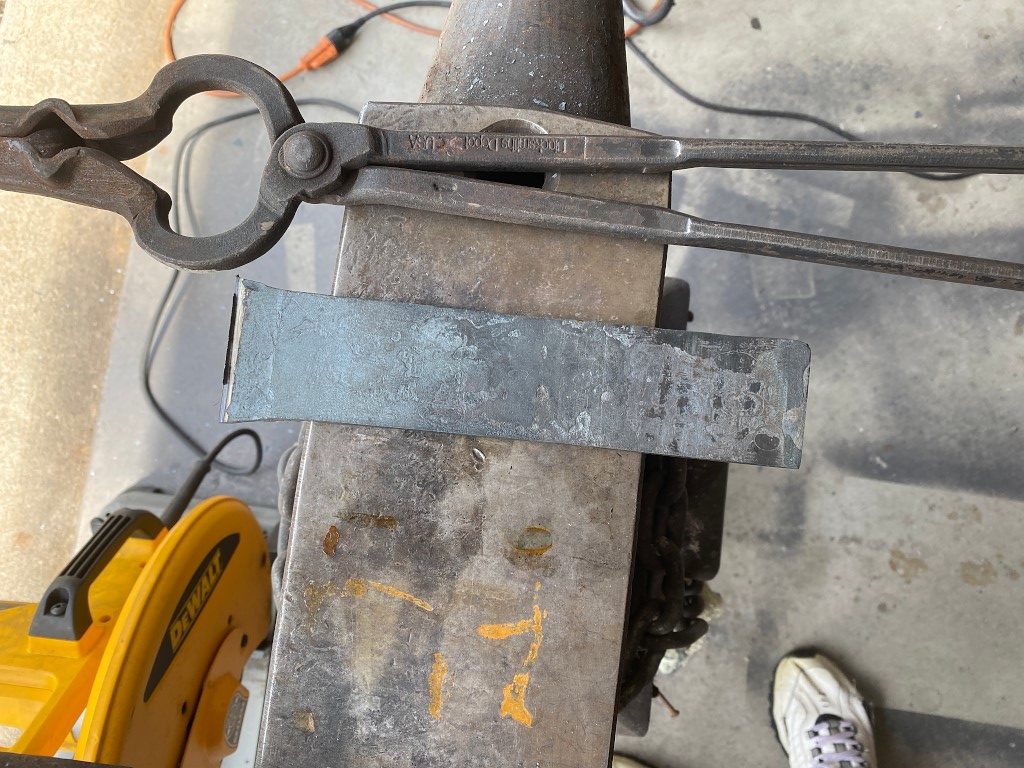
I forge out the width of the end of the bar. This will be the neck mounting plate….
Grind off the scale….
Chop off the piece and clean it up….
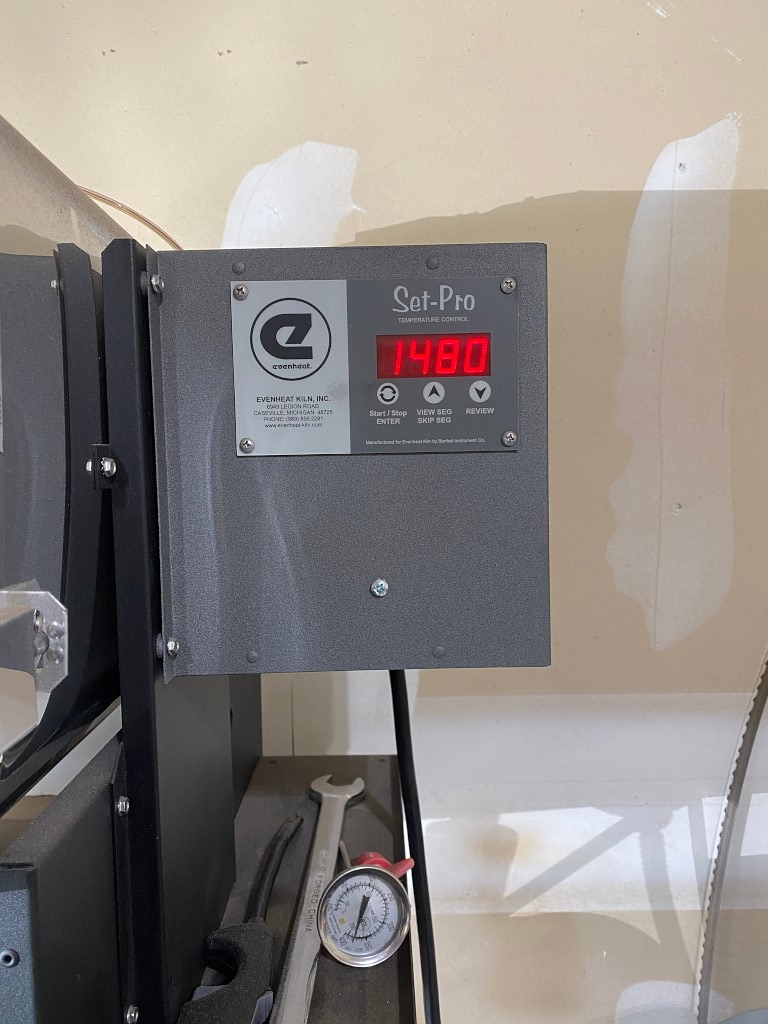
Harden it. This is accomplished by heating it to exactly 1480 F, holding at that temp for 10 minutes, and then quenching it in Parks 50 quench oil. I use a kiln for this. It can be done in the forge, but its not simple to eyeball the temp precisely, plus the forge creates a lot more scale that then needs to be gound off again.
Its not etched yet, but you can make out the pattern at this point.
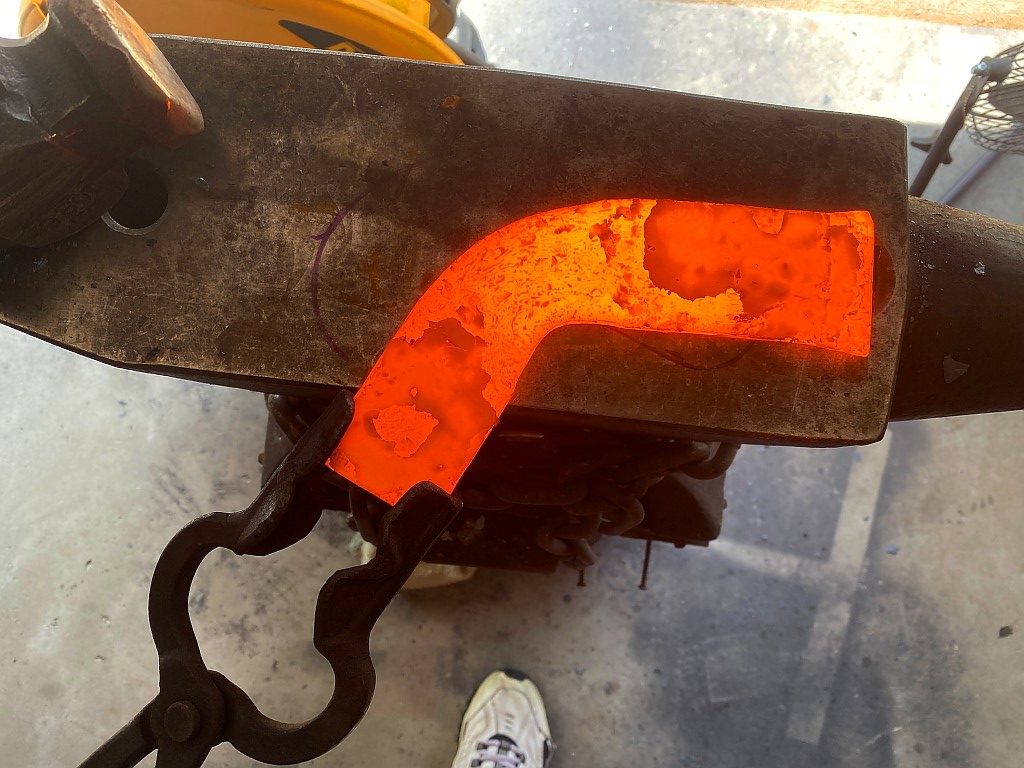
Now on to the cavity cover. This is more of a pain because I have to bend a flat bar in the same plane as its flatness. This sucked and took a lot of careful forging. the fact that I had to do this is because I didnt plan ahead 🙂
If I had to do it over I would have started this piece while it was still a lot thicker, bent it first, and then flattened it out.
Turned out great, but was a lot more work than it needed to be. Live and learn. 🙂
Heres the rest of that bar after cutting off the neck plate.
Here it is while bending it. As you can imagine, this kind of bend compresses the metal on the inside, and stretches it on the outside edge. Making it go where you want it to with a hammer is a skill I’m still refining, but I’m getting there.
Even at this temperature its super hard, thats why you have to whale on it with a hammer to get it to move. Its a slow, tiring, HOT task.
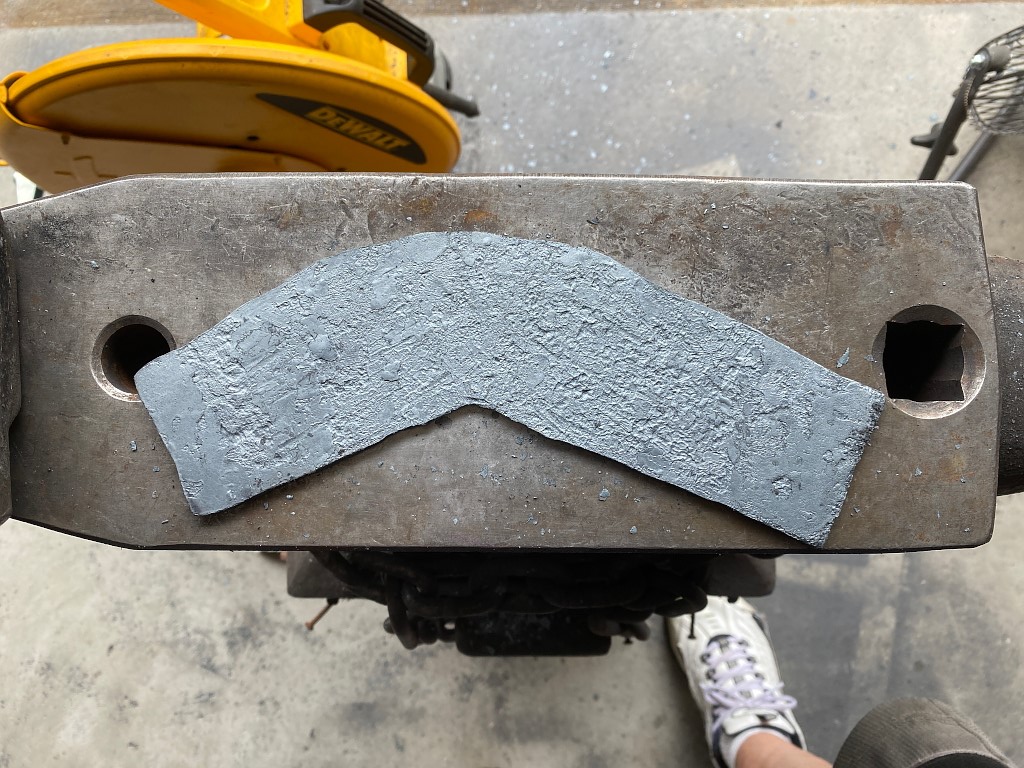
Here its bent, and forged out wide enough to cover the control cavity.
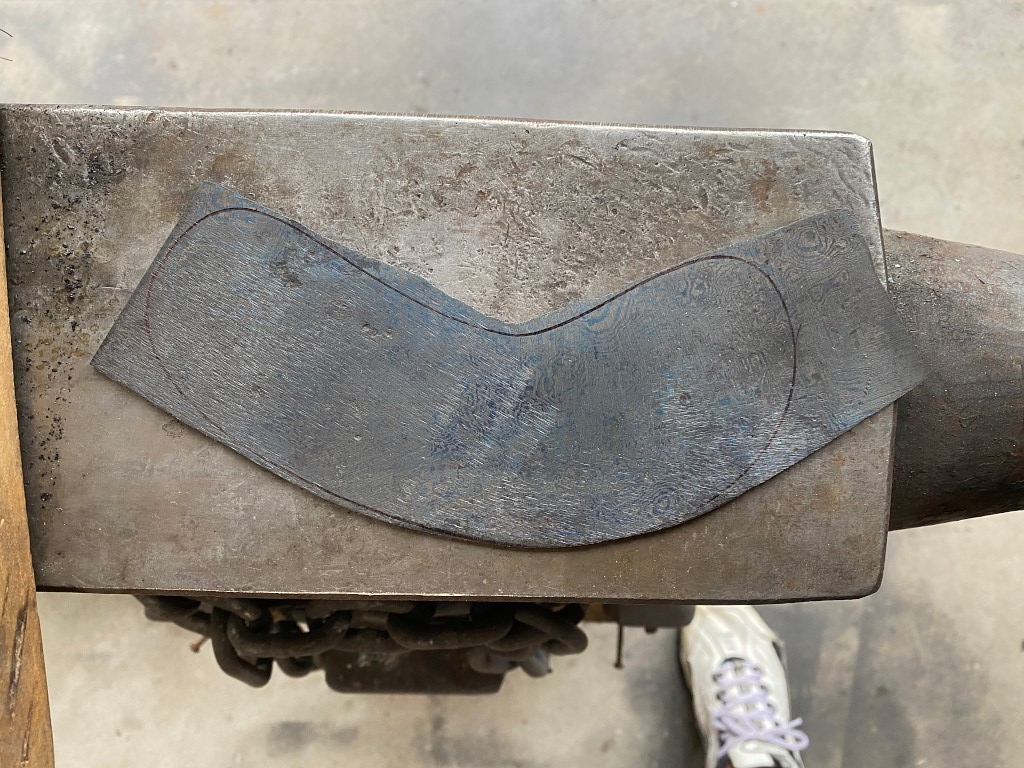
Ground off most of the scale, and traced the cover outline
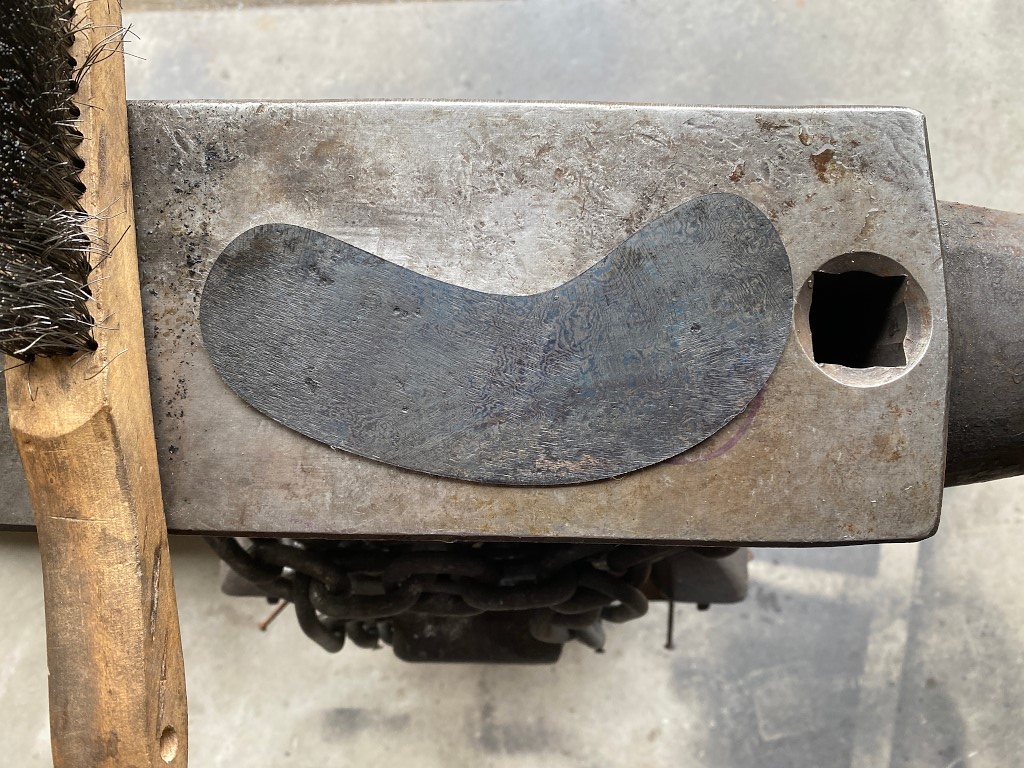
Then grind it down to the line.
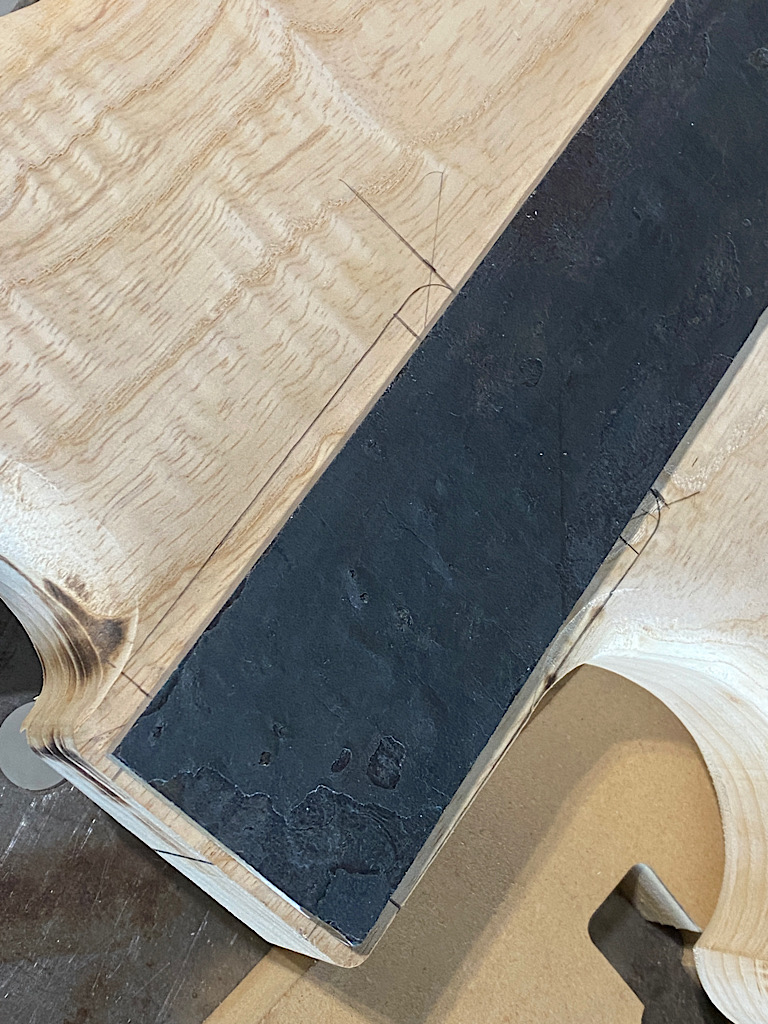
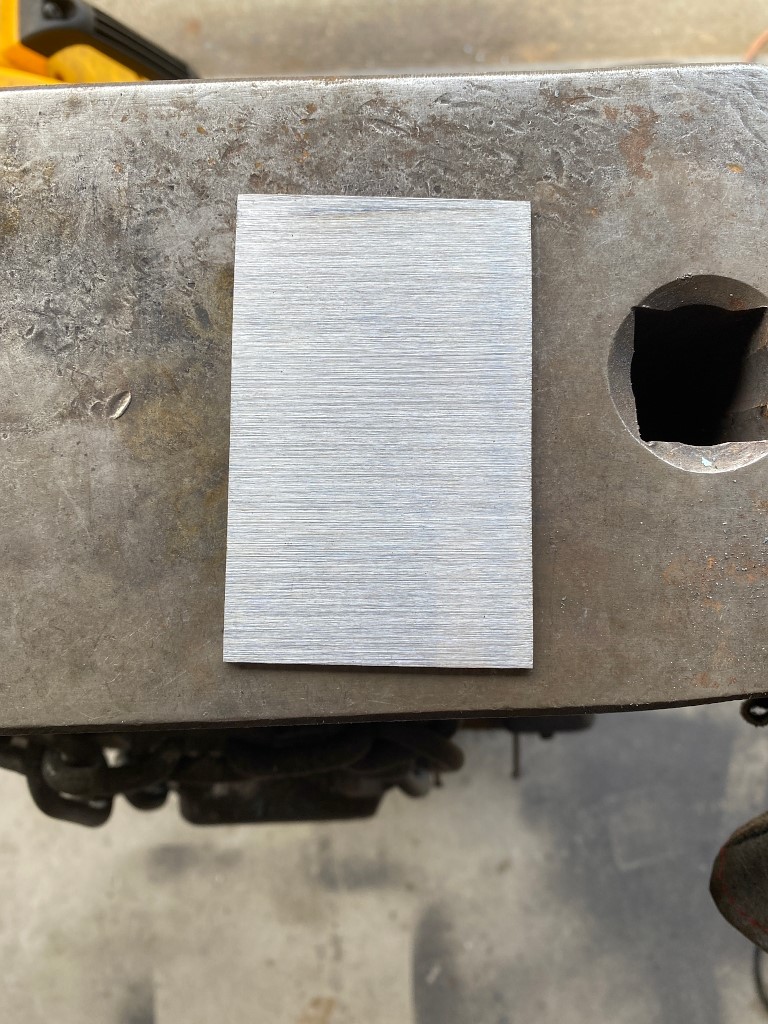
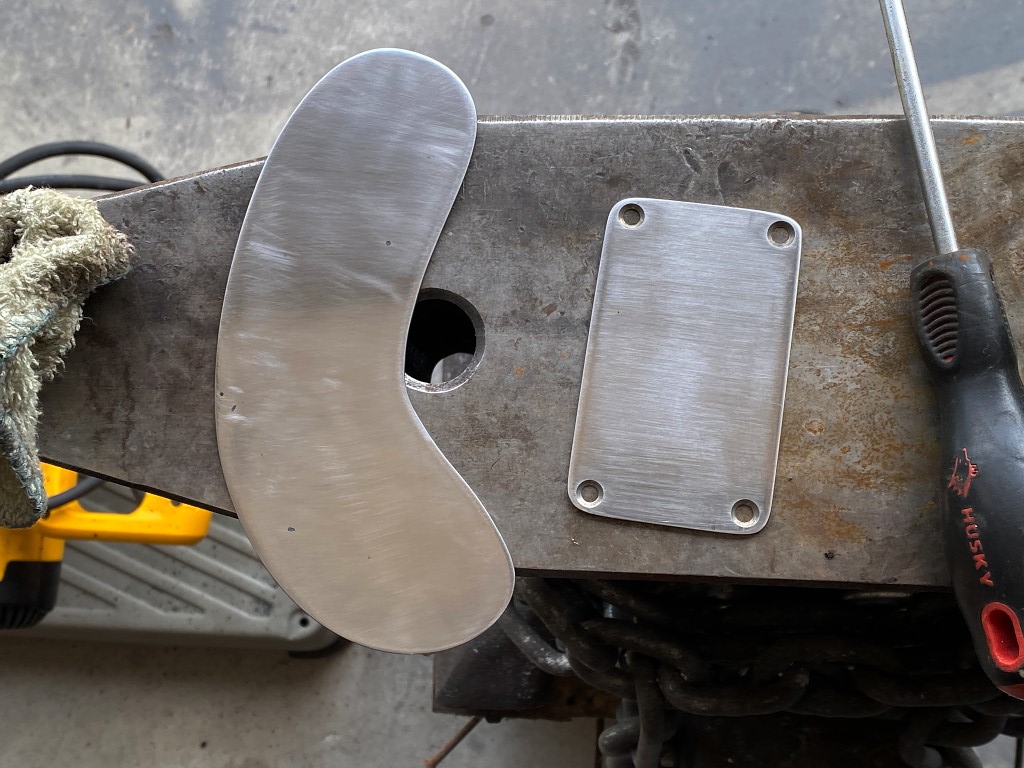
Jumping ahead, heres both parts. I’ve sanded them both up to 800 grit and drilled the holes in the neck plate.
Being steel, I’m not going to use screws for the cavilty cover. Magnets anyone? No holes needed. It’ll be grounded as well, so good shielding 🙂
If you thought sanding wood or lacquer is tough work, think again. Hardened, high carbon steel is a wee bit harder 😉
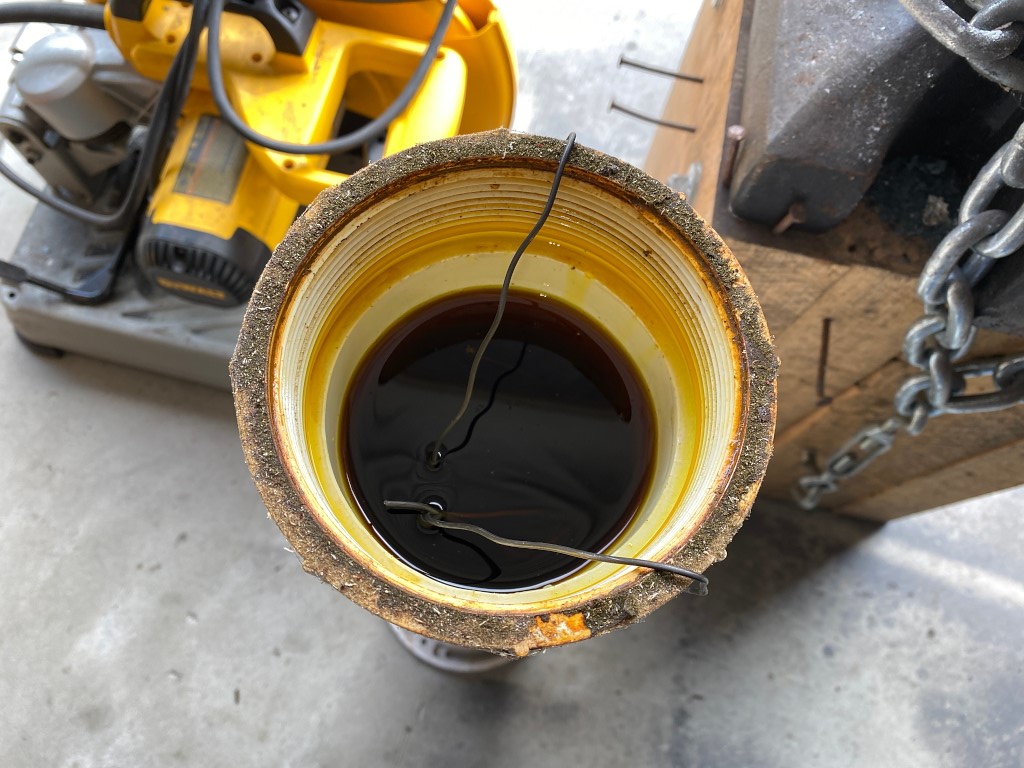
Then the they both take a bath in ferric chloride.
Remember earlier when I talked about the difference between 1095 and 15nn20? Heres where that matters.
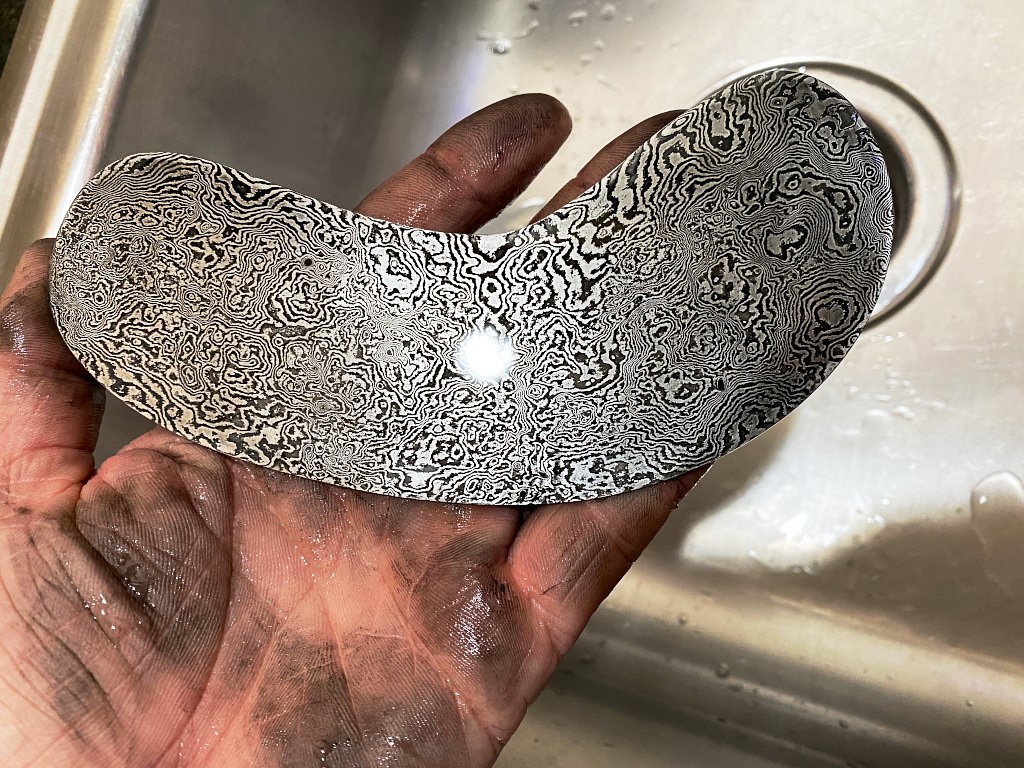
The acid causes the 1095 to corrode, but the 15n20 resists! Viva la resistance!
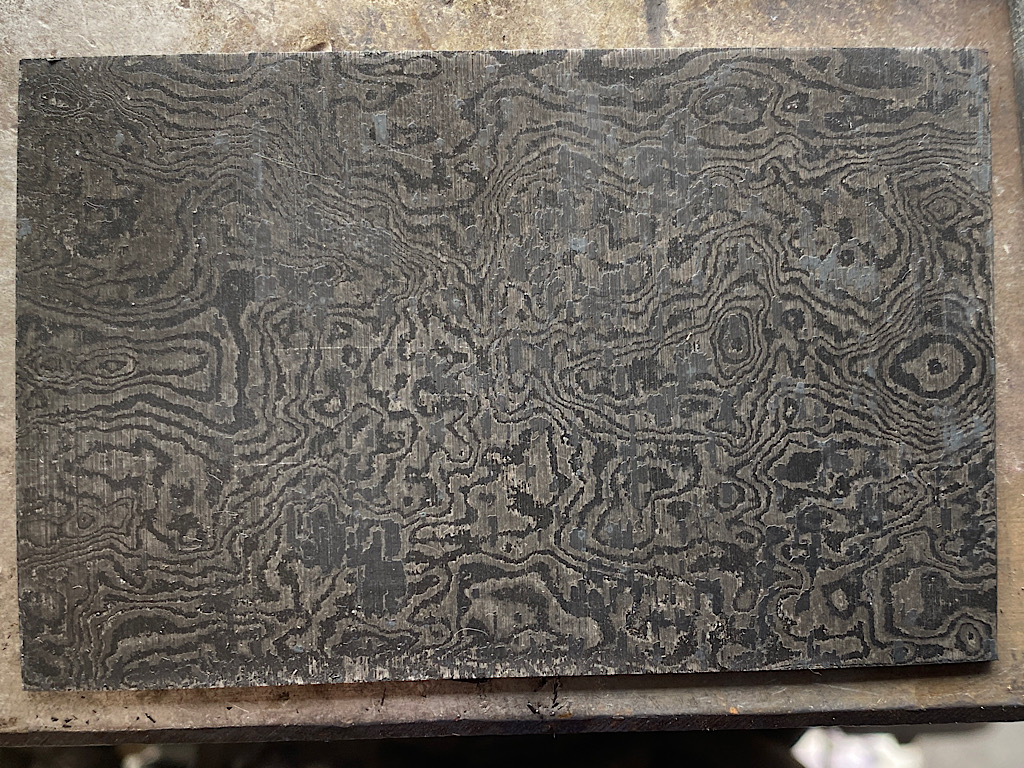
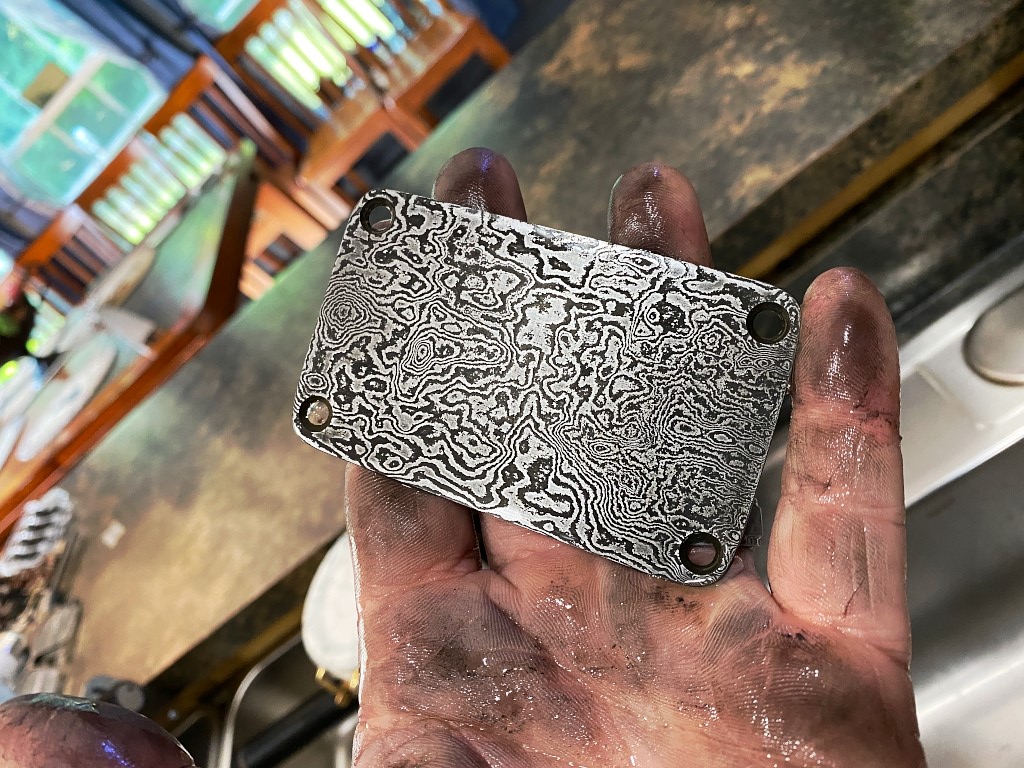
Both parts come out completely black, but I lightly sand the surface with 1500 grit wet and dry paper and the oxides wipe right off the 15n20. the 1095 stays dark
This whole process took me two solid days of work, all day. IT was super hot, I drank gallons of water, and my right arm and shoulder are really sore as this is the first forging I’ve done since I blew up my shoulder last fall and had surgery in December.
Was it worth the effort?
I think so 🙂
I’ll still have to clear coat these. High carbon steel will corrode (obviously). Even the 15n20 will get shitty-looking given enough time and skin oils and such.

