OK!
At long last we are coming to the end of the journey. The lacquer has been curing for a month and now its ready to be taken across the “finish” line.
OK, bad pun, but if my dad were still here he’d be proud 😉
First things first. A bit of explanation about nitrocellulose lacquer. Its solvent based, and all of the solvent has to evaporate leaving behind only the solids.
This process takes 4 – 6 weeks depending on the formulation of lacquer used. In our case 4 weeks is more than adequate. As the solvents evaporate the lacquer shrinks and will ultimately leave a surface that has what we call “orange peel”. Just an uneven surface because the film of lacquer is never 100% even thickness everywhere. this can be mitigated somewhat by good spraying technique, but as with any process done by hand (ie: human hands) its never 100% perfect.
So, even though the surface is plenty glossy at this point, and fairly flat already, reflections show every little ripple and this just isn’t the desired result. The solution is to wet sand the surface until all the little swirls, bumps, and divots are gone and its perfectly smooth.
Its arguably the most tedious and annoying part of the whole process, but unfortunately 100% essential. No skipping this step 🙂
The reason its so tedious is because we need to leave a surface 100% flat, with only scratches fine enough to buff out with compound on the buffing machine. So this means 800 grit wet sanding, which removes material from the surface VERY SLOWLY! 🙂
Of course this is a good thing as well since removing material too quickly risks sanding right through the clear into the color coats, which would then require a complete do over.
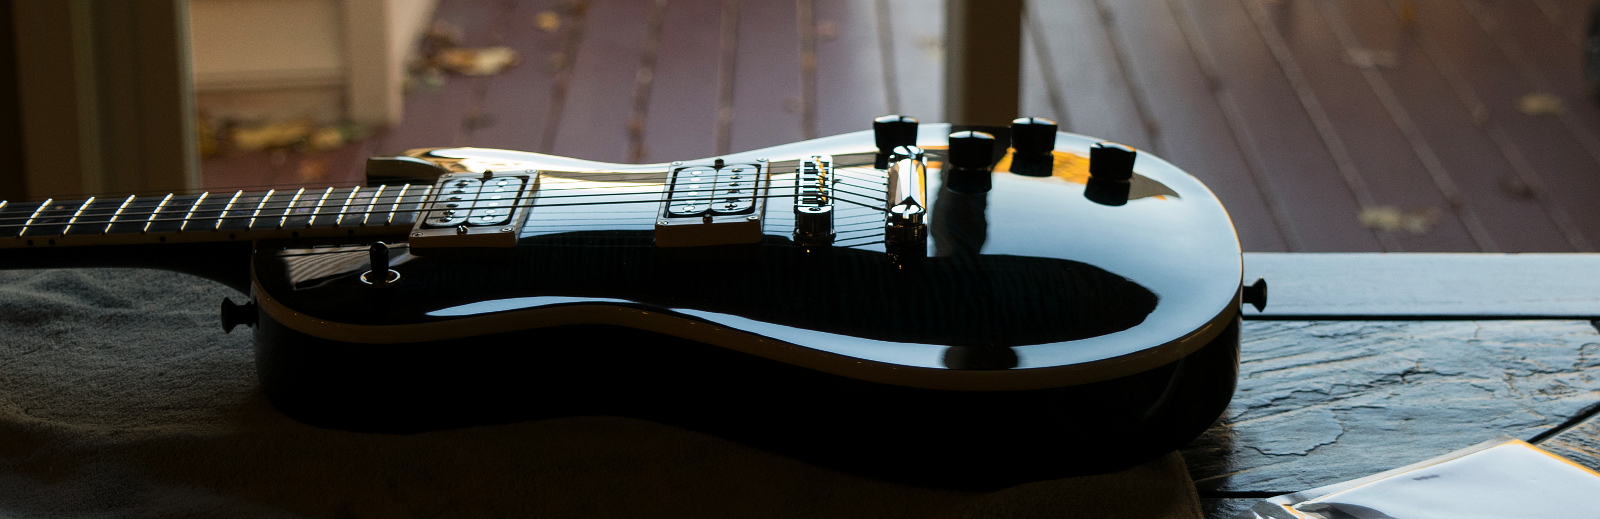
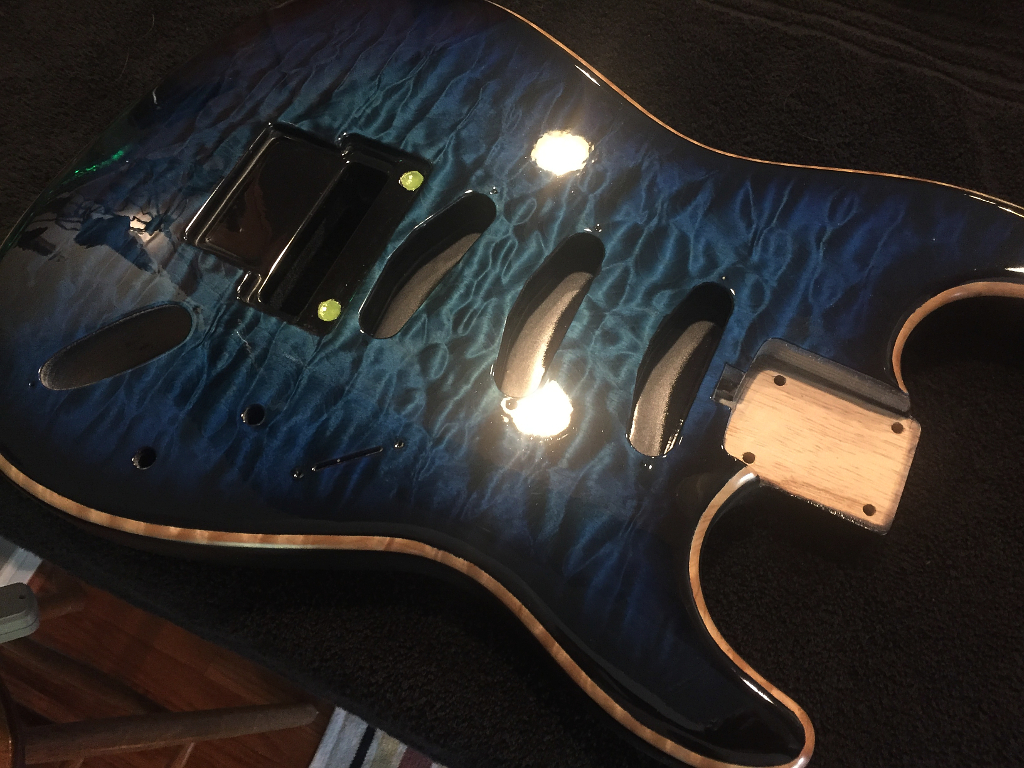
Anyway, here we are at the start. You can see where the reflections of the ceiling lights are that the reflections are ripply and distorted, and also the reflections around the bottom of the guitar. This is due to the orange peel I mentioned.
So, using a firm foam rubber block and 800 grit wet/dry sand paper we sand the surface until the high spots are reduced to the same height as the low spots.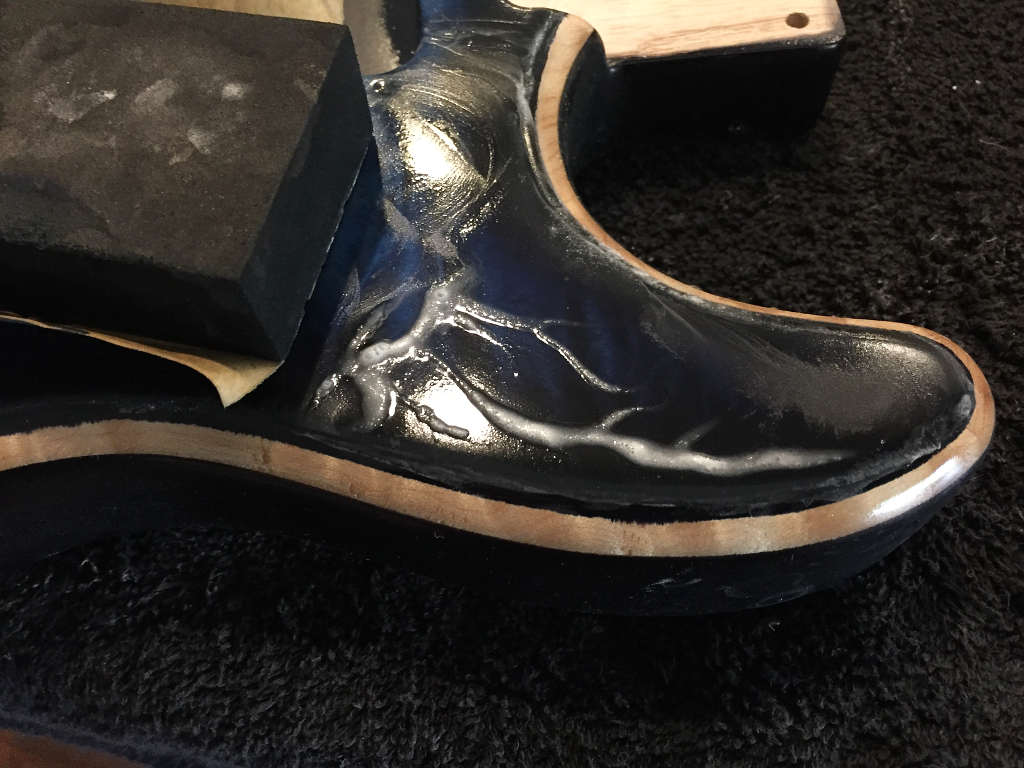
Here you can see a good example. the areas that look dull and hazy have been sanded flat, and the darker colored, shinier areas are where its low. We need to continue to sand until the entire surface of the guitar is uniformly dull and hazy. At that point its perfectly flat.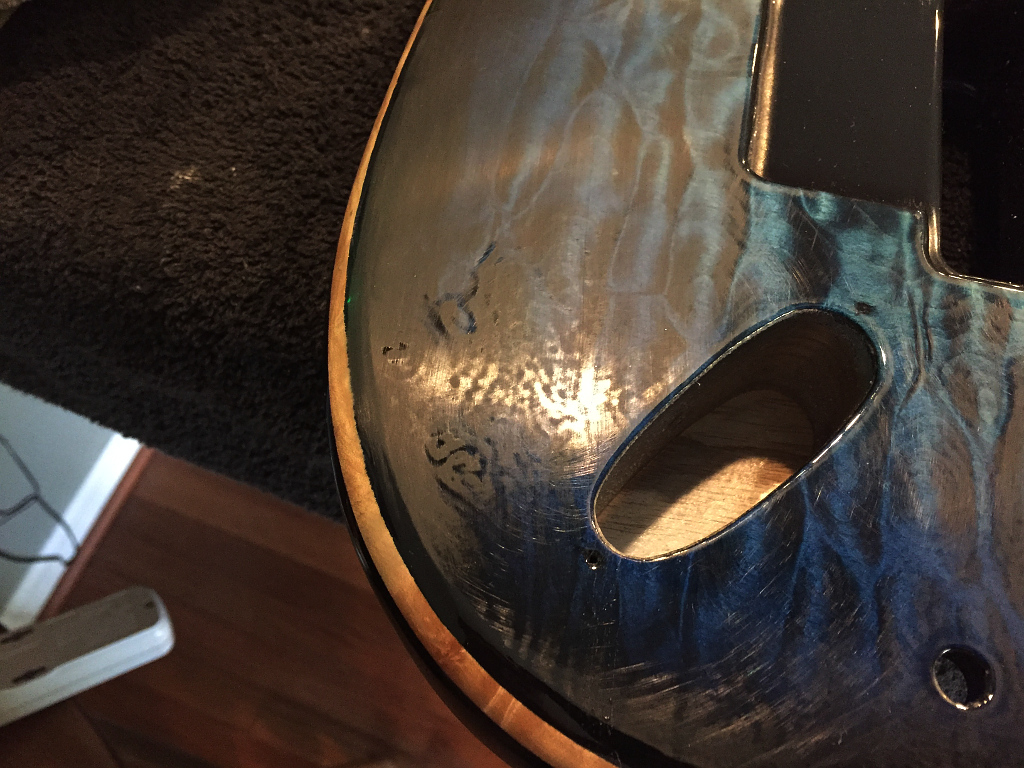
Same area after sanding. All the darker, shinier swirls are gone leaving a uniformly dull, flat surface.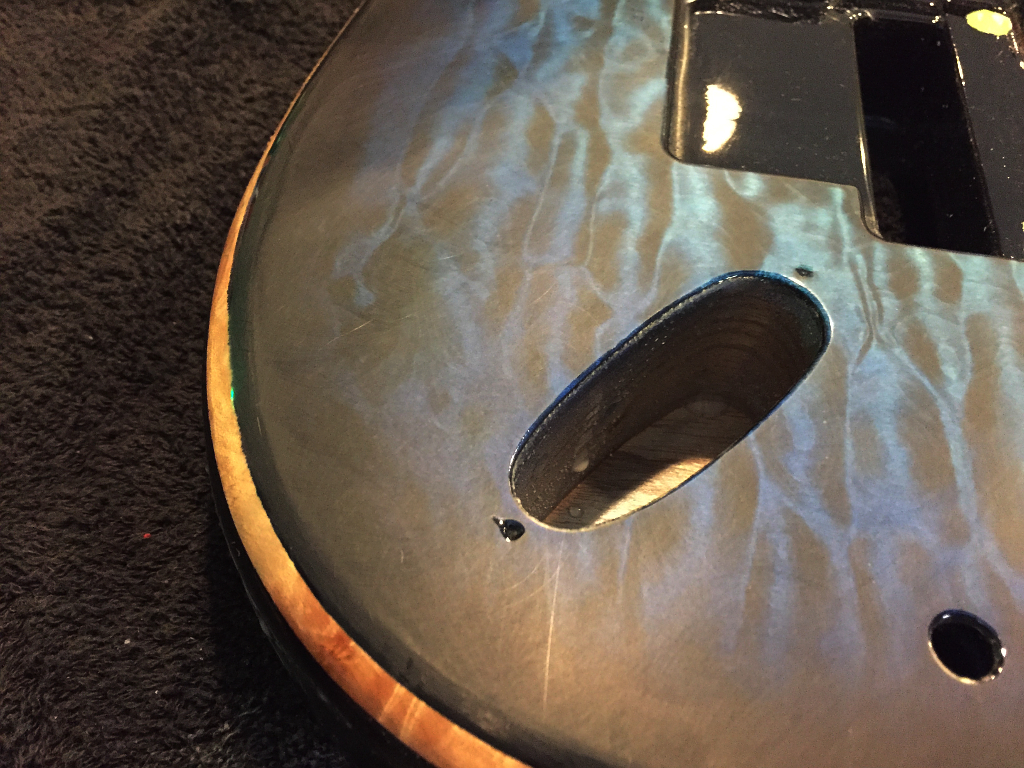
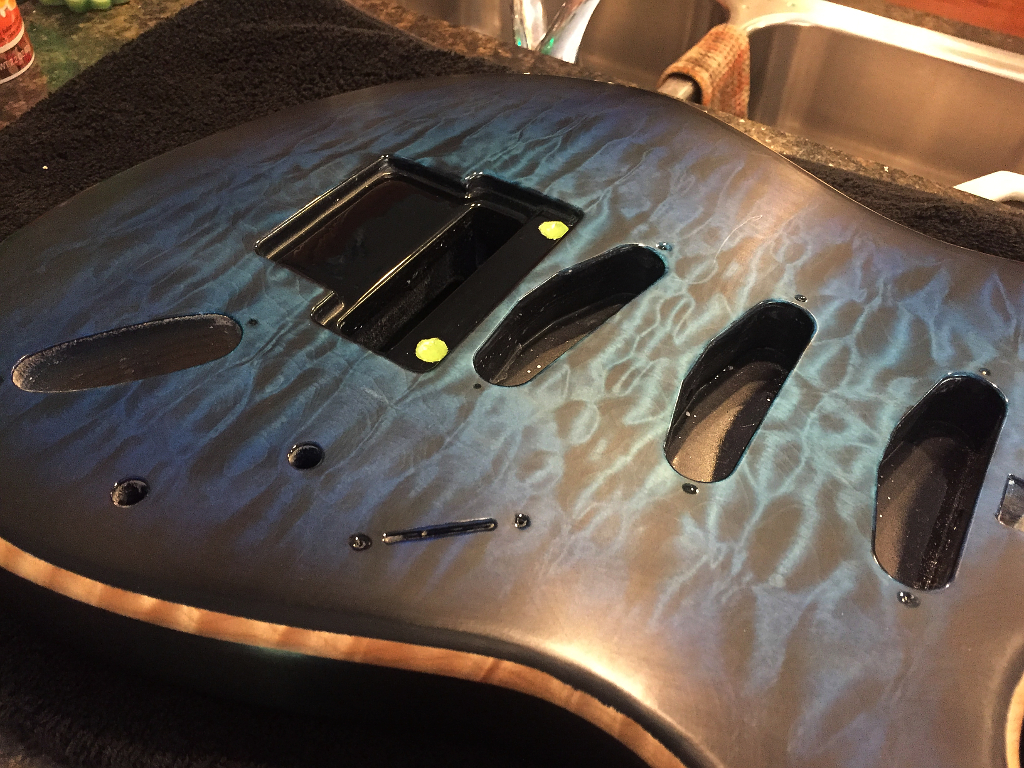
Looks like crap, right? 🙂
No worries. Now that we have a perfectly flat surface, we can now buff it back up to a mirror shine.
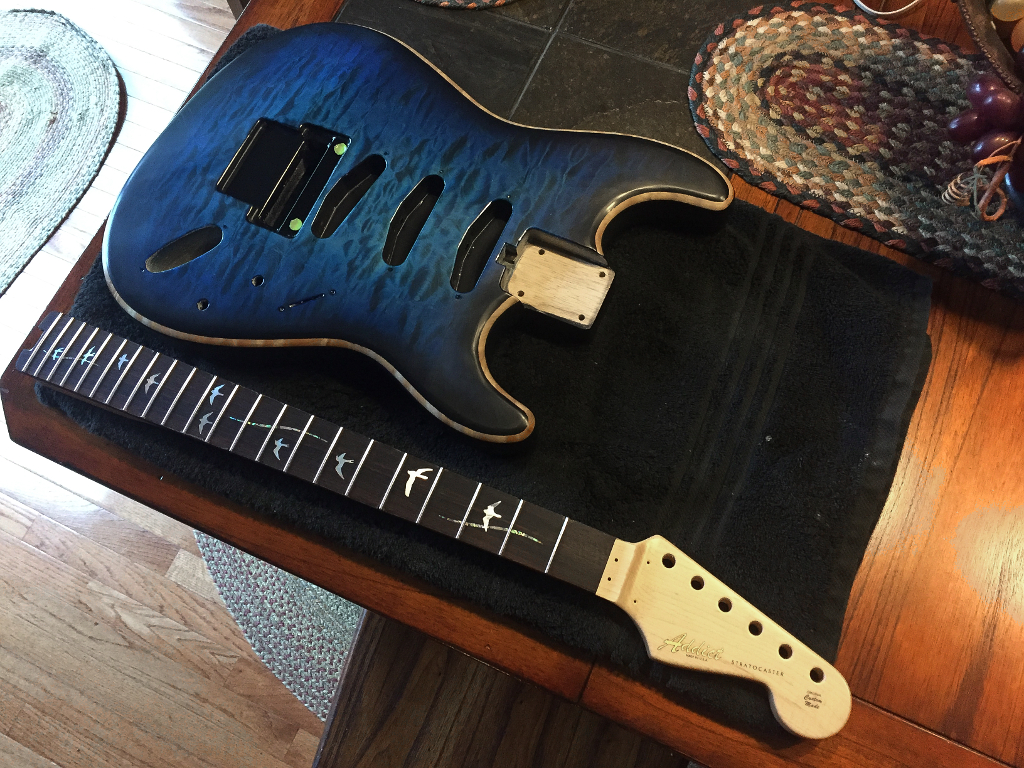
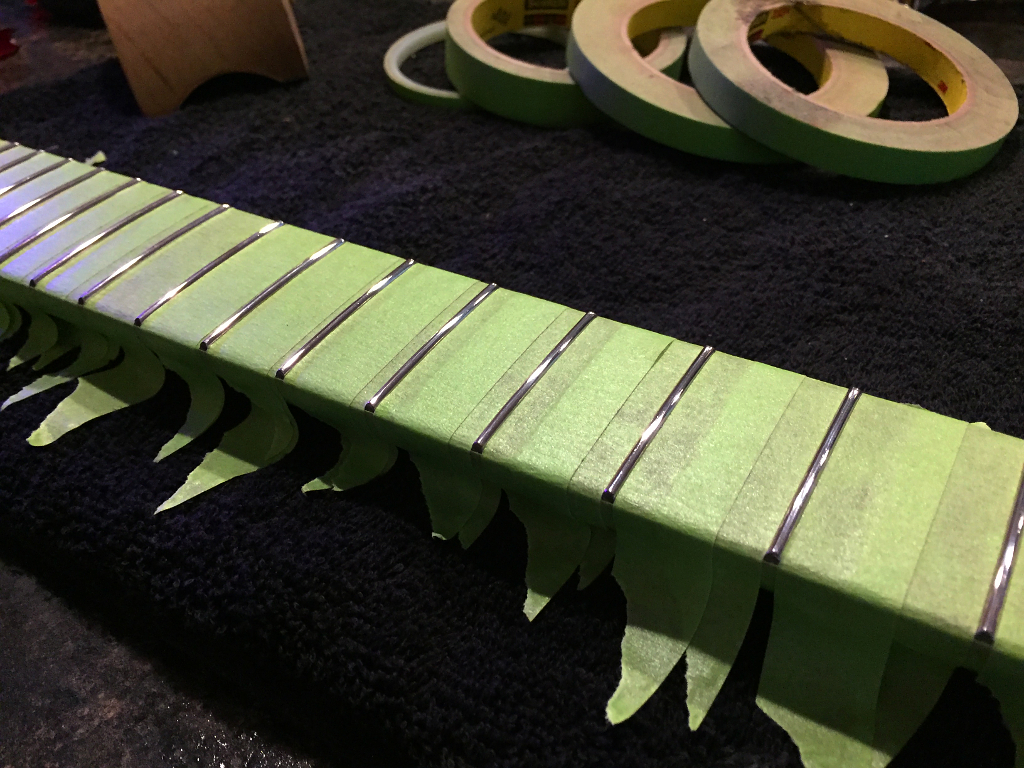
Final steps in making this into an instrument that rings clean when you pluck a note, bends smoothly, and is a pleasure to play is the fretwork. I’m a bit light on photo’s of this process, but here is the fretboard masked off so I can work on the frets without denting or scratching the rosewood surface. The goal is simple. Adjust the neck so that its as flat as you can make it, and then using a long levelling beam you file the fret tops evenly so that all the frets are exactly the same height. Having low and high frets is what causes buzzing, dead notes, and other issues.
Once the frets are leveled, a crowning file is used to shape the sides so that the crown of the fret is just a very thin peak down the center of the fret where the string will contact. After that multiple grits of sandpaper are used to remove all the sanding and filing scratches from the frets and then a dremel with a buffing wheel and jewelers rouge/compound to buff the frets to a high gloss.
Its a bit of a process, and takes more time with stainless steel than with standard nickel/silver frets simply because the stainless frets are a lot harder. The results speak for themselves though and are well worth the extra effort 🙂
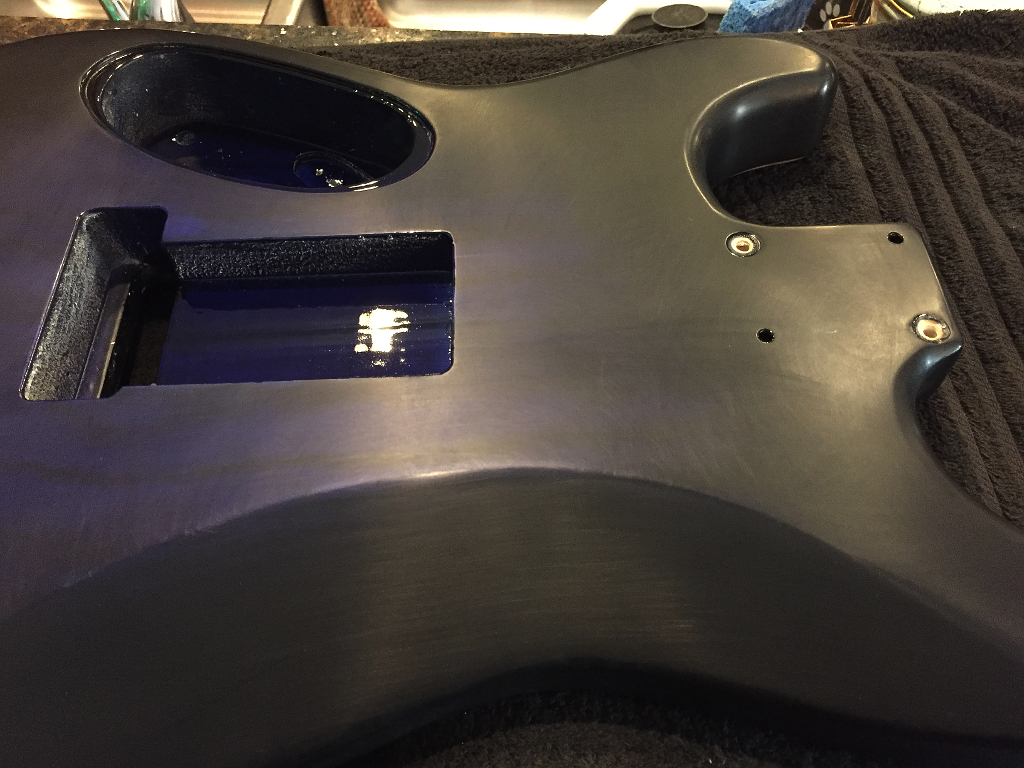
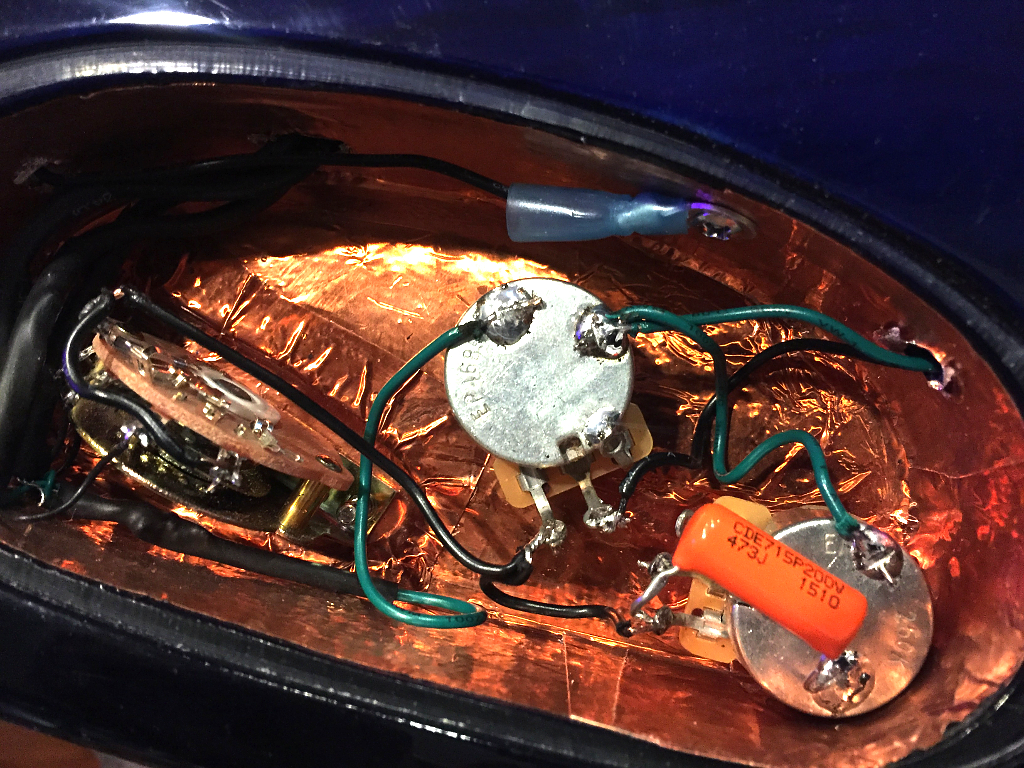
At this point the last step is wiring and soldering it up. I shield the control cavity with copper foil that’s connected to the common ground. This creates a Faraday cage around the electrical components and shields them from electro-magnetic interference. In simpler terms it helps eliminate humming from the amp where a guitar will pick up EM sound from lights and electrical sources. The cover is similarly shielded and contacts the cavity shielding when its in place to completely enclose the wiring, pots, switch, etc.
No guitar is 100% proof against hum, but this step reduces it considerably.
All that remains now is string it up, set the action and intonation, wipe off any greasy finger prints, and take a few final shots…
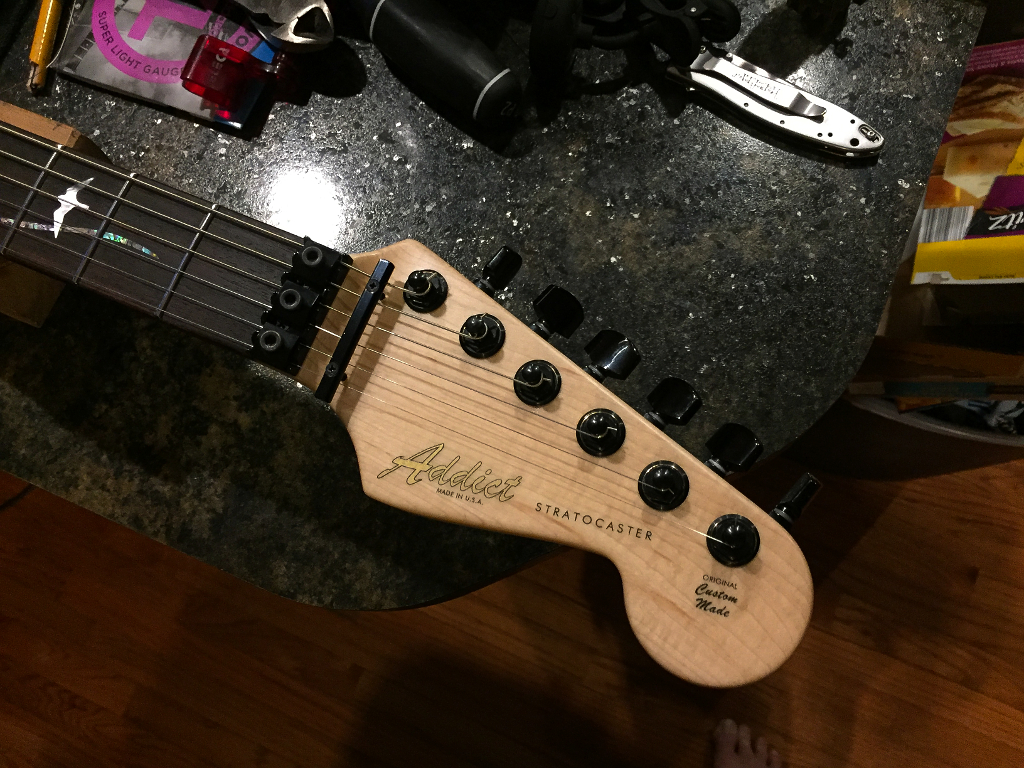
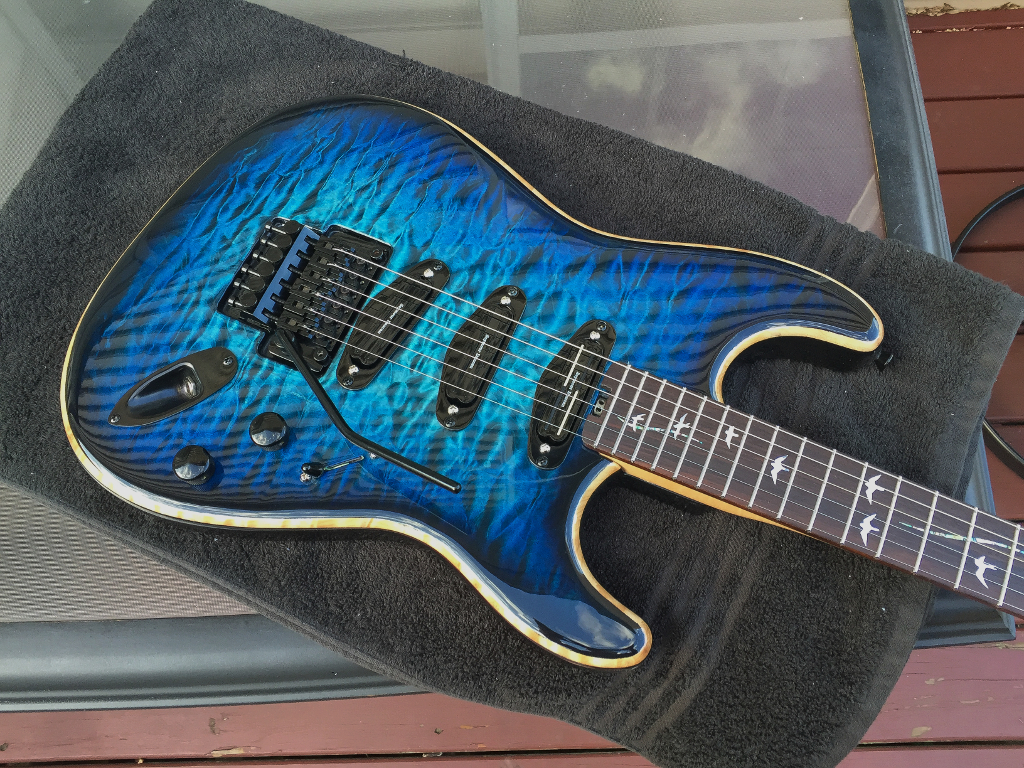
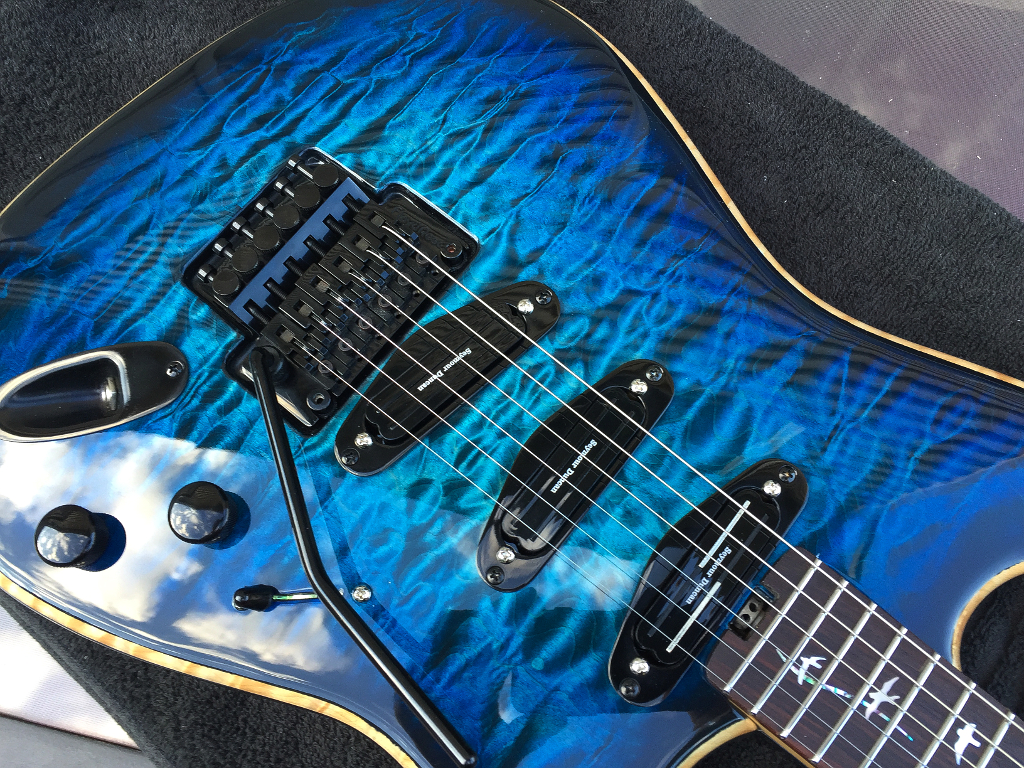
and hand it off to its new owner 🙂


Update: Jump ahead 4 years to Sept 2022
OOPS! Looks like that wasn’t actually the end after all 😉
Due to unforeseen circumstances, it became necessary to do a total refinish on the body