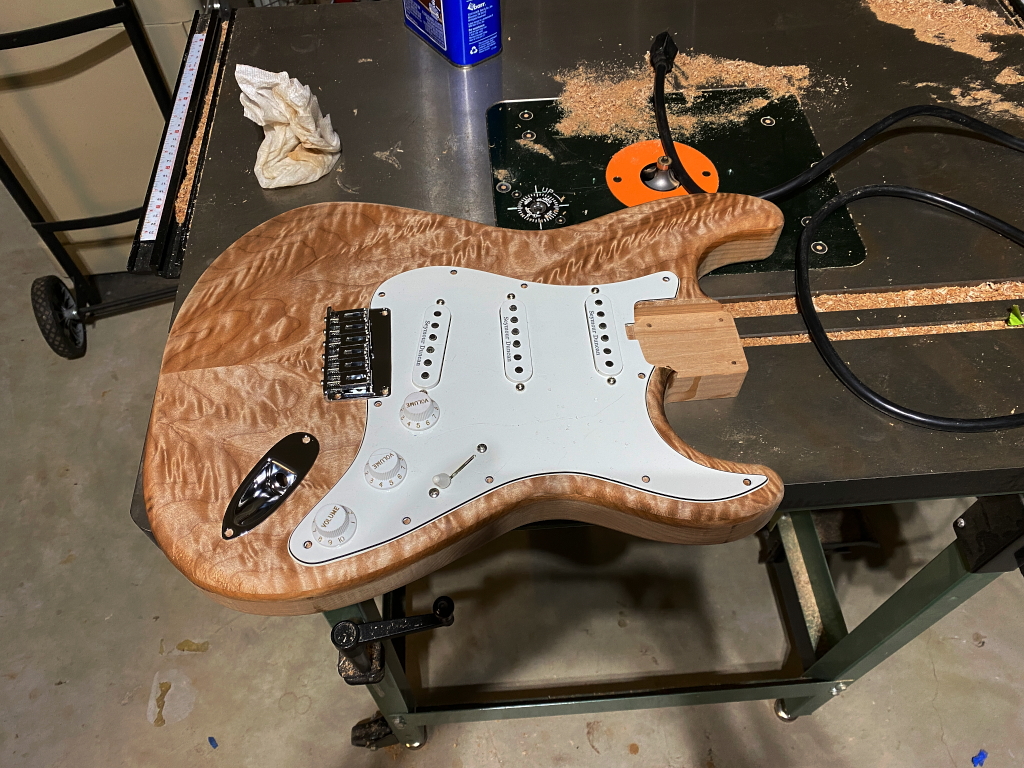
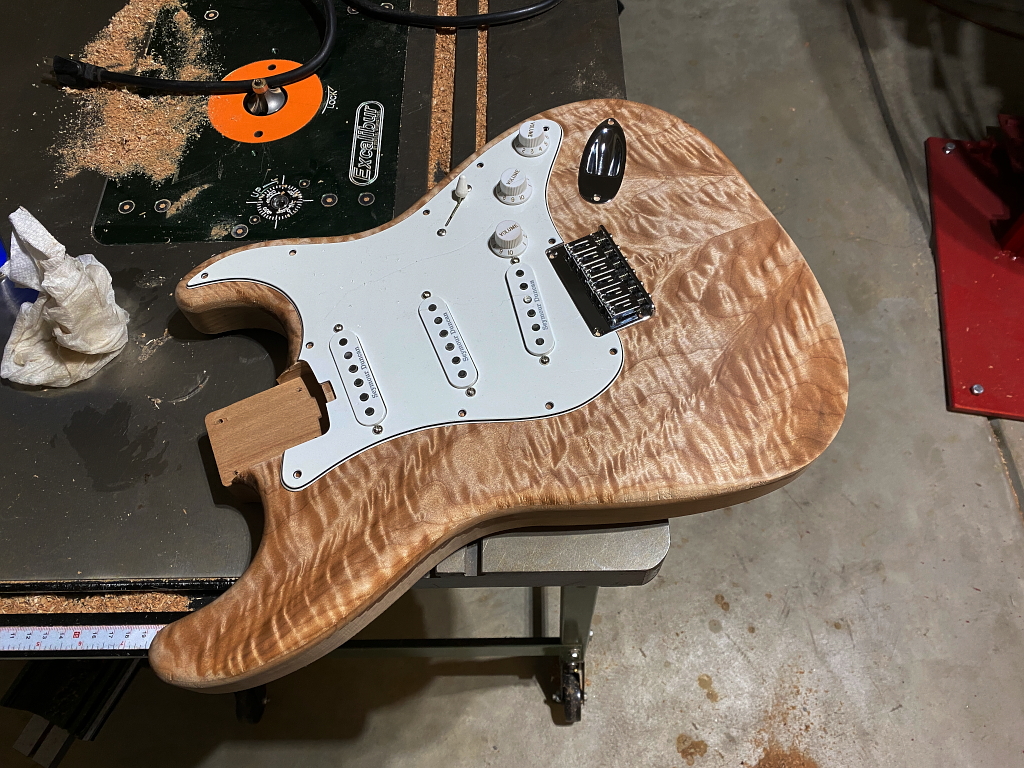
Unlike all previous Strat builds where I used ash for the body, this time I used Alder. Ash has a nicer look, but tends to be a bit “twangy” with regard to tone. Alder tends to emphasize the mid-range more which is really much more to my taste. Sadly though, Alder is not nearly as nice looking as ash. Its a bit bland by comparison, but I have a solution for that. A drop top I made about 4 years ago thats a 1/4″ thick and made from a very nice piece of angel step quilt maple. Its been waiting around here for the right project, and this is it. It will add a little bit of work to making the body, but book-matching and gluing is already done so the additional work is relatively minimal. I just have to do the arm carve on the alder piece, and then glue this to the top, bending it over the arm carve.
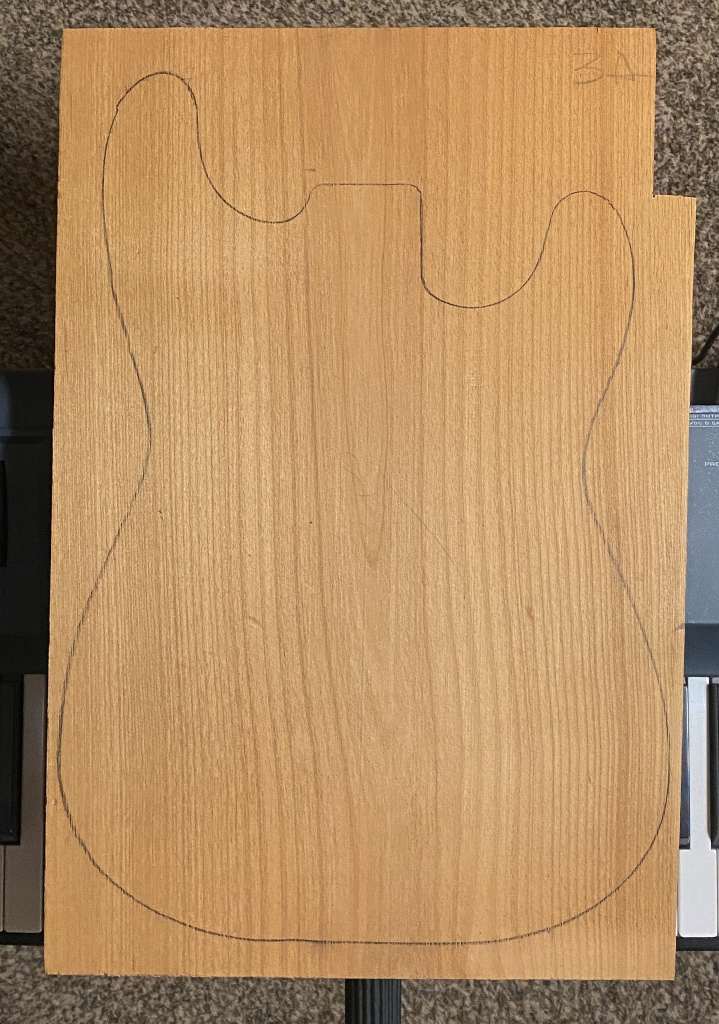
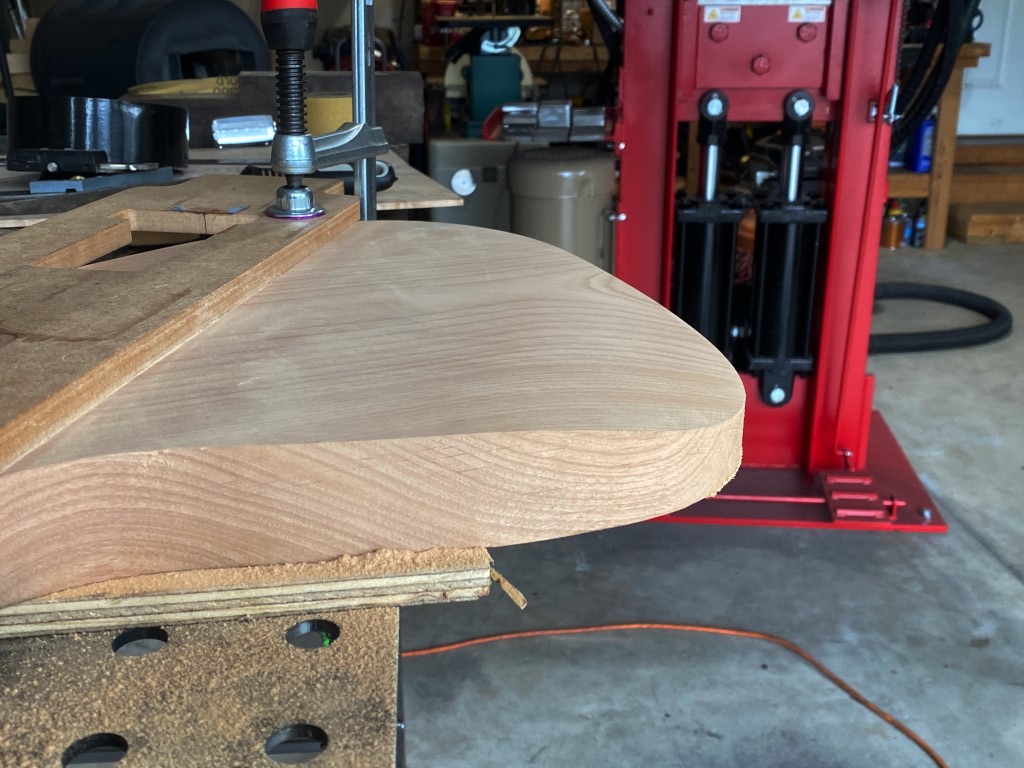
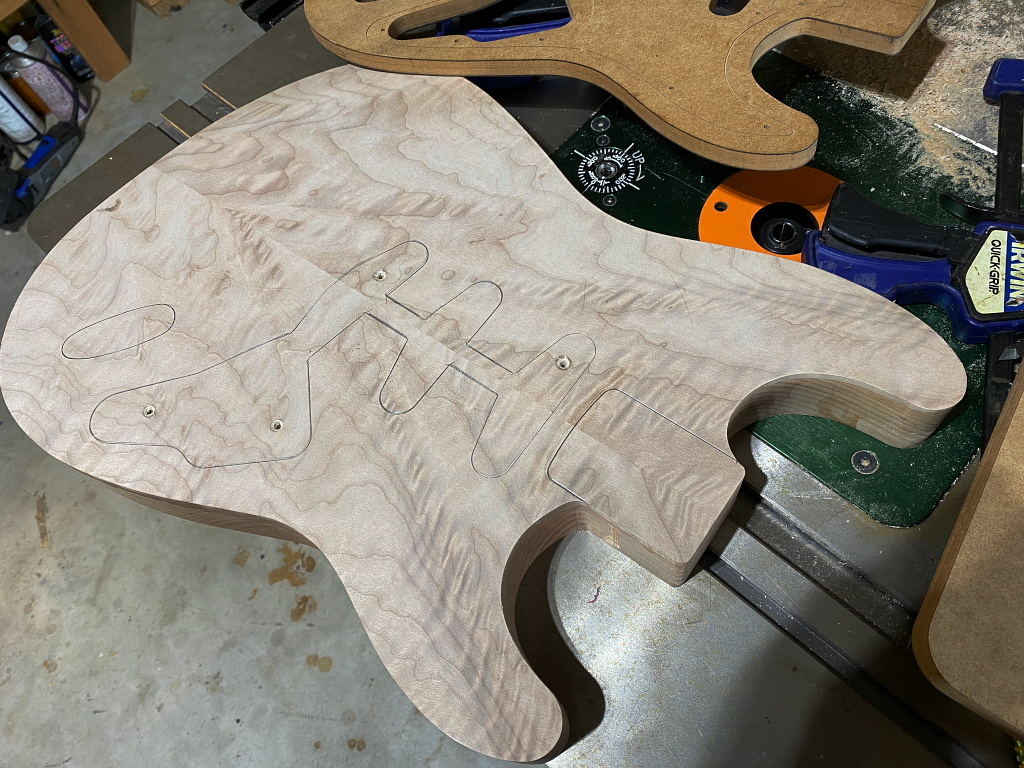
Heres the Alder body blank.
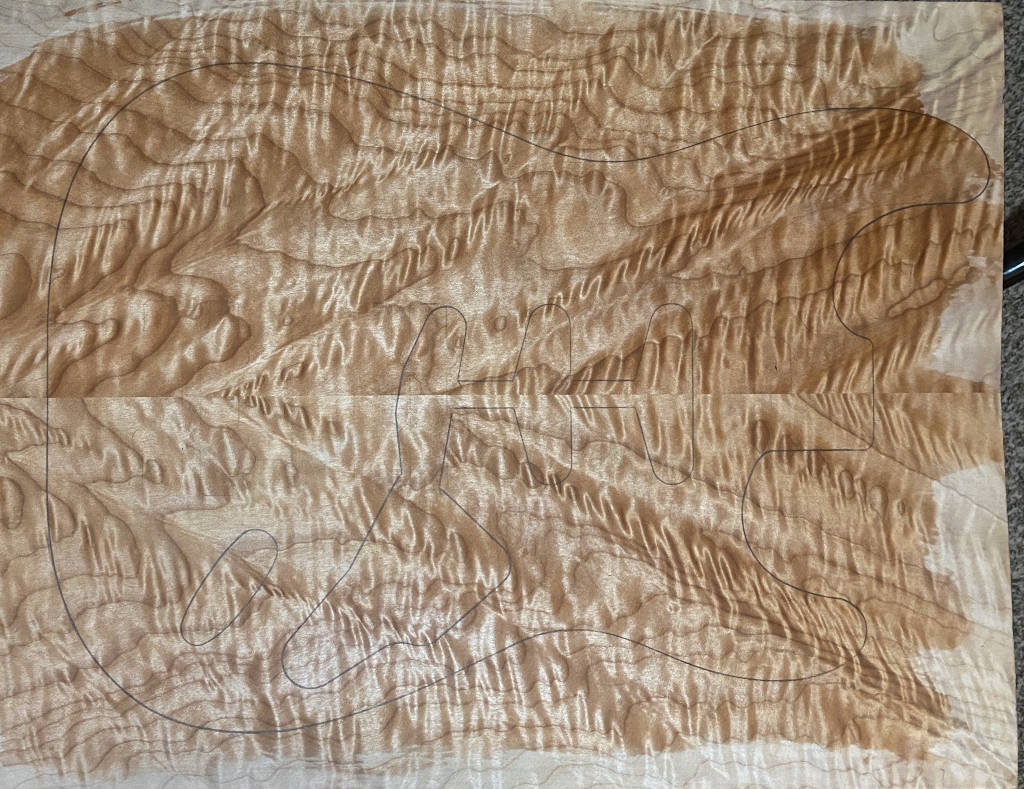
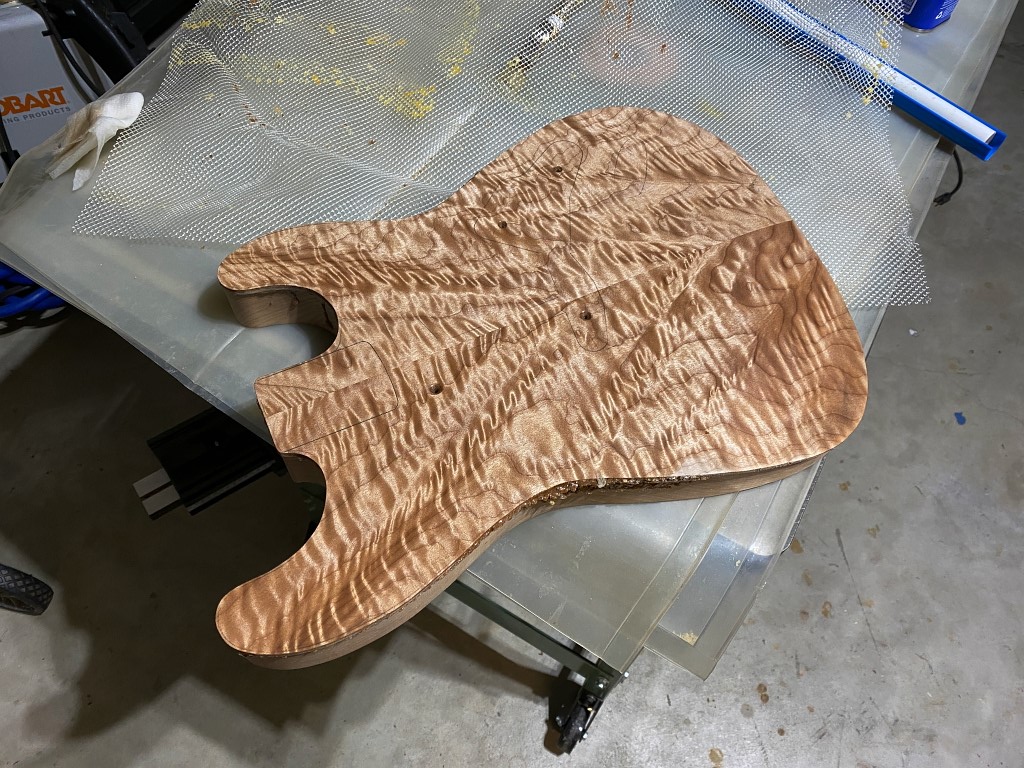
Here is the quilted, book-matched top…
Some might suggest I not cover half the quilted top with a pickguard. A valid suggestion, for sure, but the fact is with no pickguard I would need to do a LOT more work. Pickup cavities would need to be routed differently, pickups mounted differently, and the control cavity would need to be routed in from the back. Switch slot and knob holes drilled through the front, etc. I know its a lot more work because thats exactly what I did on this guitar. That was a custom build for someone else, though.
That work would be worth doing if not for one thing. To me, a Strat without a pickguard just doesnt look like a Strat. They look naked. I dont care for the look, and I dont want to do the extra work, and since this guitar is for me I can do it however I like. Nuff said.
Like my other Strats, this will be a hard tail. Its the only kind I like. So it’ll have the same Gotoh hard tail bridge as all my previous Strats.
The pickups will be a set of three Seymour Duncan SSL-5’s. These are true single-coil pickups, but a bit higher output than the classic SSL-1. These, like the alder body, tend to have a bit more mid-range and “a little off the top” 🙂
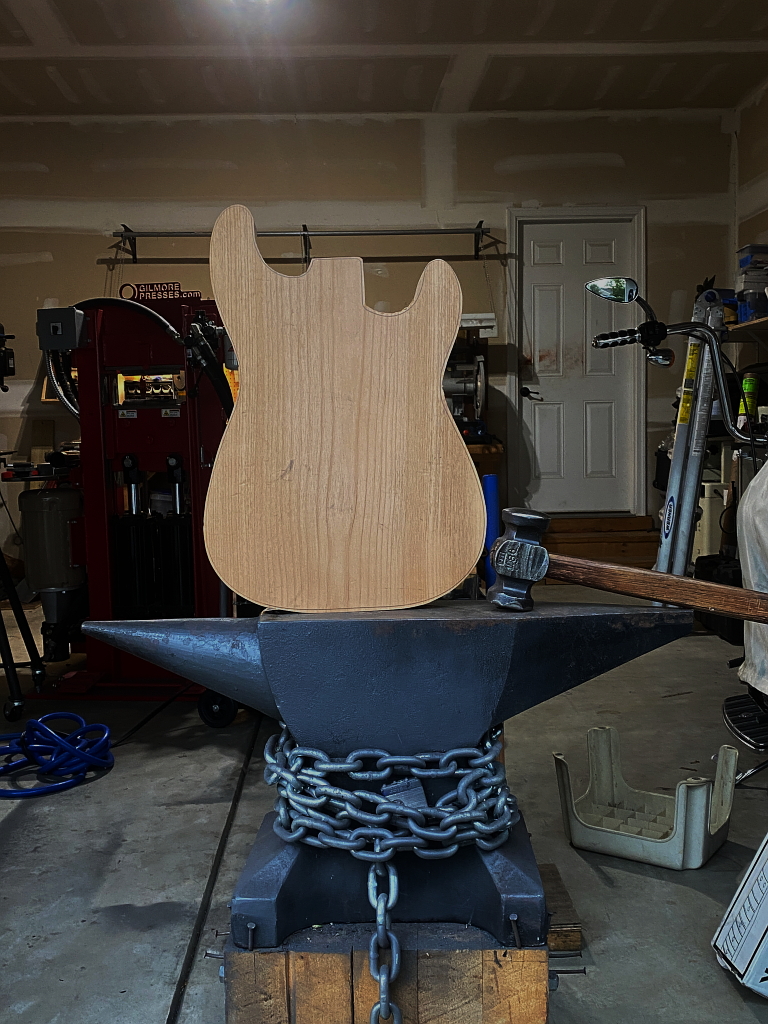
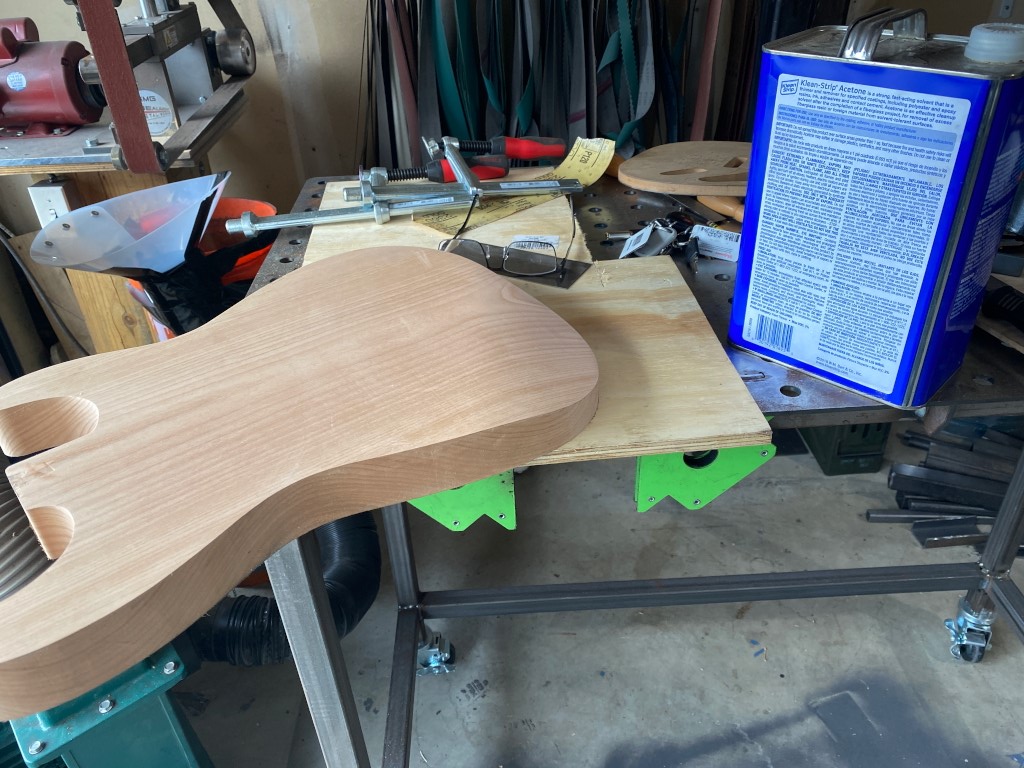
Tossed the blank on the anvil this afternoon and hammered out the rough body shape. OK, thats not what happened. I cut the rough outline on the band saw. I say outside the lines because I’ll use a router and template to make it perfect. This just gets it close.
Now the body is WAY too thick. Almost 2″. A Stratocaster body should be exactly 1 3/4″ thick.
Since this guitar has an alder body AND a maple top, I have to reduce the alder piece thickness to 1.55″ because the maple top is 0.2″. Once the top is glued on, the combined total will be 1 3/4″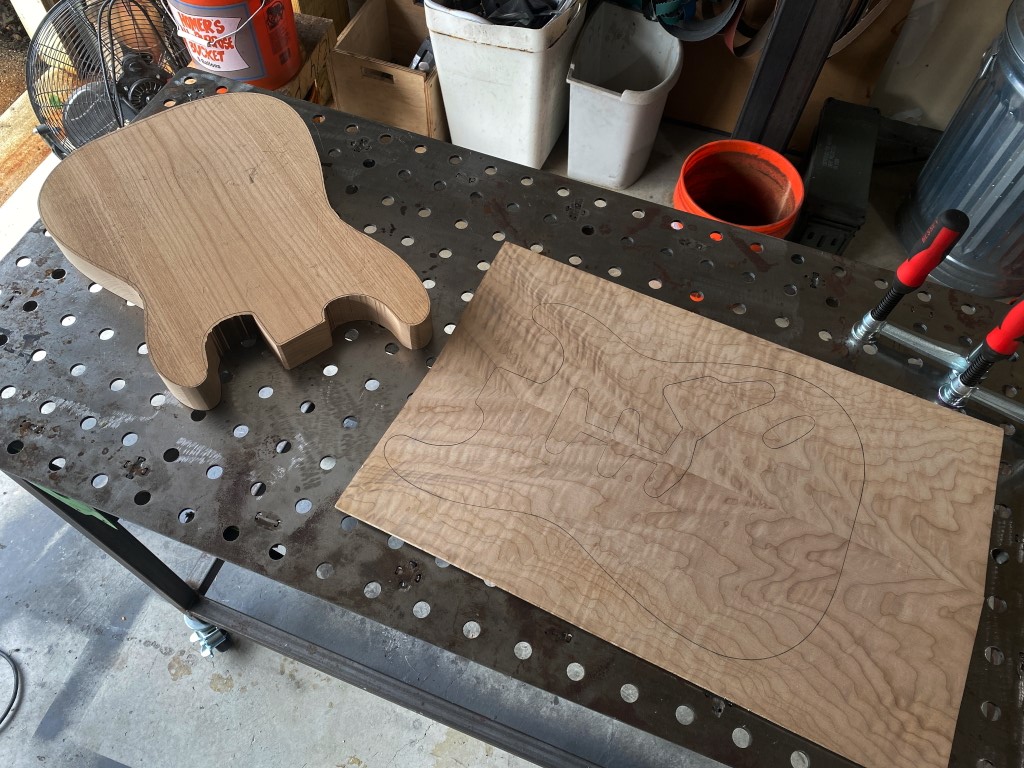
Thickness planer is what is used to do that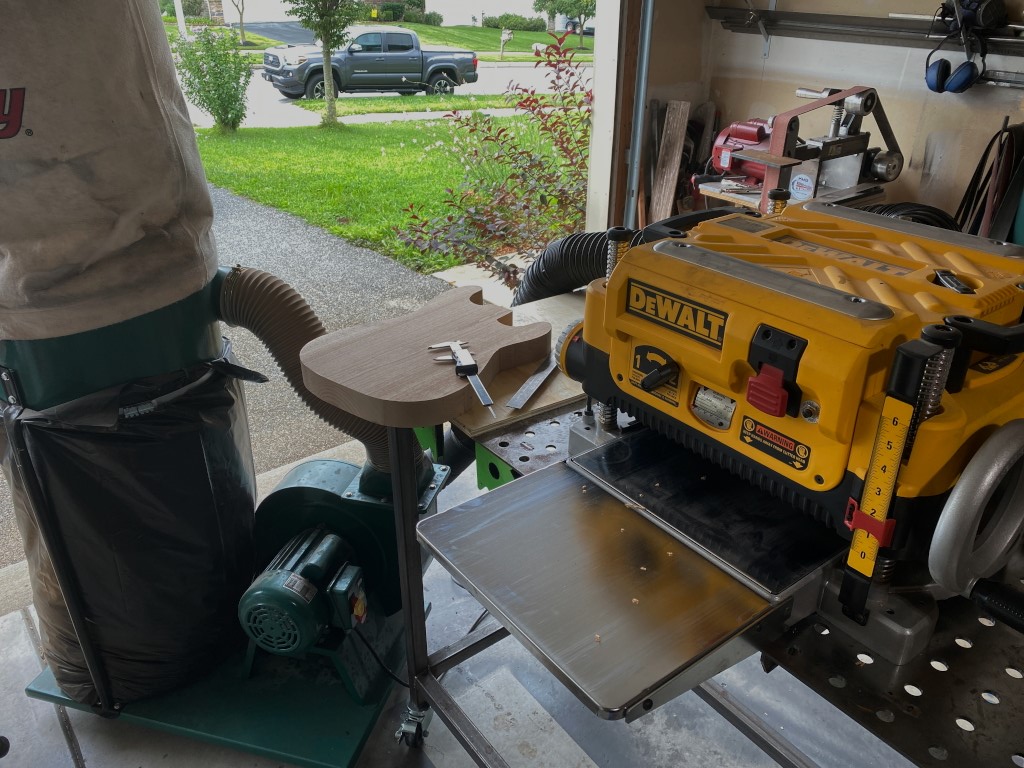
A bunch of passes through the planer and its done. I say a bunch of passes because I want to sneak up on 1.55″ a little bit at a time. Taking thin passes is easier on the planer, and leaves a nicer finish in the wood.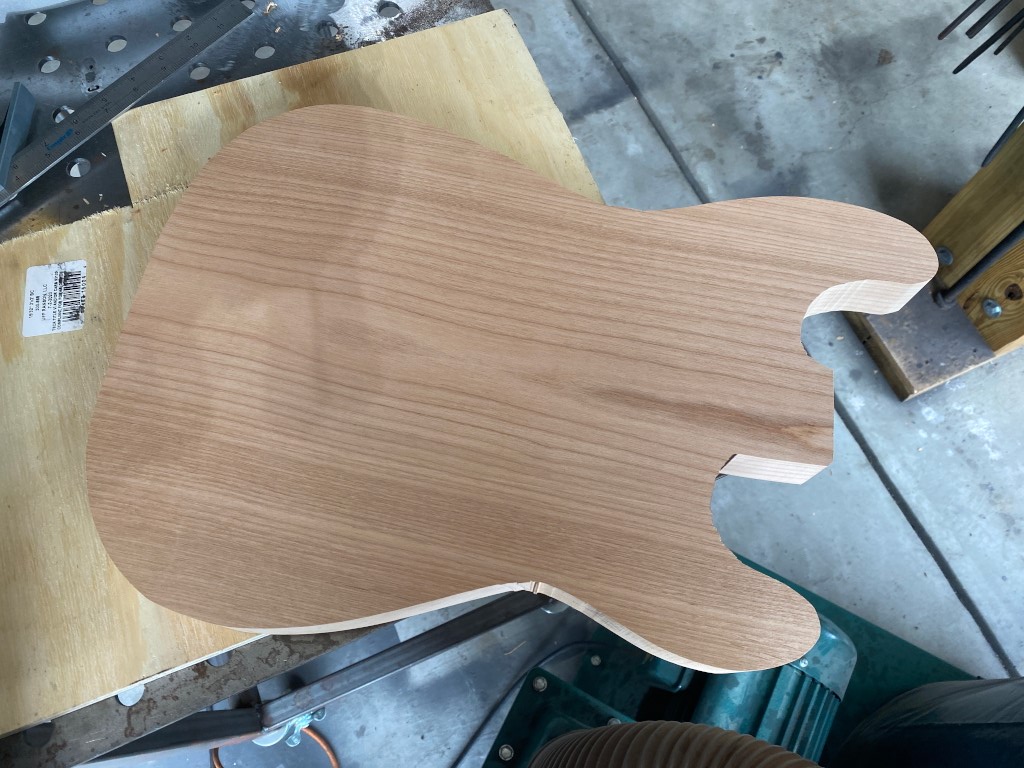
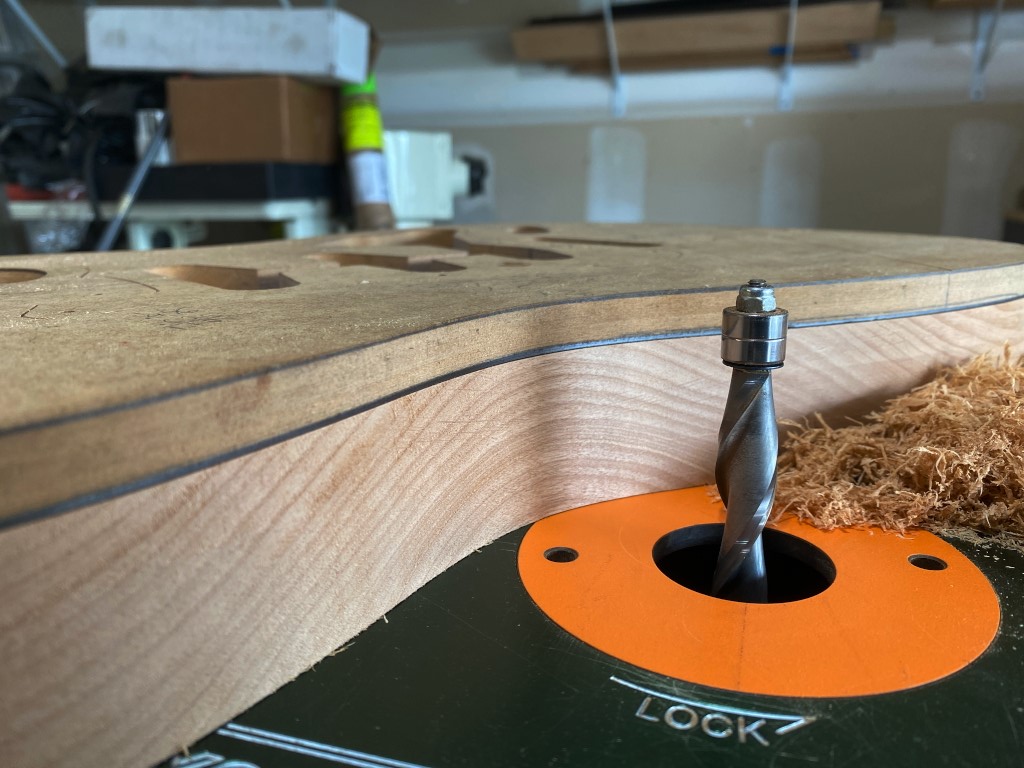
A routing template is affixed to the top, and the router table carves it to the exact shape I want. 
Now, since I’m 3/4 blacksmith these days, I’m going to use a metalworking tool called a 2×72 belt grinder to shape the arm and belly carves of the body. I rigged up an intake for my dust collector using a “cone of shame” that was used by my dog. This grinder cuts through steel like butter, so you can imagine what it will do to wood. It’ll reduce it to powder so fast that it will just become a billowing cloud in the air and settle on everything. This big vacuum intake handles that problem for me 🙂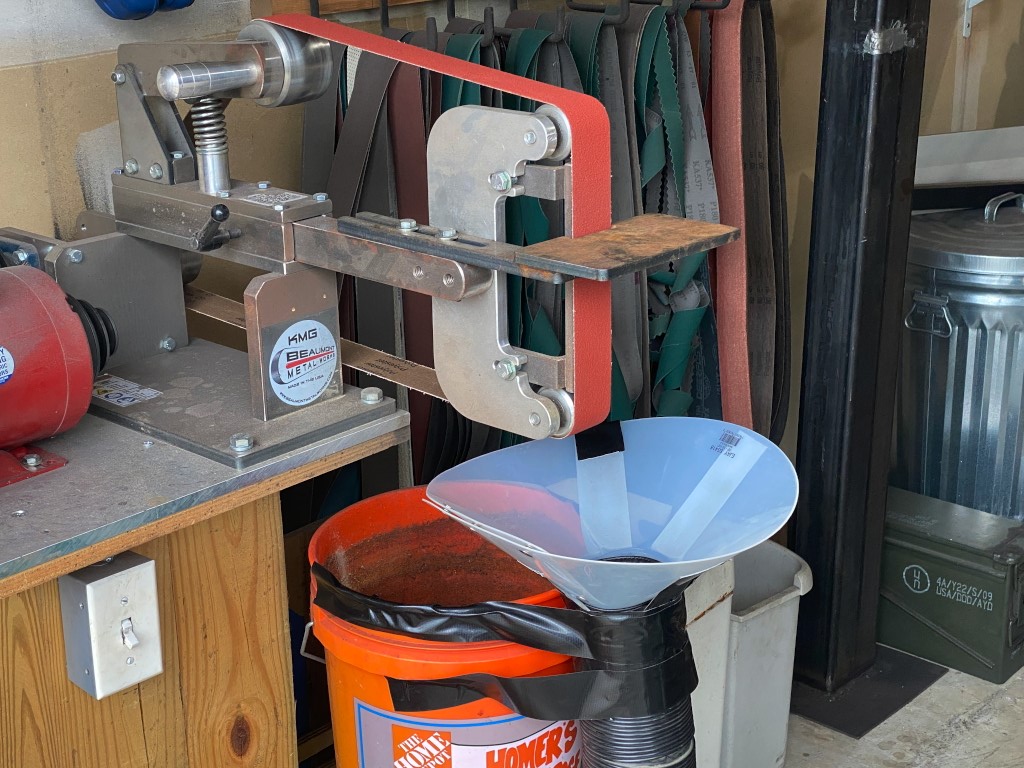
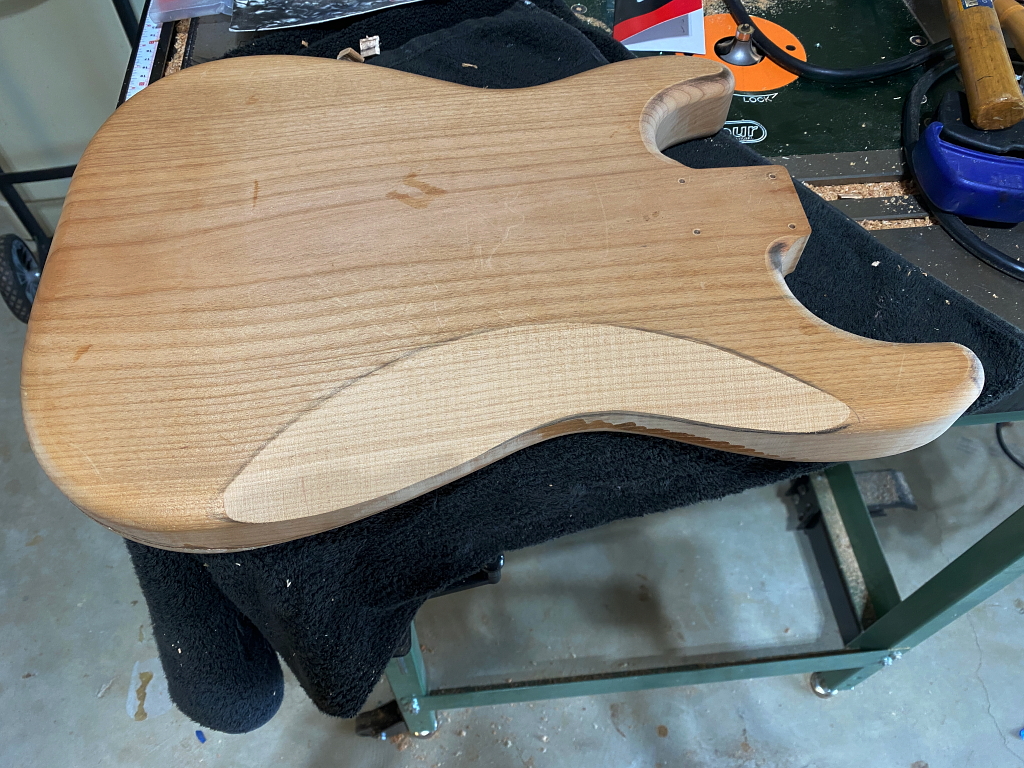
As I suspected, it made extremely short work on the arm carve. This took roughly 30 seconds, and that was on a slow speed.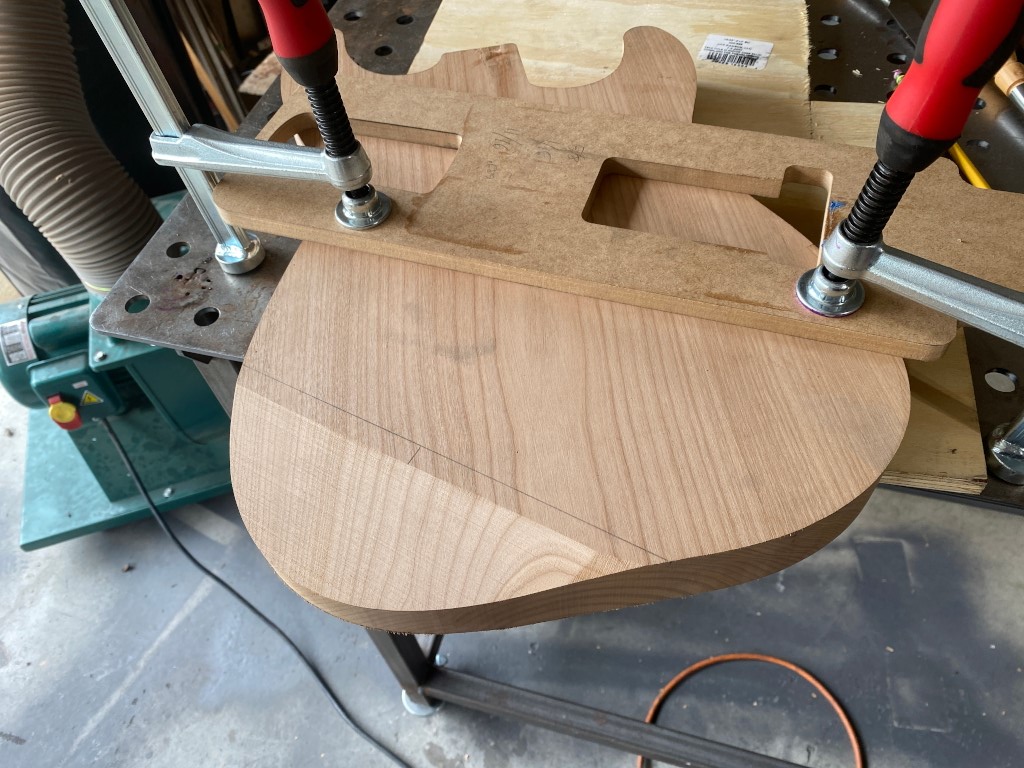
It also made really short work of the belly carve. This took about 90 seconds
Next, the arm carve gets smoothed out…
Belly carve as well…
In order to help bend a piece of wood thats almost 1/4″ thick over the arm carve, I used my dremel to carve away some channels on the underside of the top. These channels are about 1/2 the thickness of the wood.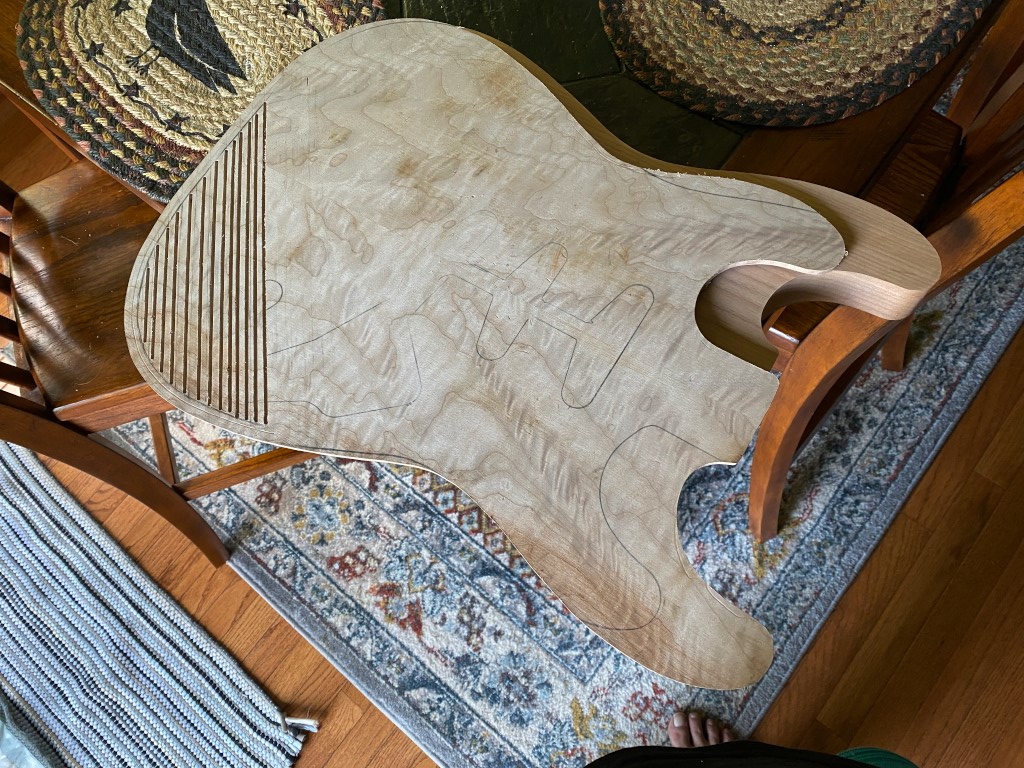
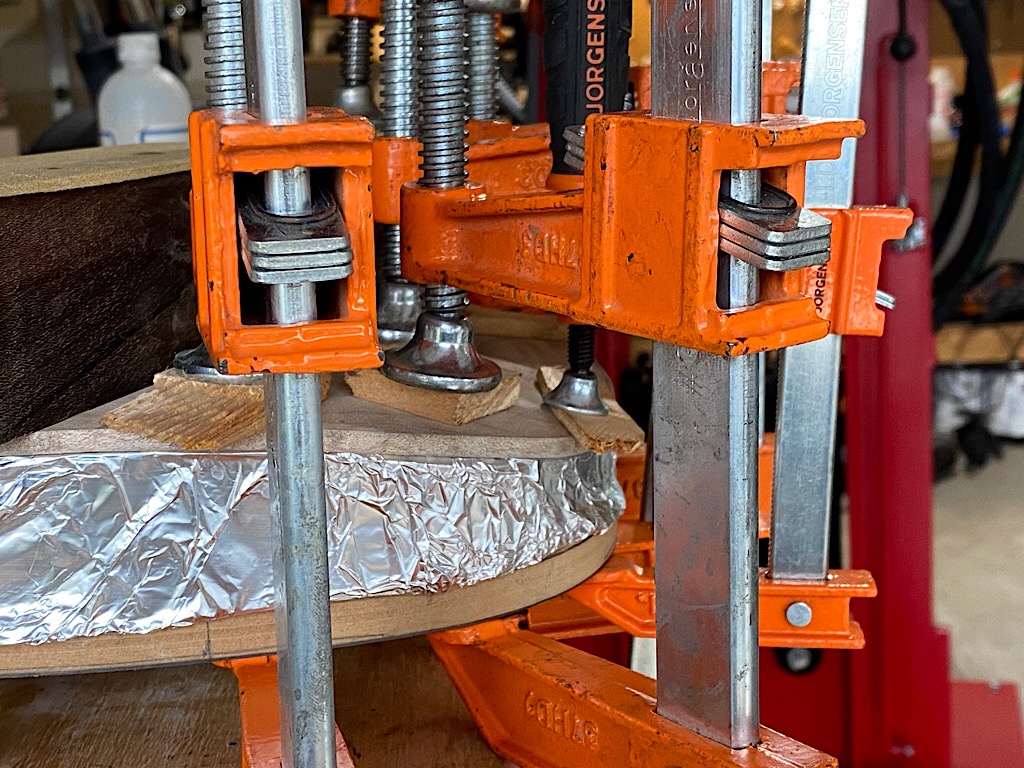
Then the top gets clamped to the body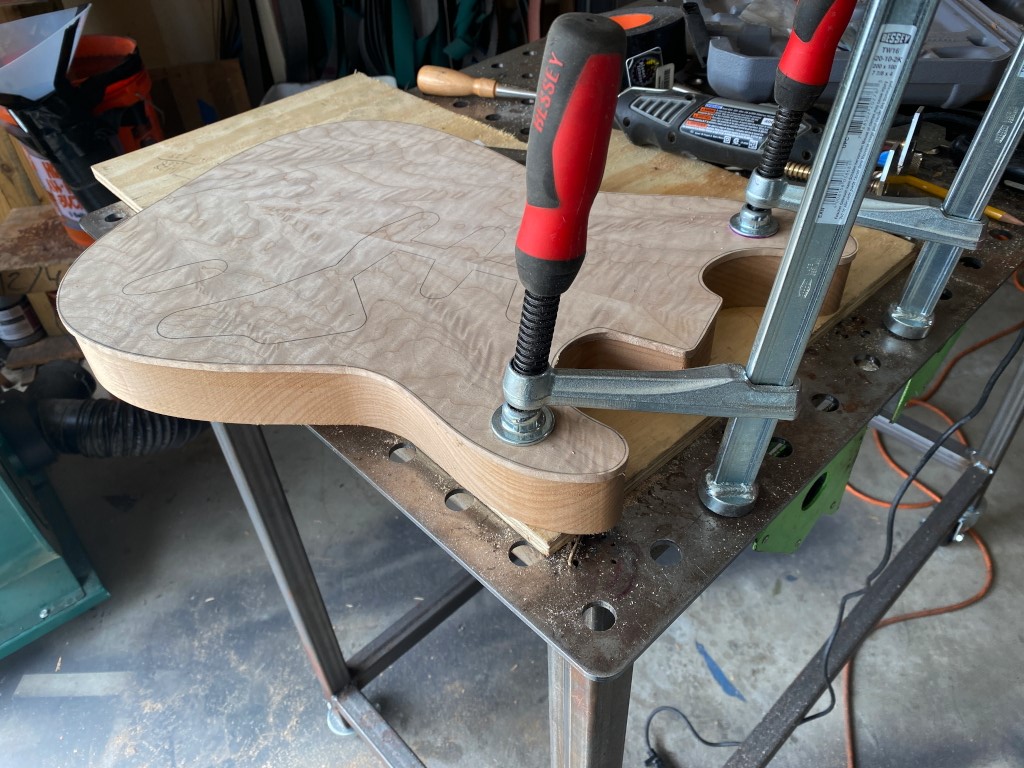
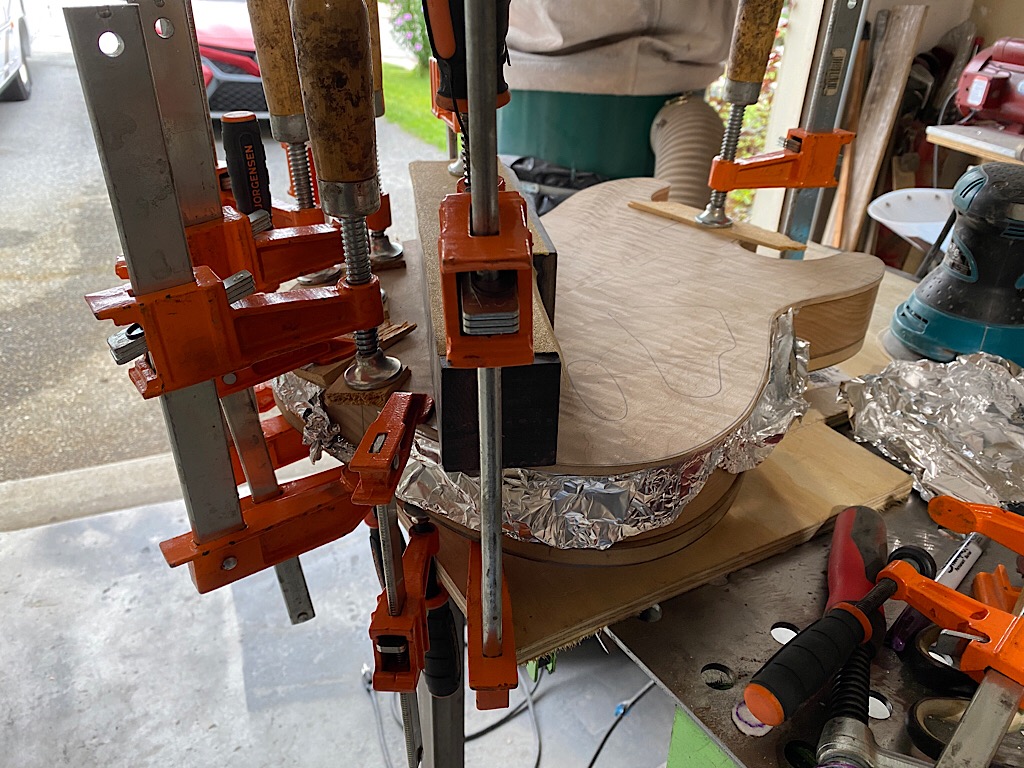
At this point I wet the maple on the top and underside where I need to bend it and give it time for the water to absorb fully. then I heat it with a heat gun. This all helps to make the maple more flexible. Then I use clamps to slowly force it over the shape of the body. Its important to do this a little bit at a time because if the top cracks, your screwed.
I leave it clamped like this until the wood is cool, and completely dry. Once the clamps are removed it mostly retains its new shape. It does spring back a little, but can be easily conformed to the top again with minimal pressure.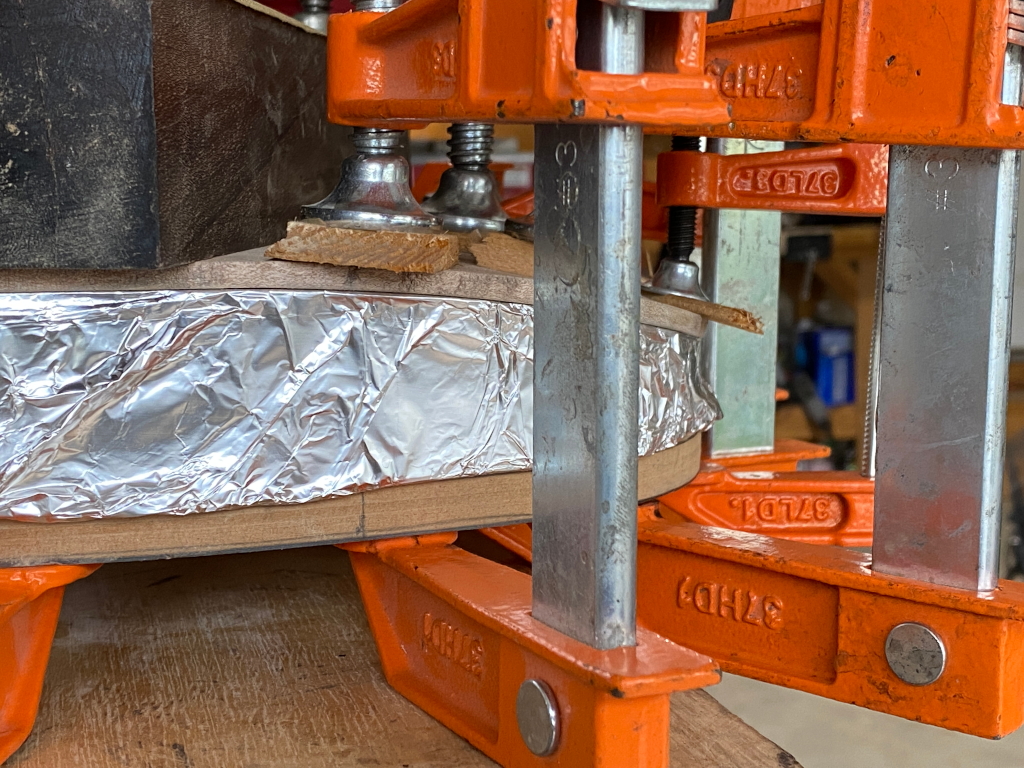
Next, a thin coating of UF (urea formaldehyde) glue is applied to the top of the body. I use UF glue for this because it cured harder than glass. This is a better transmitter for acoustic vibrations that regular wood glue and since the bridge will be screwed directly to the top, this helsp assure that nothing dampens vibrations as they pass from one type of wood into the next.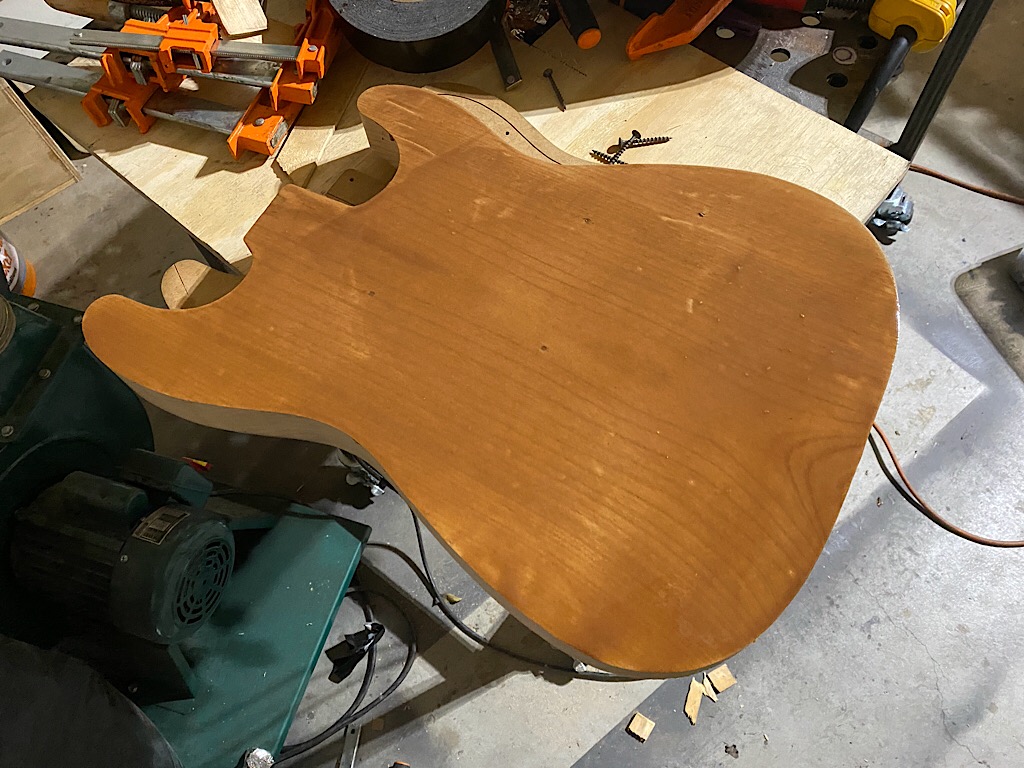
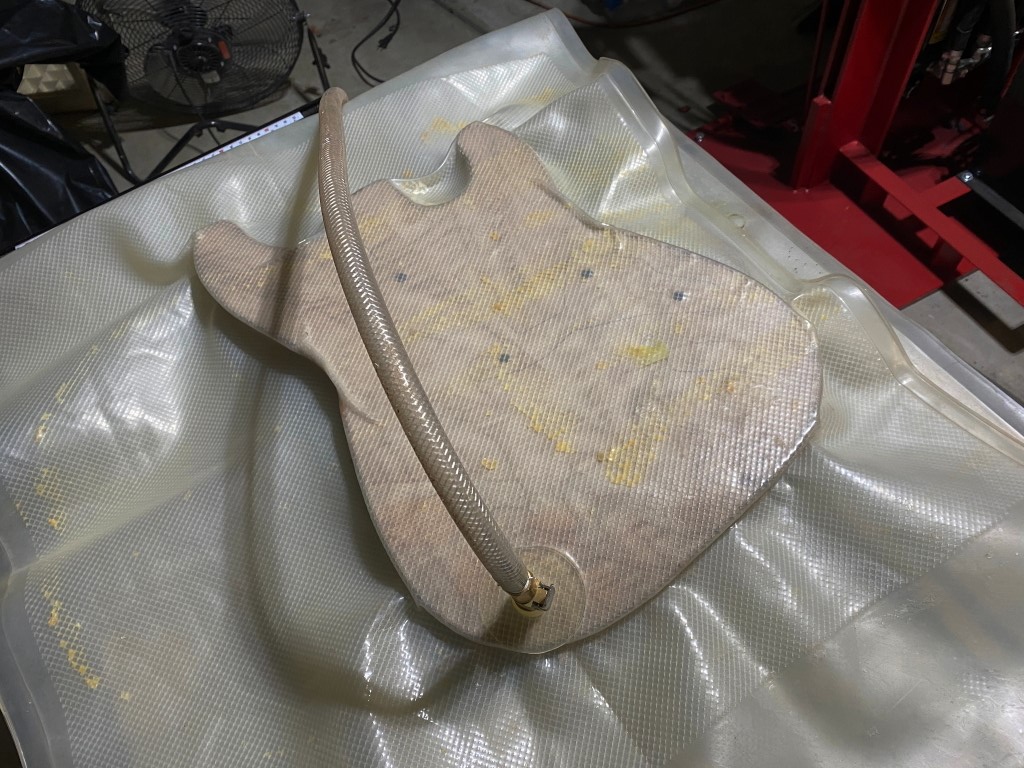
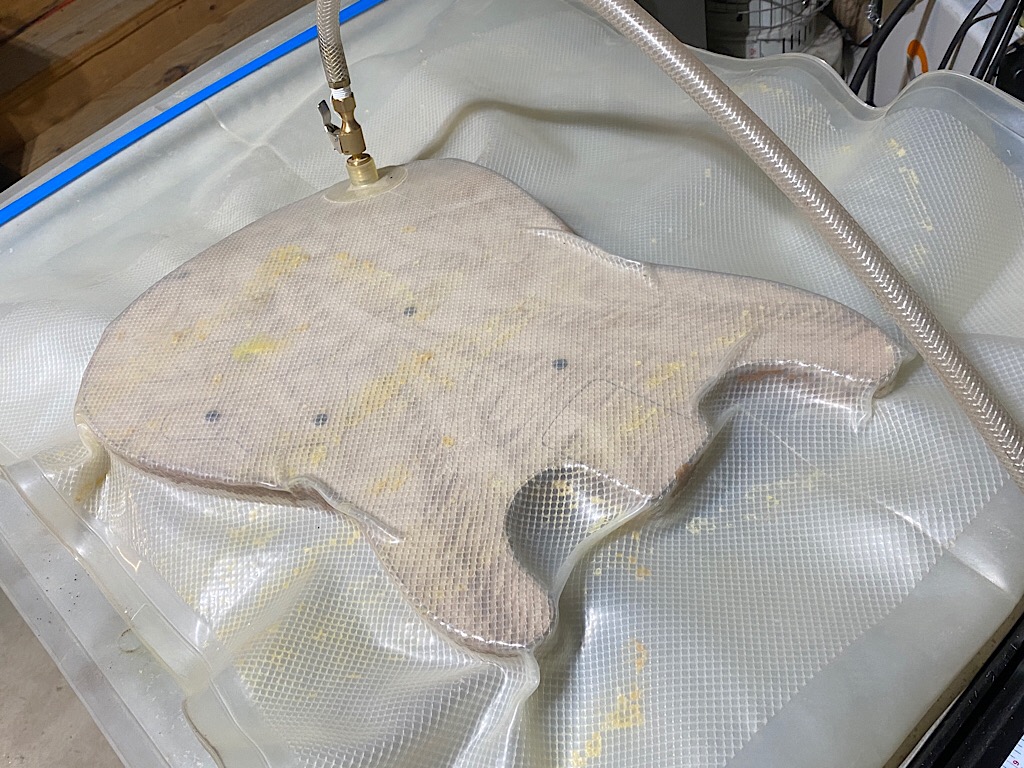
After the glue is applied, and a couple screws help keep the top right where it should be, I put the whole thing into a vacuum pressing bag. A high powered vacuum pump then pumps all the air out and the internal mesh and the bag combine to put about 1700 lbs of pressure evenly across the entire top. This creates a perfect joint between the top and body
It stays in the bag for 14 hours, then comes out
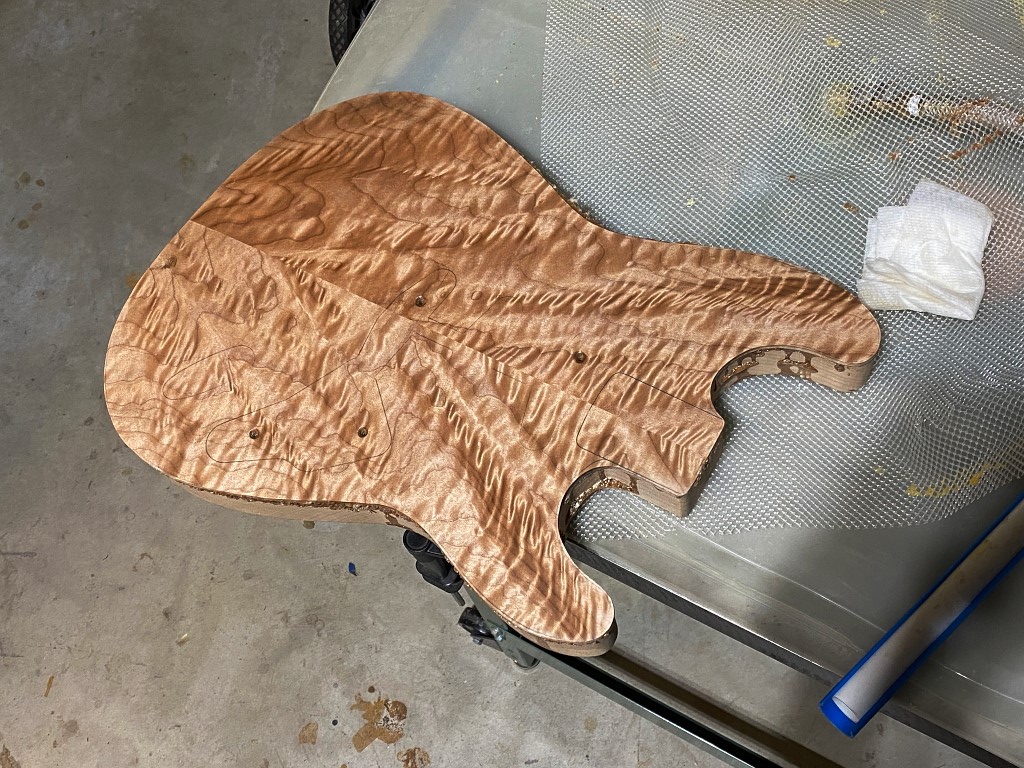
The router table and template are used again, this time to shave off the overhanging edge of the maple top and make it flush with the rest of the body.
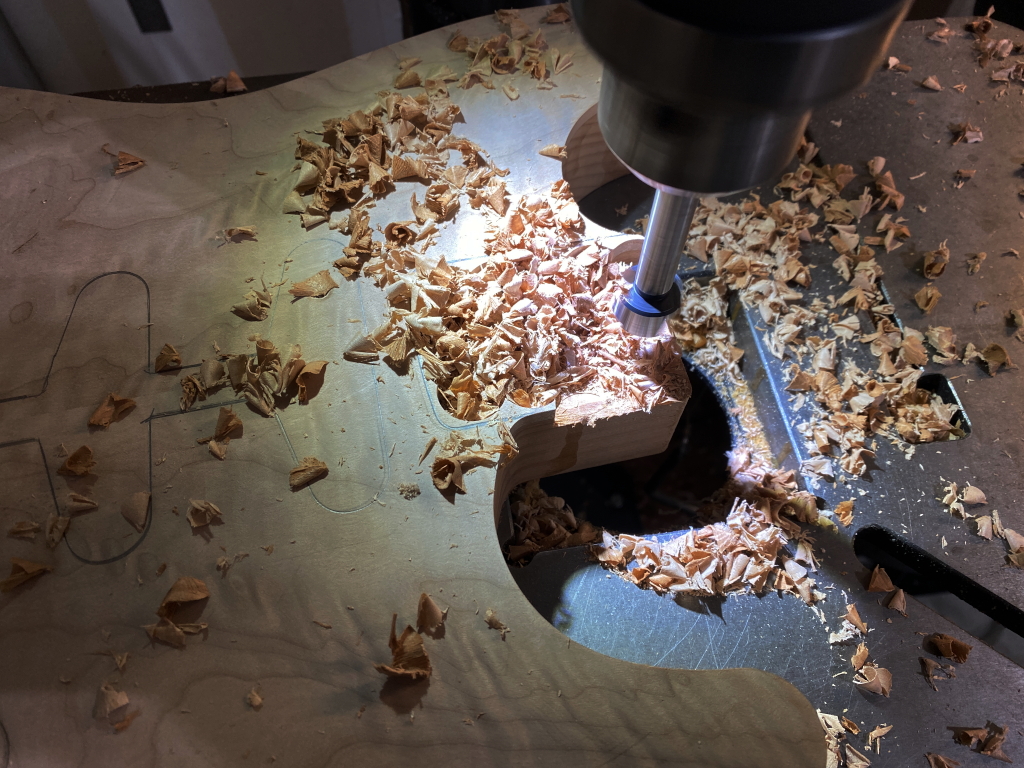
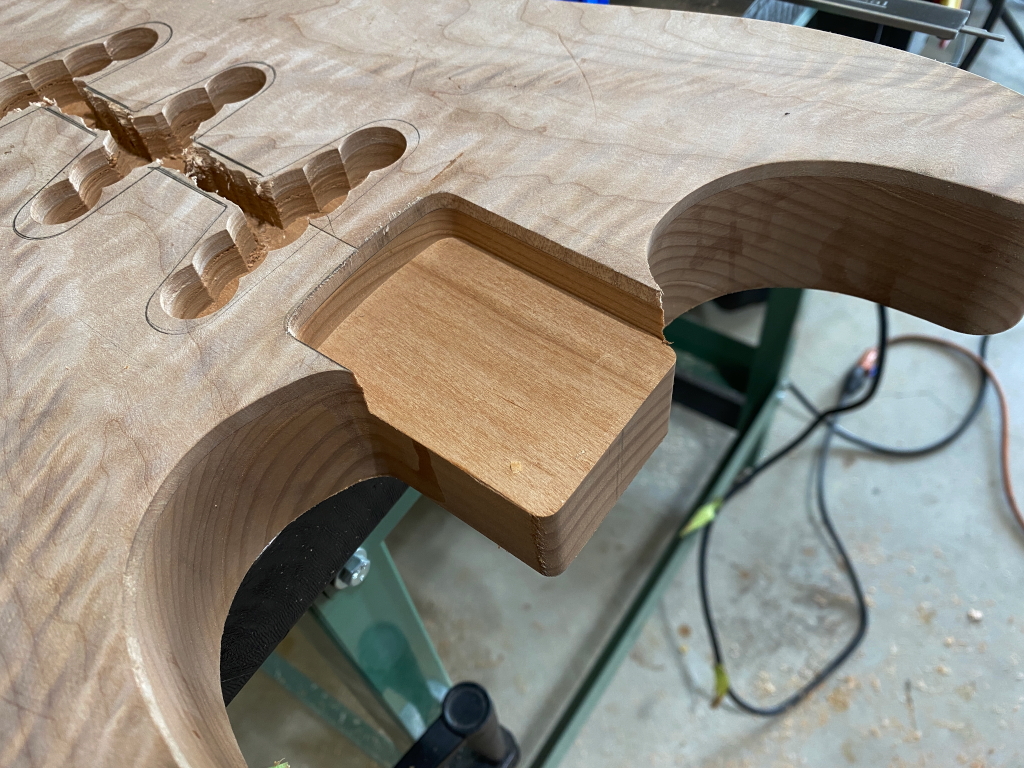
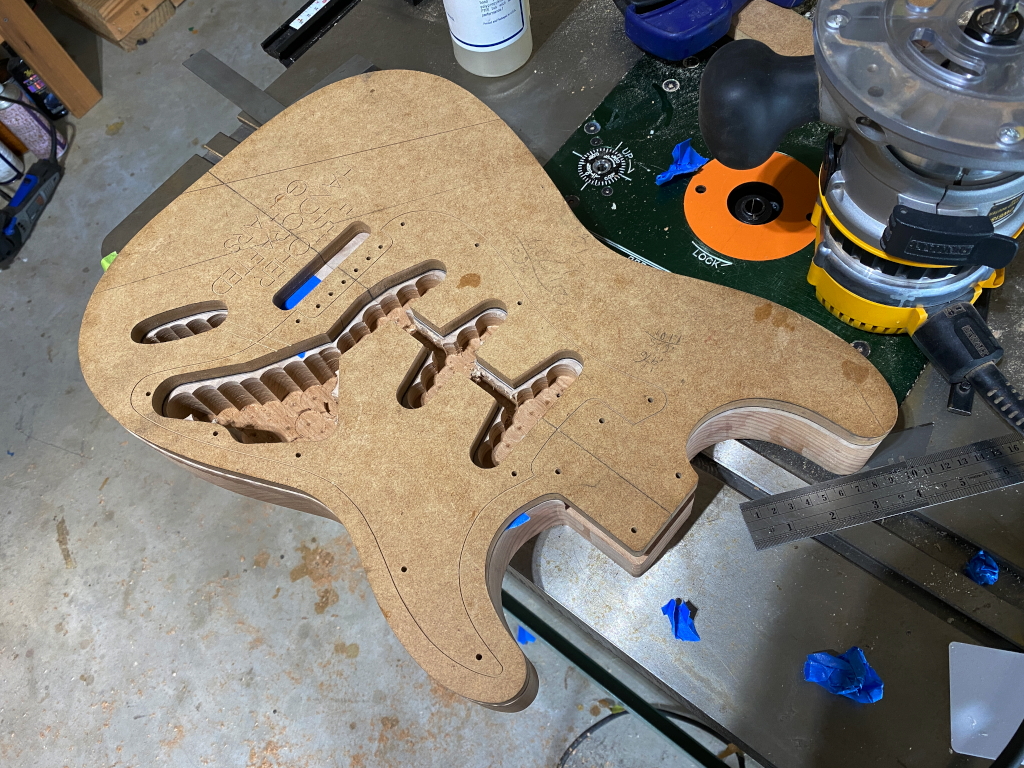
Next the control cavities are routed. The template is used to draw where the cavities will go using a pencil. then the drill press, with a forstner bit is used to “hog out” the bulk of the wood. This is faster than trying to use a router, and also saves a lot of wear and tear on the router. The drill takes the wood to almost the right depth. Neck pocket is 5/8″ deep. the pickup cavities are 3/4″ deep, and the control cavity and output jack area is 1 1/2″ deep.
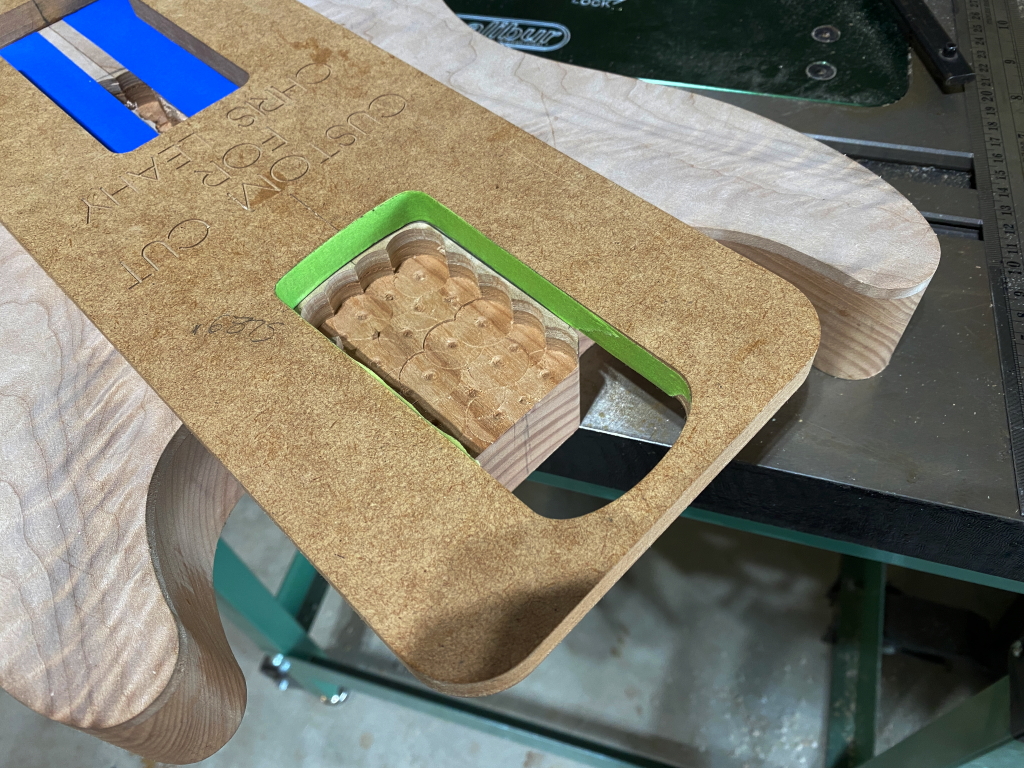
Once the drilling is done, templates are fastened to the top and a hand-held router with a pattern bit is used to finish them off, leaving a smooth bottomed, perfectly shaped cavity.
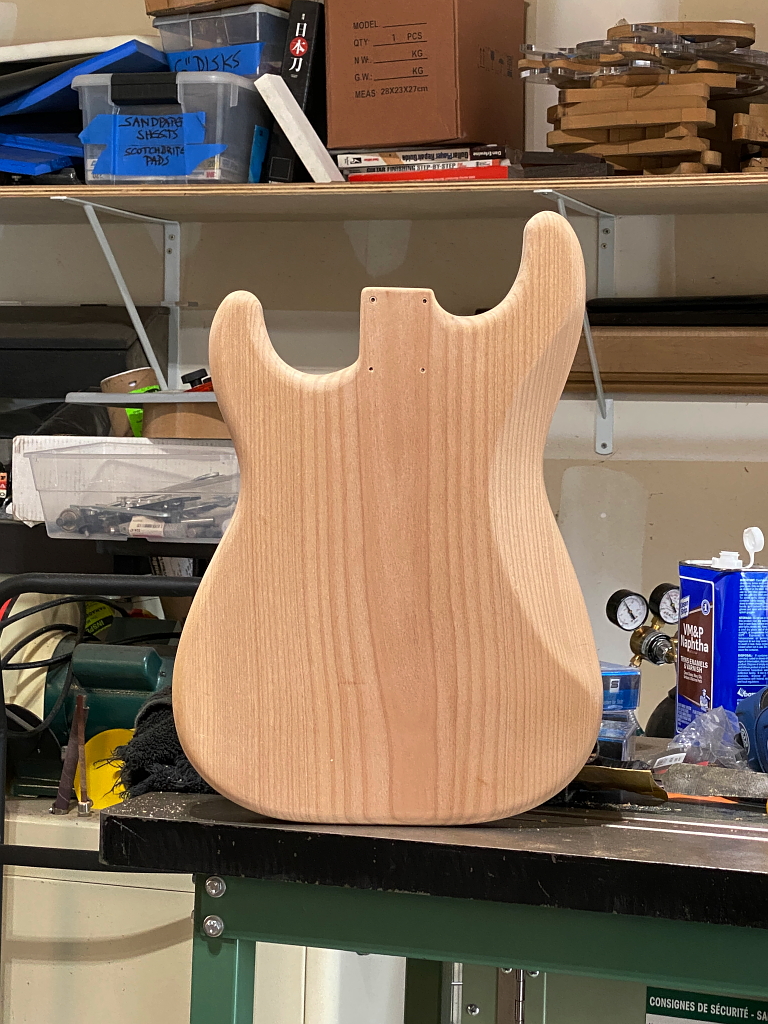
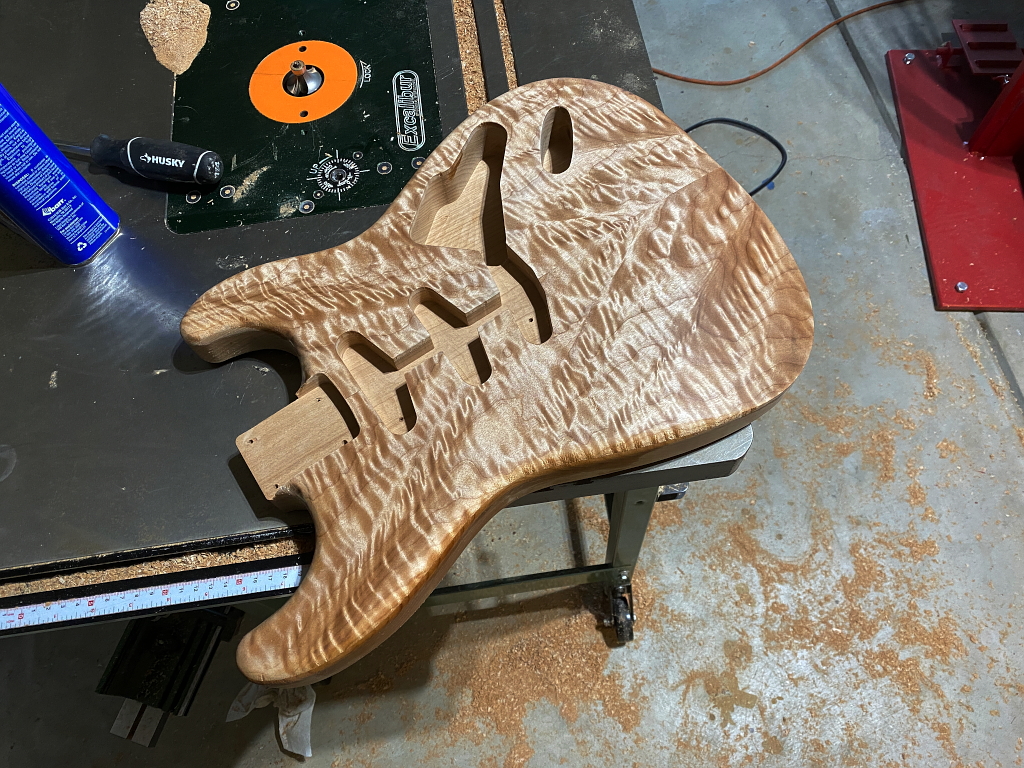
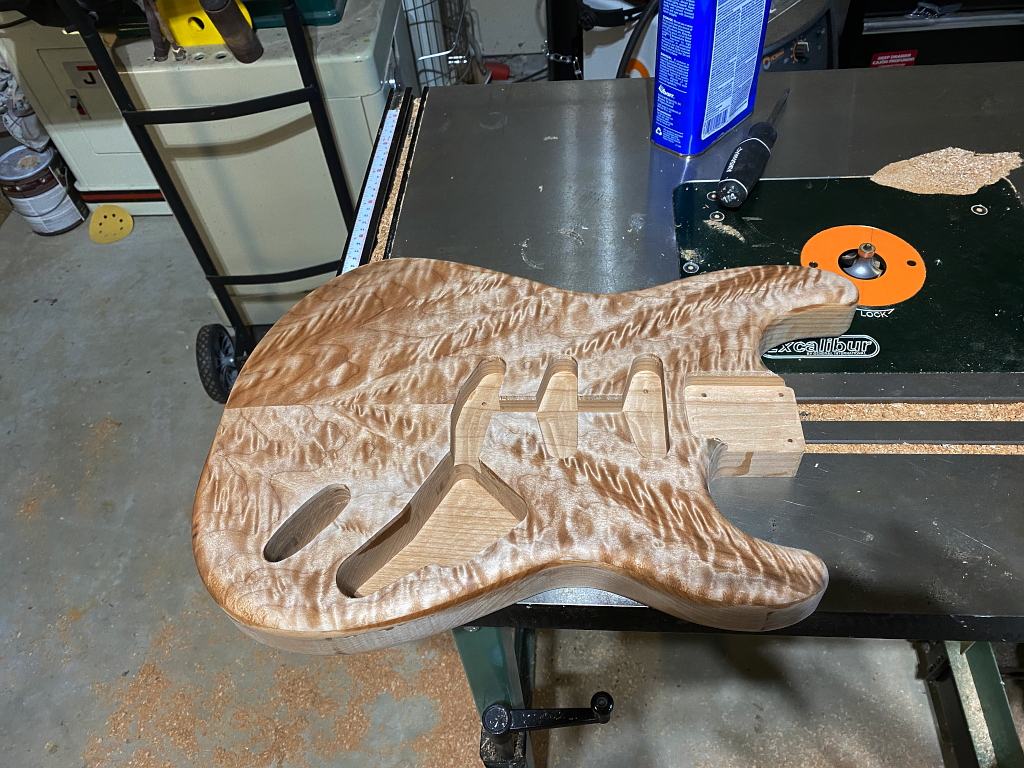
Then a 7/16″ “roundover” bit is used to put the rounded radius on the edges. The edge at the arm and belly carves need to be rounded over by hand with rasps. Apart from that, and some holes to be drilled, (and of course the finish) at this point the body is essentially done.
Test-fitting the hardware 🙂

