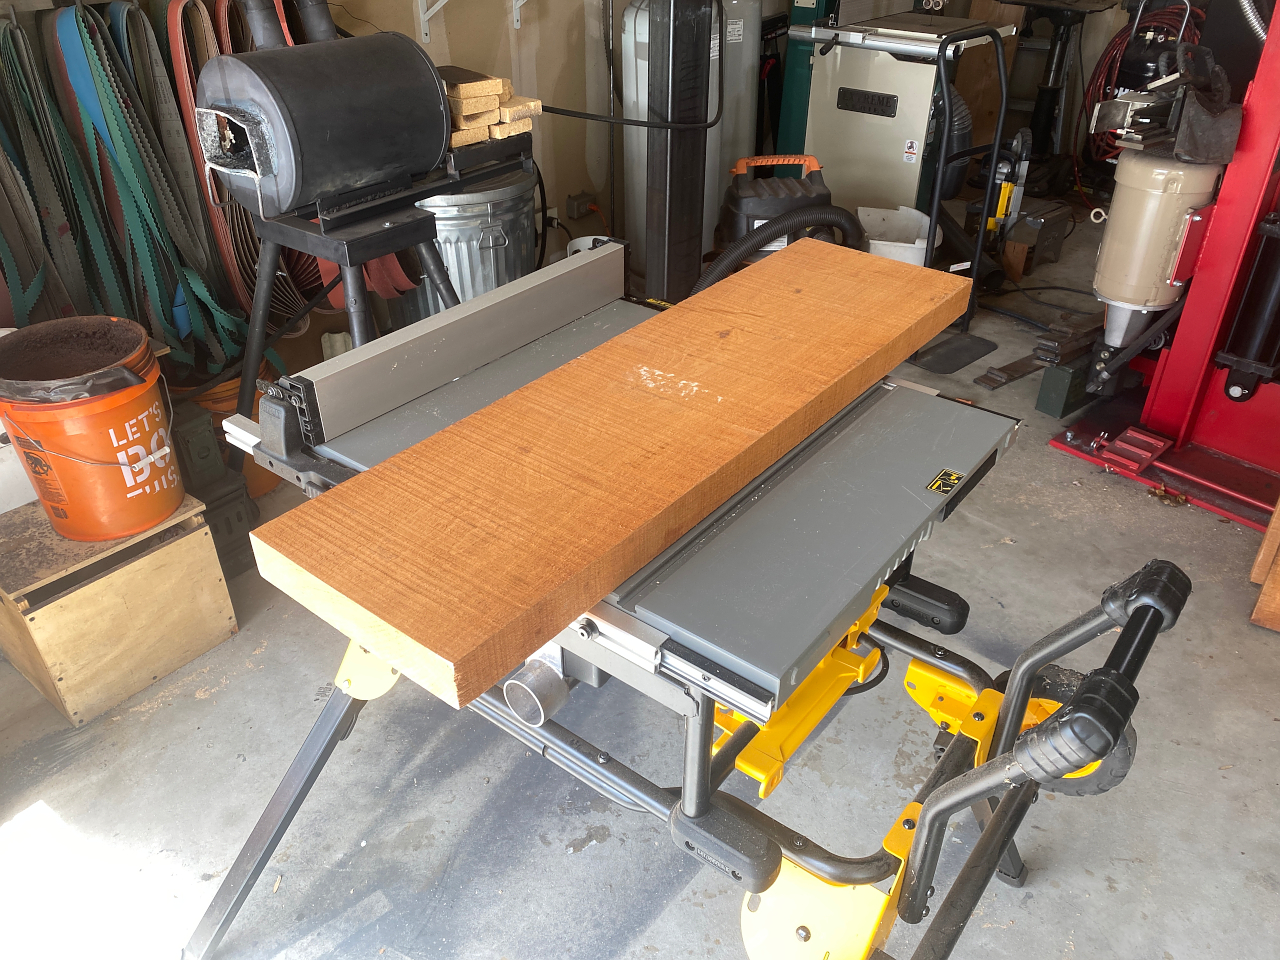
The neck blank is the core around which everything else depends. In a neck-through-body guitar It runs the entire length of the guitar. Neck stability and neck stiffness is key to the resonance and sustain of the guitar,
Because wood is a natural material with a tendency to shrink, bencd, warp, expand, and contract in generally unpredictable ways there are several step I take to assure the most stable construction I can.
Step 1 happens and the wood supplier where I choose board with the straightest grain possible, and no knots, defects, splits, worm holes, etc
Stet 2 is in how I prepare the laminate in my shop. By “laminate” I mean that the neck is not a single board, but rather, its a laminate composed of 3 boards laminated together.
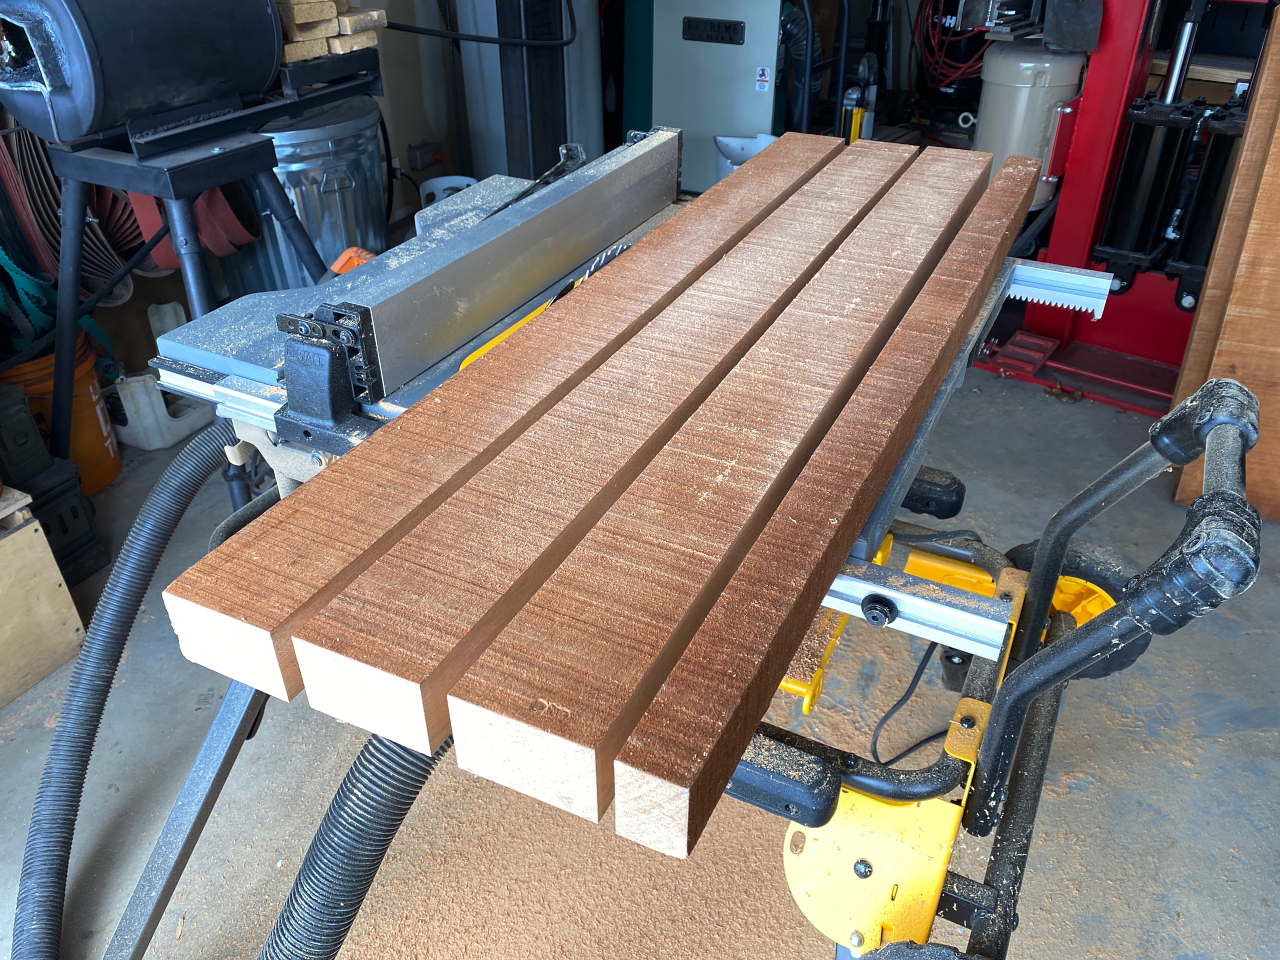
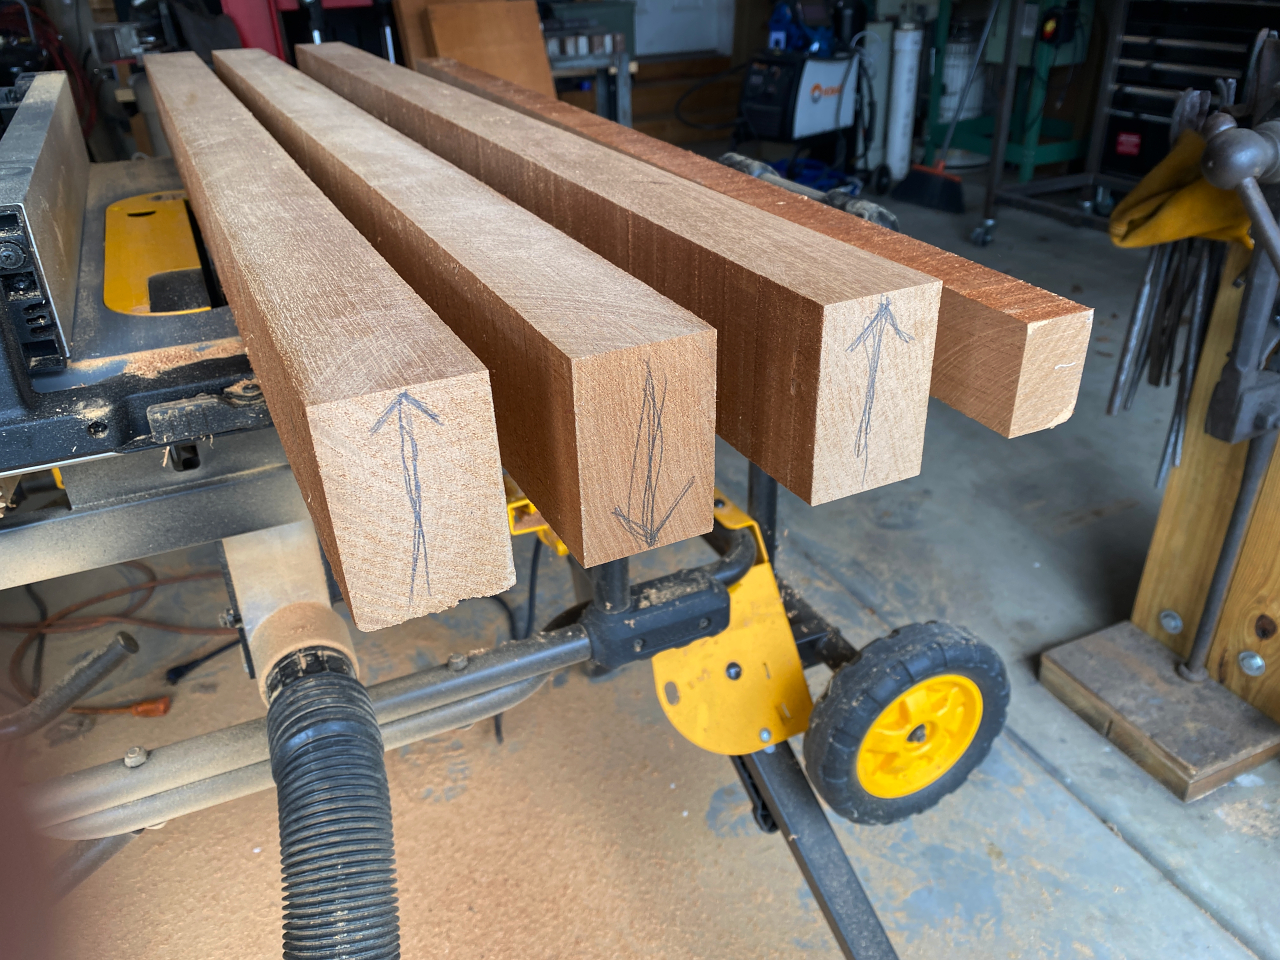
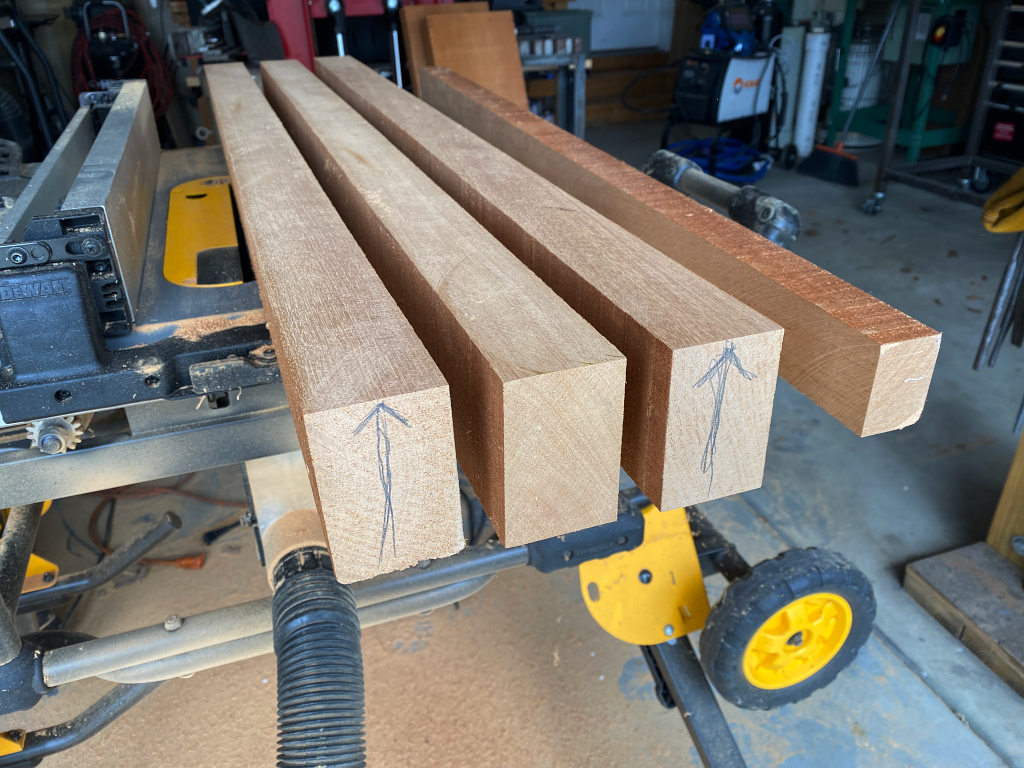
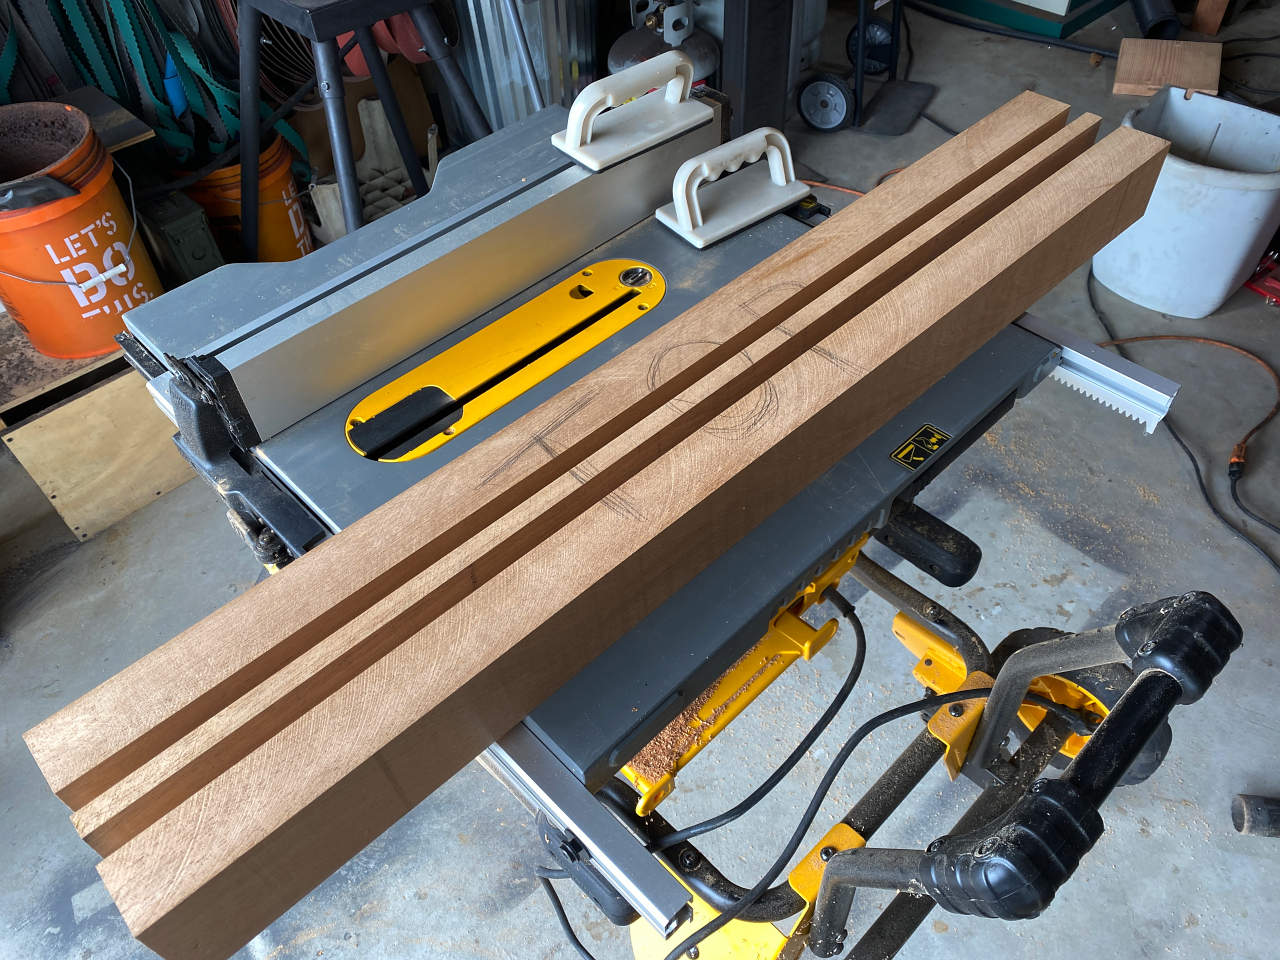
My initial piece is cut into smaller pieces on the table saw. Each 3″ wide. the 4th smaller scrap is just extra and not used.
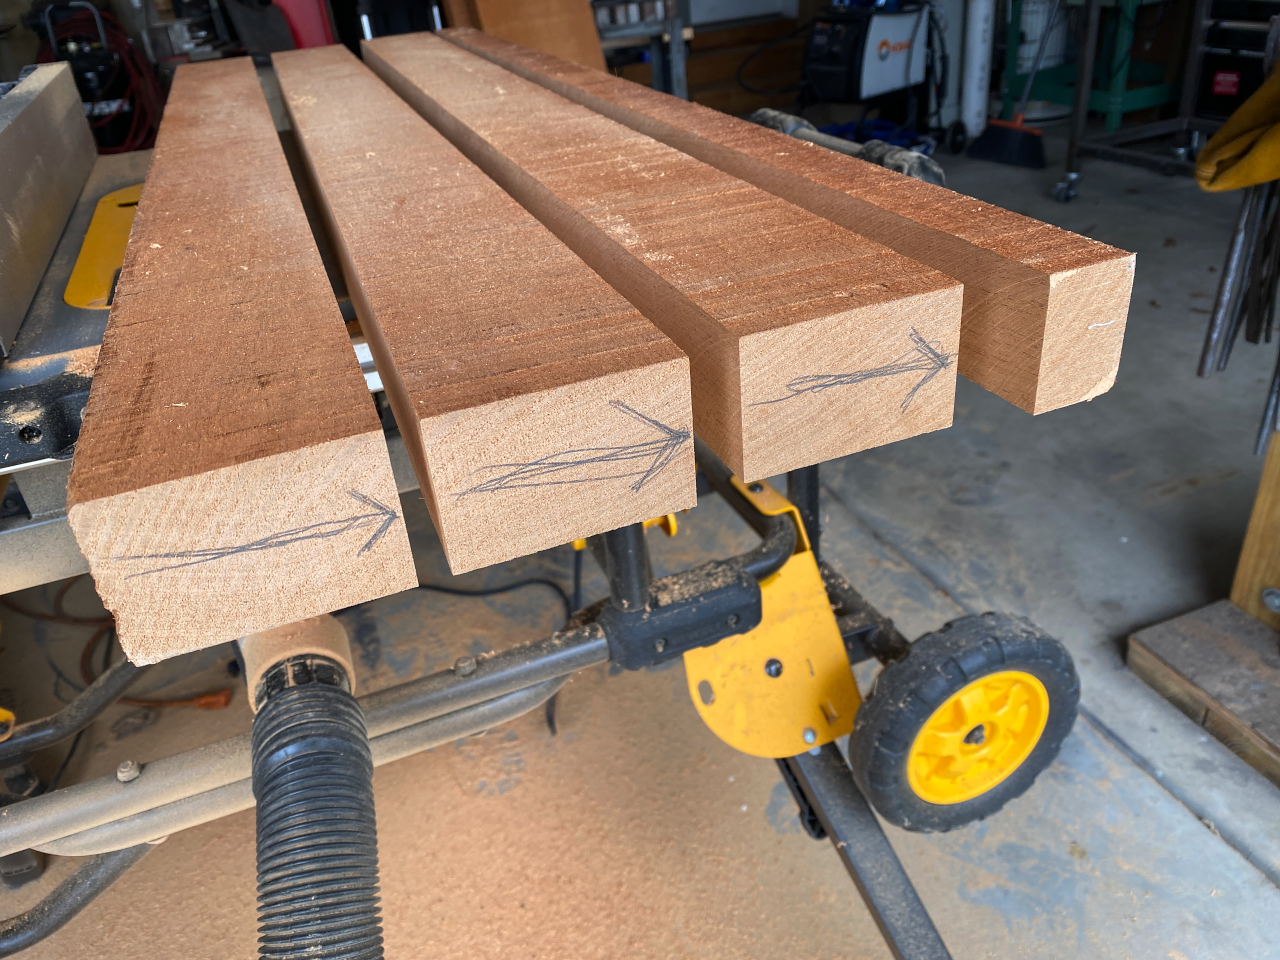
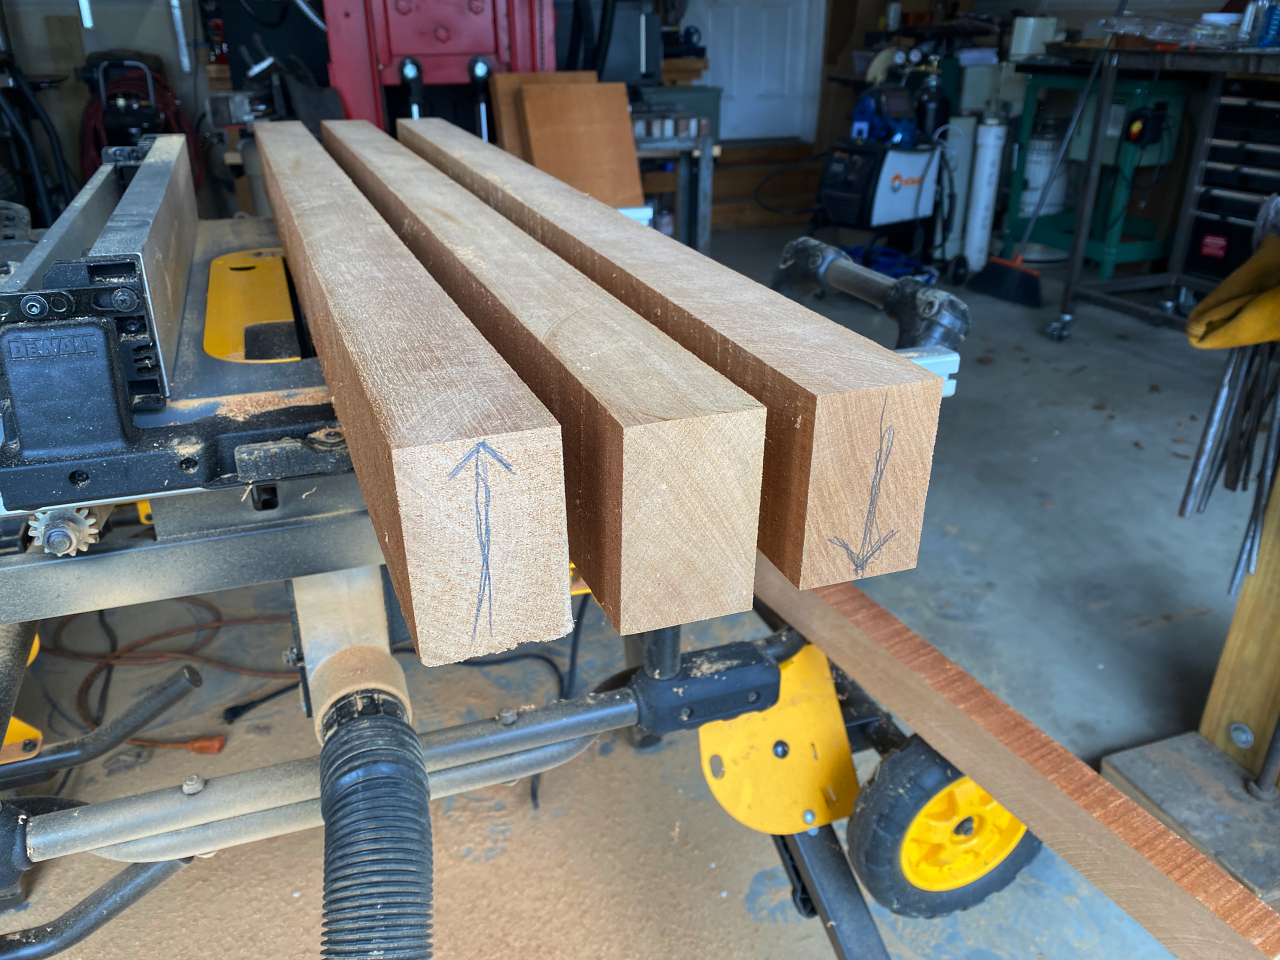
I dont normally mark them like this, but the arrows help to explain in this blag how and why I do this.
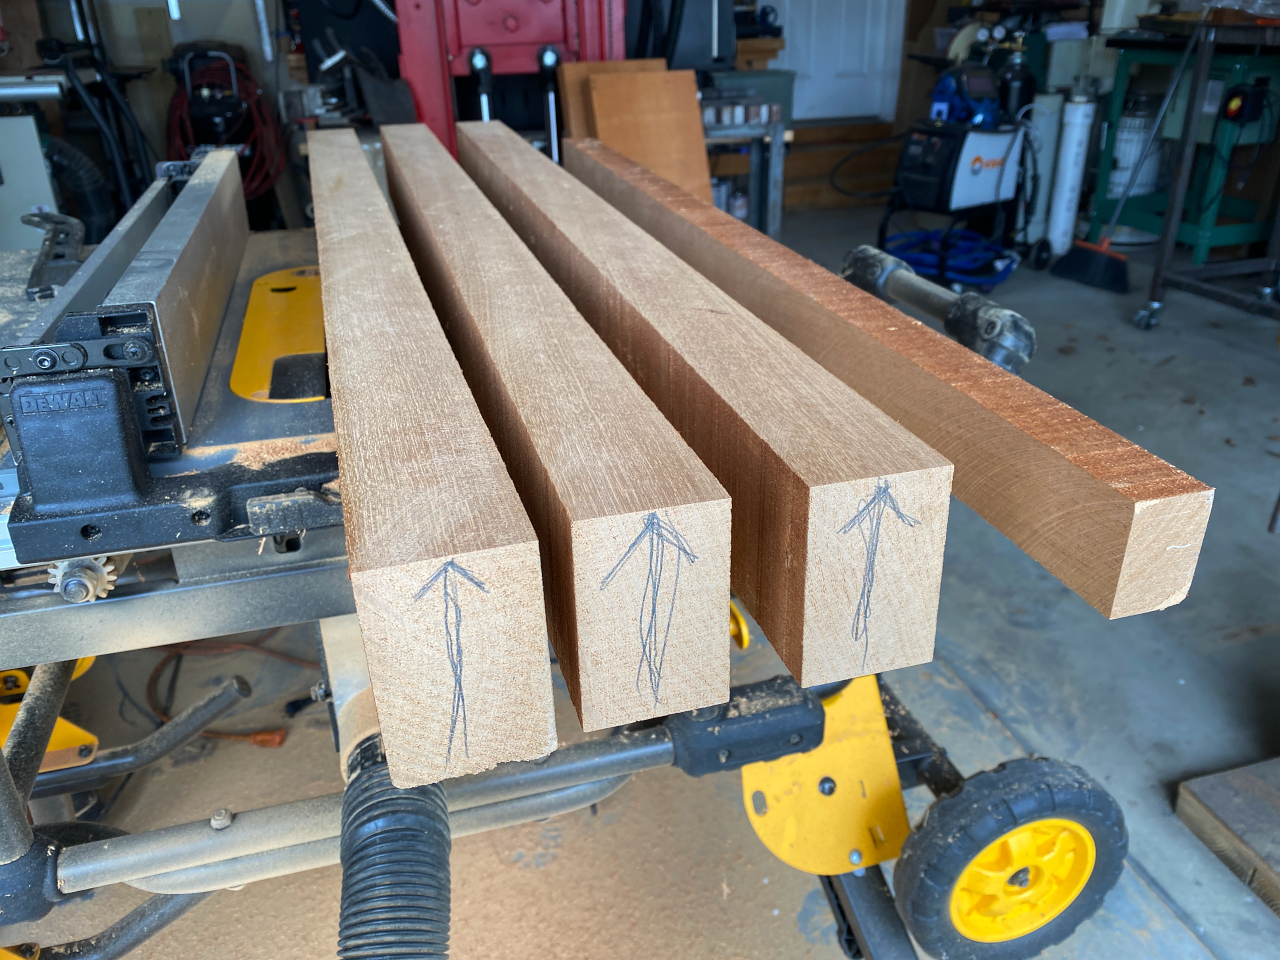
All turned up on end. Now, to combat the fact that all wood likes to warp I’m going to orient some of the pieces so that none of them are oriented the same as the others. The result is that any tendencies to warp will be opposed by the others. Additionally, and natural weaknesses in the boards will never cross the entire board. Now this isnt strictly necessary since the initial piece is very clean and free of defects, but its a precaution I take nonetheless and IMO is worth the extra steps. I have seen single piece guitar necks misbehave, and at the least they usually require seasonal adjusting of truss rod as changes in temperature or humidity affect the action. To date I’ve never had to make any seasonal adjustments to any neck I’ve built, You set them where you like, and they just stay that way 🙂
flip the middle
then rotate it 180 so the arrow is now on the other side
flip last piece down
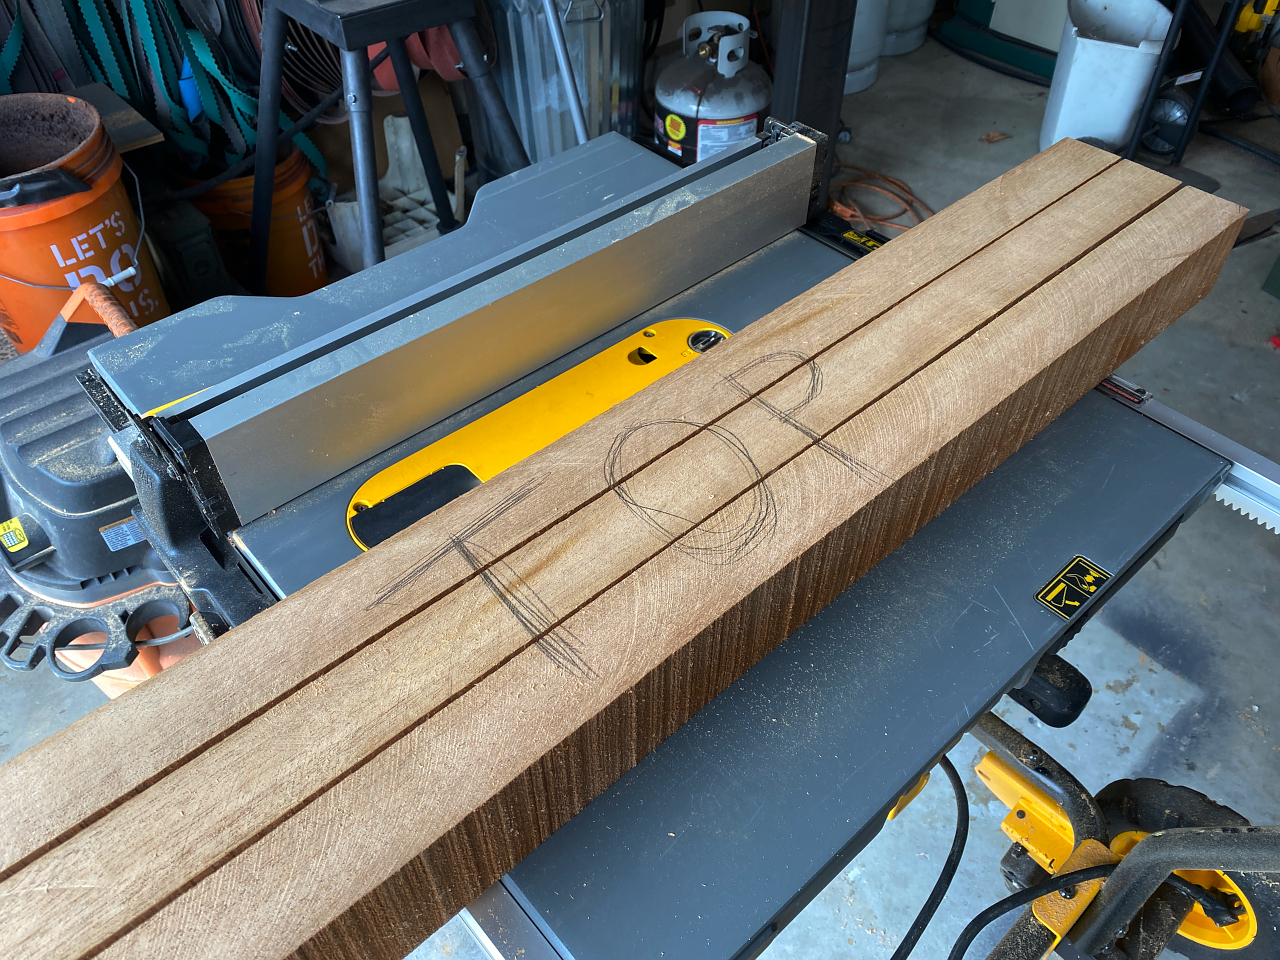
Now I push them all together and mark the top so I can easily keep them oriented correctly if mixed up.
Now, the center board needs to be thinned down significantly. the reason is that, at the thinnest part of the neck where the nut is, I want pretty much 3 equal thickness pieces. If this isn’t clear it will become so later on.
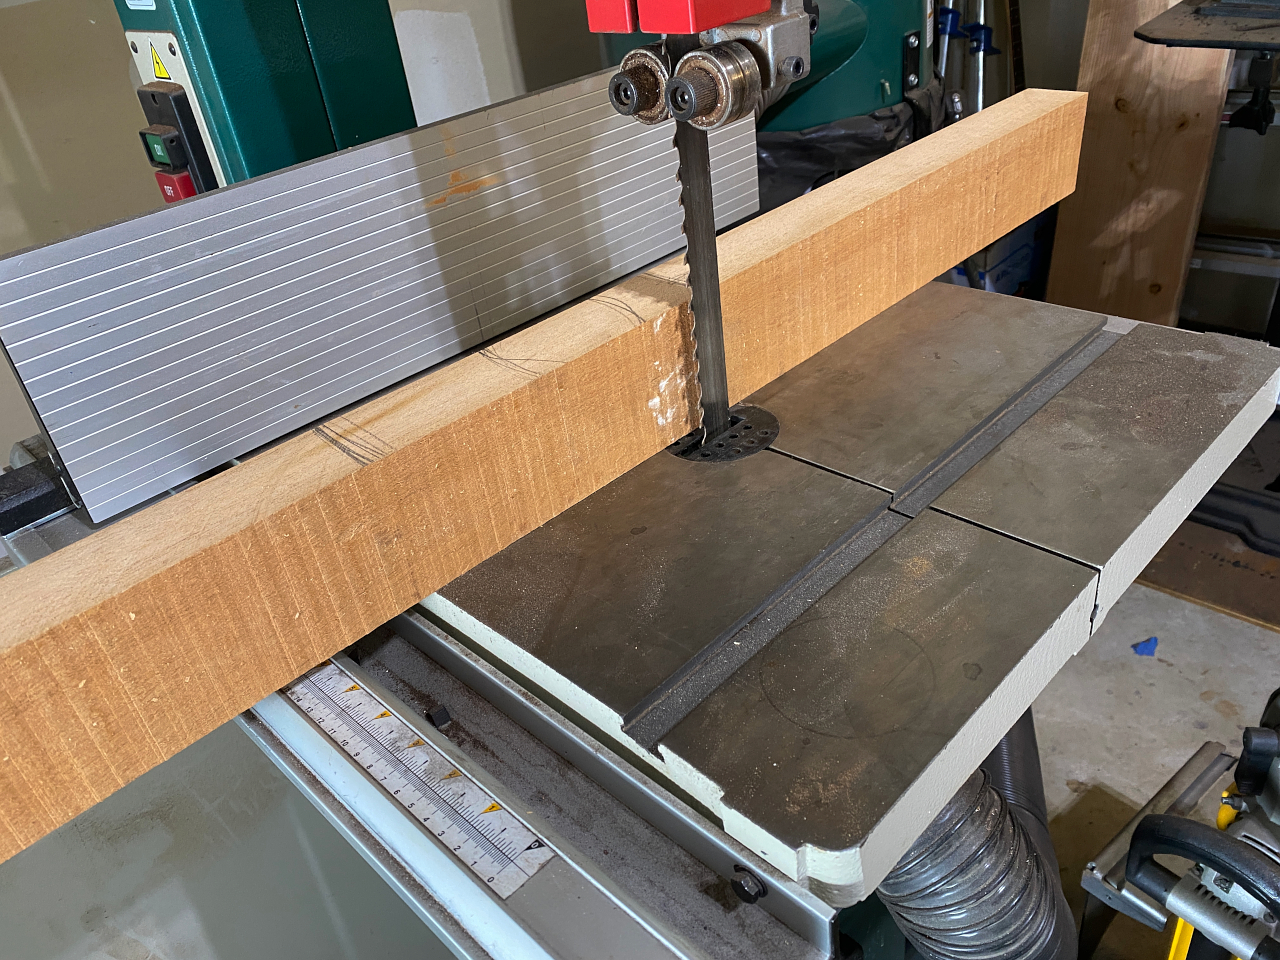
To make a cut this long and tall I need the band saw as opposed to the table saw
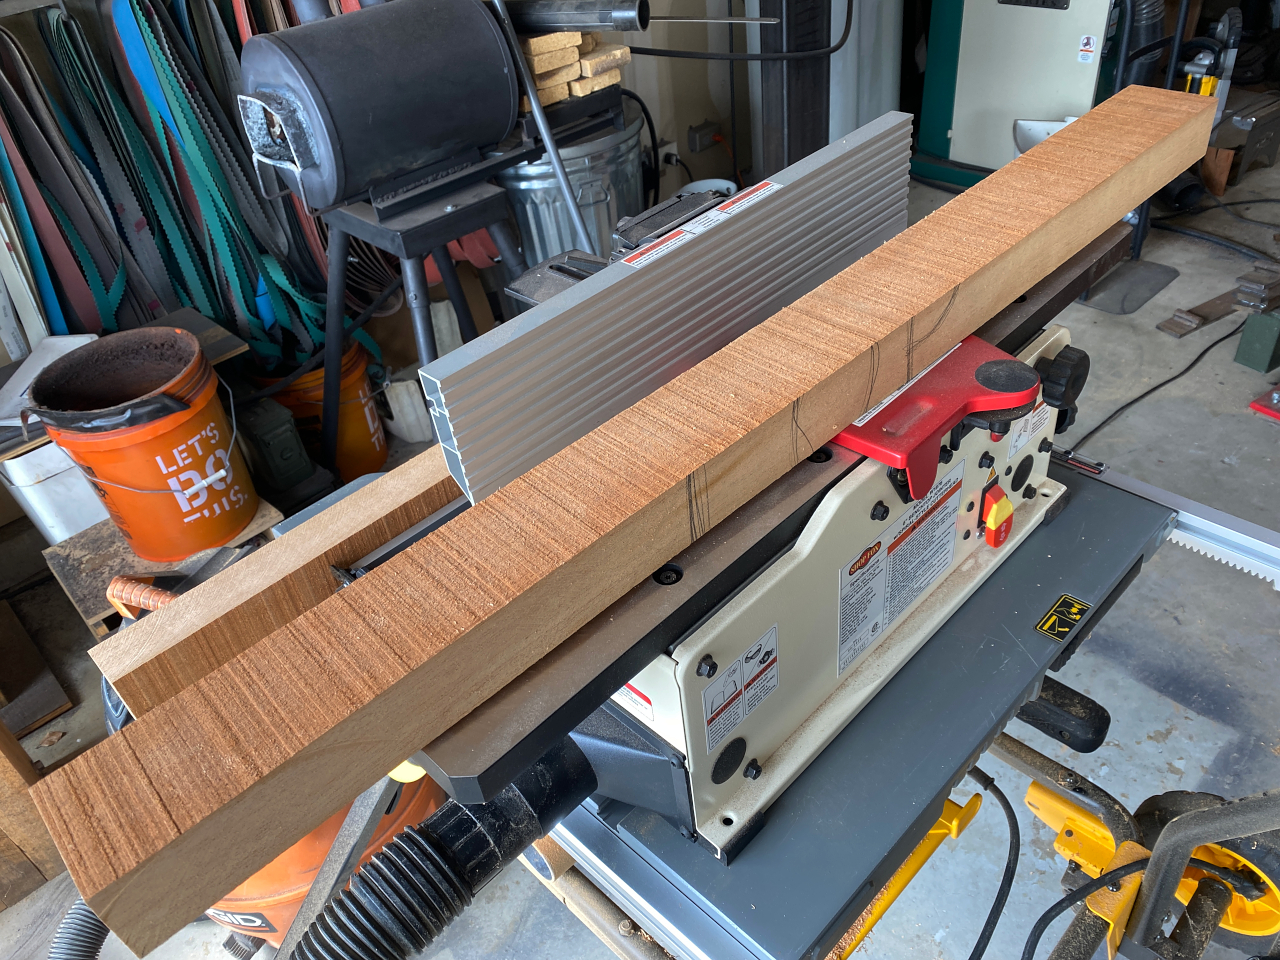
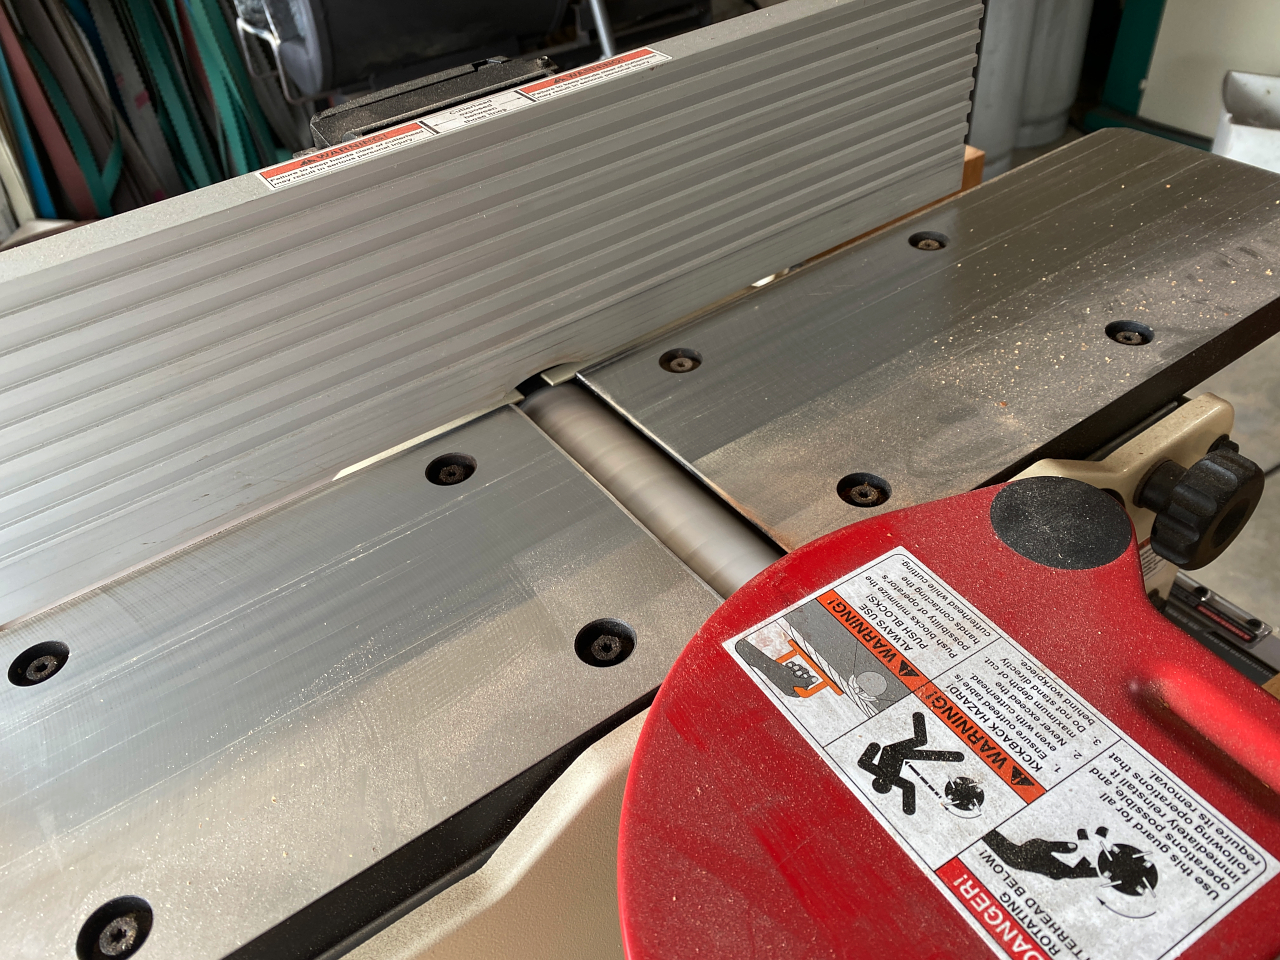
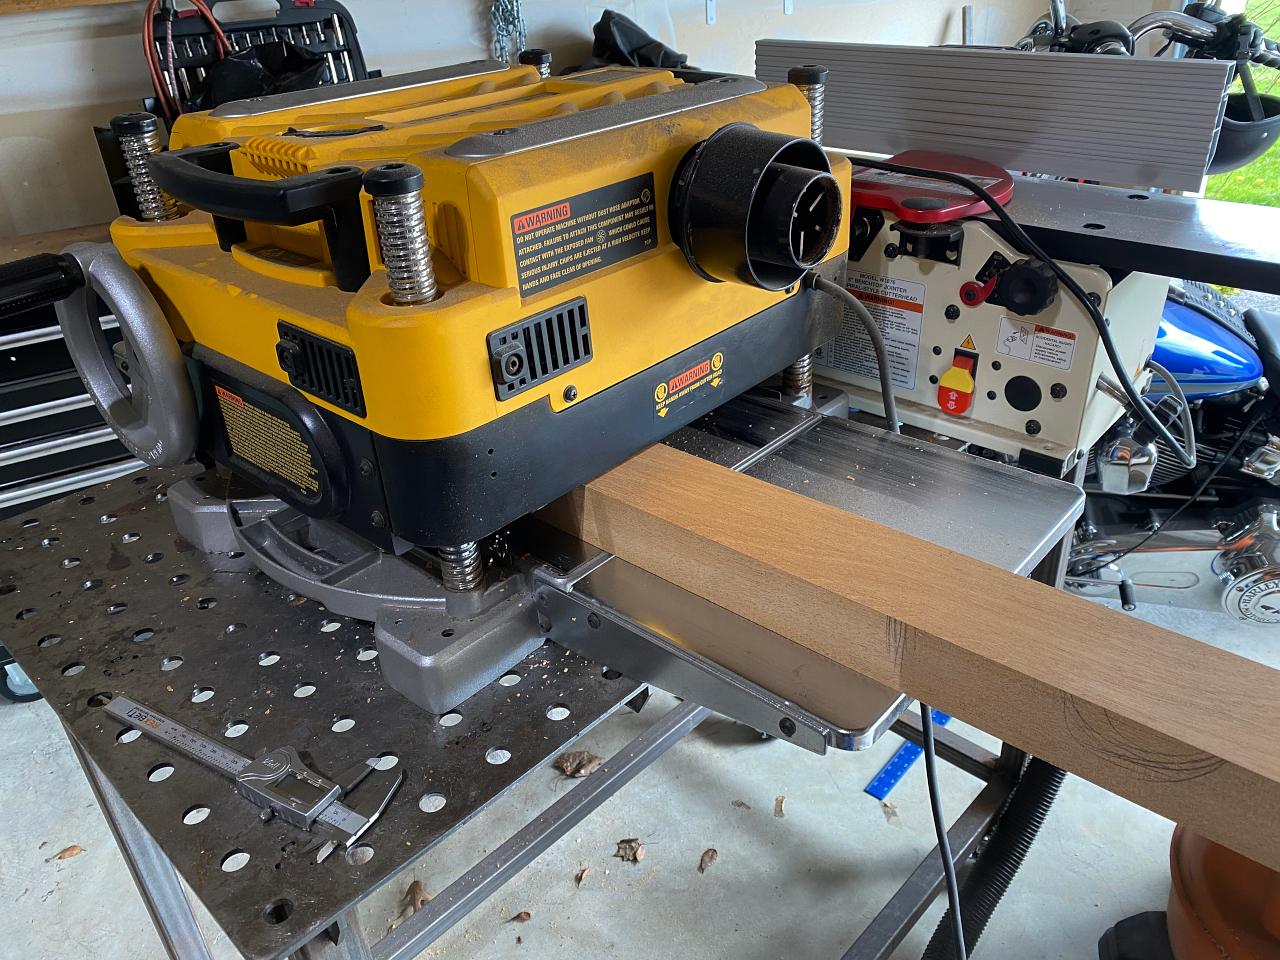
Now each piece needs to be milled to remove any warp or imperfections in thickness, so that all faces that will be joined are perfectly flat and smooth, and the boards are all perfectly equal in thickness end to end. This is done by first making one face flat on the jointer.
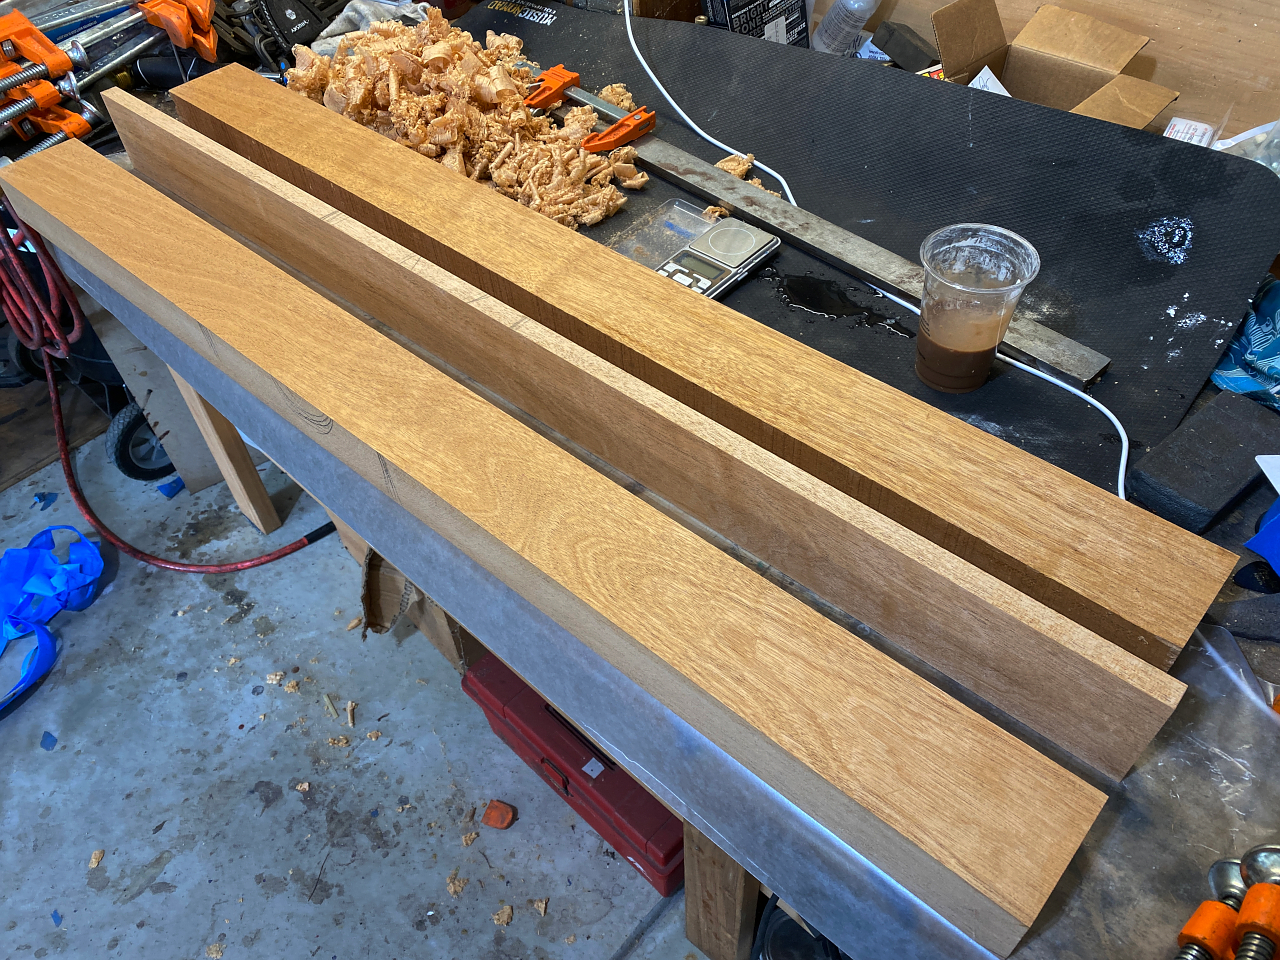
and then the opposing face is planed down to match it. The result of this process is perfectly flat, regular, square boards.
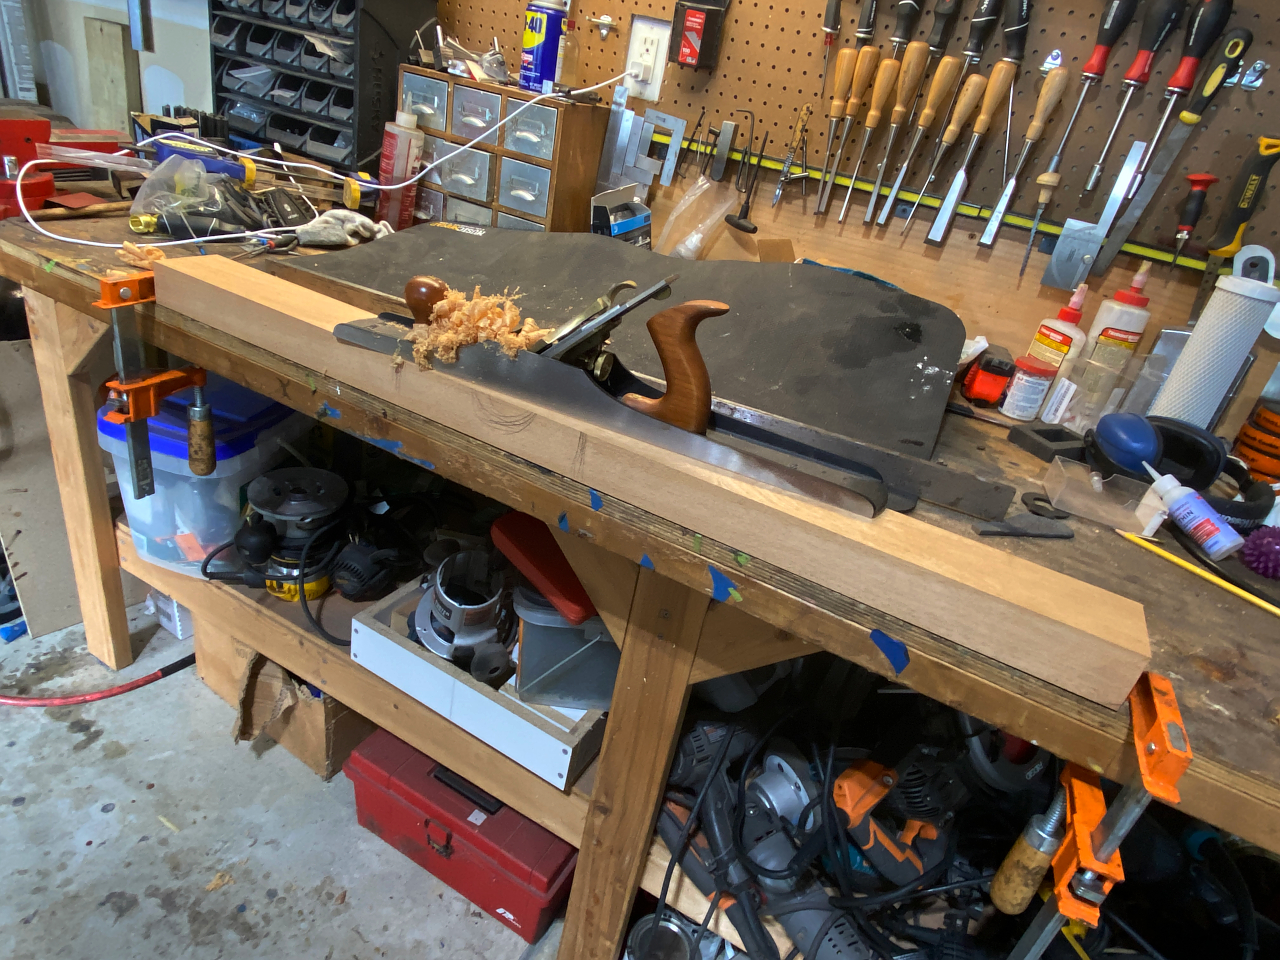
Now I perfect these faces old school. Power tools can do a really good job and can appear smooth, but on a microscopic level, any rotating blade leaves a scalloped surface and does impact how fully one face contacts another, especially when both mating faces came off a jointer or planer.
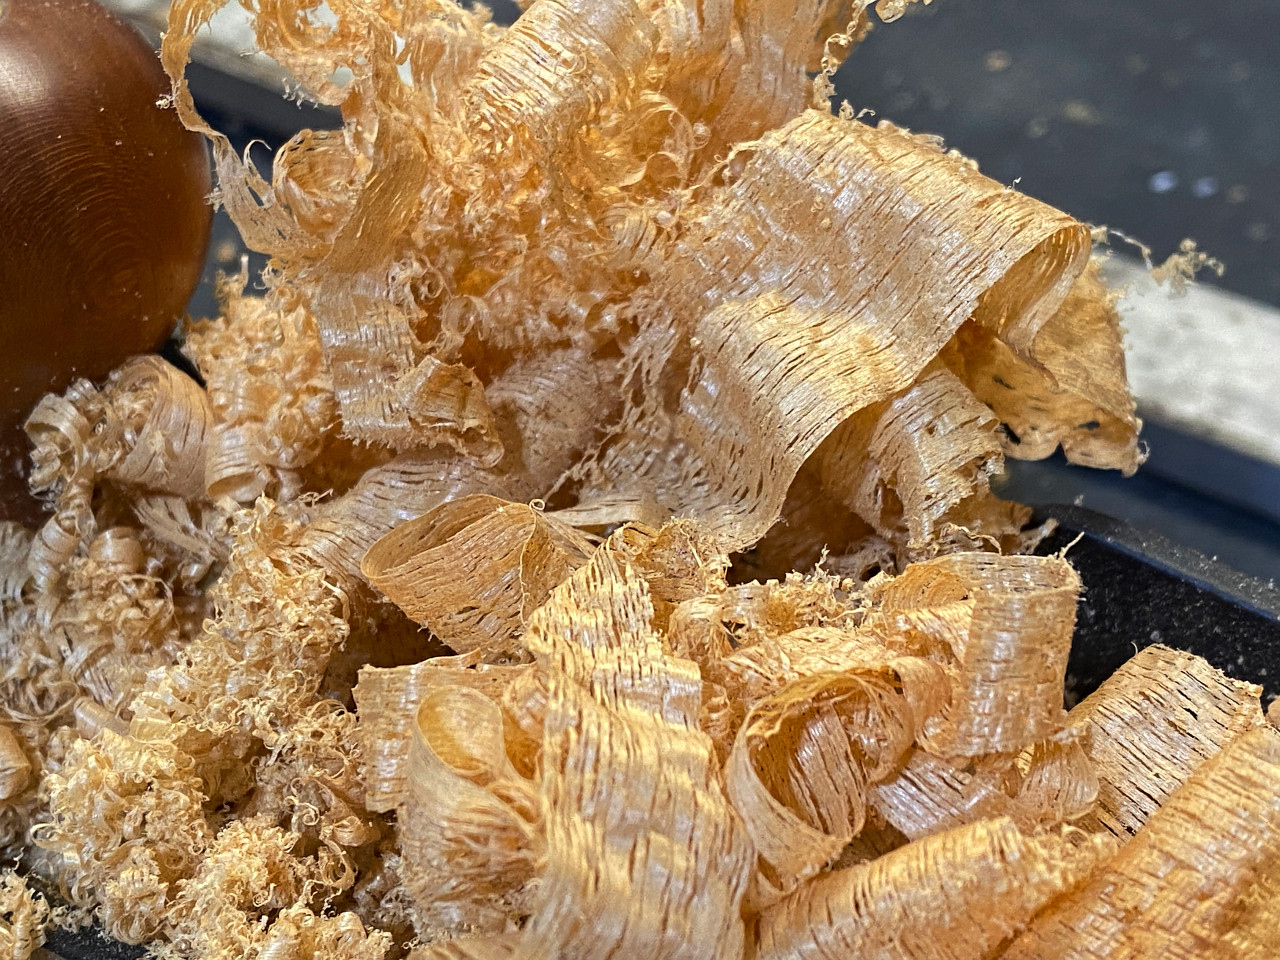
A hand plane uses a razor sharp blade that cleaves a perfectly flat, glass smooth surface so when those faces are joined the face to face contact is nearly 100%.
the tool shown here is a Lie-Neilsen #7 jointing plane with a very long “foot” thats machines perfectly flat and smooth and is perfect for creating very long flat joints. Its a pretty good workout, but very satisfying work 🙂
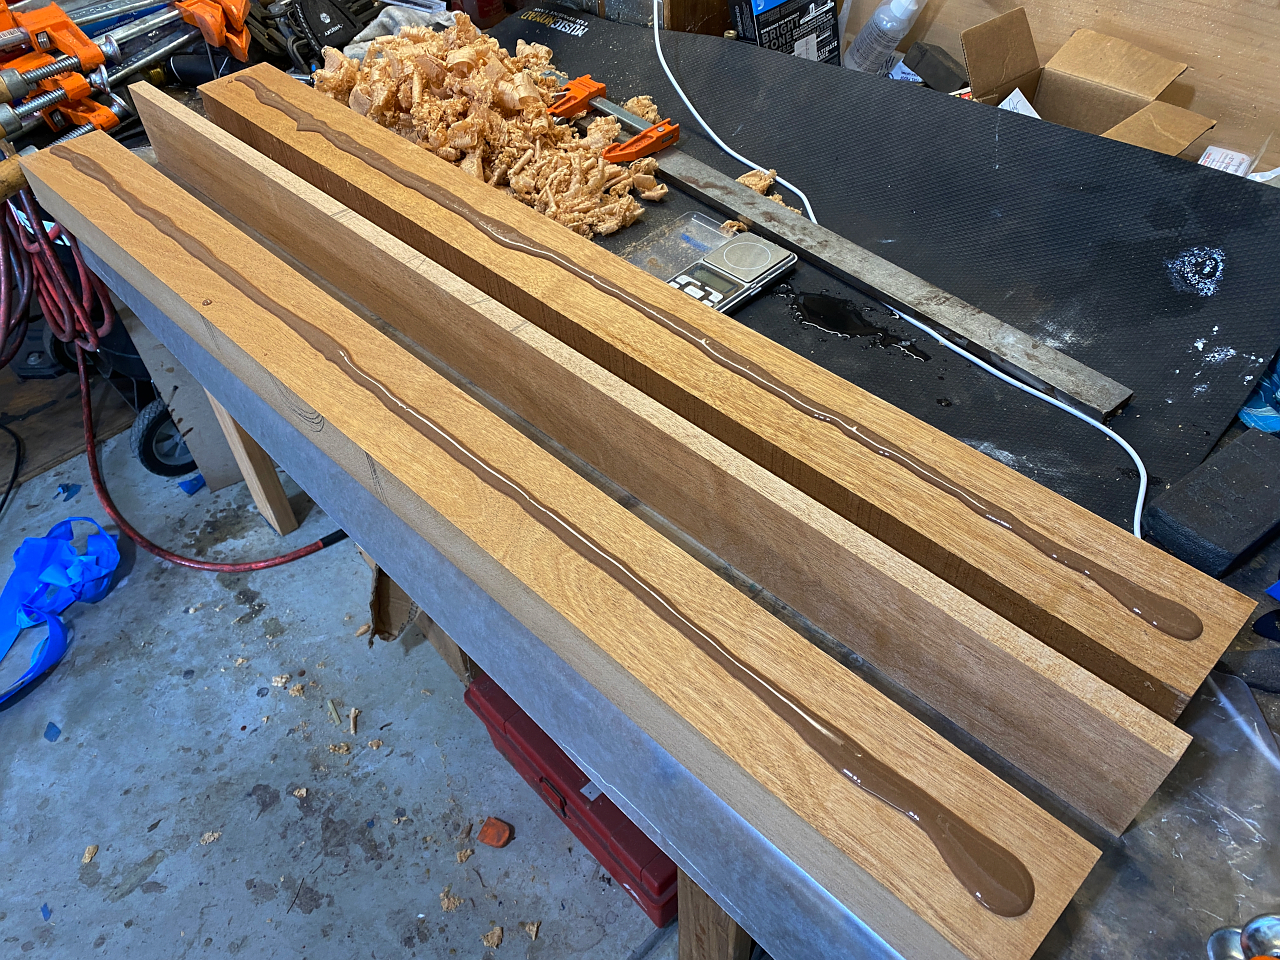
Once all the surfaces are prepared, I clean them with acetone to remove any surface oils that could potentially interfere with their bonding.
I use UF glue for these joints. the UF glue does permeate the surfaces and pores and it hardens extremely brittle, which is what we want. Regular “carpenters” wood glue is less brittle and can impede or dampen vibrations. This glue, being glass hard, transmits vibrations cleanly.
All these little steps make infinitesimally small differences, but when you add them all up together it can make a difference.
Remember, the differences in winners and runner ups in most races is in hundredths or even thousandths of a second. I like to add every possible enhancement I can 🙂
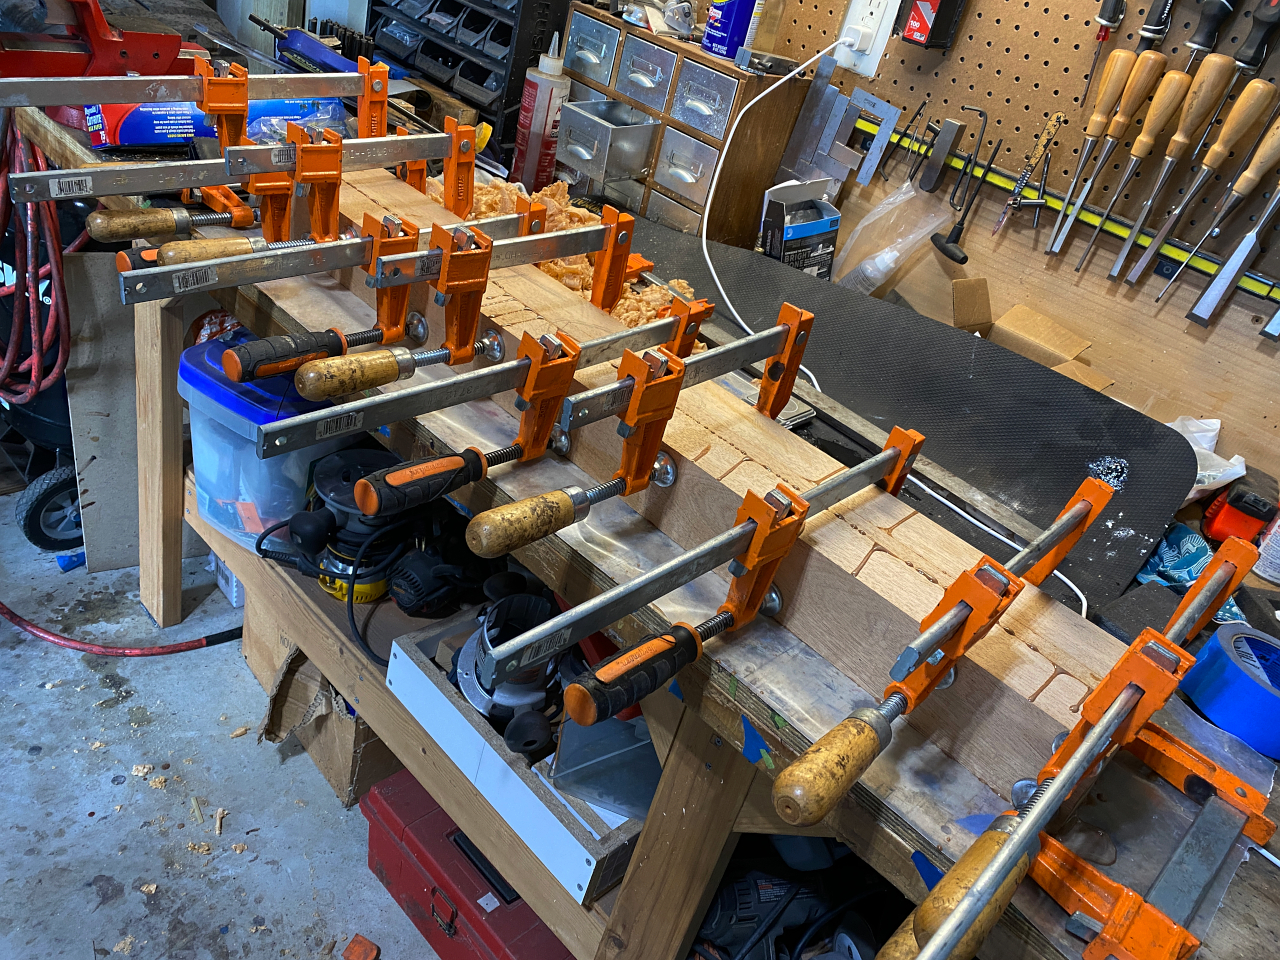
Once the glue is spread evenly across the faces the boards are clamped firmly and evenly end to end.
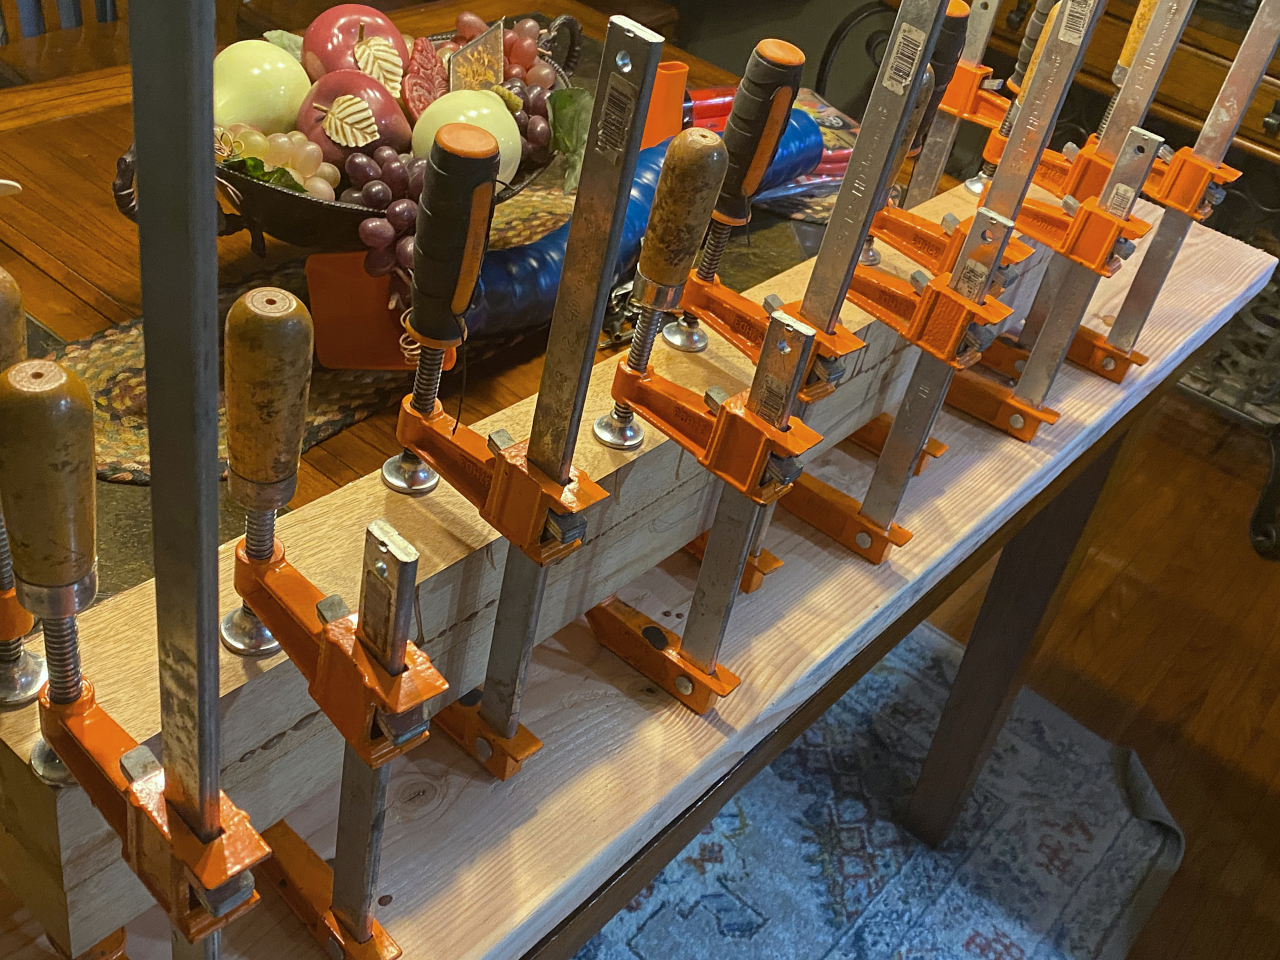
then I brought it into my dining room to cure. The temp was dropping past night and the UF glue cures best at room temp.
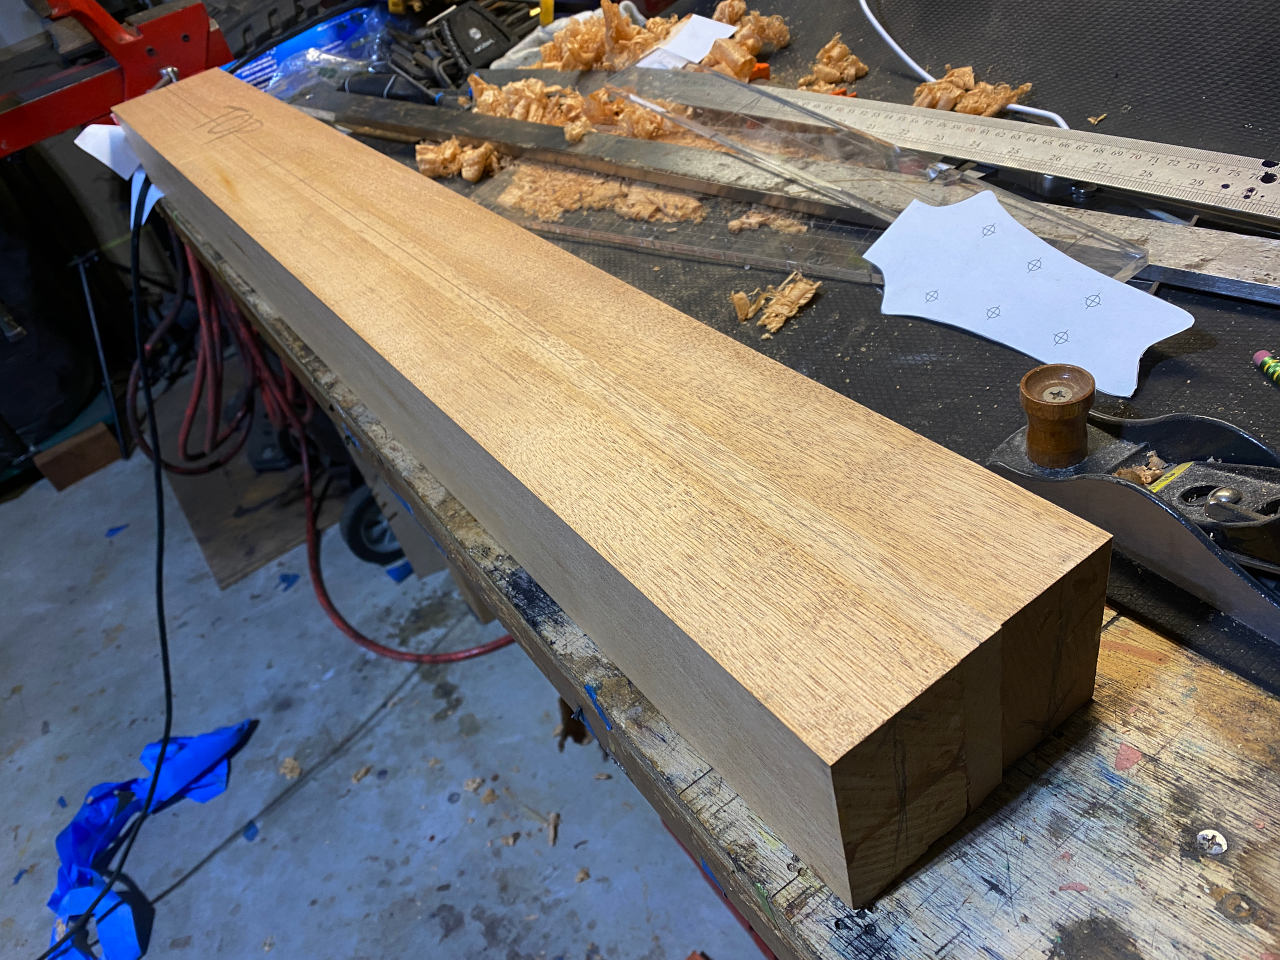
So, 24 hours later I remove it from the clamps and clean off all the glue residue. then using the jointer again I make the top absolutely dead flat, and draw a temporary center line down the length. This is helpful just for laying out things as the build progresses.
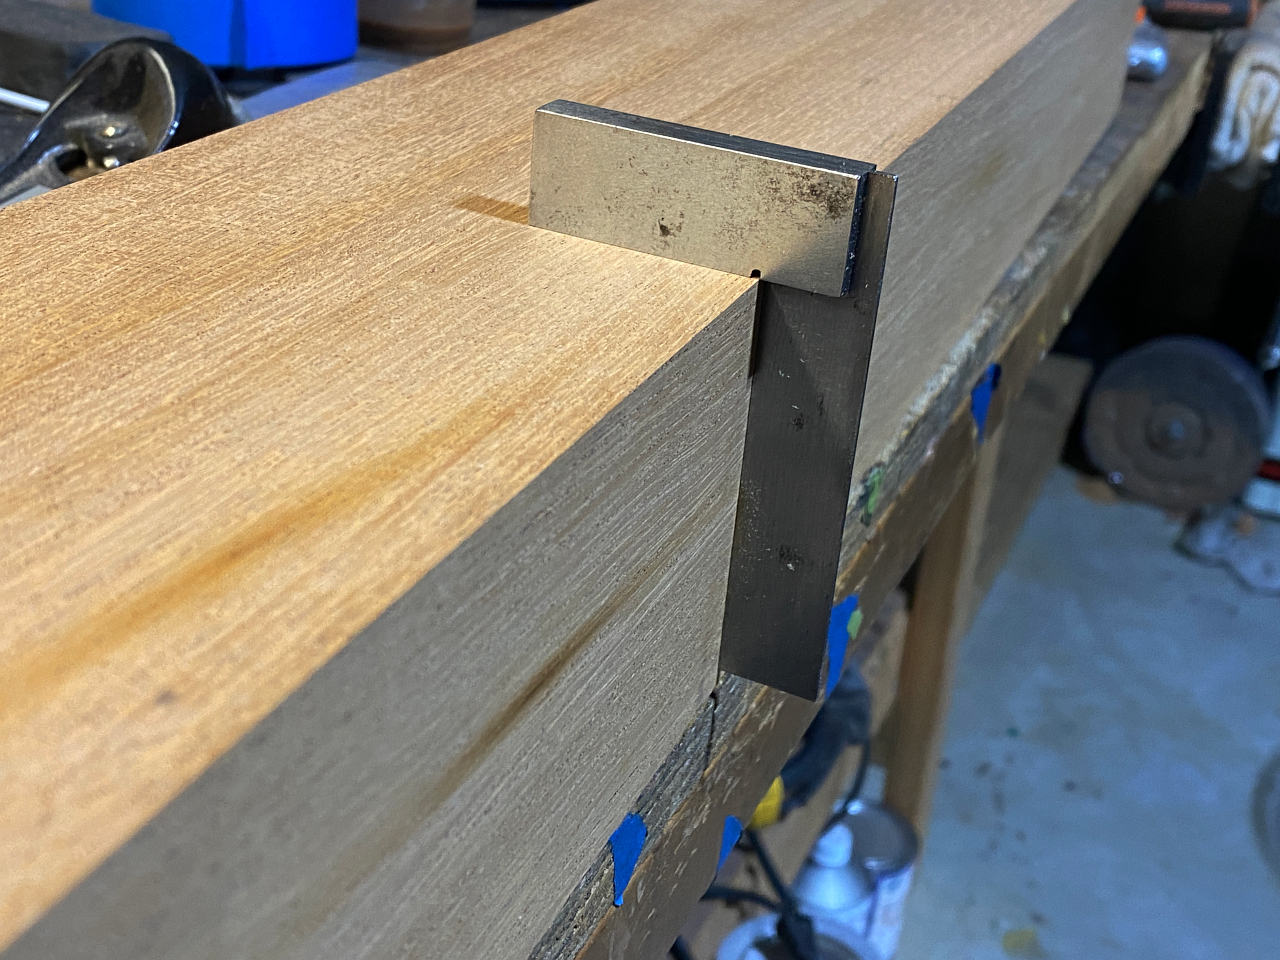
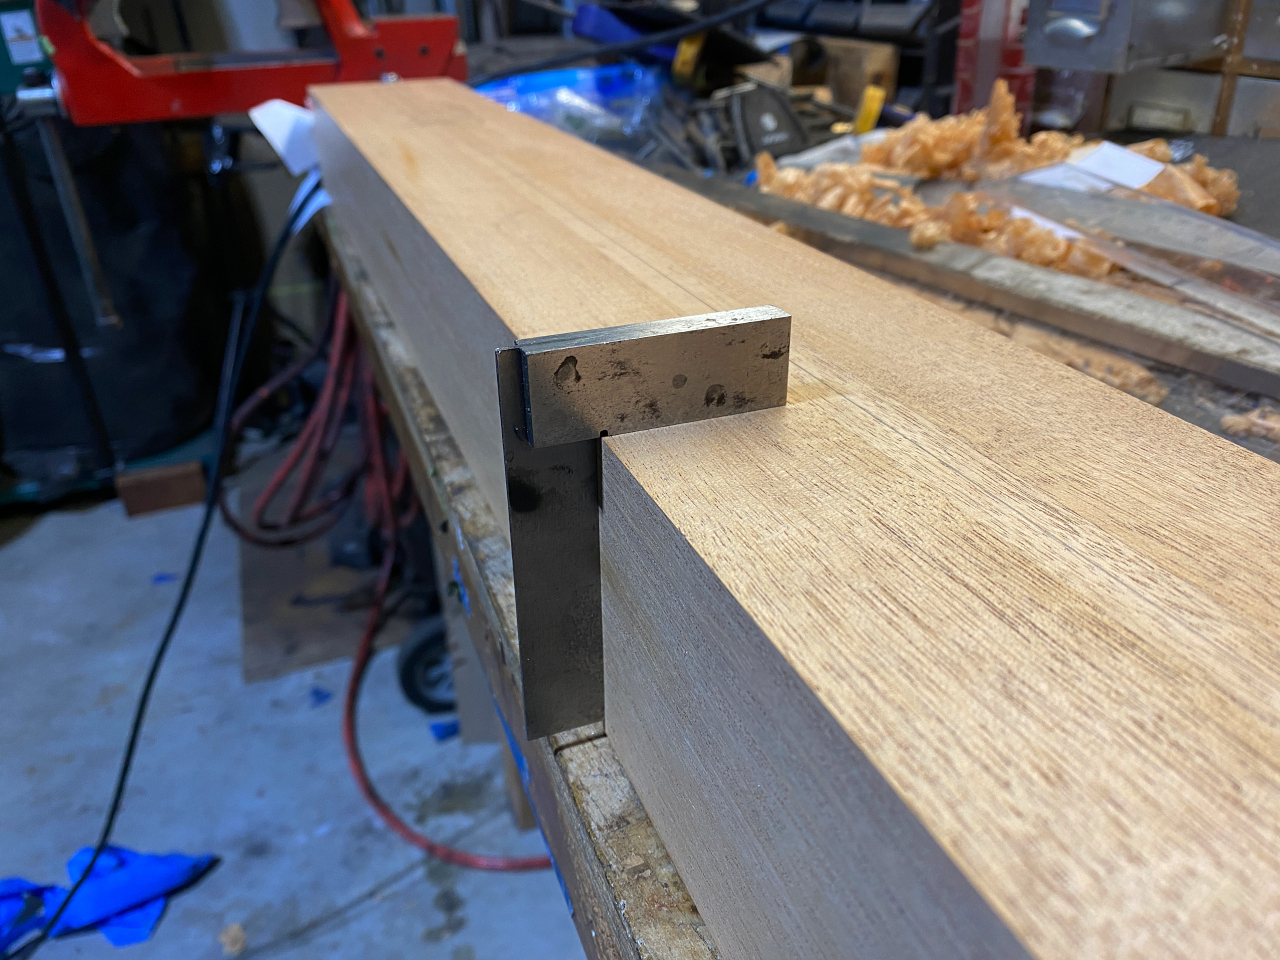
Next, and most critically, the sides need to be jointed dead flat and they MUST be exactly 90 degrees from the top. This is critical when I cut this as you’ll see
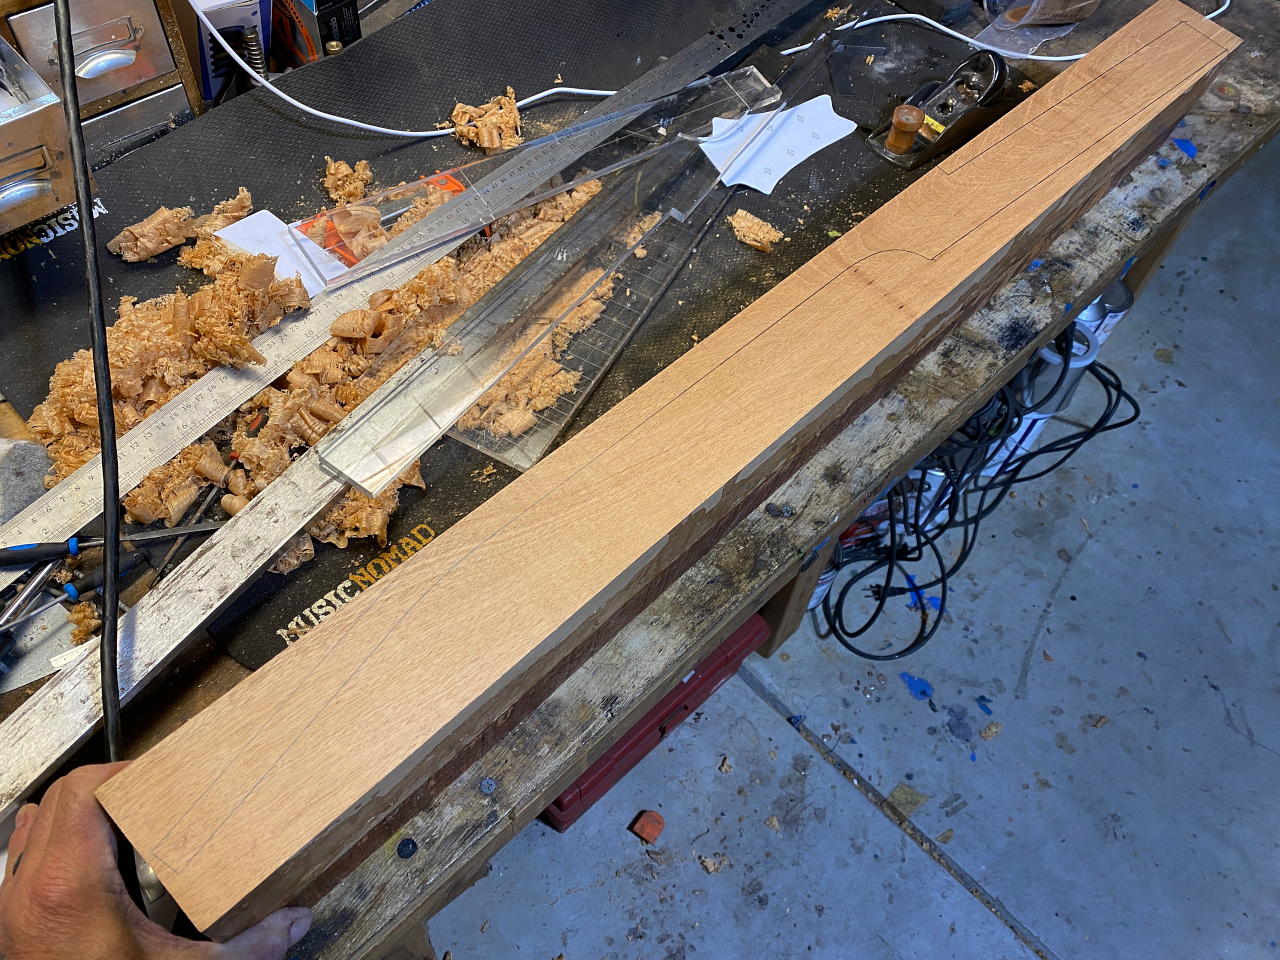
I turn the neck on its side and using my template I draw out the side profile
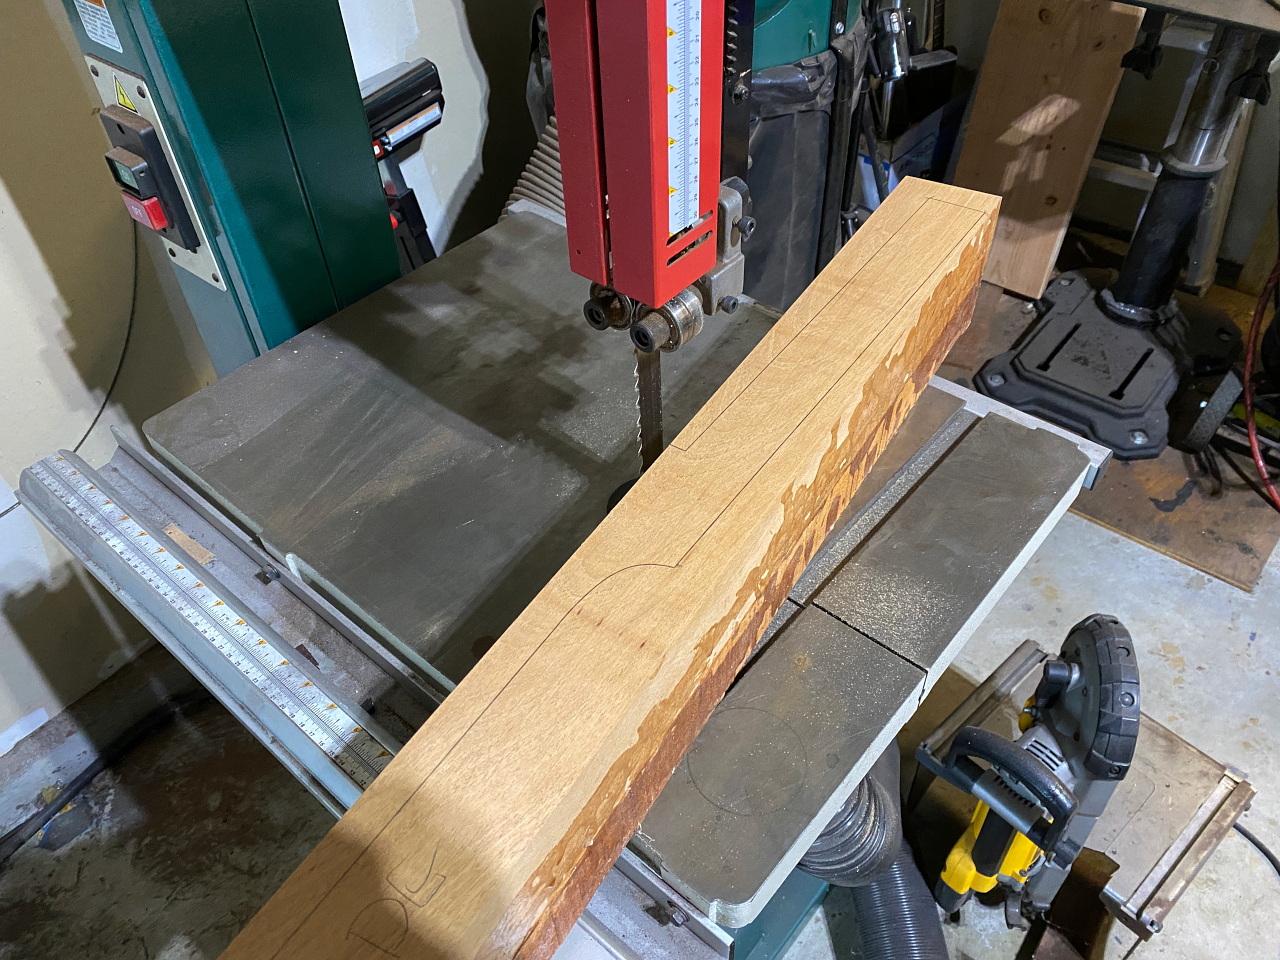
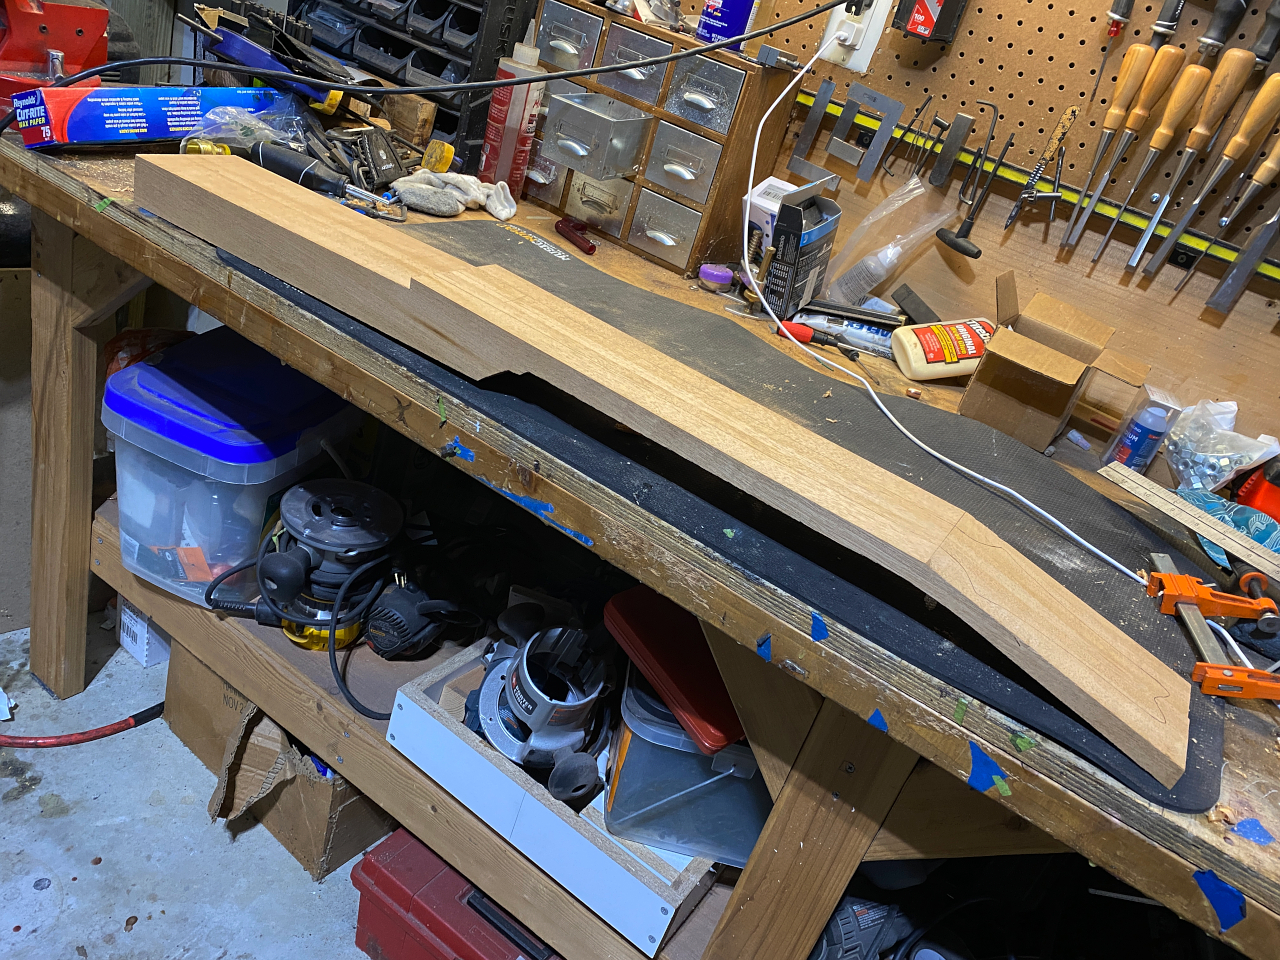
Next I take it to the band saw. The reason its so critical that the sides are 90 degrees to the top is because I’m making a very tall cut here. Laying on its side like this the laminate is 7″ tall, so if the side isn’t perfectly square to the top this cut wont be consistent from one side of the neck to the other. This is hard to explain. Some people can just look at this and understand all the focus on making the blank perfectly square, others cant. If you are in the “cant” camp, just take my word for it. 🙂
In the end, nothing done by human hands will ever be perfect, but I try to get as close as I possibly can. Small errors compound over time so the more anal I am right from the start the less I have to adjust for later on 🙂
“Good enough” really isn’t in my vocabulary.
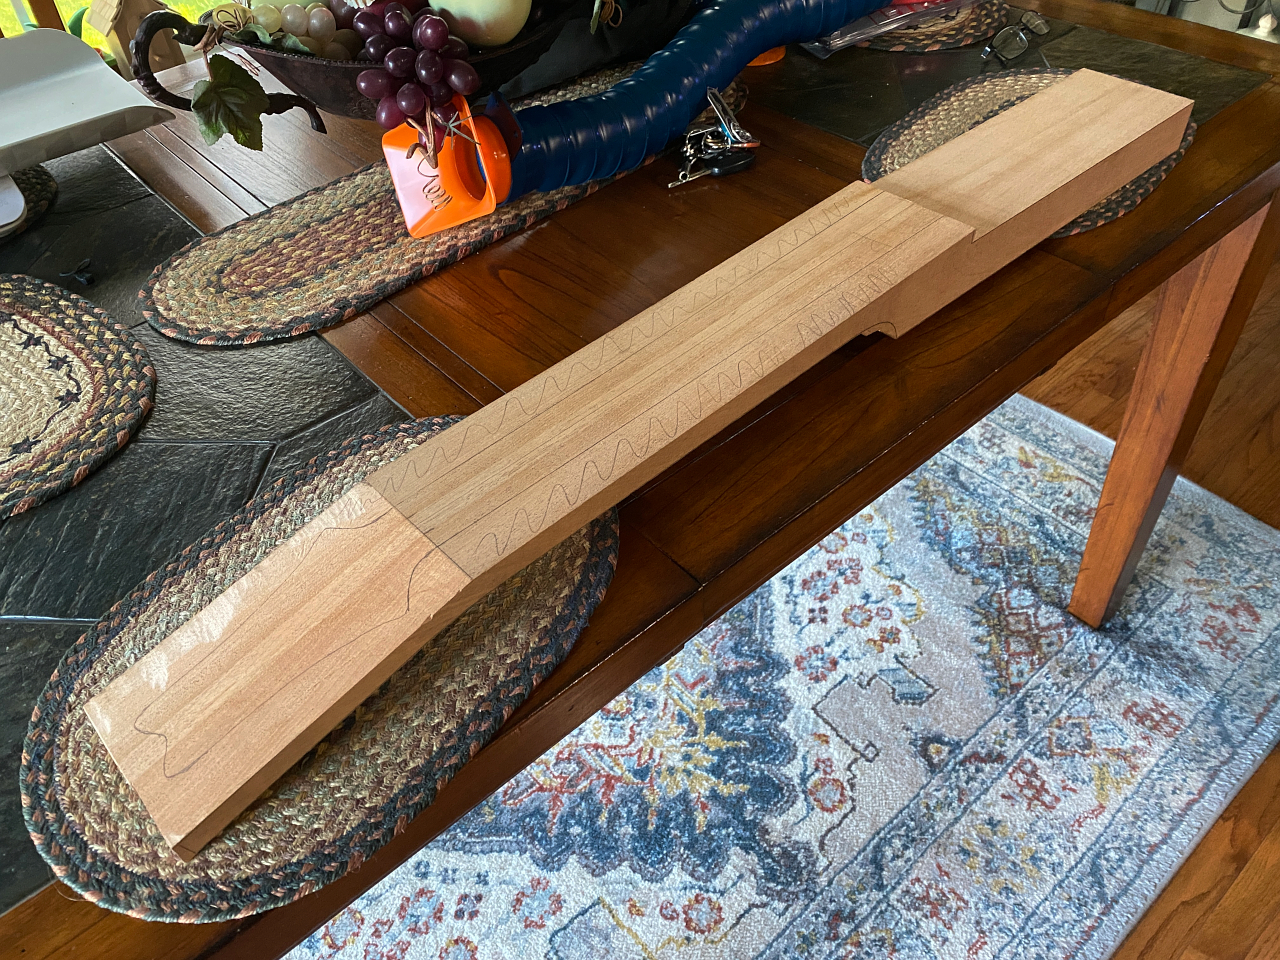
So here we are. If you had trouble visualizing how the guitar was going to emerge from that block, it should be starting to come clear now
As you have no doubt noticed at this point, there is rather a lot of wasted wood when using this process. This is one of the reasons big guitar manufacturers dont build this way. They would consider the cost/benefit ratio to be too high. Yes, this is a better way to build a guitar, but the improvements in performance, tone, stability, etc are outweighed in their minds by the added cost of wasted materials.
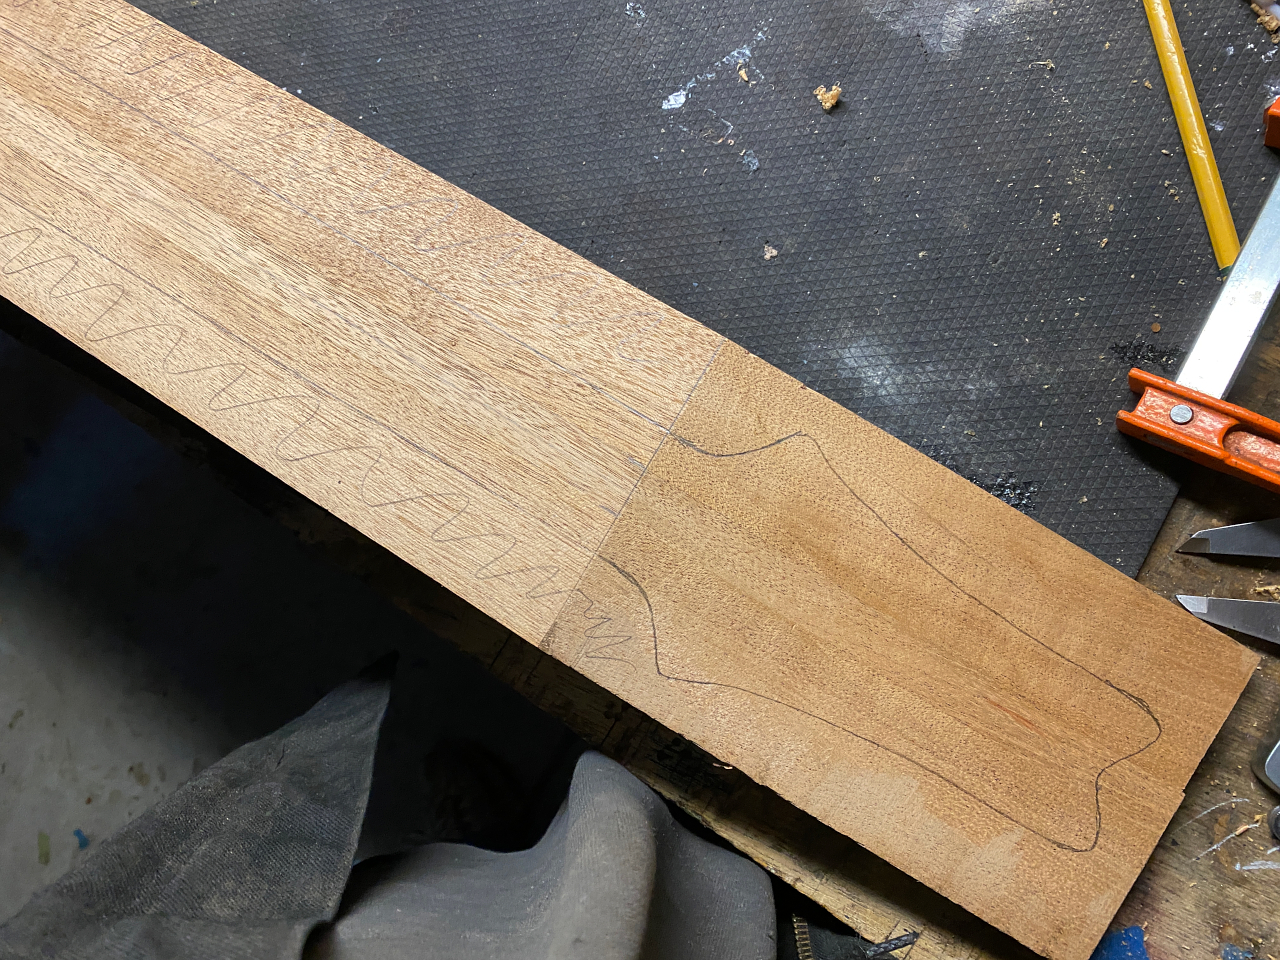
Now in case you wondered why the center piece in the laminate had to be reduced so much in thickness, heres the explanation for that. As you can see in the picture below, the narrowest part of the neck is at the nut, and to have the benefit of the laminate construction we want all 3 pieces included in this area in particular because this is the weakest point on the guitar. This is the point where Gibson headstocks snap off when people allow them to fall over. Had we left the center piece full width we would have just one piece of wood here and still be prone to that famous headstock break. By having 3 separate pieces, all oriented differently, the interruption of grain lines and directions cause this joint to be significantly stronger and more resistant to that type of break. Its not just a little stronger, its a lot stronger. Now my advice is to not be careless and leave your guitar leaning against the amp or chair or whatever, but if you do and it gets away from you I’m confident it would survive the fall without damage.
If you are not sure what I’m talking about, just type “Gibson headstock break” into google and look at the pictures and you’ll understand 🙂
So why not make the whole laminate be just the width of the neck then, rather than making it 7″ wide and wasting so much wood? Good question!
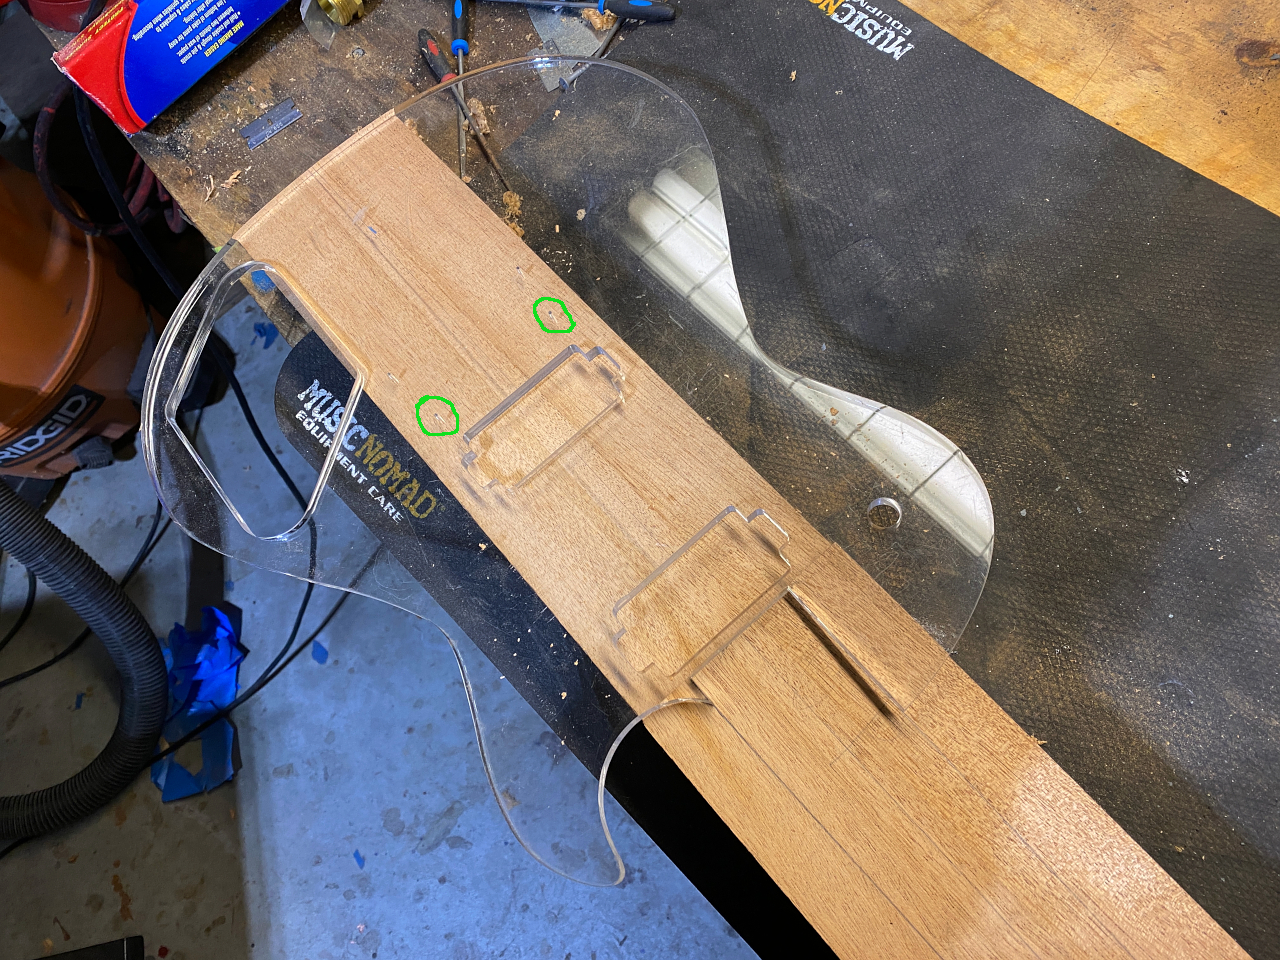
The answer is here in green. Everything about the design of guitar is geared toward maximizing the resonance and sustain of the instrument. the part of the guitar that matters the most is the core. The area from the nut to the bridge. the more joints that exist in between those points, the more places where you can dampen vibration as they pass from one piece of wood across a joint into another. I’ve placed the body template onto the neck here so you can see this. The green circles in the image here show where the posts for the bridge will be located. Because the center piece is 7″ wide at this point, the posts for the bridge are in the same piece of wood that the nut sits on at the other end. No joints in between.
Again, this may make an infinitesimally small difference by itself, but each of those small differences add up, and in the final product they amount to a noticeable difference. Every little bit helps.

