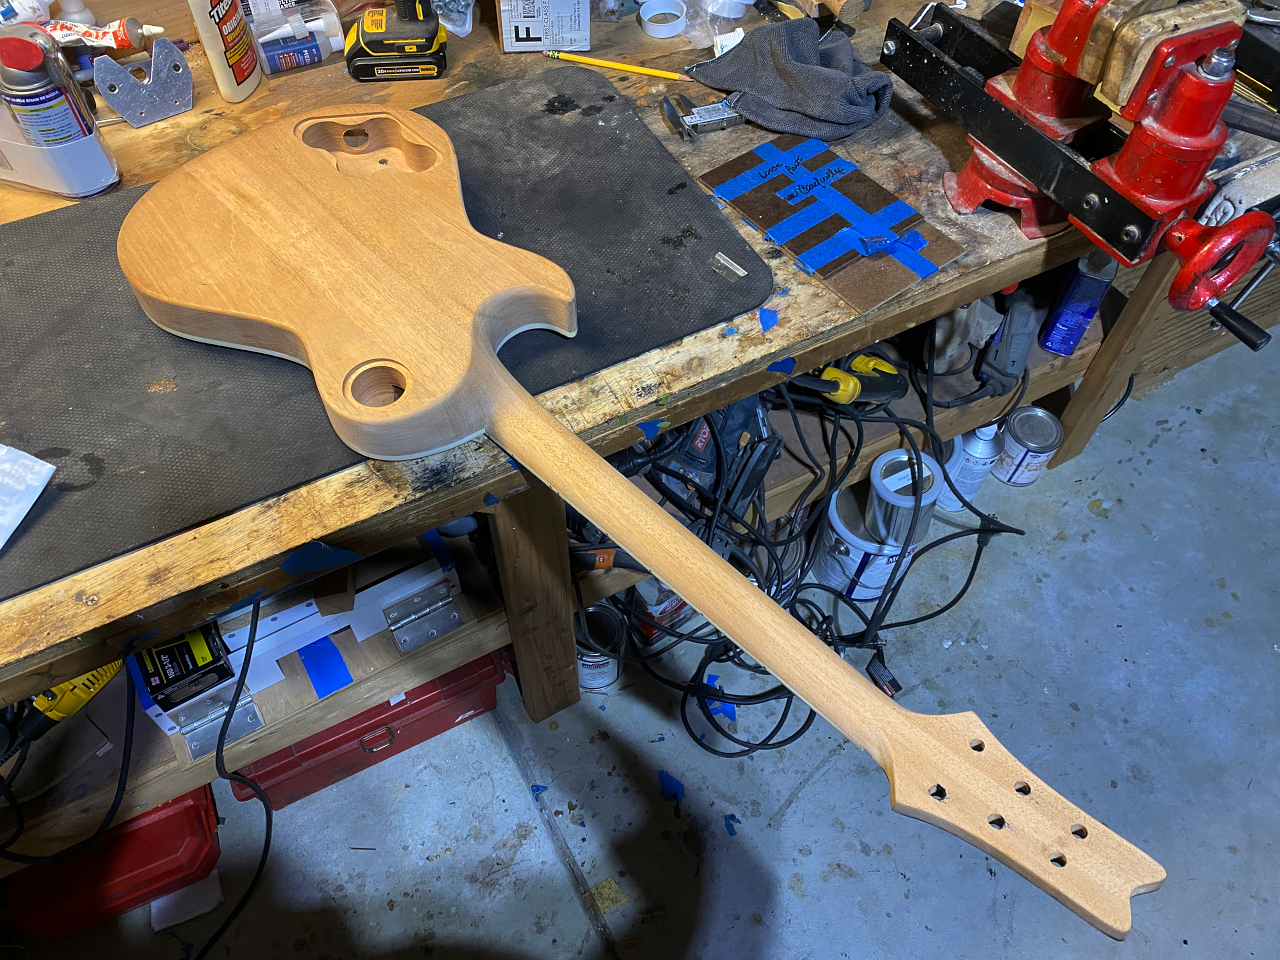
OK. The best part!
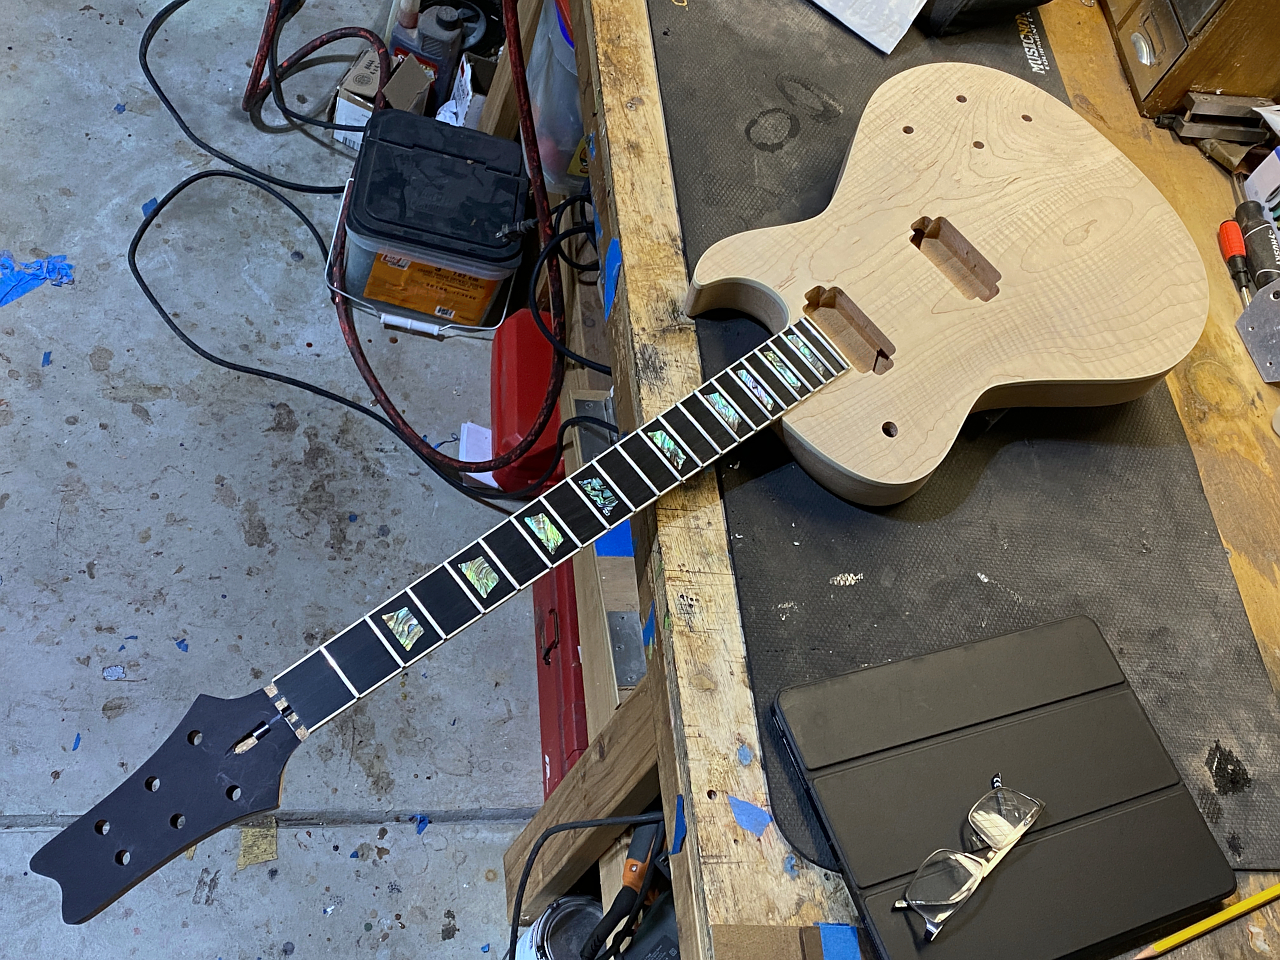
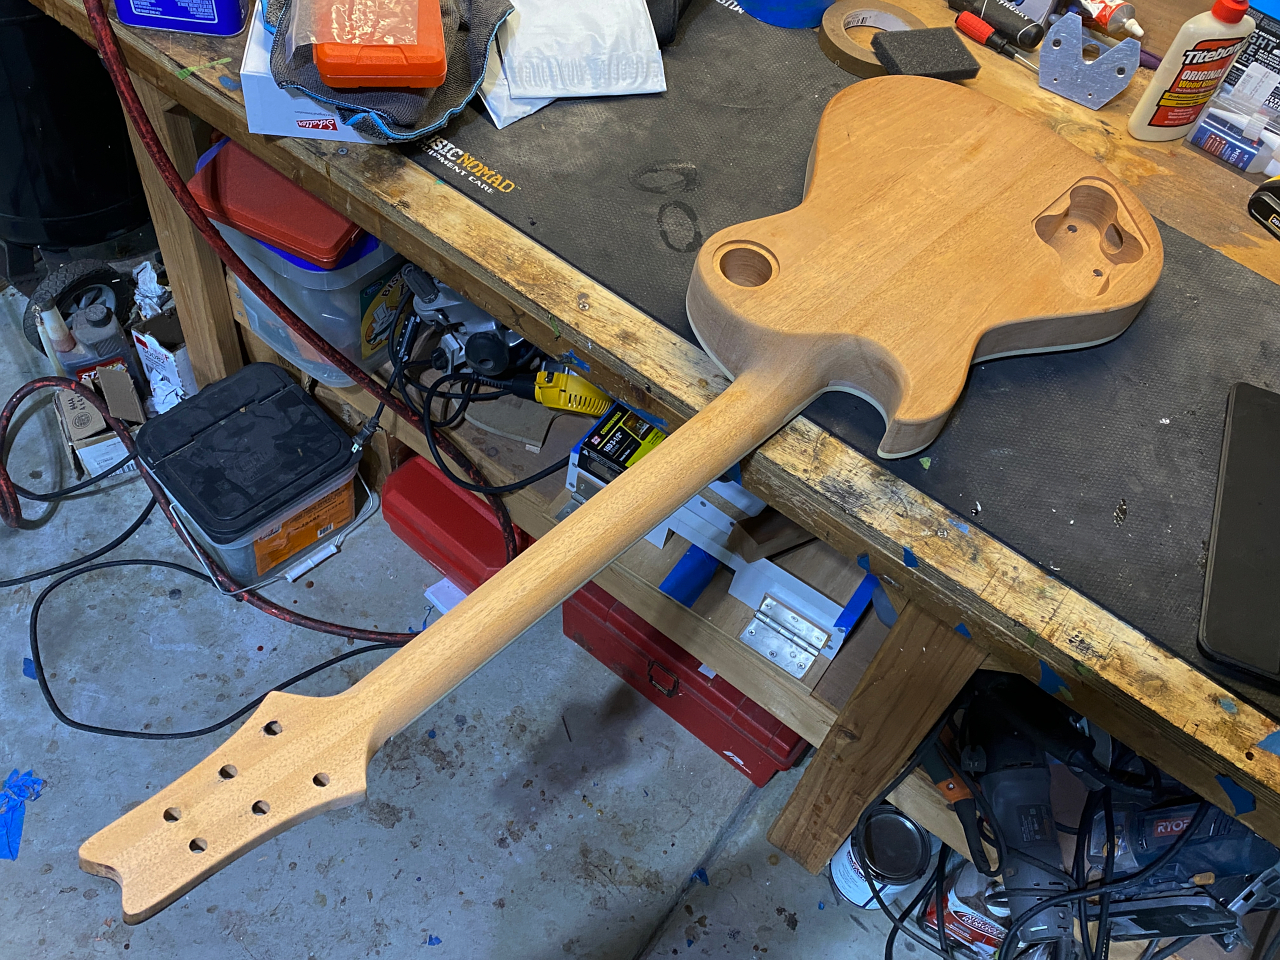
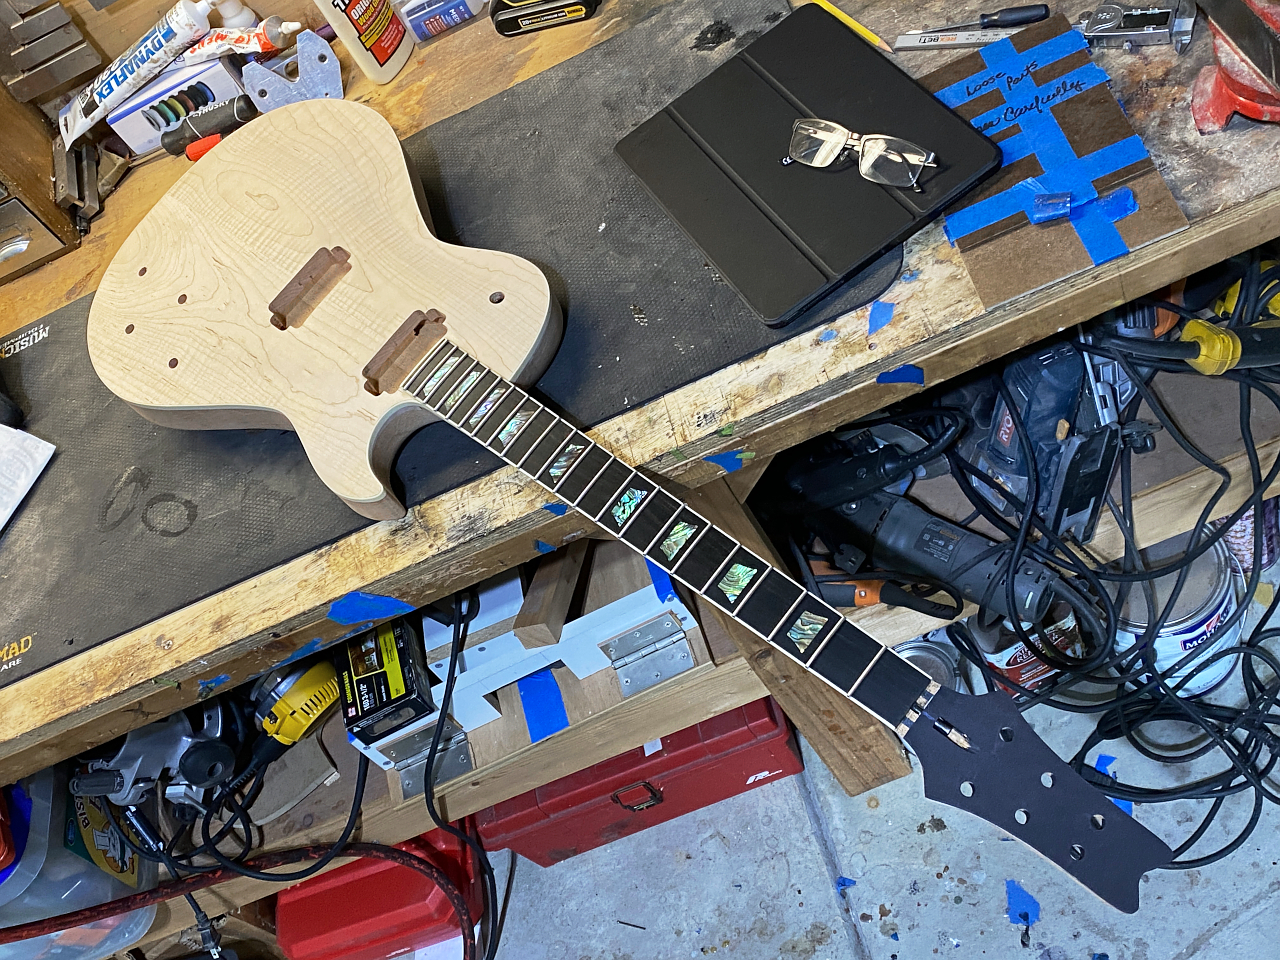
These steps turn it from a bunch of nicely shaped wood blocks glued together into a guitar 🙂
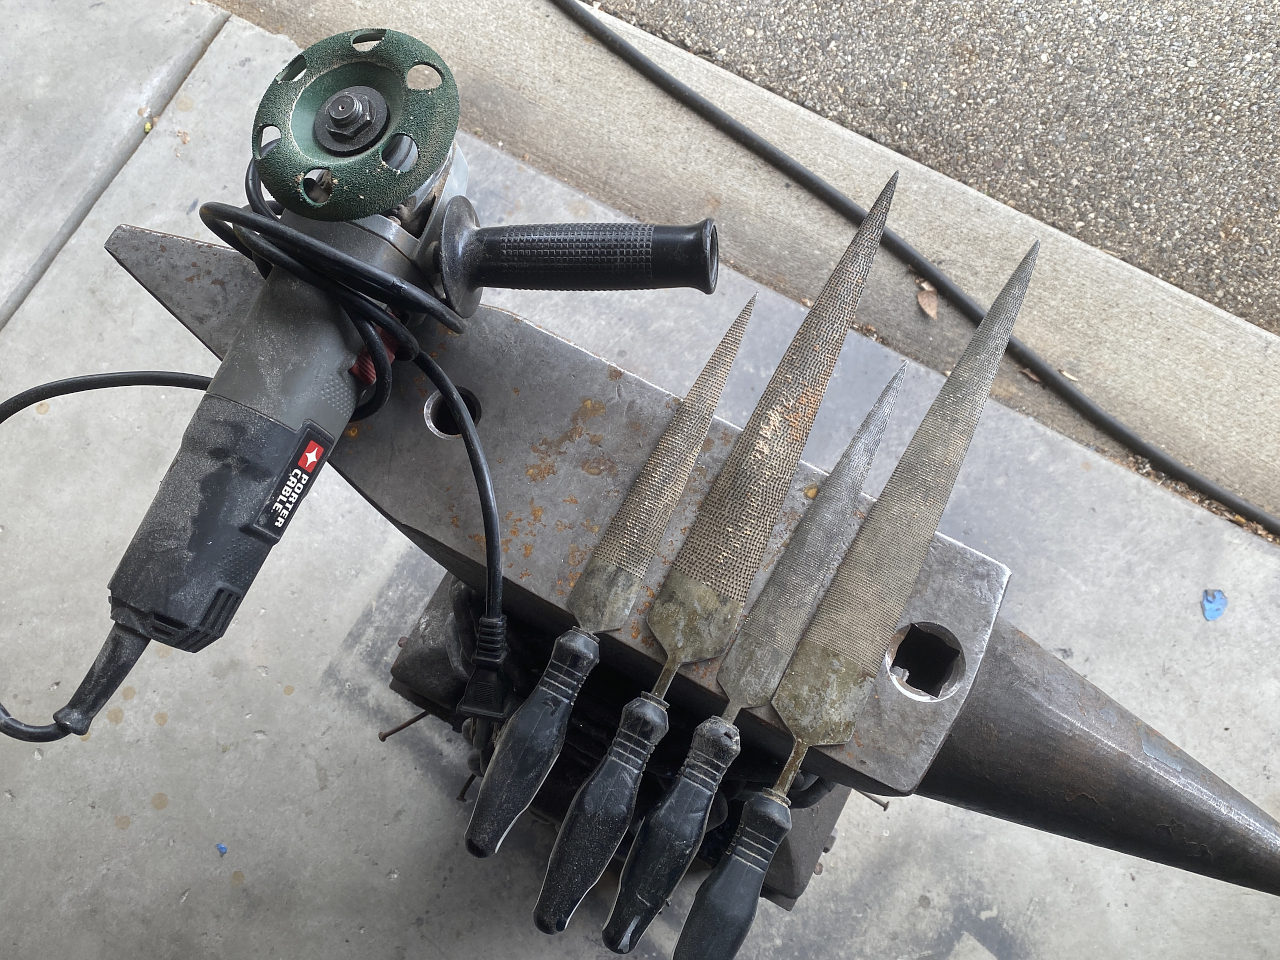
Here are my weapons of choice. the angle grinder I used with the top carve, and some long and short, coarse and fine cut wood rasps.
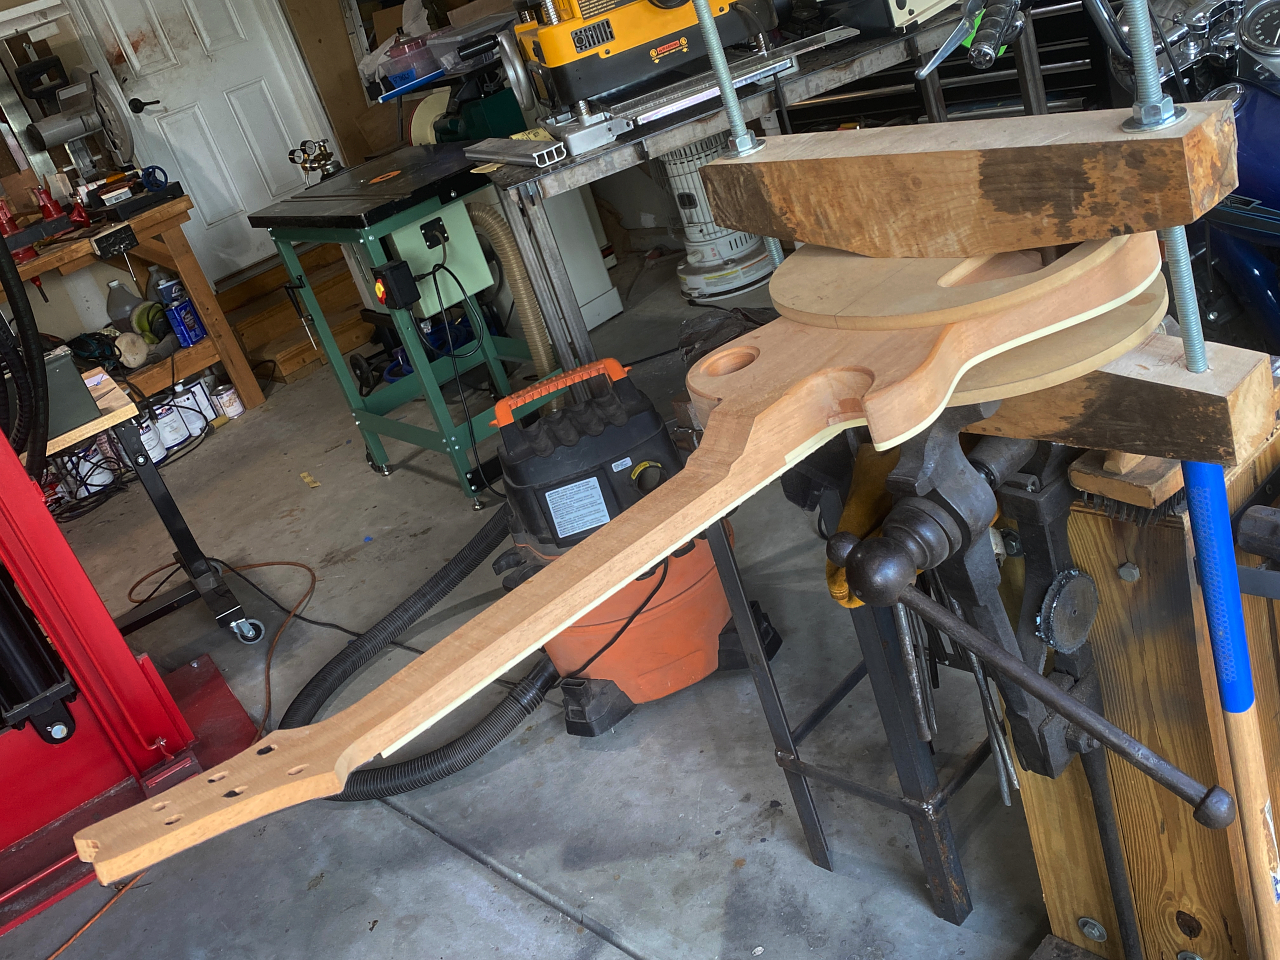
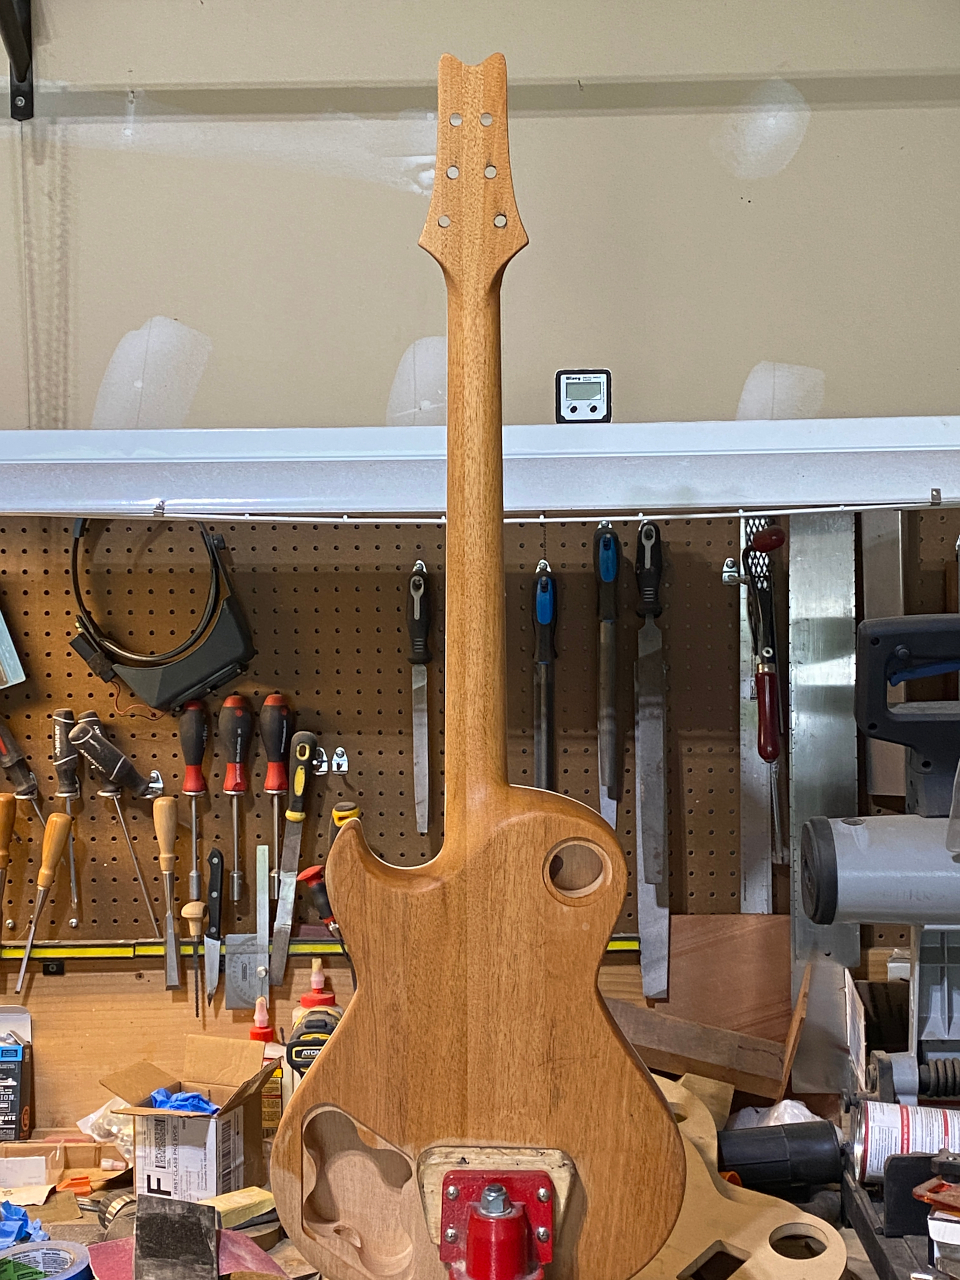
First I put it back into the giant clamp, and then put the giant clamp into a giant vise. This holds it steady while I work
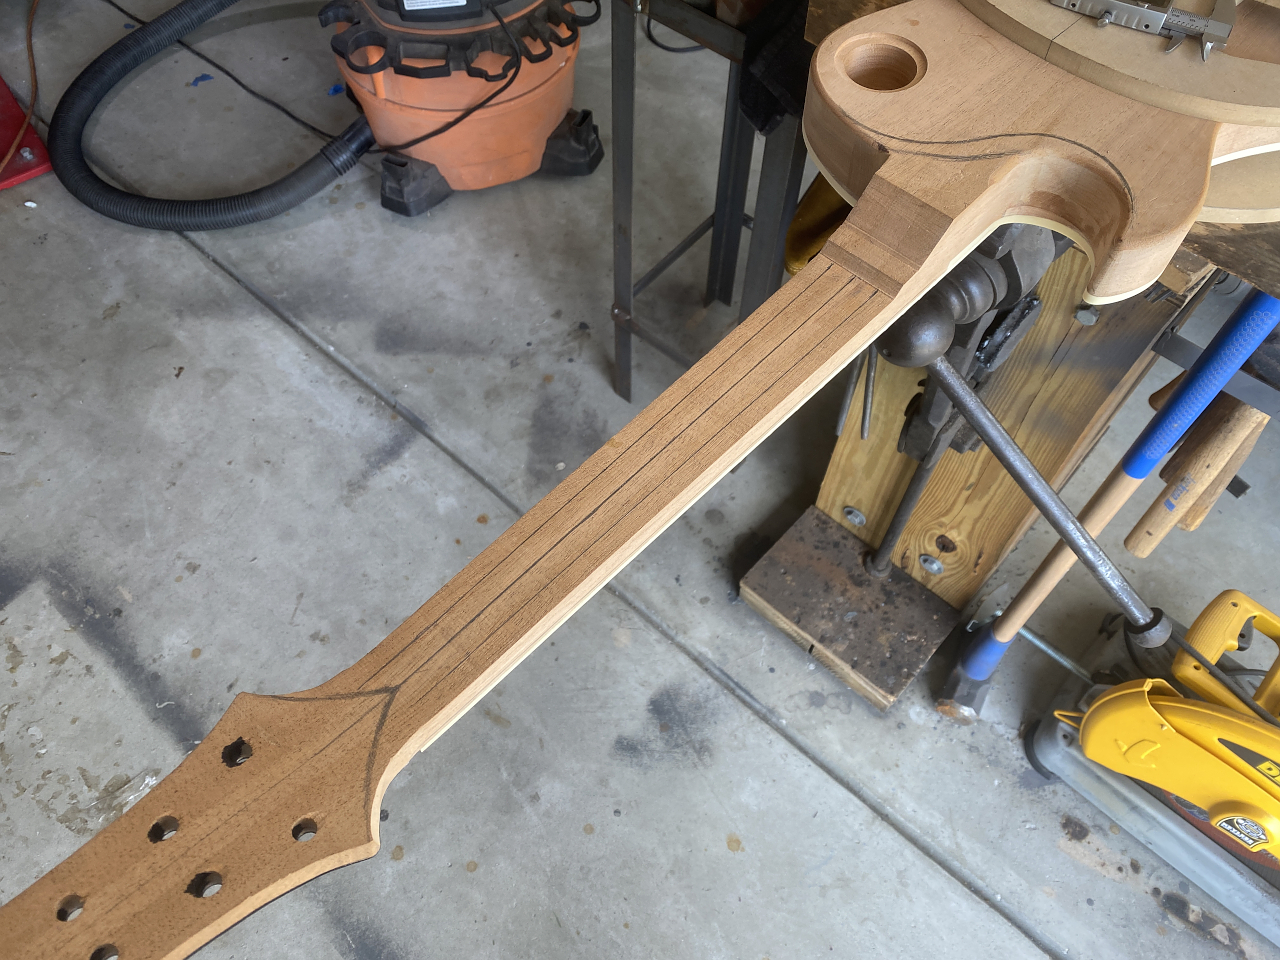
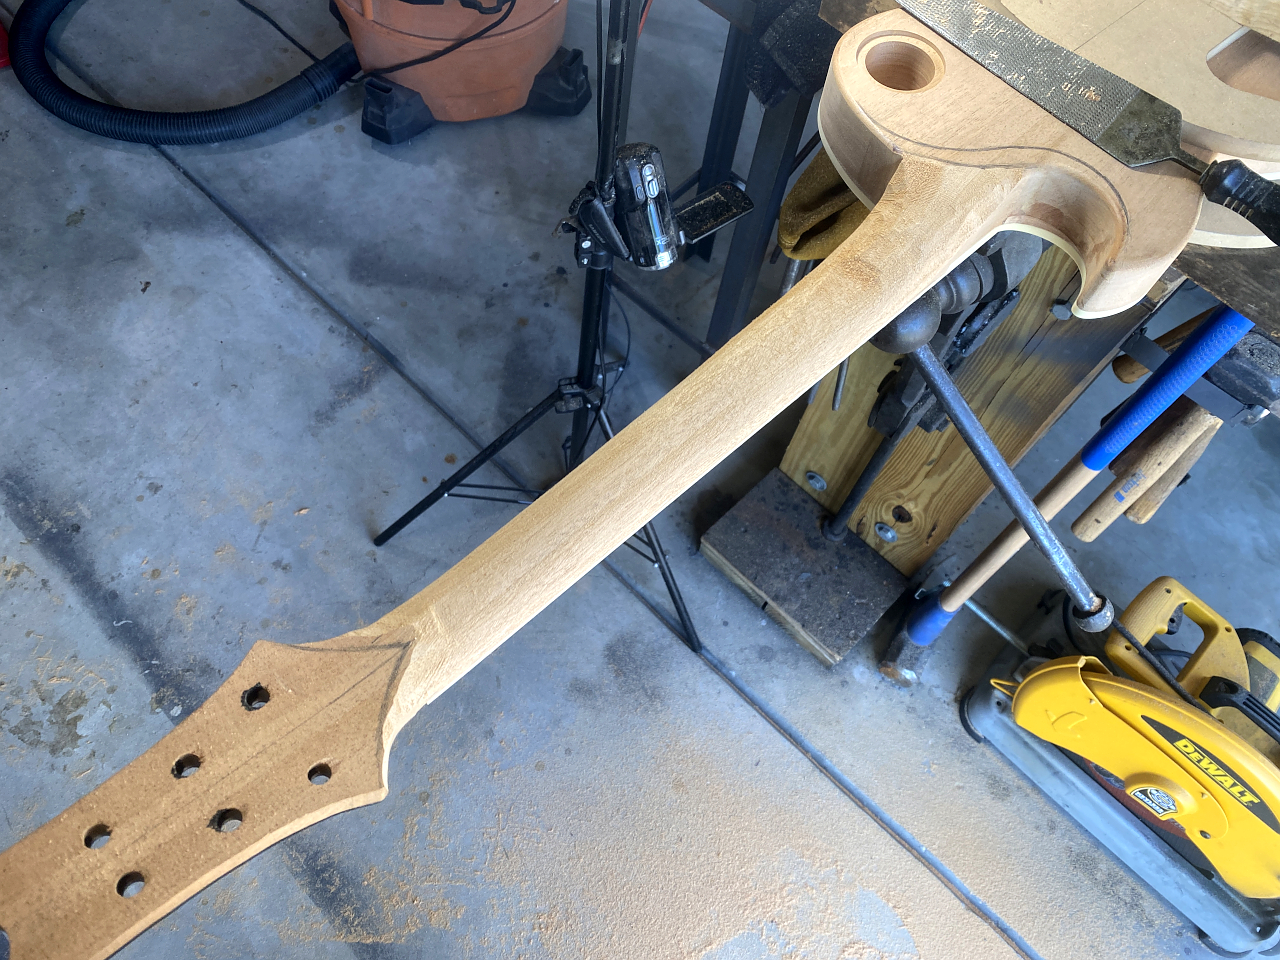
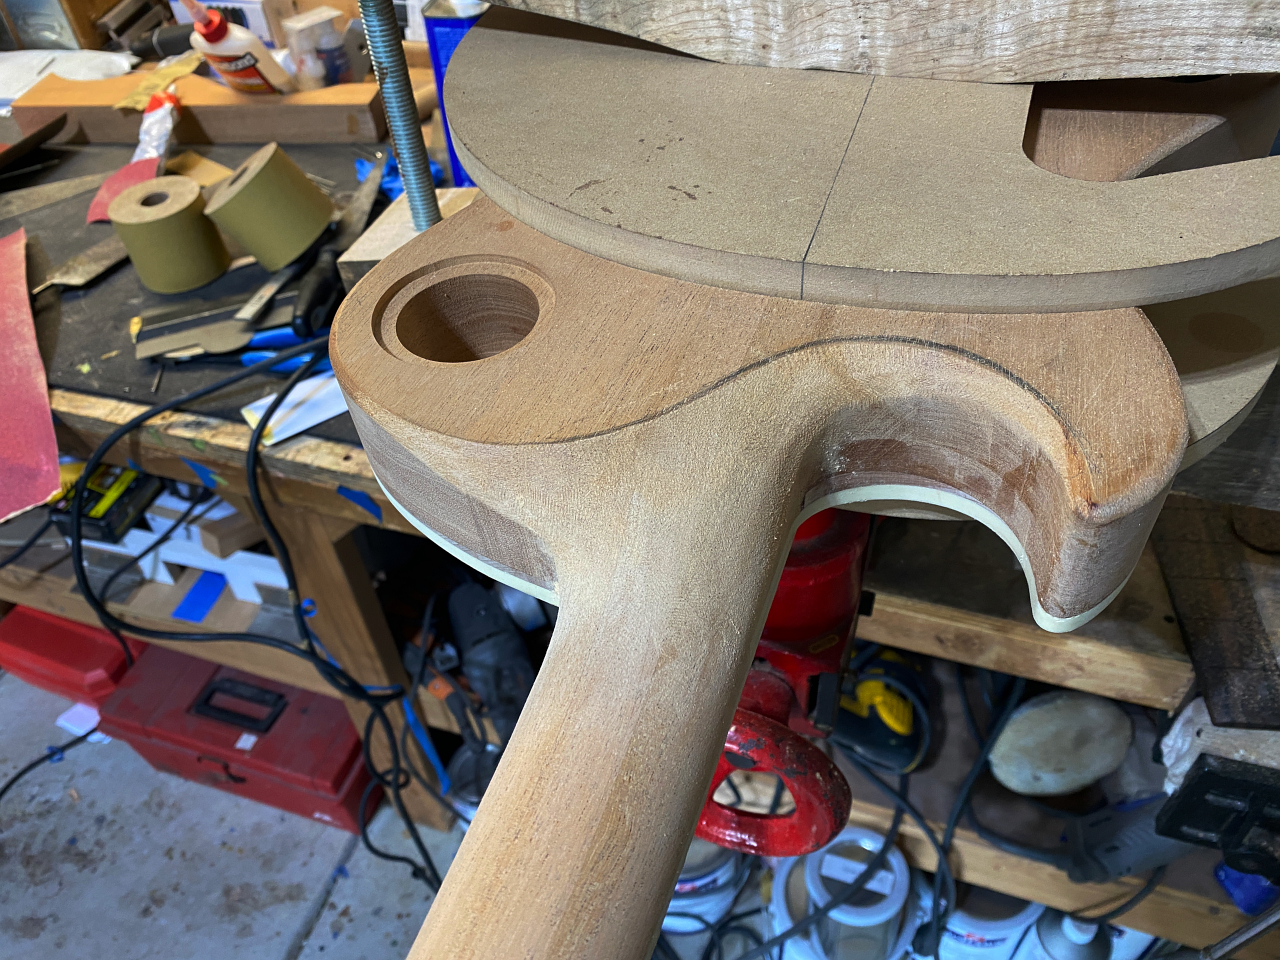
then I draw some marks on the neck. these are just rouch guidelines that help me keep things even and symmetrical.
My first tool is the grinder which I use to quickly remove the bulk of the material.
everything else is done with the rasps, and this takes a lot of time
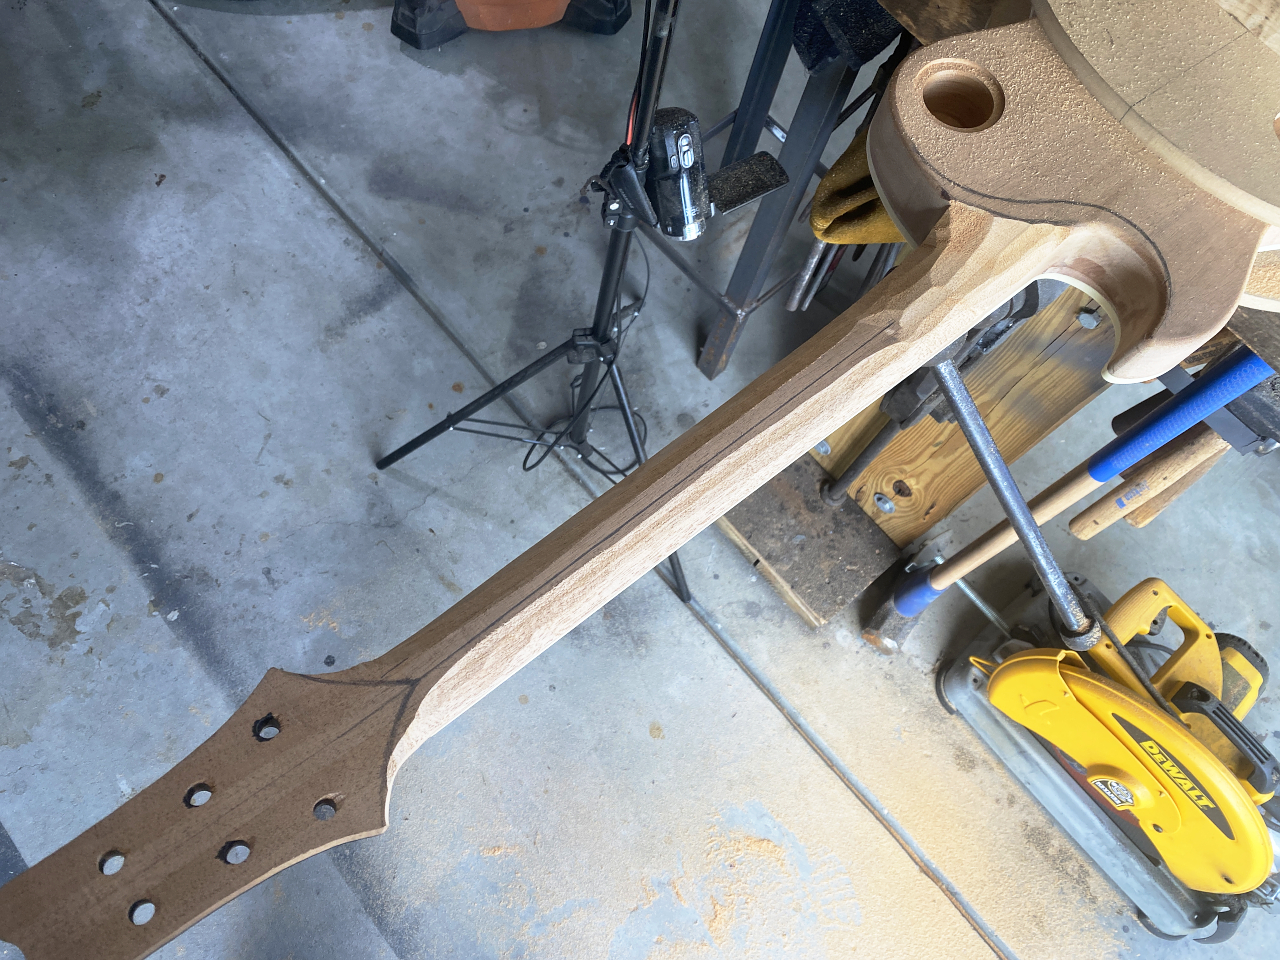
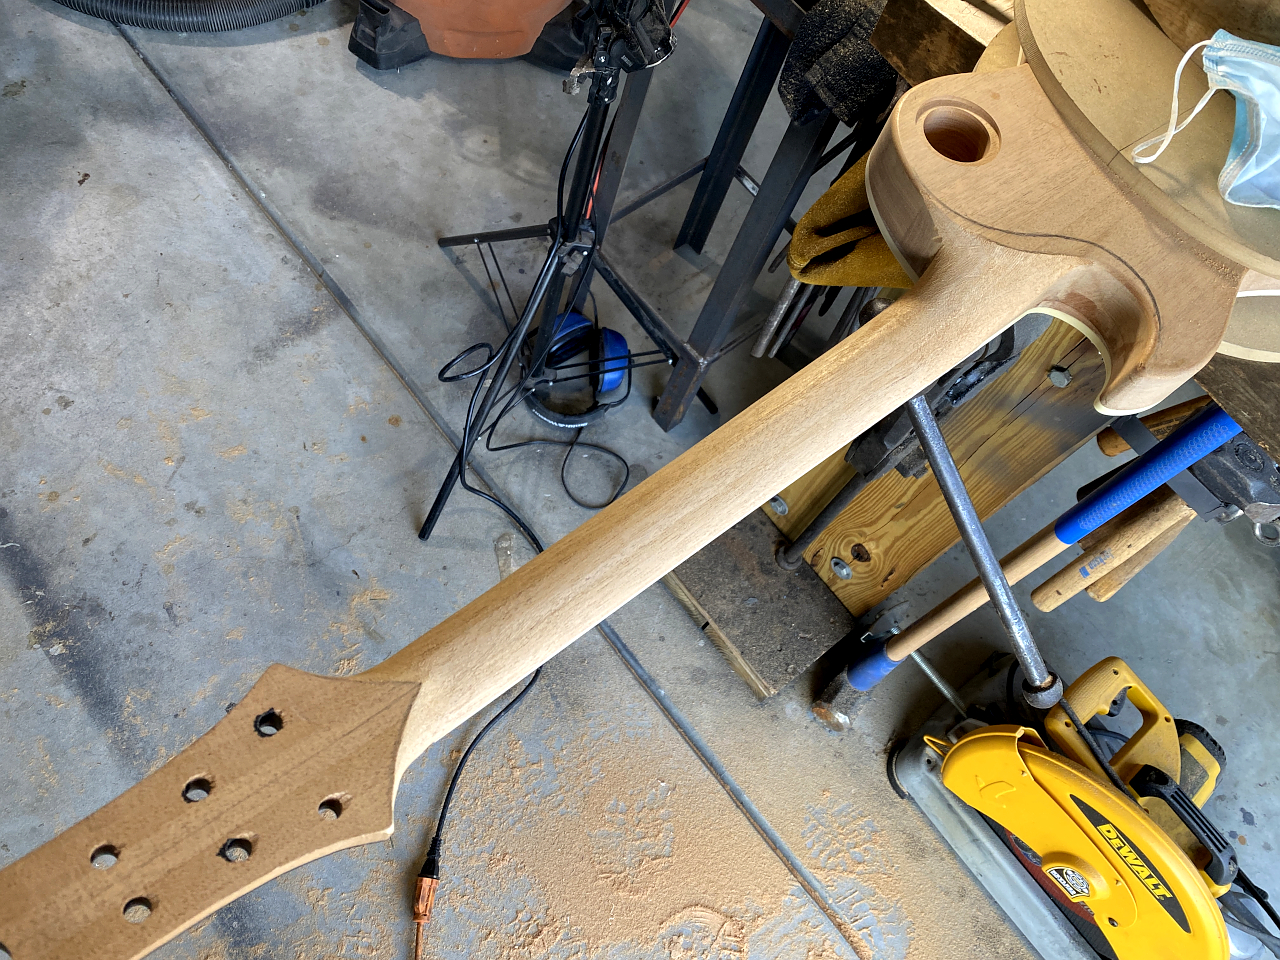
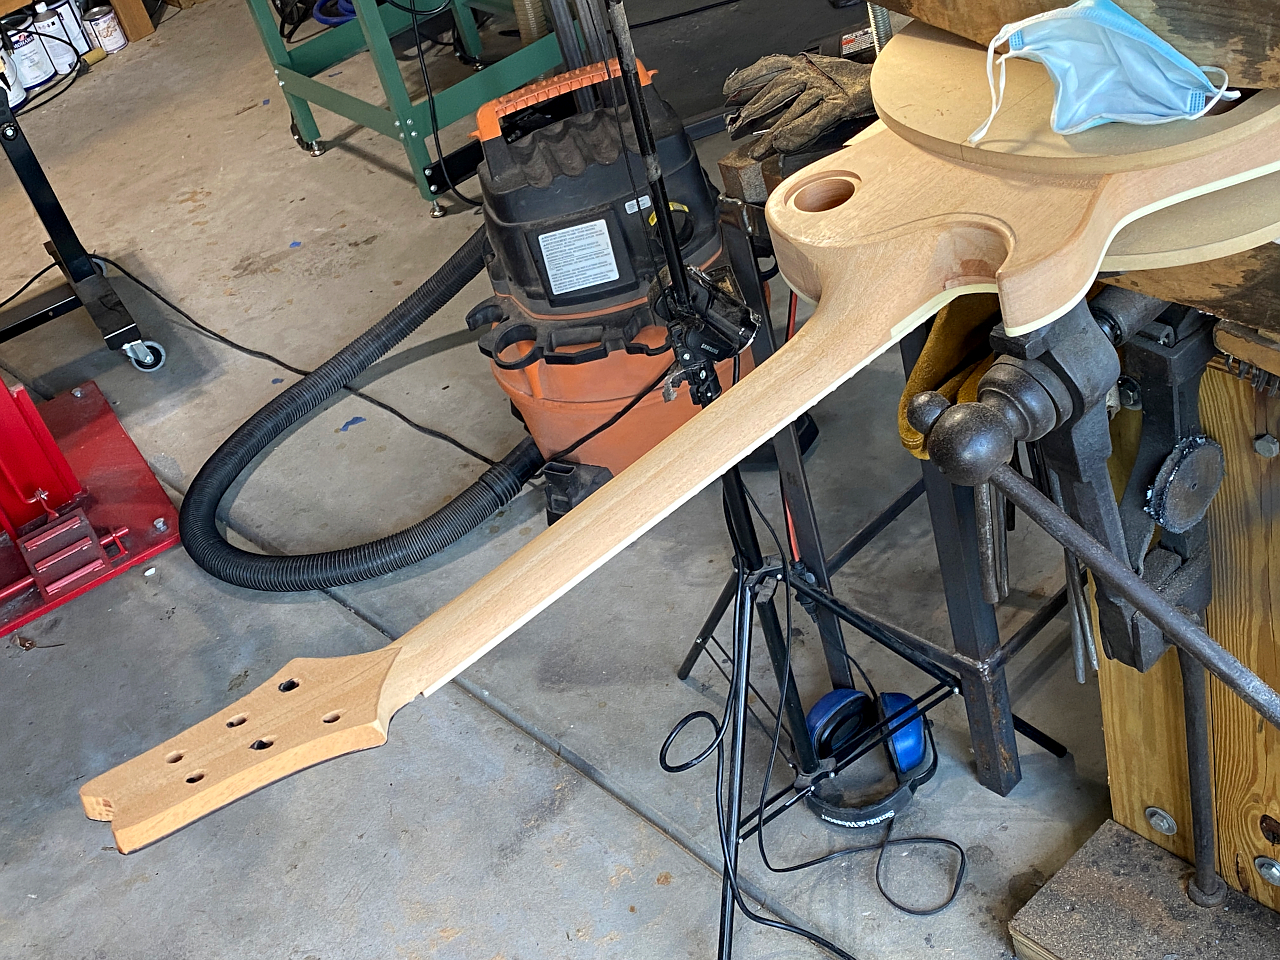
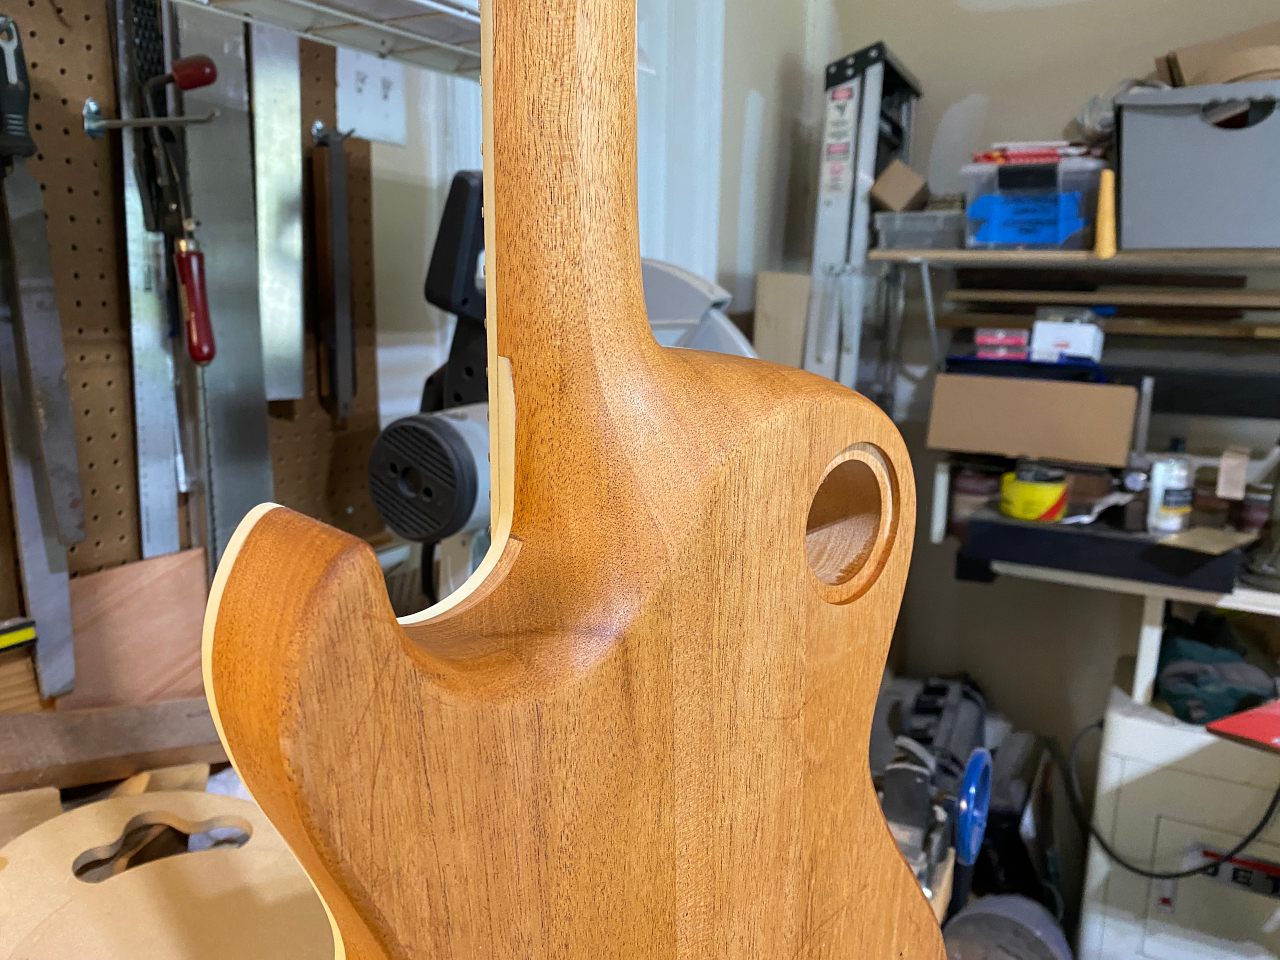
The rough carving is done for the neck and body transition. In a perfect world I would have about 4 uninterrupted hours for this job, but timing has landed this task on weekday evenings so it will be roughed out tonite, and then finished tomorrow evening. Theres a lot more work to be done at the neck/body transition…
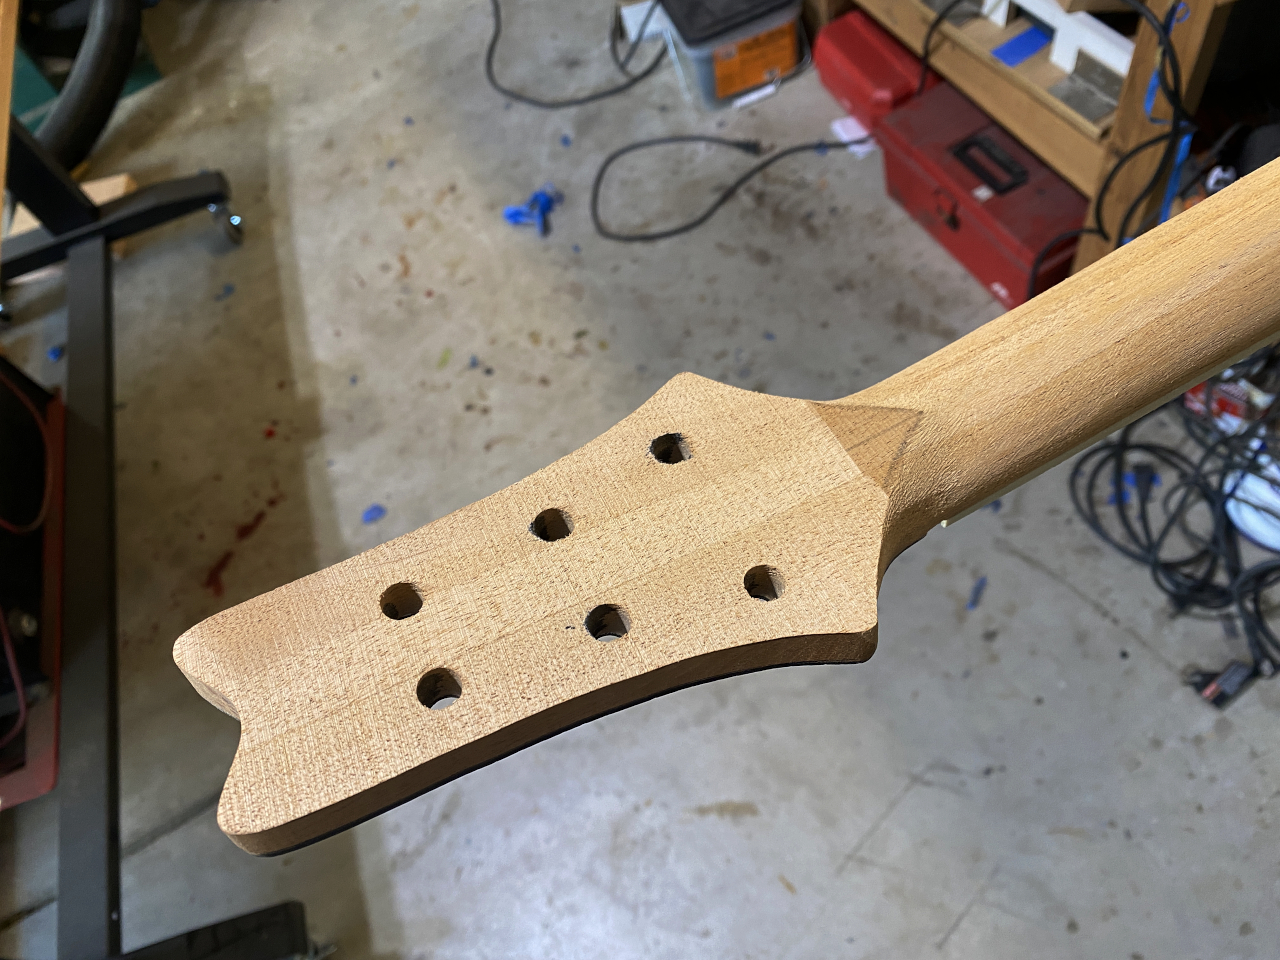
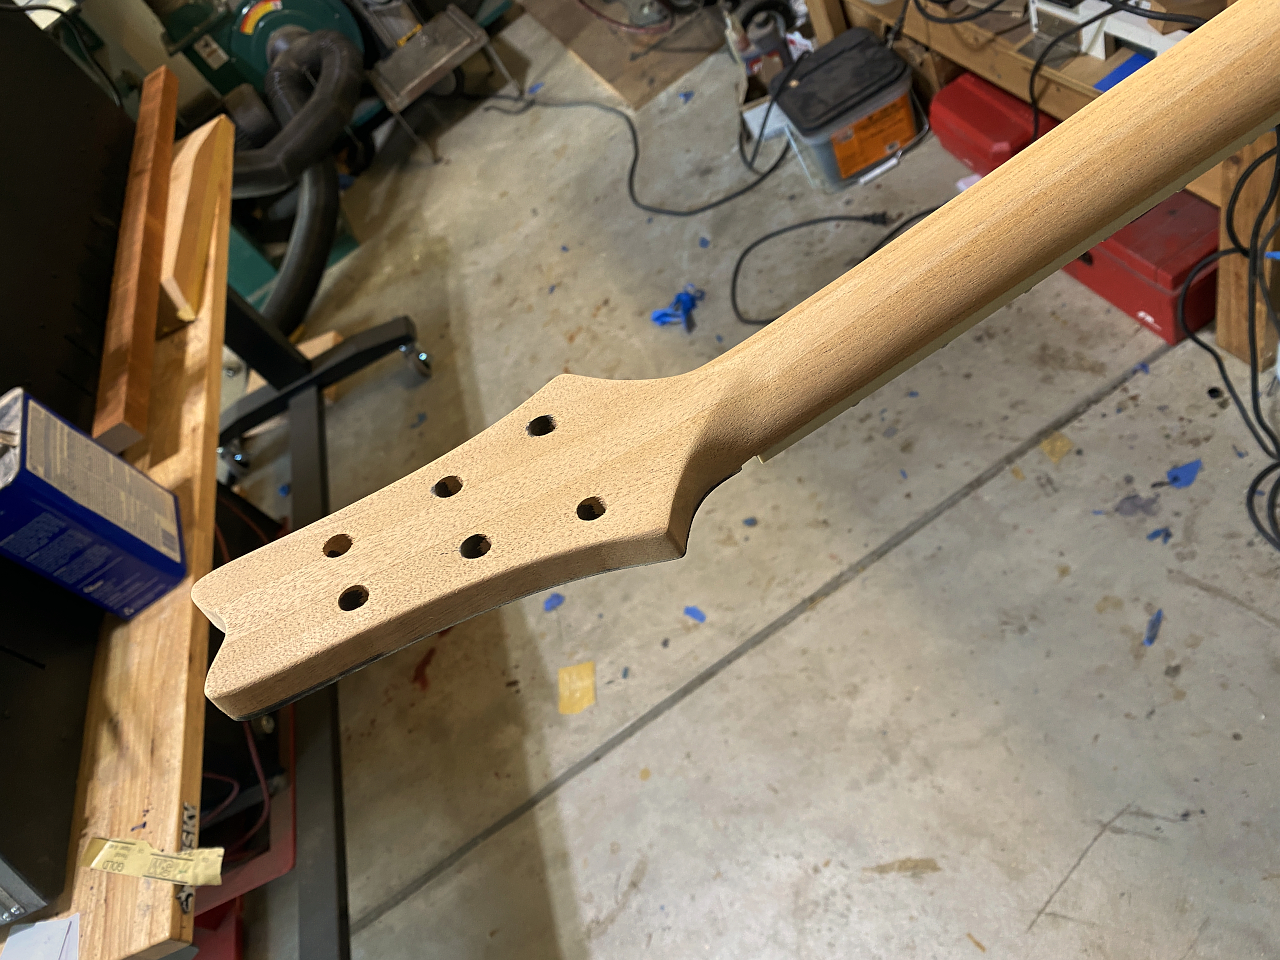
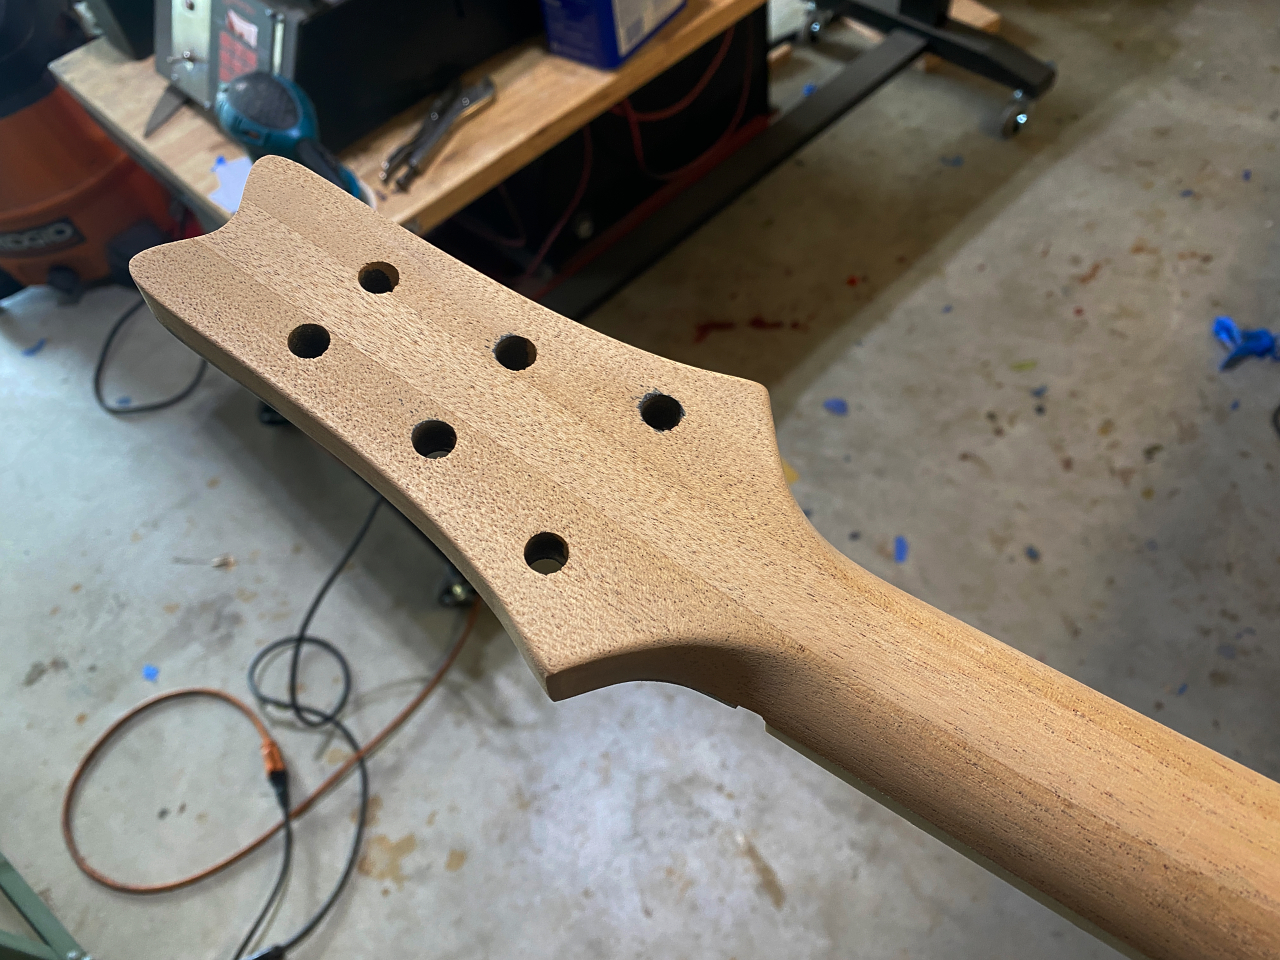
the headstock is brought down to just over the final thickness with rasps
and closer with coarse sand paper. Most work yet to be done here as well…
a bit more refining of the lines
and back to the neck/body join…
Next up I’ll be installing bridge and tailpiece bushings, doing the custom headstock inlay, and truss rod cover, but with the carving complete this is essentially the end of the “build” phase.

