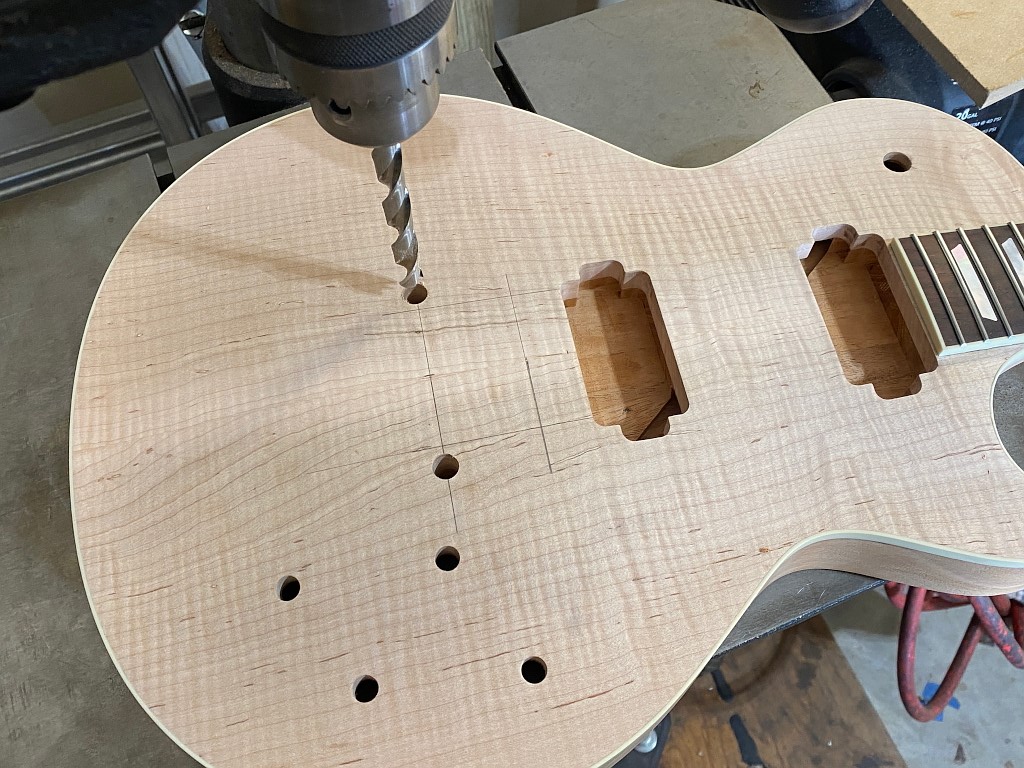
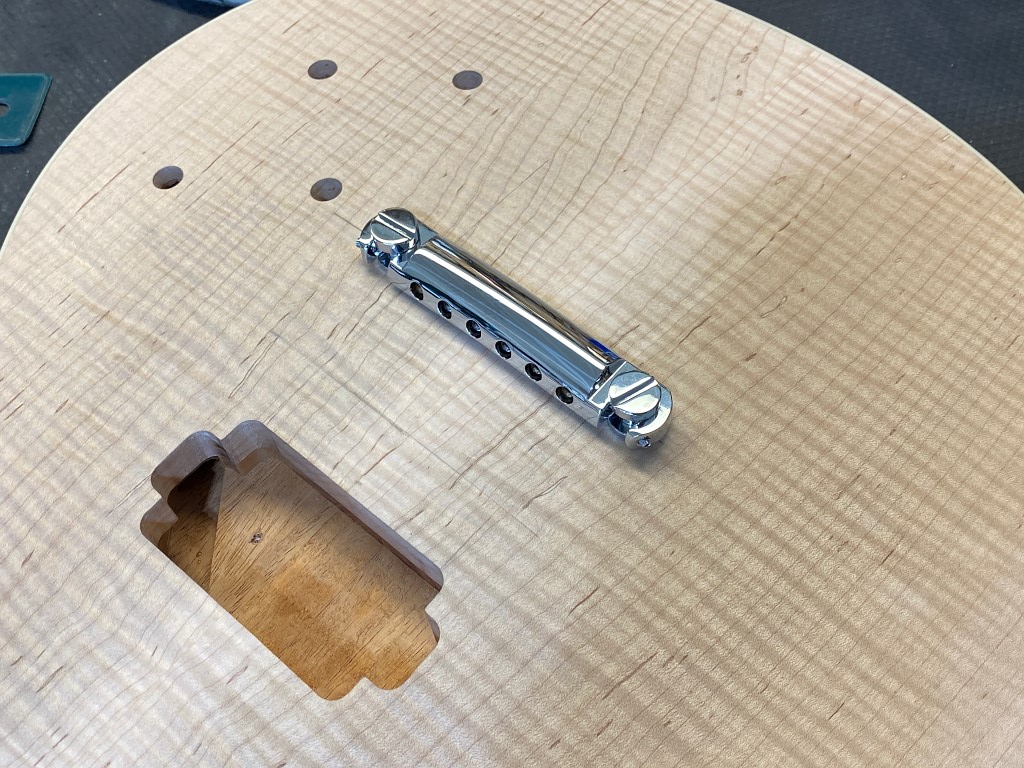
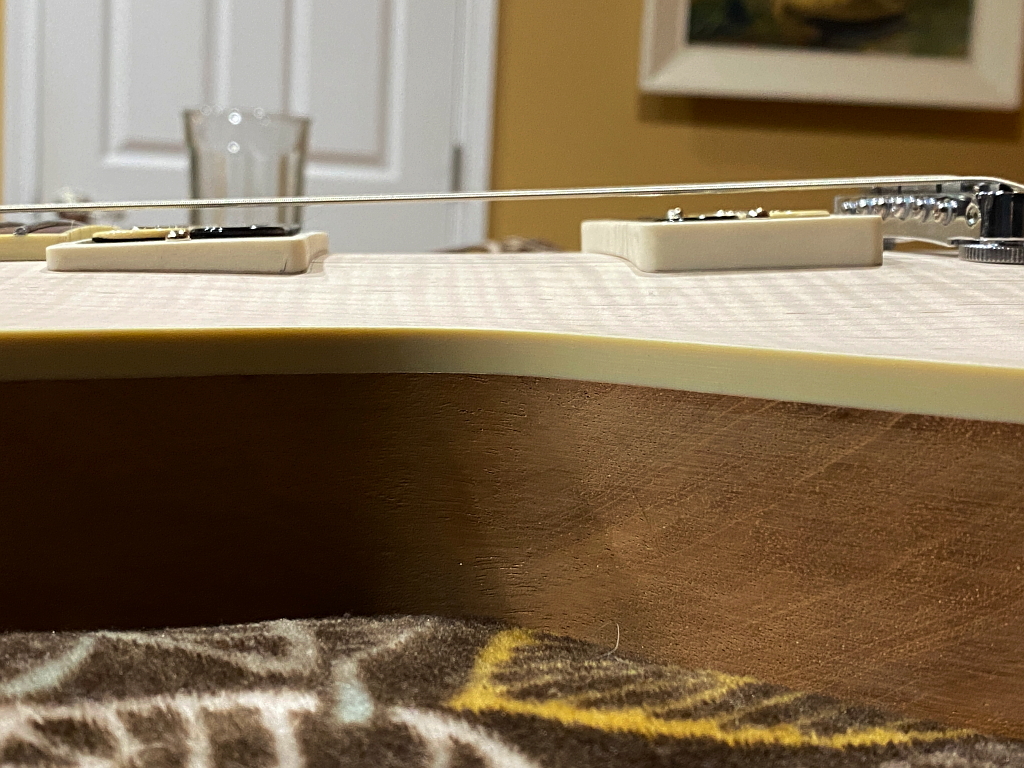
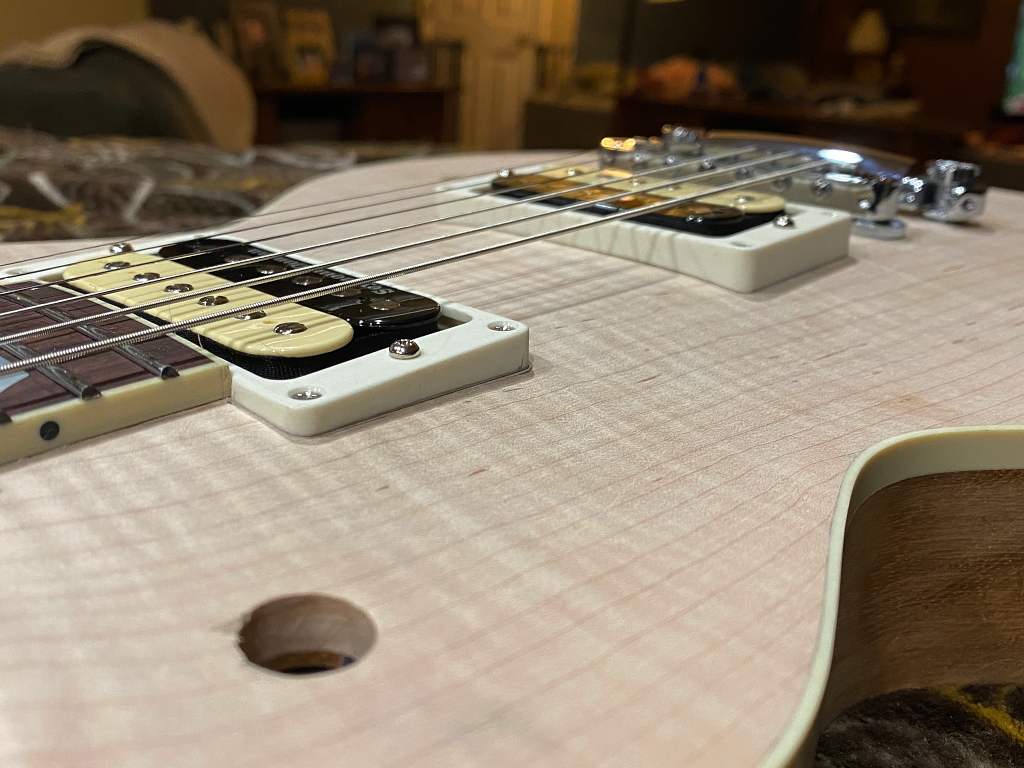
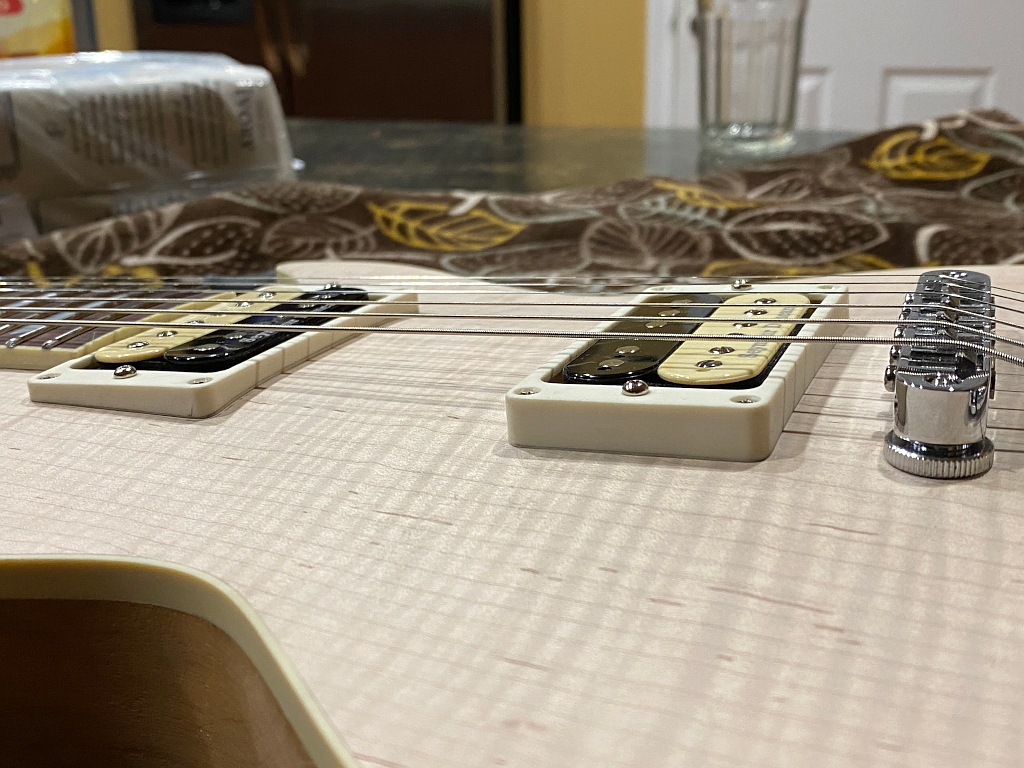
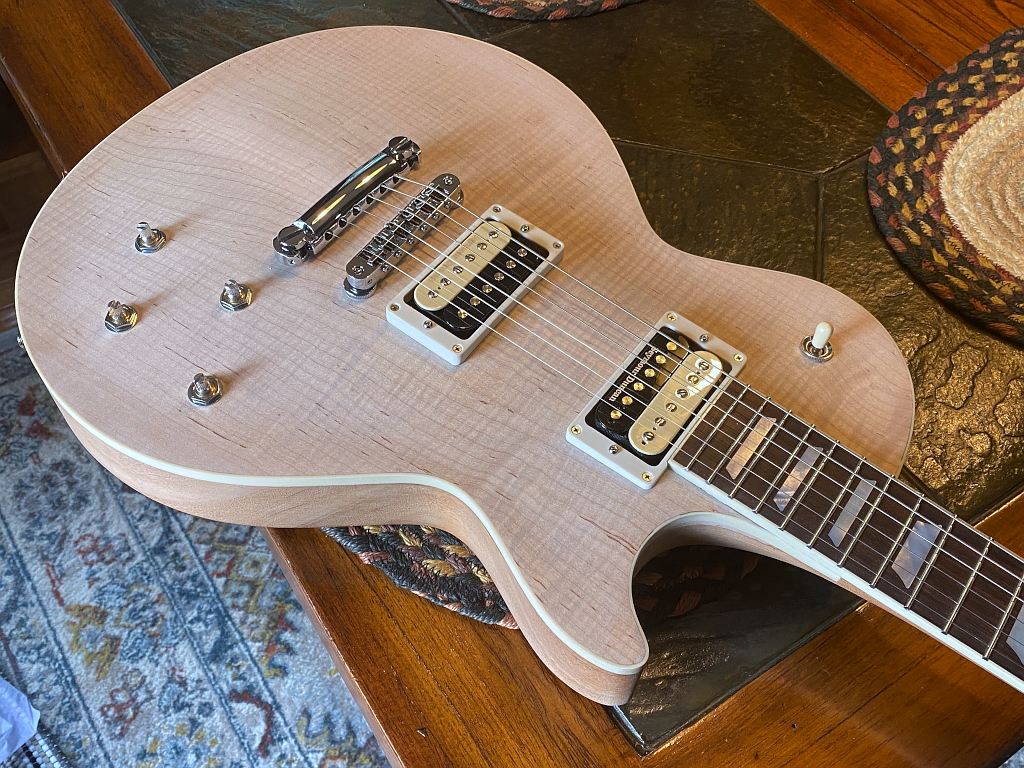
Now we are getting down to the nitty gritty. the last real “build” operations on the guitar. Installing the bridge and tailpiece
Tailpiece first for reasons that will become clear. Some things can be done using a hand drill, and others require a higher degree of precision. Its not that difficult to get spacing correct by hand, but nobody can drill two identical holes that are perfectly parallel to each other, and thats whats needed for these
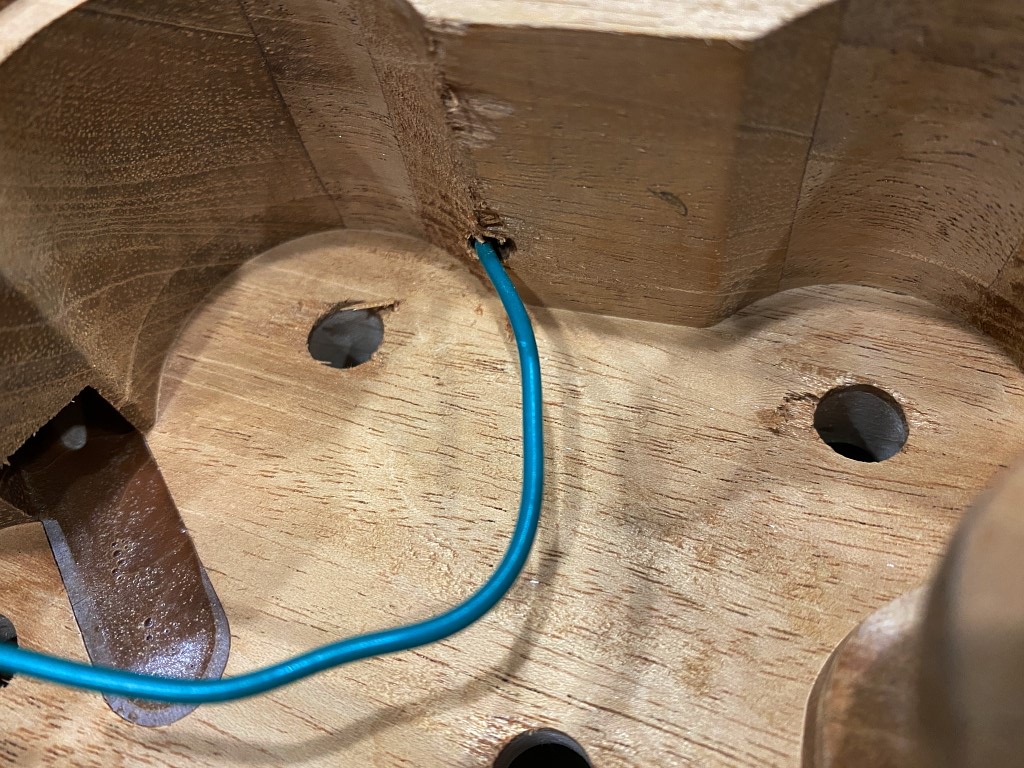
Once the holes are drilled, but before we install the bushings, we need to install a ground wire. This is important as it connects all the metal parts outside the guitar to the common ground. This is important if you dont want a lot of unwanted noise in your guitar signal, and it can also prevent you being electrocuted 🙂
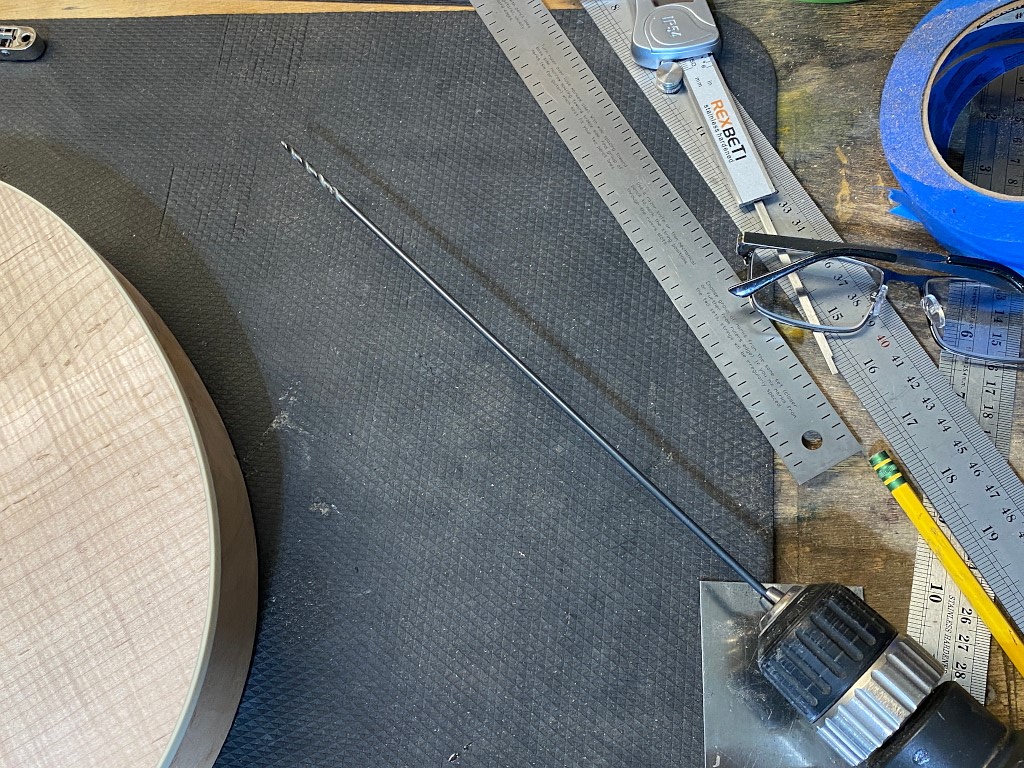
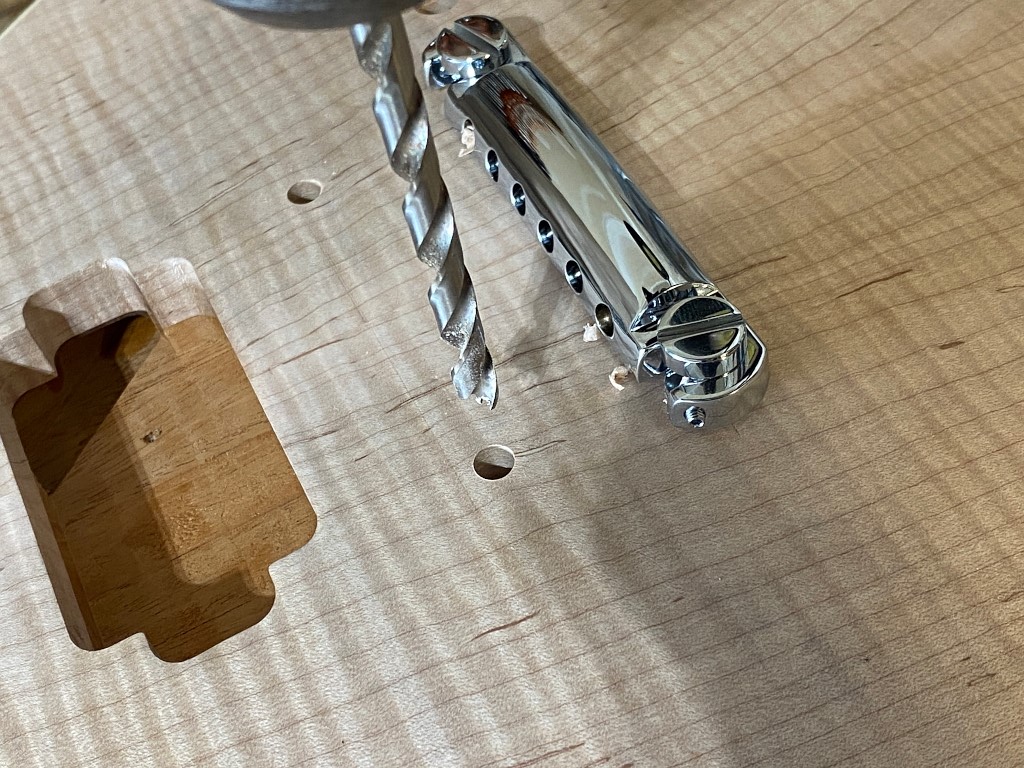
I use a long drill bit because the hole needs to reach from the tailpiece hole into the control cavity, and thats a long hole
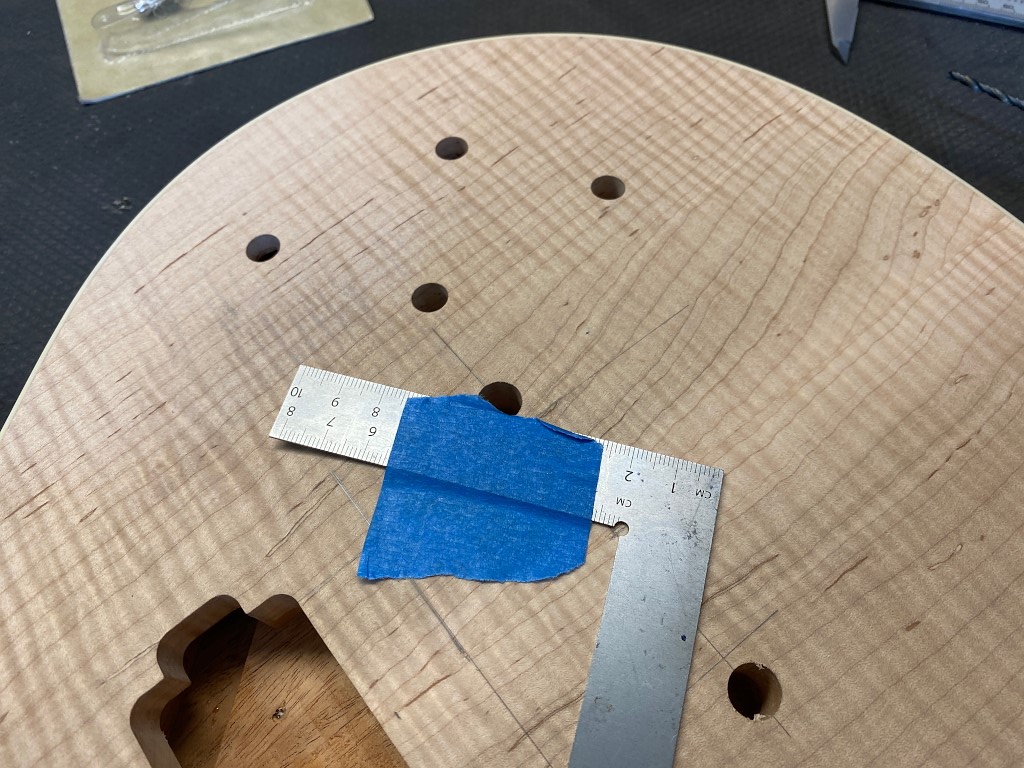
I tape this metal square next to the hole to make sure the drill bit doesnt dent the edge too much. A little is unavoidable but will be hidden by the hardware.
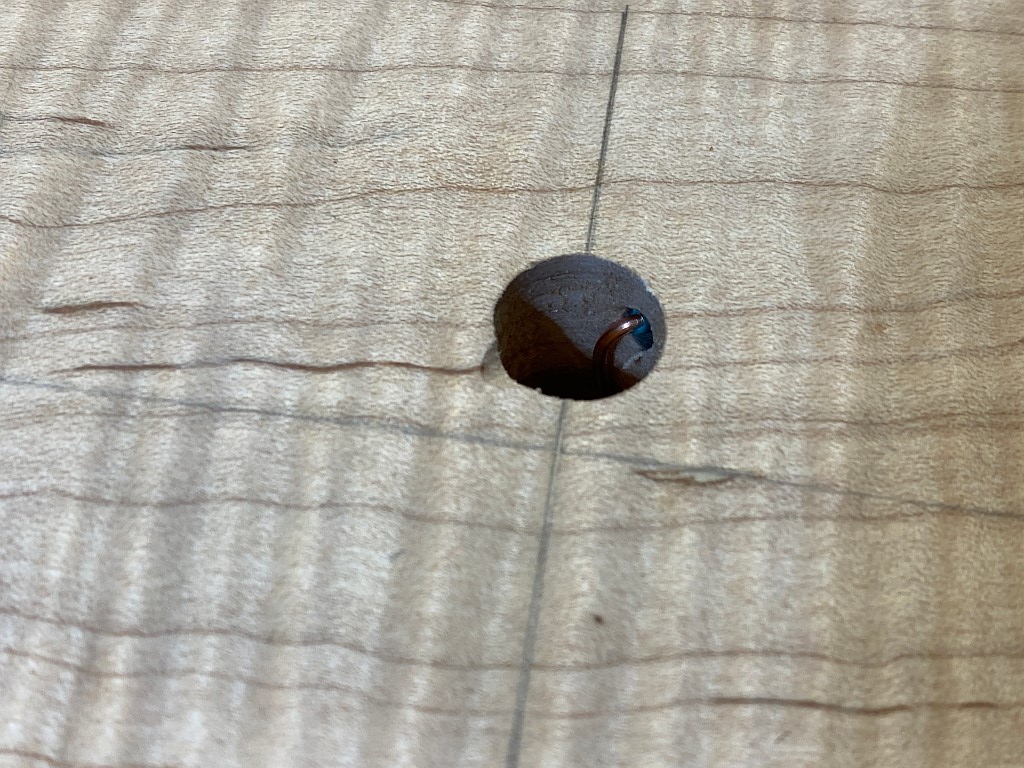
Once drilled I insert the wire from the top and bend it over so it doesnt slip out of place when I press in the bushing. The bushing will be in direct, firm contact with this wire once its pressed in, making the connection to the control cavity. That in turn will connect to the post, then the tailpiece, then the strings. The strings connect to the bridge and all the tuning machines, so its all grounded.
the other end of the wire exits into the control cavity and is soldered to the common ground when all the electronic parts are installed…
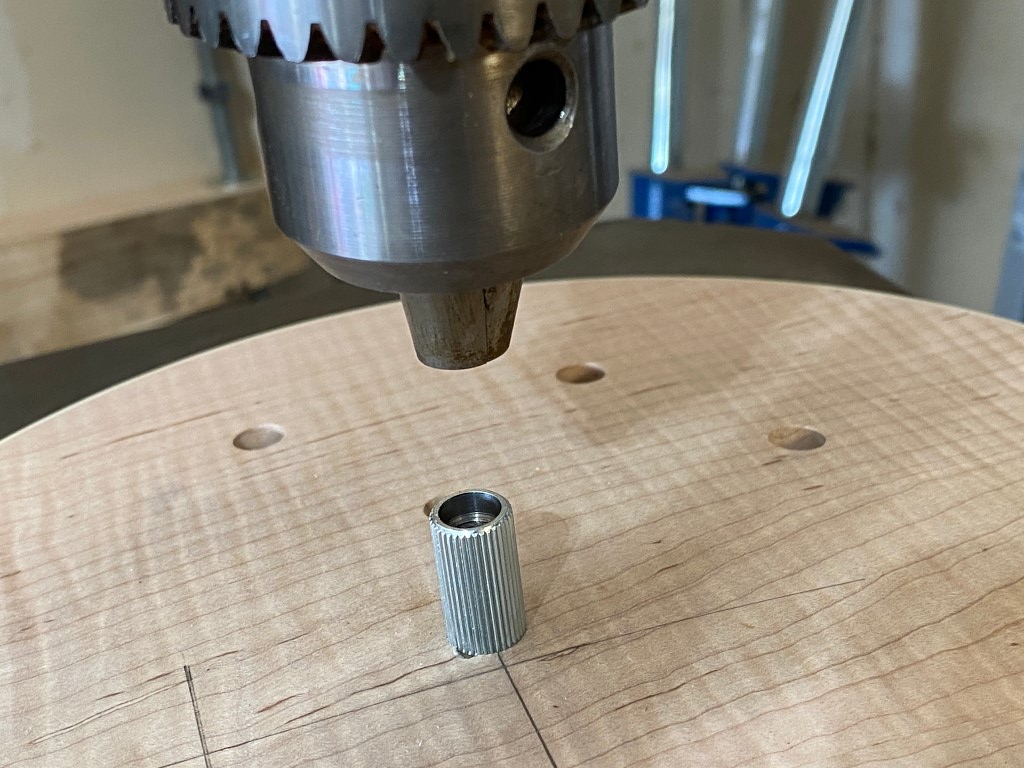
Back on top, I use the drill press to push the busing into the hole. This can also be done with a hammer, but I prefer the press as I can push it in in one single thrust giving the tightest fit possible. Plus, with a hammer, if you should miss you’re going to made a big dent in your nice top.
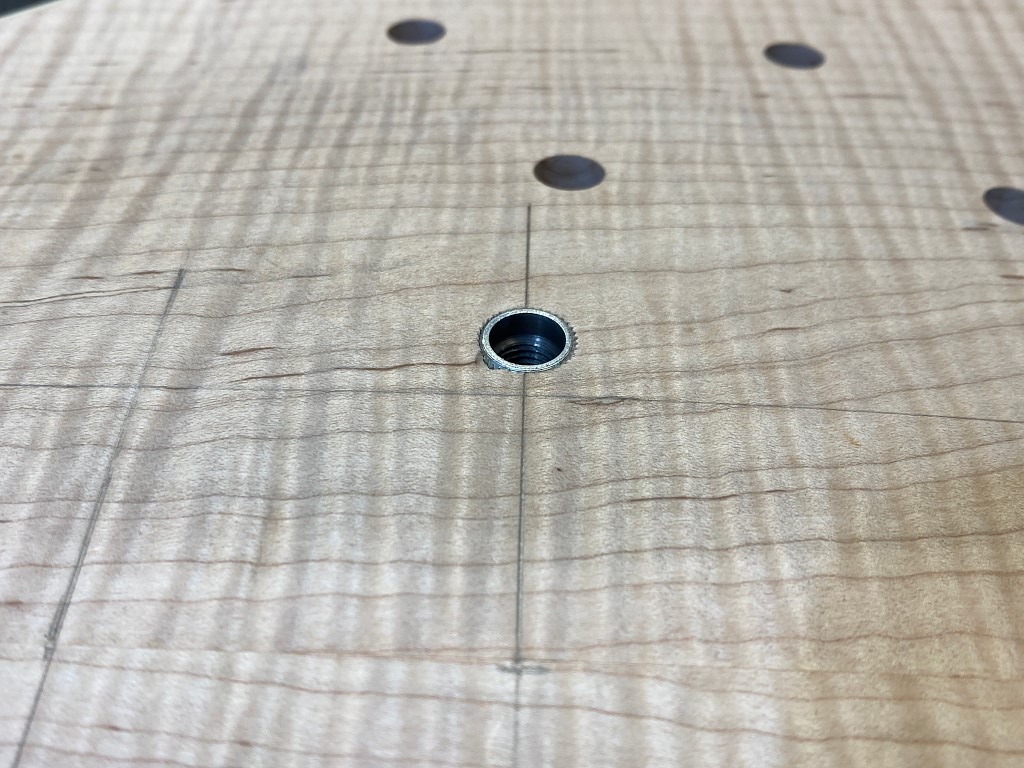
Pushed in flush with the top
Heres where it matters that the holes are perfectly spaces and perfectly parallel to each other. Any spacing or alignment issues, and the tailpiece will not fit onto the studs. Its solid metal. Youre not going to stretch it onto the posts. If it doesnt fit you’ll need to pull the studs, re-drill the holes clean, plug them tightly with glued dowells, lets it dry, sand them flush, and then start all over drilling the holes. Its just better if you get it right the first time 🙂
You might think the bridge goes on next, but youd be wrong 🙂
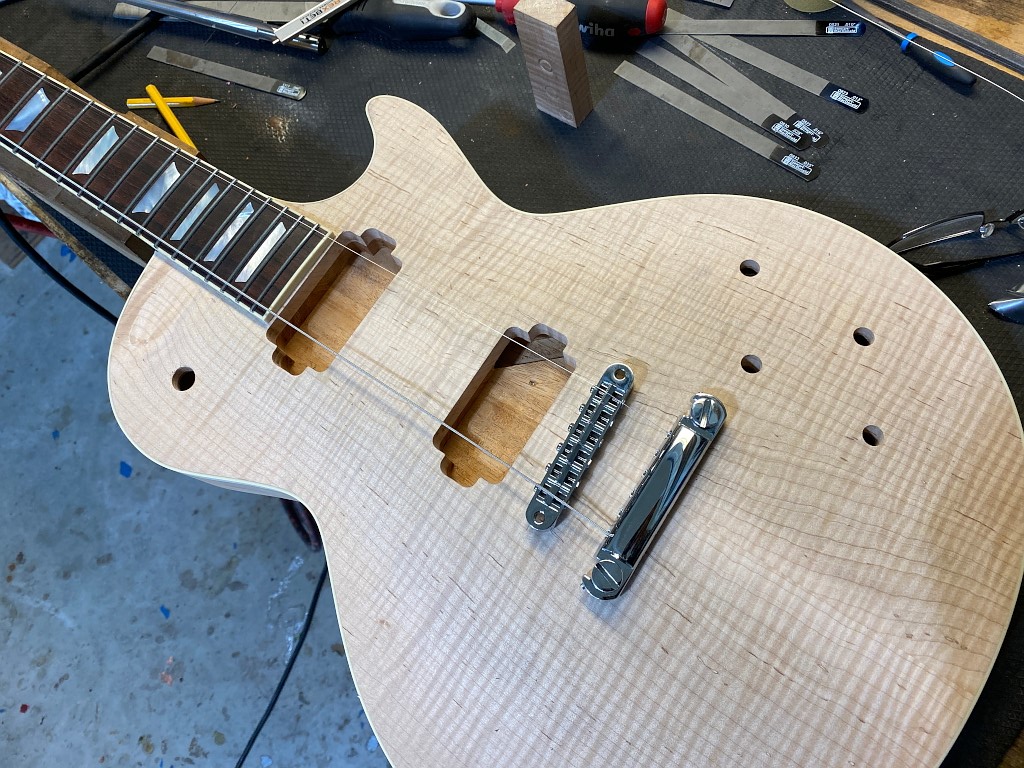
In order to place the bridge as precisely as possible we need to install the two E strings, and then place the bridge under the strings and adjust the bridges position until you can intonate both strings, and your saddles are positioned to allow additional movement should you change string gauges and need to re-intonate the guitar. This precise location can vary from one guitar to the next, even if they are mostly identical. Now a high-volume factory operation with CNC machines doing most of the work, they can safely say that the bridge holes goes exactly in a particular spot every time, and a hand builder can do that as well assuming he is very precise in everything he does, but its simply best to place this by hand because then you know its perfect every time. Theres nothing worse than a guitar that cant be properly intonated.
ANYWAY, thats a lot of blabbing, lets get back to the actual build.
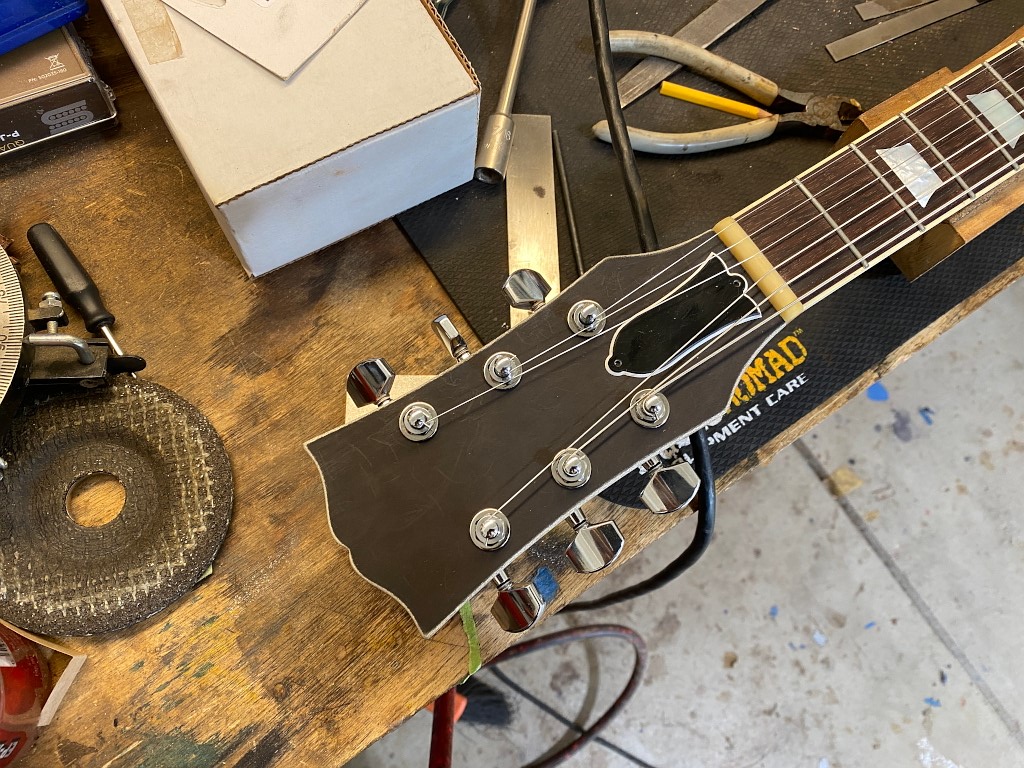
so in order to install the E strings, we have to make the nut so the strings have a place to sit at the headstock. So here how I make a nut.
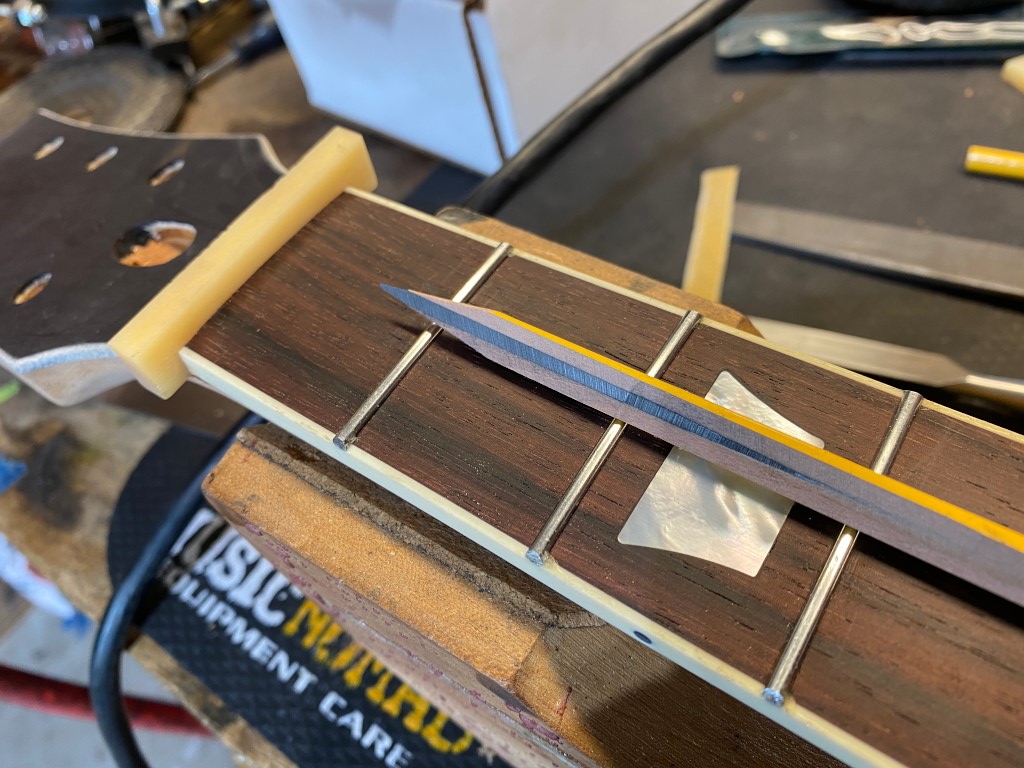
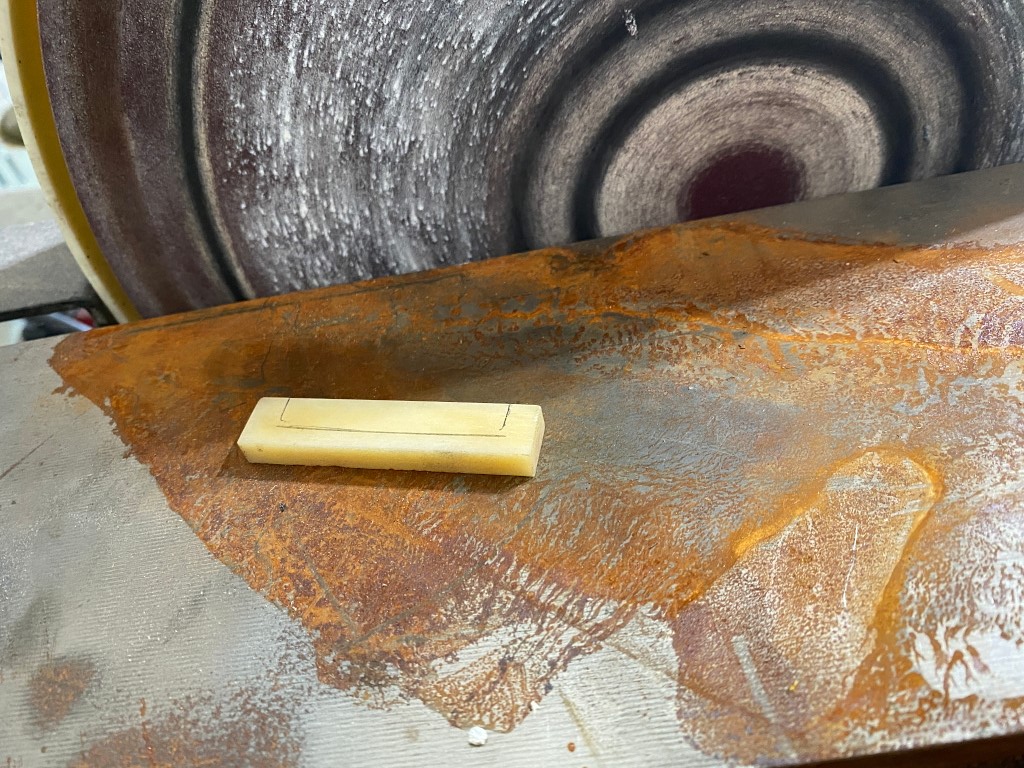
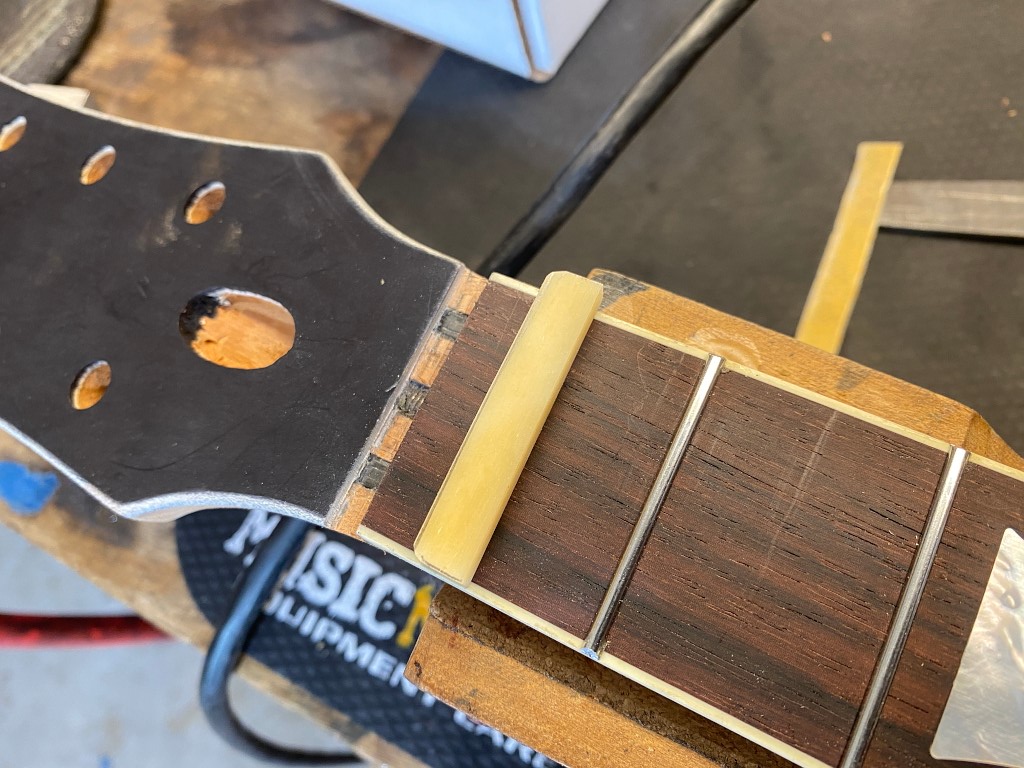
I start out with an oversized blank and grind down the thickness of the blank until it fits snugly into the slot at the end of the fretboard, then i use a pencil thats been half ground off so that it can lay flat on the frets and I draw a line on the nut thats the exact height of the frets
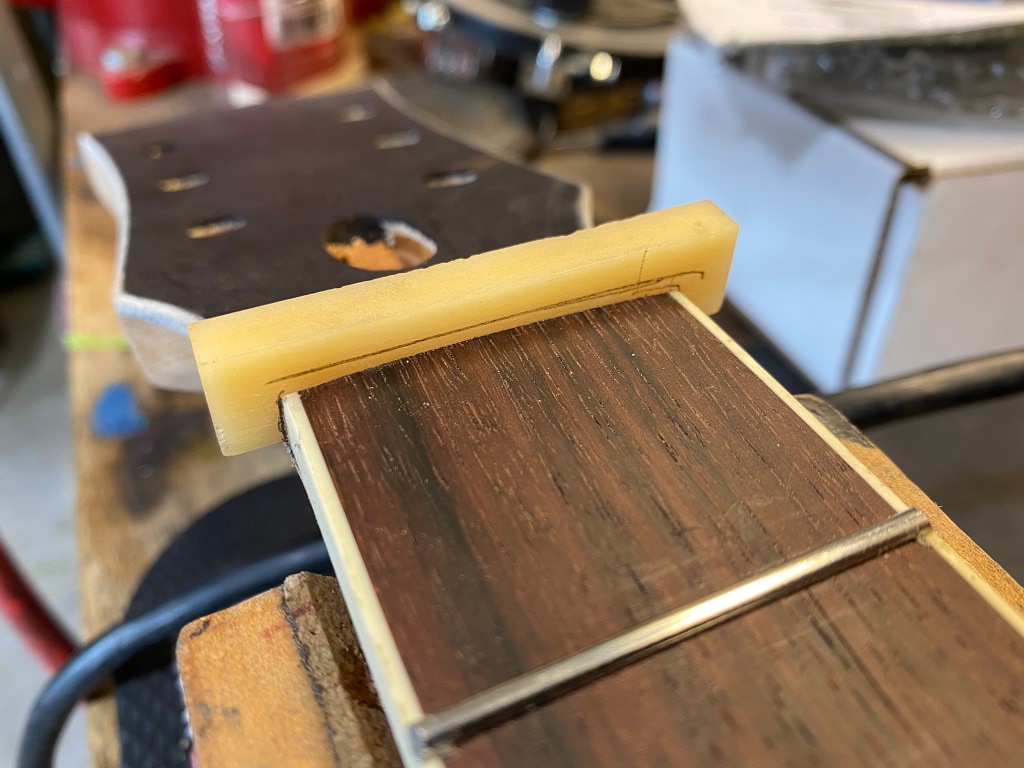
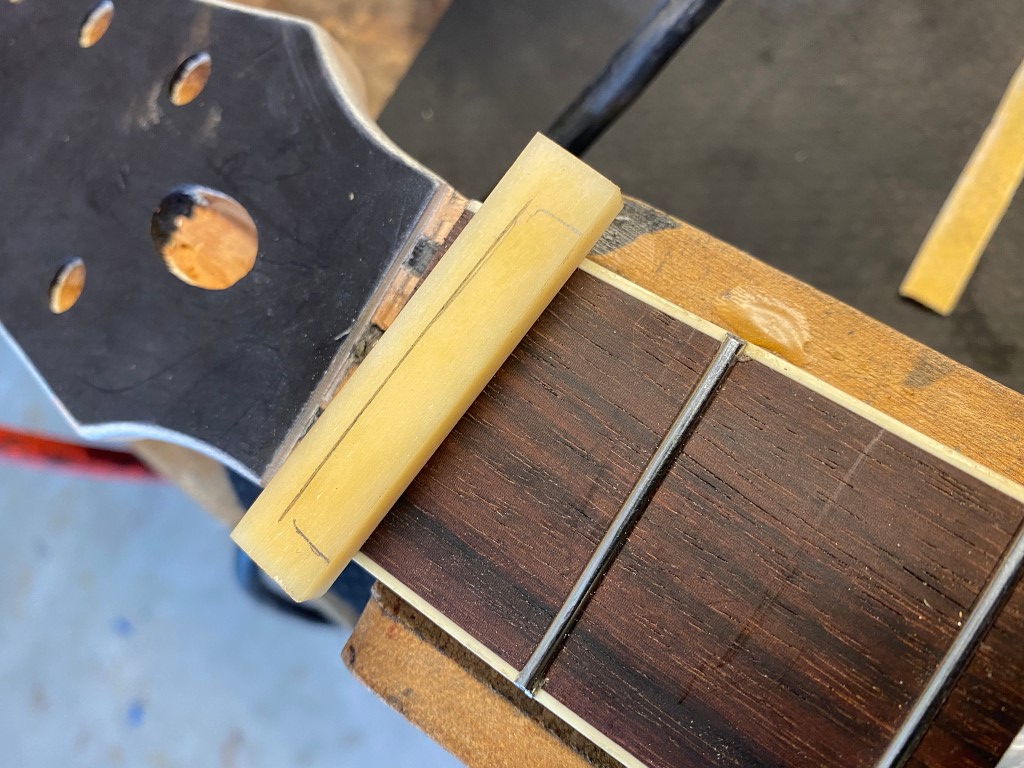
Like so. I also mark the width.
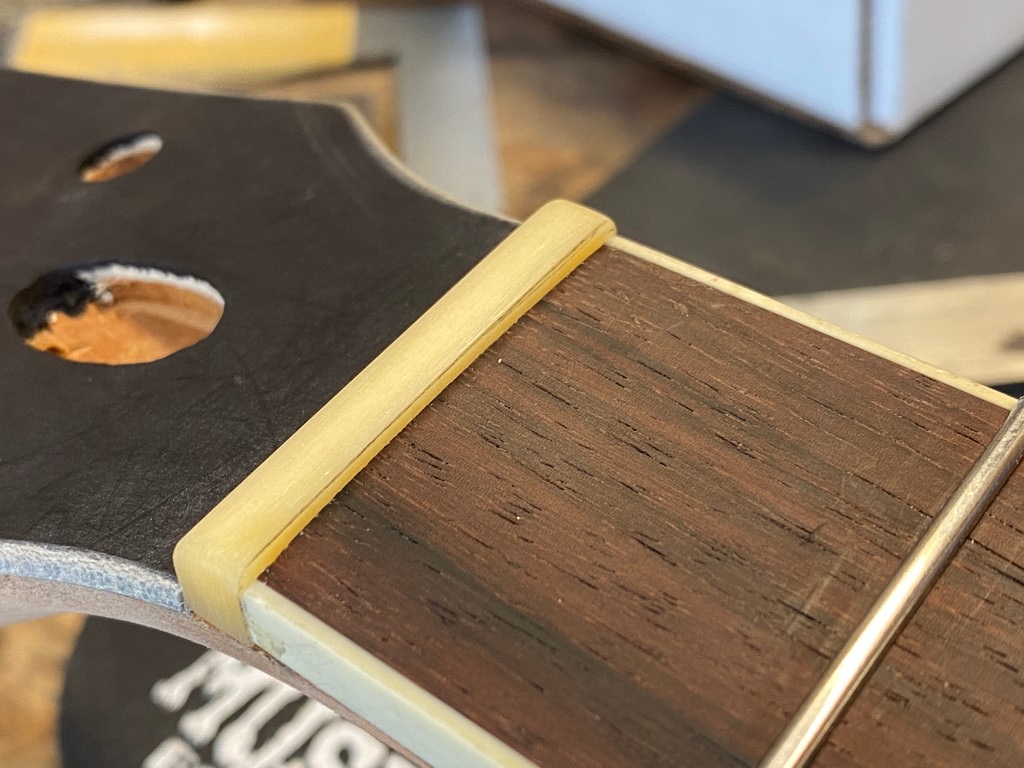
This is the rough dimensions for the nut
I use the disk sander to grind the nut down to the lines
Various sand papers bring it down to the right dimensions
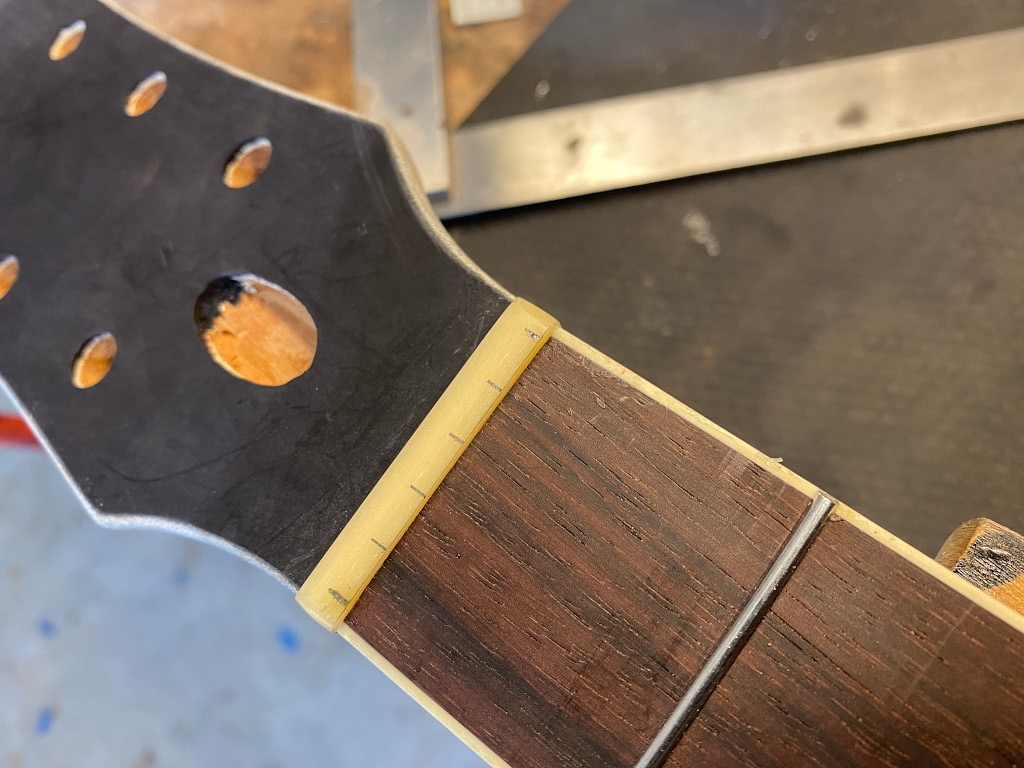
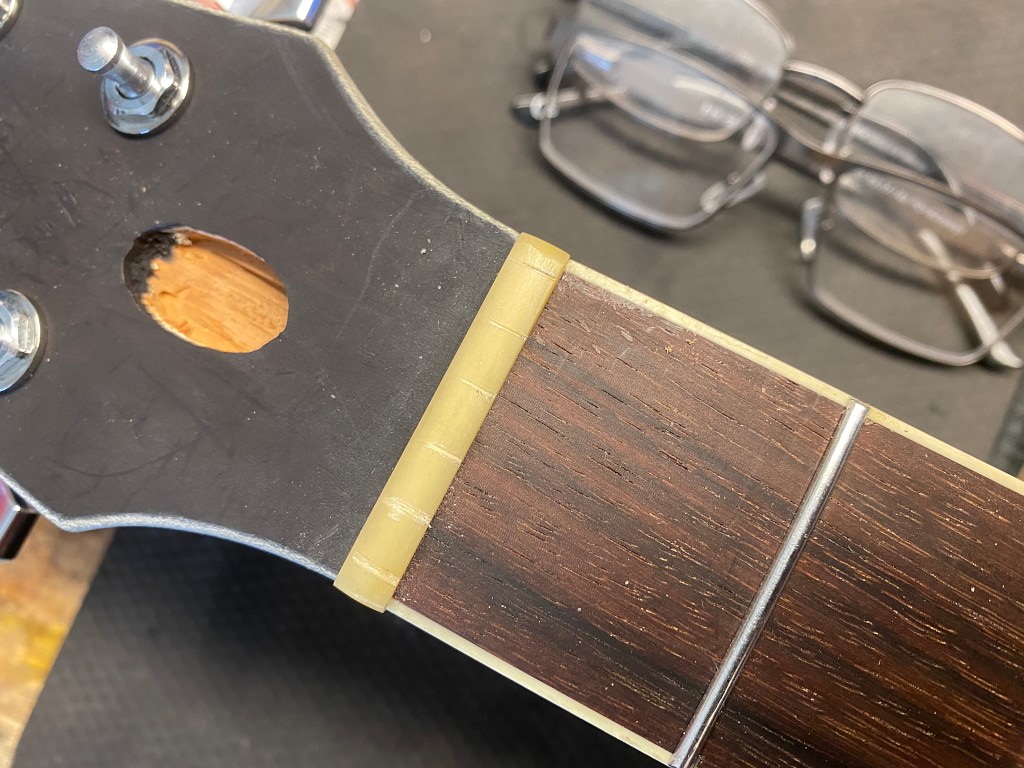
then I mark the locations where I want to make the slots for the strings with a pencil.
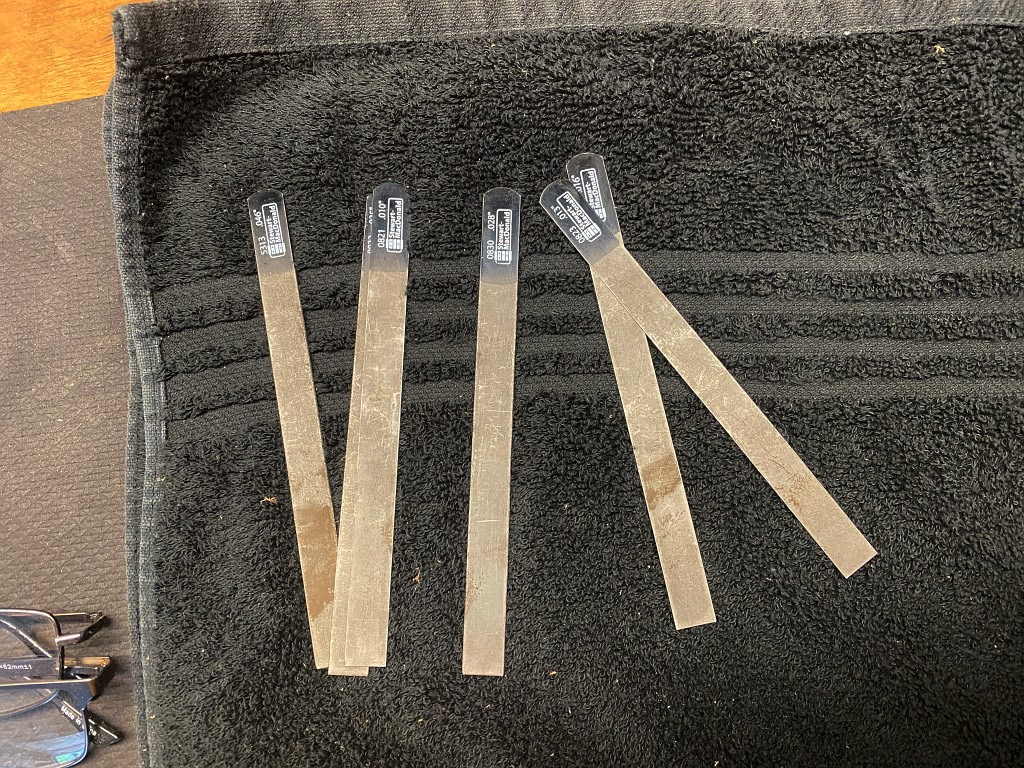
I use gauged files for the slots. The slots should fit the strings going into them. I dont want a 0.01″ string bouncing around in a 0.046″ slot.
I rought these out just deep enough to keep a string in place for now. I’ll file them to the exact right depth later when I’m adjusting string height and action. At this point I’ll also install a couple tuning machines to hold the strings.
once thats done I can install the two outside E strings, and then fit the bridge underneath it. I already know the rough placement, so I put it there and then I adjust it until I can tune and intonate both strings properly, and they line up precisely centered over the fretboard and pickup cavities, then I use a center punch the same diameter as the bridge posts, and push it through the holes on the bridge to mark the exact spots for the holes.
Then drill em and press in the bushings same way as with the tailpiece. The bridge then drops right onto those posts. done.
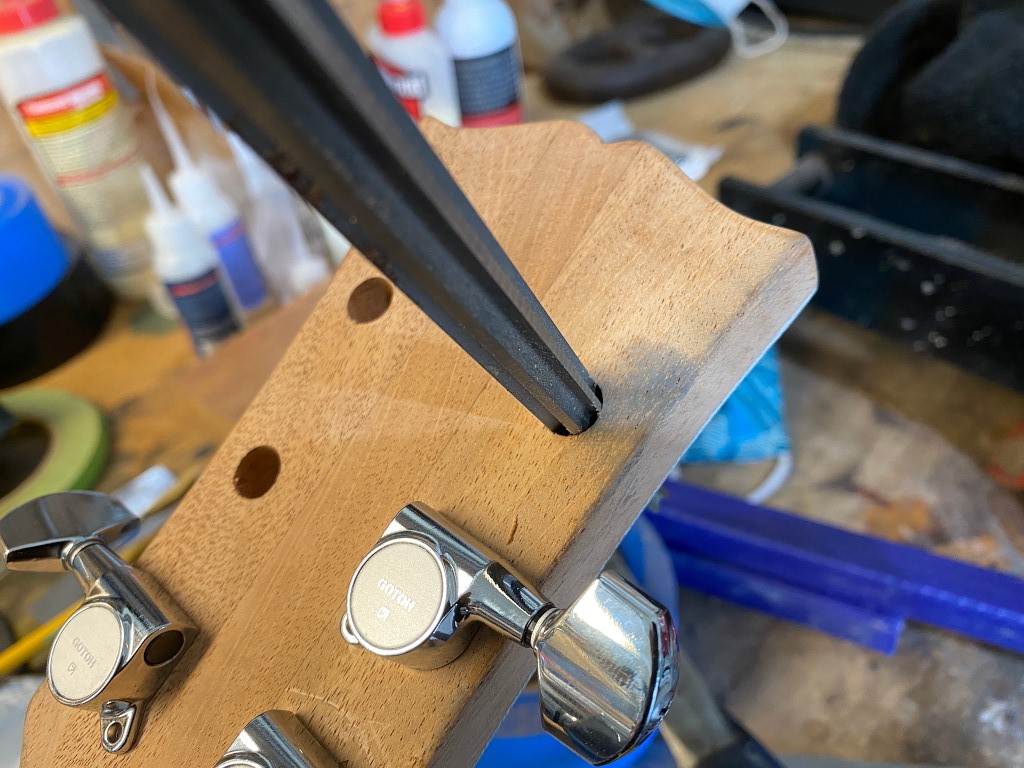
I install the rest of the tuning machines at this point as well. The holes I drilled in the headstock are actually intentionally drilled very slightly too small, and I use a tapered reamer to widen them until the tuners can fit snugly all the way in.
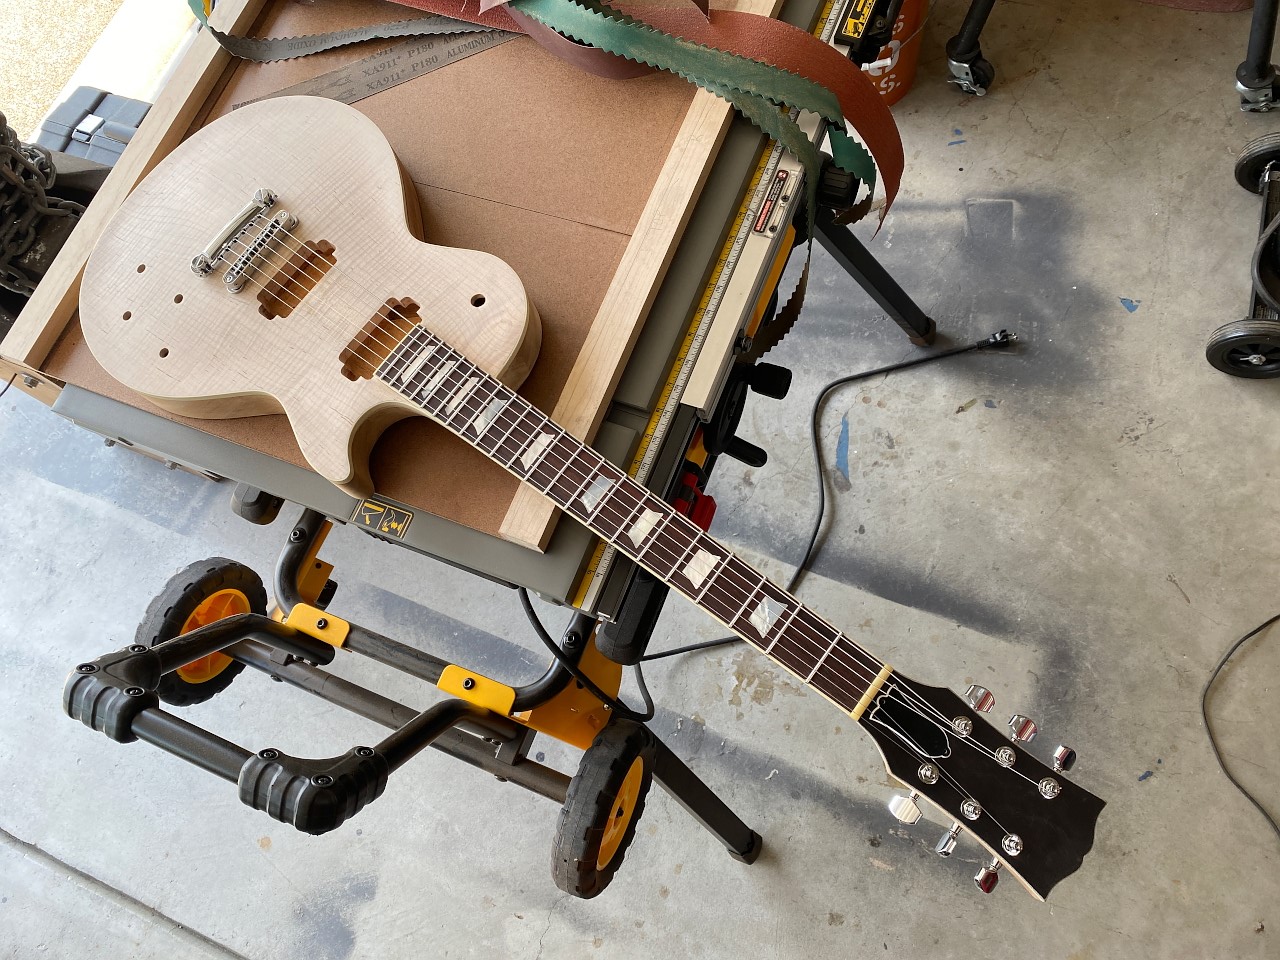
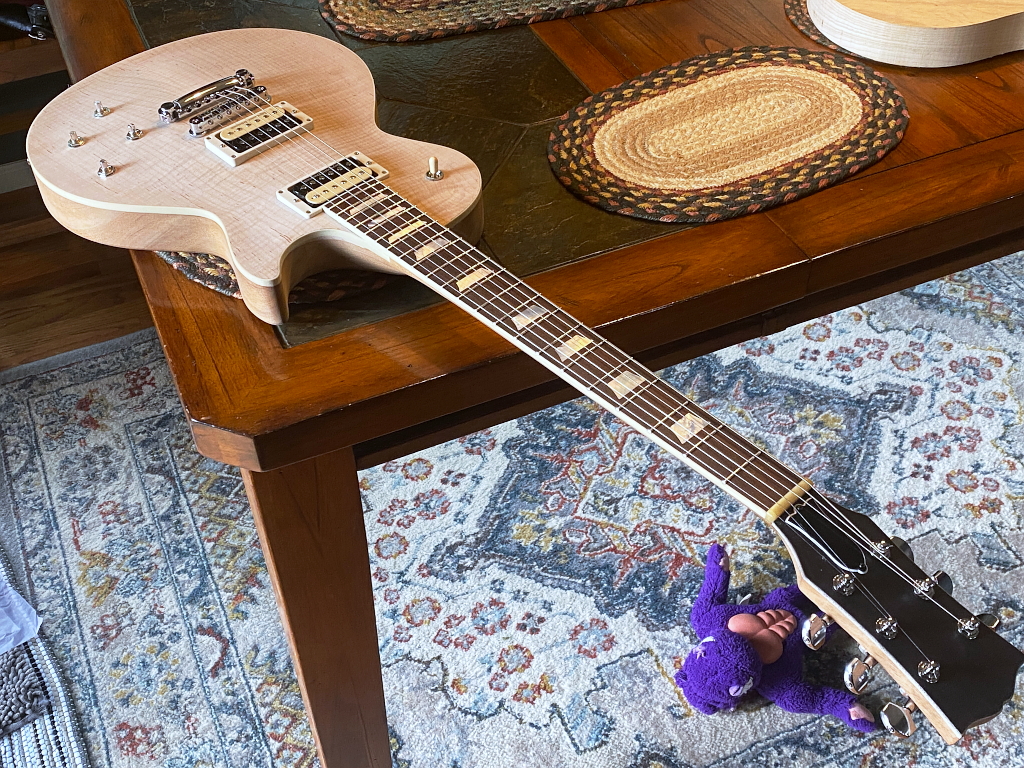
Tuners and bridge installed, I can put on the rest of the strings.
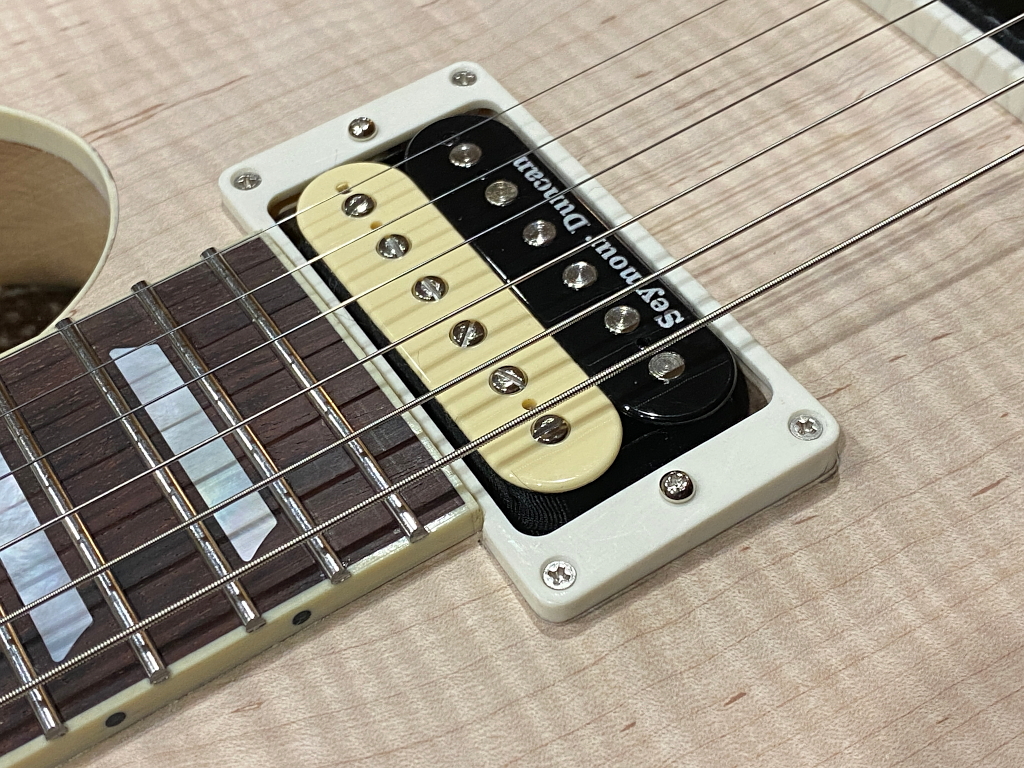
Lookin all guitarry
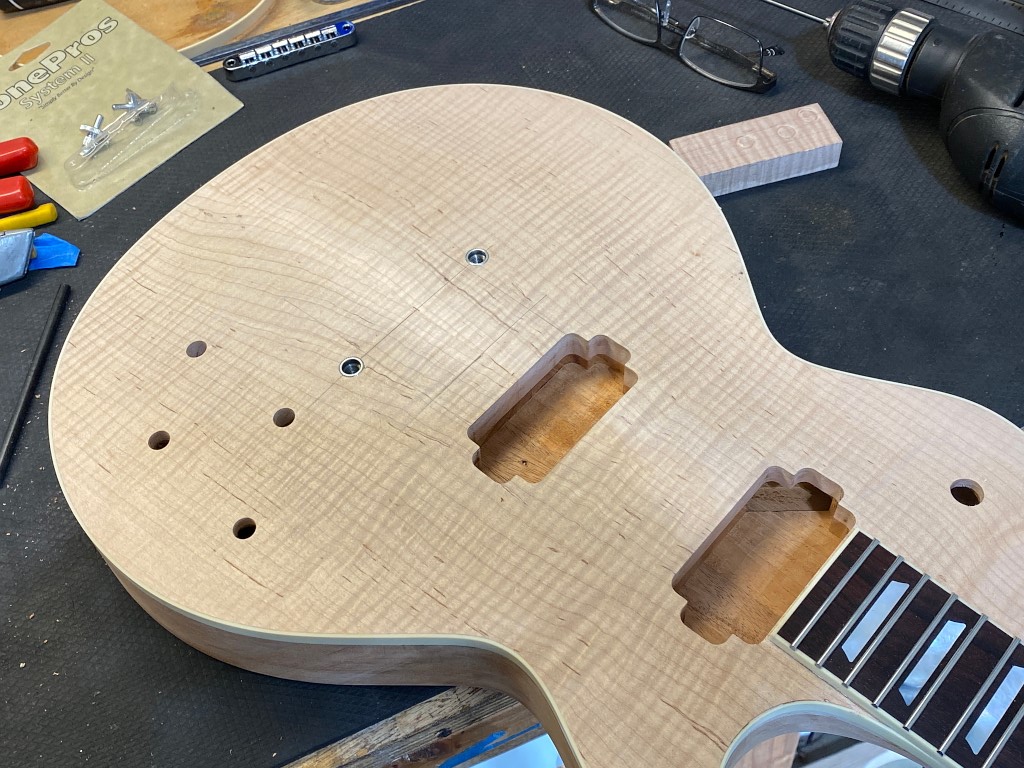
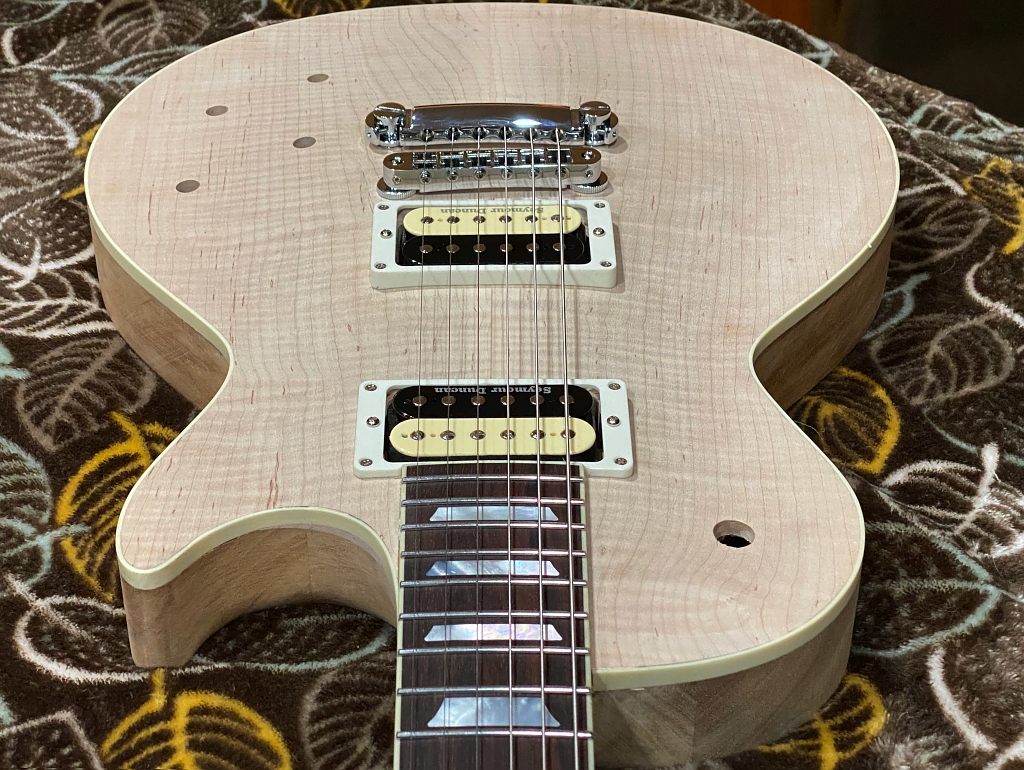
The next trick is installing pickups. the only real challenge here is, since every carved top varies slightly, theres no set of rings that are pre-curved that will fit snugly onto all guitars, so of course this is another part thats matched exactly to each guitar. I wont bore you with details. Suffice to say they start out flat on the bottom and theres a lot of sanding that happens.
From there its just a matter of installing the toggle, volume and tone, and output jack, and doing some soldering which I did not bother to photograph.

