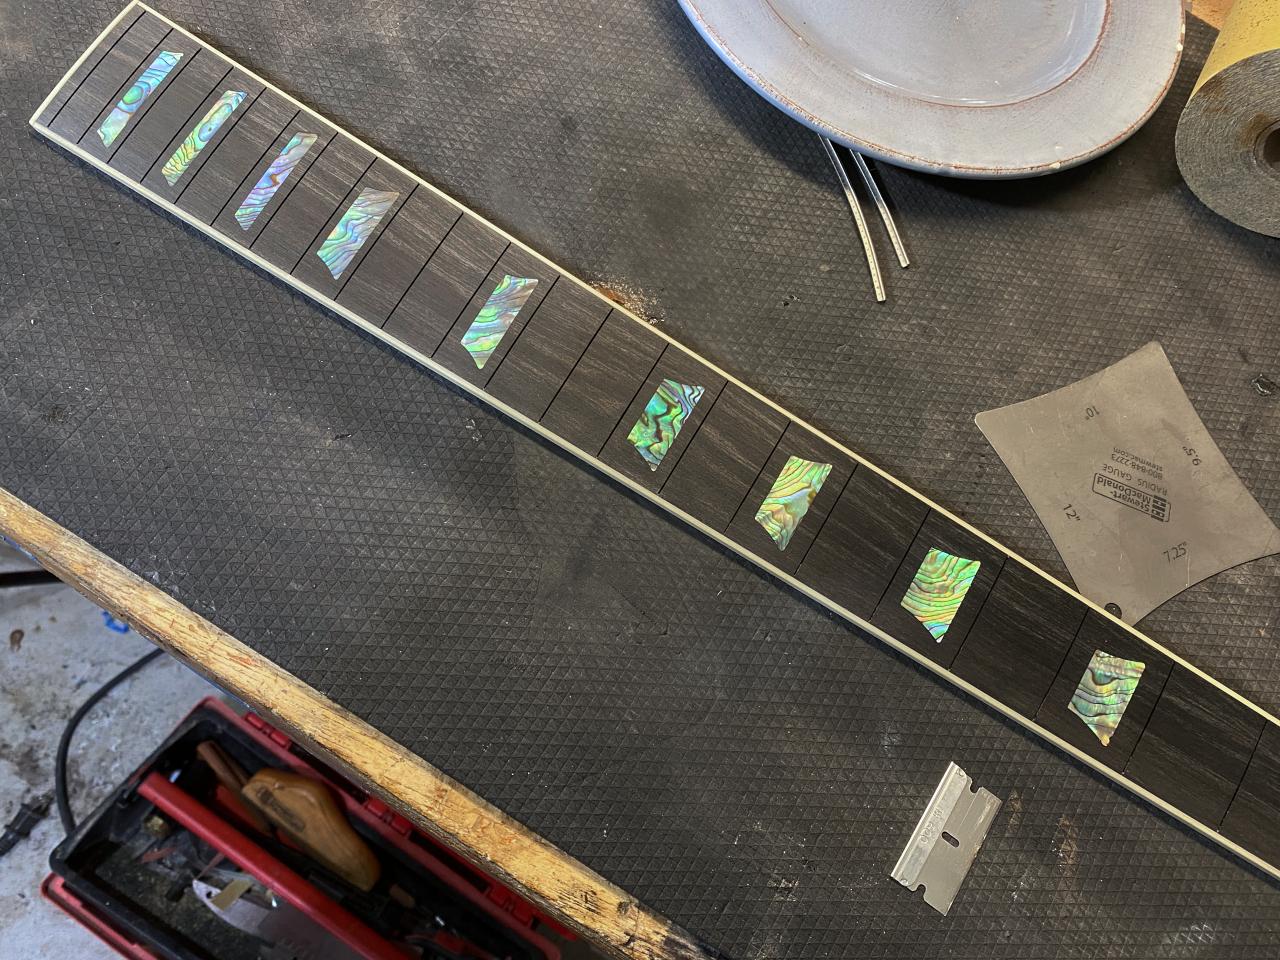
Fretboard inlays.
This task gives me a kink in my neck every time I do it 😉
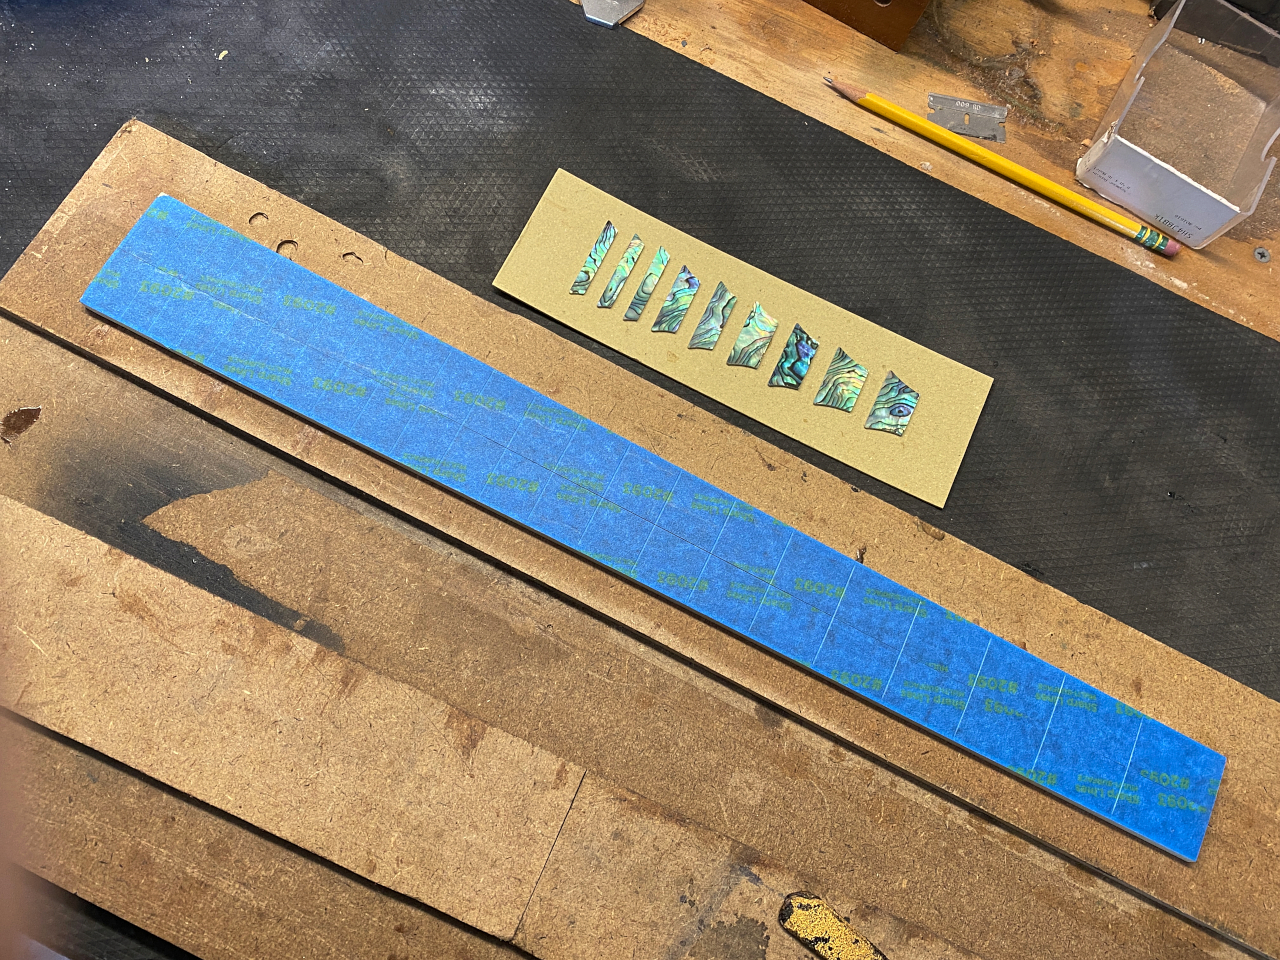
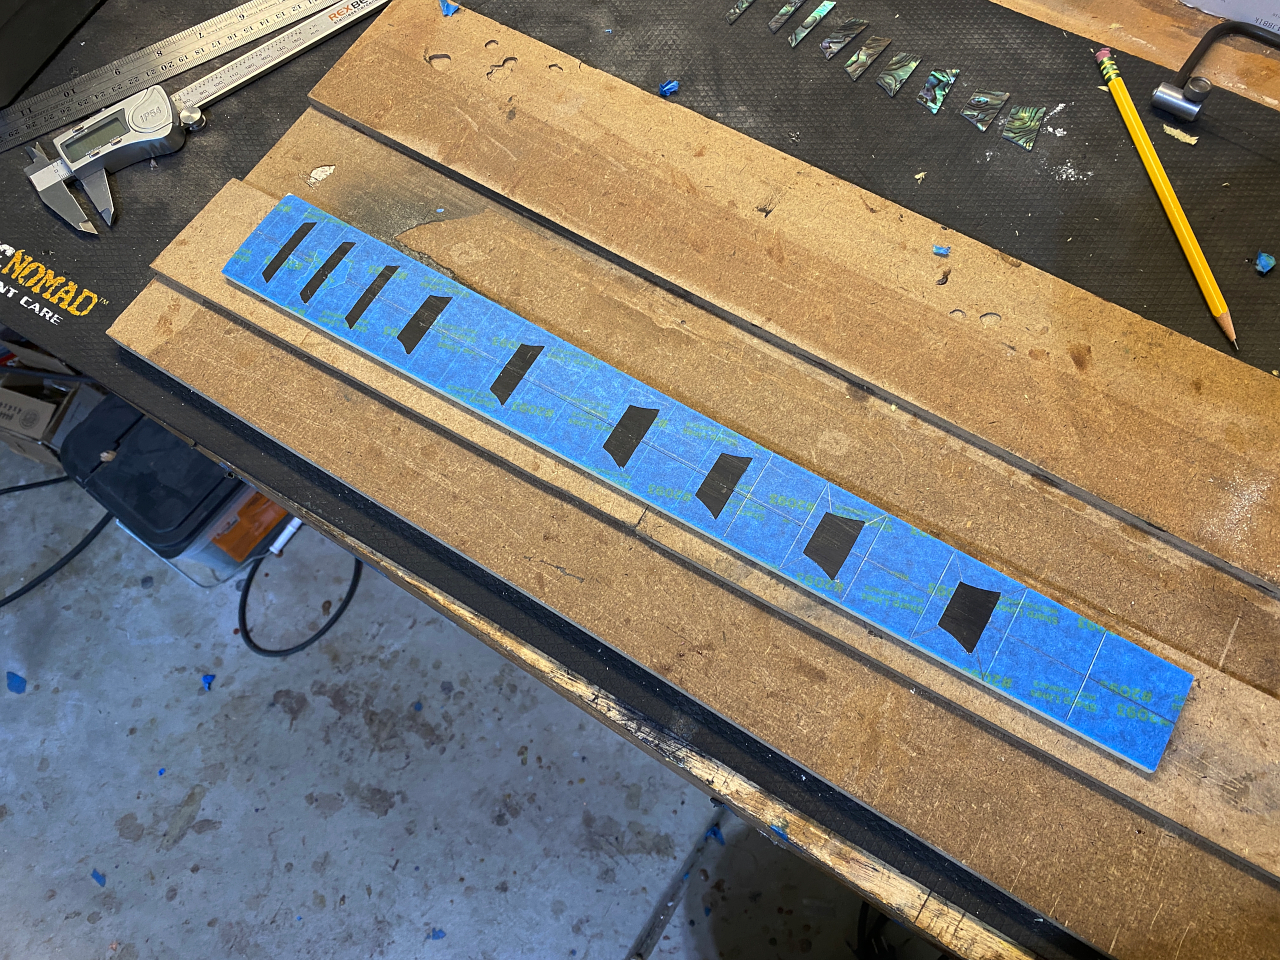
First thing I do is cover the fretboard with painters masking tape. This is best as it comes off fairly easily and leaves no sticky gunk behind. I have to measure each fret and each inlay to find the exact position for the inlay since each fret moving from 1 – 21 is a little wider and more narrow then the one before it, and there are also 4 different sizes of inlays in the set. I have to measure each one because you cant just eyeball the placement. They may look OK at first, but then you start noticing how they line up with each other and not just where they seem to sit in their individual frets.
Once I make my position marks in each fret I remove the inlays from the cardboard. They come glued to the backing.
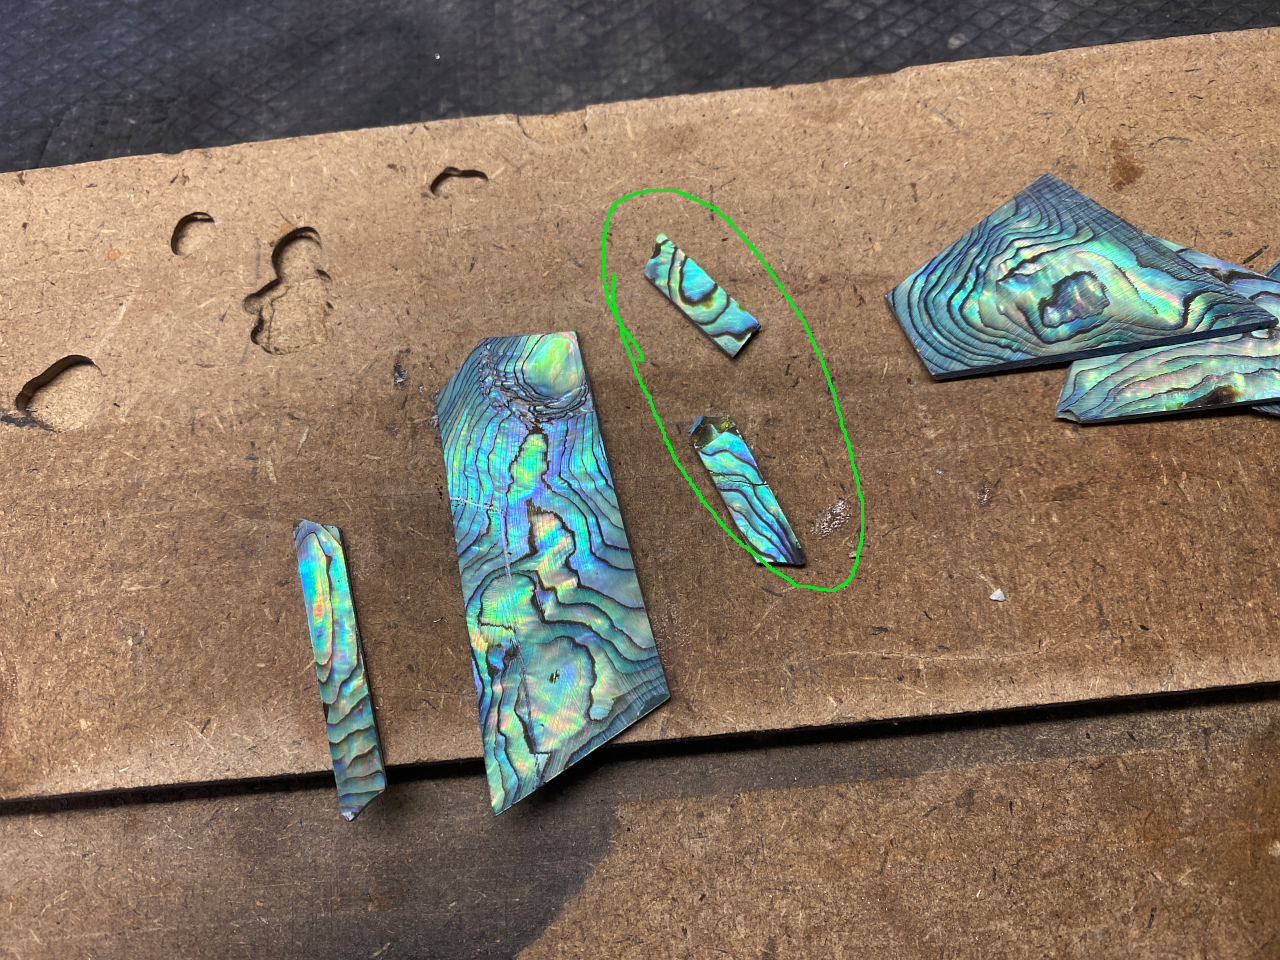
Unfortunately, like any natural material, Abalone shell can have flaws and defects, and delaminations that arent visible to the eye. By “delamination” I refer to the way the shell is created in the first place. Its layer upon layer of what is called “nacre” built up over time by the mollusk. Sometimes there are imperfections or weak spots.
In the case of one of the 3 long inlays, when I removed one from the cardboard it just broke in 3 pieces. I was more than a little annoyed since it was a pre-cut set with no extras.
Fortunately I have lots of inlay materials on hand, including a lot of abalone shell. I had one single piece that was long enough, and a perfect color match, to make a replacement
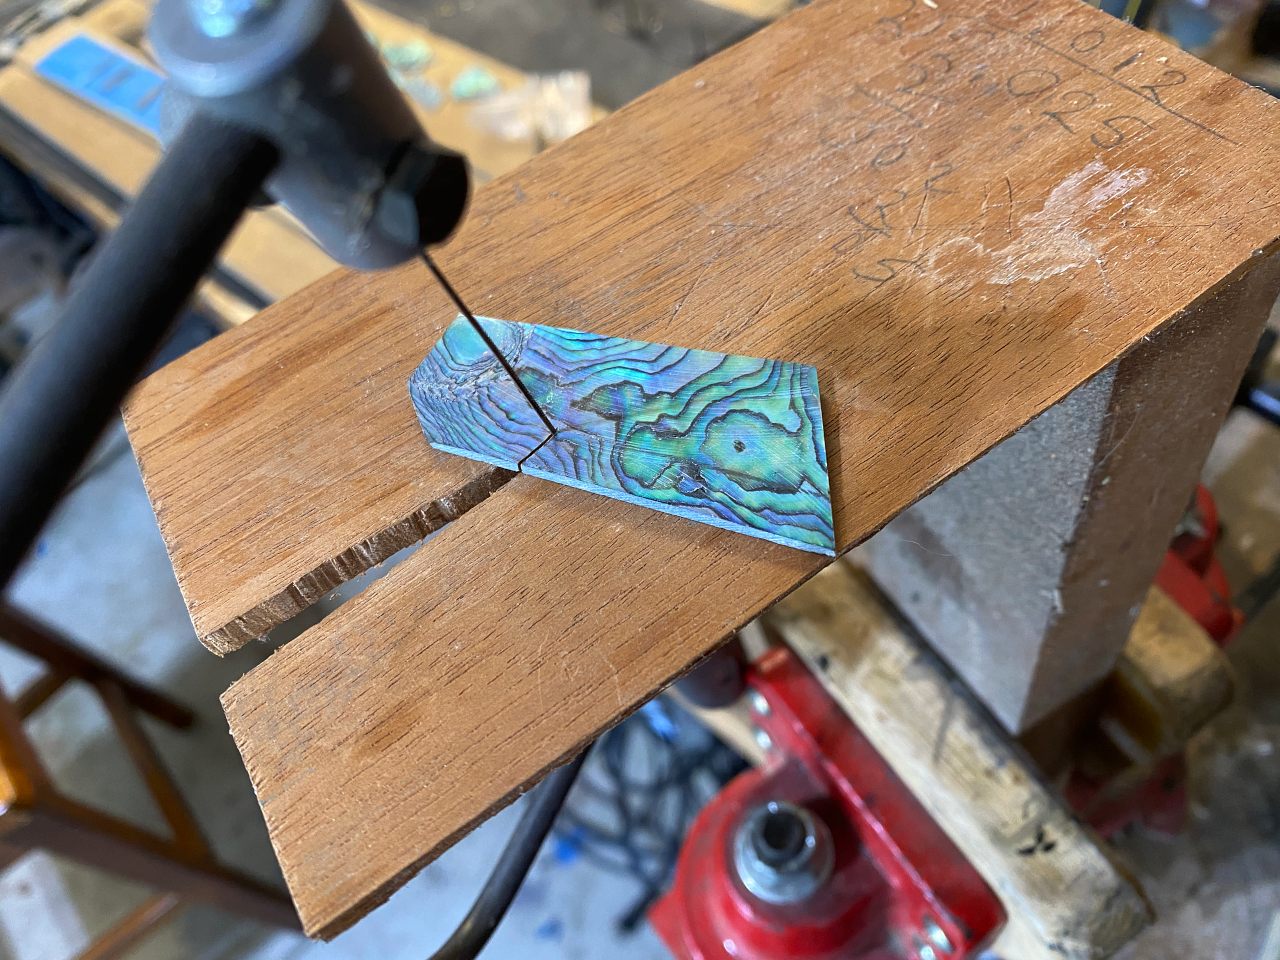
I traced one of the non-broken pieces onto the big blank and cut it out with a jewers saw
Looks perfect. the surface is less polished then the originals, but they all get sanded down flush with the board surface anyway, so it will have the exact same level of polish as the rest. I would challenge anyone to know which was the hand-cut piece when its done 🙂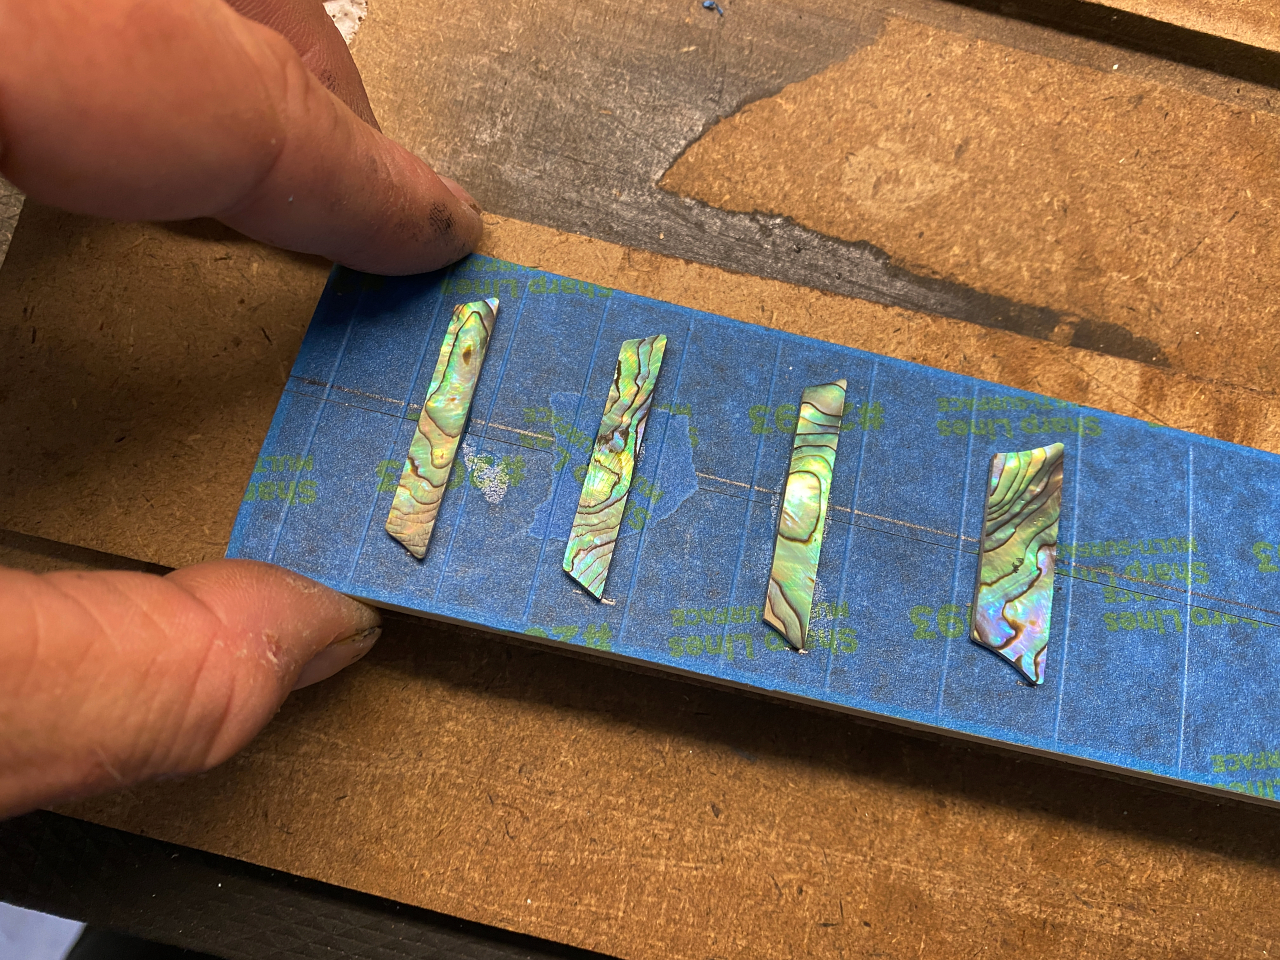
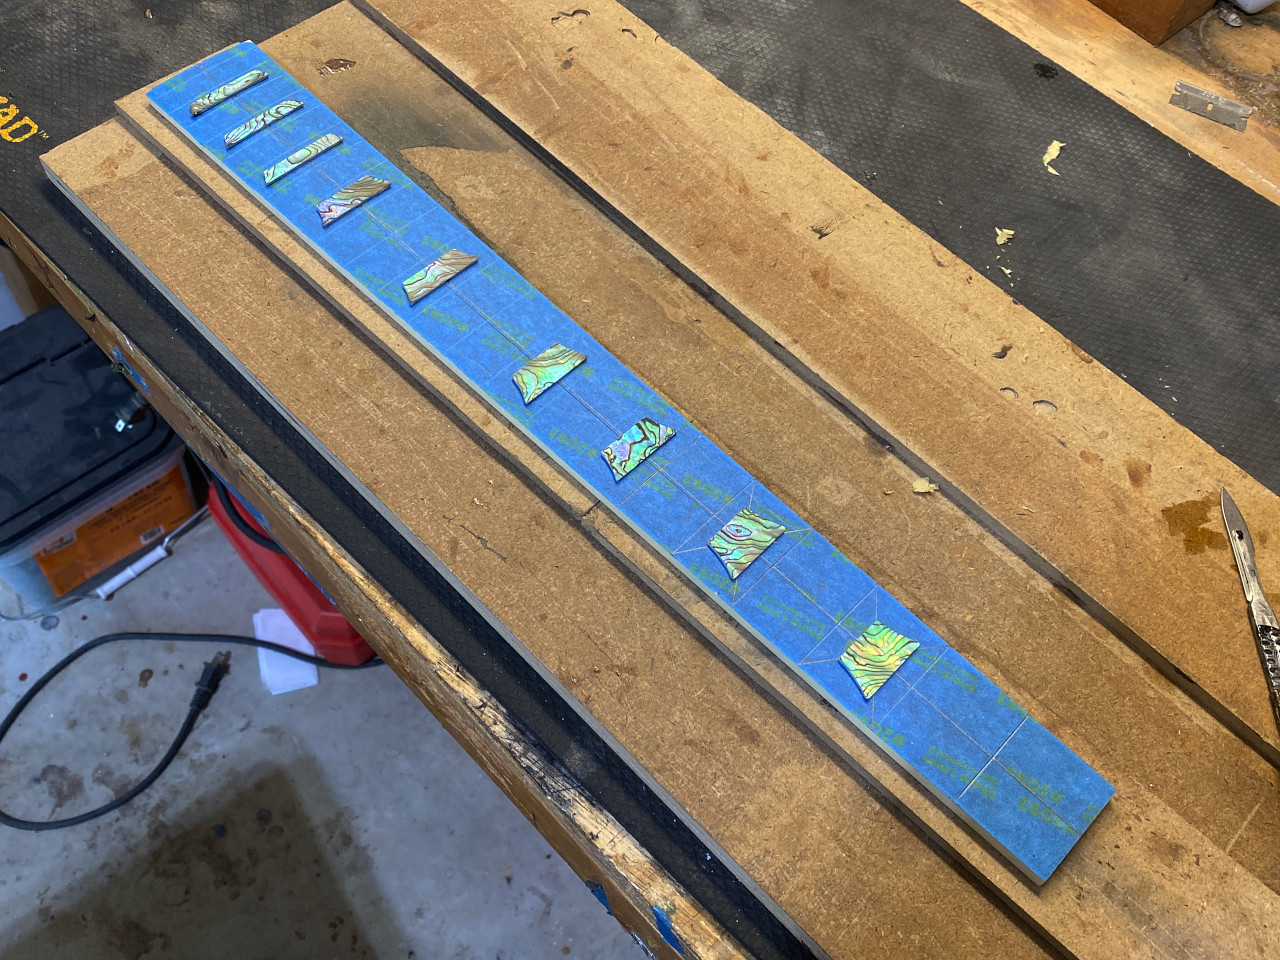
Once I have the locations marked I lay them all out in position and tack them in place with a tiny dot of CA glue to hold them. I then use a scalpel and cut into the board around the edges of each inlay
Then I remove the shell piece and the tape where it sat. This is where I’ll cut to make the pocket for the inlay
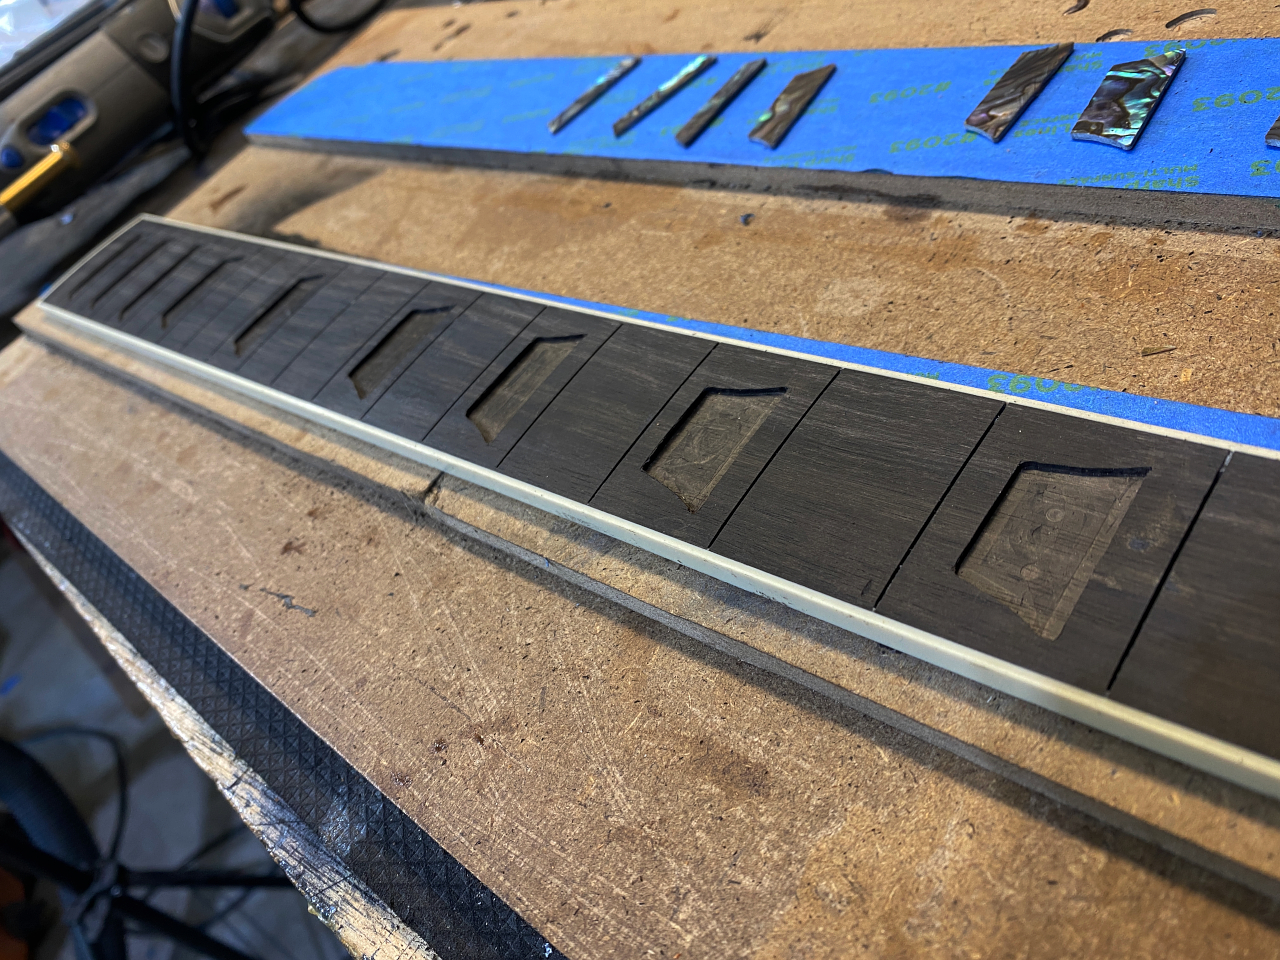
I remove a lot of the wood with my dremel tool, and then cut out the corners and edges with a chisel
Remove the tape, and test fit, removing, cutting more, and re-testing till they all fit.
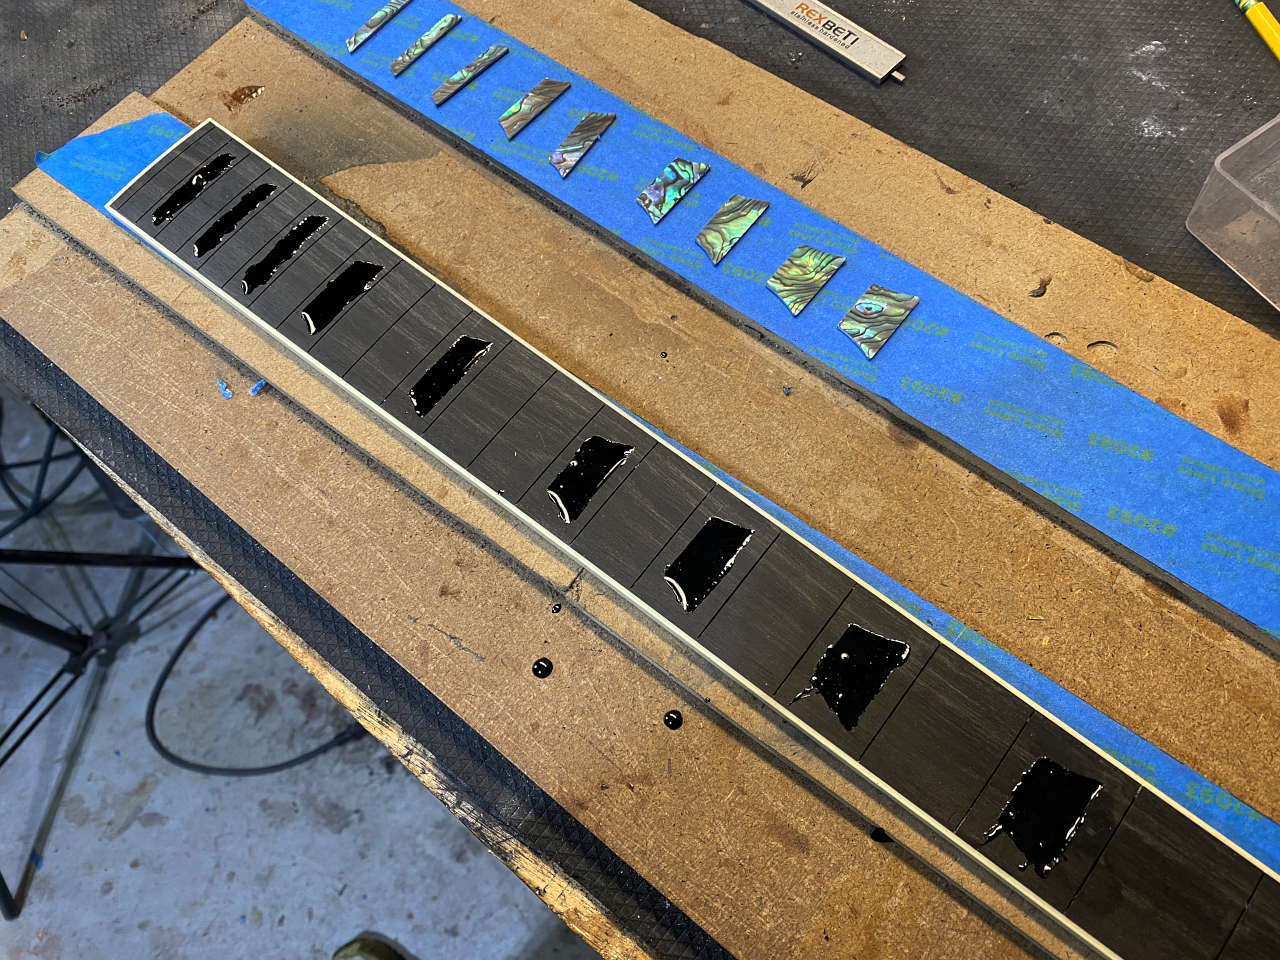
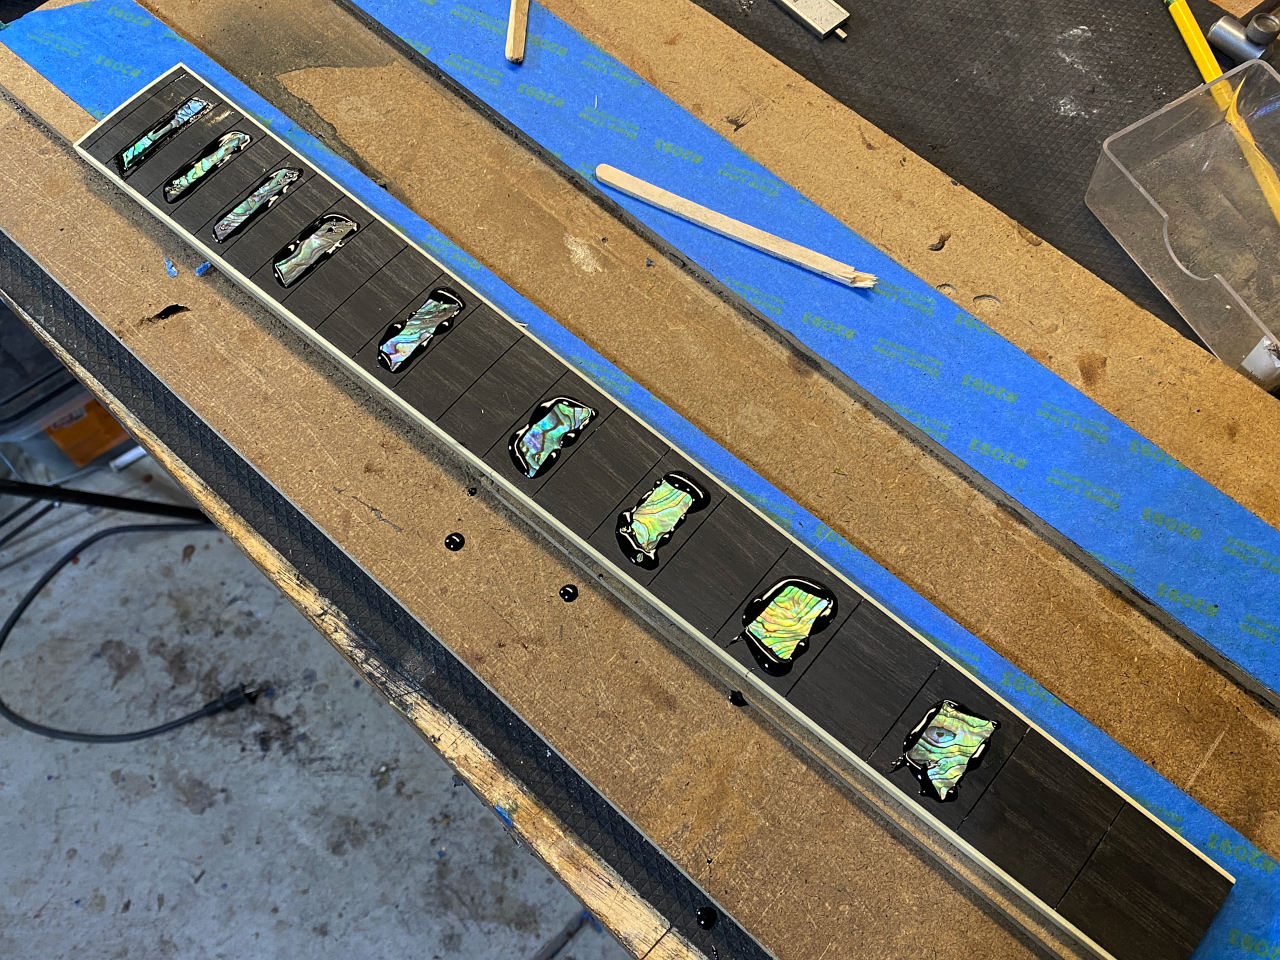
then I mix up some epoxy, tint it with black dye, and fill each pocket
…and press them in.
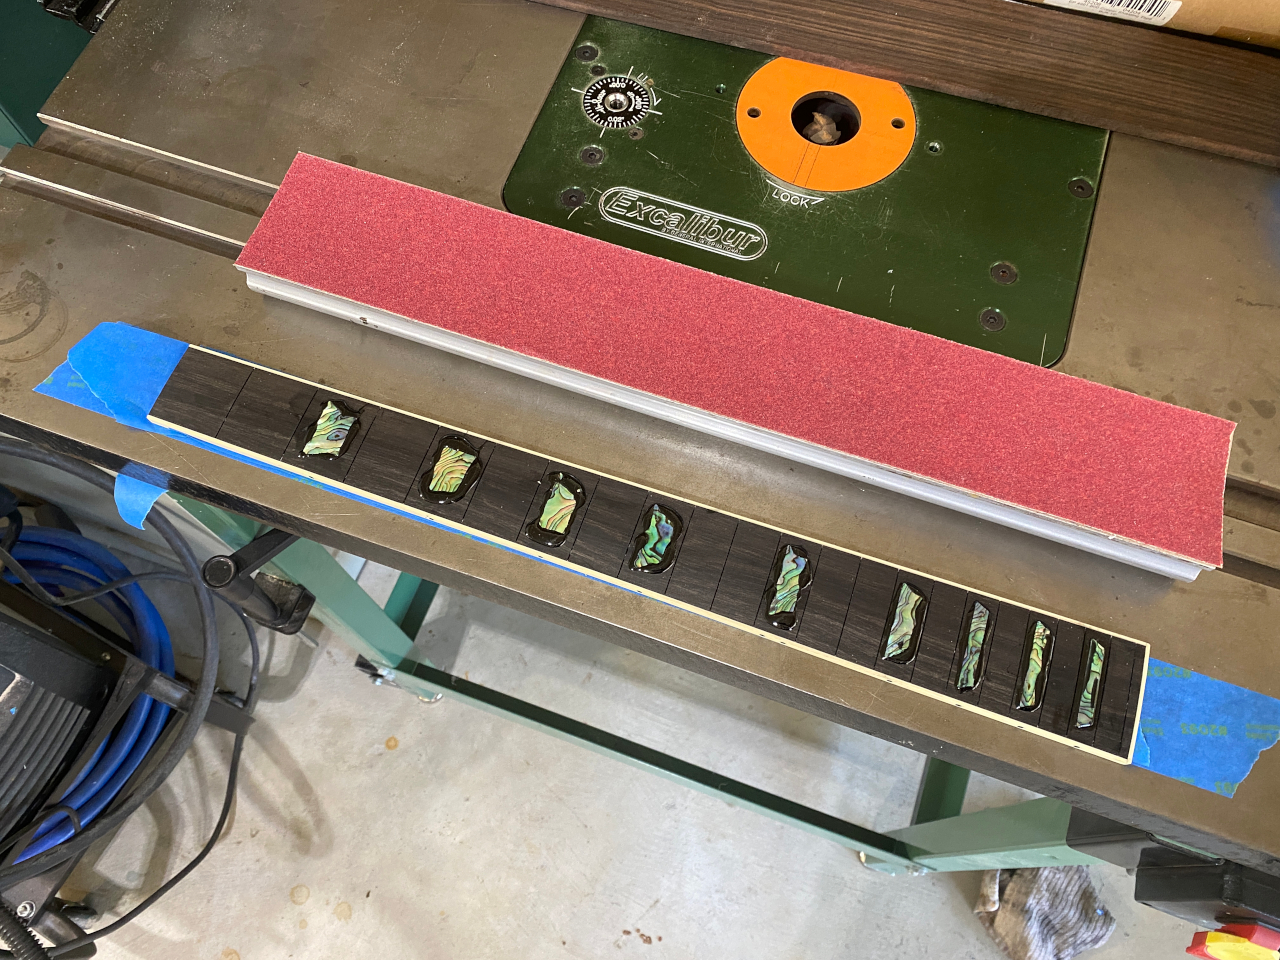
I overfill with more epoxy than is needed to hold the inlay because I want the epoxy to squeeze up and around all the edges, so any small gaps become filled with the dark epoxy. Once cured and sanded flush there will be no visible gaps.
Once cured, I whip out the old sanding beam again
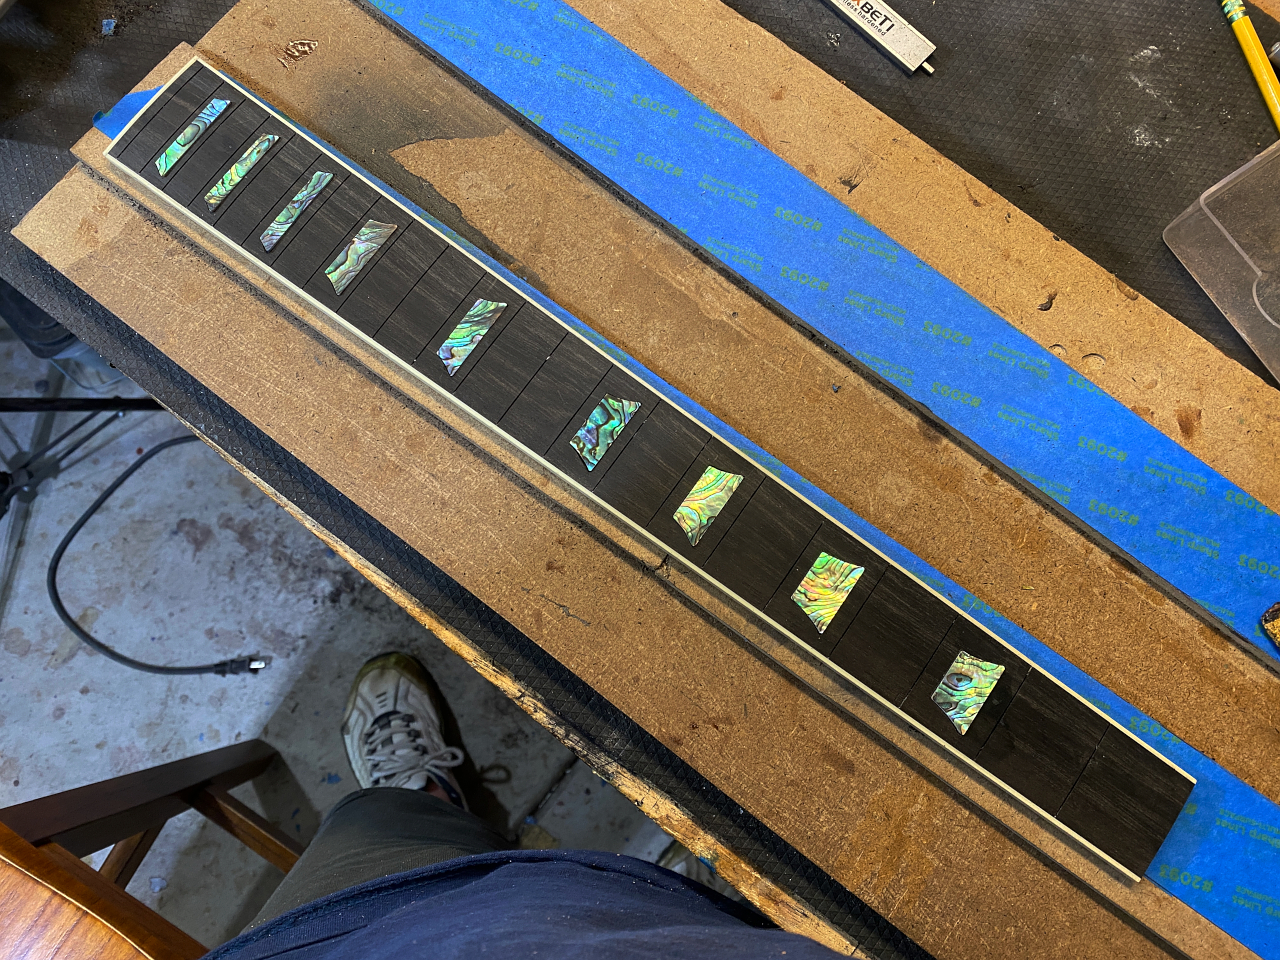
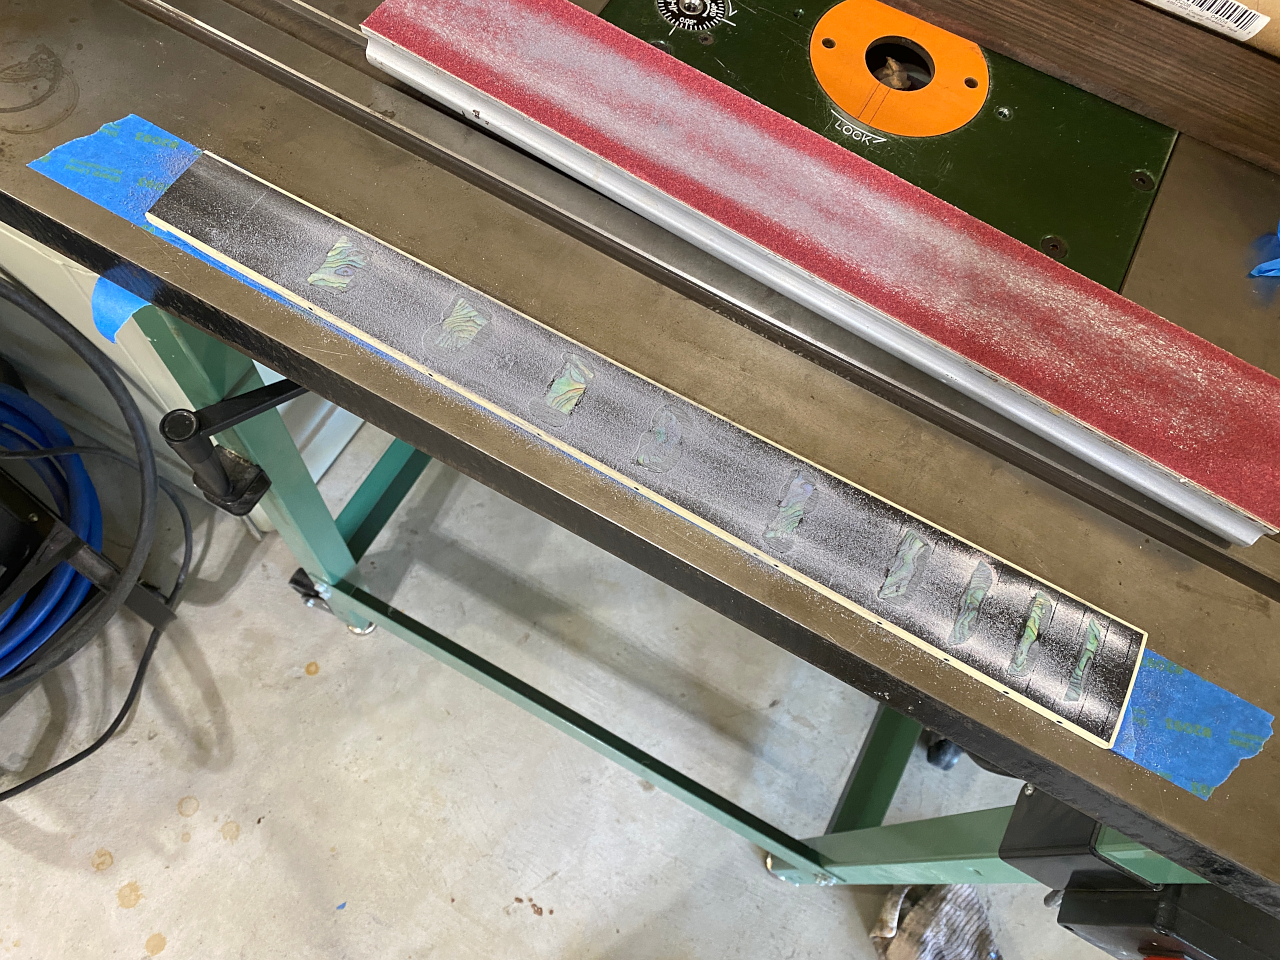
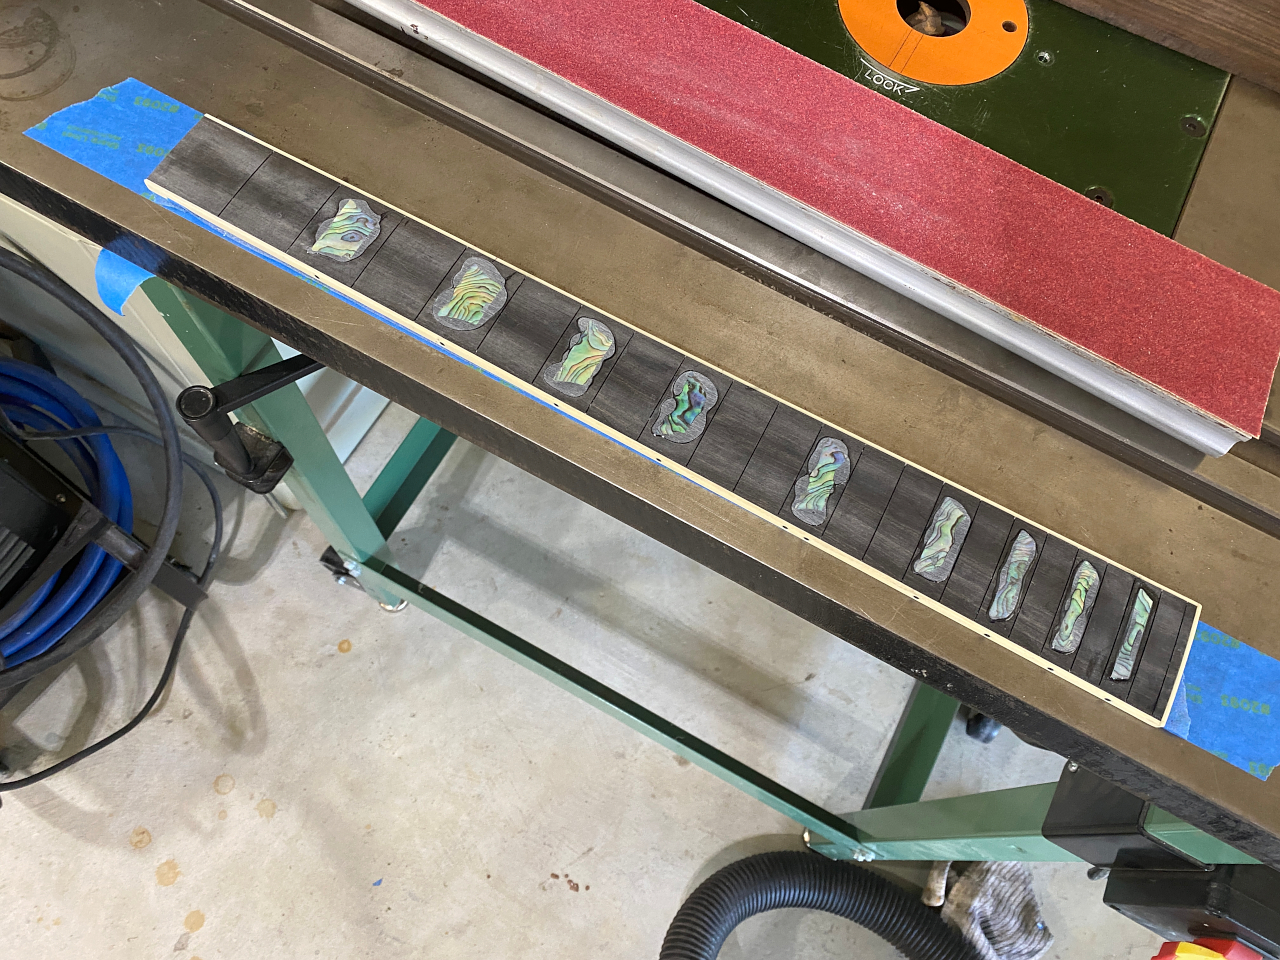
and sand it down flush.
I did the grunt work with 80 grit, then finish it with 320 to make the wood nice and smooth and give it a little sheen. It buffs up the inlays nicely as well. They almost glow under the white overhead lighting.

