Unfortunately I appear to have lost the higher res copies of these images, and some are even missing. This is beacause I actually started this build a few years ago and then stalled out. I completed the neck and there it say for 3 years.
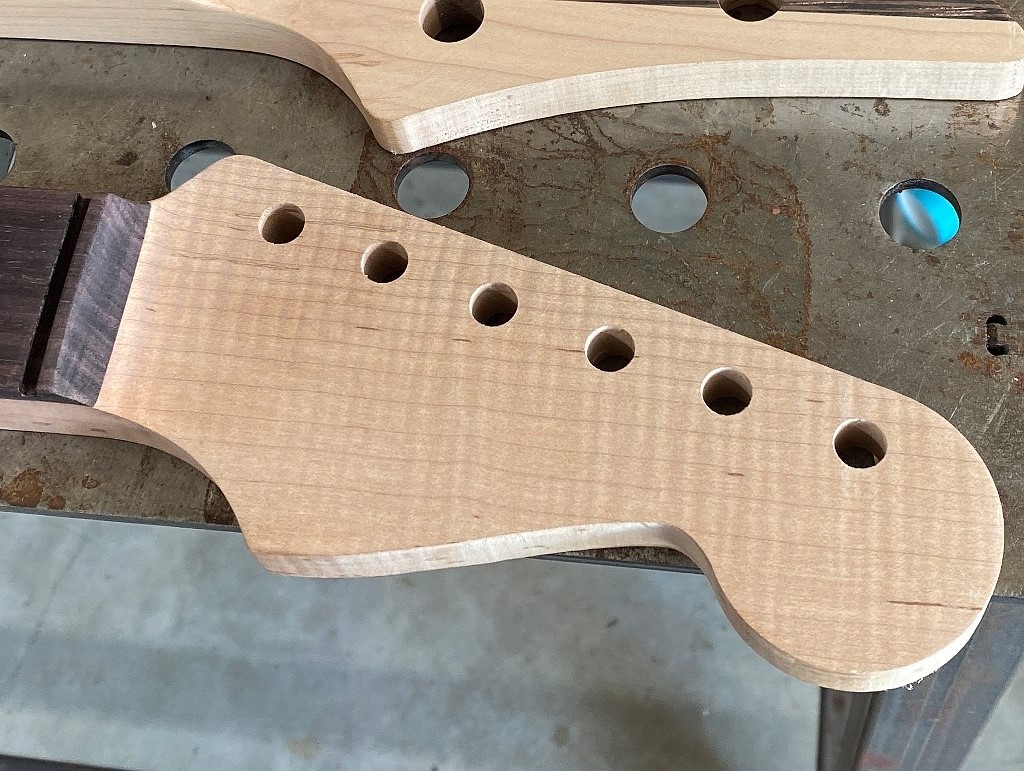
The major steps in its construction are represented here though.
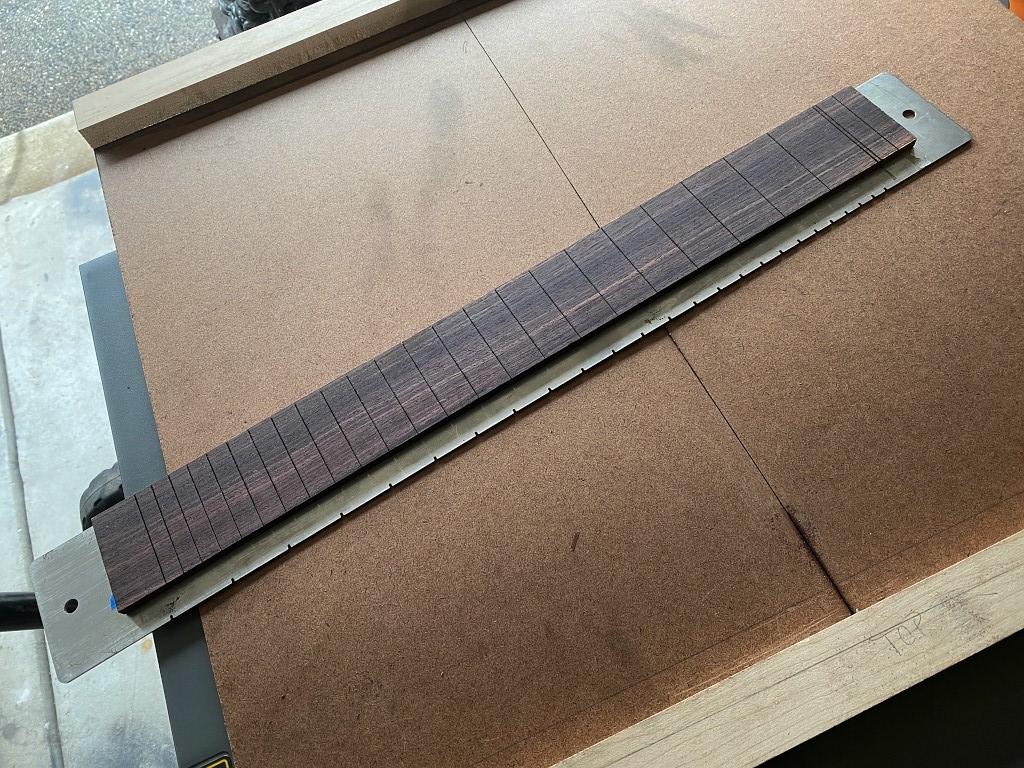
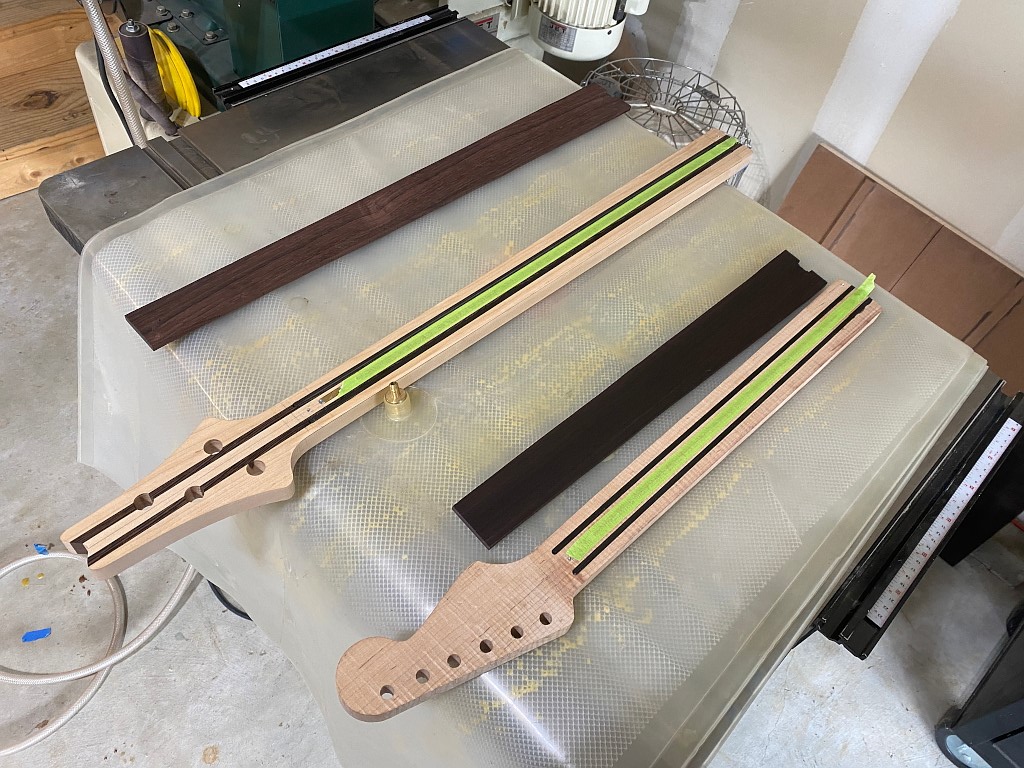
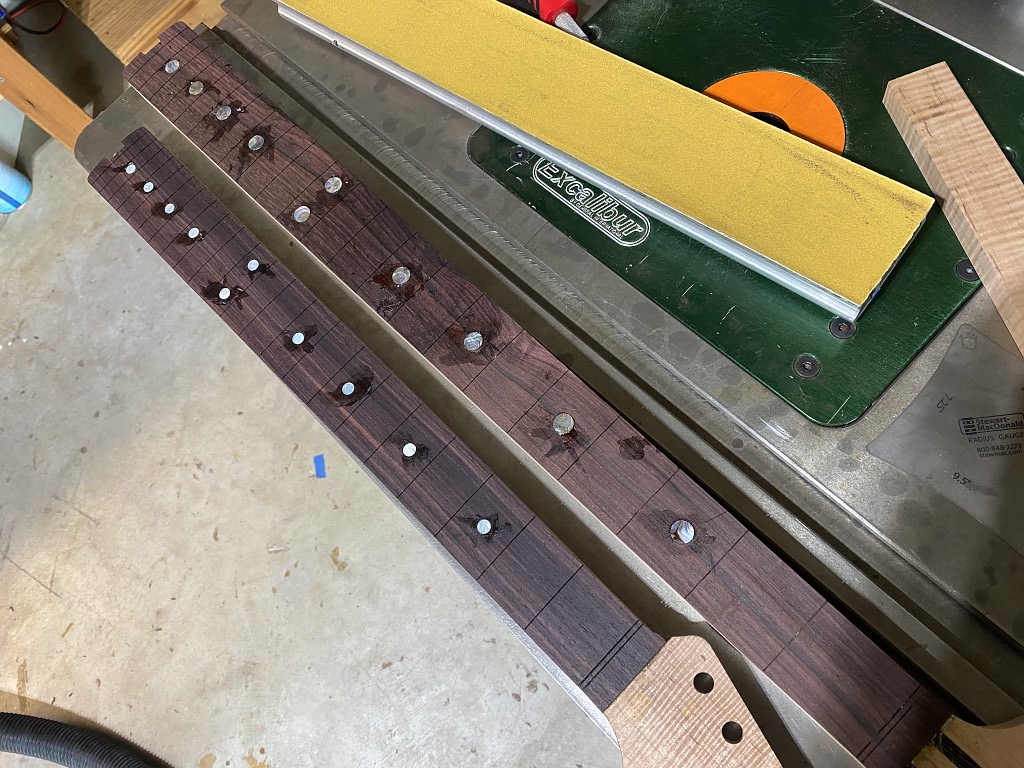
This is the rosewood fretboard, having just completed cutting the slots for the fret wire
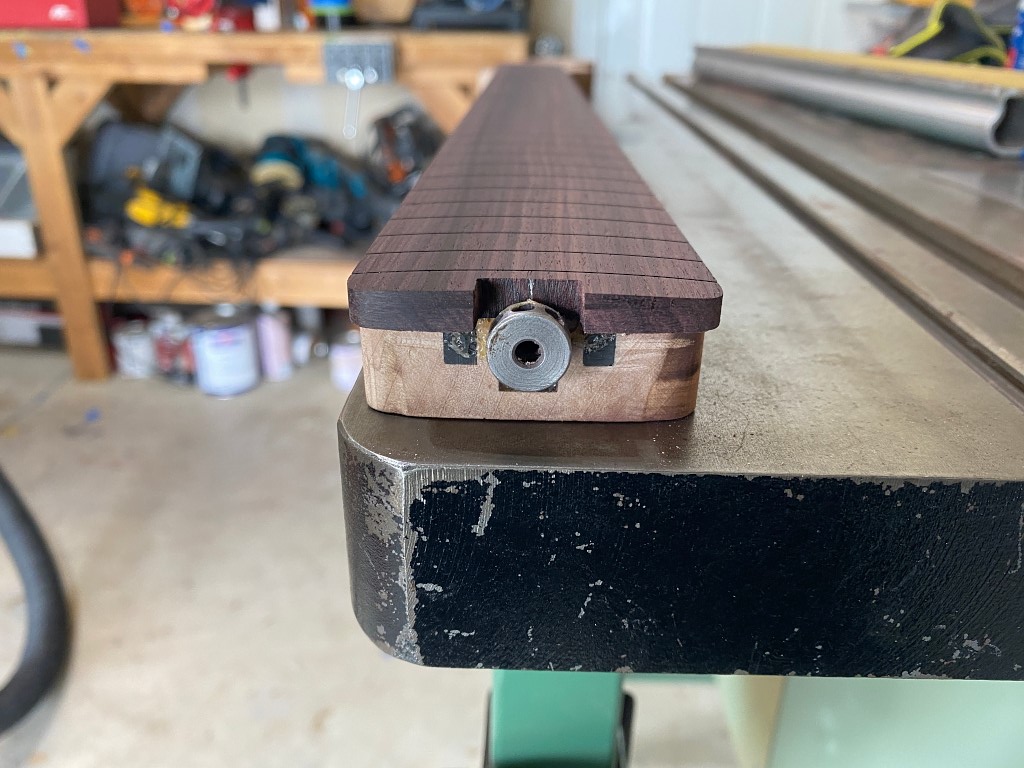
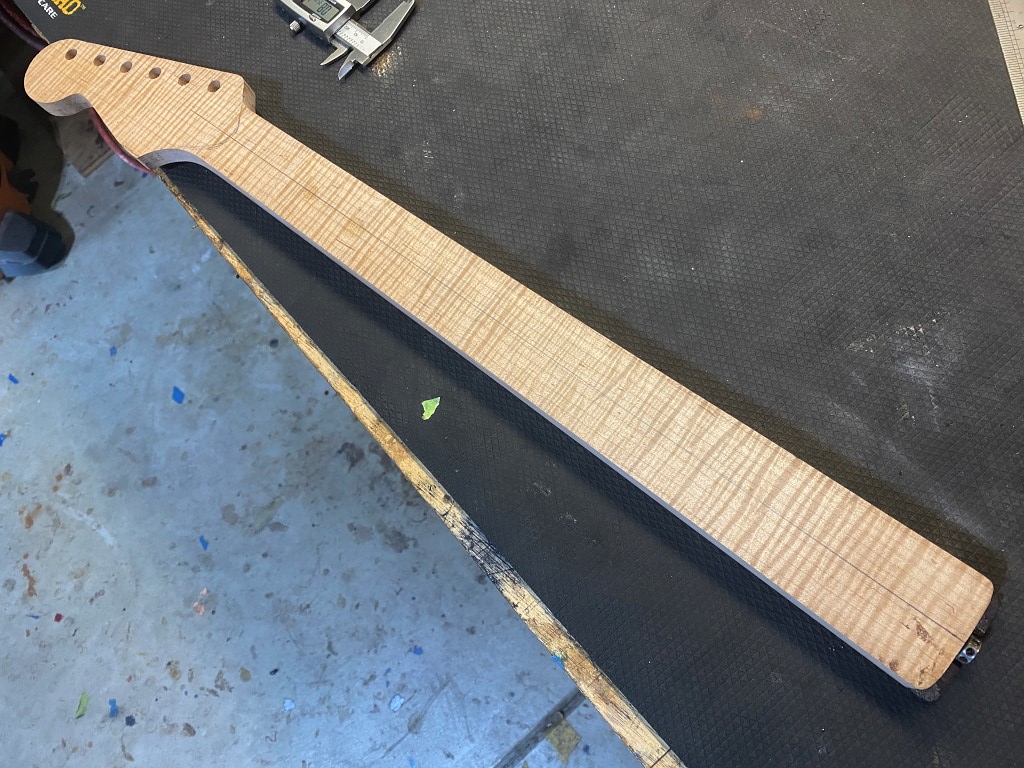
Neck blanks are cut to shape, and here you can see the carbon fiber reinforcement rods I put inside the necks. This makes the more stable and less prone to changes caused by temperature and humidity. A strip of tape covers the truss rod slot to keep glue out when the fretboard is glued in place.
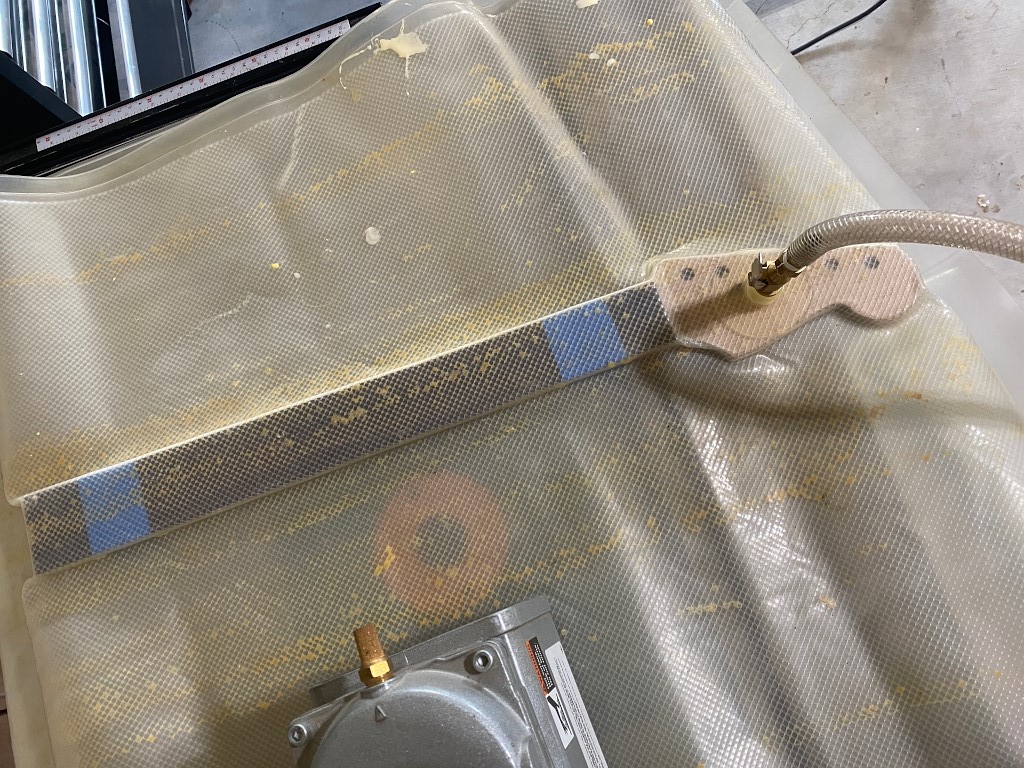
A vacuum pump and bag is used to glue and “clamp” the fretboard onto the neck
Out of the bag, and the fretboard is glued in place. Ive anchored the neck to the tabletop so I can use a hand plane to rough shape the radius, and a radiused sanding block finishes the job.
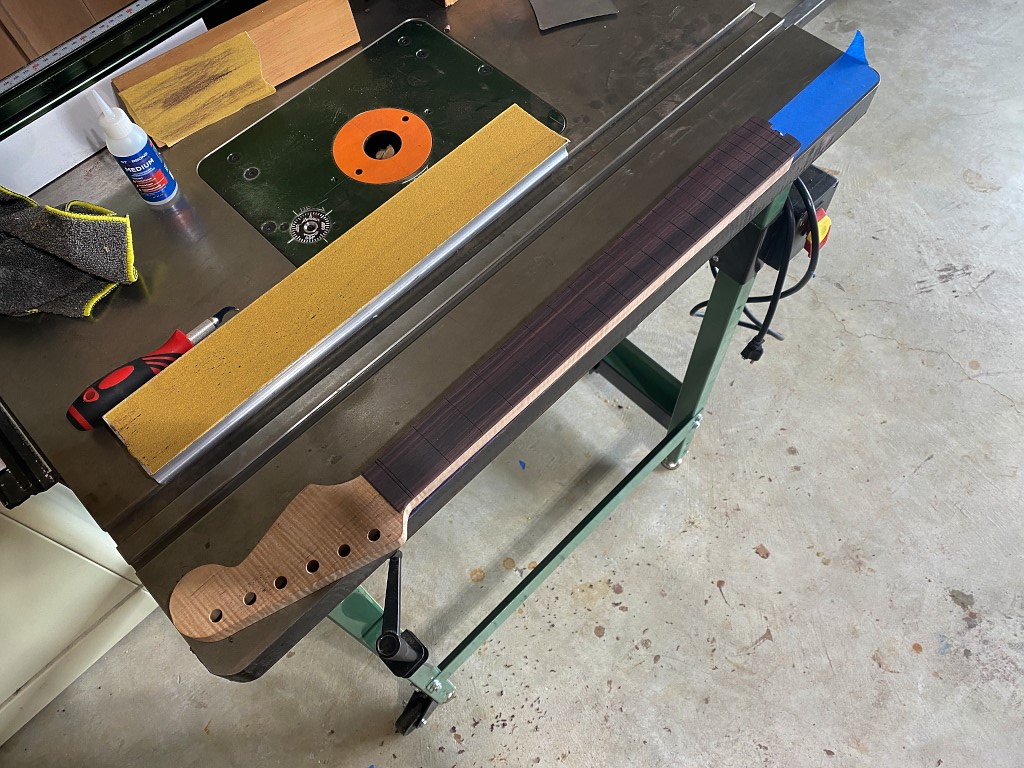
Here you can see the partially sanded radius, as well as the spoke wheel for the truss rod
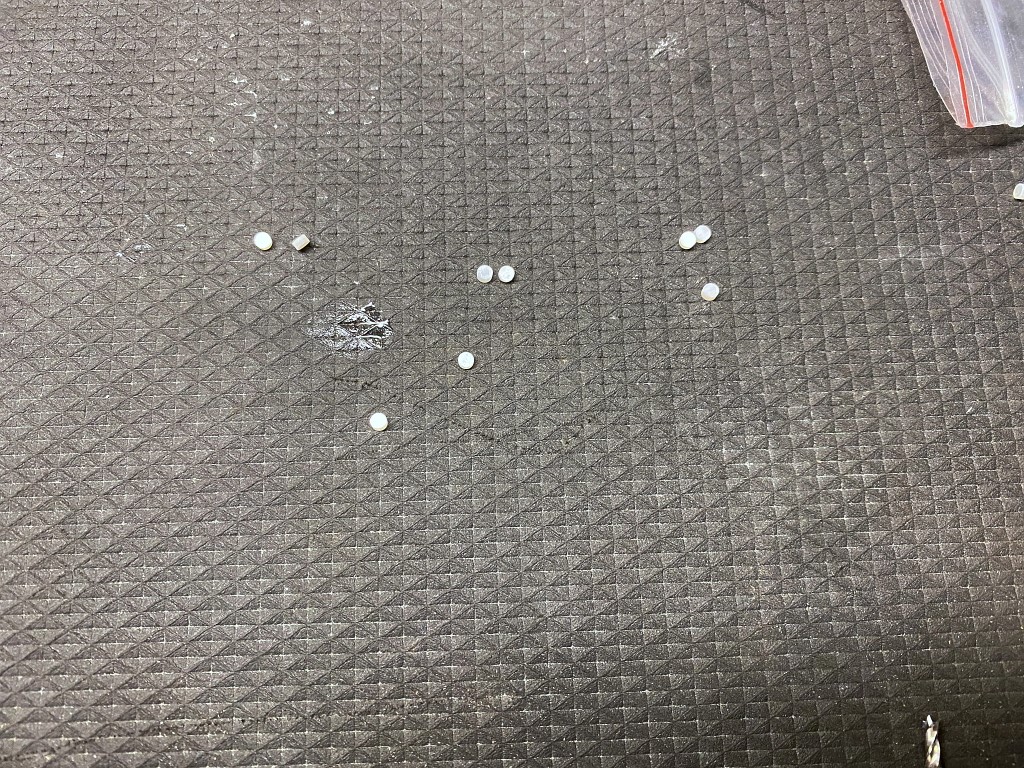
Next the mother-of-pearl dot inlays are glued in. these are the easiest inlays to do because you simply drill a shallow hole the exact same diameter as the dot inlay, and glue the dots in. Once the glue is set you use the radiused sanding beam again to sand them down flush and smooth.
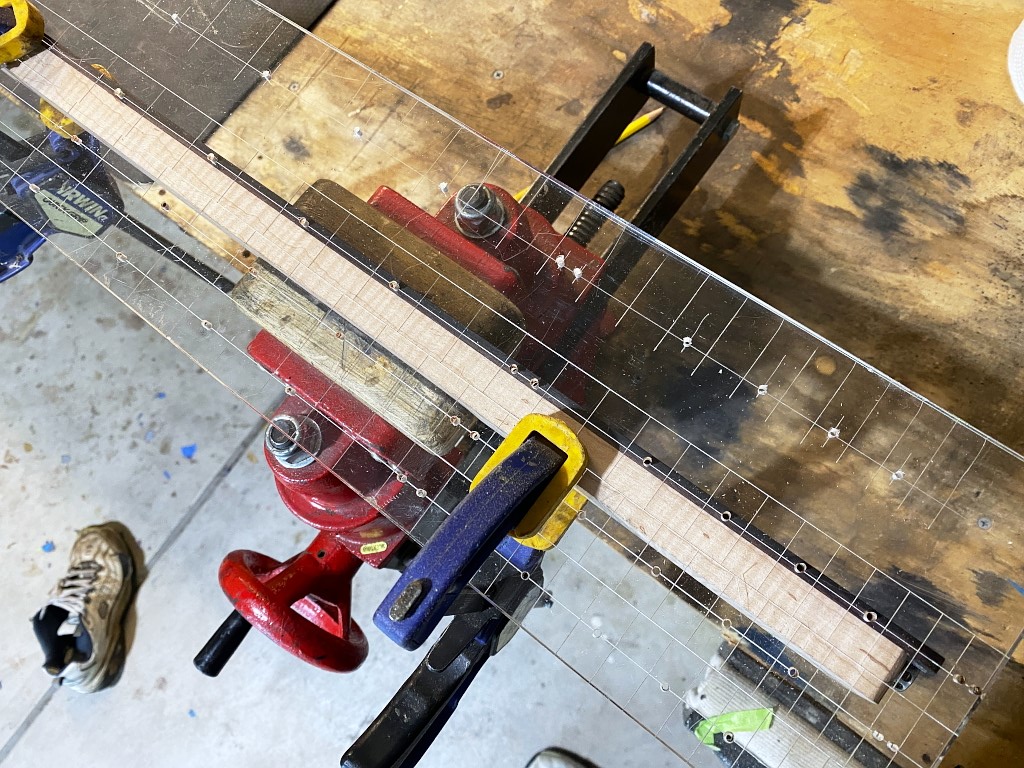
I uses a milti-scale dot template to locate the holes for the side dot markers. Of course a Strat has a 25.5″ scale length so thats the one I use. This makes sure that the dots are all aligned perfectly with each other, as well as centered perfectly on each fret. Simply clamp the template to the neck, and drill through the holes.
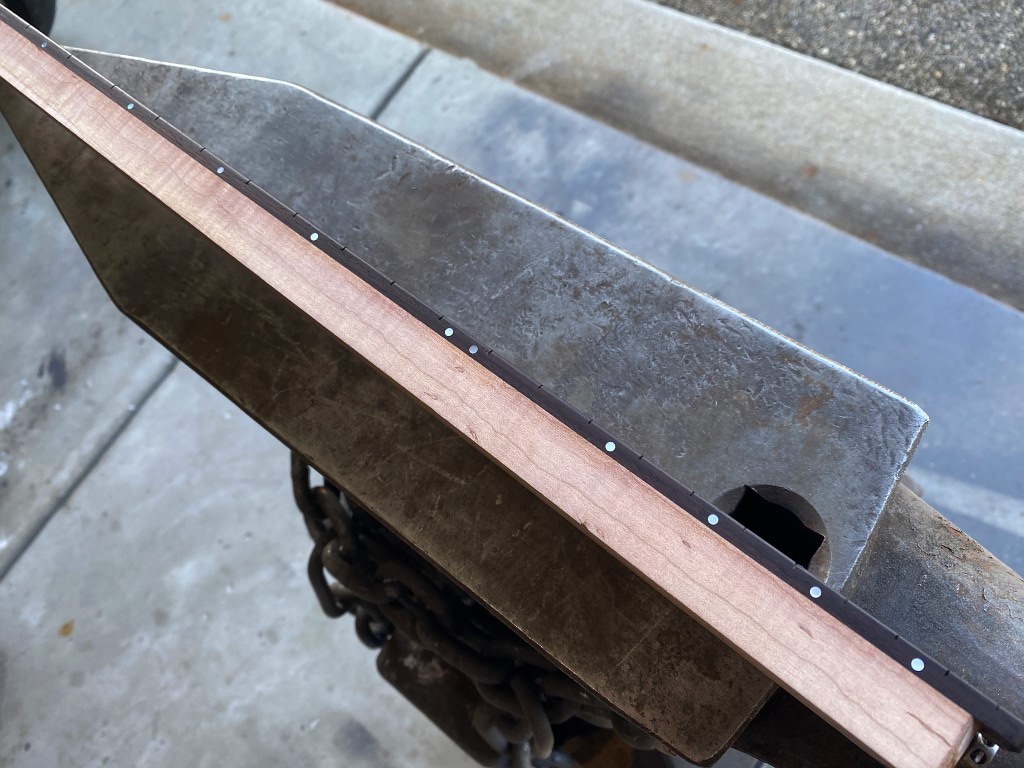
Glue in the little mother-of-pearl dots using CA cement
Then sand them down smooth and flush just like the fretboard dots
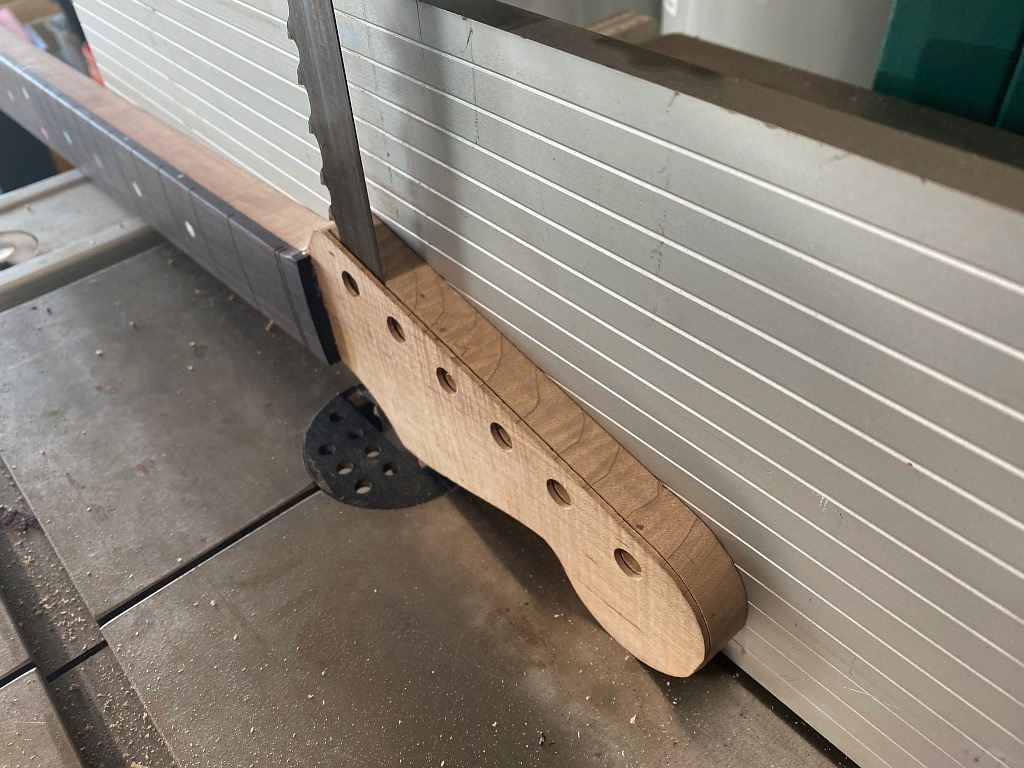
Thinning the headstock down to its final dimension
Then the spindle sander is used to sand in the radiused transition from headstock face up to the fretboard
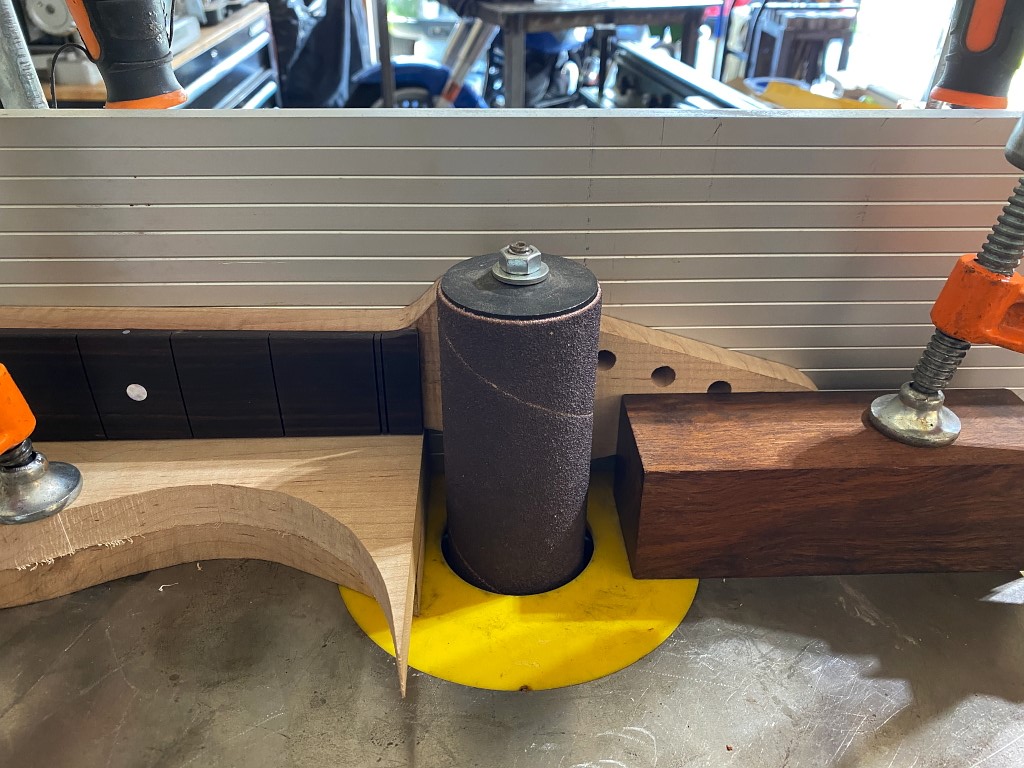
Perfect transition
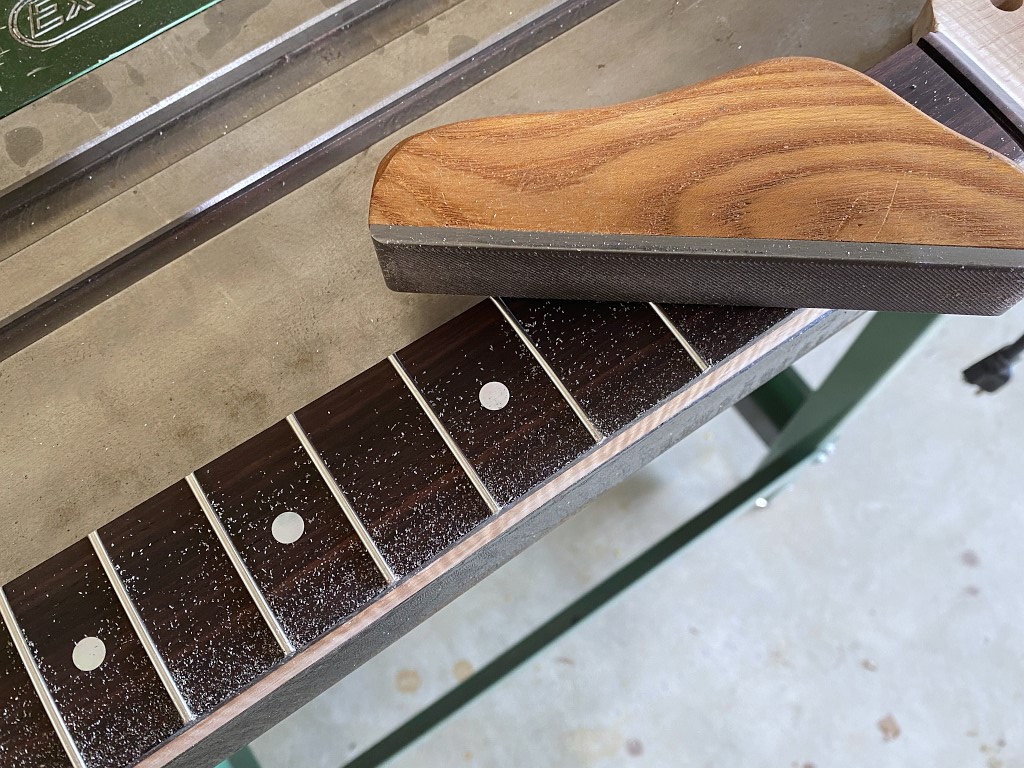
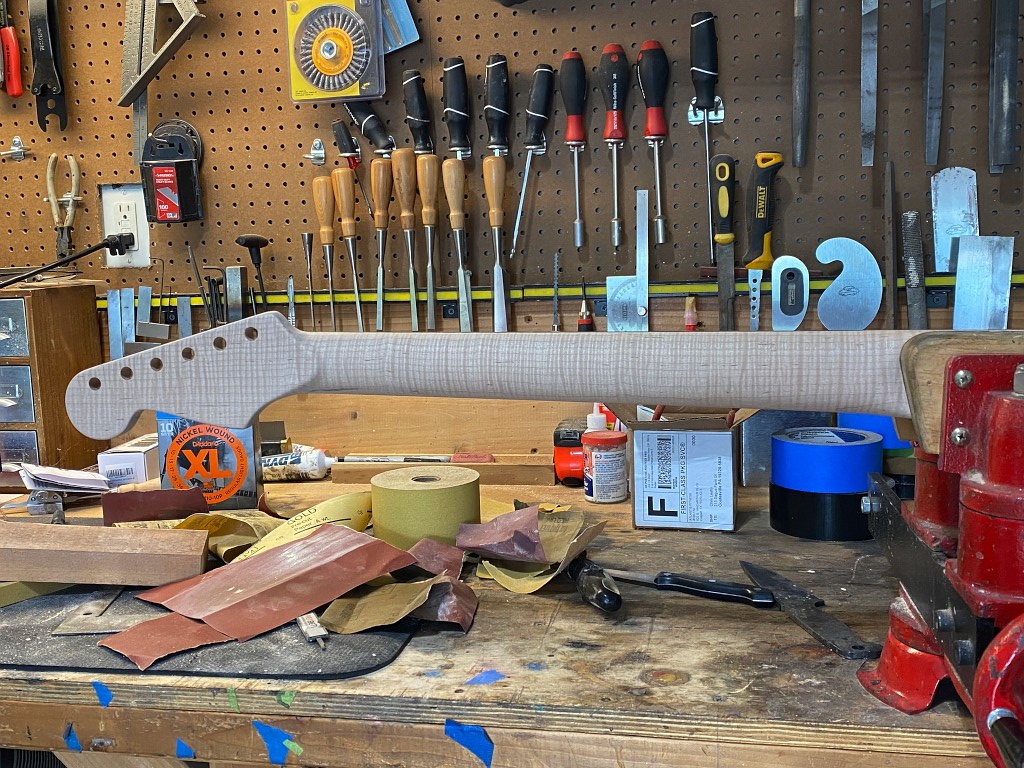
The frets are installed using a radiused caul to press them into the slots. Then this fret sander is used to sand the ends of the frets down flush with the edge of the fretboard
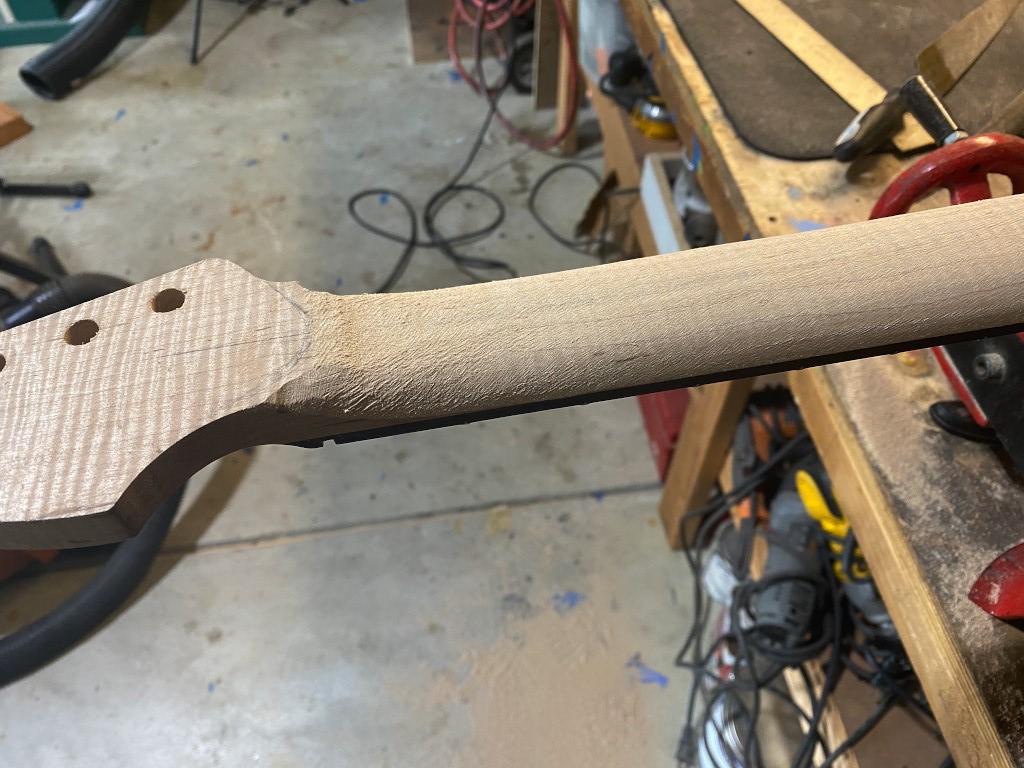
Now its time to carve the back of the neck. I draw some guide lines to follow
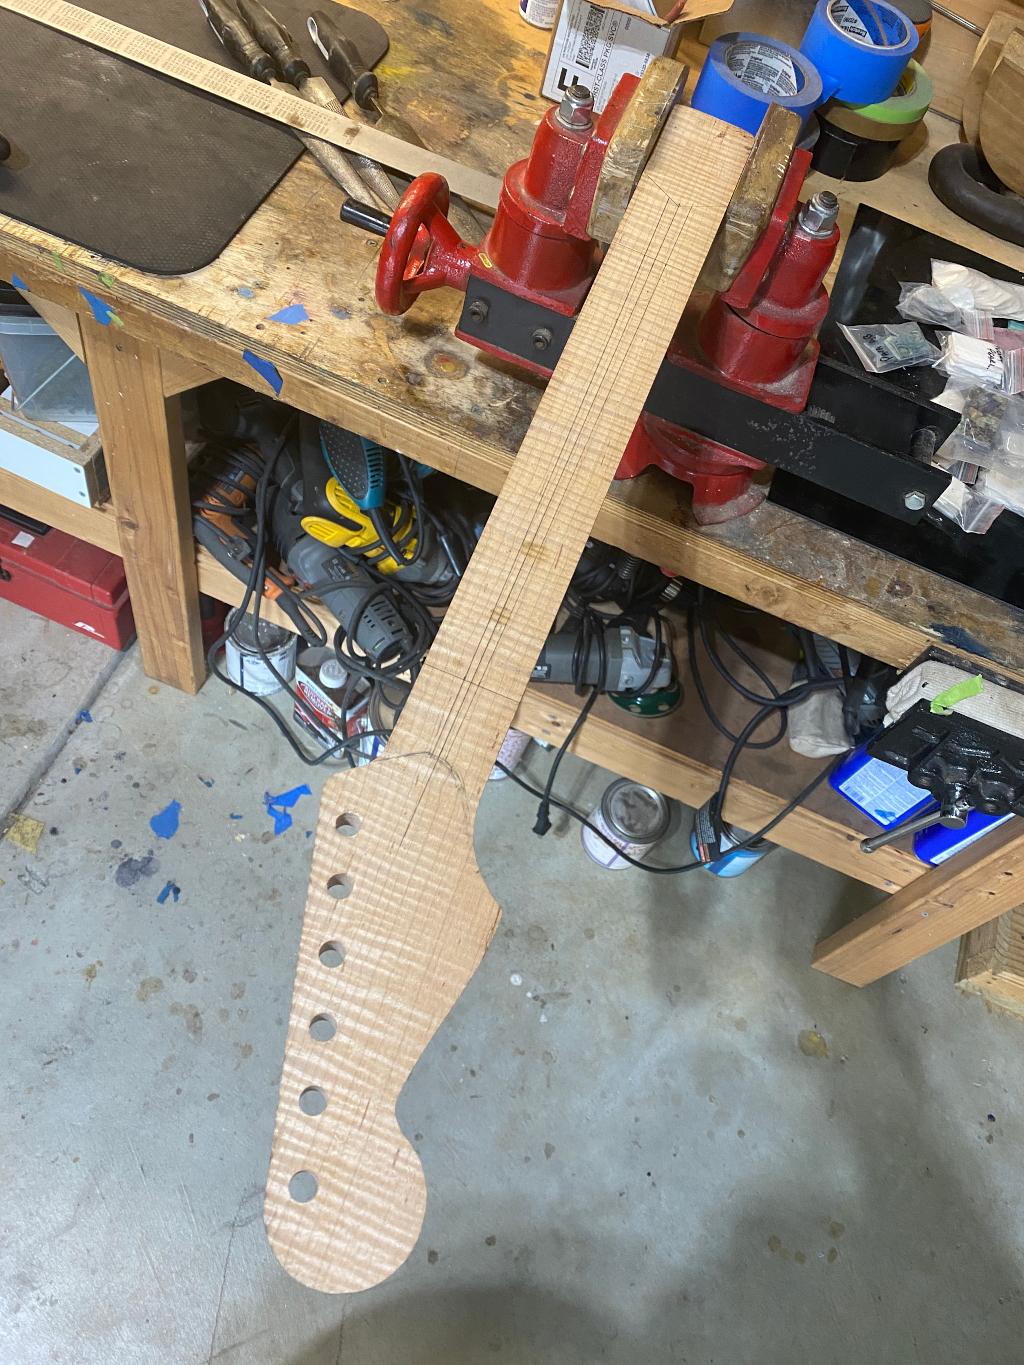
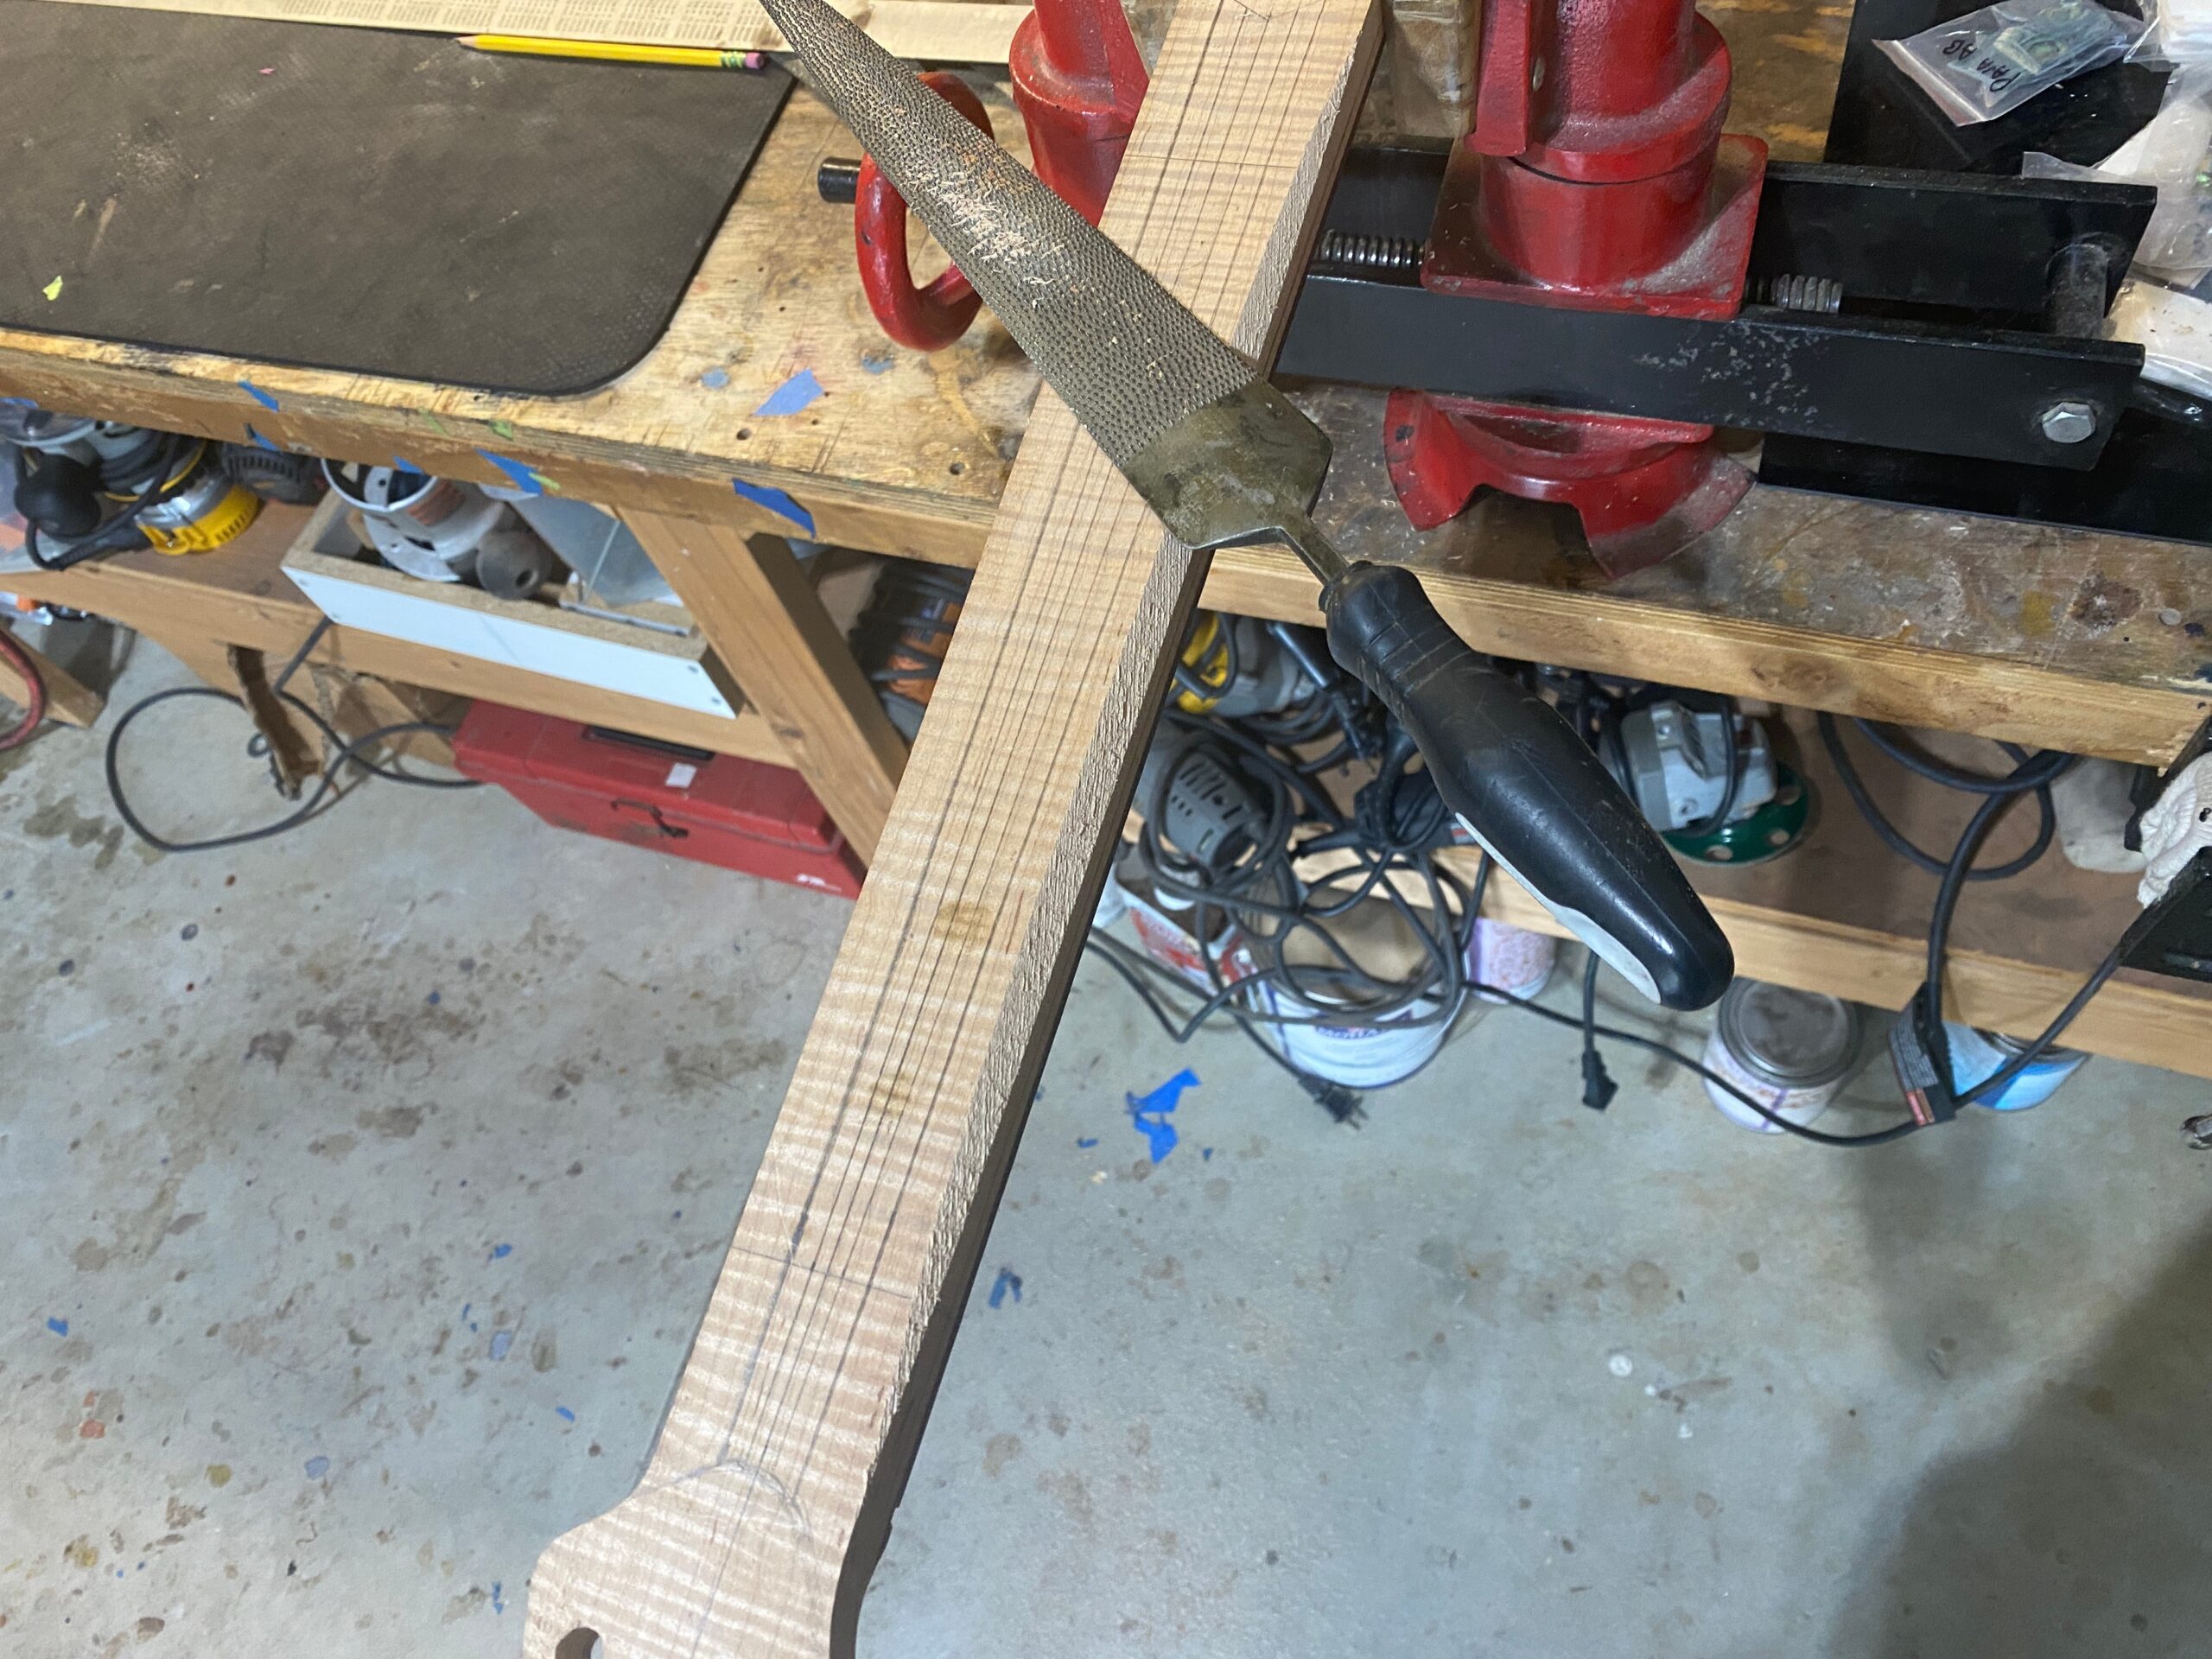
then I start carving facets into the neck following the guide lines so that I remain consistent from end to end. I use a set of coarse and fine wood rasps for the rough shape carving
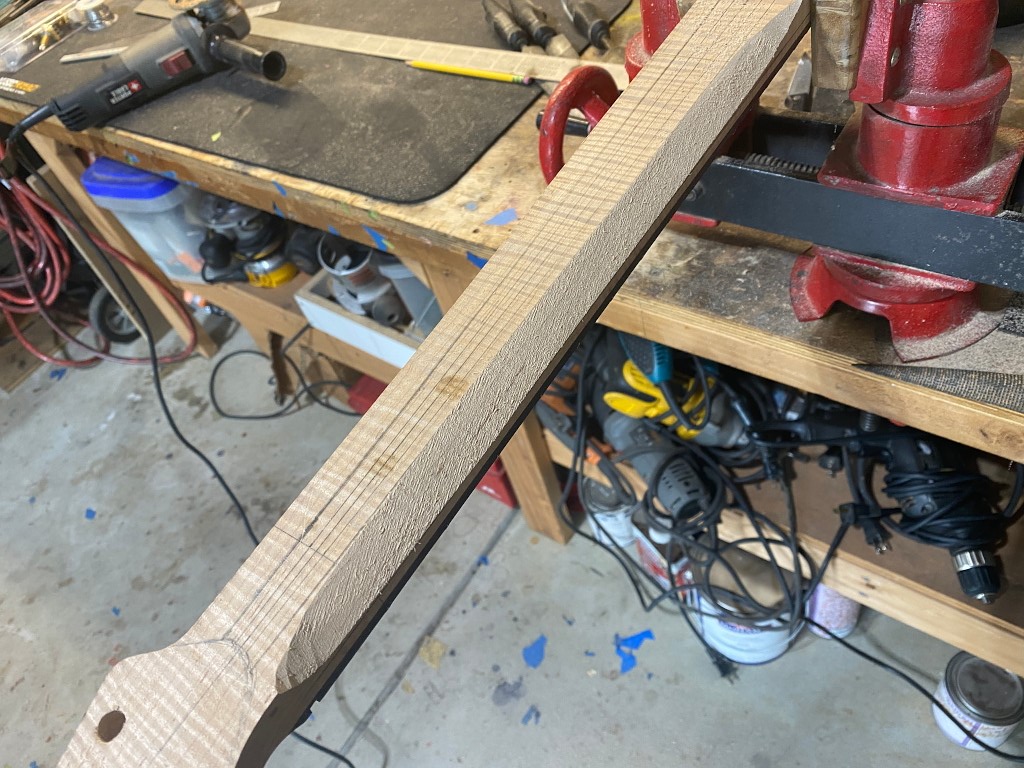
Its tedious work, but very satisfying when the final shape starts to emerge,
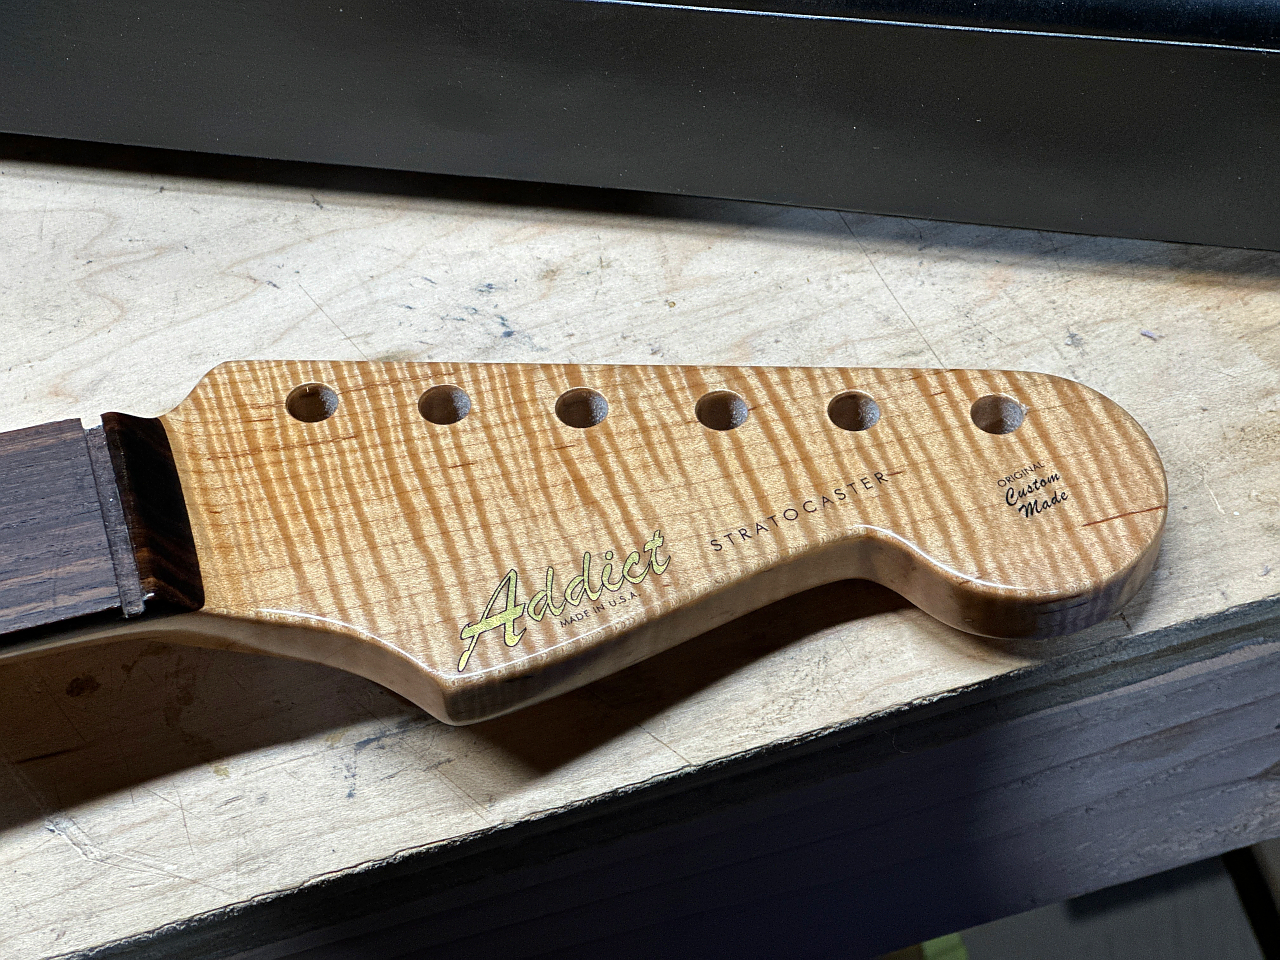
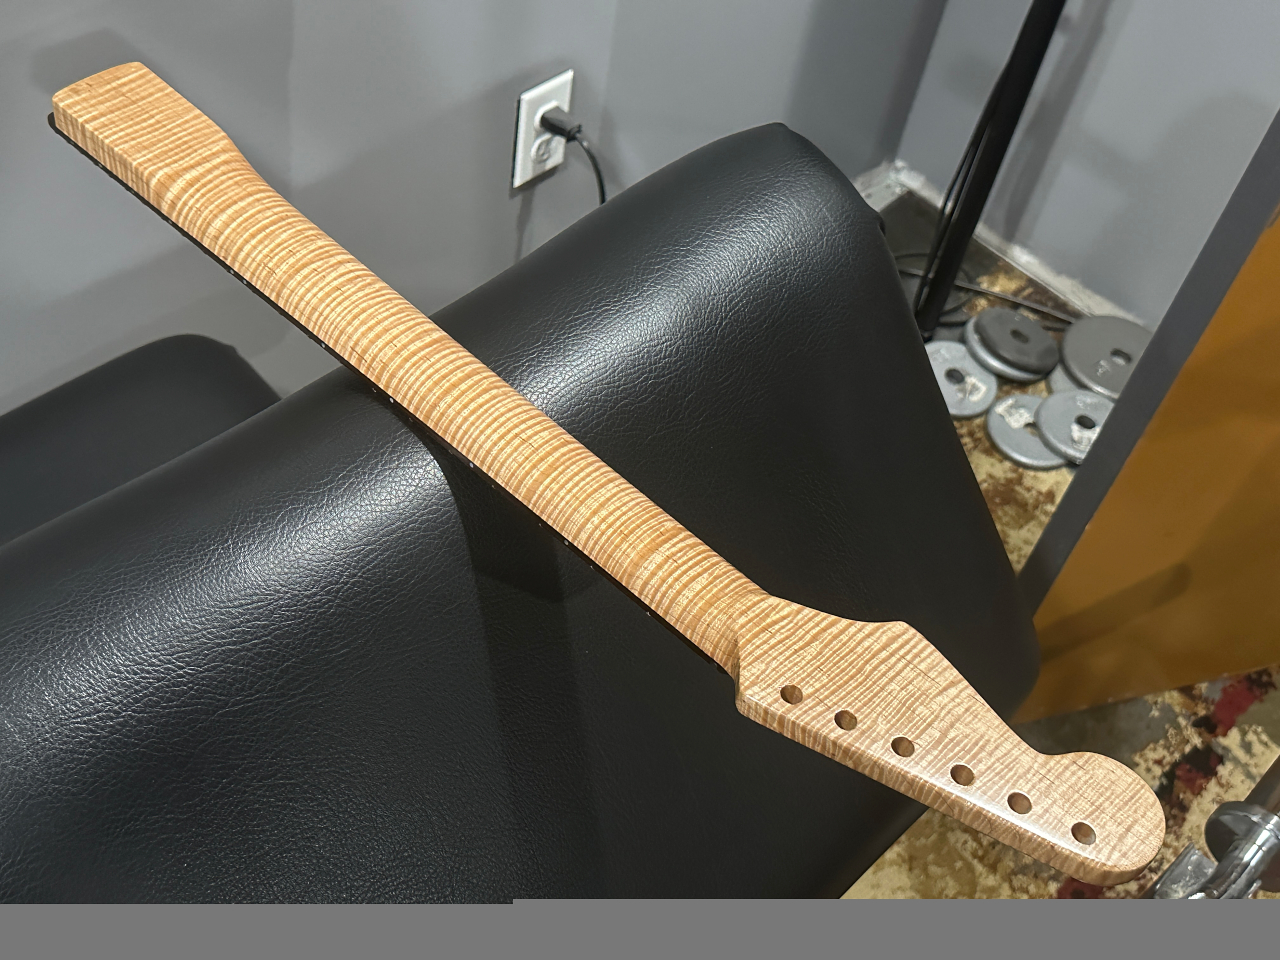
the final touch is the finish. I use clear, untinted nitrocellulose lacquer. On the bodies I use a high gloss finish, but the neck is overshot with a final coat thats flattened to give a satin sheen,
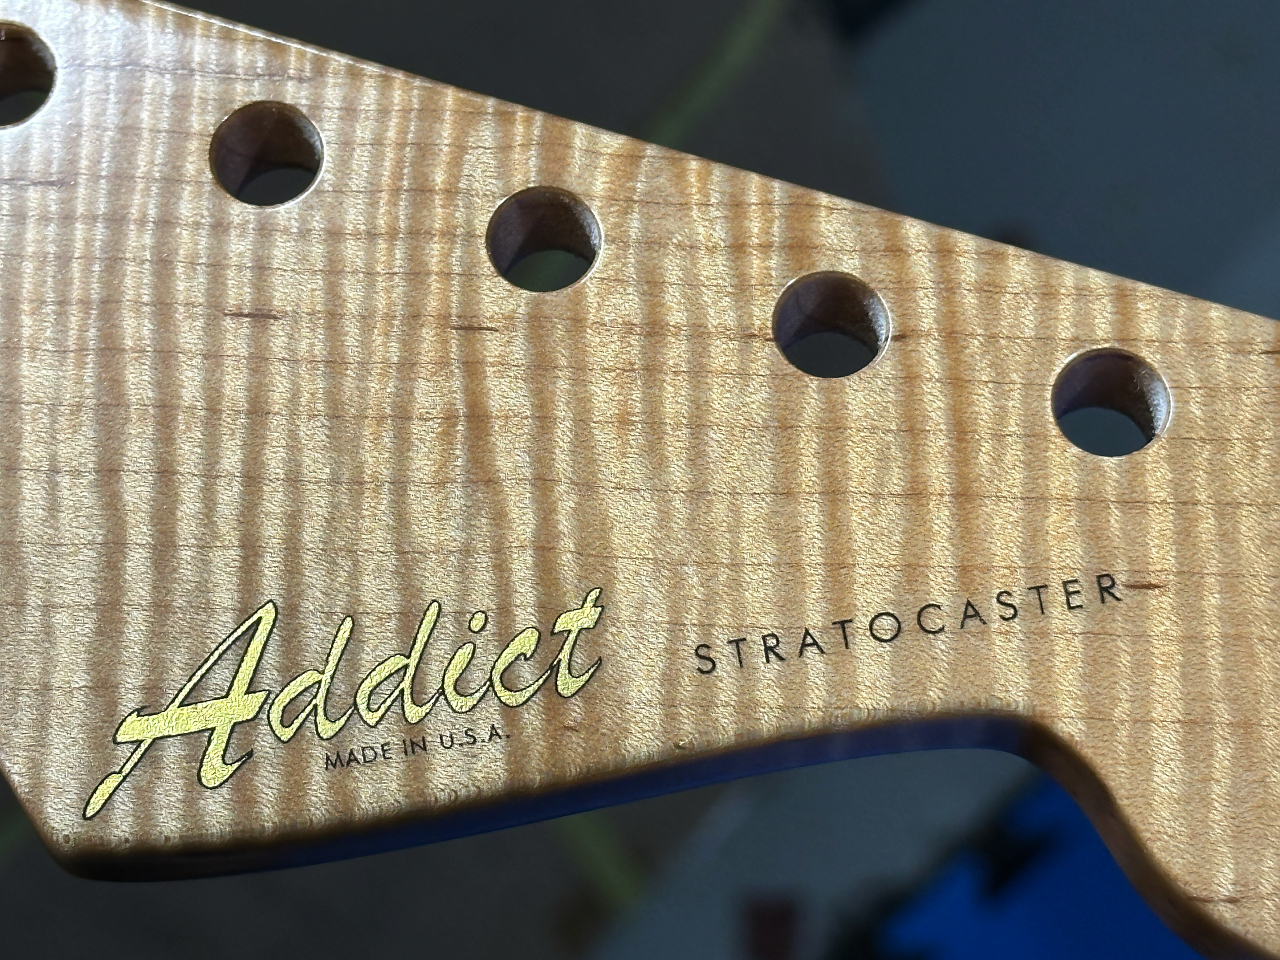
The Addict logo is of course deliberately designed to look similar to the Fender logo, as is the model name “Stratocaster” which is actually a trademark of Fender guitars, as is the actual shape of this headstock. I can use them here because this is a guitar I’m building myself for my own personal use, and is not a product that I sell. I also use my own brand name here so that there is no perception that I’m making a knock-off or counterfeit. In other words, I’m not trying to pretend this is a genuine Fender guitar. In point of fact, I believe it to be better than any mess-produced, assembly line guitar produced by a major guitar manufacturer like Fender. Just setting the record straight 🙂