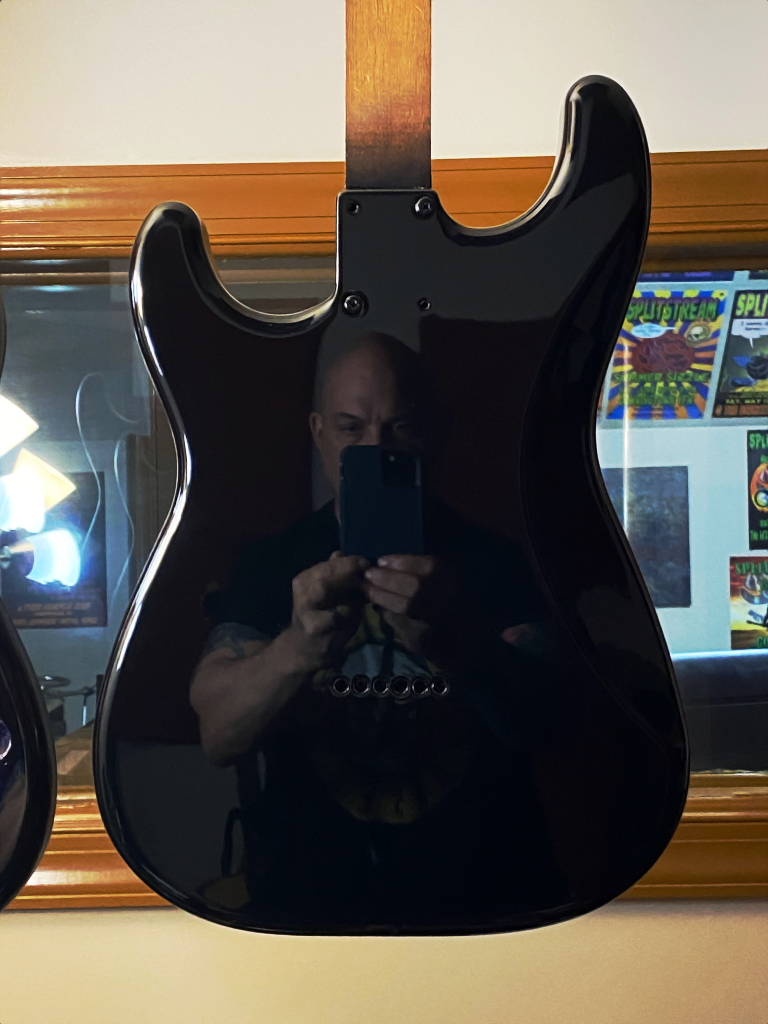
OK, enough fun and games. This next bit is what will make the guitar look awesome, and thats important too 🙂
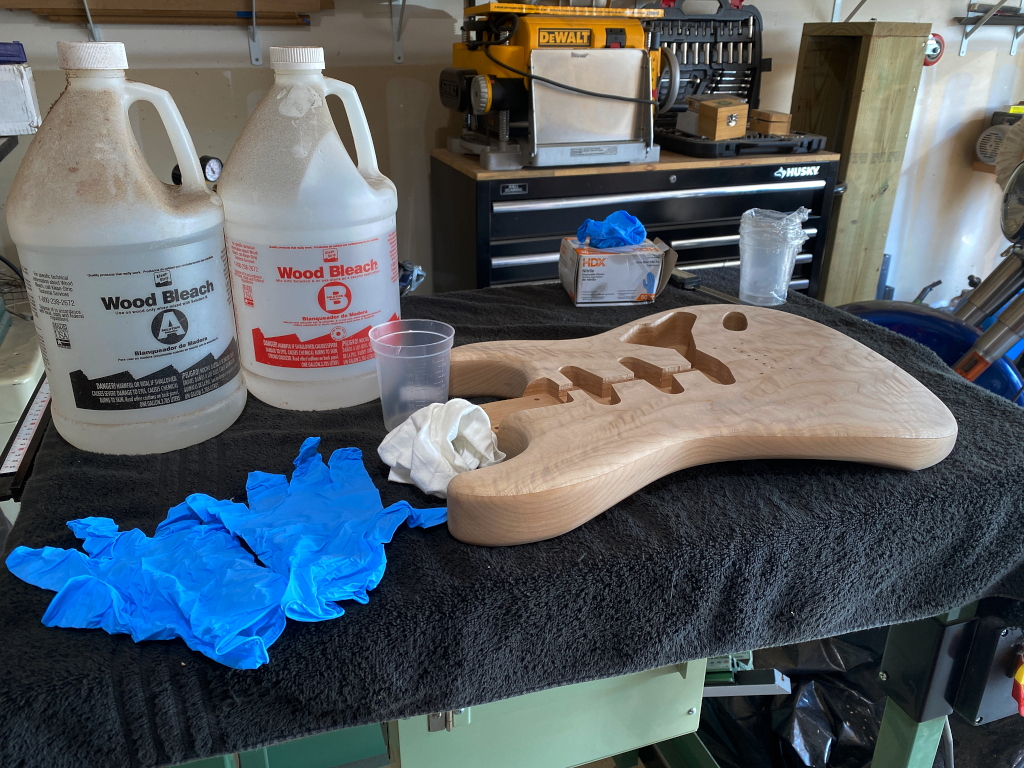
The color I’m going for, a medium-dark aqua-blue woukd never work with the natural color of the maple. it has too much brown/tan coloration, and that would make the blue look like muck. The solution is to bleach the top white so that the natural color of the maple isnt working against me. For this I use a 2-part wood bleach. Part A is sodium hydroxide (Lye), and part B is hydrogen peroxide. Lye, as I’m sure you already know, is extremely caustic all by itself. this peroxide is a 30% solution, so is 10x stronger than the perox8ide you may be familiar with. If you tried to gargle with this stuff, youd wind up with no tongue 😉
Mix is 50/50. Apply to the whole top, and allow to dry. Repeat 3 times, and then wipe the top with a solution of white vinegar. This will neutralize any remaining acids from the bleach. then allow the whole thing to dry thoroughly.
the before and after here are pretty obvious.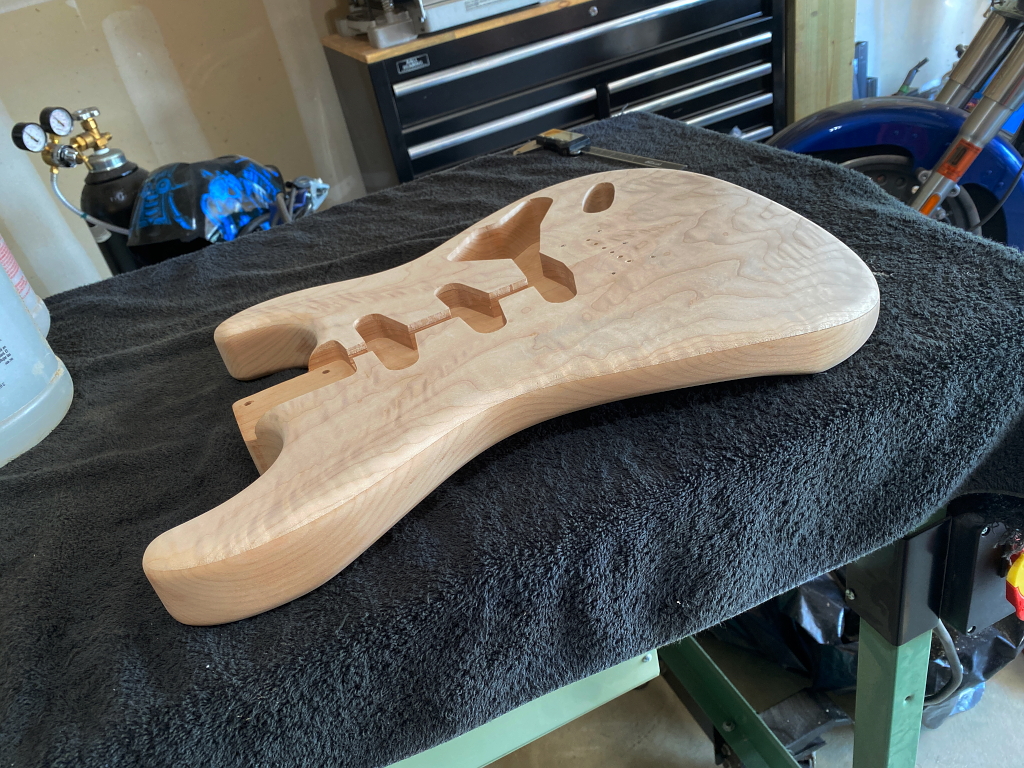
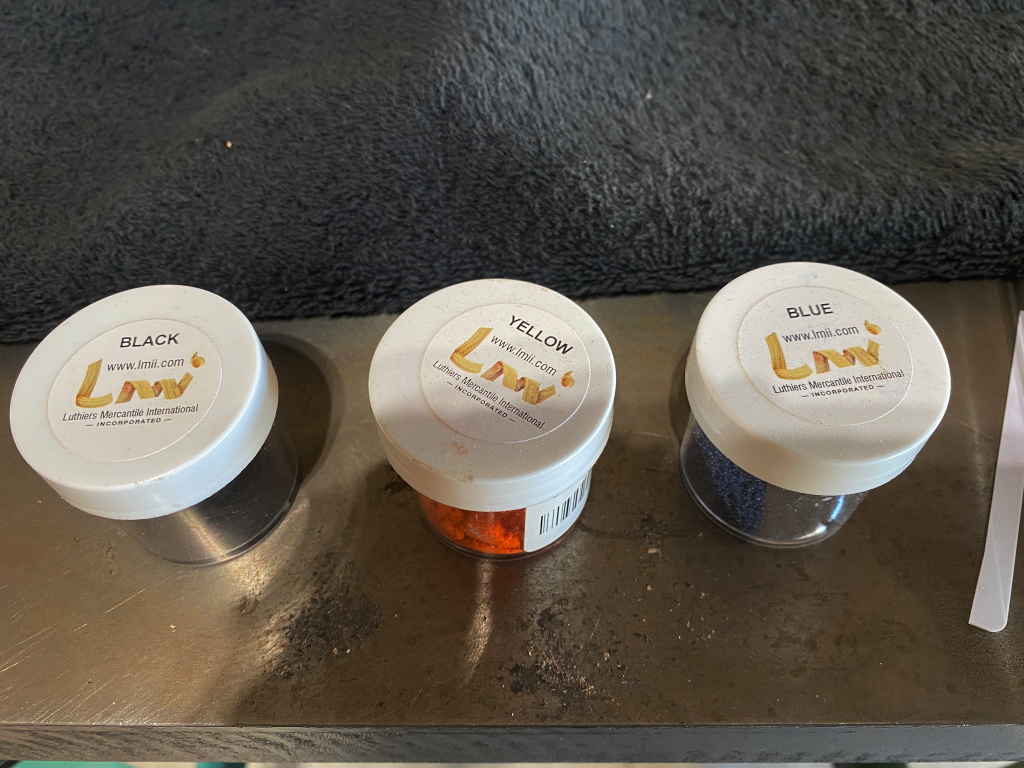
Next tomes the actual color. I use 3 colors to make this top. These are water based aniline dyes. I like these because they are very light-fast. Meaning that exposure to UV light wont fade them as quicjkly as other types of dye. For the record I do my best to not allow my guitars to sit in direct sunlight because UV light just fades colors. Its universal. I like my color to stay bright for as long as possible, and since sometimes you just cant help it, I choose dyes that resist it as much as possible.
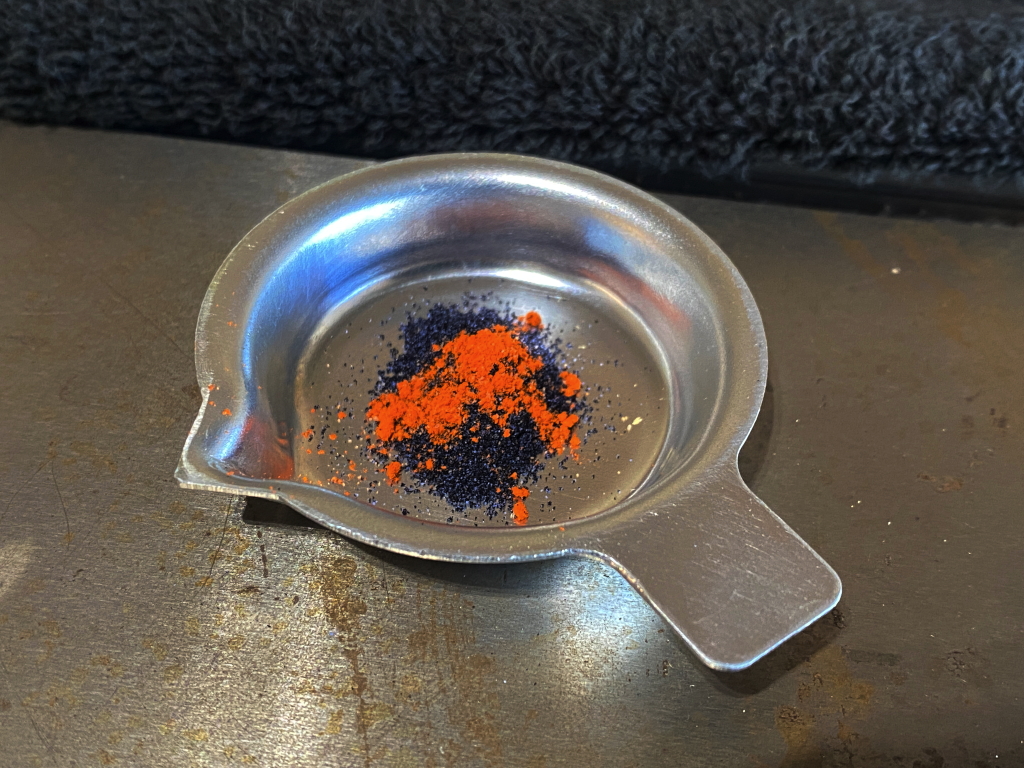
I weigh out the precise amounts to get the color I want.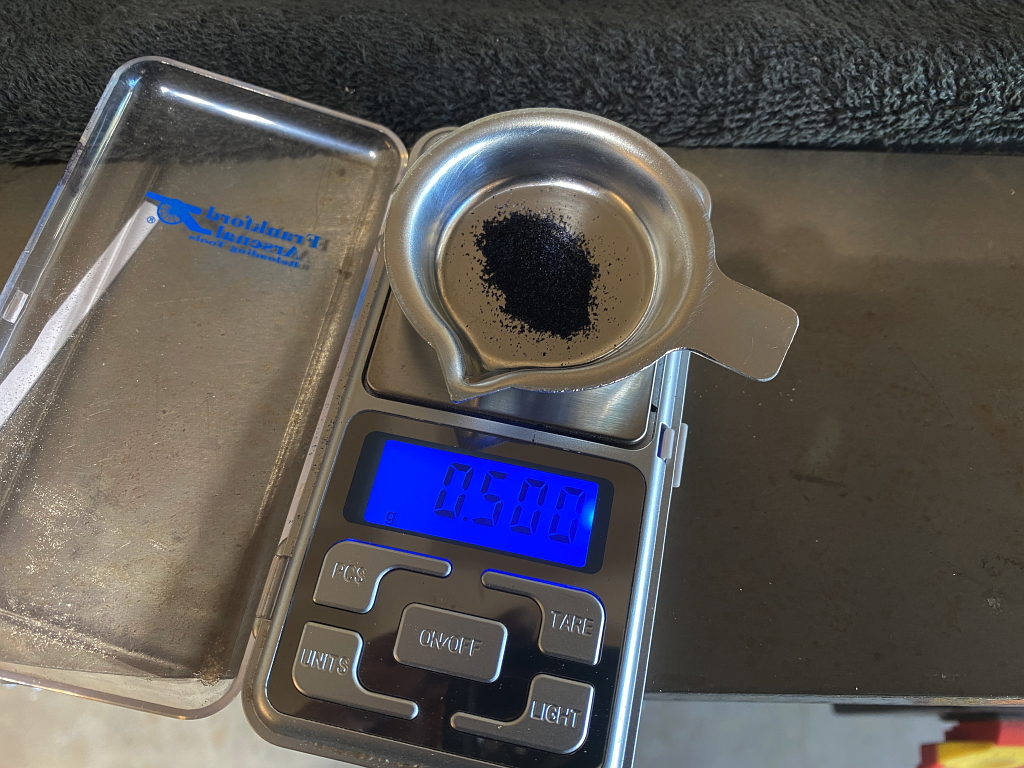
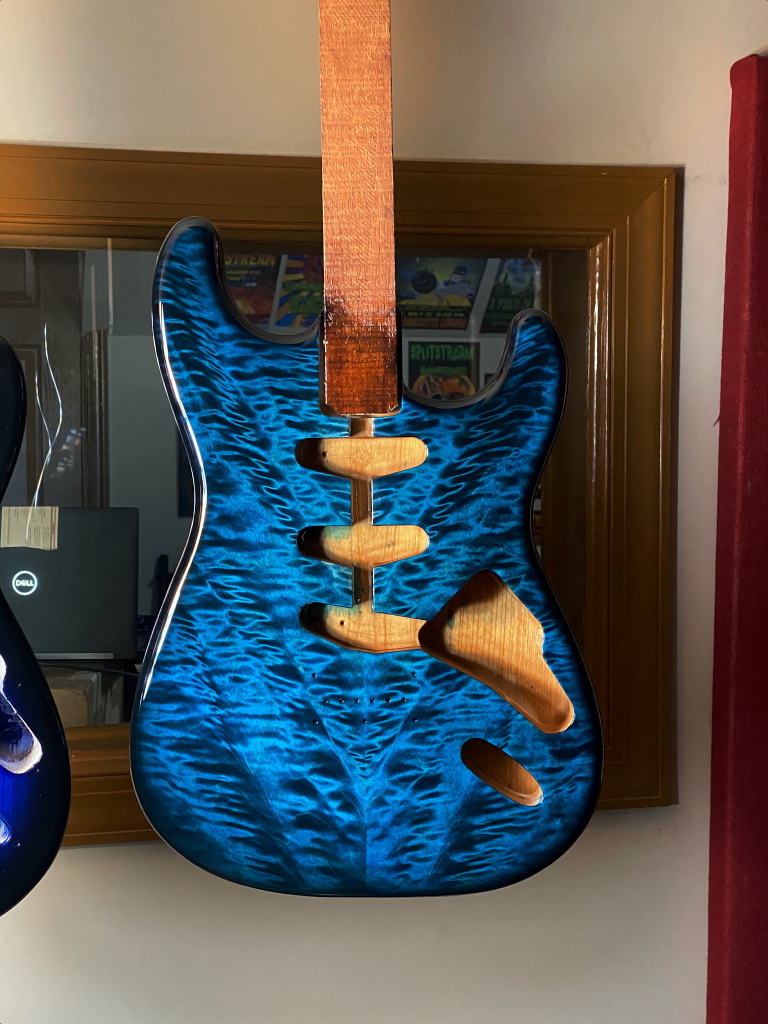
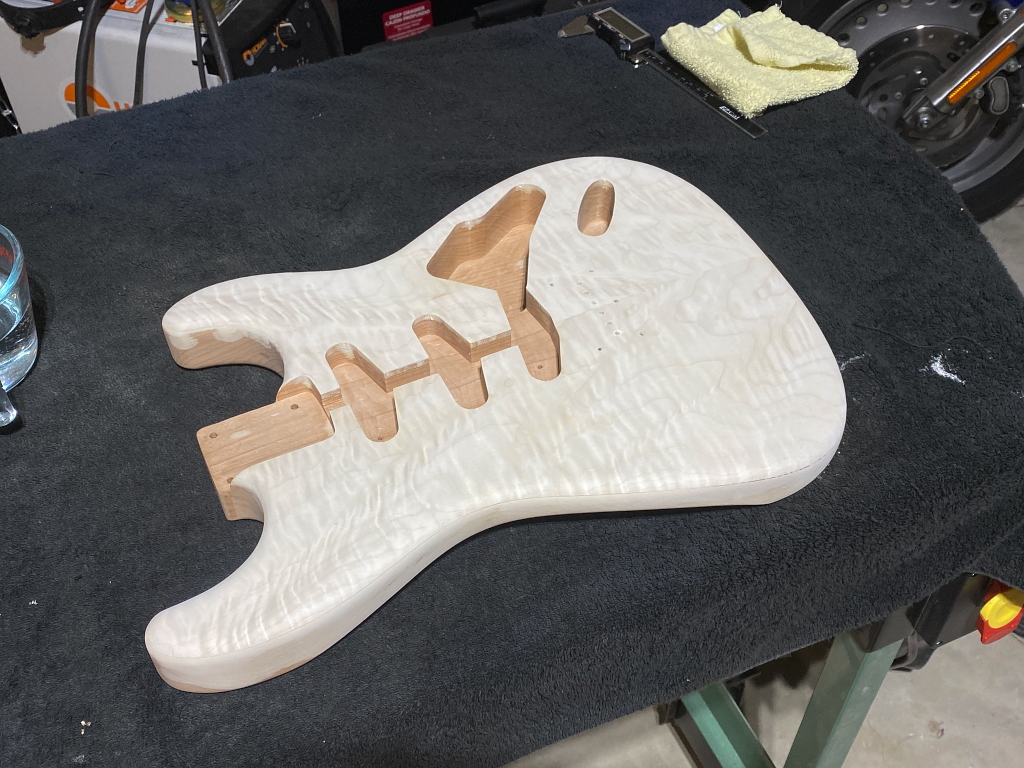
Before any blue shows up, the first thing I do is dye the entire top black. That might sound odd, but theres method top the madness.
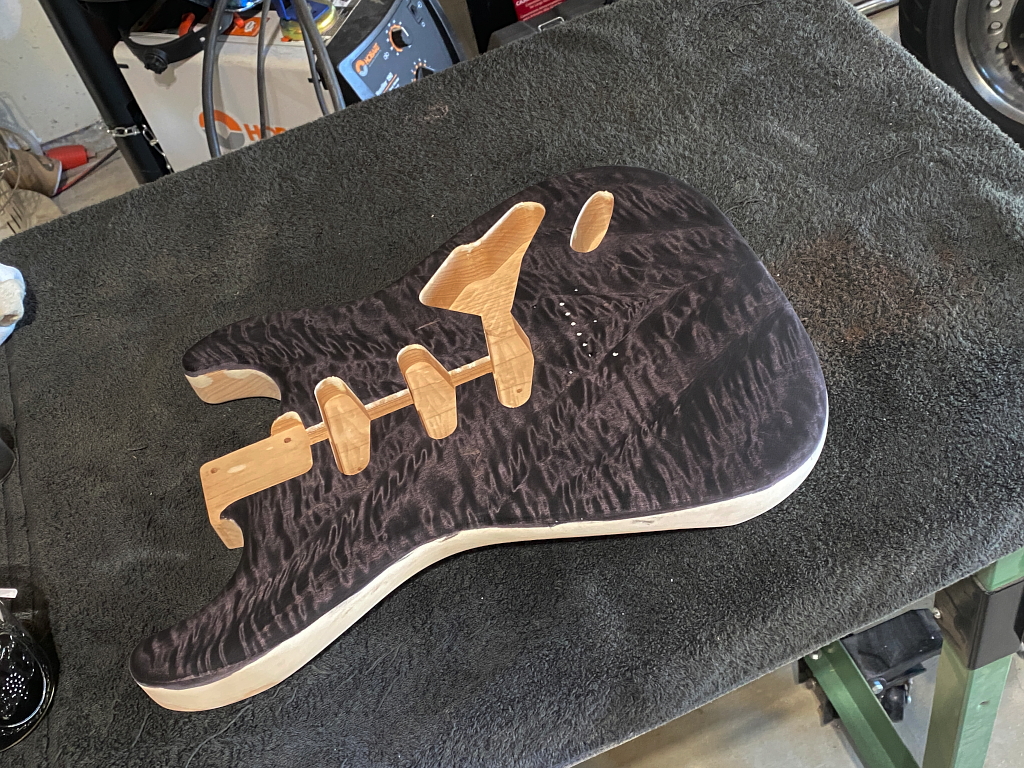
Once dry, I sand the black off, leaving only the color that absorbed farther into the wood because of the figure. The figure is just regular distortions in the fibers of the wood, and the fibers are essentially tubes. Where the tubes intersect the surface perpendicular to it, the dye flows deeply into the wood, and where its parallel, it just sits on the surface, so when sanded it leaves dye only where it penetrated into the wood.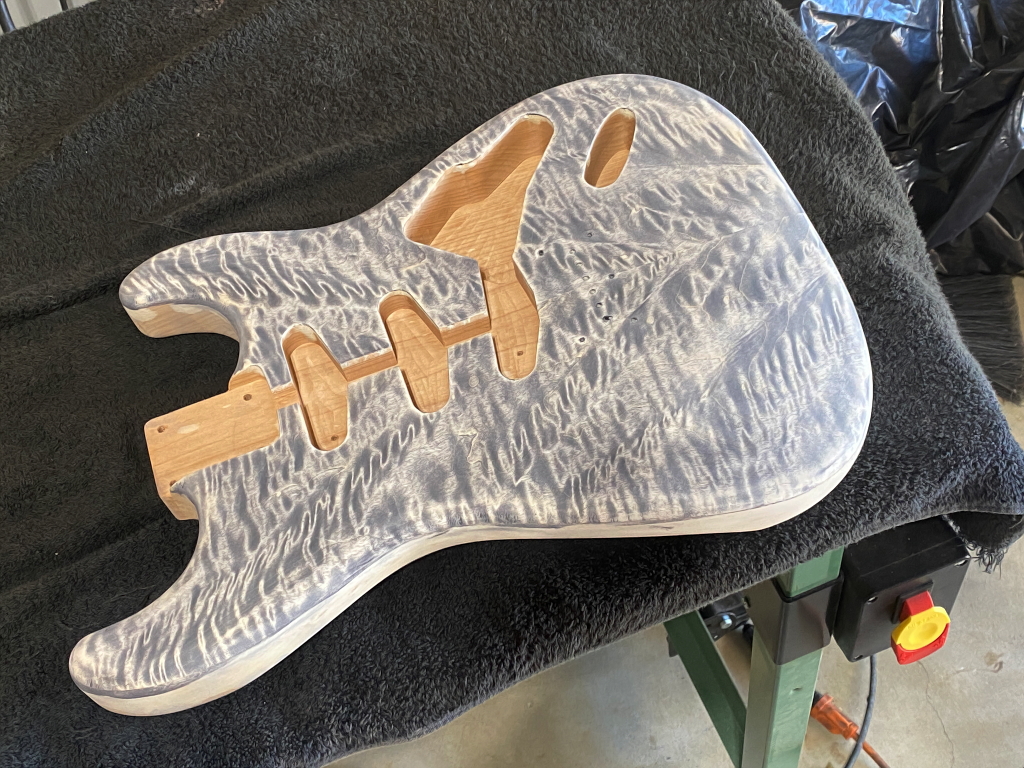
At this point the blue dye is wiped evenly across the top. It has to be the right intensity to get the color you want on the first wipe, because wiping more than once will start to re-activate the black. One wipe and done, or you are wrecked 🙂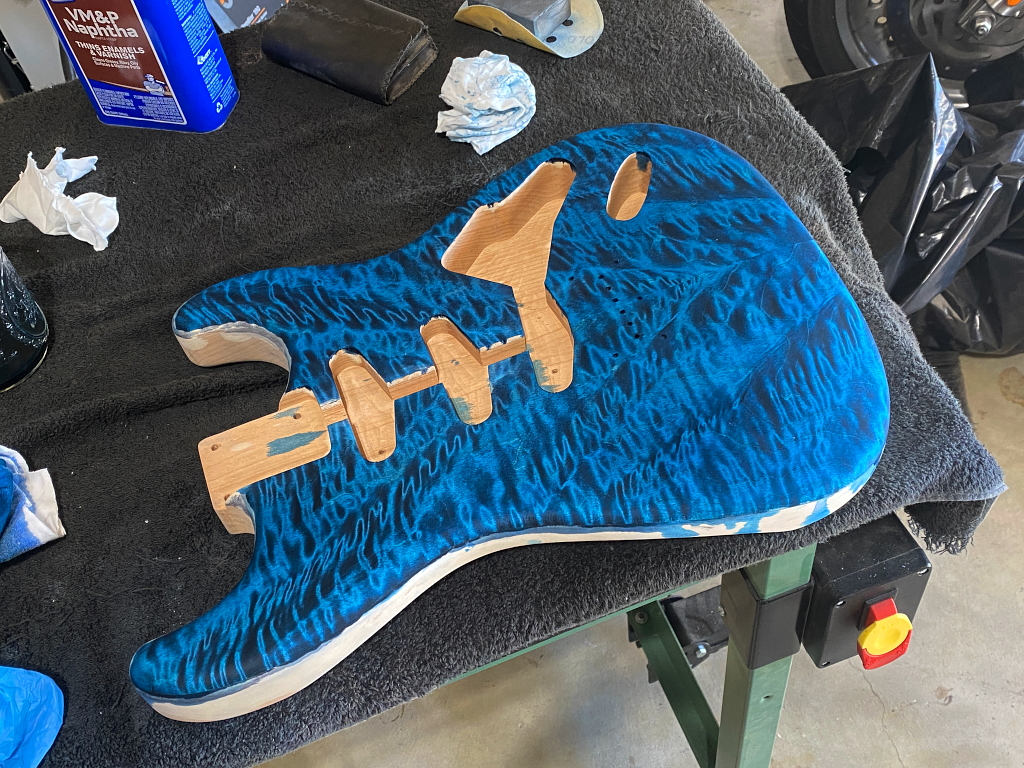
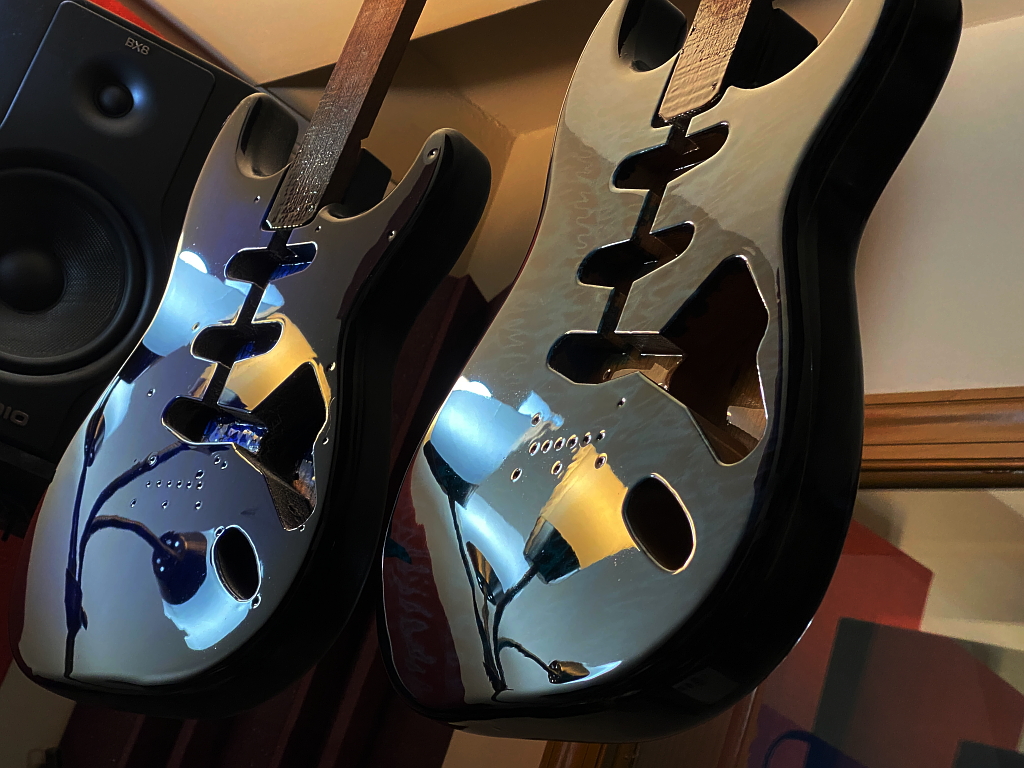
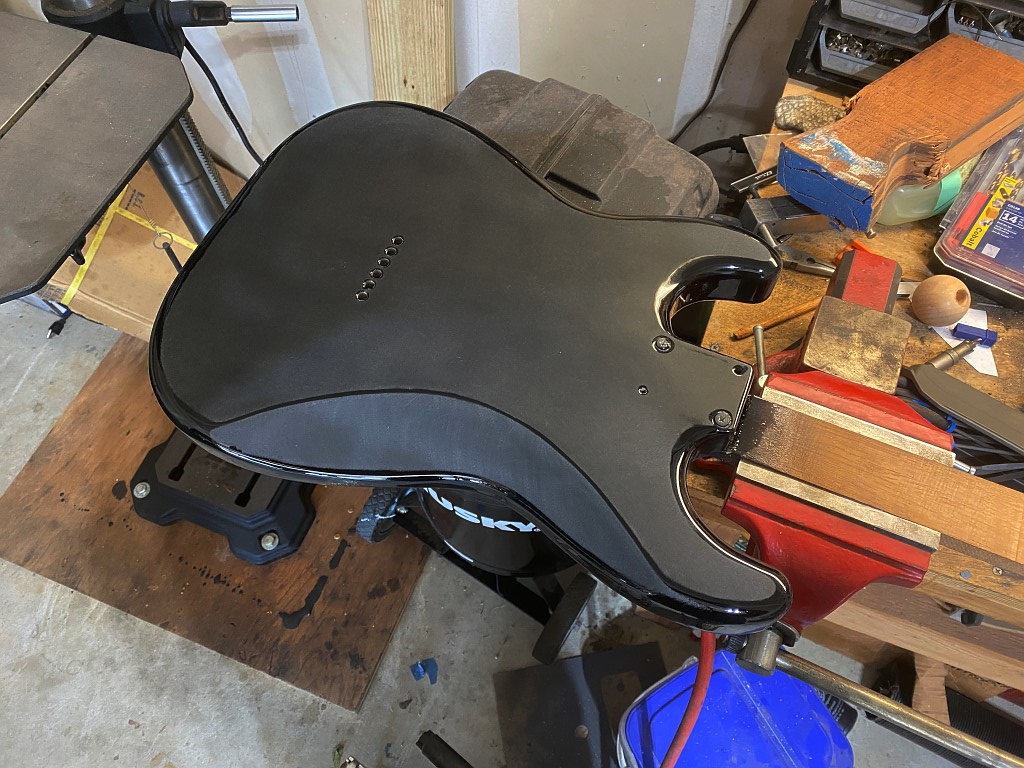
Last, the black lacquer is shot on the sides with a very slight gradient overlapping onto the top at the very edges. This blends the transition rather than just having a clearly defined line between black and blue.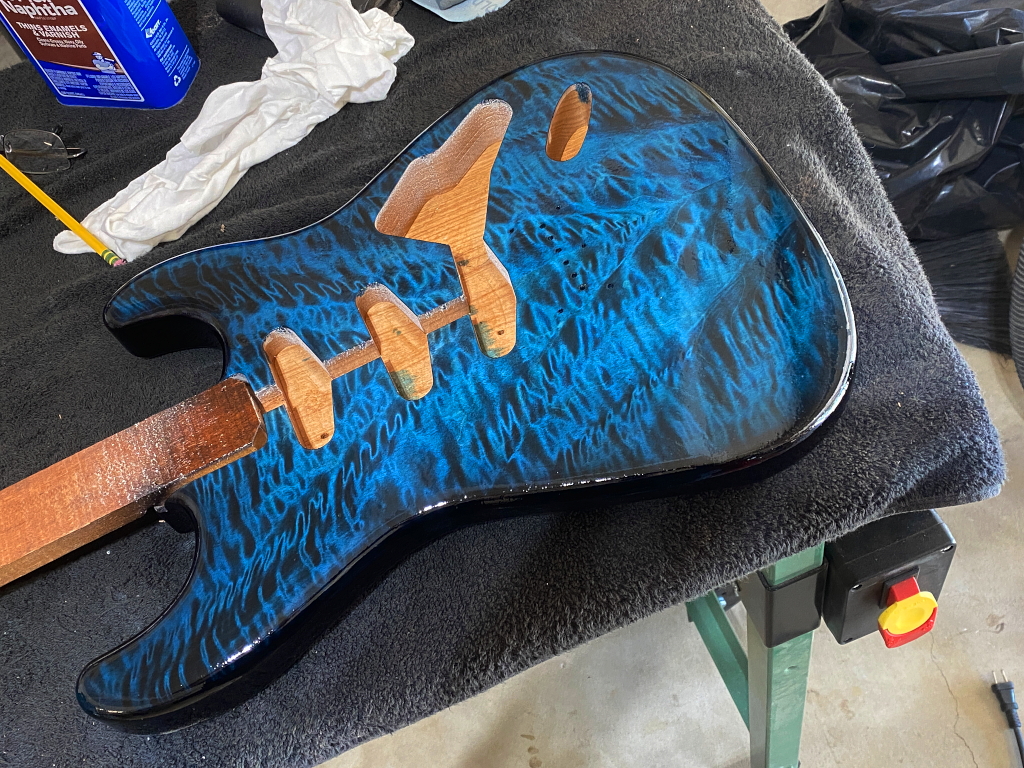
After that, a good 6 layers of clear lacquer is shot over the entire top, sides, and back.
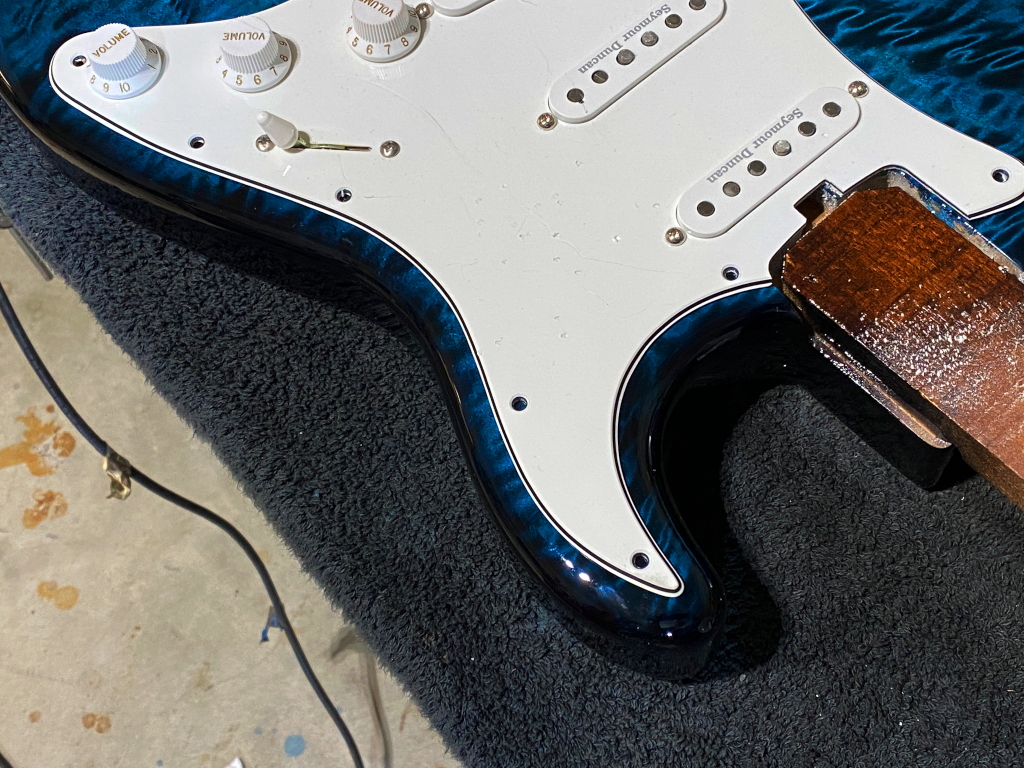
Then test fitting hardware again. I wanted the transition to be right at the edge so that some of the blue figure would show below the pick guard on the lower edge.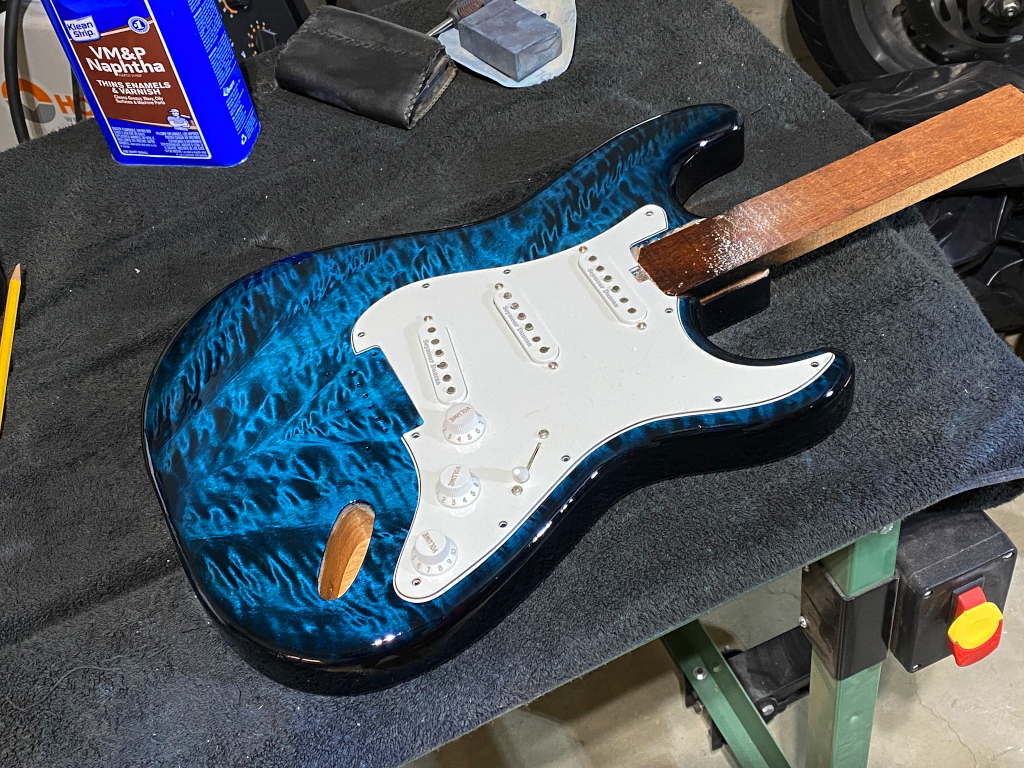
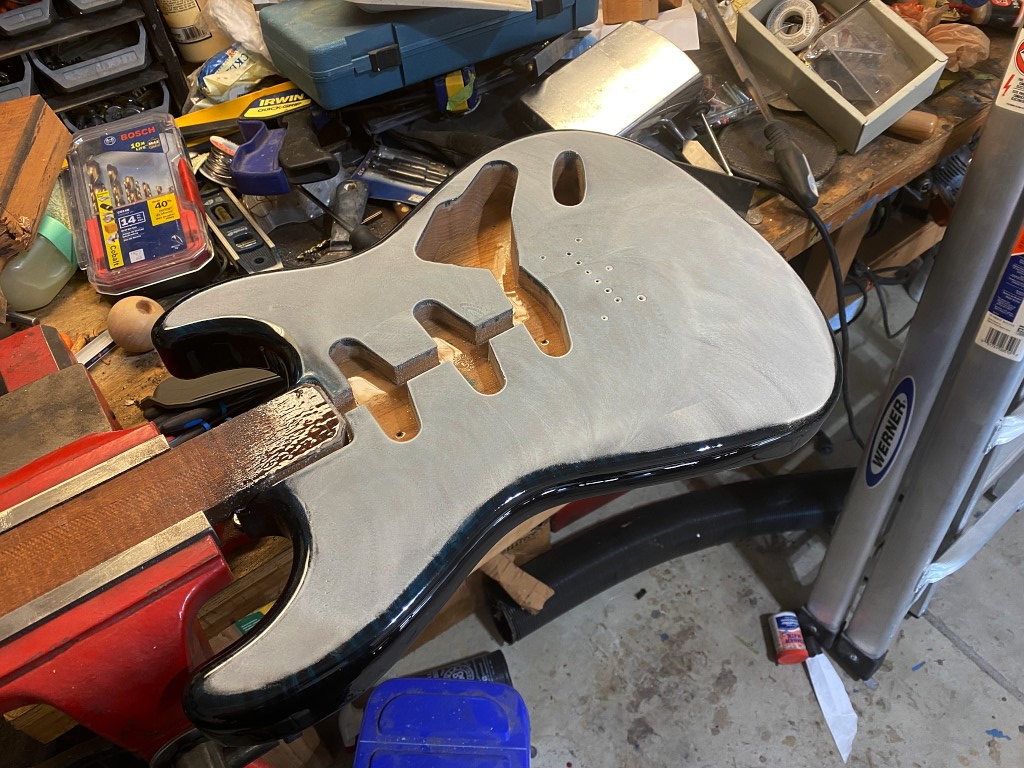
After shooting all that clear, the surface will have a bumpy texture known as “orange peel”. This all has to be sanded flat so that we can get the hard, mirror shine on the finished instrument. thats normally done at the very end after the laquer hardens for a month, but we can get a head-start on it now which saves a lot of elbow grease at the far end. I used a random orbital sanded and a 320 grit disk to knock down the orange peel leaving a flat surface thats evenly thick.
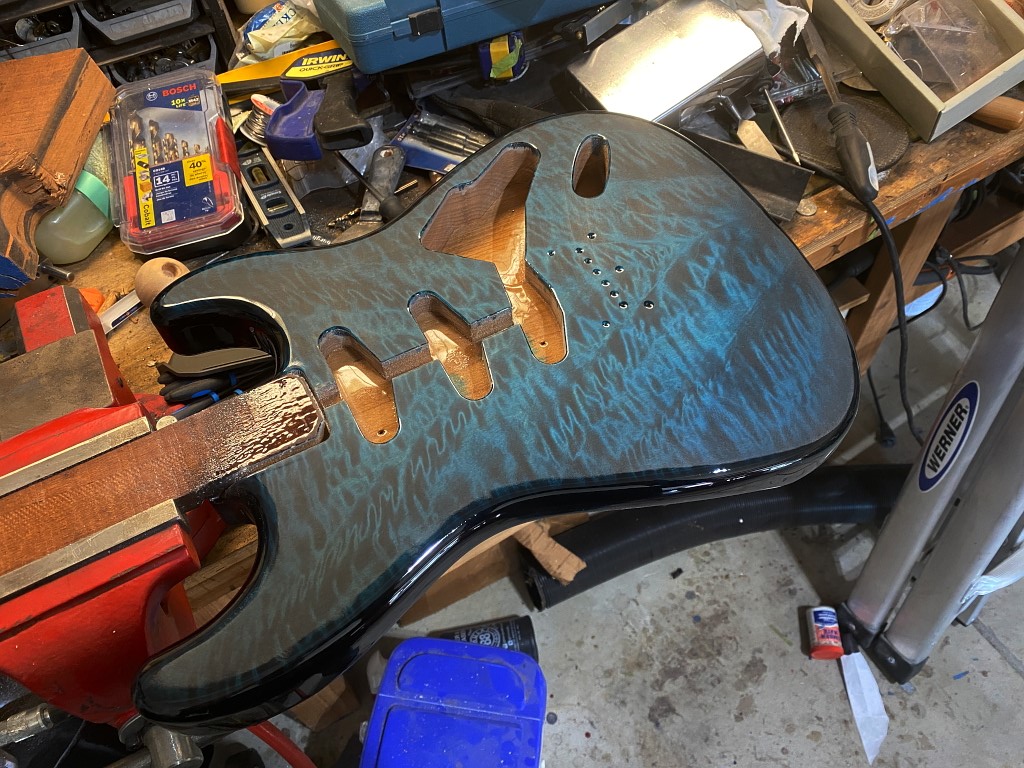
Then a final “flowout” coat of lacquer, thinned with reducer and retarder so that it spreads more quickly and takes longer to “flash off”, and leaves a beautful, flat surface that will be very easy to sand and buff in a month. Now it gets put away to hang undisturbed for 4 weeks while the lacquer hardens…