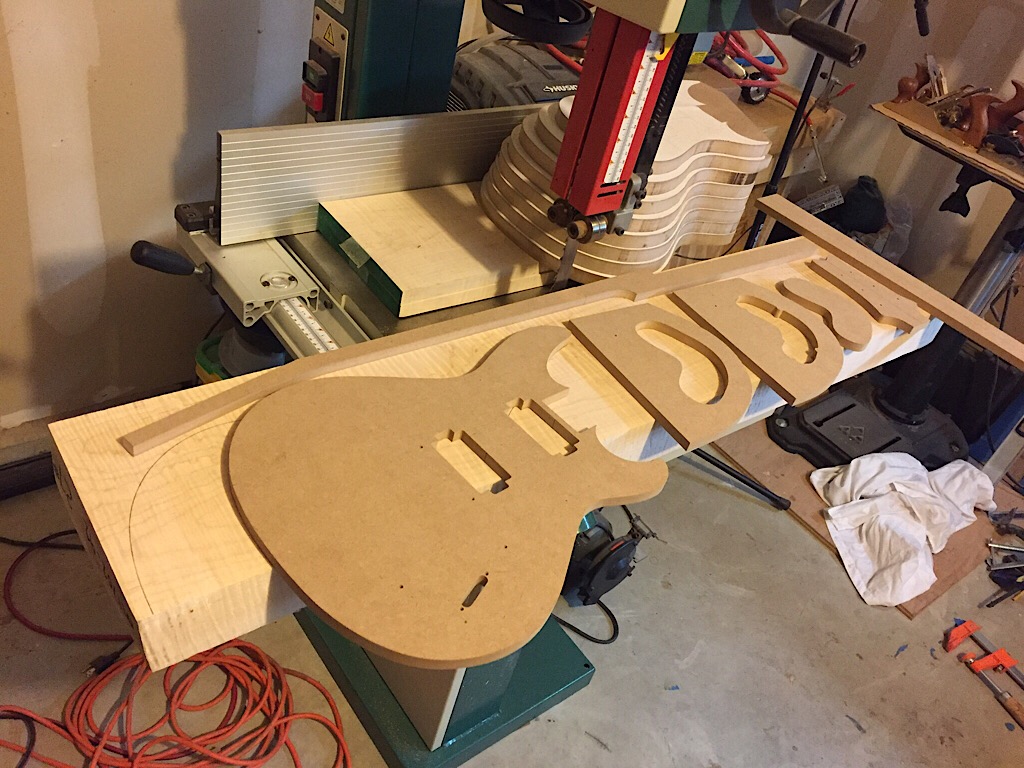
Stack of templates for this build 🙂
I designed this model in CAD, and then sent the CAD blueprints to a friend in Australia with a CNC machine who cut the body and neck templates for me. the stack of templates behind the band saw blade I made myself to use in carving the guitar top.
The wood.
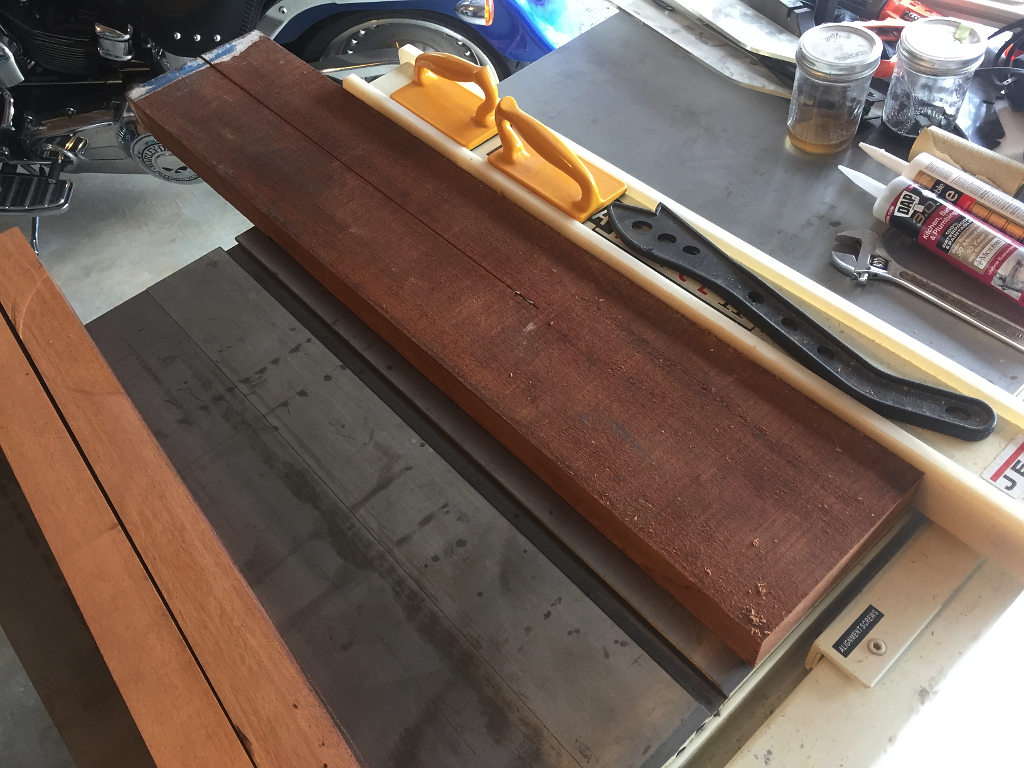
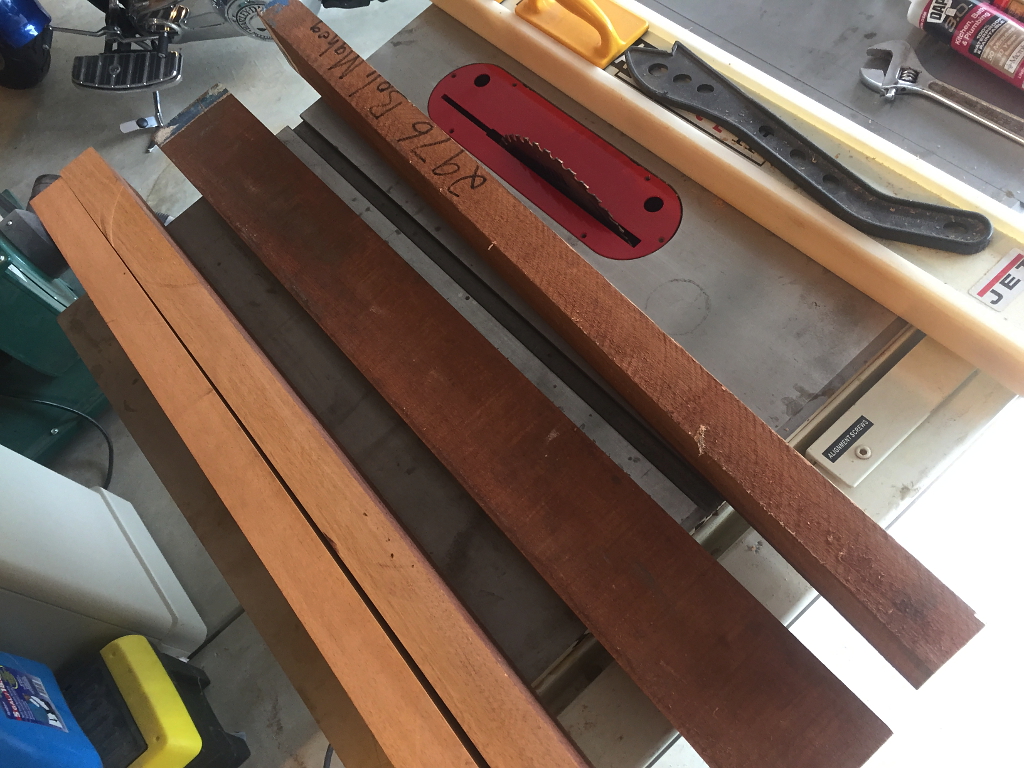
The following two photos are all the lumber thats going into this build.
The bottom 3 boards in this photo are Genuine Mahogany (swietenia macrophylla) from Bolivia. From these I will build the body and neck. On top of the mahogany is a hunk of Macassar Ebony (Diospyros celebica) from Sulawesi, Indonesia. I will use a part of this board to make the fretboard.
Appropriately, I bought all this wood on what would have been Chris’s 25th birthday.
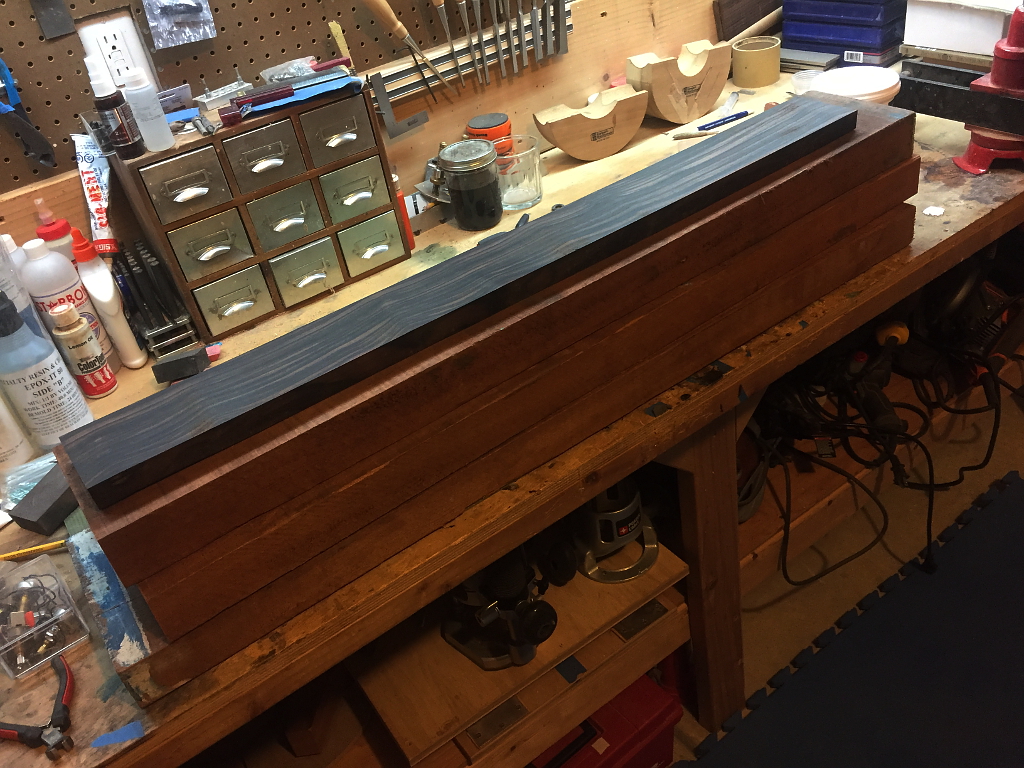
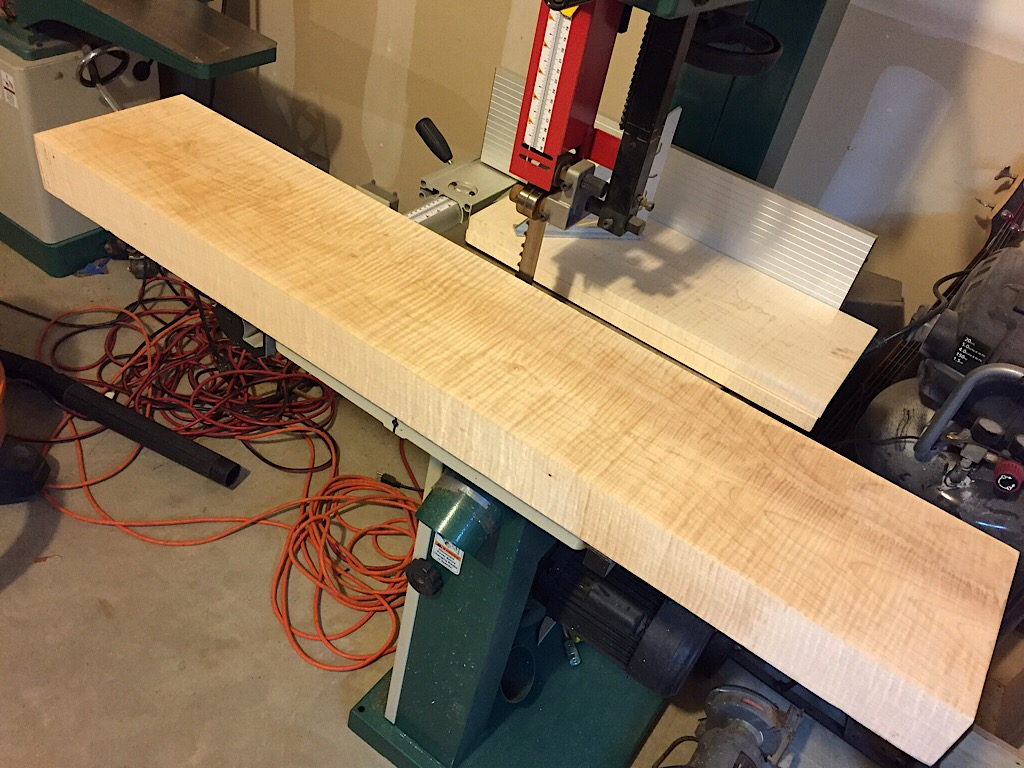
This is a big honkin slab of flamed maple. I’ll use a part of this slab for the guitar top.
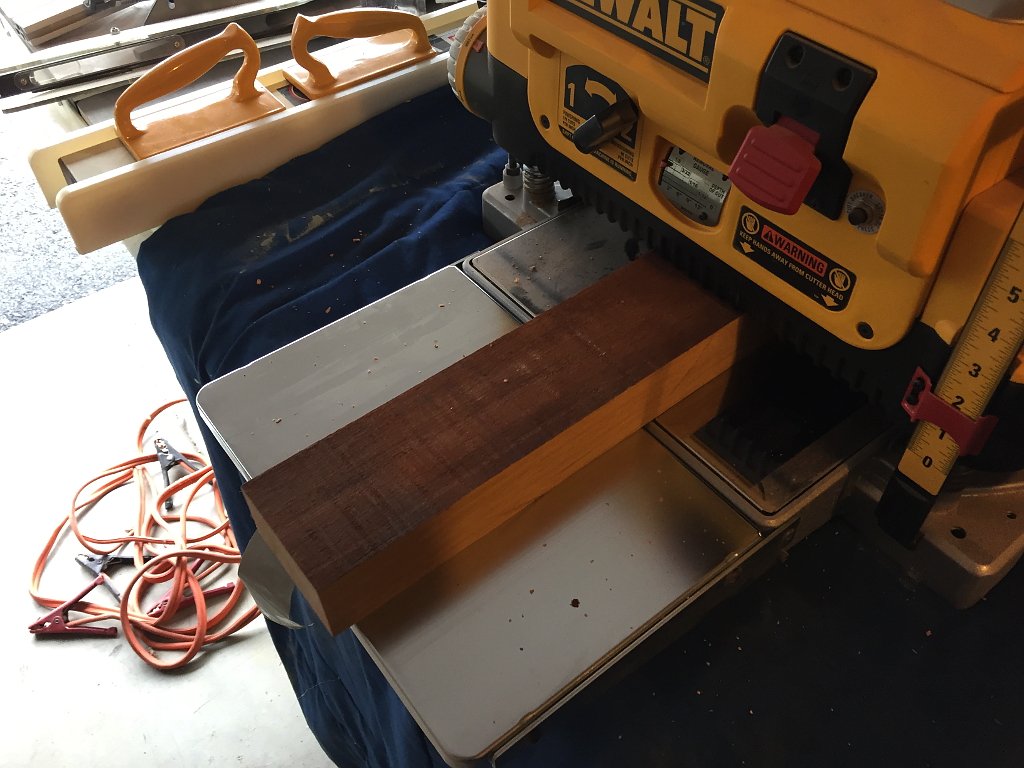
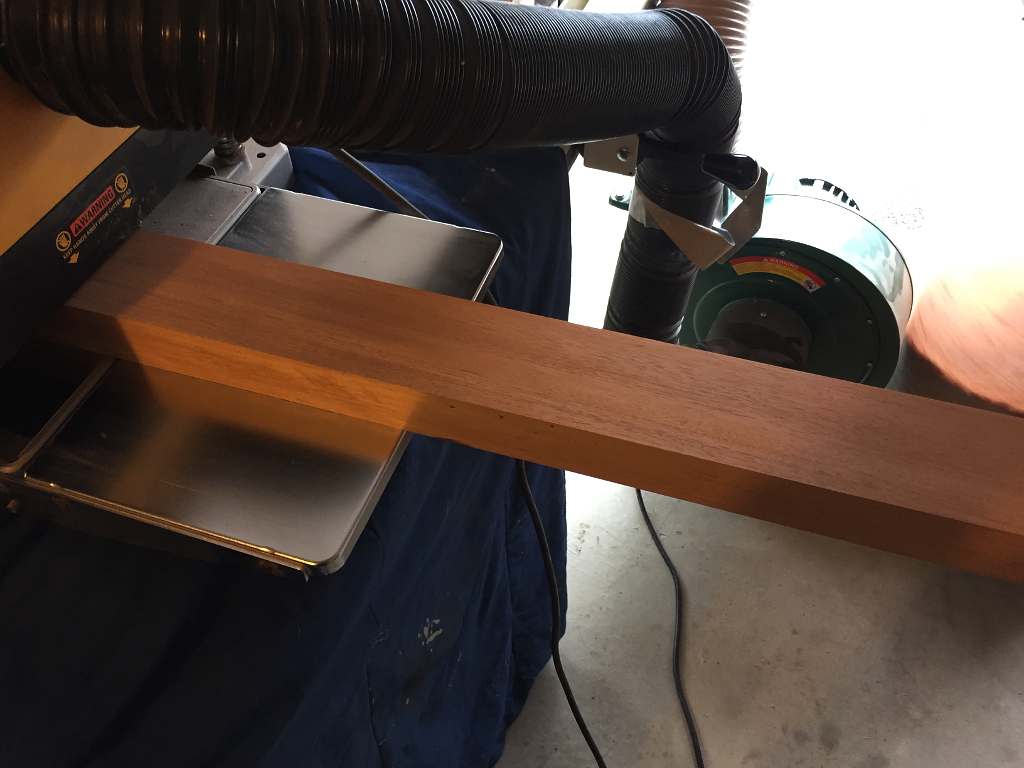
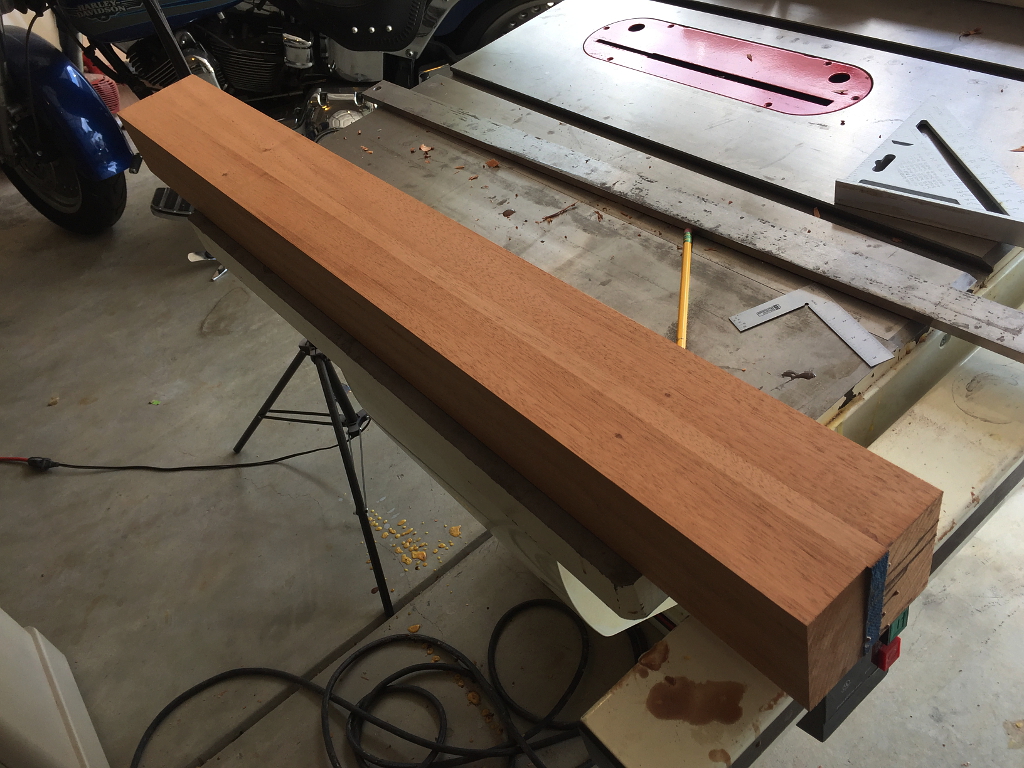
First things first. Cutting and milling the mahogany to usable sizes and dimensions. First, ripping it down on my table saw.
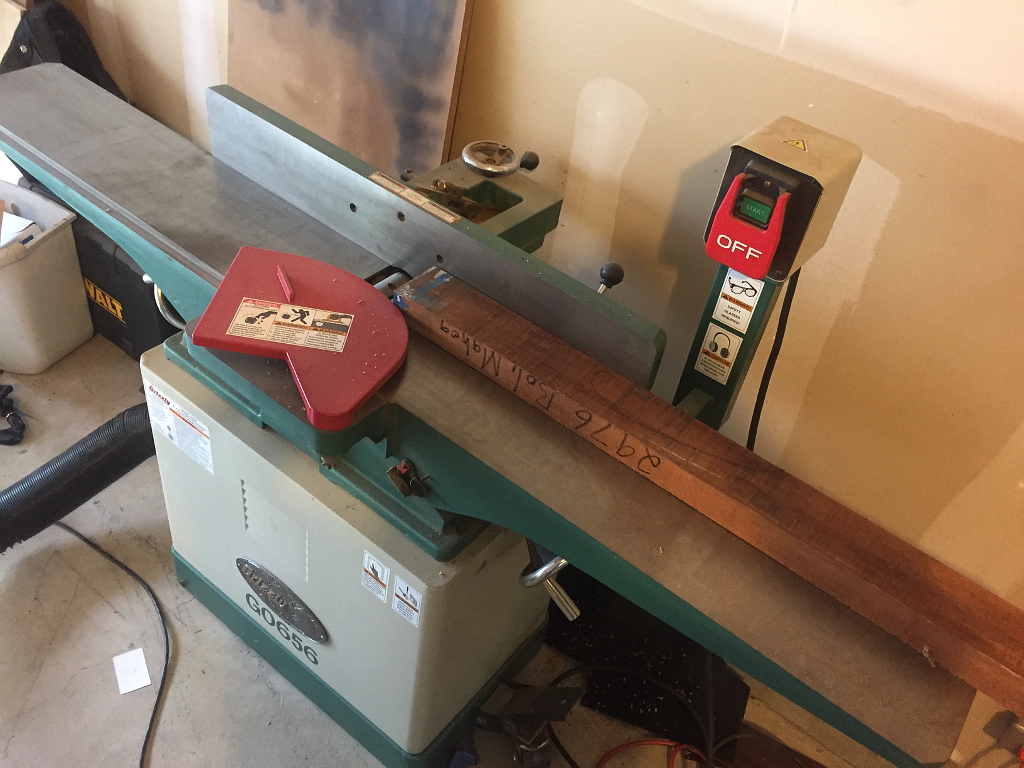
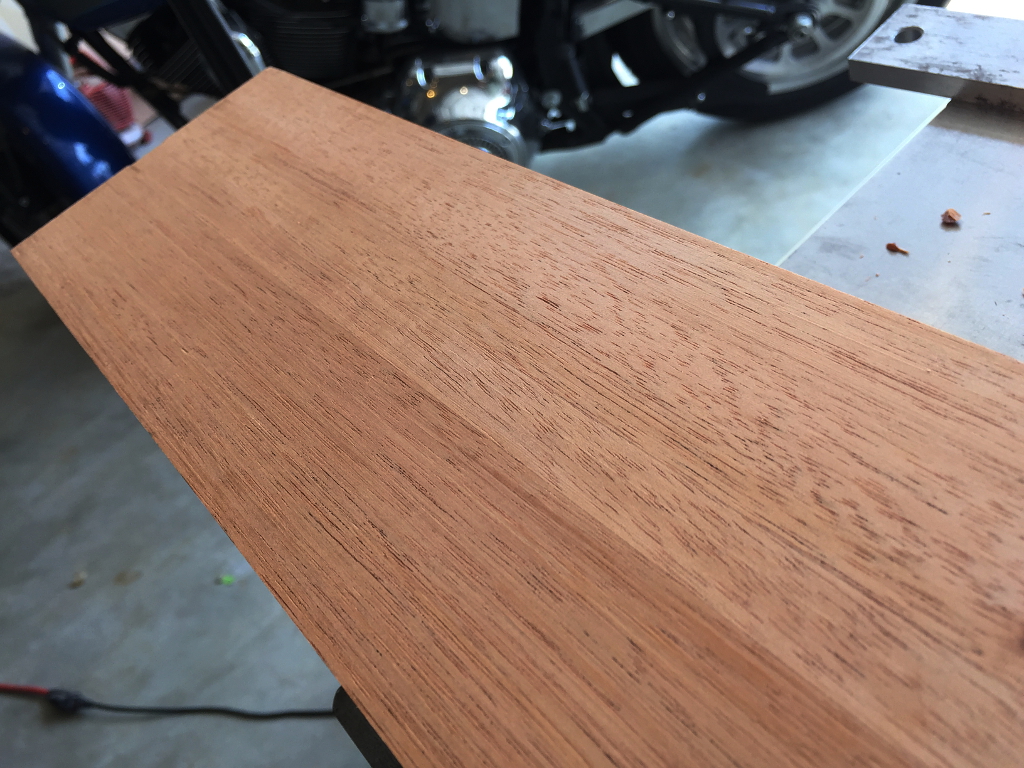
Once ripped to the right widths, I use the jointer to make one face and one edge perfectly flat, and make those faces perfectly 90 degrees to each other.
Then into the planer to take the thickness down and make them an even, consistent thickness end to end.
So the neck will be a laminate of three boards. I like laminate necks because they are far stronger and more stable than necks carved from a single piece of wood. As you are probably aware, even good quality woods can expand, contract, warp, and twist following any significant changes in temperature and humidity. Guitar necks are no different, which is why guitars need to be set up and have action and intonation adjusted sometimes a couple times a year due to seasonal changes in temp and humidity. Laminate necks have far less of these issues resulting from changing environmental conditions. They are also physically stronger and can sustain hits and falls without breaking far more readily than one-piece necks, and finally they are stiffer, and stiffer means greater sustain and resonance. The first fret area of the neck is where its the narrowest, so I take that width and divide by 3 to get the width of my center piece. This makes sure that at its narrowest, the 3 pieces in the laminate are equal in width. this provides the maximum strength at the weakest point of the neck. Les Paul guitars are infamous for snapping the headstock off at this point if the guitar falls over or sustains a hit on the headstock.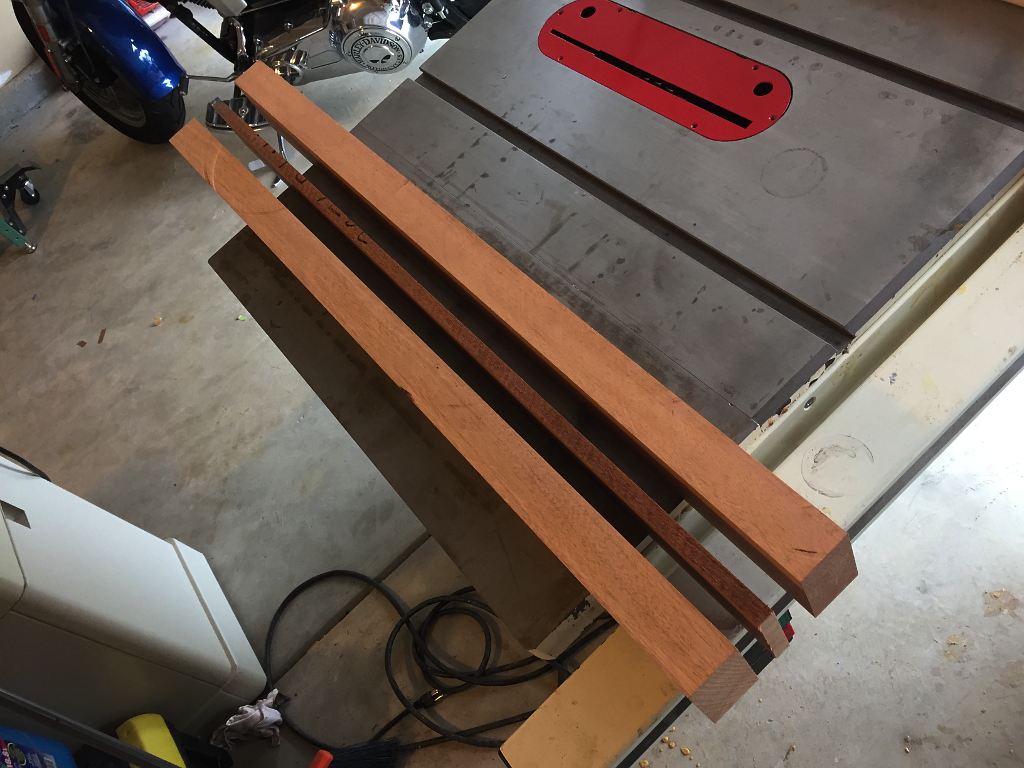
I use a scraper to knock off any ridges, bumps, or imperfections on the joining faces and then wipe them down with acetone to take off any natural oils, dirt, or dust that might interfere with a good joint.

Then I mix up a batch of Urea formaldehyde Glue, glue up the boards, and clamp them together.
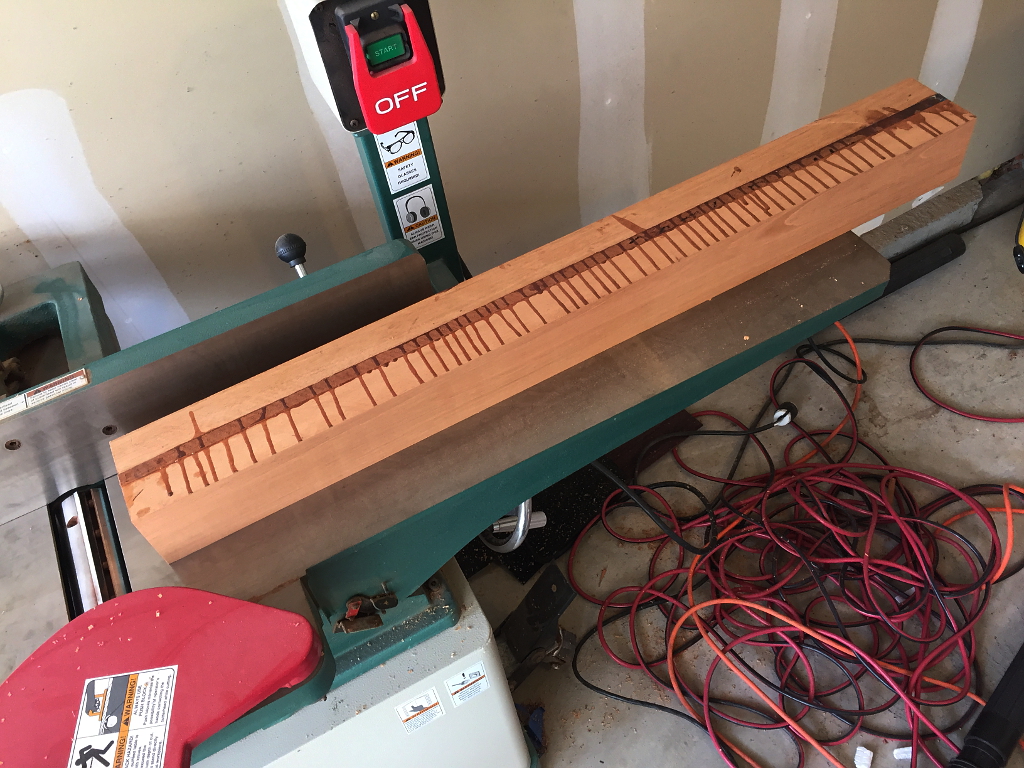
The clamp time with the UF glue is long, but worth it. Its a permanent, super hard, glass-like bond. Great for musical instruments because the brittle structure transmits vibration without deadening it. Dont let the word brittle fool you, this is a permanent joint. If you smashed this with a sledge hammer the wood would shatter before the glue joint failed. I leave it clamped for 24 hours, then clean it up on the jointer.
A perfect, flat top. This is the surface on which the fretboard will sit, so it needs to be perfectly flat
In order for the cuts on the band saw to work out, the top needs to be perfectly square (90 degrees) to the sides.
Both sides.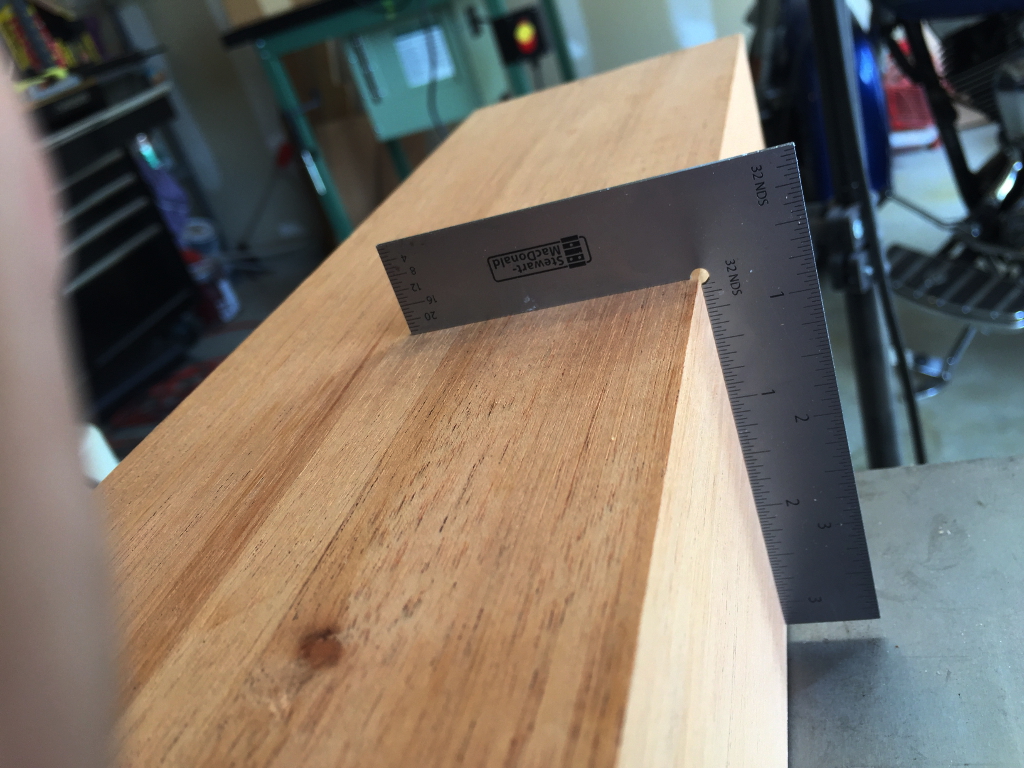
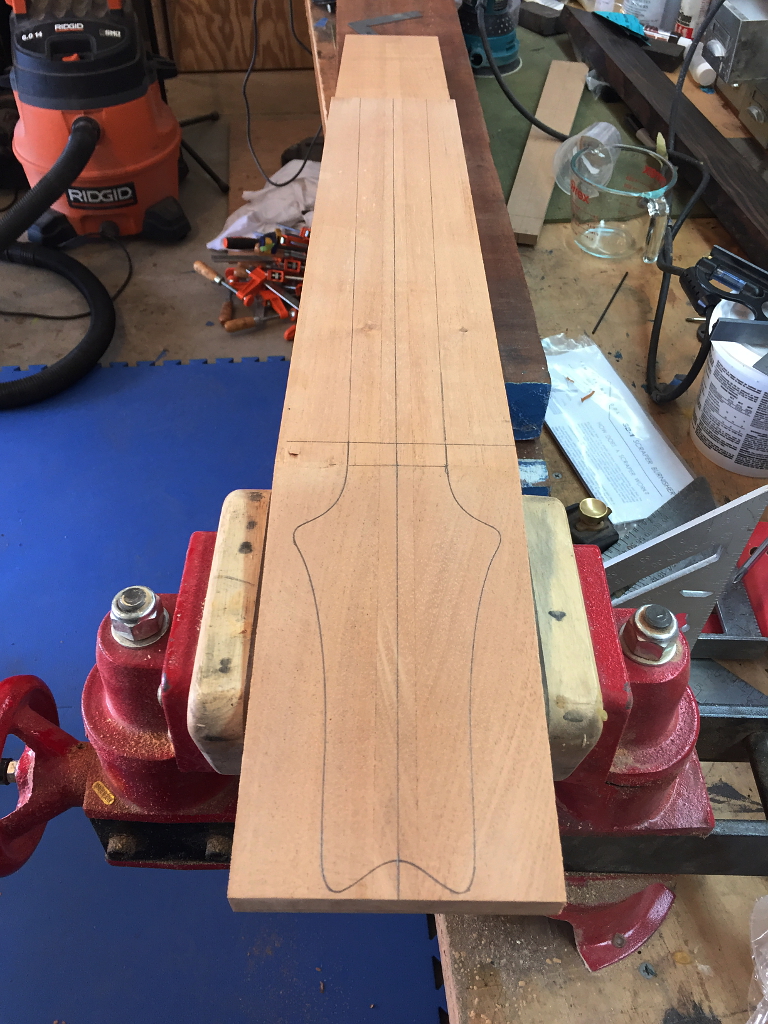
At this point I use my side profile template to draw the profile onto the neck blank side.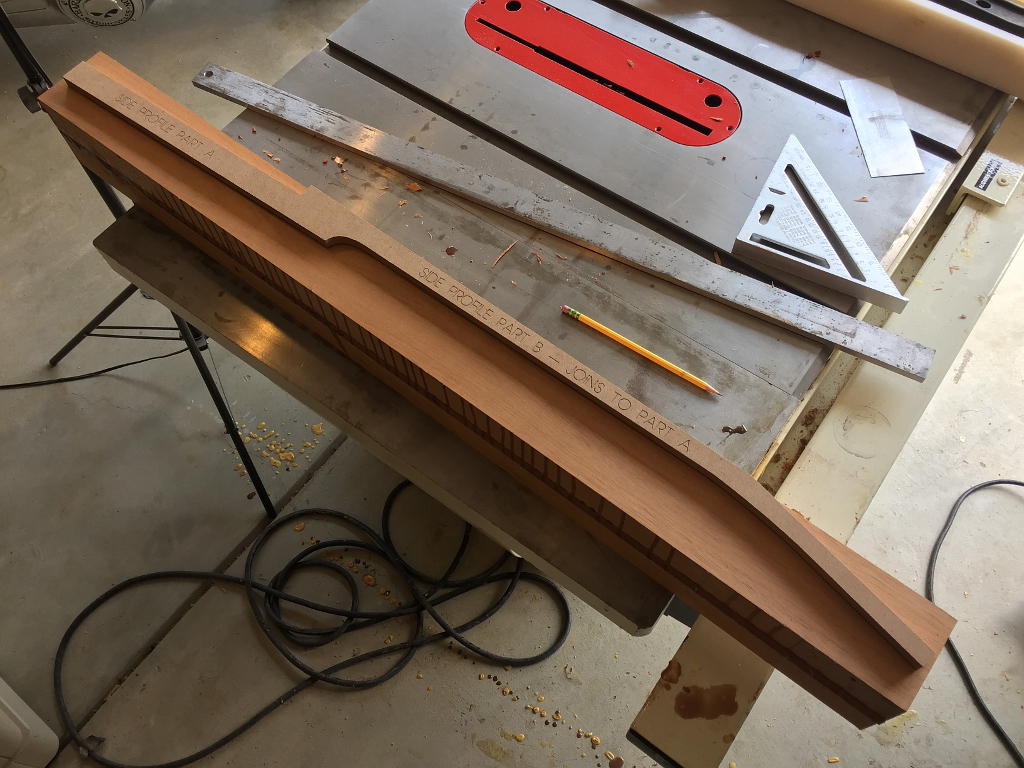
Make sure my bandsaw table to 90 degrees to the blade…
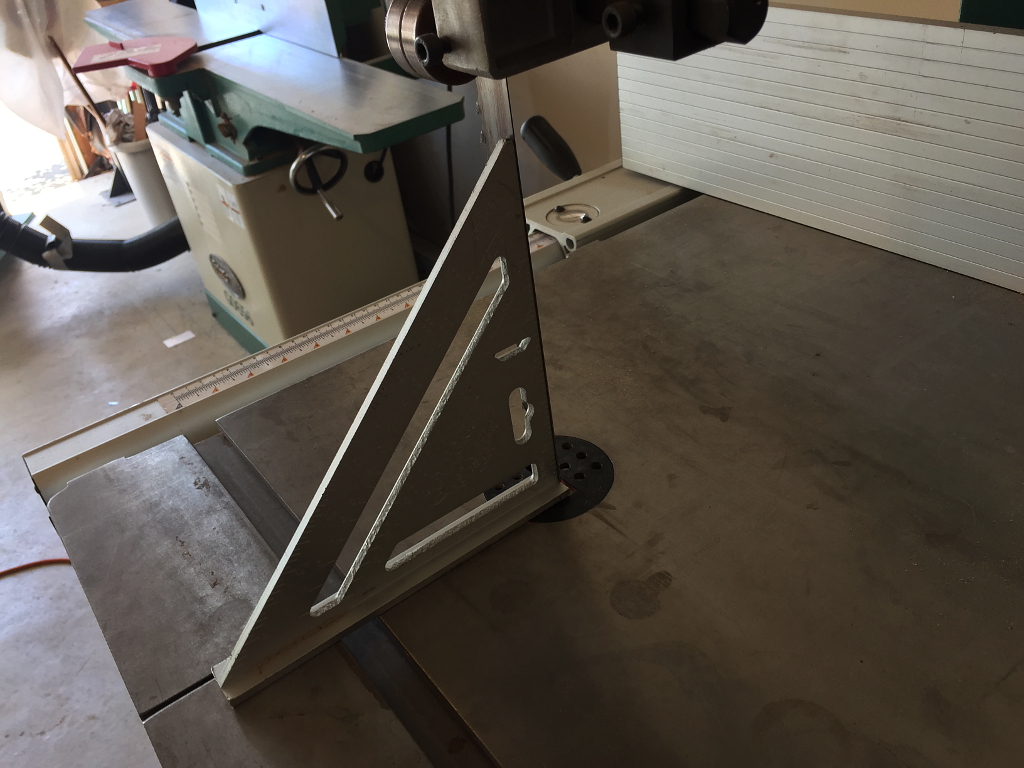
And then cut out the neck from the blank.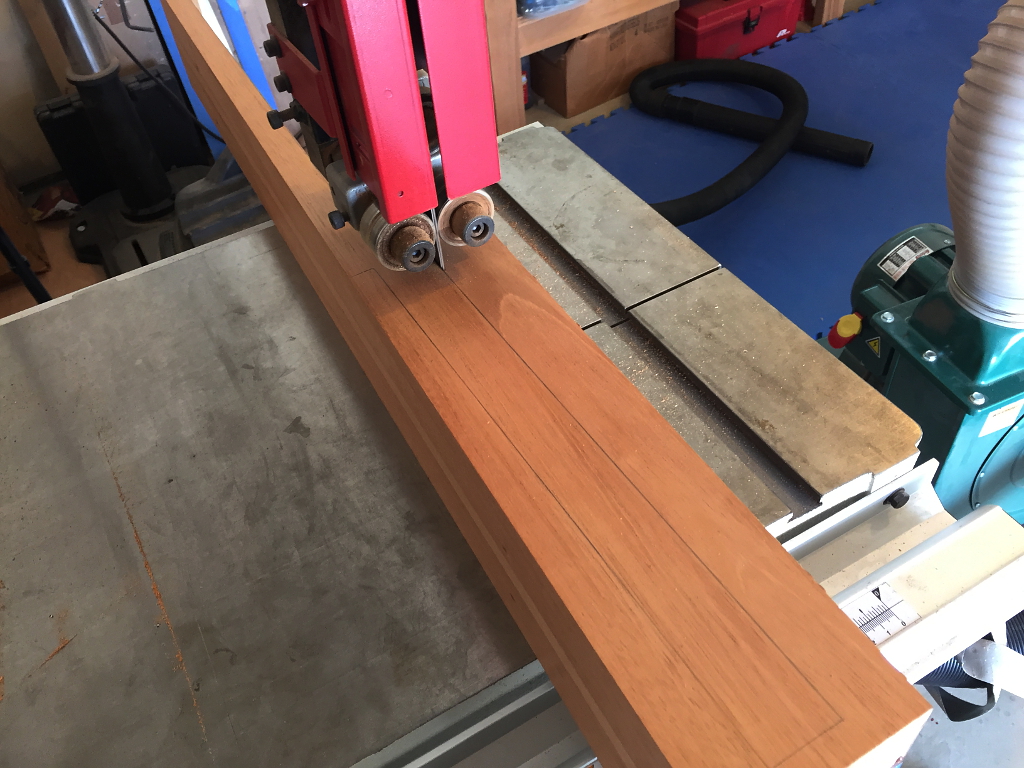
Ta dah. Looks funny. This will make more sense later on…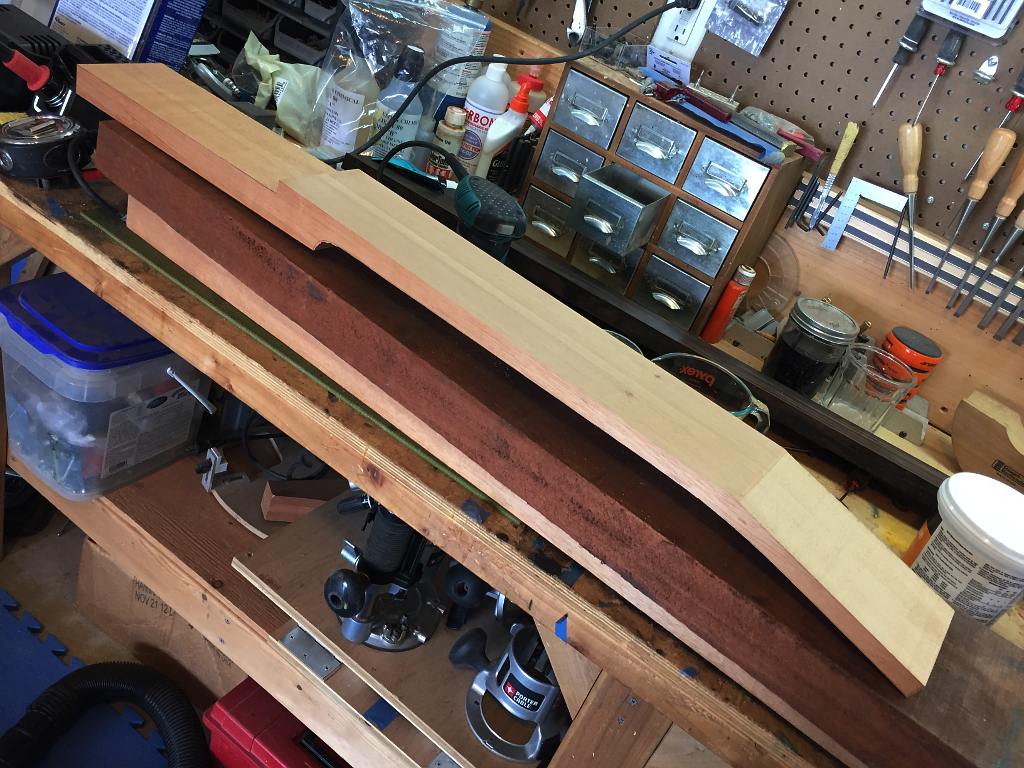
Or even right now once Ive drawn on it a bit. Neck and headstock layout.
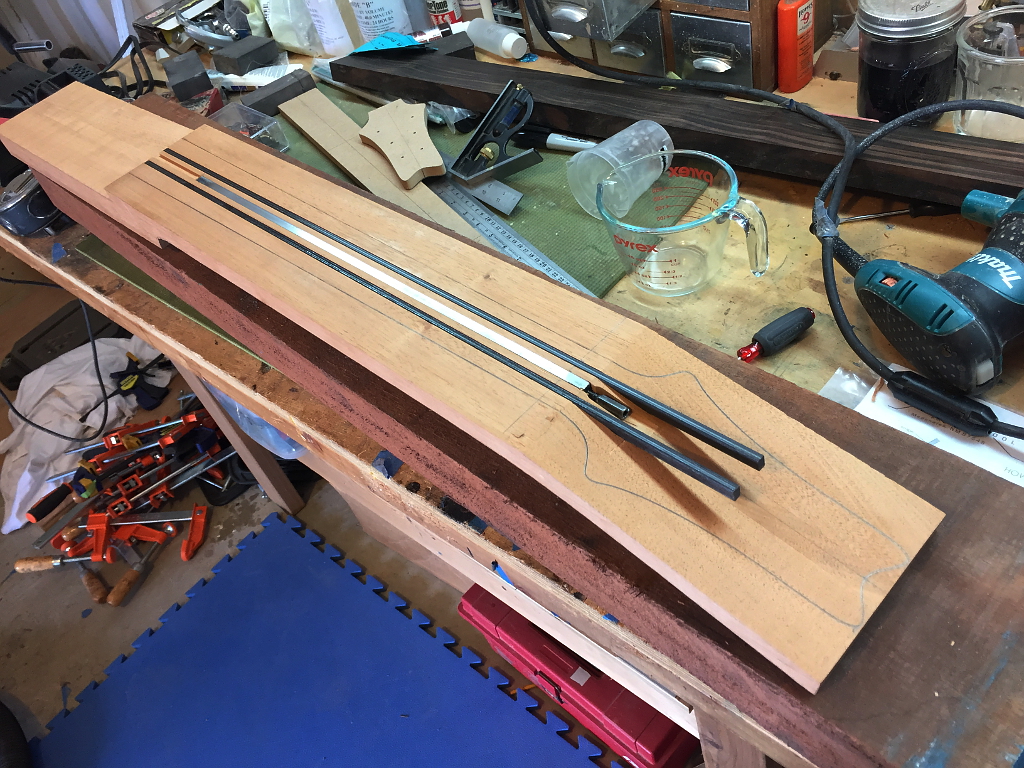
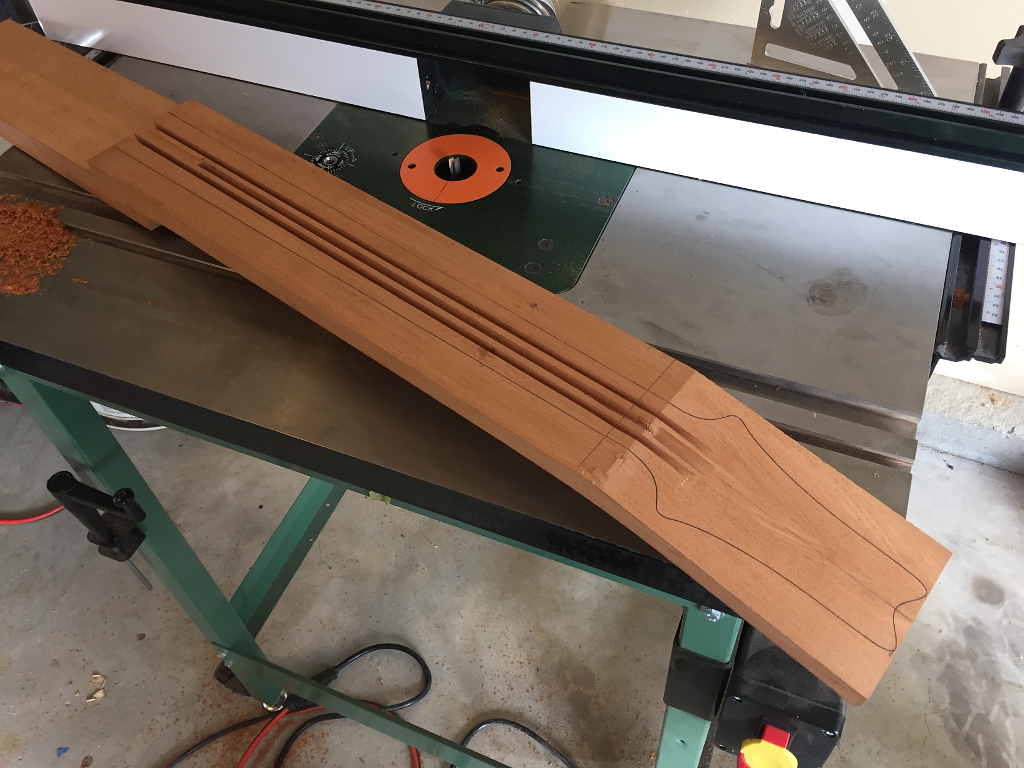
I use carbon fiber rods to stiffen my neck even farther, so at this point I use my router table to route channels for these rods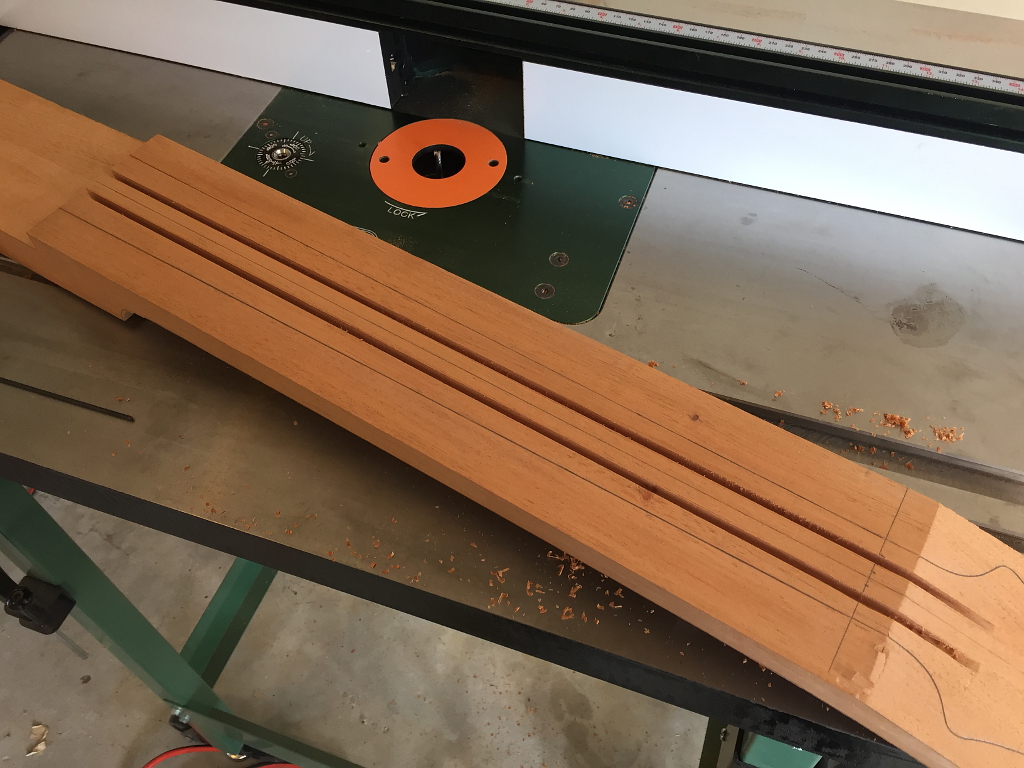
And one for the 2-way truss rods as well, right down the middle
You get the idea…