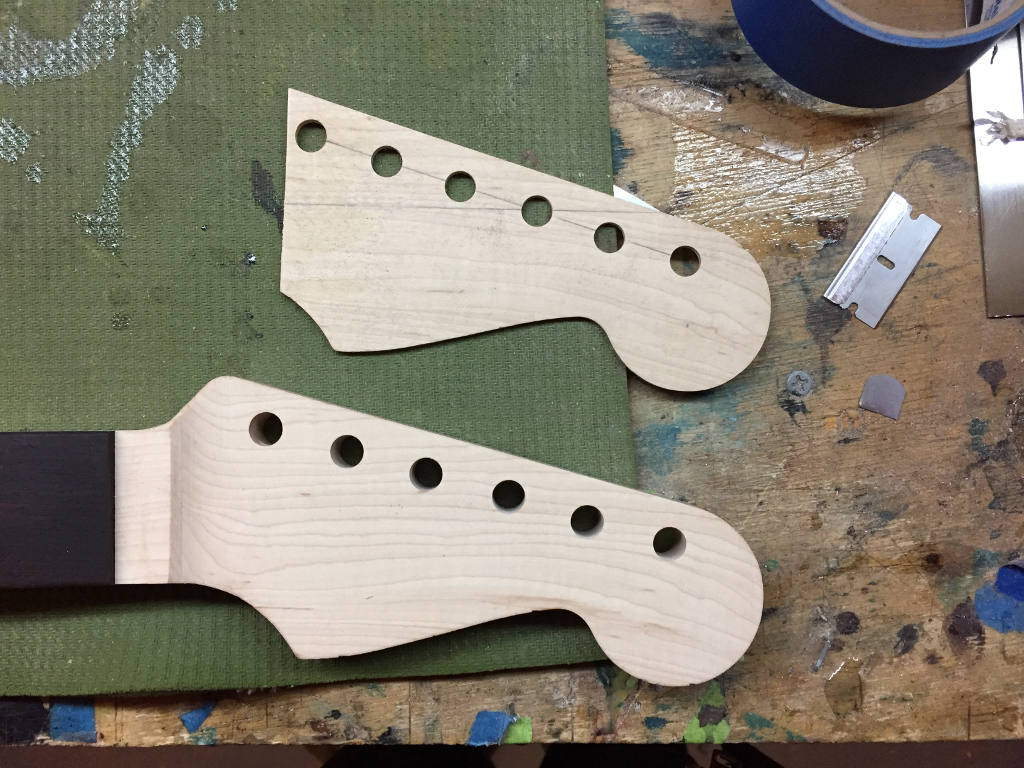
First things first. The headstock needs to be taken down to the correct thickness. So the quickest way to do that is just to slice a piece off the top with the band saw.
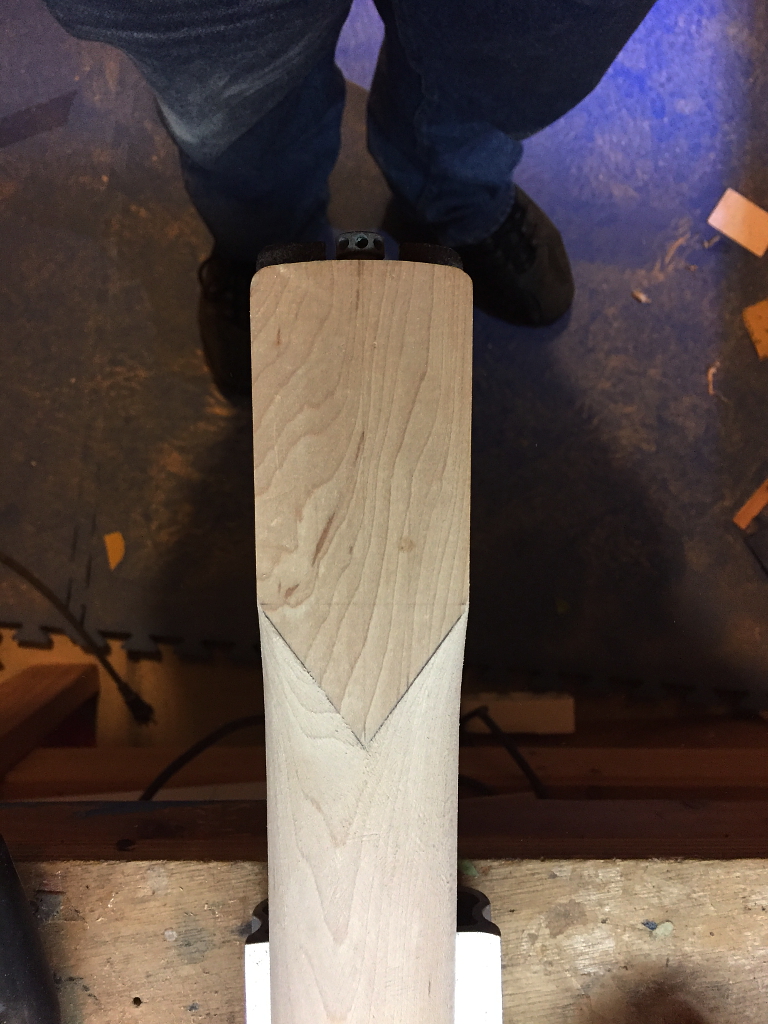
Once the shelf for the Floyd Rose nut is added, the transition is sanded so you have a nice curve up to the nut from the headstock.

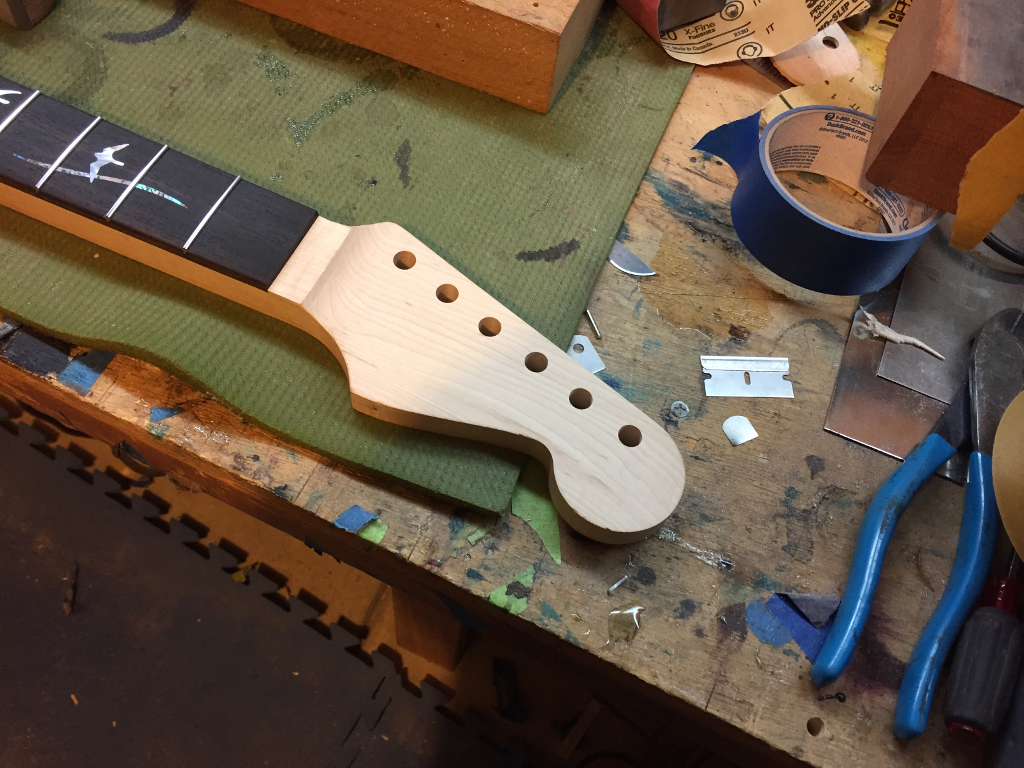
Next come the frets. I take two sections of fretwire and clean them with acetone because they are extruded and are usually covered with grease from the machine that makes the wire.
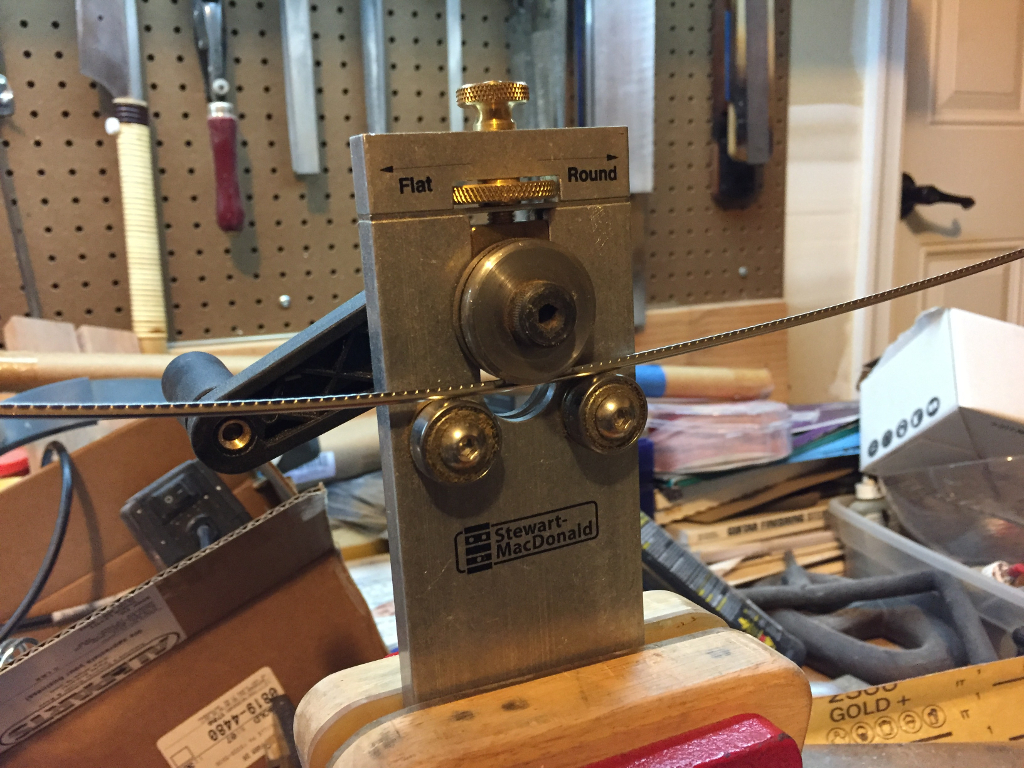
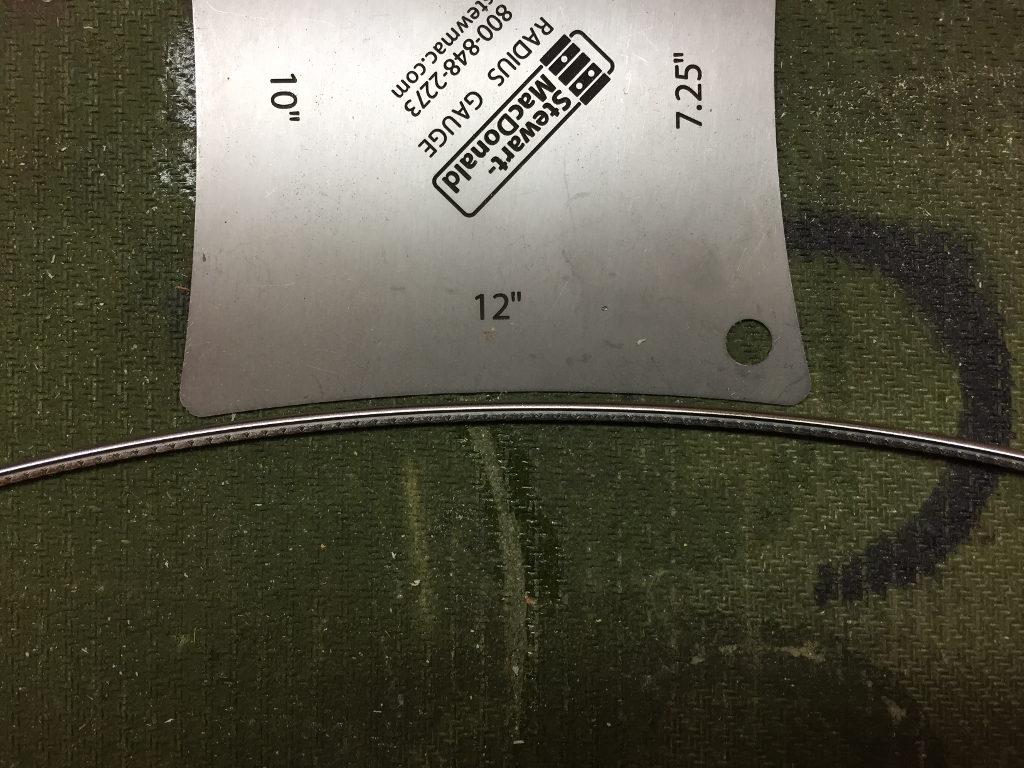
Next I have to put the rigfht radius on the wire. Stainless frets cant just be banged in like traditional nickel/silver fret wire. Its too hard. This took allows me to put the appropriate bend on it. Rather like a pipe bender, but on a much smaller scale.
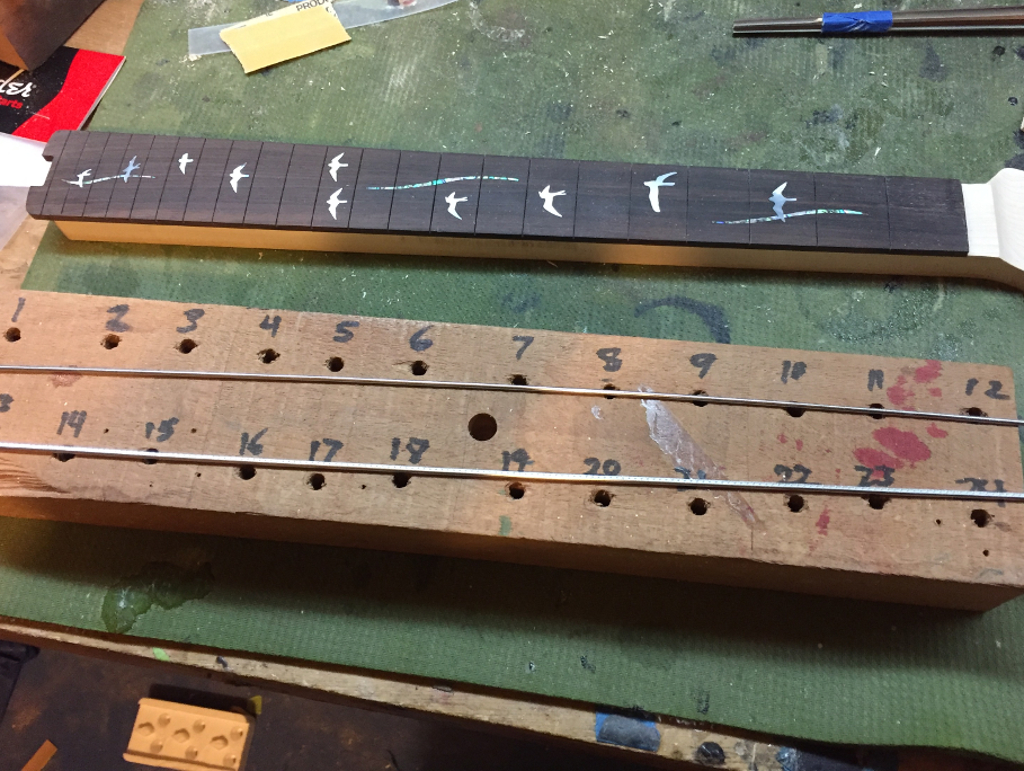
Since each fret is a slightly different length, I use this block to keep everything organized.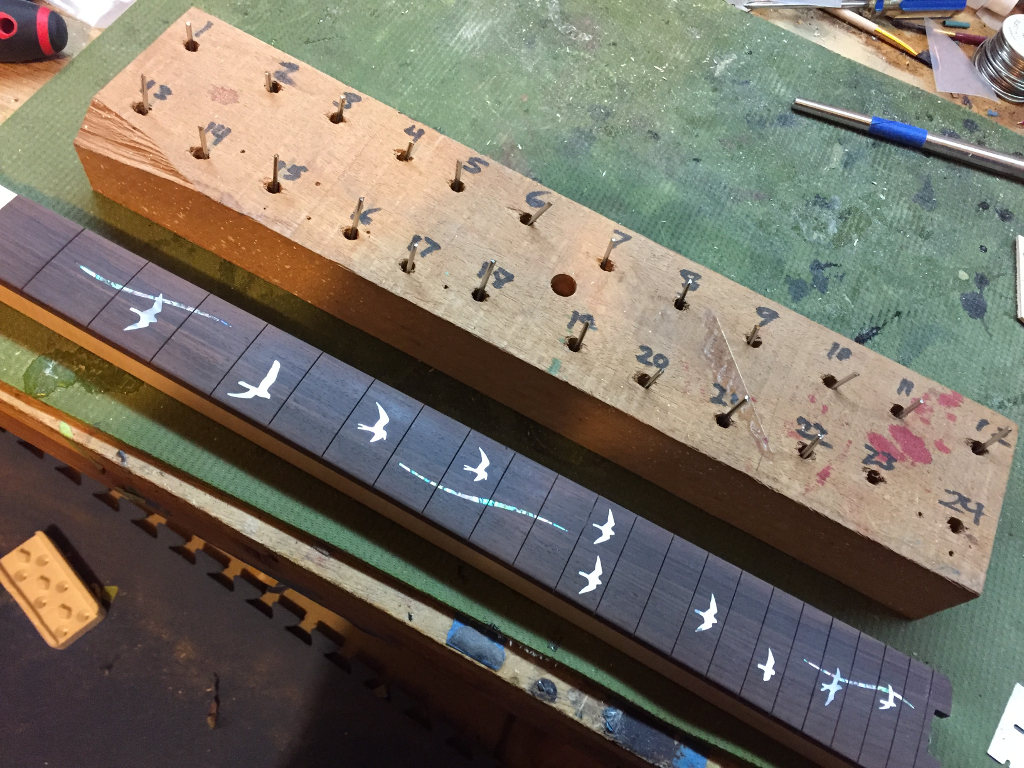
Starting at one end I start the frets into the slot with a small dead-blow hammer. A dead blow hammer is filled with loose shot. this absorbs the impact and prevents the hammer from bouncing when you smack the fret. Bounces can cause unwanted dents in the rosewood. 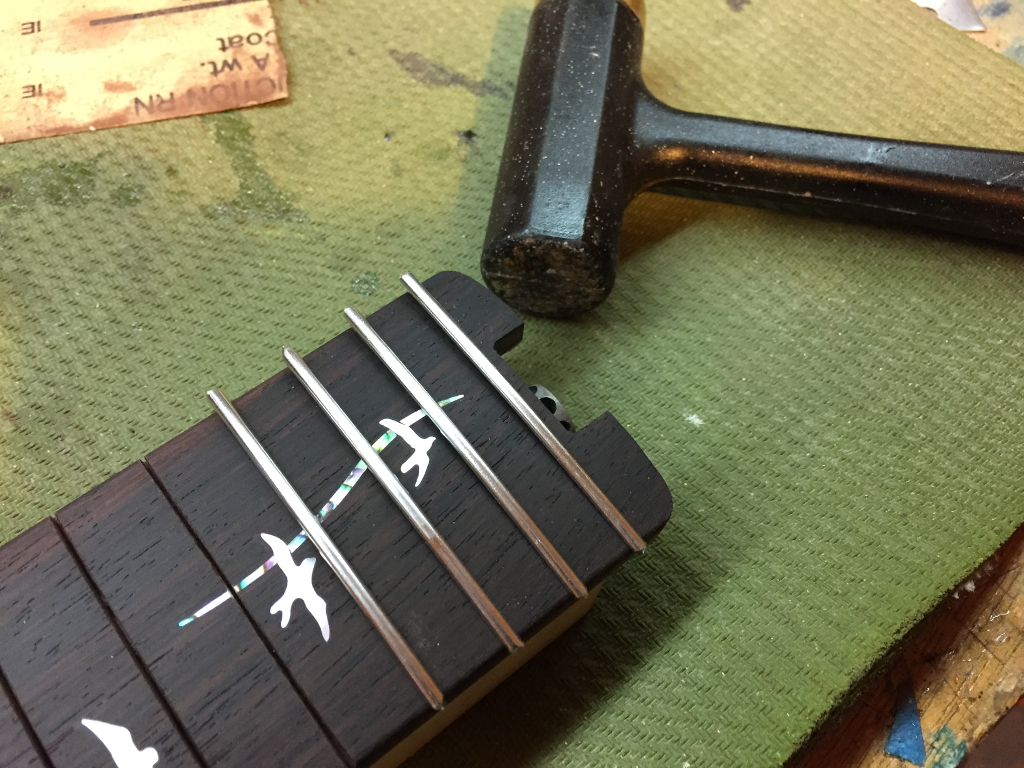
Next I press the frets in with a radiused caul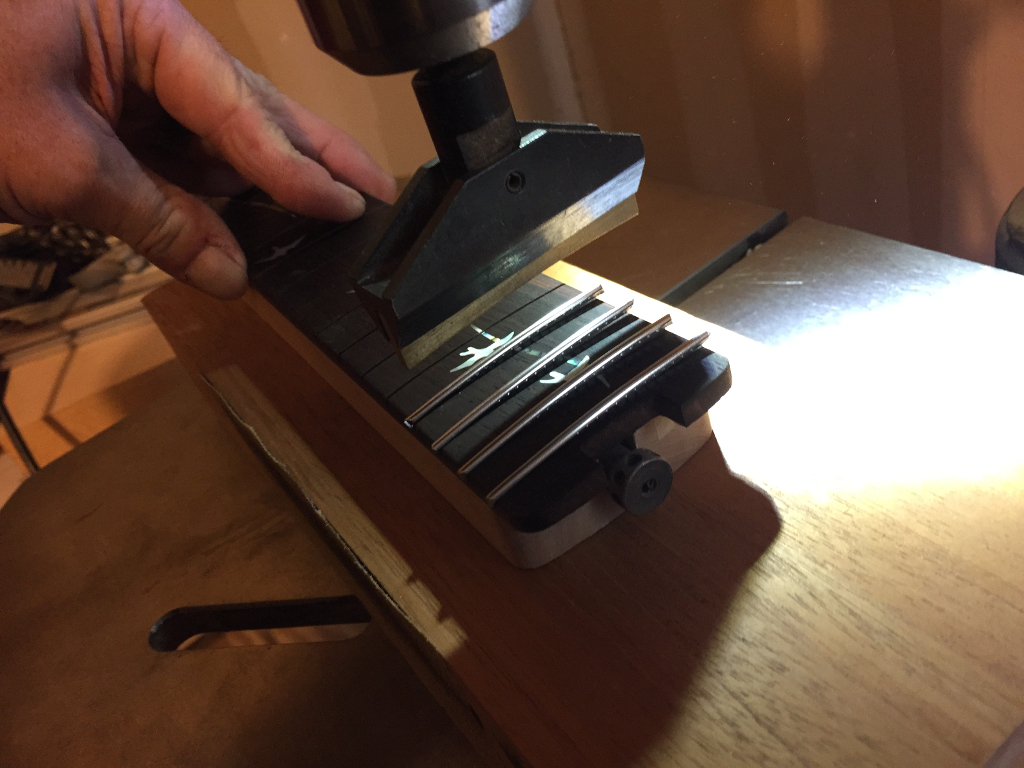
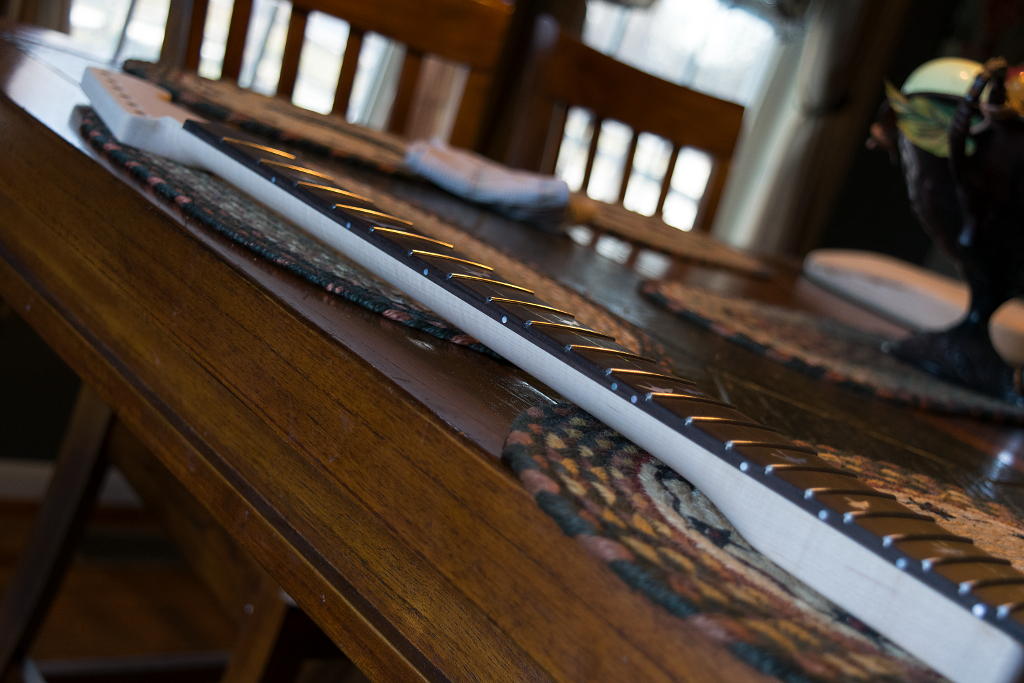
All the frets are now in, but obviously too long.
I use a fret file to file the ends down flush with the sides of the fretboard, and then to put a 25 degree bevel on the fret ends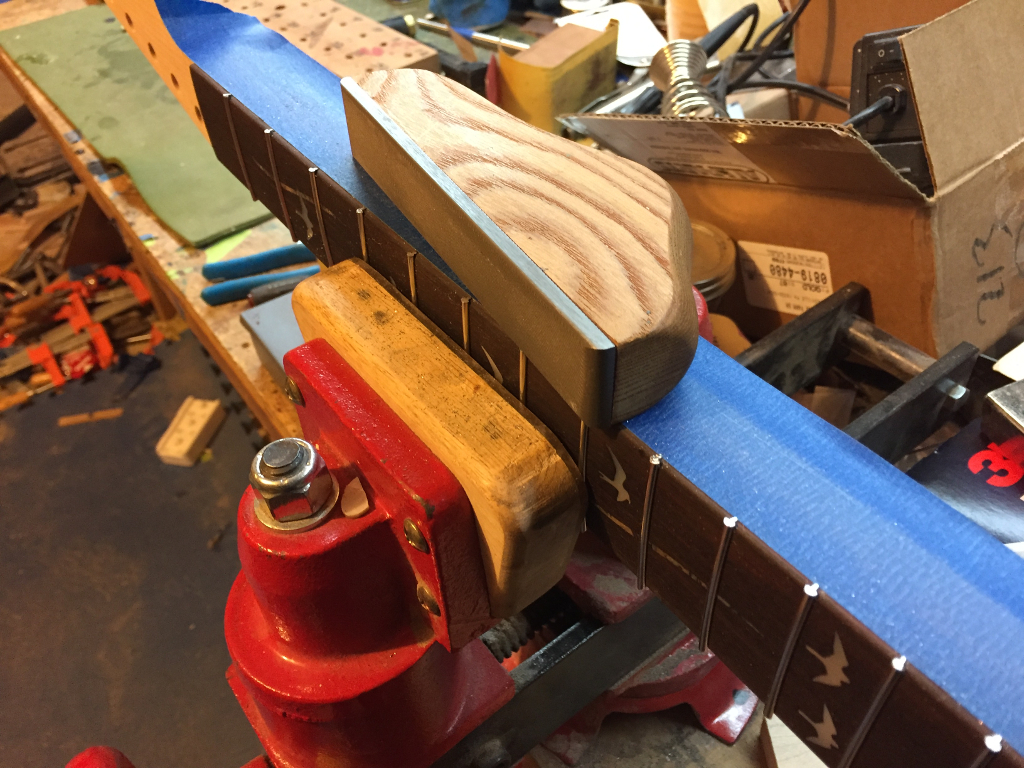
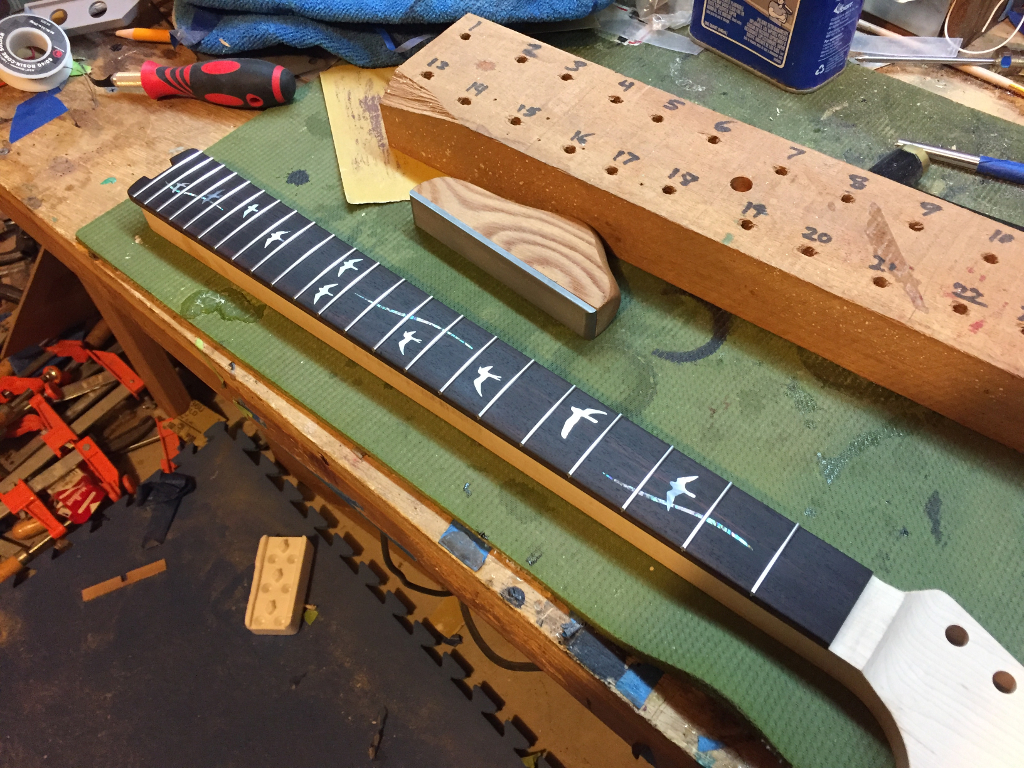
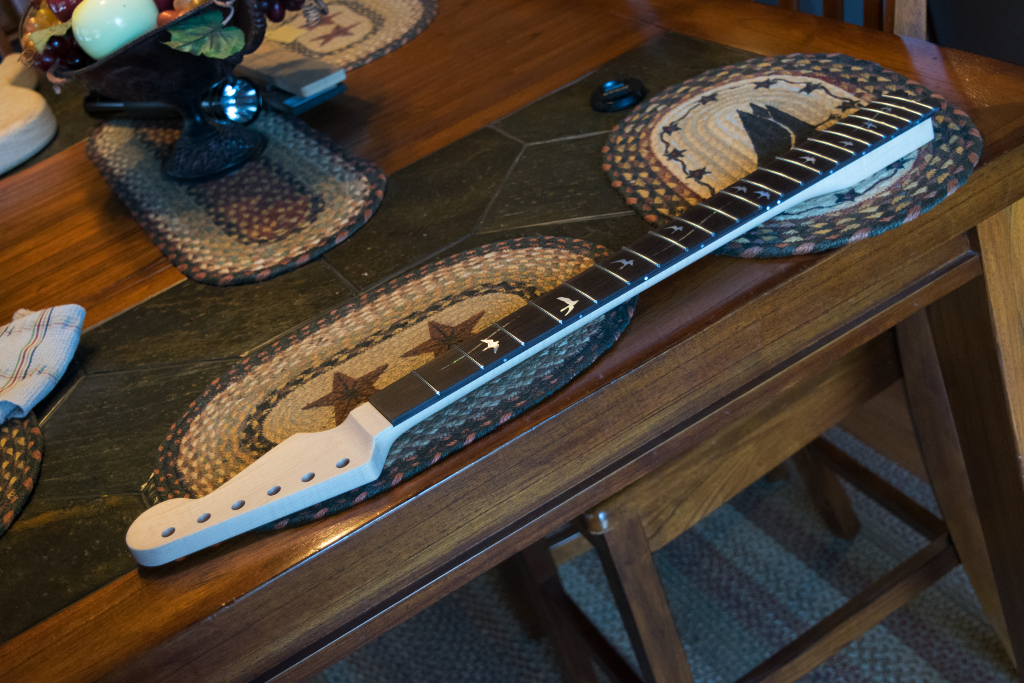
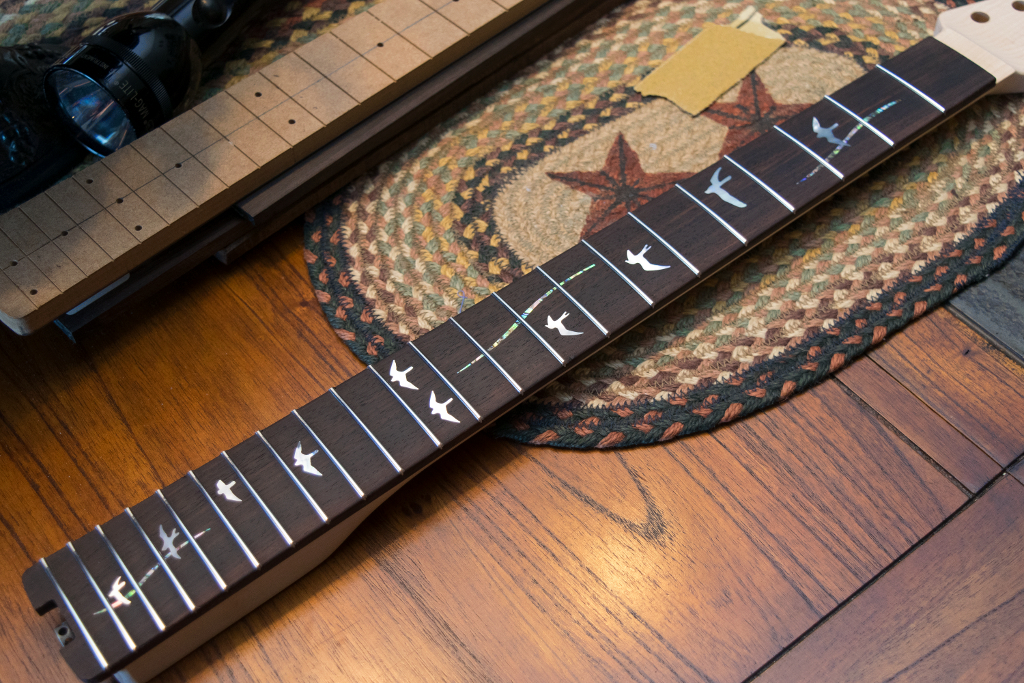
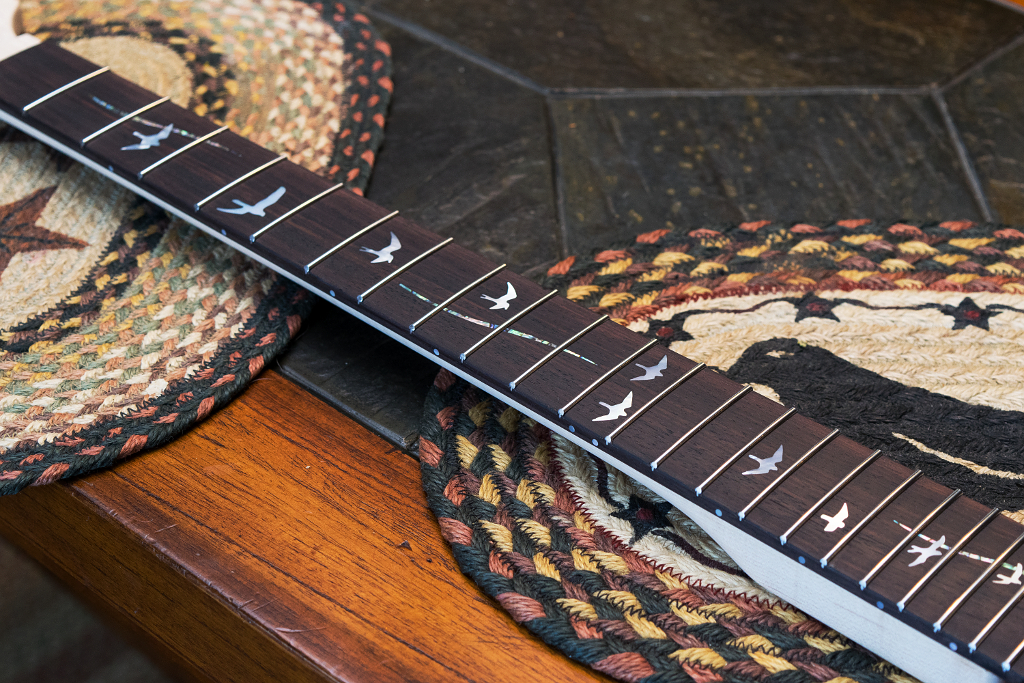
these are still sharp on the ends, but one of the final steps in the build is to level, crown, and polish the frets. This will leave the entire fret smooth, including the ends. Also note, I’ve rolled over the hard corners of the fretboard. This makes the neck feel a lot more comfortable in your hands while playing.
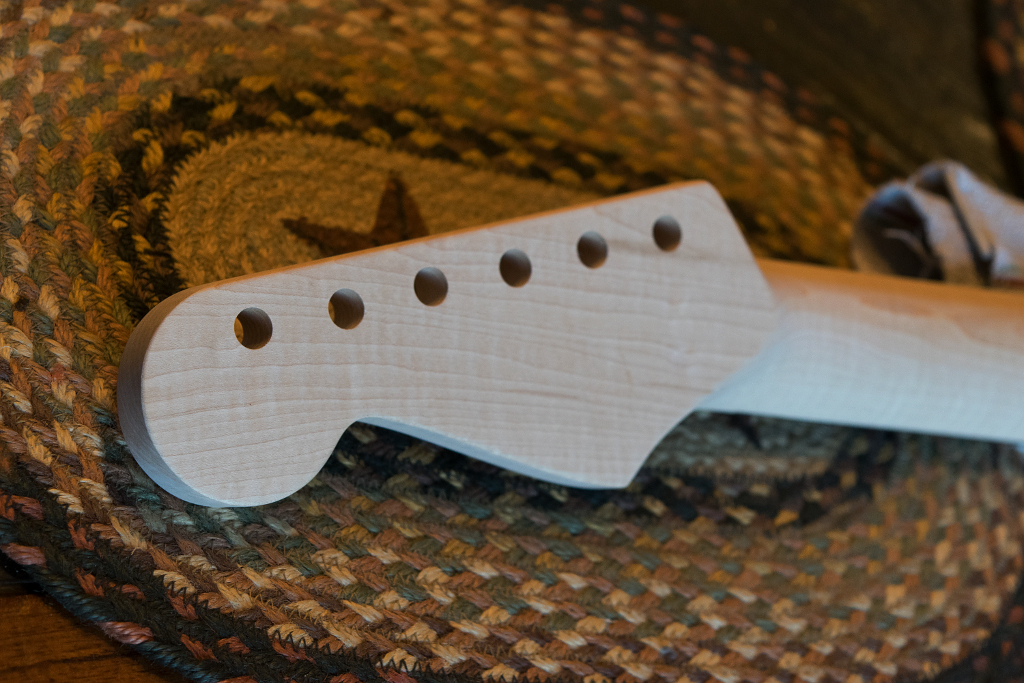
Next is installing the side dot markers. I have a template I made with holes spaced at multiple different scale lengths depending on the guitar I’m building. For the Strat obviously its the 25.5″ scale length.
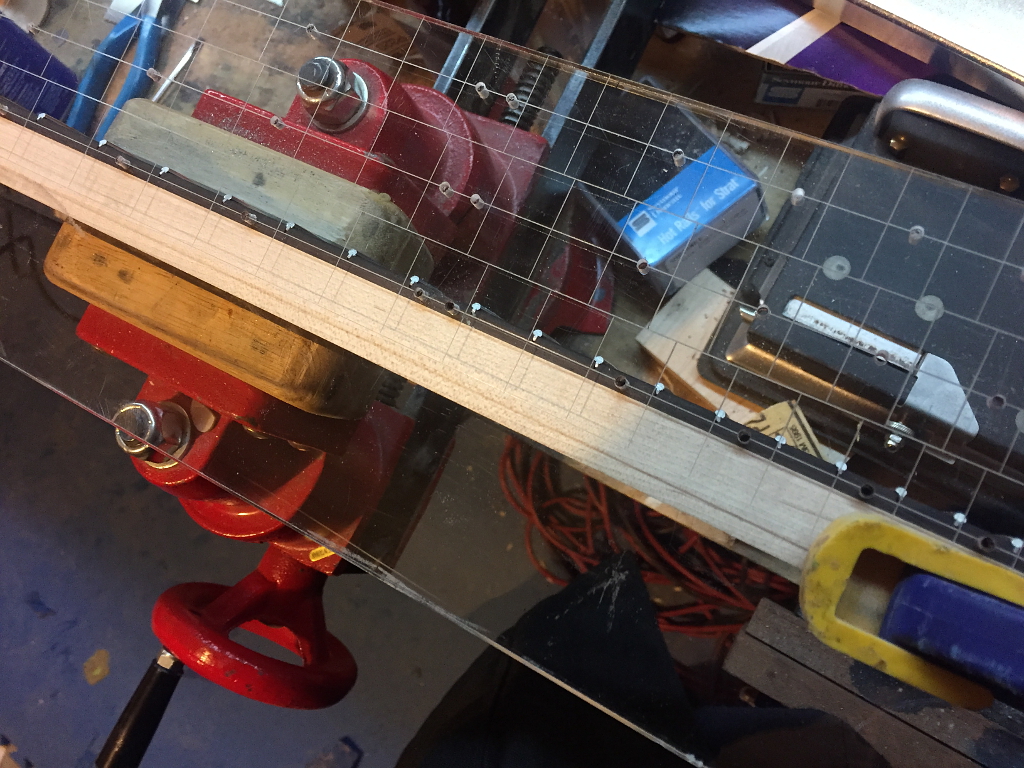
Once the template is positioned and clamped into place I just drill through the holes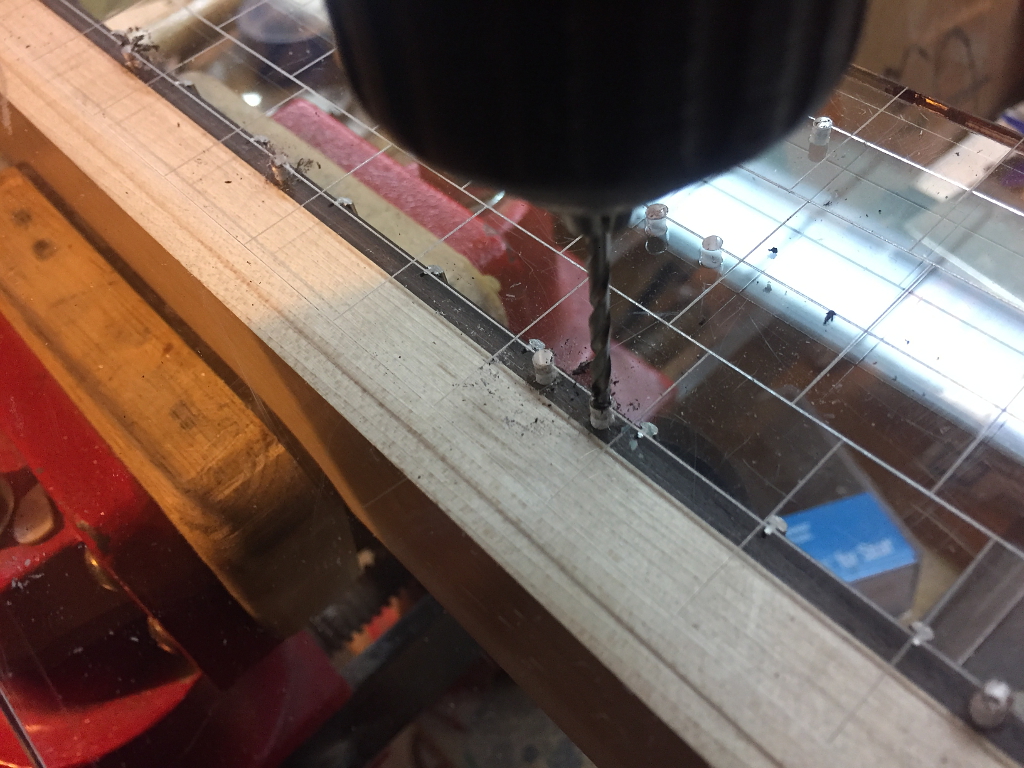
Leaving my perfectly cut and spaced holes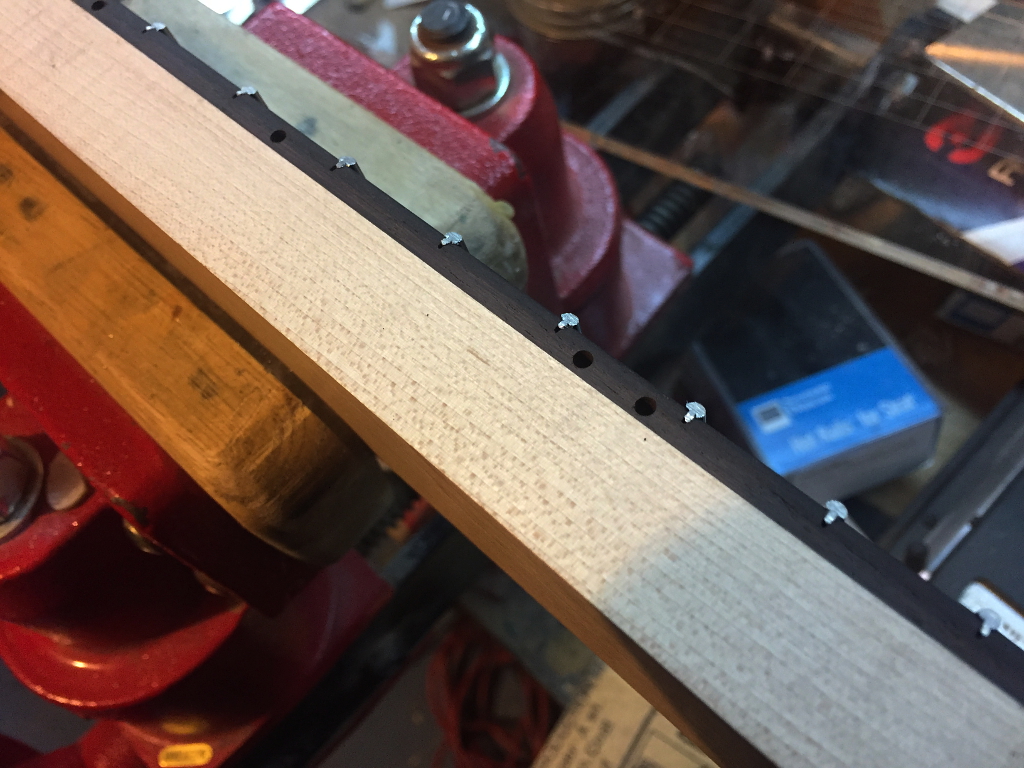
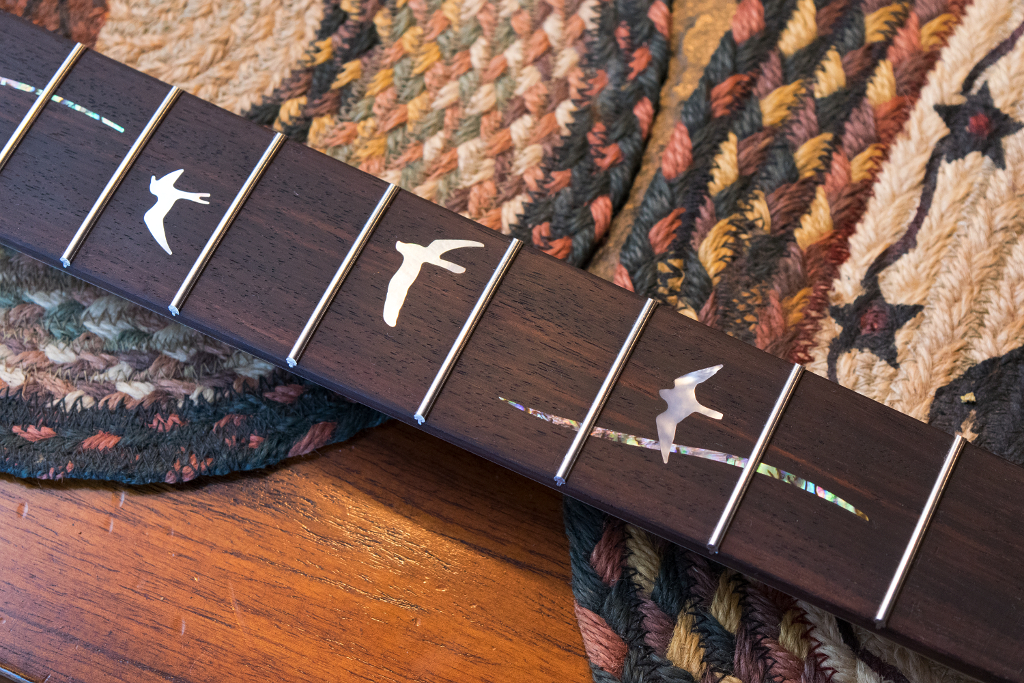
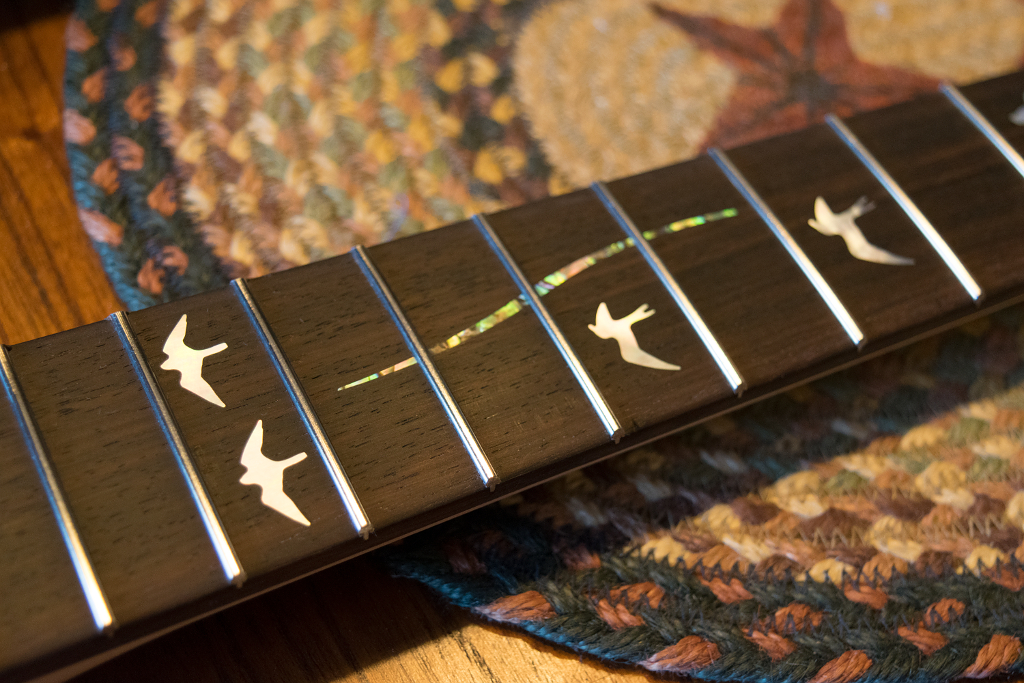
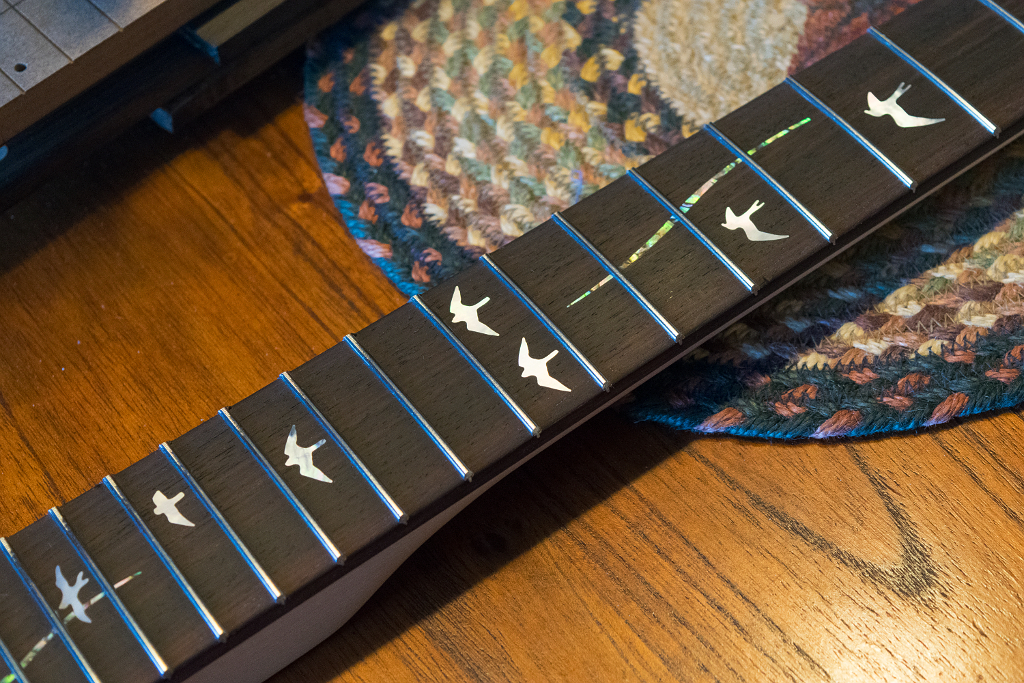
Mother of pearl dots.
A drop of CA glue and a gentle tap with the dead blow hammer and they are in. Once the glue sets, a quick sanding and they are smooth.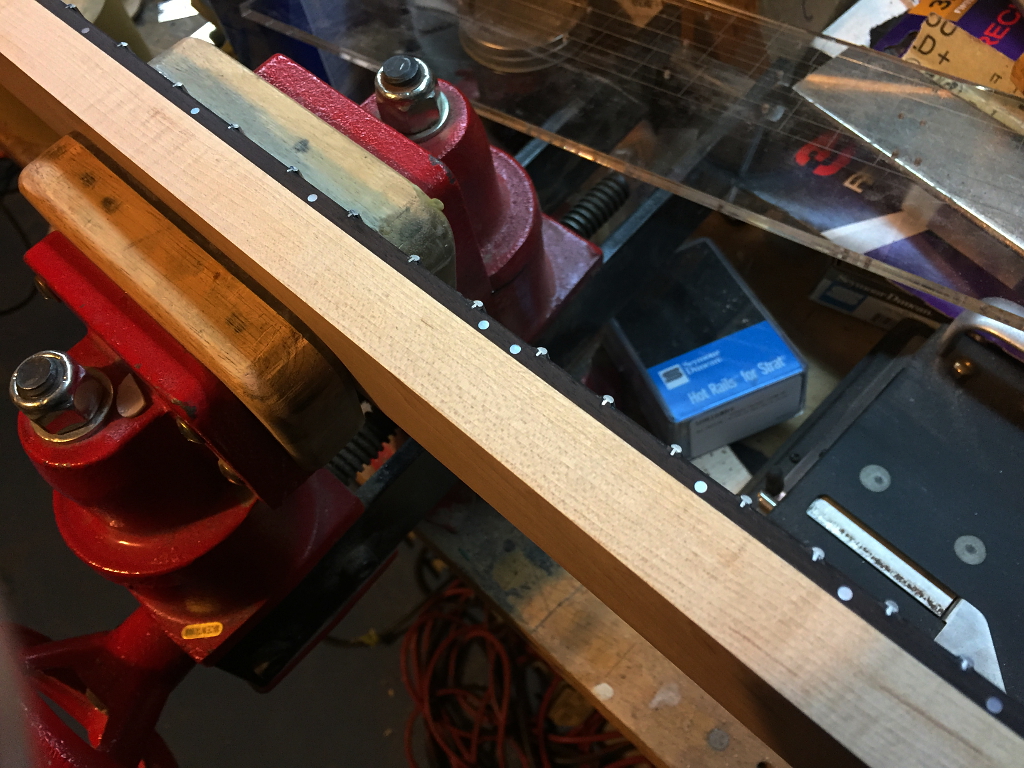
Once
Next comes the best, and most fun part. The neck carve. This is a look into my process for creating the perfect carve and profile. Pictures here are my weapons of choice for this job. An angle grinder with a “holey galahad” wood carving disk, an array of hand stitched wood rasps in different sizes and coarseness, sand paper strips of different grits. Caliper and pencil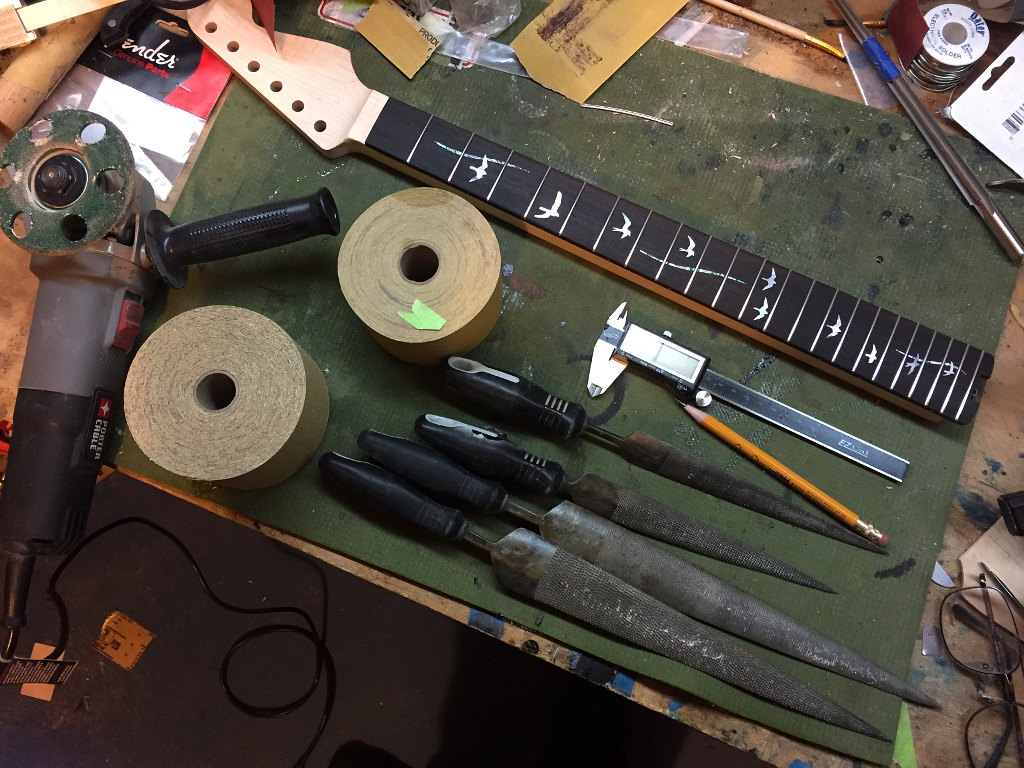
First I mark out some guide lines so my cuts are even end to end and I know where my transition points are for the heel and headstock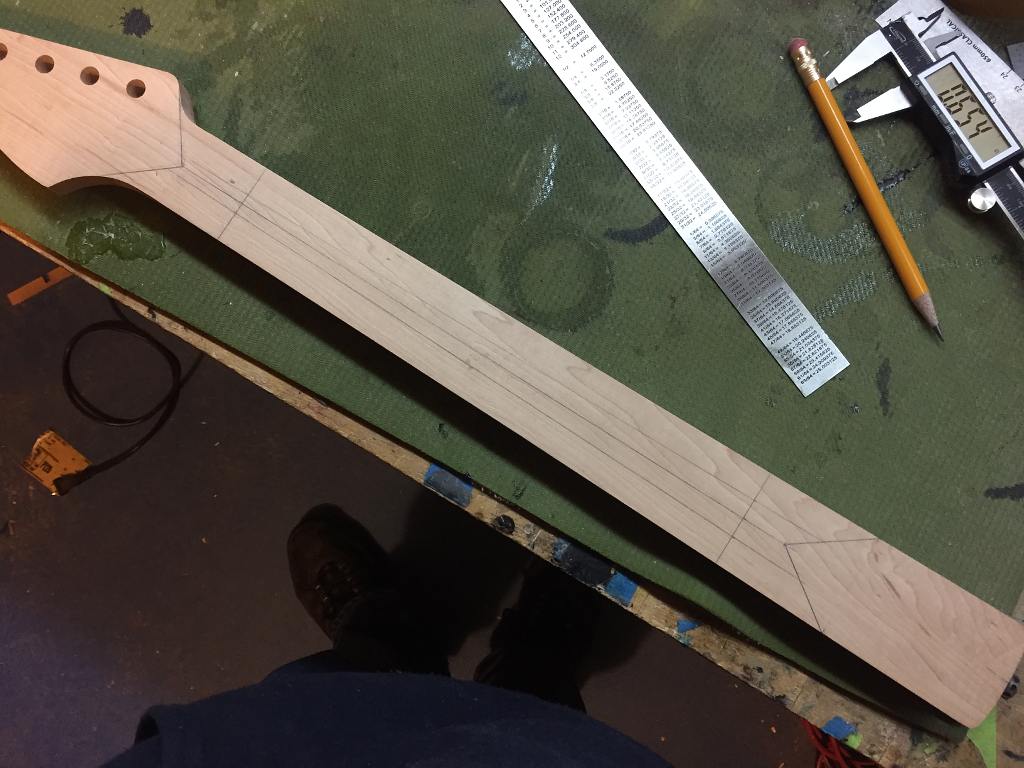
Next I clamp it to the drill press table leaving most of the neck in the air…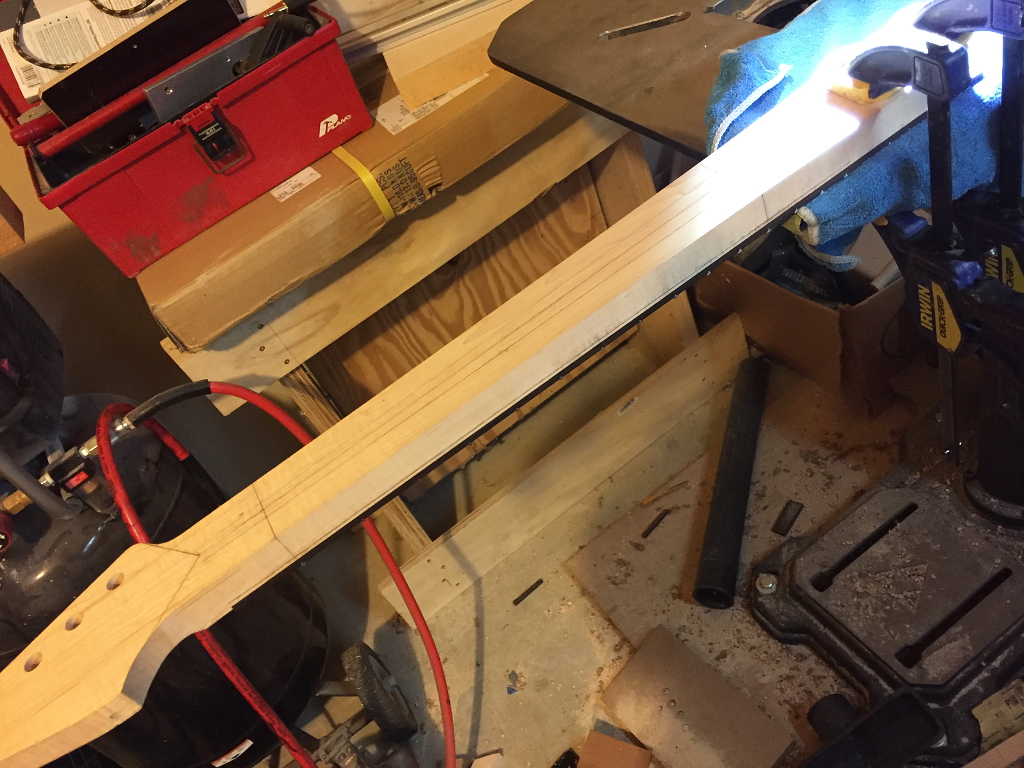
Safety gear. Ear protection because the angle grinder is loud as hell, eye protection because I dont like tons of sawdust and wood chips in my eyes, and a respirator because I dont want that crap in my lungs either 🙂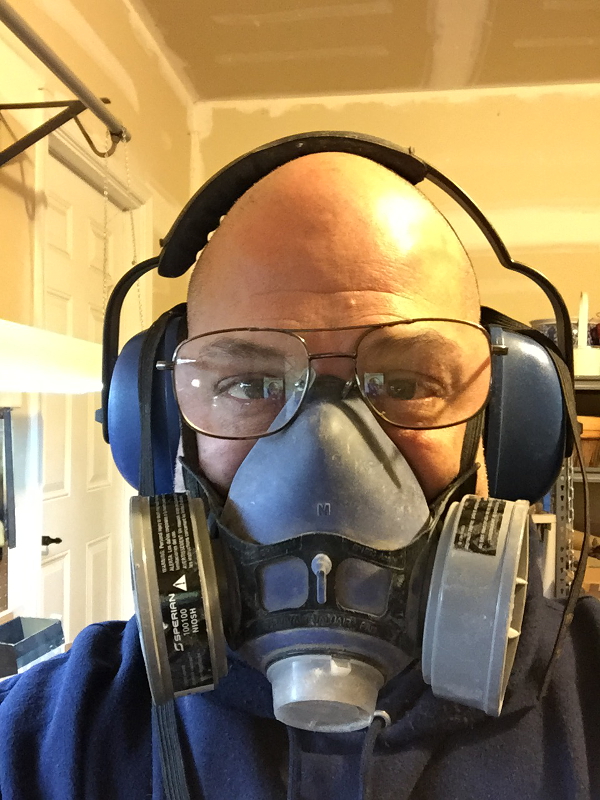
Using the grinder I make my first, biggest cuts. I’m big on coloring inside the lines with this job 🙂
I make the cuts on both sides.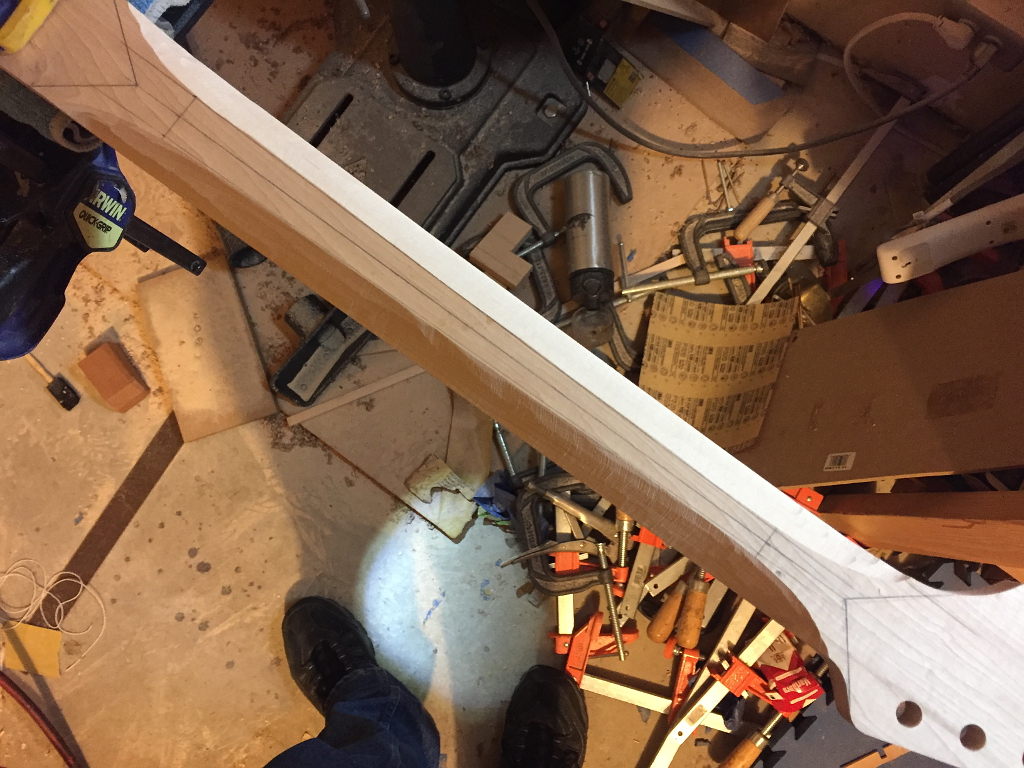
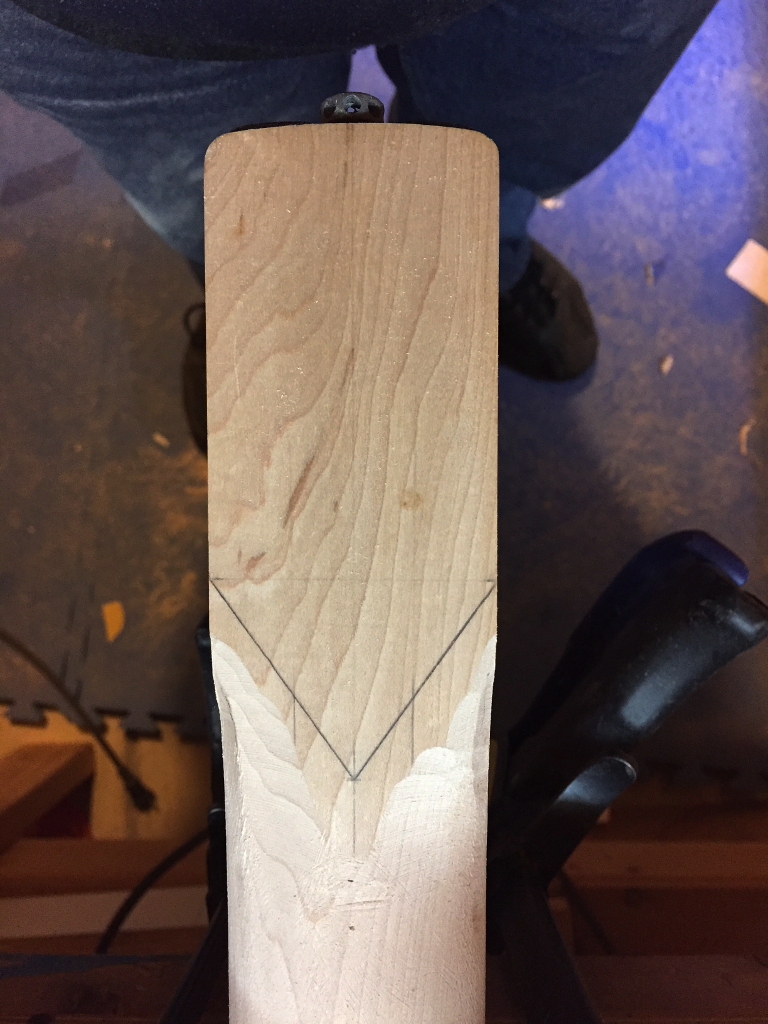
then I draw new lines down the center of my first cuts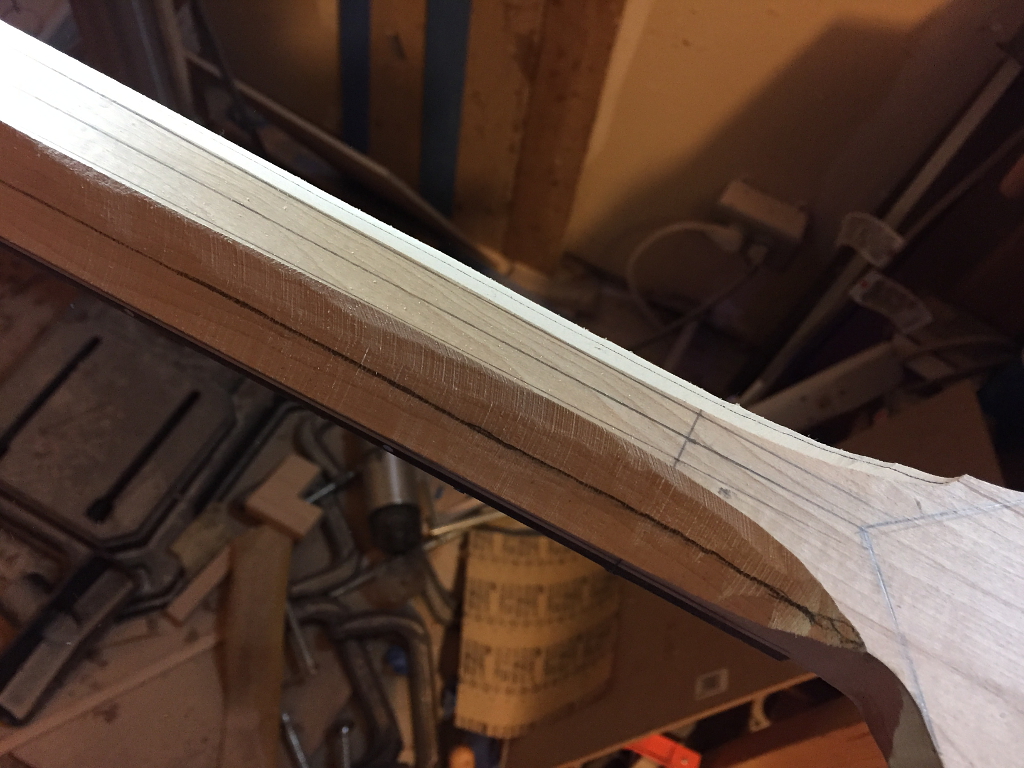
Next pass cuts from my new lines to the center line of the neck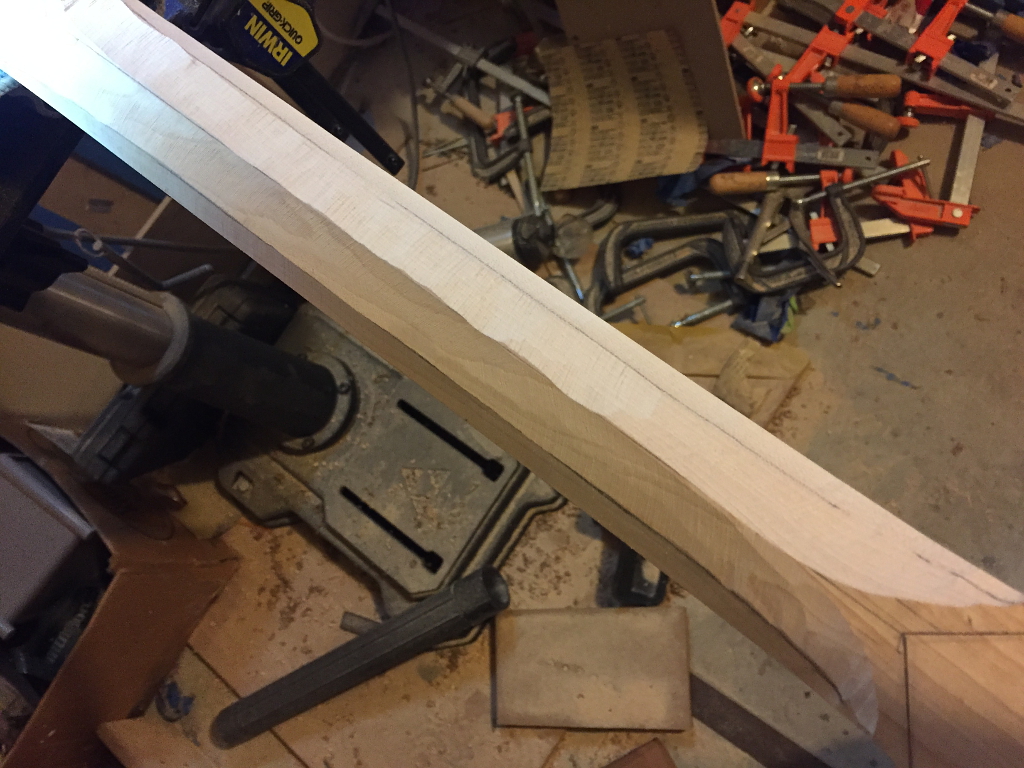
Then I take the top ridge off. This cut is key. I start by cutting down to a hair more than my final thickness at the first and 12th frets, then make a cut that connects those two points in a flat, straight line. This gives me the center thickness of the neck from end to end (mostly). Once I have that cut done I have multiple “facets” cut along the length with ridges running the length of the neck. At this point I set aside the grinder and then proceed to carve the ridges off by hand using the rasps. I’ll keep carving off the ridges until the neck is basically round, then finish the curve off with strips of sand paper which I use like a shoe-shine cloth back and forth until the neck is perfectly rounded off.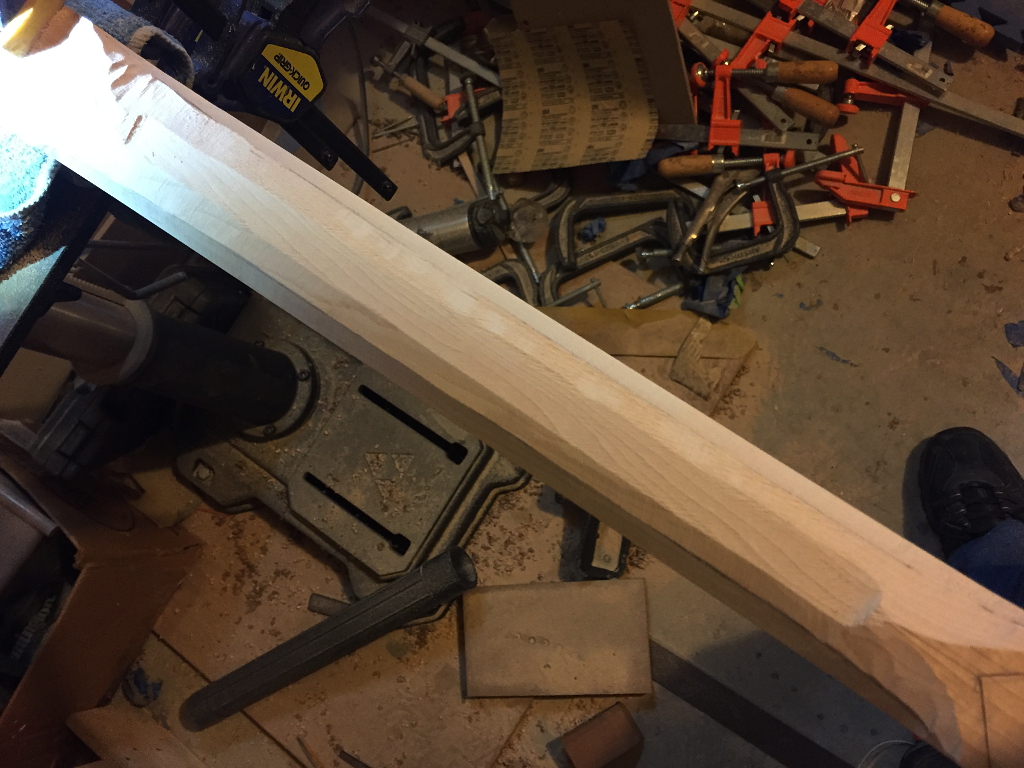
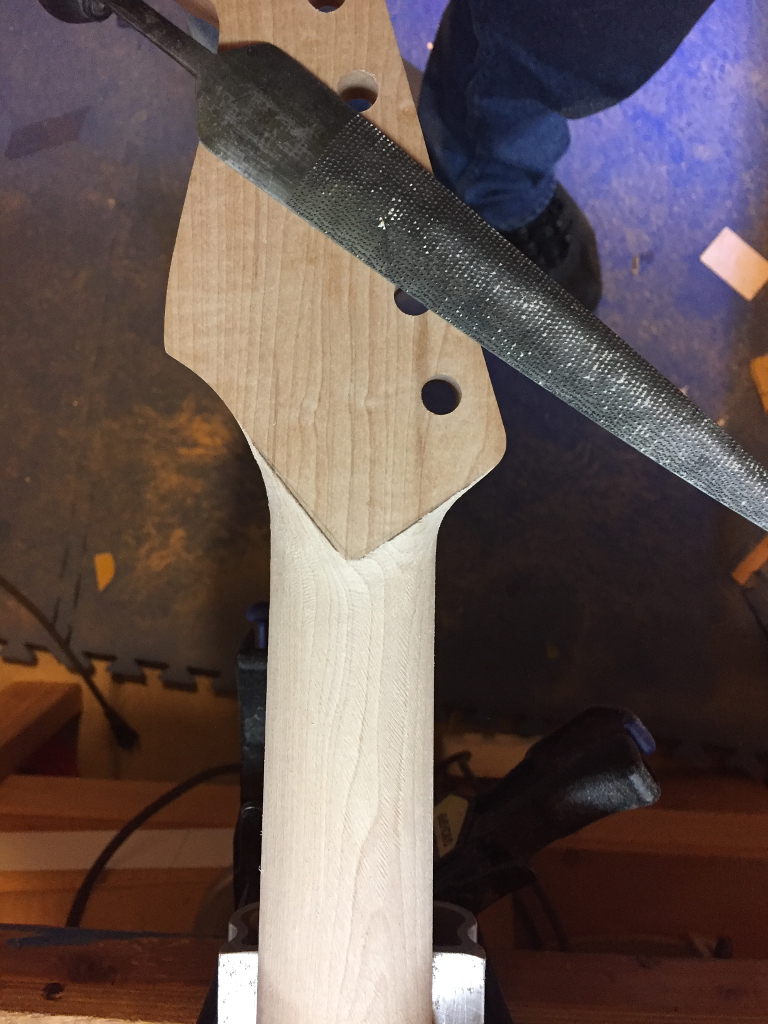
Neck I attack the transitions at the headstock and heel. This is all hand work with rasps…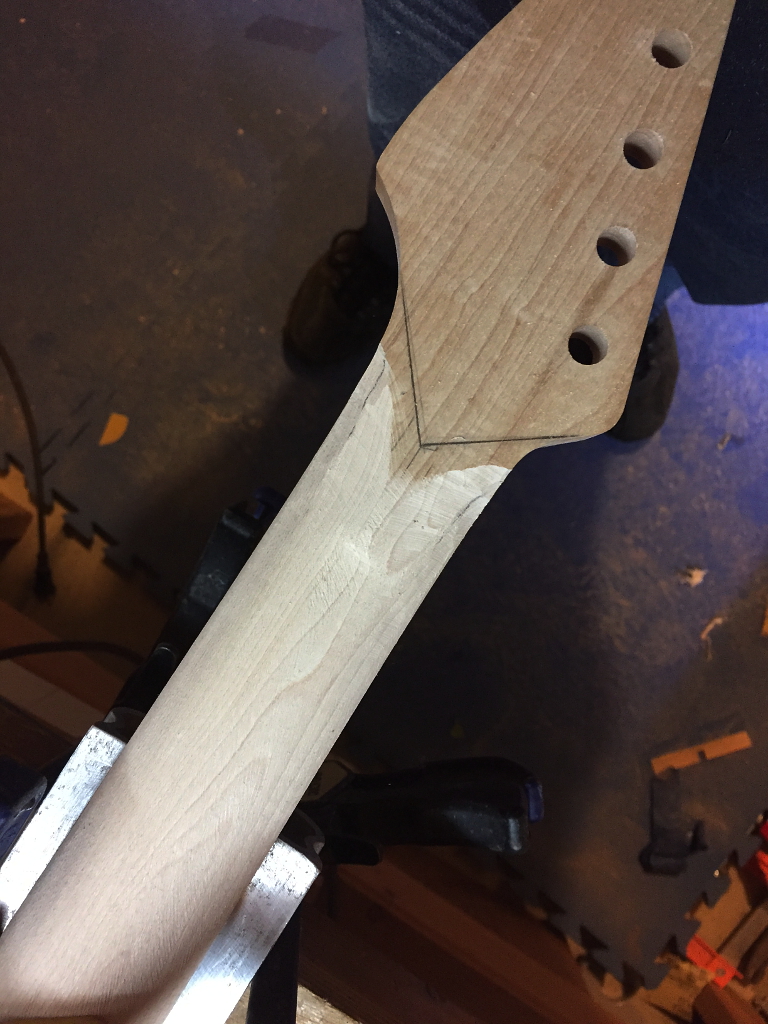
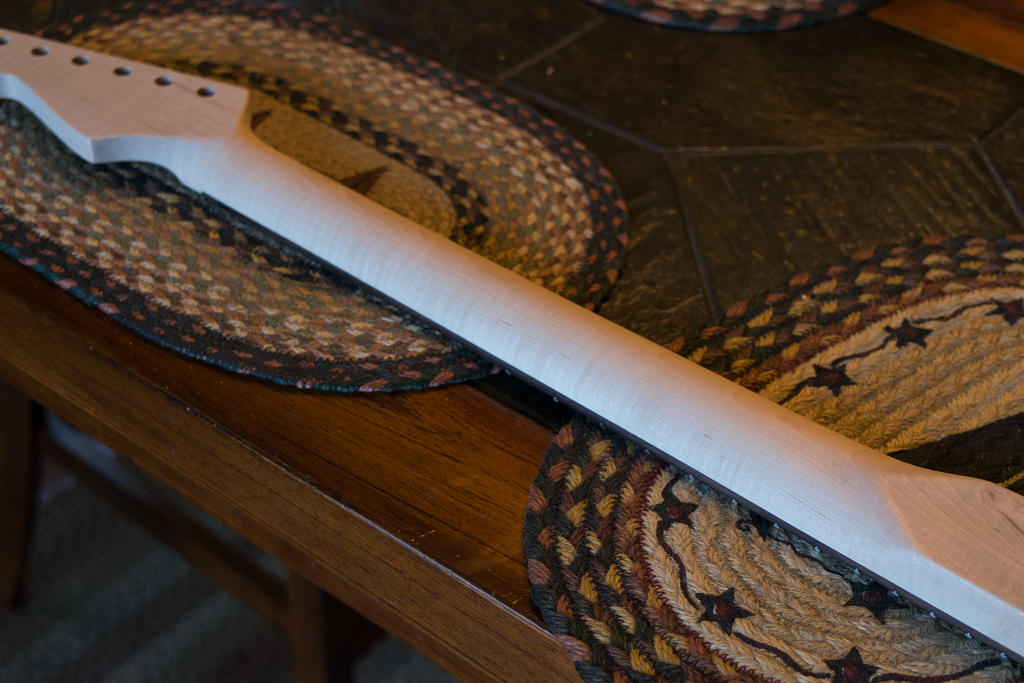
And everything is smoothed off with sand paper to remove the relatively deep gouges the rasps leave. At this point I actually sit around and watch TV while holding the neck. Sounds odd maybe, but when my attention is elsewhere and I’m feeling the neck in an absent-minded way I tend to find irregularities and areas that might need a bit more work on the contours I wouldn’t have noticed while directly examining it. Then I can make any needed adjustments to the contours.
In the case of this neck, I also took it to work and put it in the hands of the person I’m building it for (Mike!) to make sure that he likes the carve as well.

This is what I look like after all the grinding and sanding 🙂
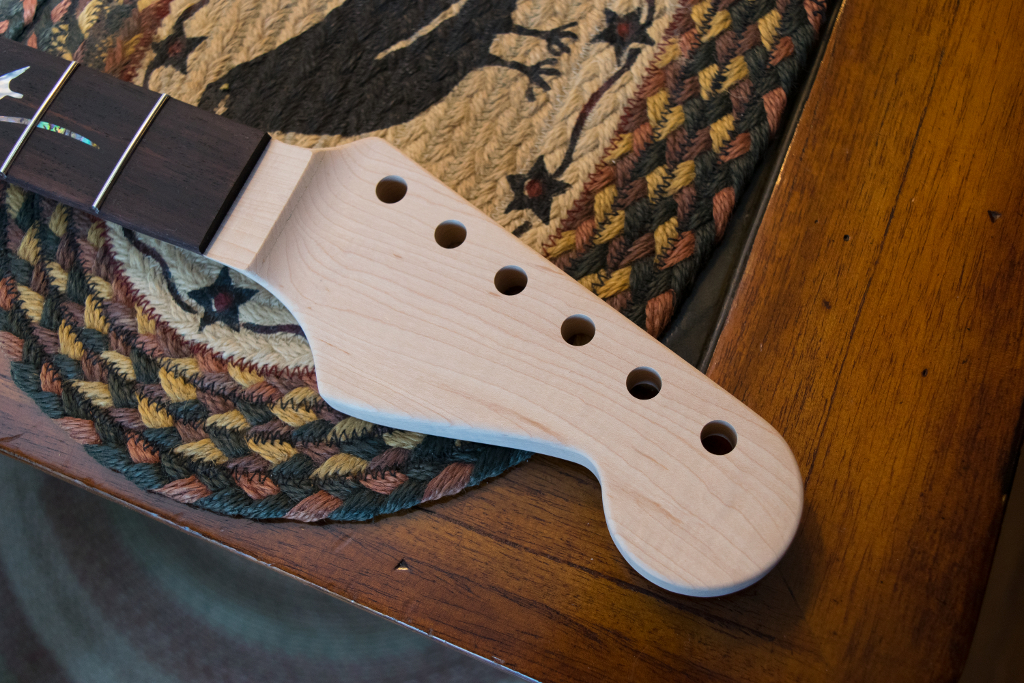
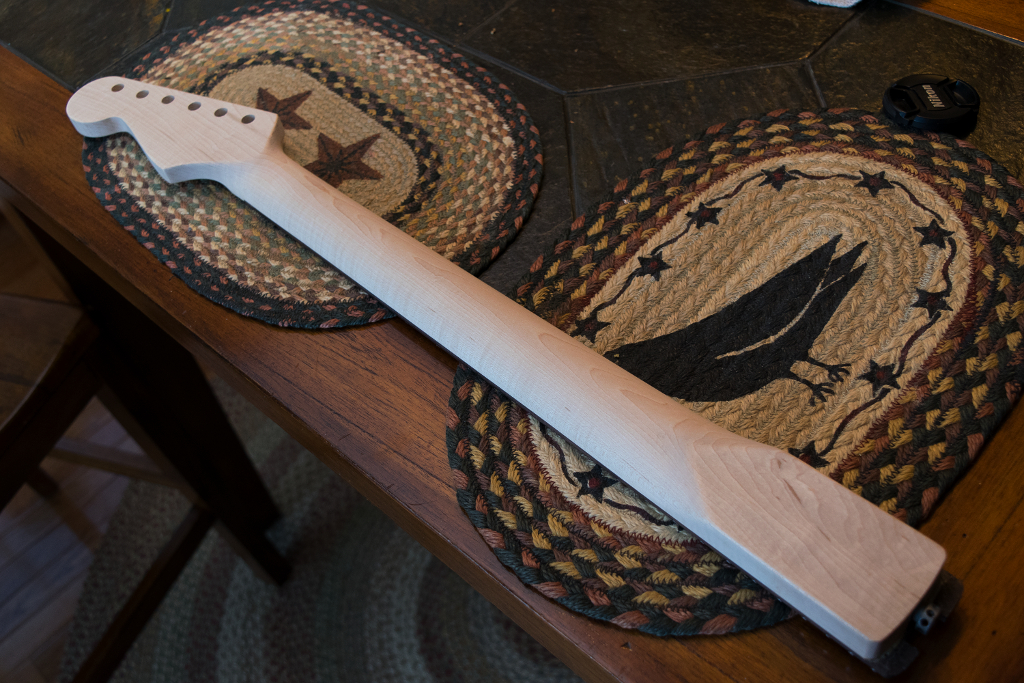
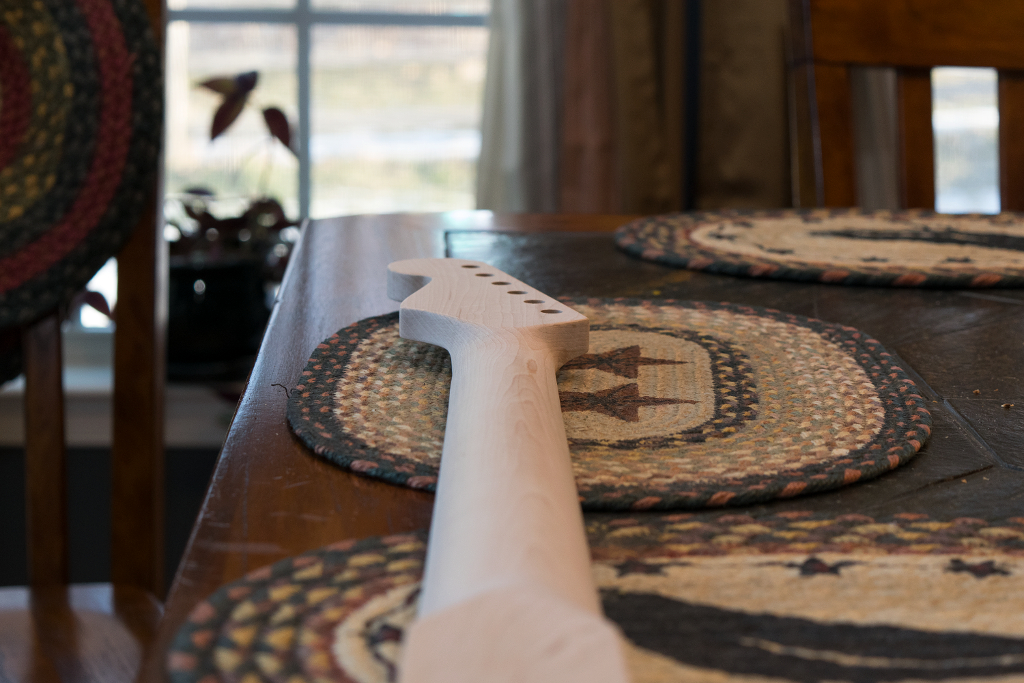
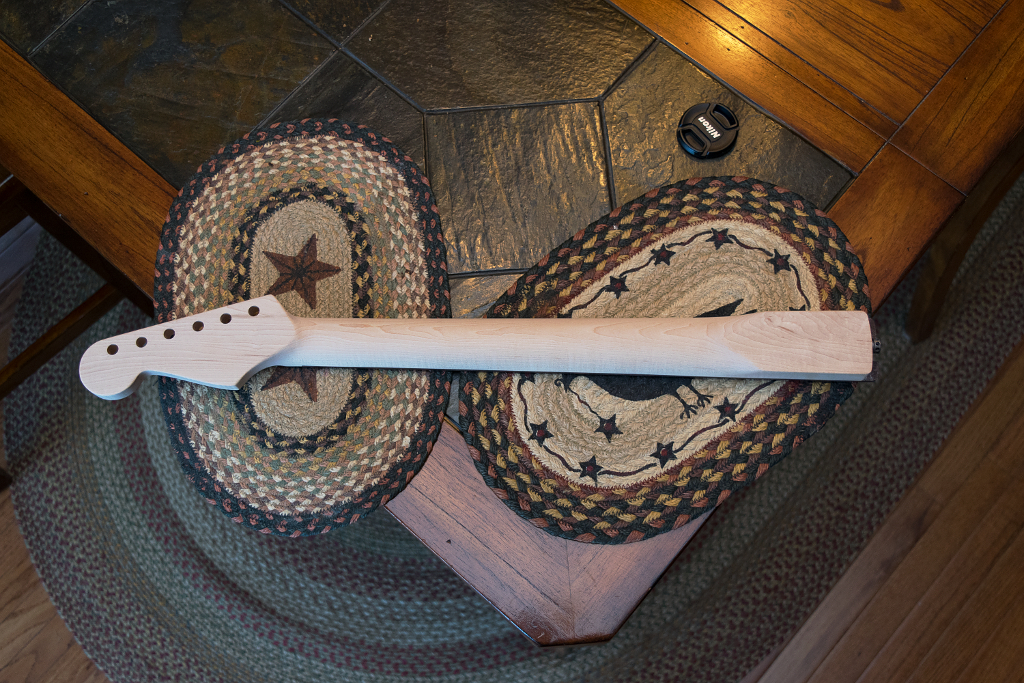
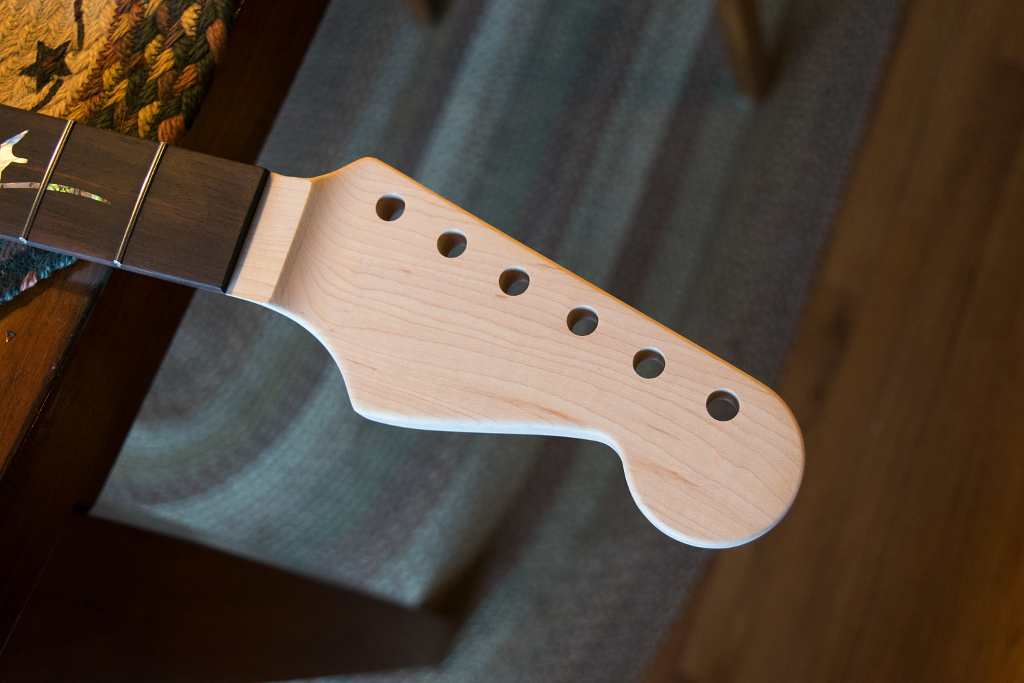
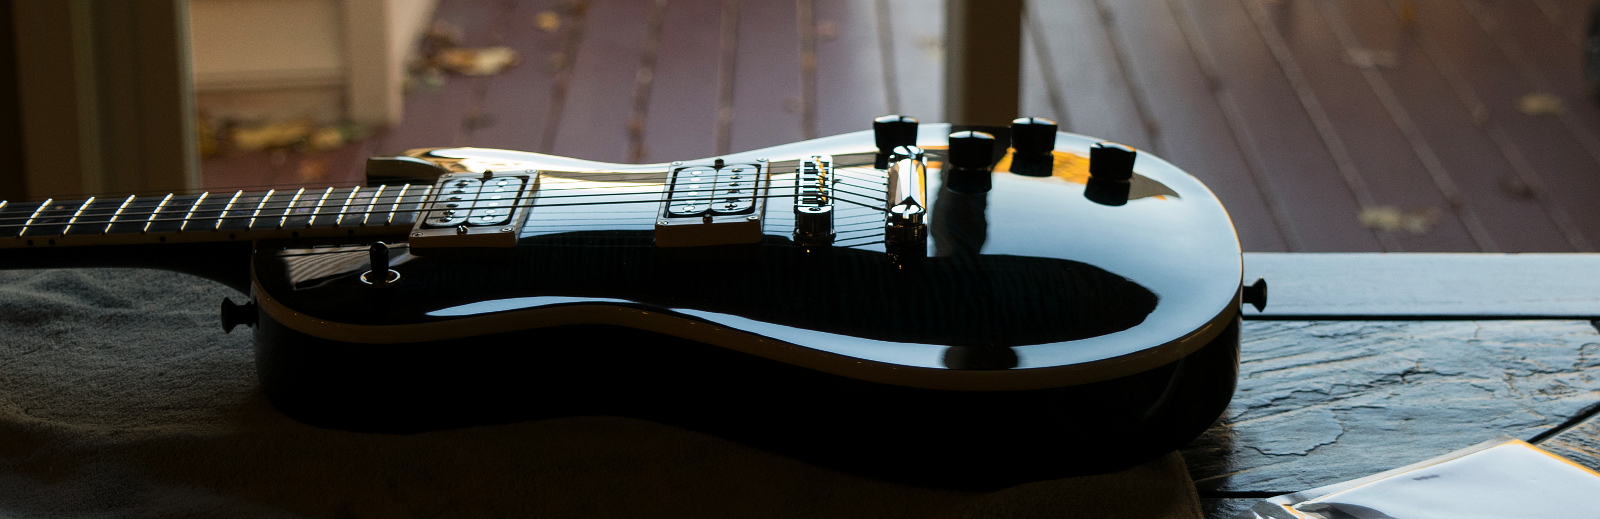
OK, Mike signed off on the neck profile, so I sanded the whole thing up to 320 grit and then took a pile of gratuitous, sexy photo’s 🙂
Lets call it what it is. Guitar porn 🙂