Addict  Guitars

  • Home
  • Store
    • Services
    • Products
    • Shopping Cart
    • Checkout
  • Customer Builds
    • Mikes Strat
      • Rough cutting the neck
      • The body
      • The body 2
      • Neck part 2
      • Neck do-over
      • Fretboard inlays
      • neck – continued
      • Body Routing
      • Body home stretch
      • Pre-finish assembly
      • Finishing
      • The End
      • Refinish
    • Plum Monster
      • Plum Monster 1
      • Plum Monster 2
      • Plum Monster 3
      • Plum Monster 4
      • Plum Monster 5
      • Plum Monster 6
      • Plum Monster 7
      • Plum Monster 8
      • Plum Monster 9
      • Plum Monster 10
      • Plum Monster 11
      • Plum Monster 12
      • Plum Monster 13
      • Plum Monster 14
      • Plum Monster 15
  • My builds
    • 24 Magnum – Phoenix
      • Phoenix1
      • Phoenix2
      • Phoenix3
      • Phoenix4
      • Phoenix5
      • Phoenix6
      • Phoenix7
      • Phoenix8
      • Phoenix9
      • Phoenix10
      • Phoenix11
    • Root beer float
      • 22 Magnum HT – 1
      • 22 Magnum HT – 2
      • 22 Magnum HT – 3
      • 22 Magnum HT – 4
      • 22 Magnum HT – 5
      • 22 Magnum HT – 6
      • 22 Magnum HT – 7
      • 22 Magnum HT – 8
    • The Bass
      • Bass 1
      • Bass 2
      • Bass 3
      • Bass 4
      • Bass 5
    • Angel step Strat
      • The quilted body
      • The damascus neck plate
      • The finish
      • Complete
    • “Bushido” Les Paul
      • Bushido LP1
      • Bushido LP2
      • Bushido LP3
      • Bushido LP4
      • Bushido LP5
      • Bushido LP6
      • Bushido LP7
      • Bushido LP8
      • Bushido LP9
      • Bushido LP10
      • Bushido LP11
      • Bushido LP 12
    • 22 Special “Traditional”
      • Parts and materials
      • Body Part 1
      • Body part 2
      • Body Part 3
      • Body Part 4
      • Body Part 5
      • Body Part 6
      • Neck Part 1
    • Fuego Strat
      • Fuego neck
    • 22 Magnum Traditional
  • Things
    • Gallery
    • Contact Us
    • Odds and ends
      • Goof
    • About
    • Song
      • Back story
      • Cumbersome
      • Chris and Jake

Previous Page | Next Page


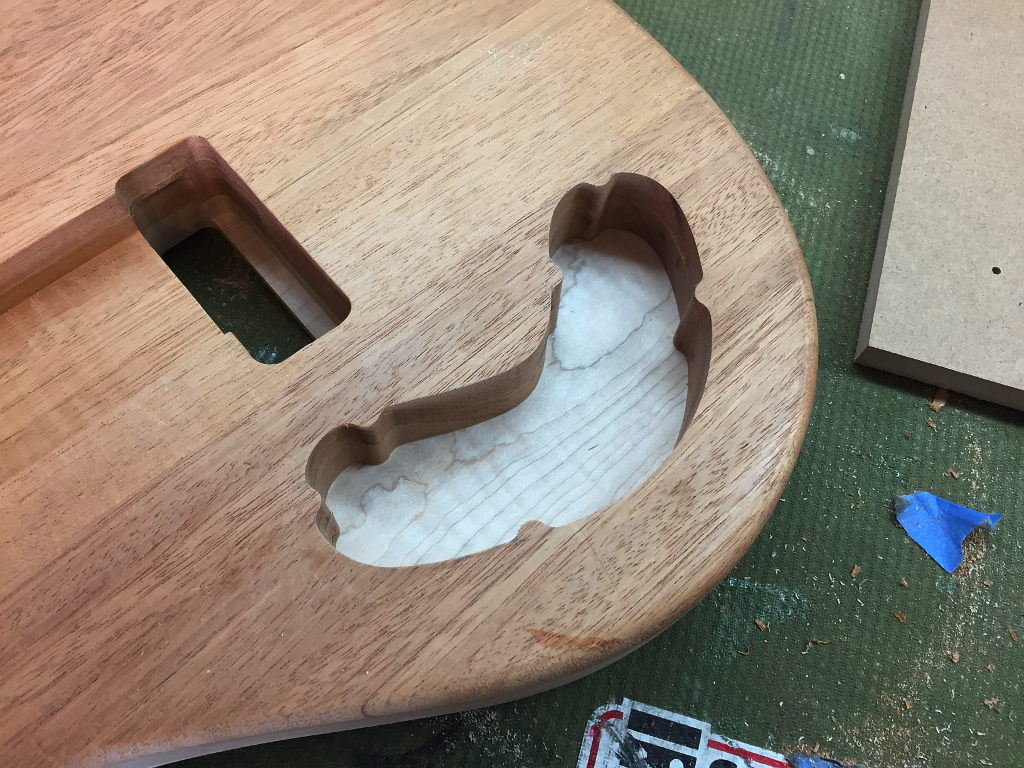
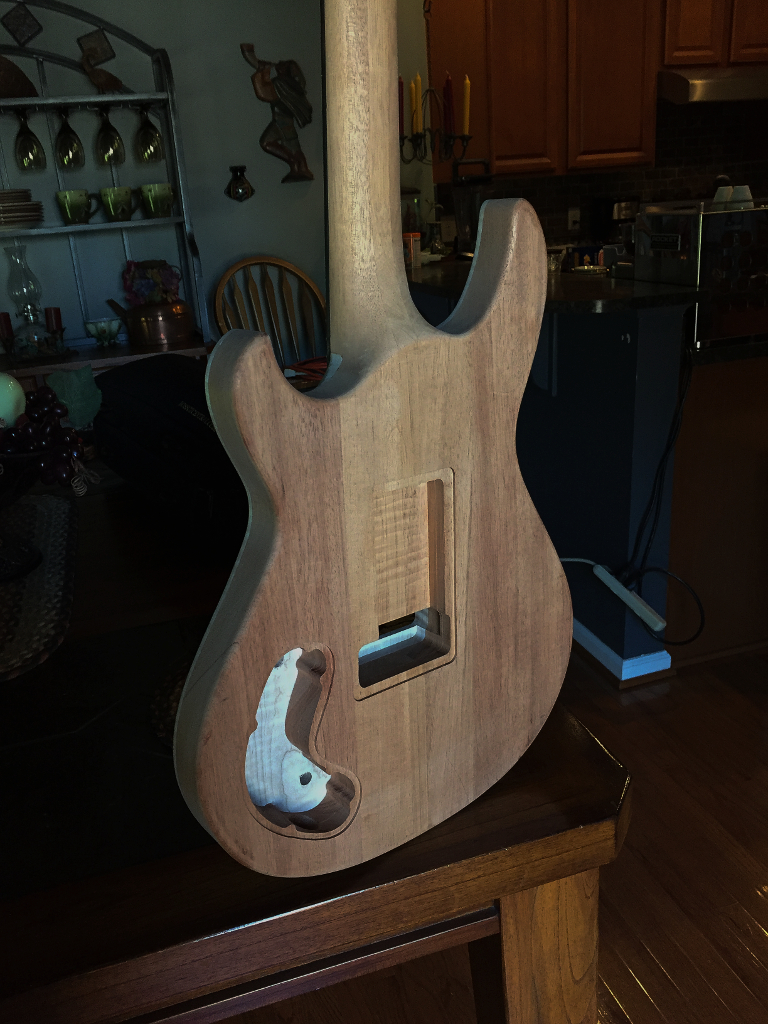
This is where the control cavity will be. Rather than killing my router cutting the entire cavity I hog out most of the wood with a forstner bit in my drill press…


then I attach my routing template and finish it with my router.


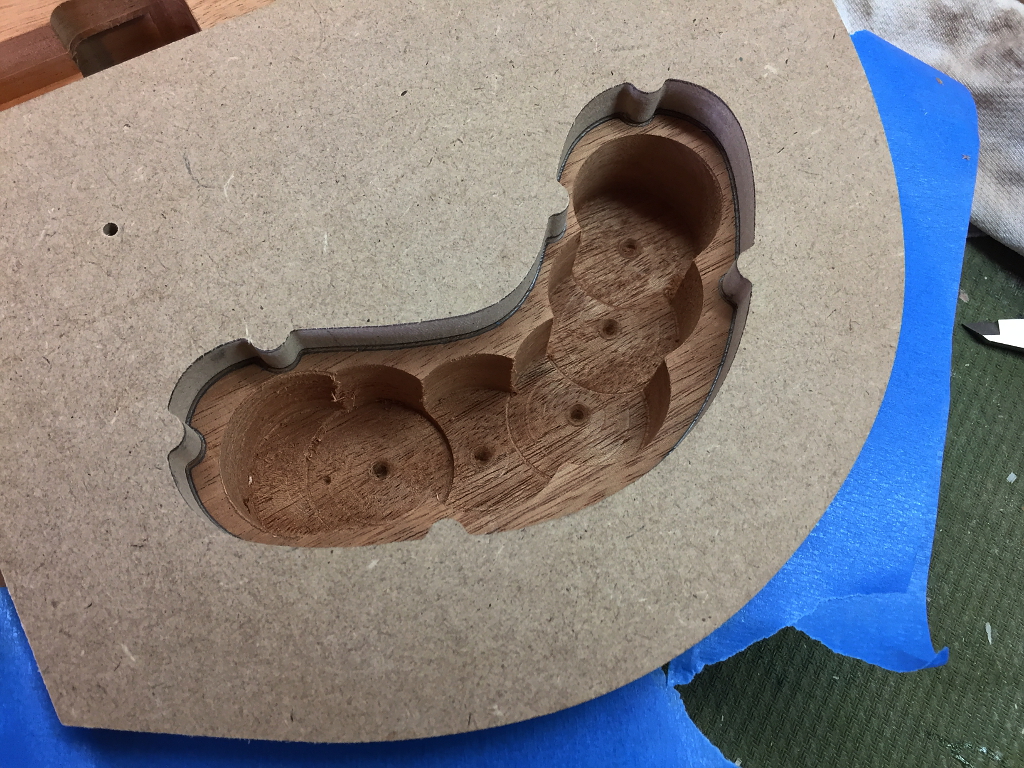
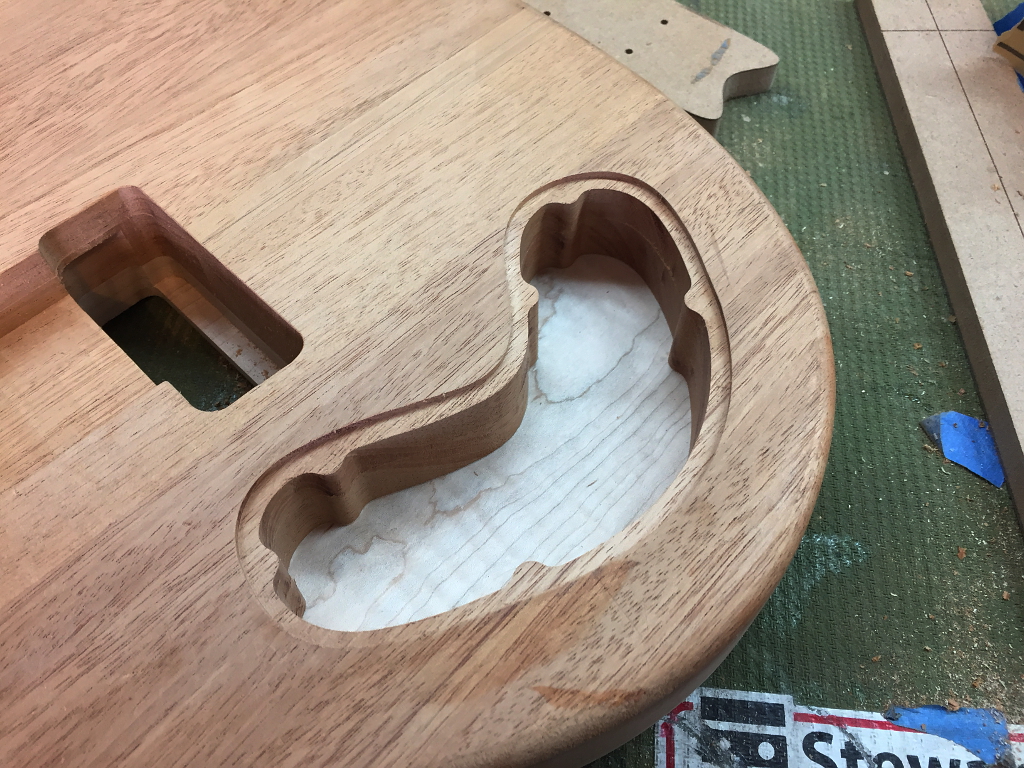
Nice and clean. For now, anyway. The bumps around the sides of the cavity are where the screws that hold the cover on will go.


I prefer my covers to be flush with the body, so I also need to route the recess for the cover to sit in. Another template for this but this time I only have to route deep enough for the cover.


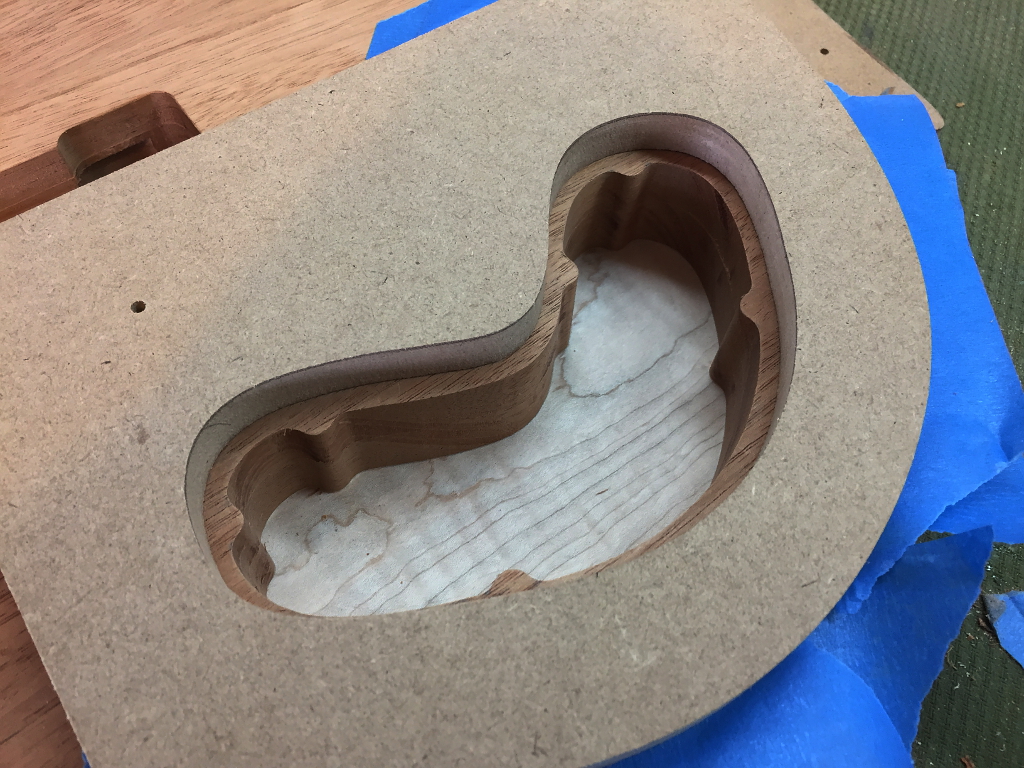
and we end up with this.


Repeat the operation for the tremolo/spring cavity.


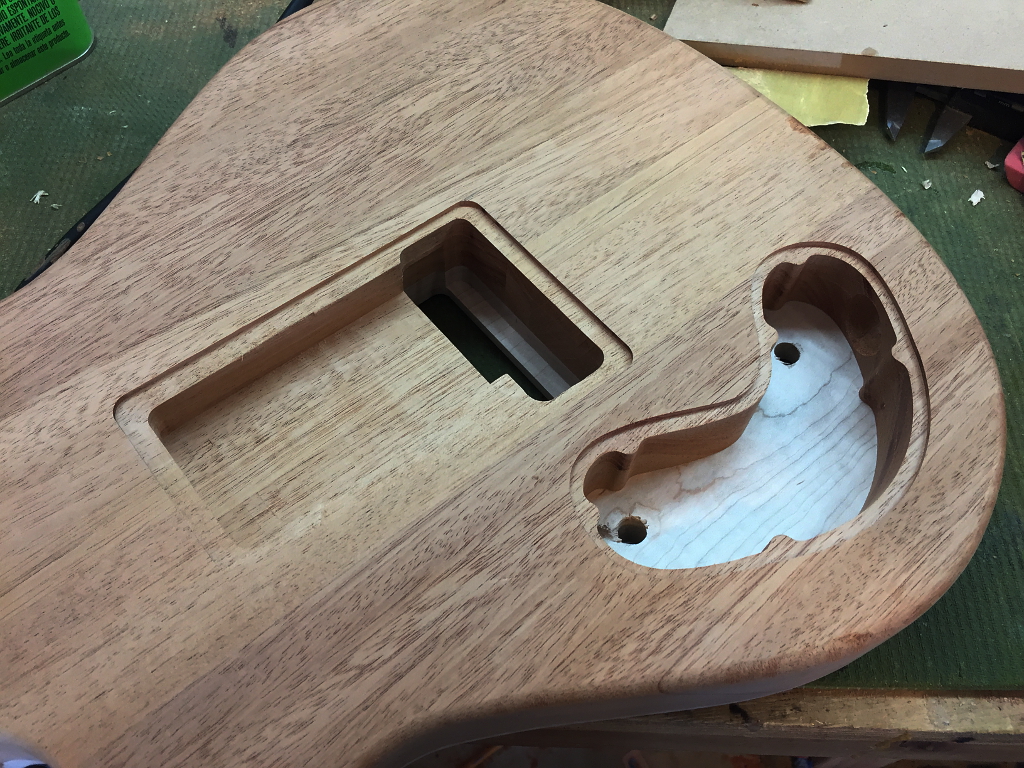
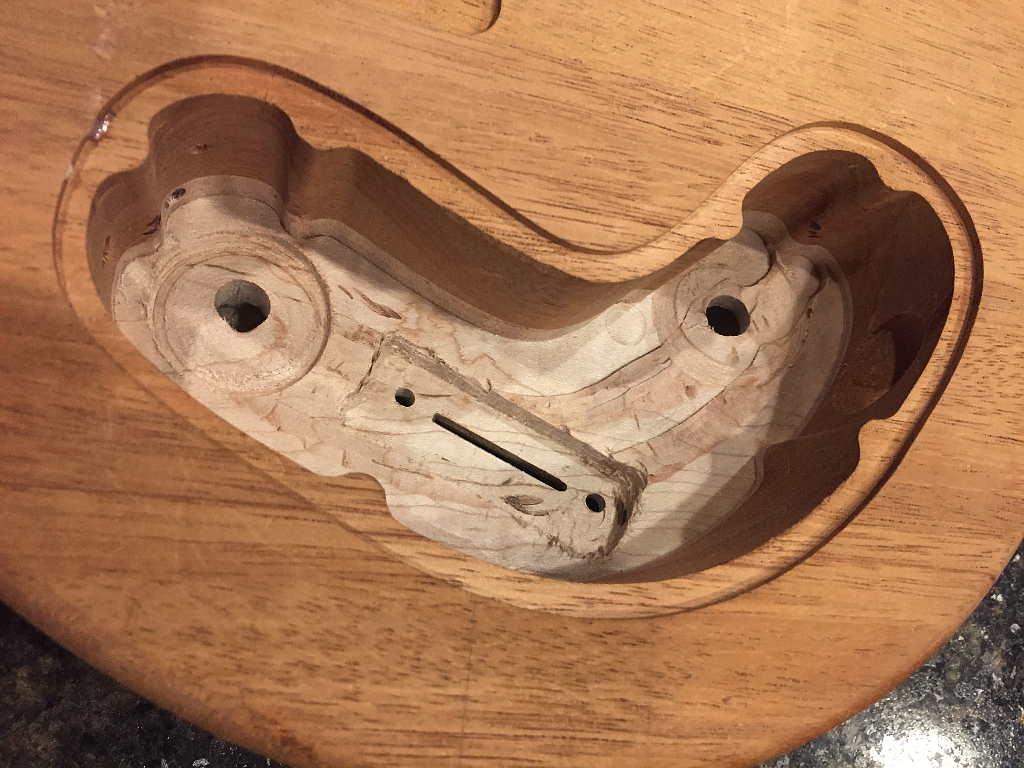
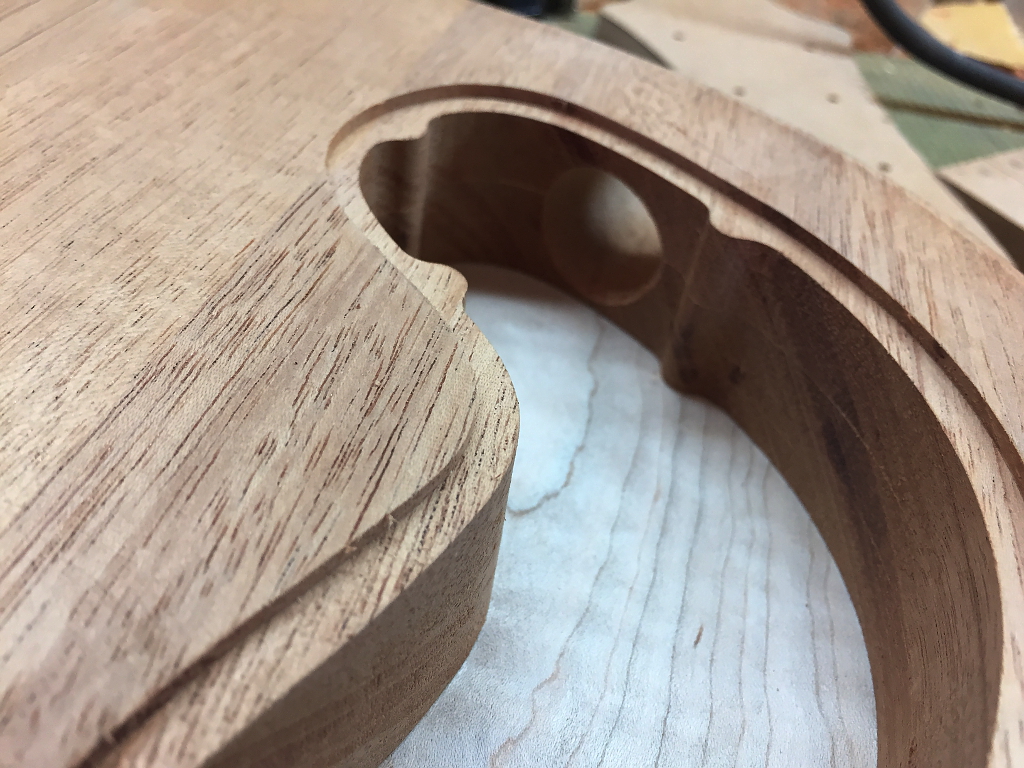
This is the PITA part. Major manufacturers like PRS actually cut recesses in the top for the knobs and switches so that the bottom of the cavity here can be flat. Saves time and effort, and money. The downside is that the knobs and switches are all perpendicular to the back of the guitar, not the front. This is why they have to cut recesses in their tops.

I prefer my knobs and switches to be perpendicular to the top of the guitar which is curved. This is far more visually pleasing. the downside of that is that the knobs and switches are not all parallel with each other, but are each in their own “plane” depending on how the top is shaped where each one sits.

To make this work, the inside of the control cavity needs to be carved out in different planes for each control. One for each knob which I do with a forstner bit, and for the 5 position switch a dremel and chisels. Its not as pretty inside, but I’d much rather it look good from the outside 🙂


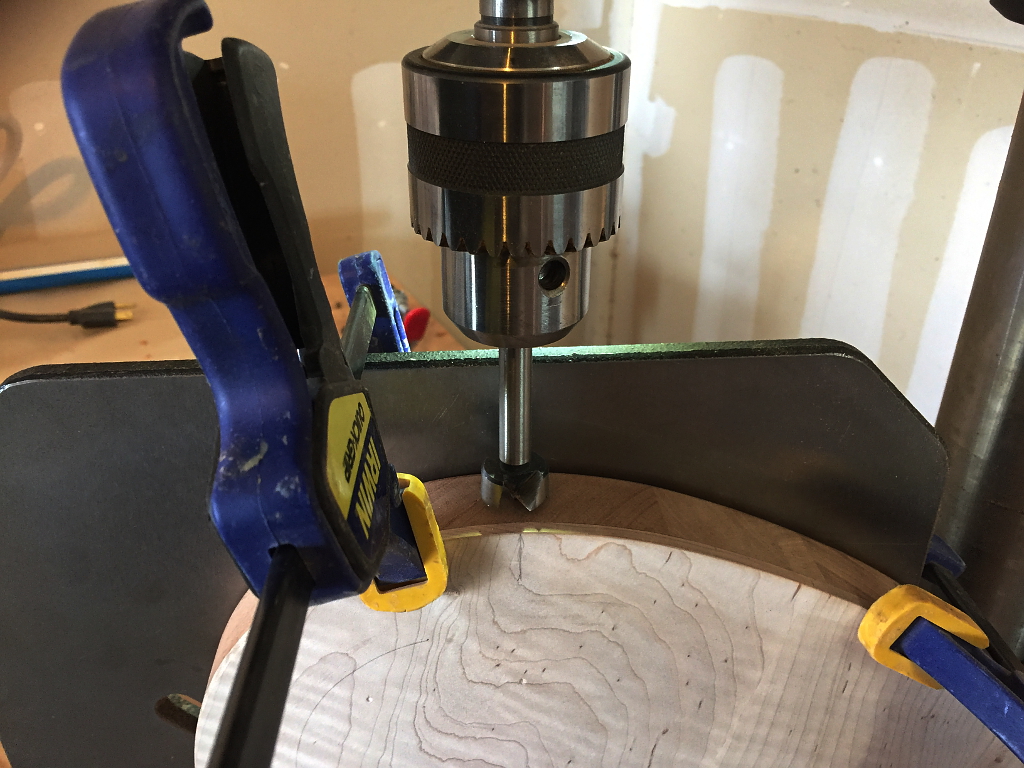
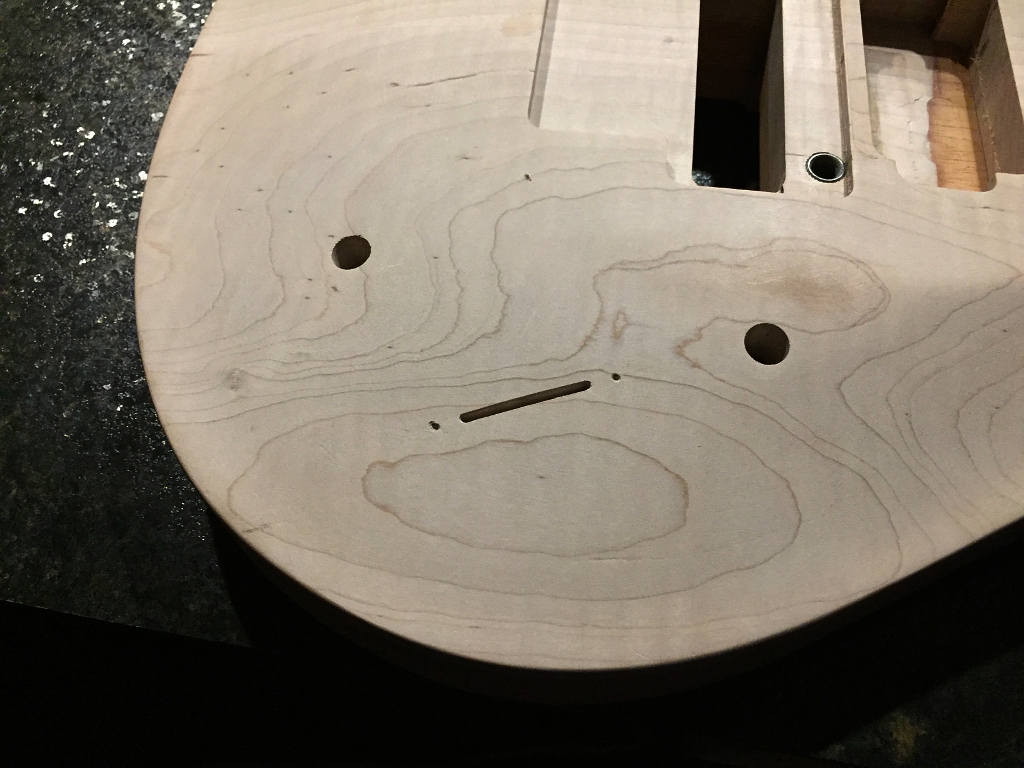
Drilling for the output jack


After the main hole is drilled, and before unclamping the body, I swap out the bit for a larger one and cut a “lip” that the socket sits in
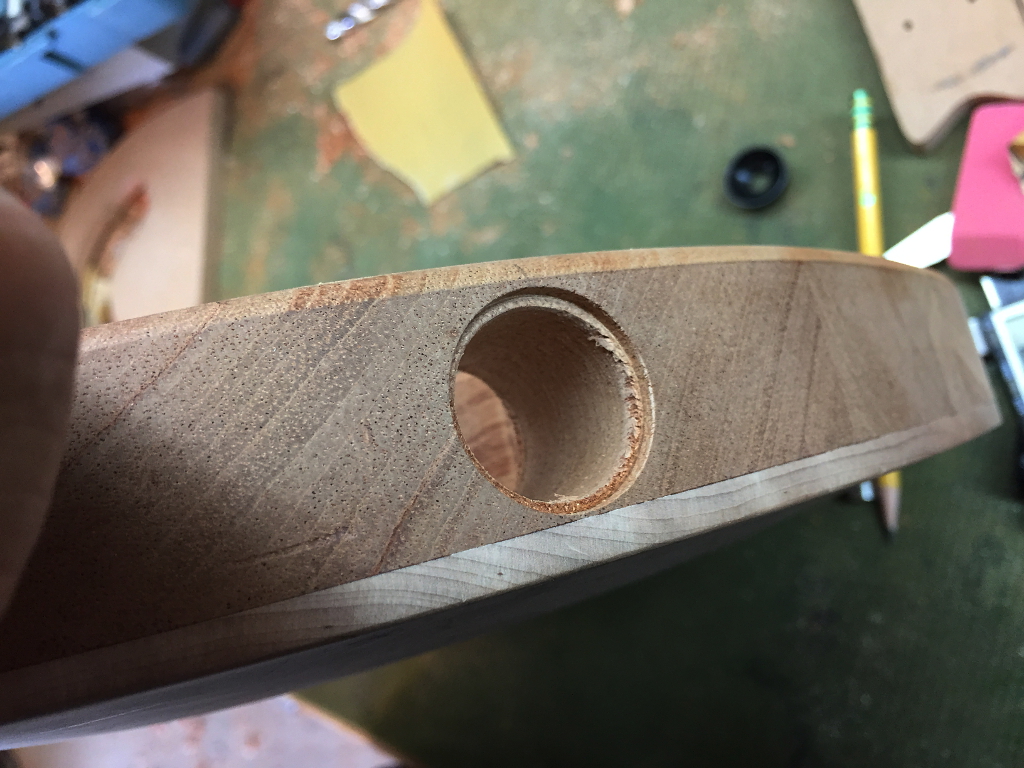
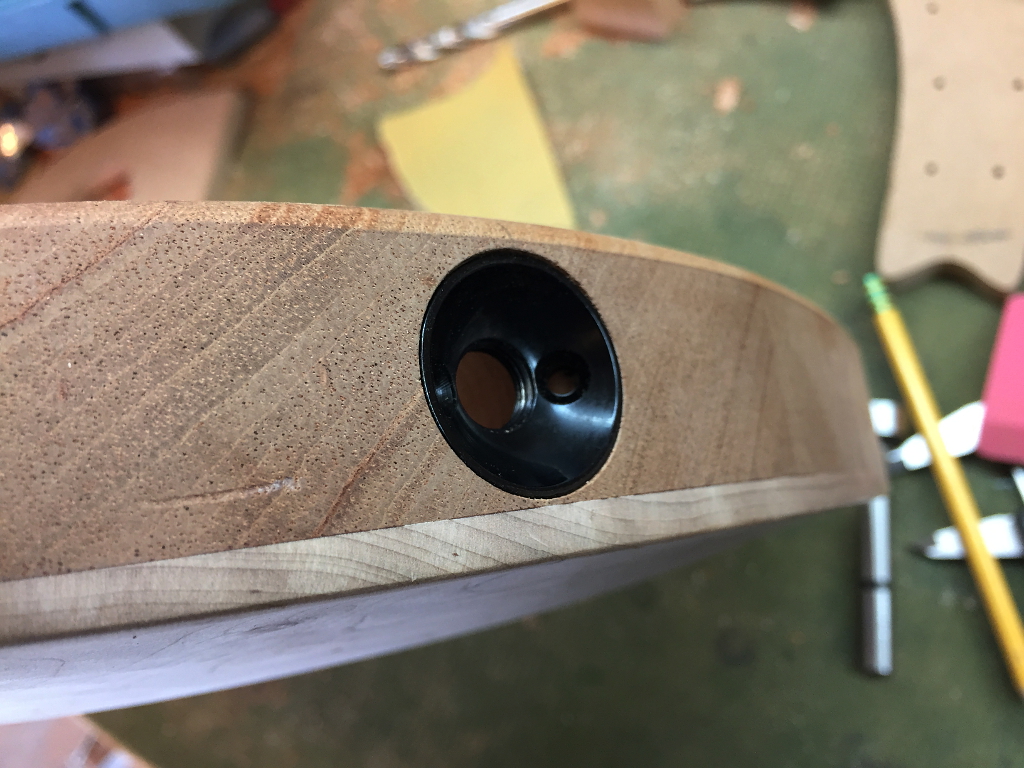
 

Likea dis!


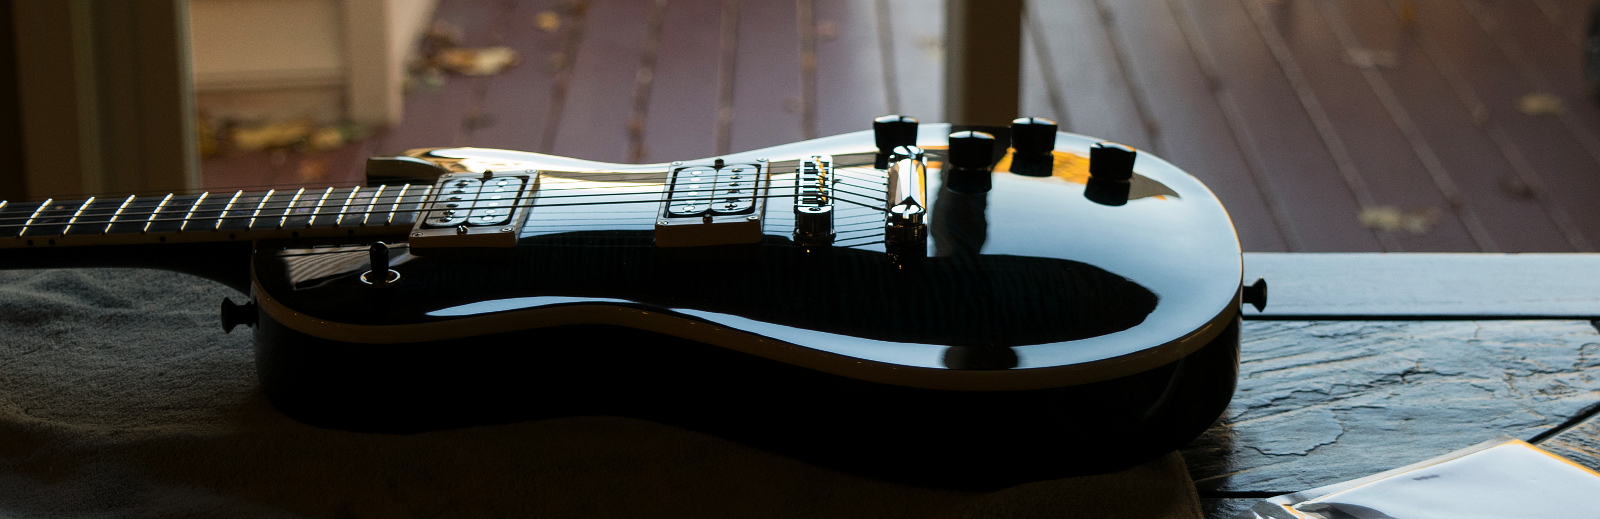
A look at the carve around the heel area. This is ALL done with hand rasps, files, and sand paper.


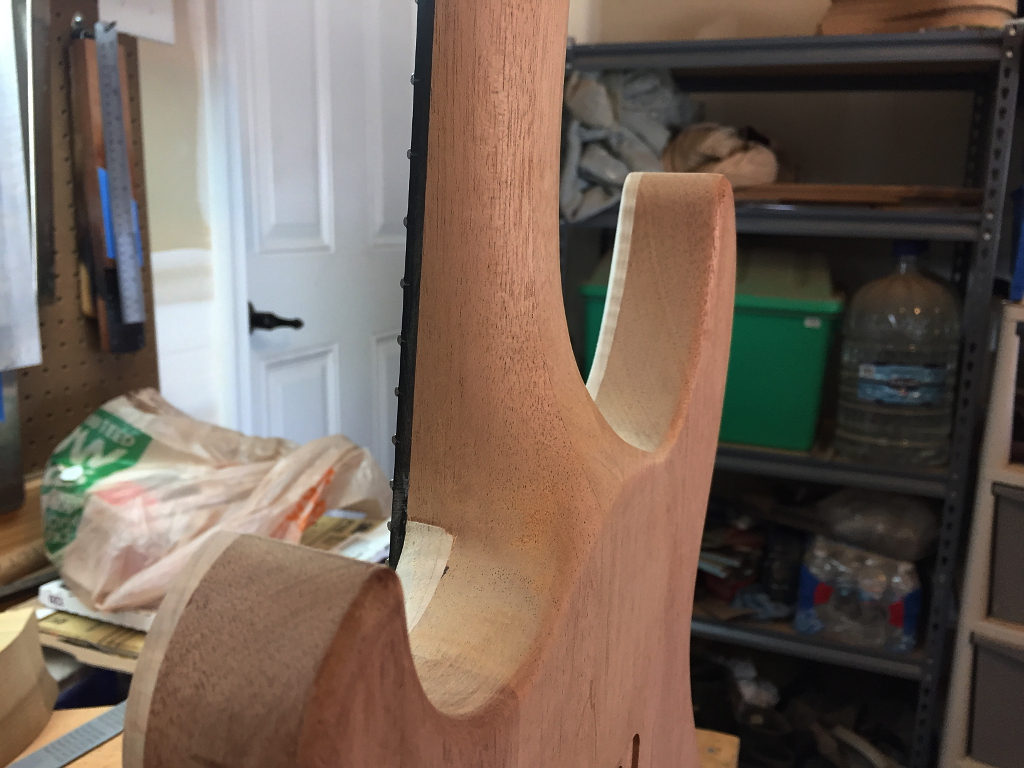
At this point other than final sanding, the “build” phase is essentially complete.


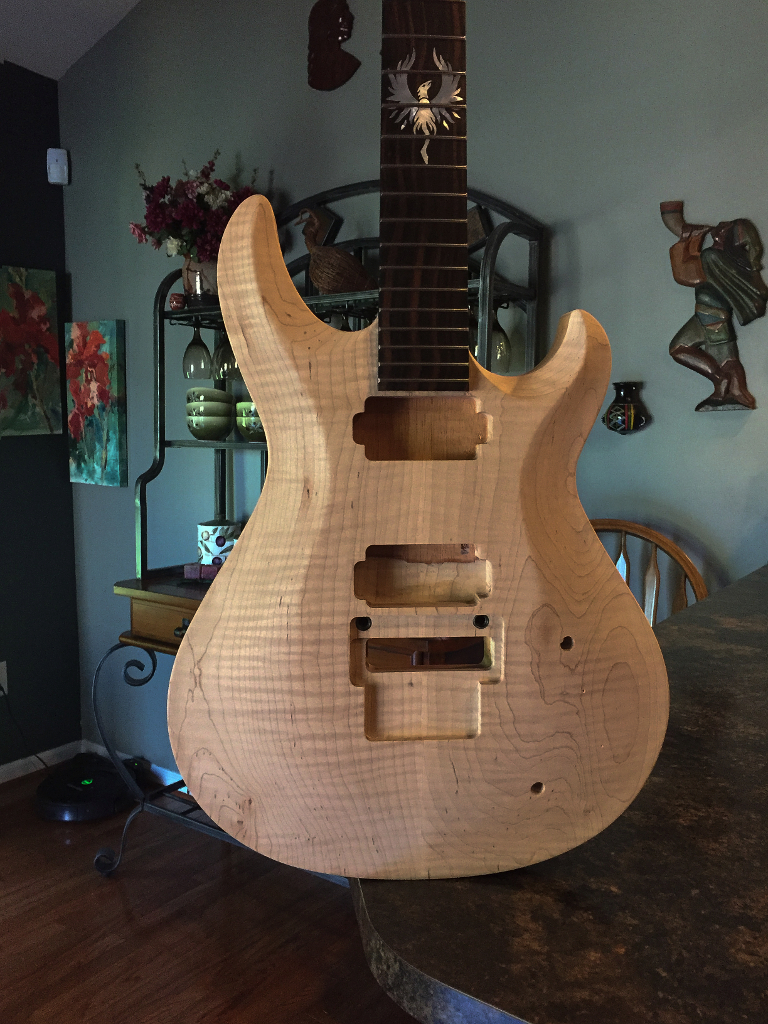
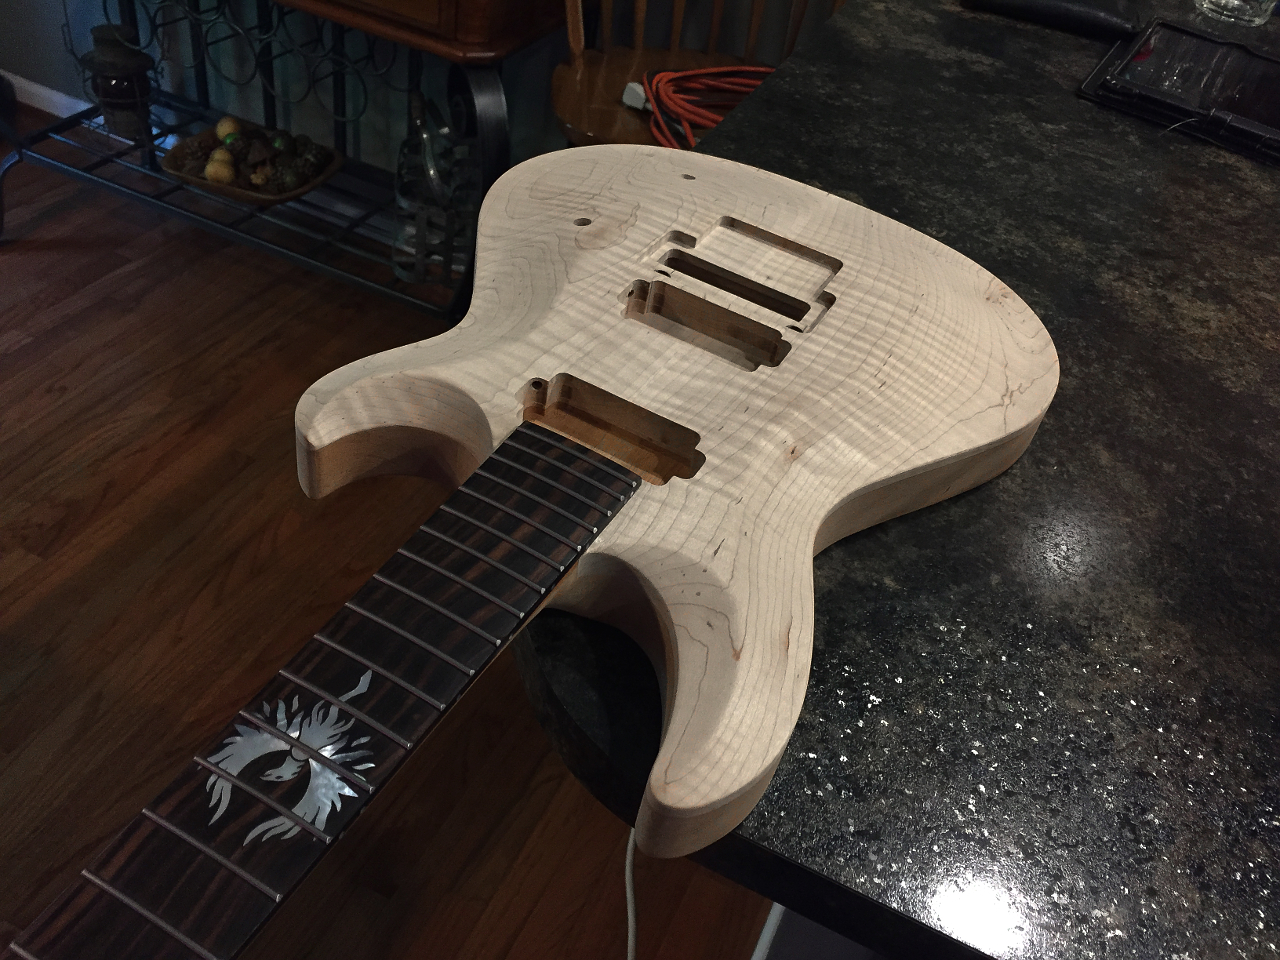
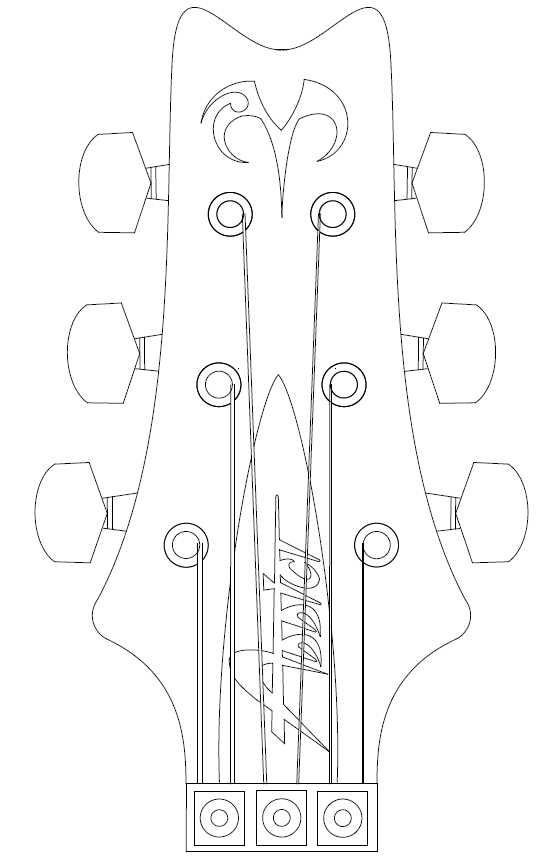
A quick comparison between the original design and the actual guitar. I’m calling this “Nailed”


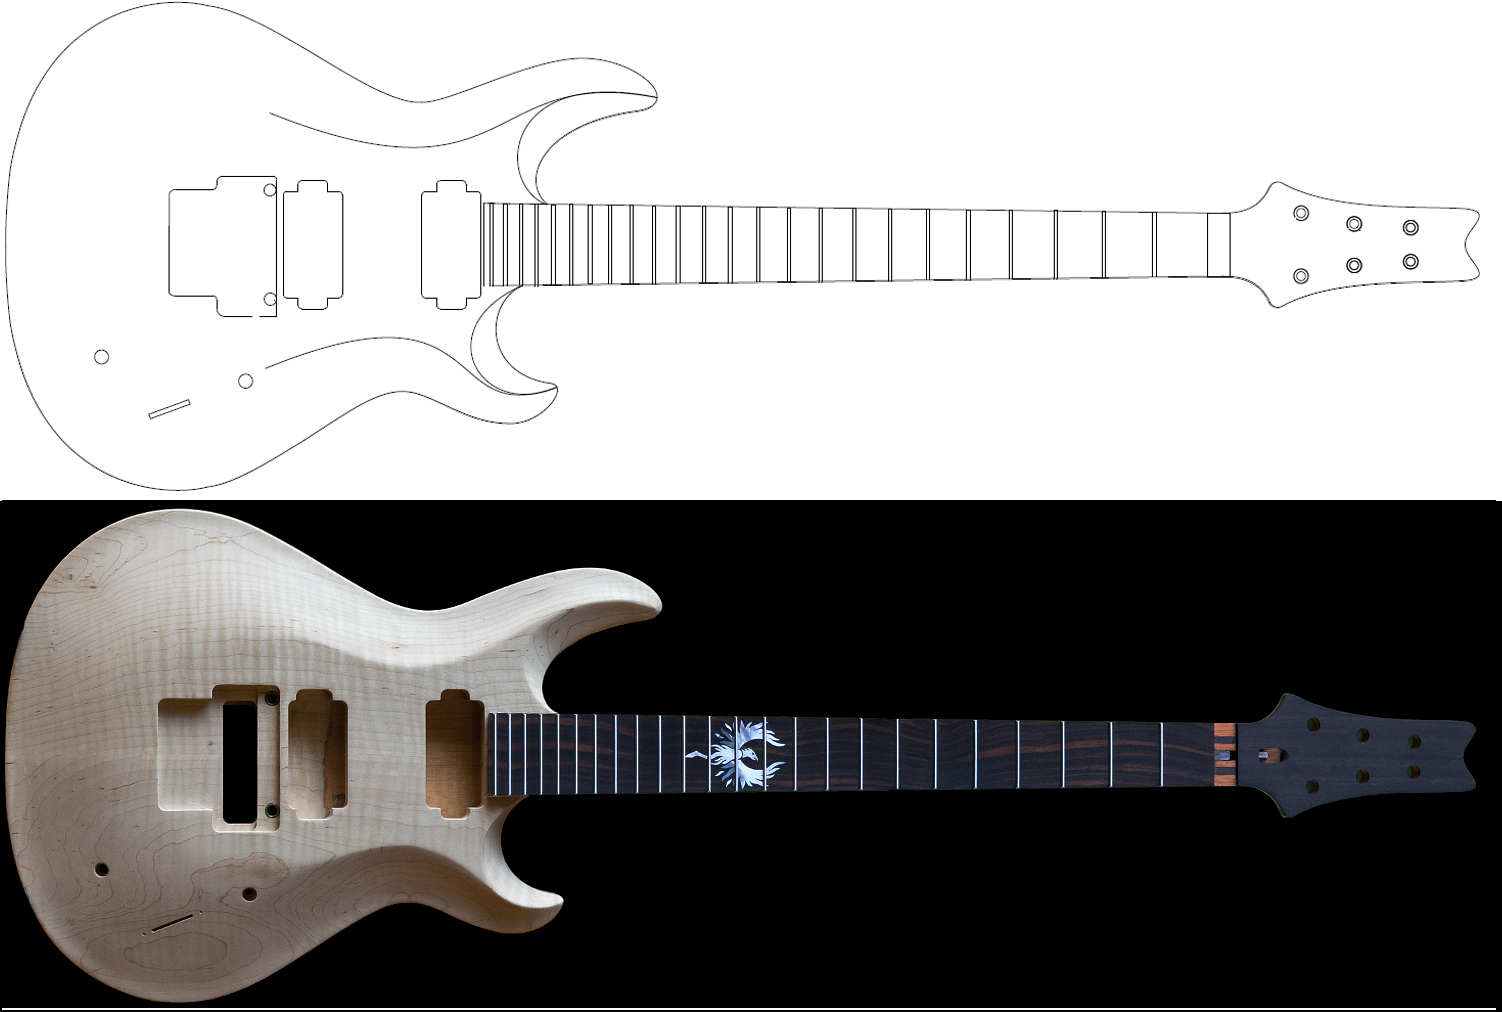
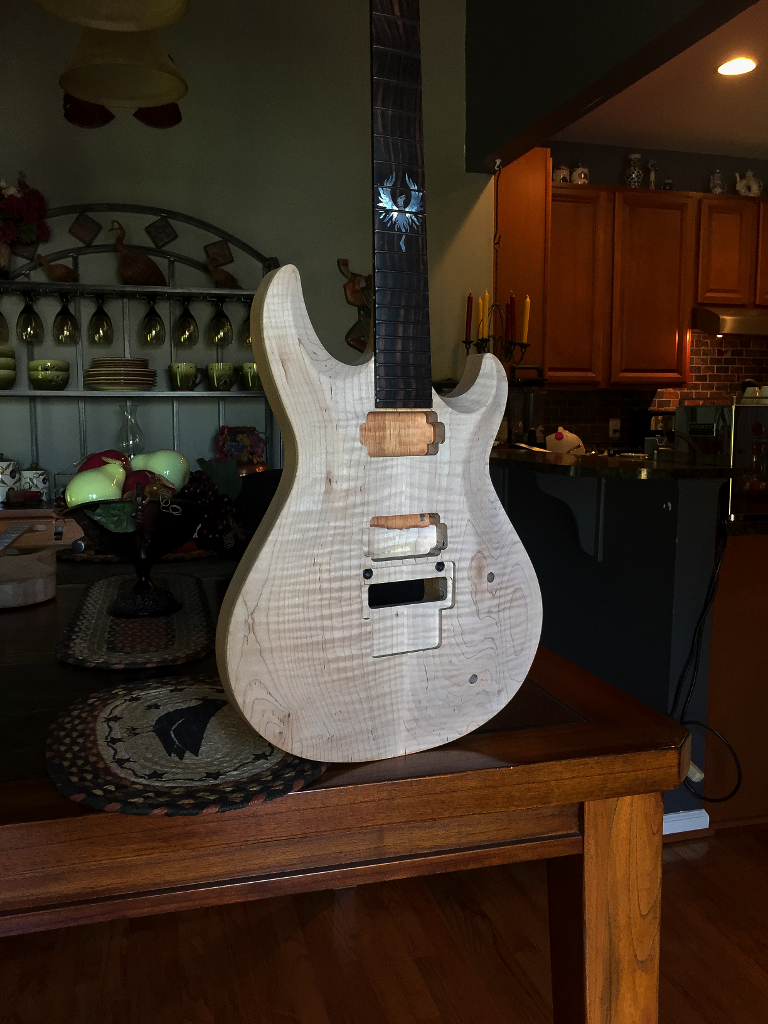
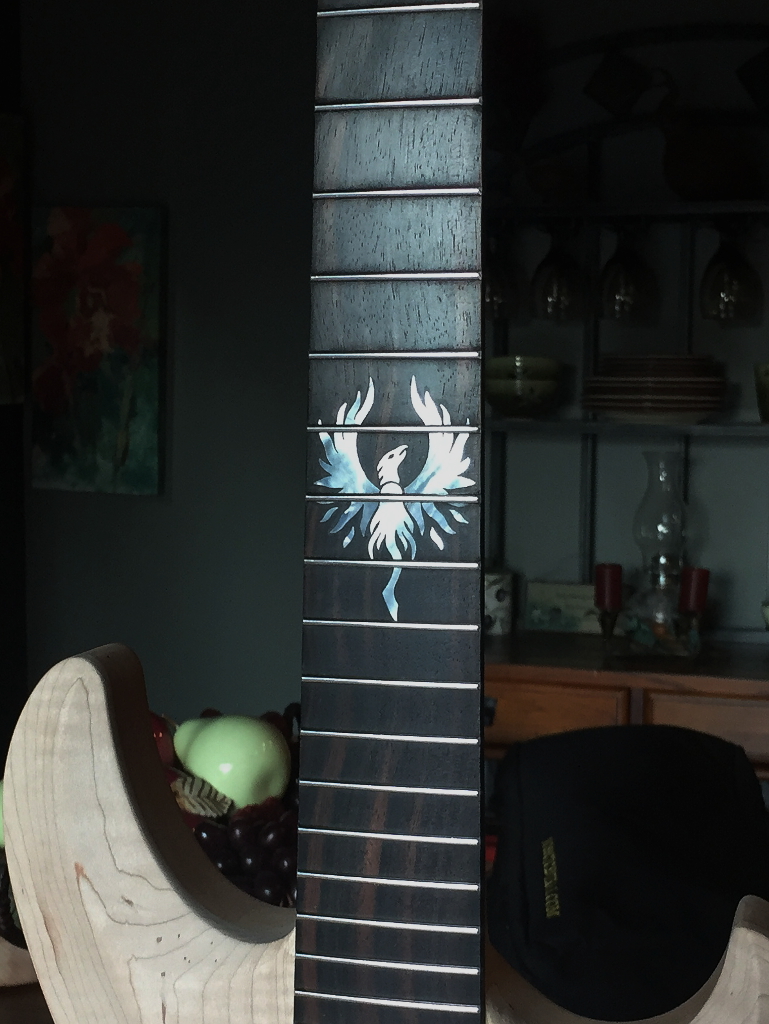
the design of the fretboard and the actual fretboard.


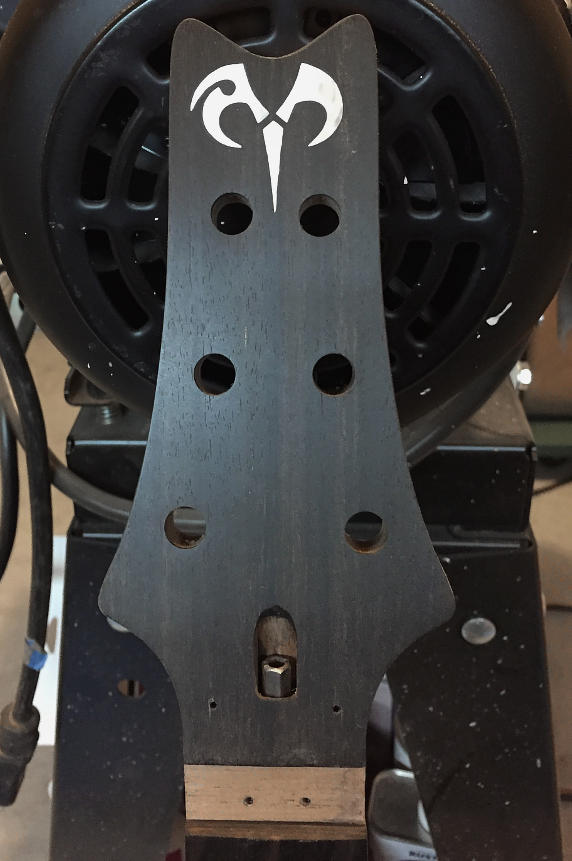
Headstock inlay design and actual fretboard. Obviously I changed the design a bit by making it into 3 separate pieces.


Previous Page | Next Page


Phoenix6

Recent Posts

  • Strat Porn
  • Getting closer…
  • Fret slots and tuner holes
  • More progress on the double-Strat build.
  • Mikes Custom Strat

Recent Comments

    Archives

    • March 2018
    • January 2018
    • December 2017
    • September 2015

    Categories

    • Uncategorized

    Meta

    • Log in
    • Entries feed
    • Comments feed
    • WordPress.org
    © Powered by Wordpress