Addict  Guitars

  • Home
  • Store
    • Services
    • Products
    • Shopping Cart
    • Checkout
  • Customer Builds
    • Mikes Strat
      • Rough cutting the neck
      • The body
      • The body 2
      • Neck part 2
      • Neck do-over
      • Fretboard inlays
      • neck – continued
      • Body Routing
      • Body home stretch
      • Pre-finish assembly
      • Finishing
      • The End
      • Refinish
    • Plum Monster
      • Plum Monster 1
      • Plum Monster 2
      • Plum Monster 3
      • Plum Monster 4
      • Plum Monster 5
      • Plum Monster 6
      • Plum Monster 7
      • Plum Monster 8
      • Plum Monster 9
      • Plum Monster 10
      • Plum Monster 11
      • Plum Monster 12
      • Plum Monster 13
      • Plum Monster 14
      • Plum Monster 15
  • My builds
    • 24 Magnum – Phoenix
      • Phoenix1
      • Phoenix2
      • Phoenix3
      • Phoenix4
      • Phoenix5
      • Phoenix6
      • Phoenix7
      • Phoenix8
      • Phoenix9
      • Phoenix10
      • Phoenix11
    • Root beer float
      • 22 Magnum HT – 1
      • 22 Magnum HT – 2
      • 22 Magnum HT – 3
      • 22 Magnum HT – 4
      • 22 Magnum HT – 5
      • 22 Magnum HT – 6
      • 22 Magnum HT – 7
      • 22 Magnum HT – 8
    • The Bass
      • Bass 1
      • Bass 2
      • Bass 3
      • Bass 4
      • Bass 5
    • Angel step Strat
      • The quilted body
      • The damascus neck plate
      • The finish
      • Complete
    • “Bushido” Les Paul
      • Bushido LP1
      • Bushido LP2
      • Bushido LP3
      • Bushido LP4
      • Bushido LP5
      • Bushido LP6
      • Bushido LP7
      • Bushido LP8
      • Bushido LP9
      • Bushido LP10
      • Bushido LP11
      • Bushido LP 12
    • 22 Special “Traditional”
      • Parts and materials
      • Body Part 1
      • Body part 2
      • Body Part 3
      • Body Part 4
      • Body Part 5
      • Body Part 6
      • Neck Part 1
    • Fuego Strat
      • Fuego neck
    • 22 Magnum Traditional
  • Things
    • Gallery
    • Contact Us
    • Odds and ends
      • Goof
    • About
    • Song
      • Back story
      • Cumbersome
      • Chris and Jake

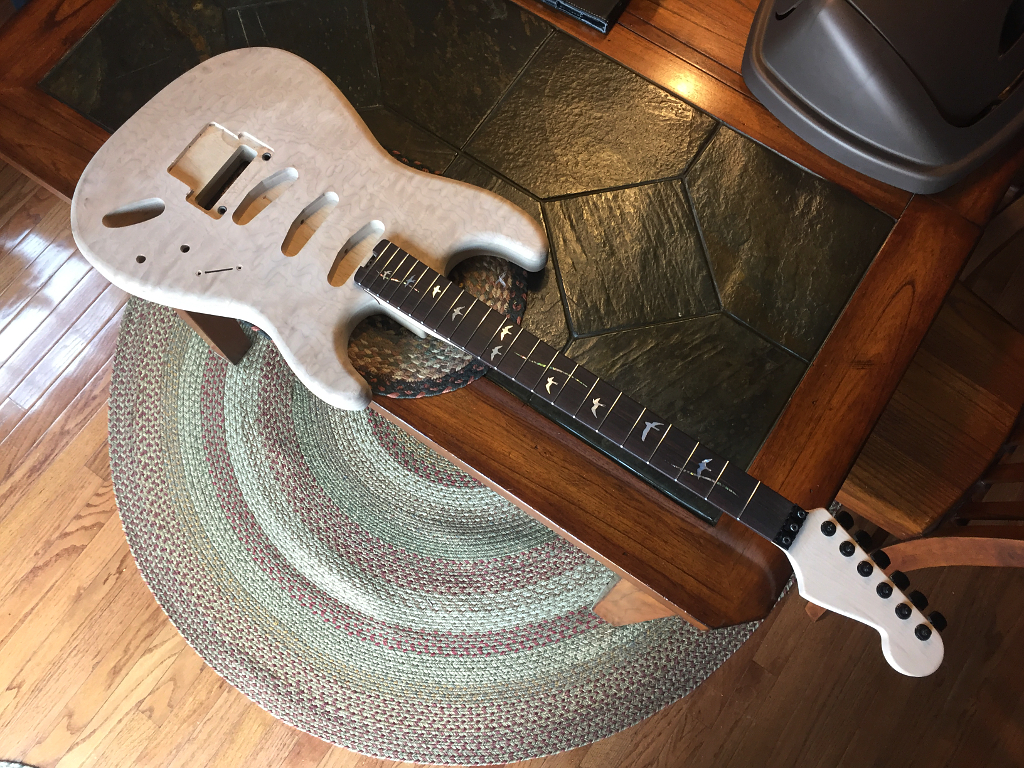
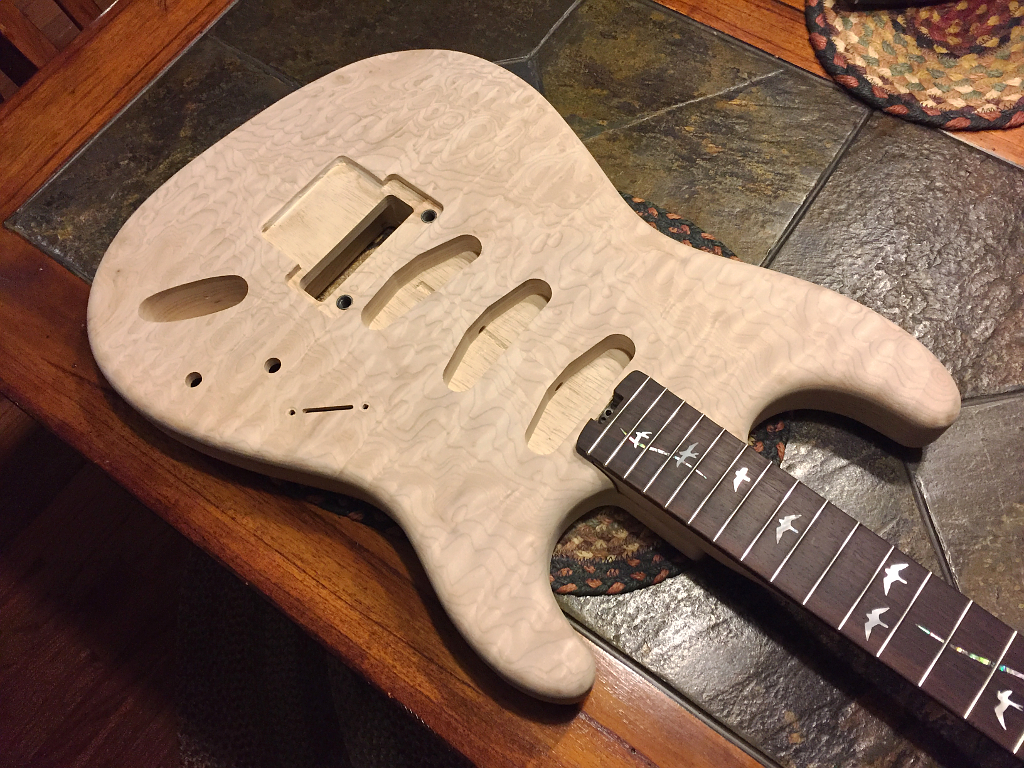
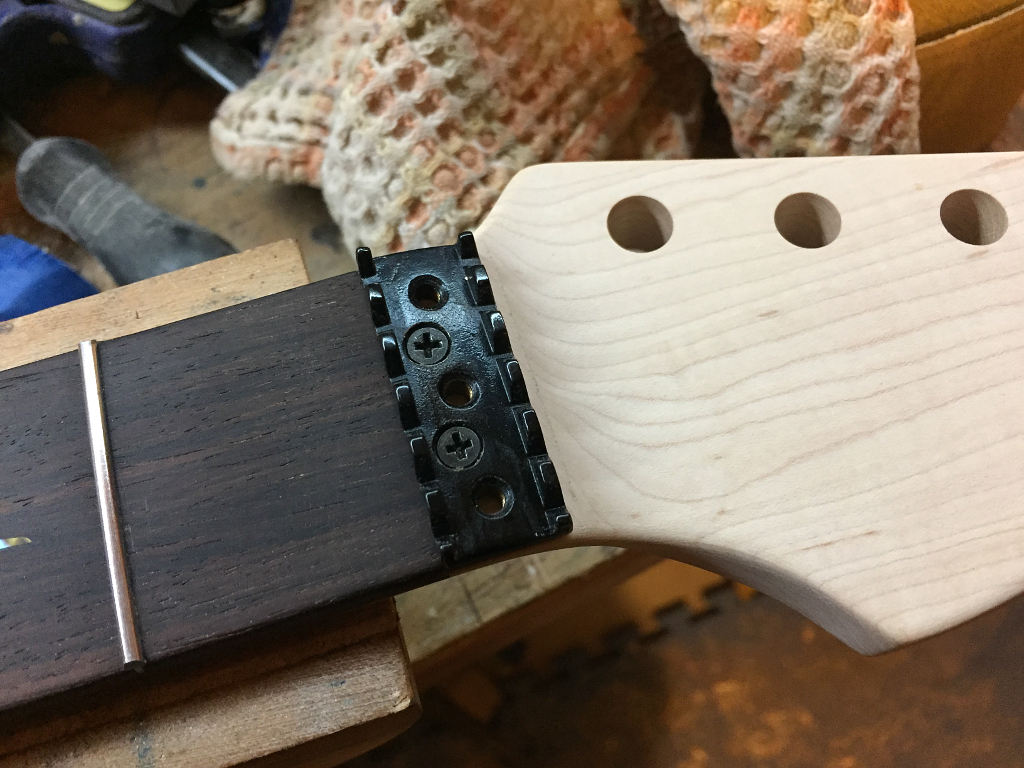
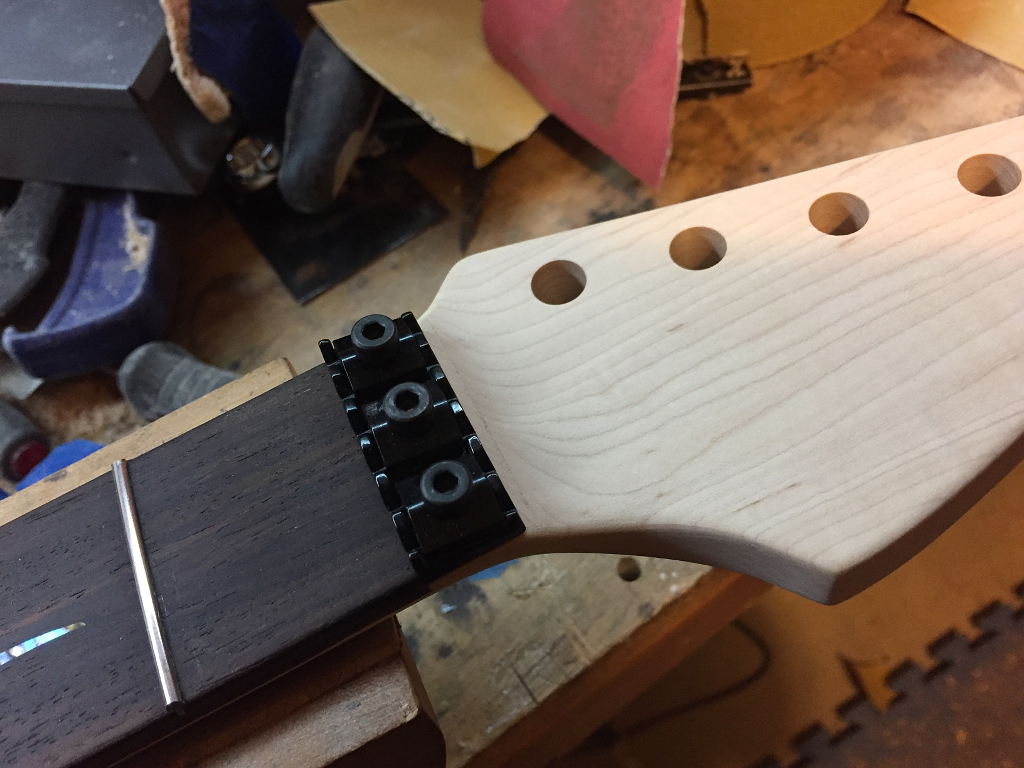
Mounted the locking nut, because the nut it the key measurement point for determining the exact placement of the tremolo posts
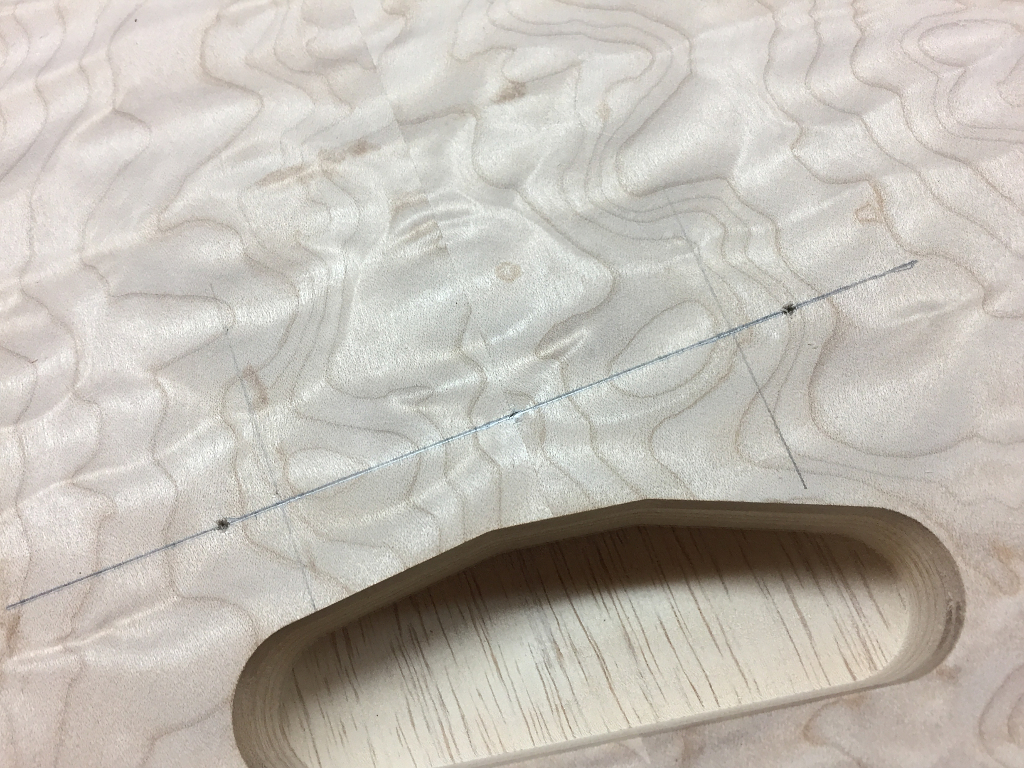


Right…about…here!

The post holes will be drilled along this line, centered and spaced precisely. This is critical to the proper functioning of the tremolo as well as being able to set the intonation properly.


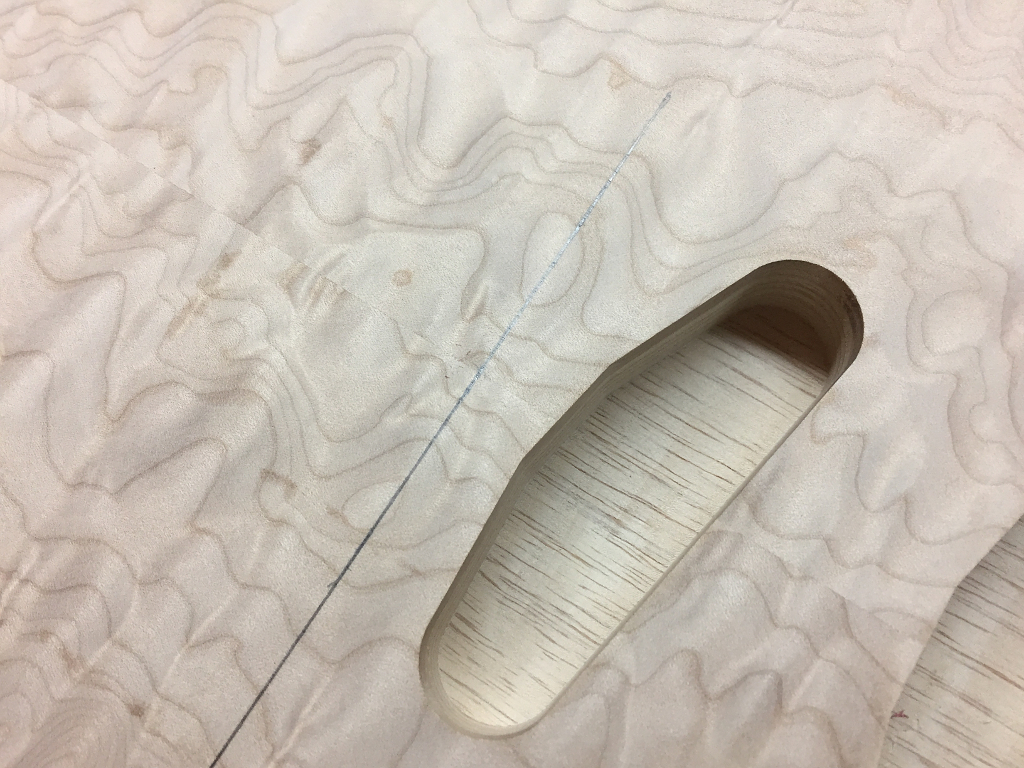
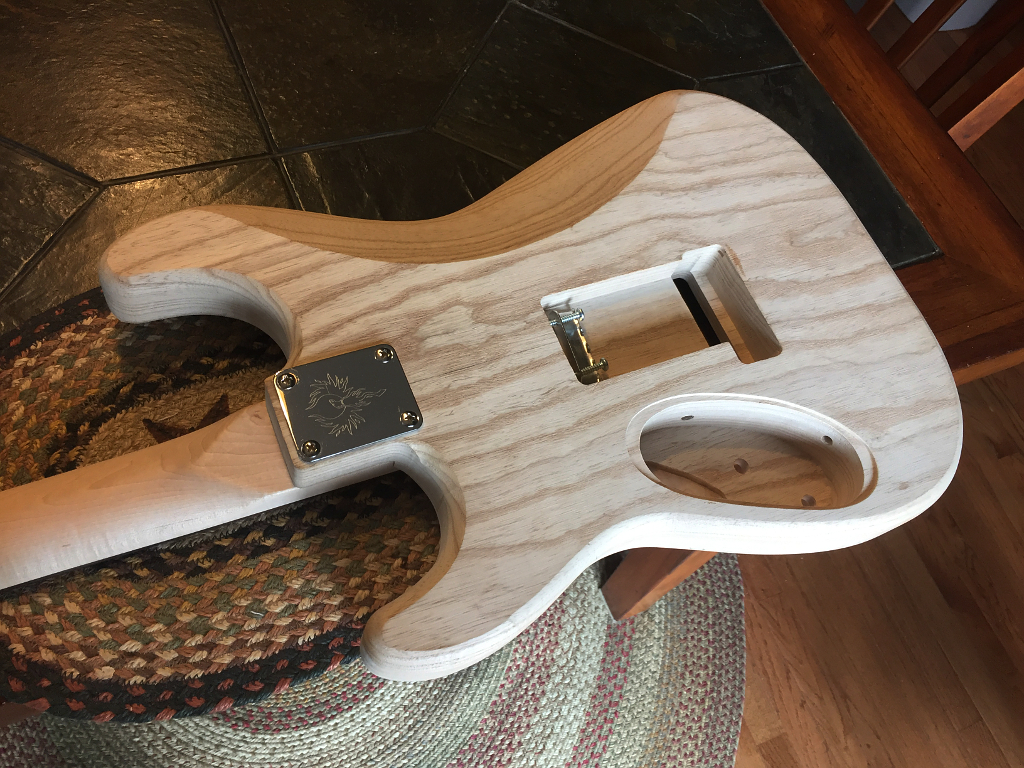
With the holes drilled I can now mark out where the trem recess will be.


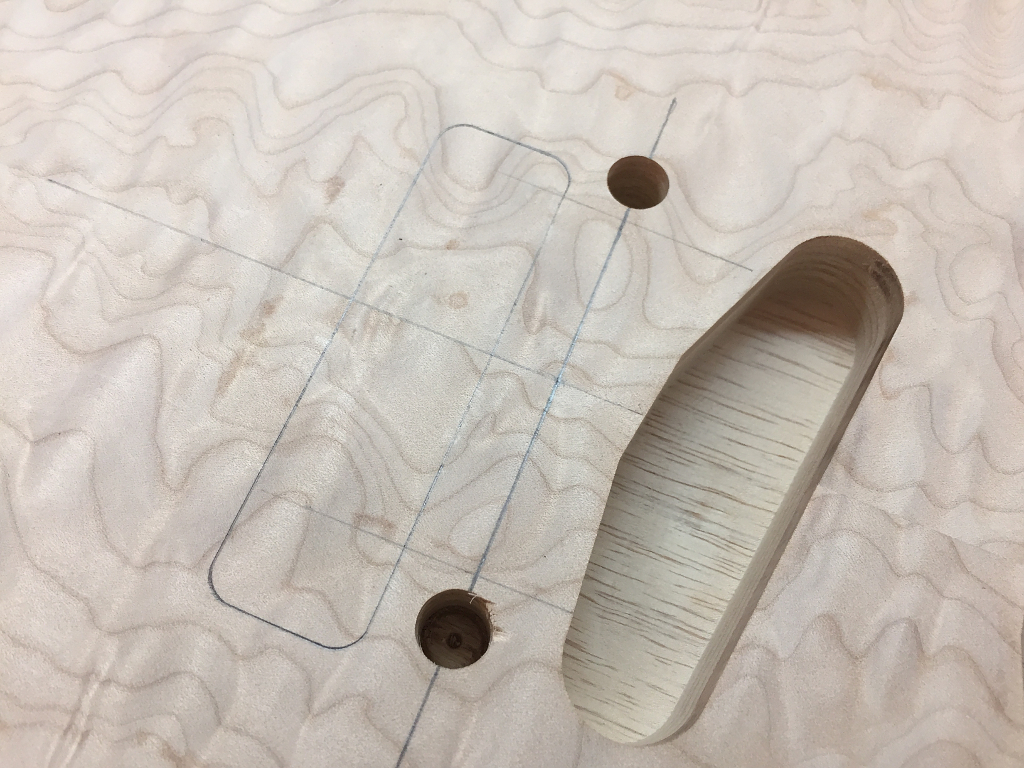
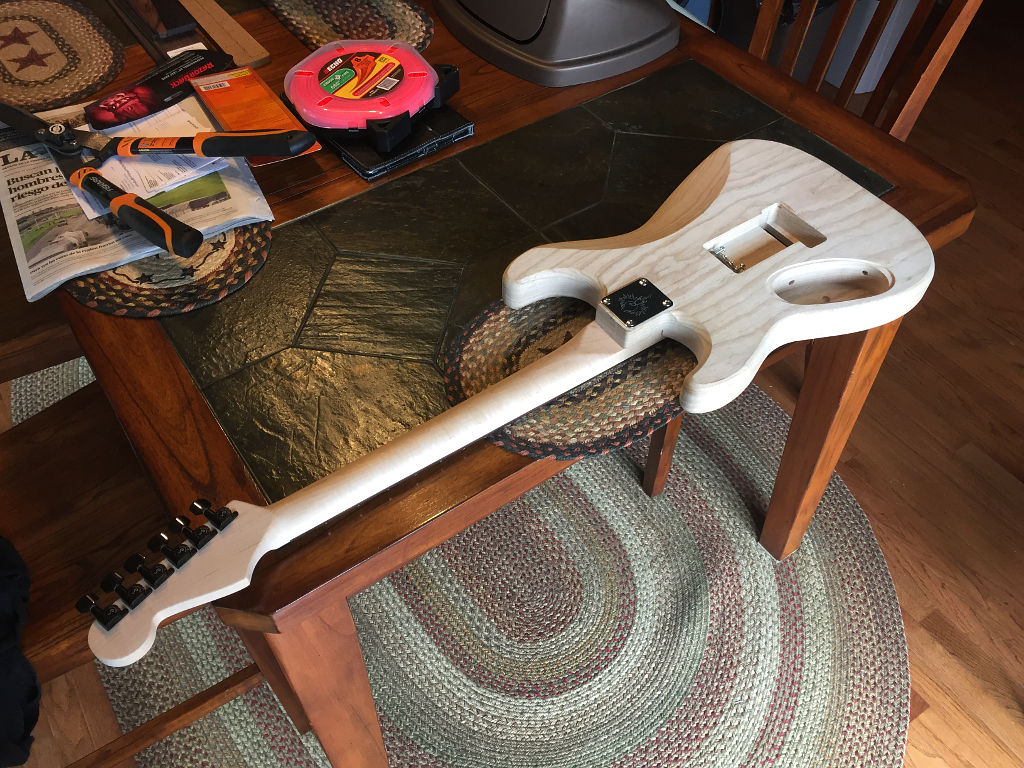
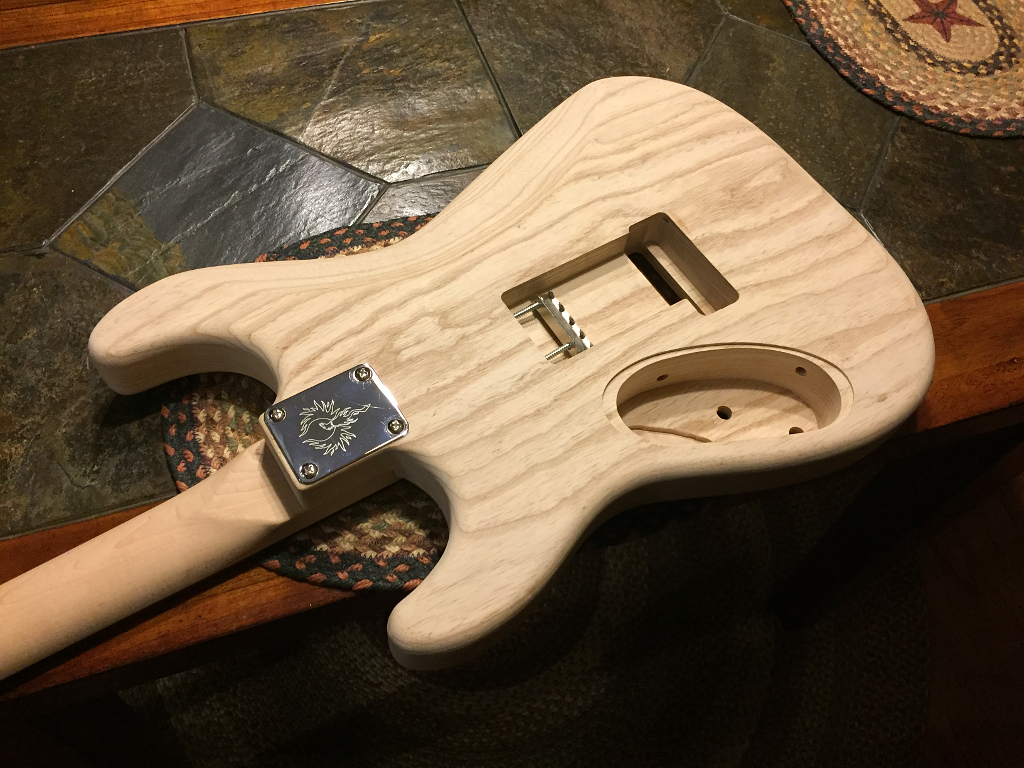
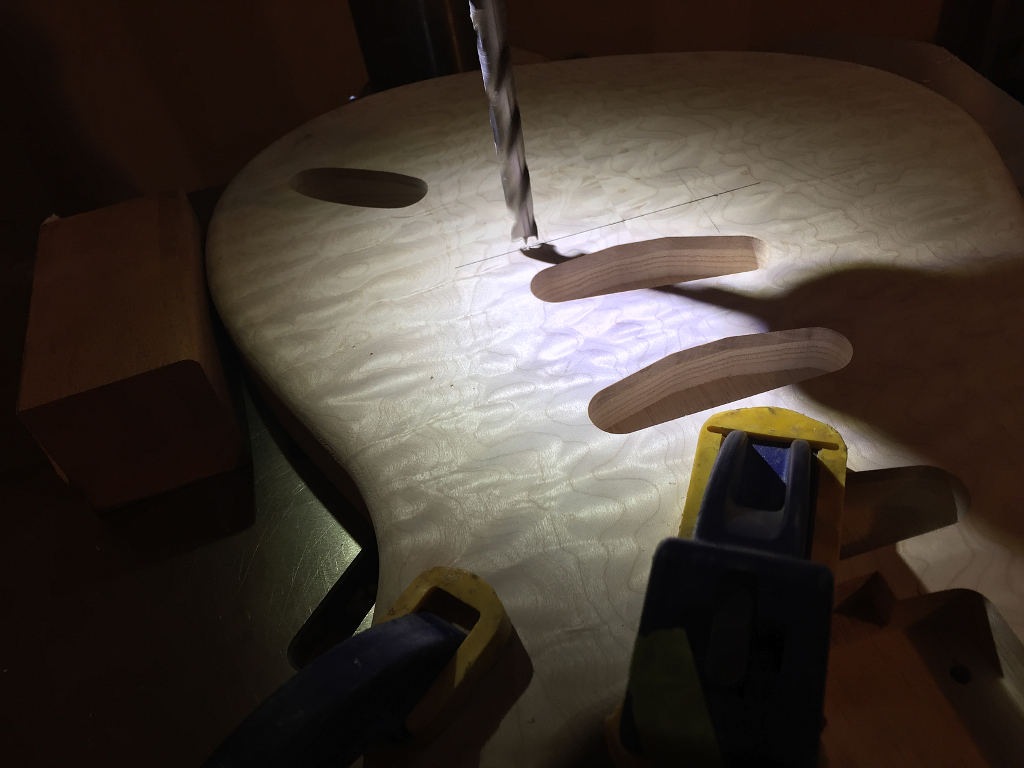
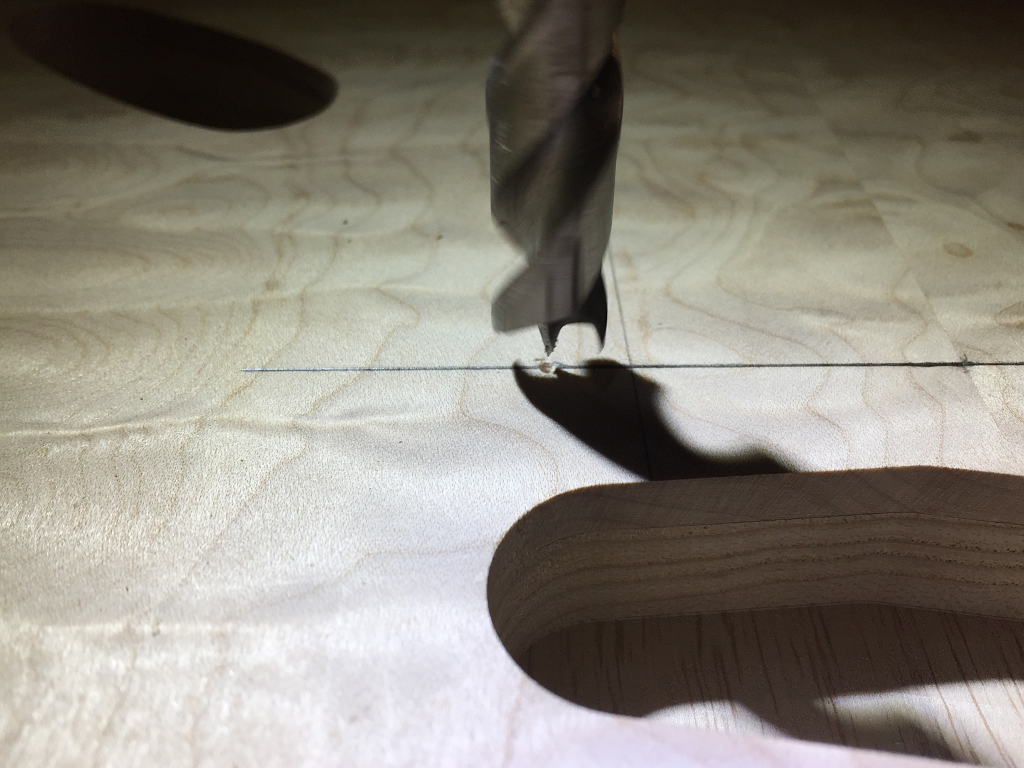
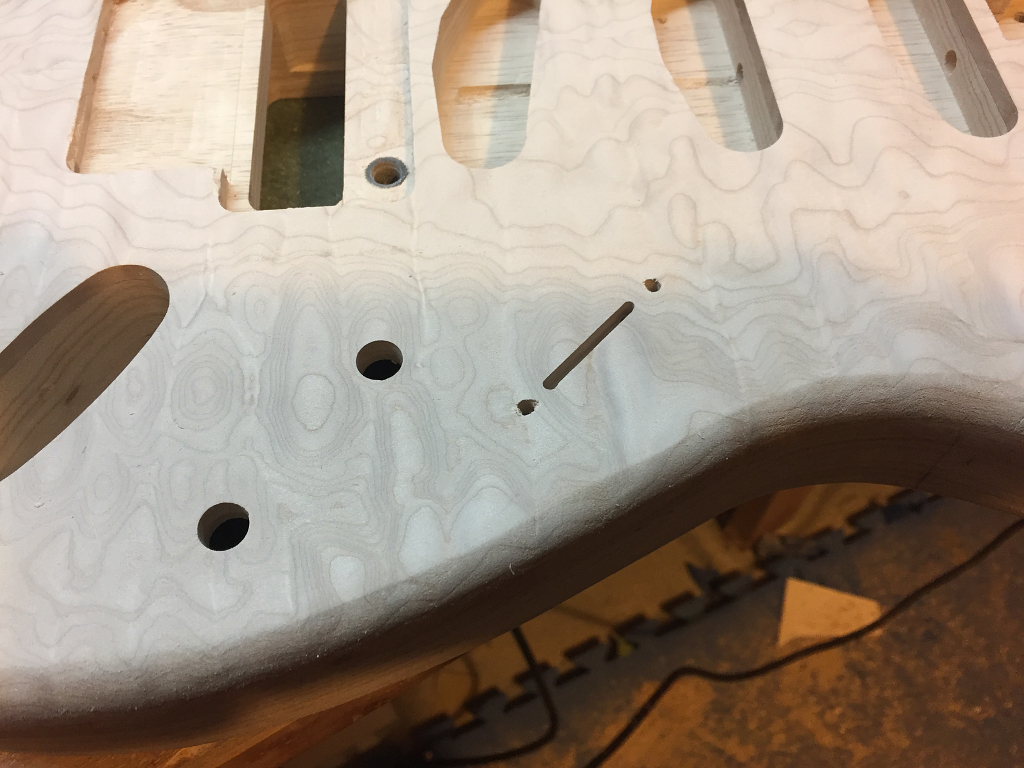
A hole is drilled through from the front in one corner of the area where I laid out my lines for the trem route. This gives me a precise location from where I can lay out the spring cavity on the back.


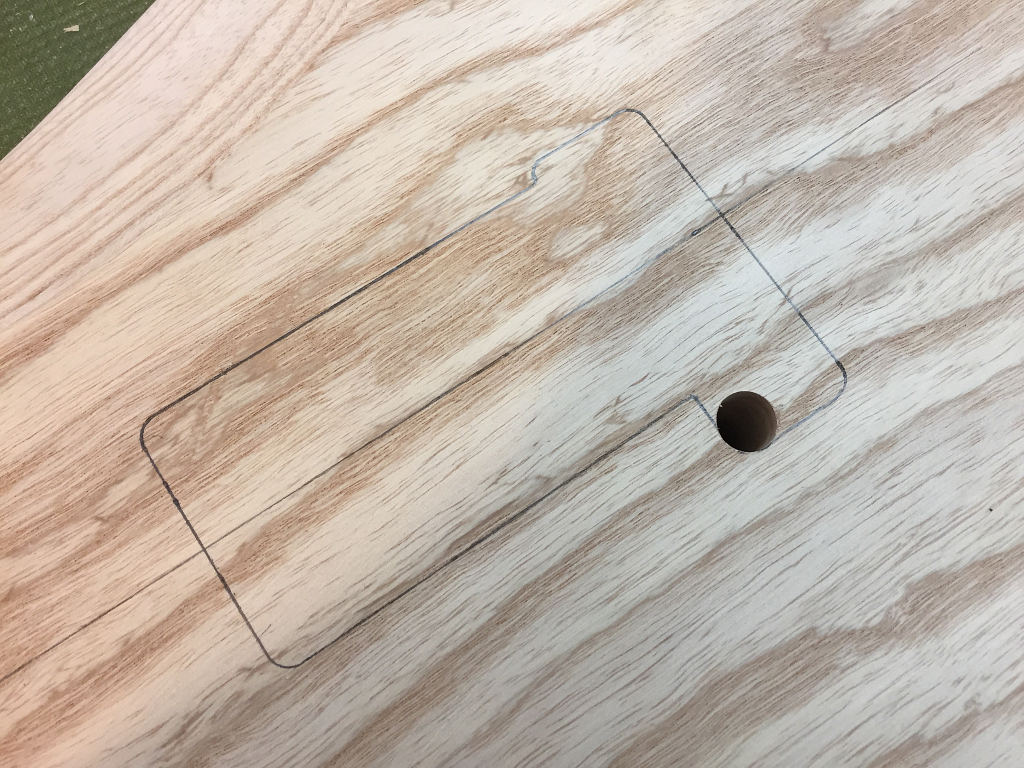
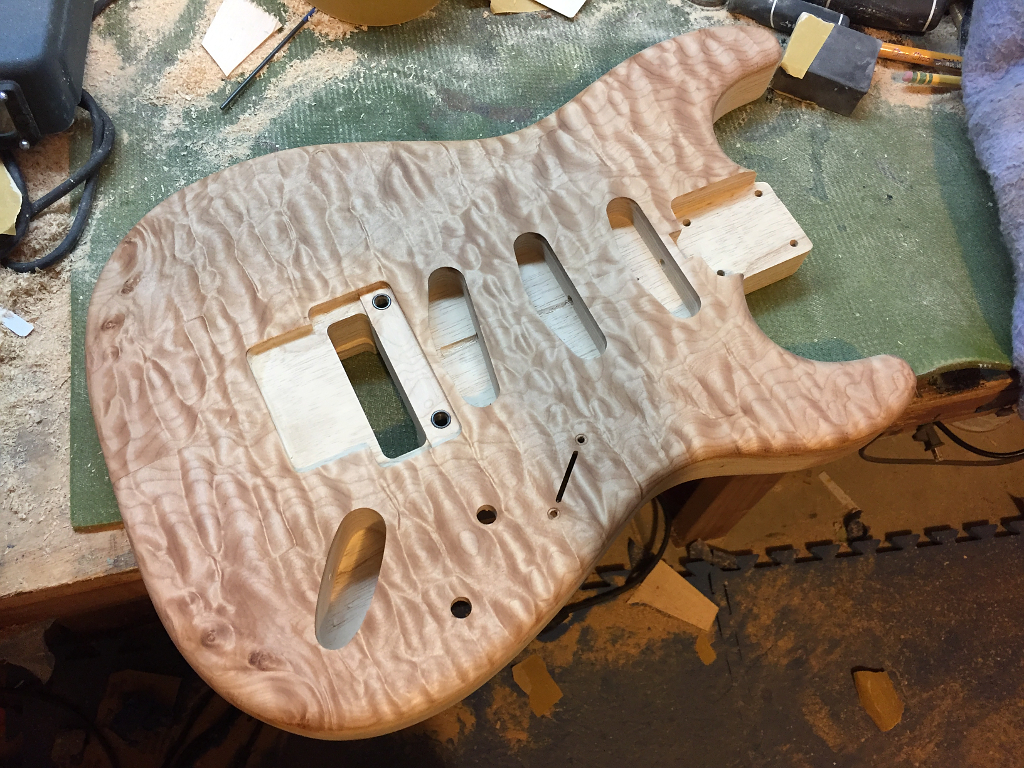
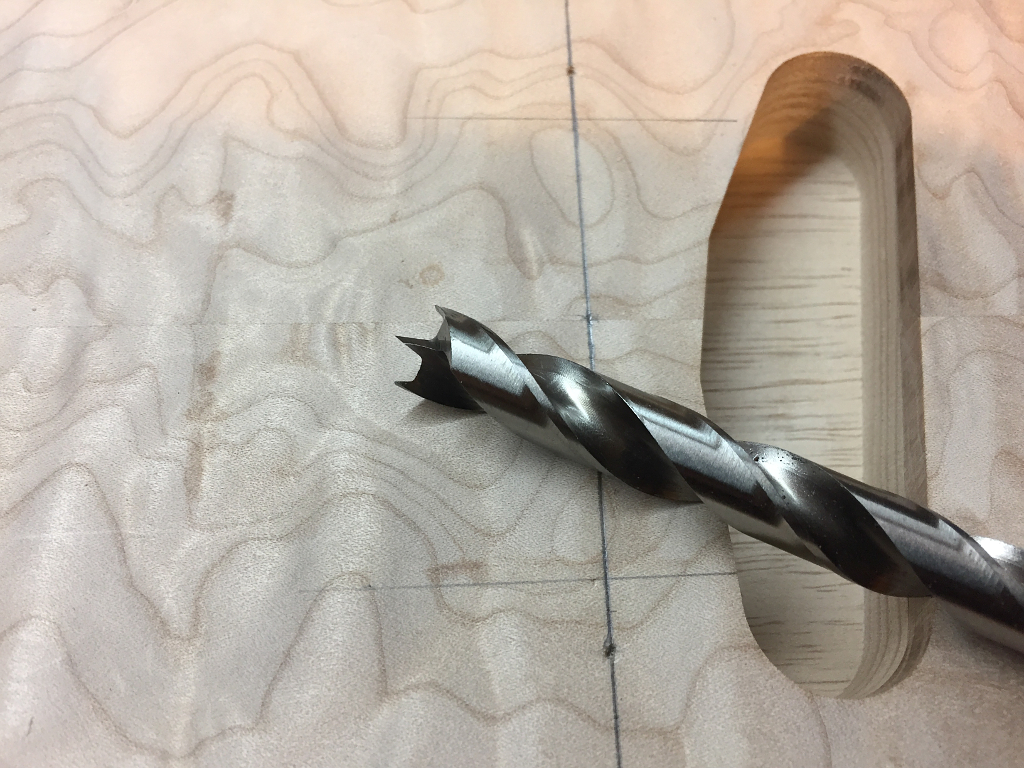
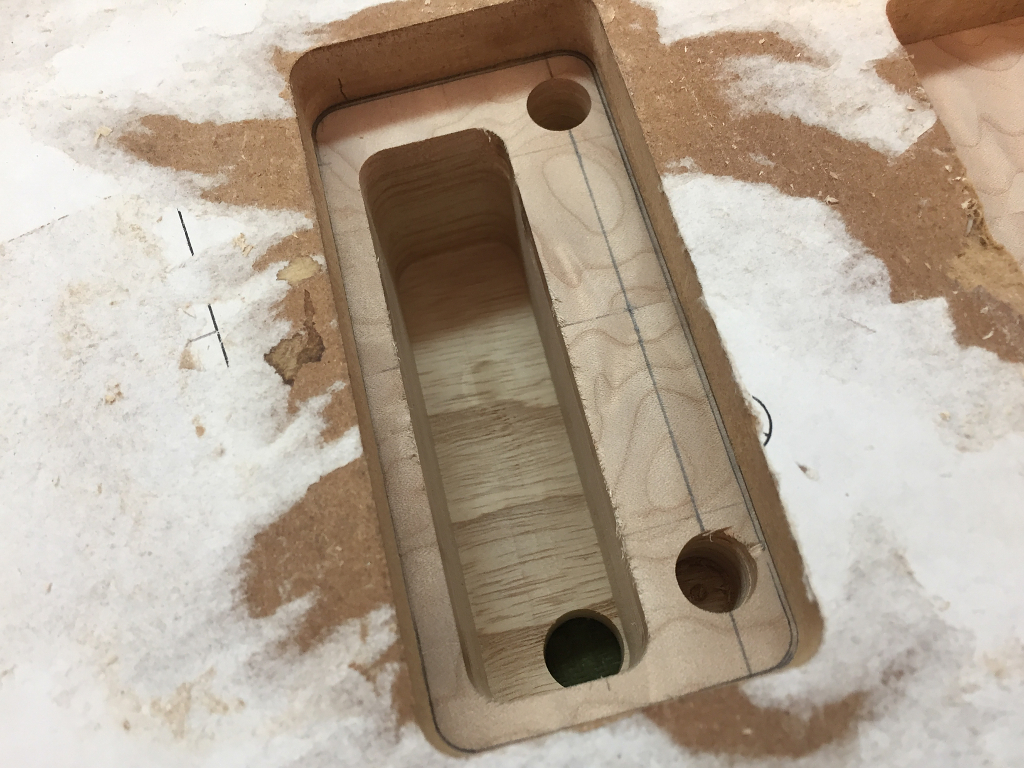
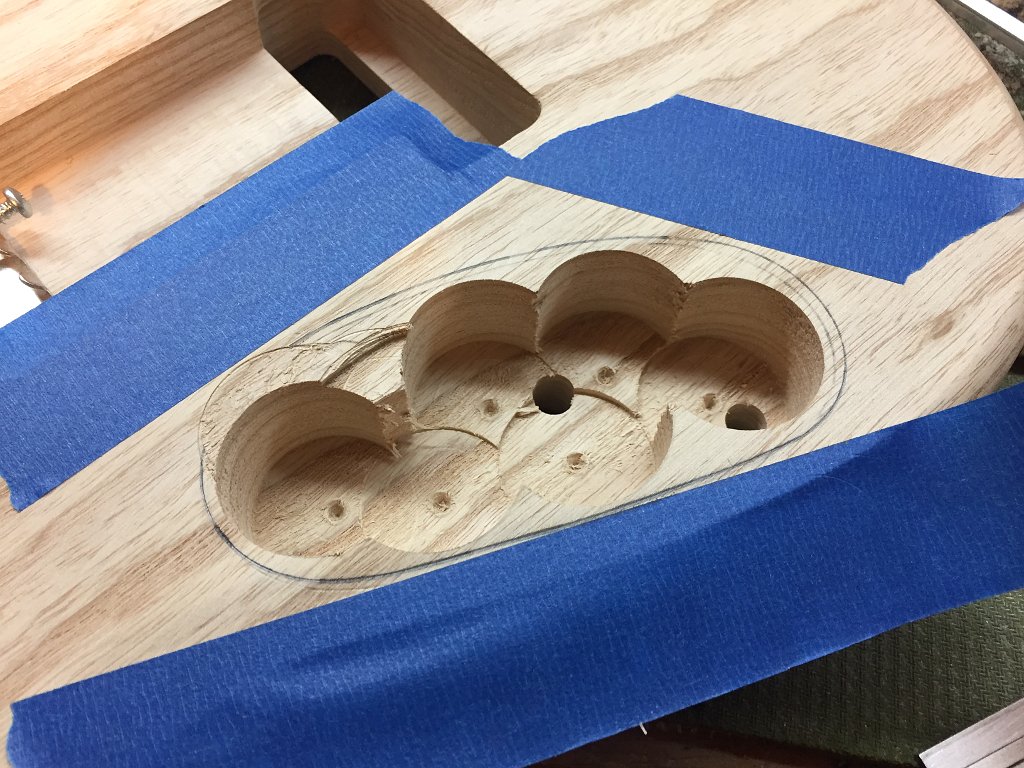
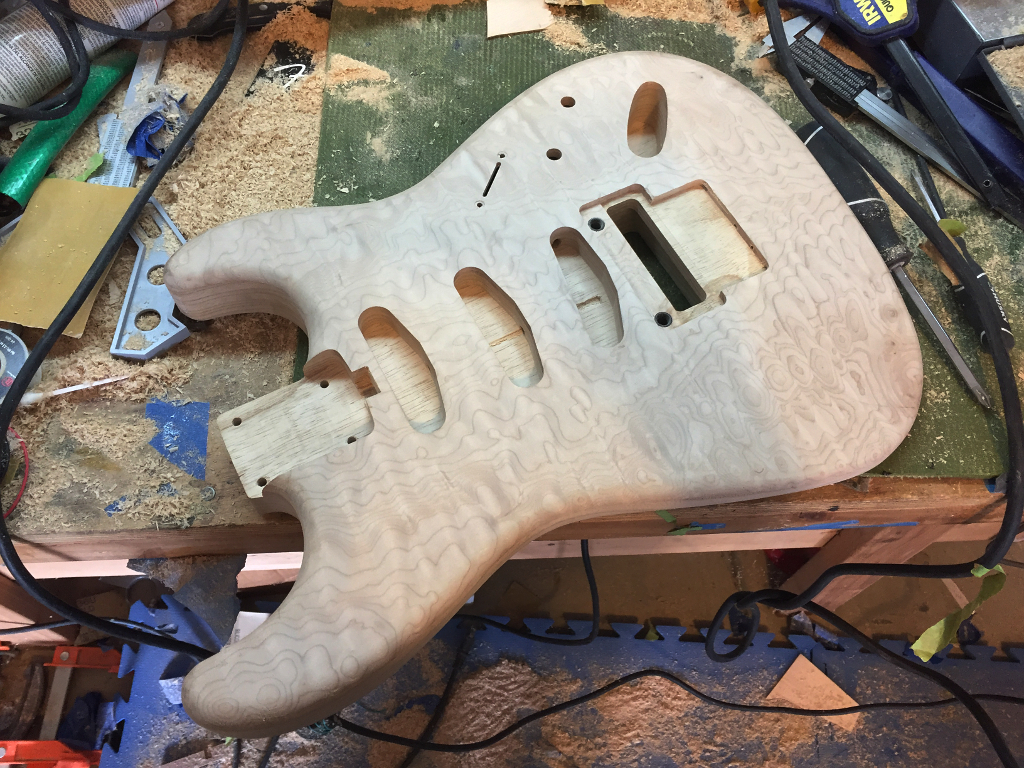
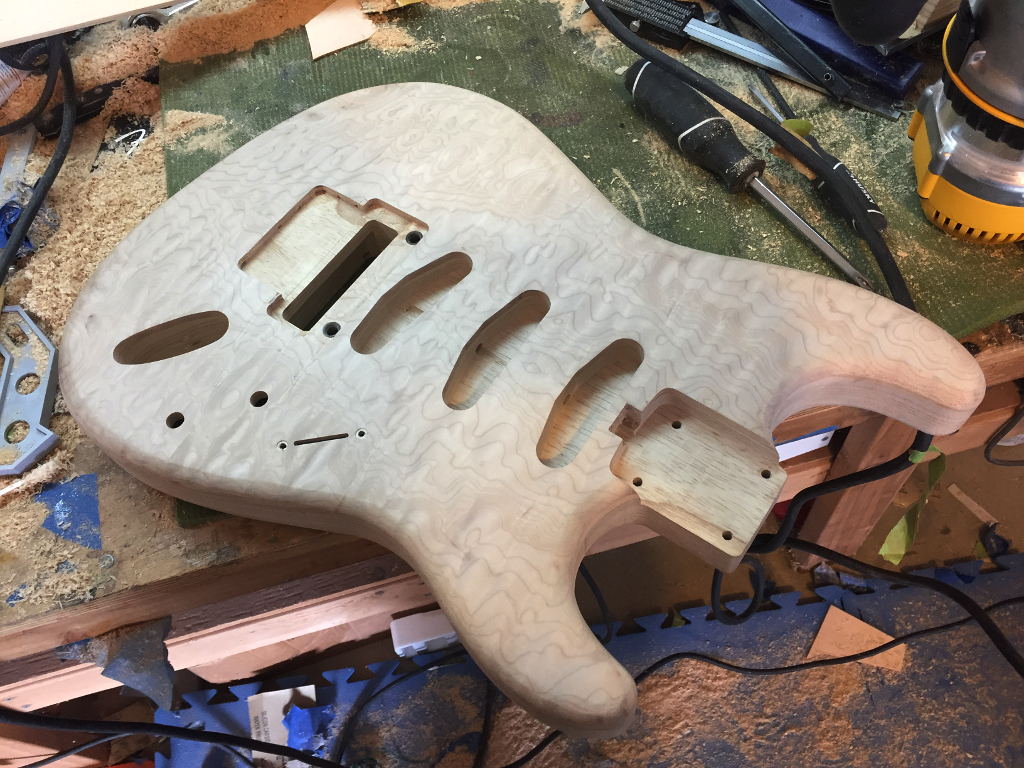
As with the pickup routes, a lot of the wood can be removed with the drill press and forstner bit. Saves wear and tear on the router and allows for a cleaner final result.


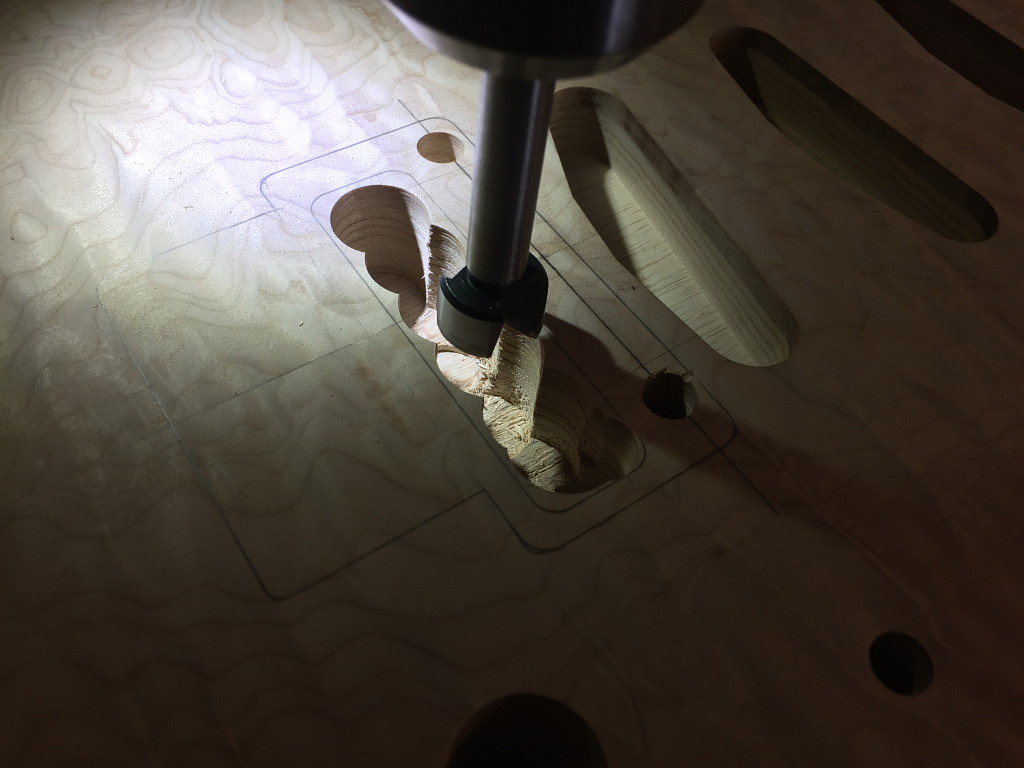
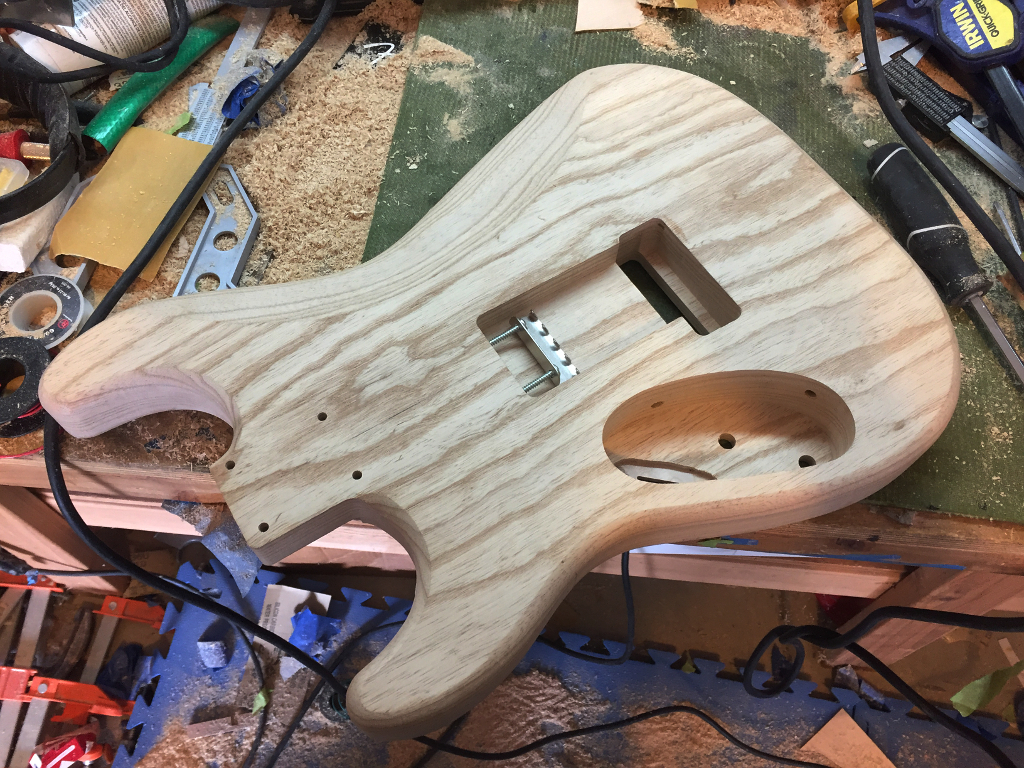
I press the bushings for the bridge posts into the holes using my drill press.


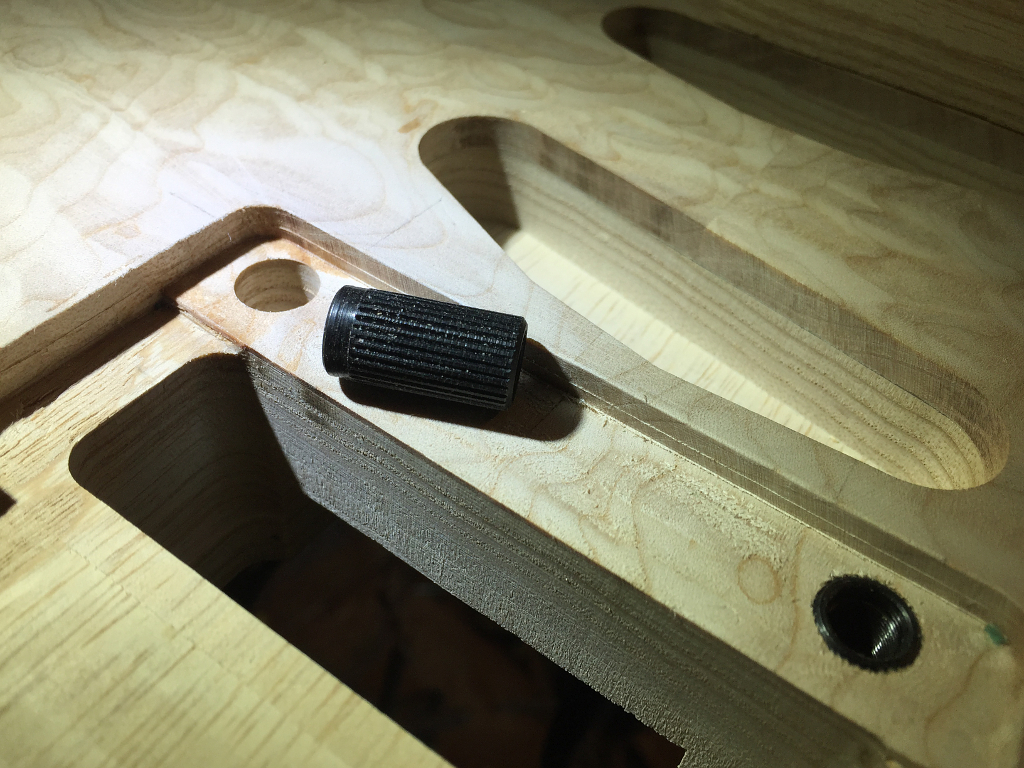
With the posts screwed into the bushings I can place the bridge against the posts to make sure I did everything right. I did 🙂


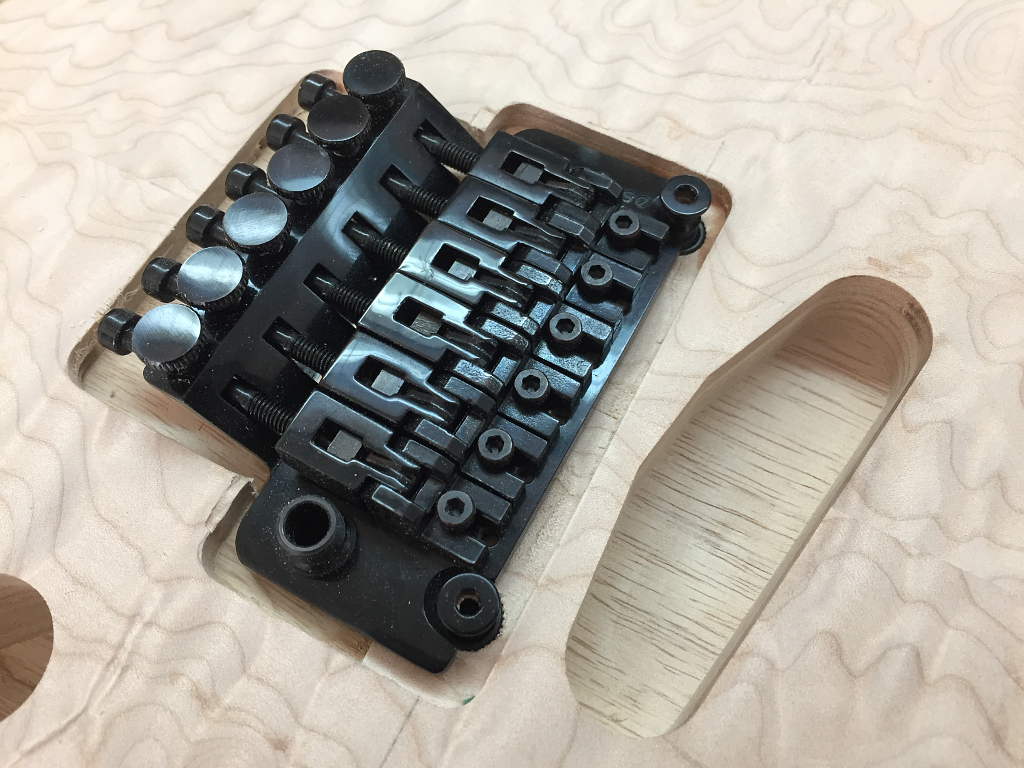
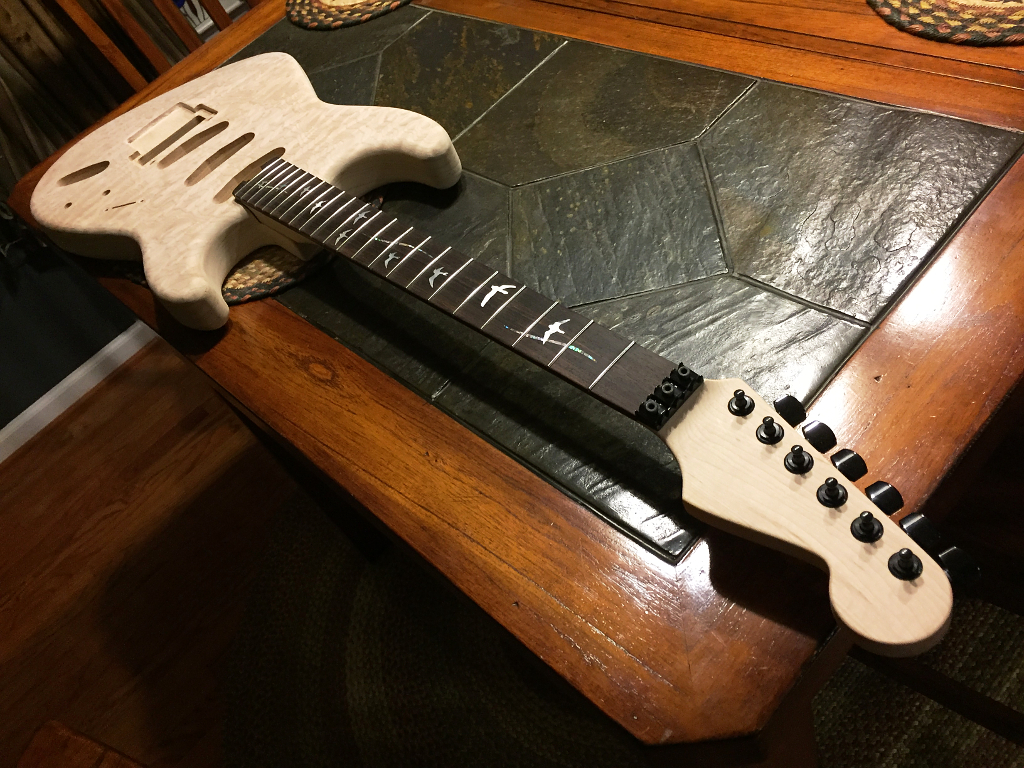
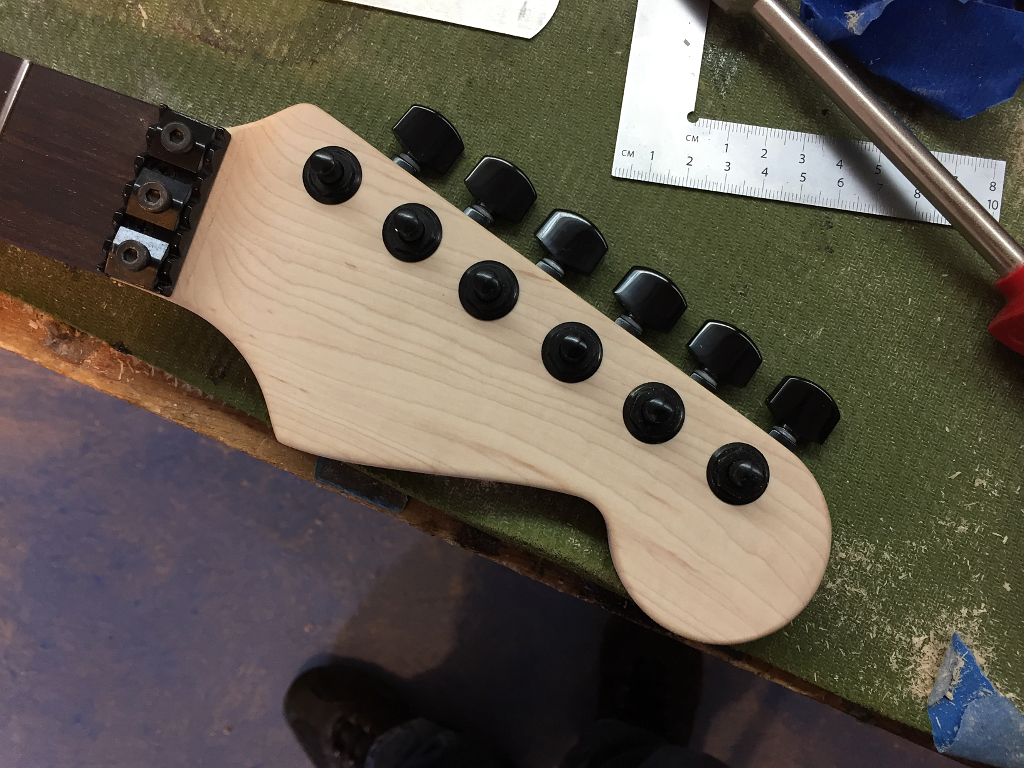
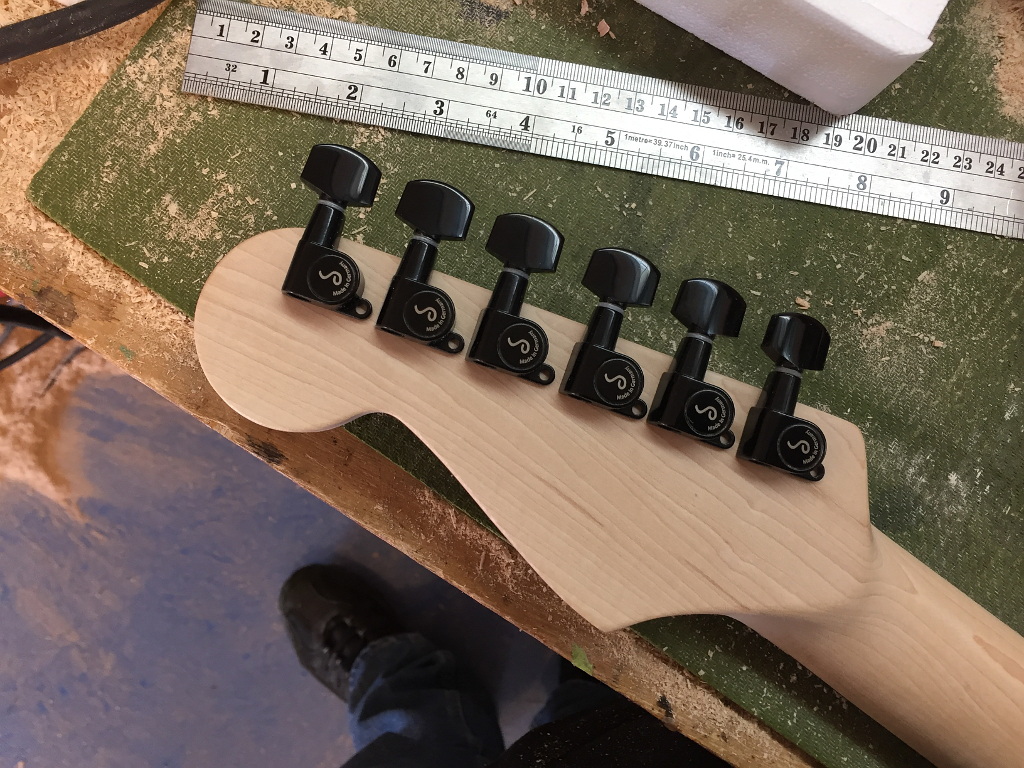
Test fitting the tuning machines…


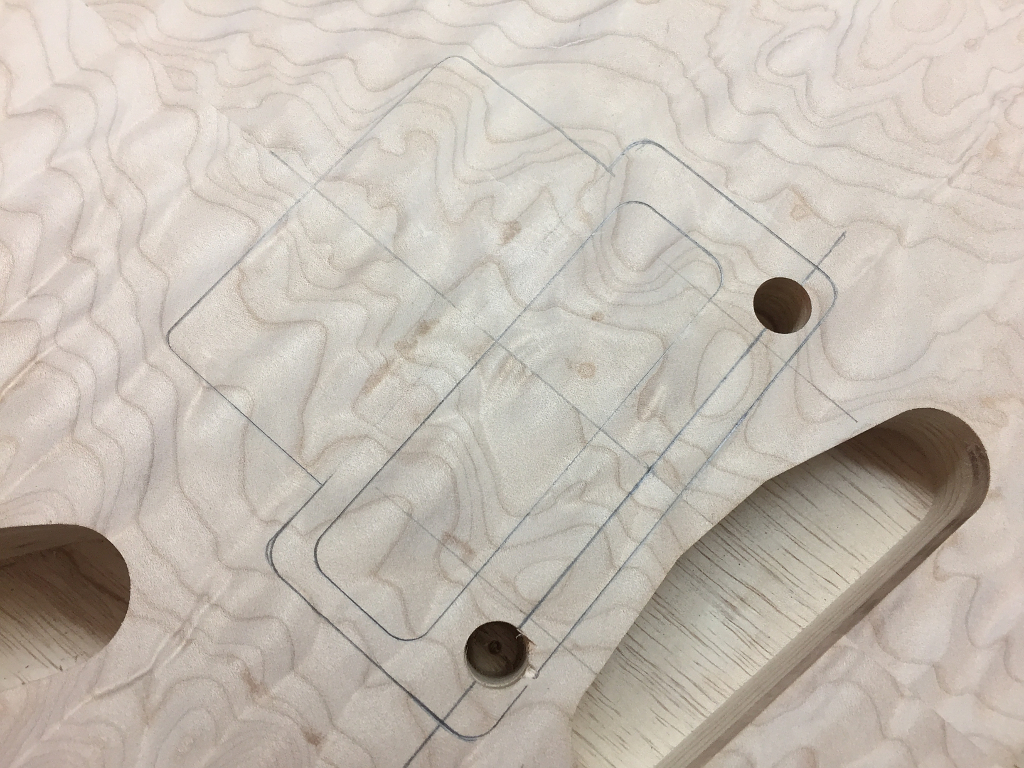
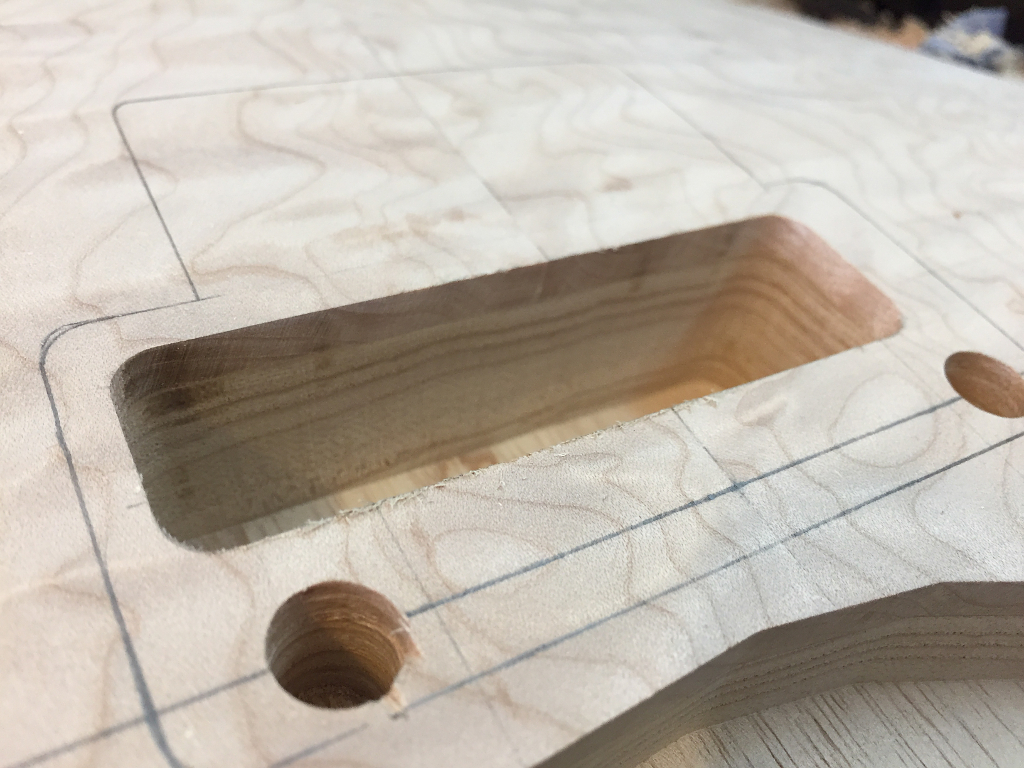
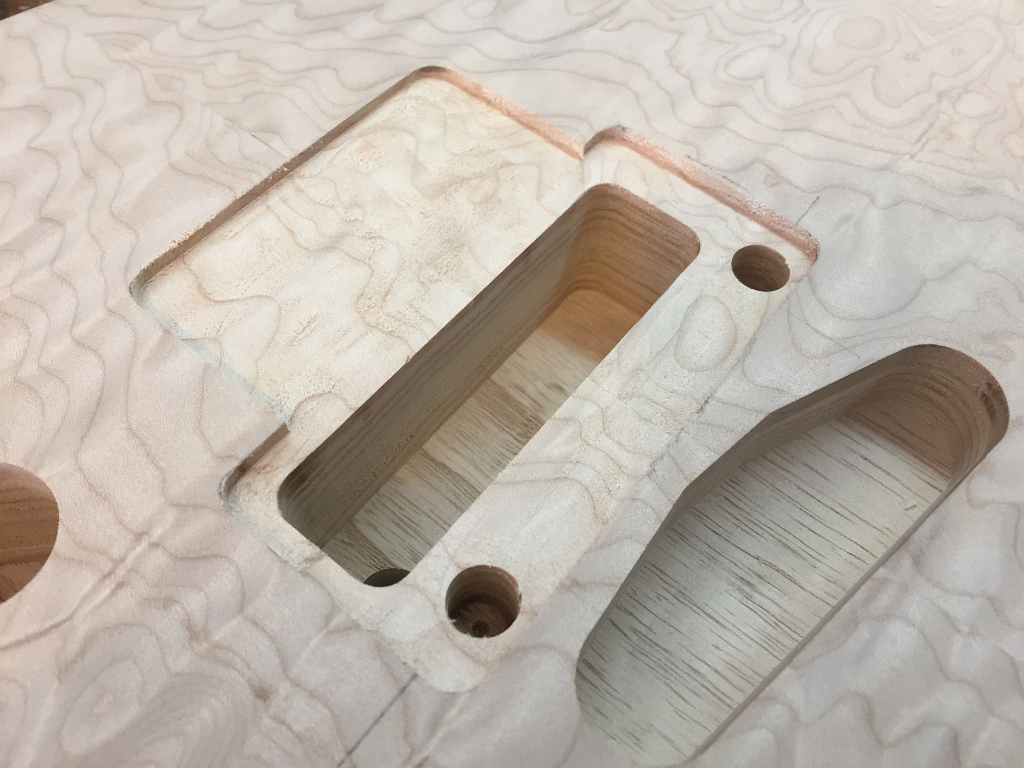
Using a routing template to locate where the control cavity will go


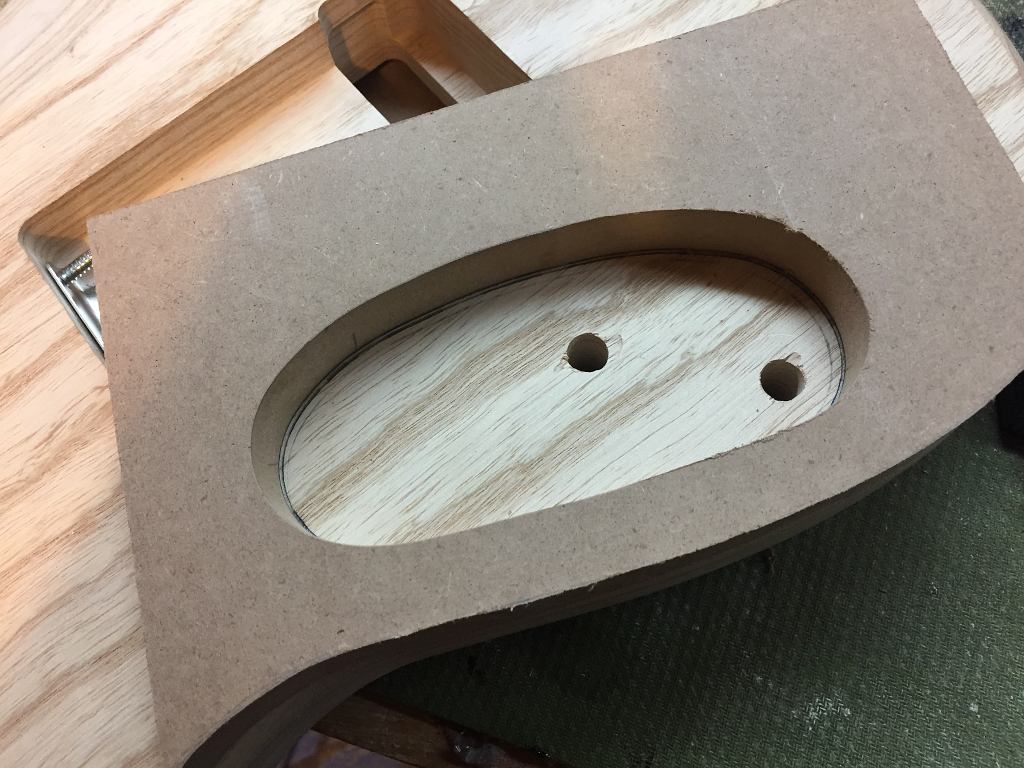
Again with the forstner bit.


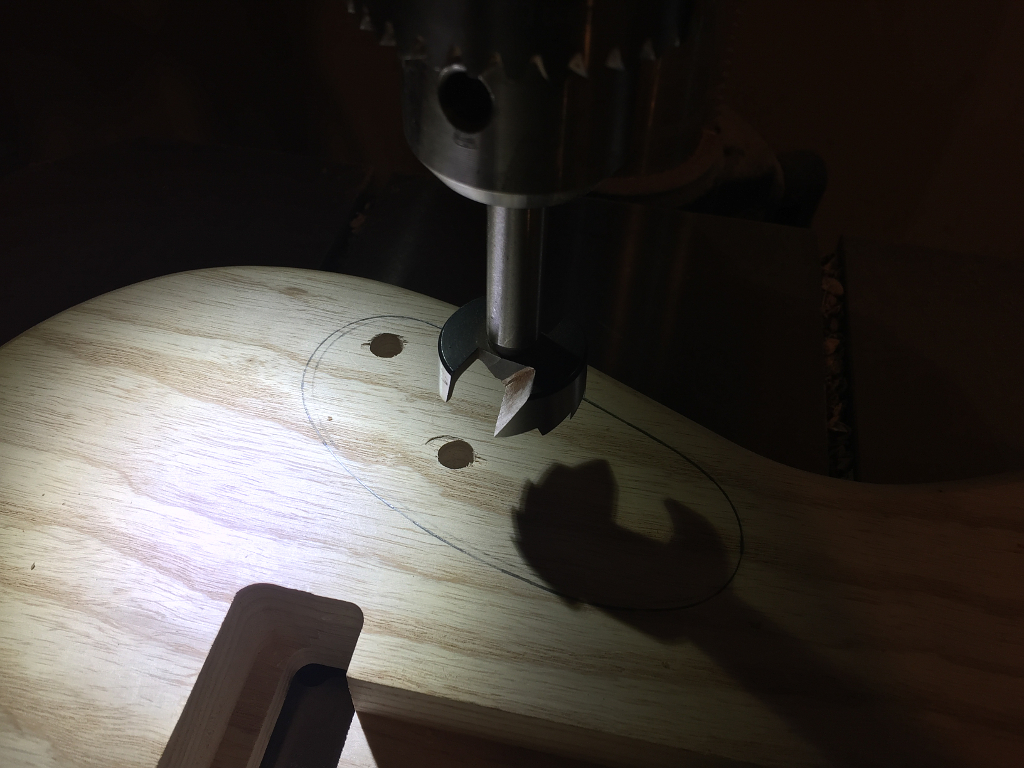
Template and router finish the cavity.


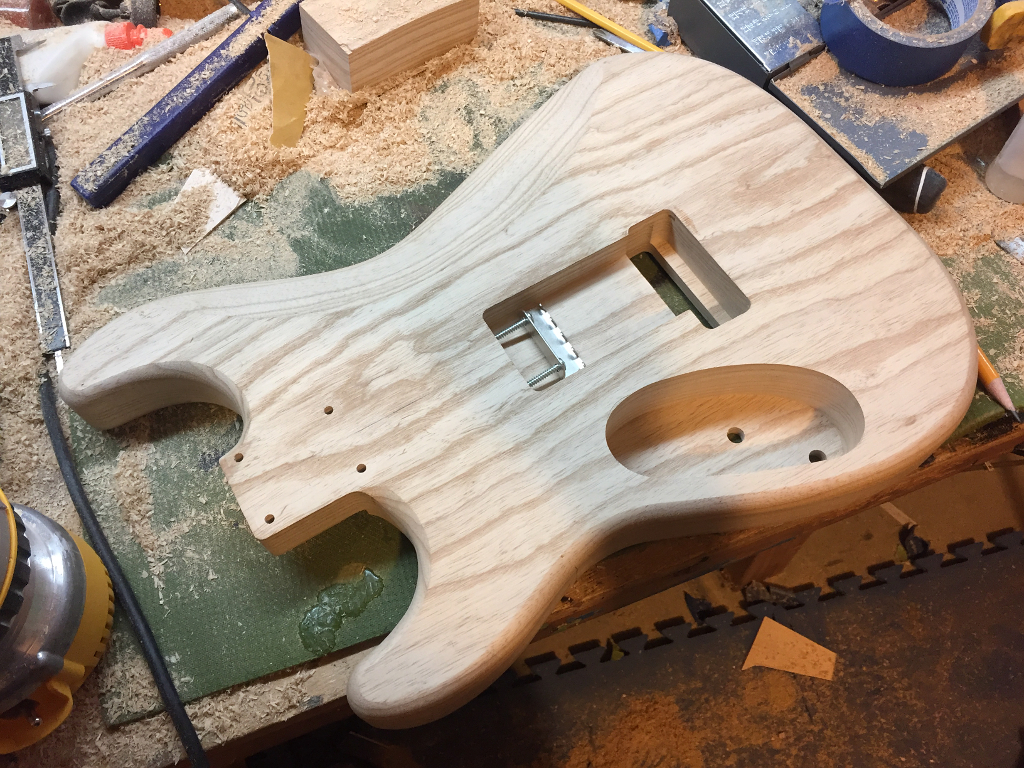
I use my dremel to cut the slot for the blade switch.


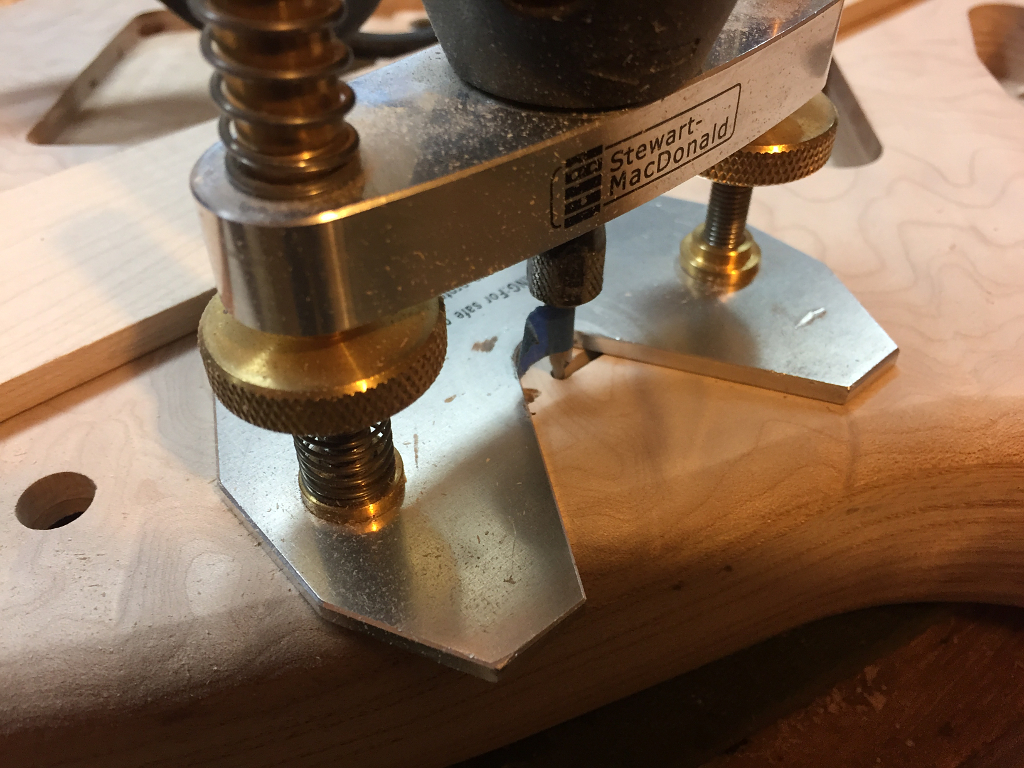
Last step is cutting the cover recess.


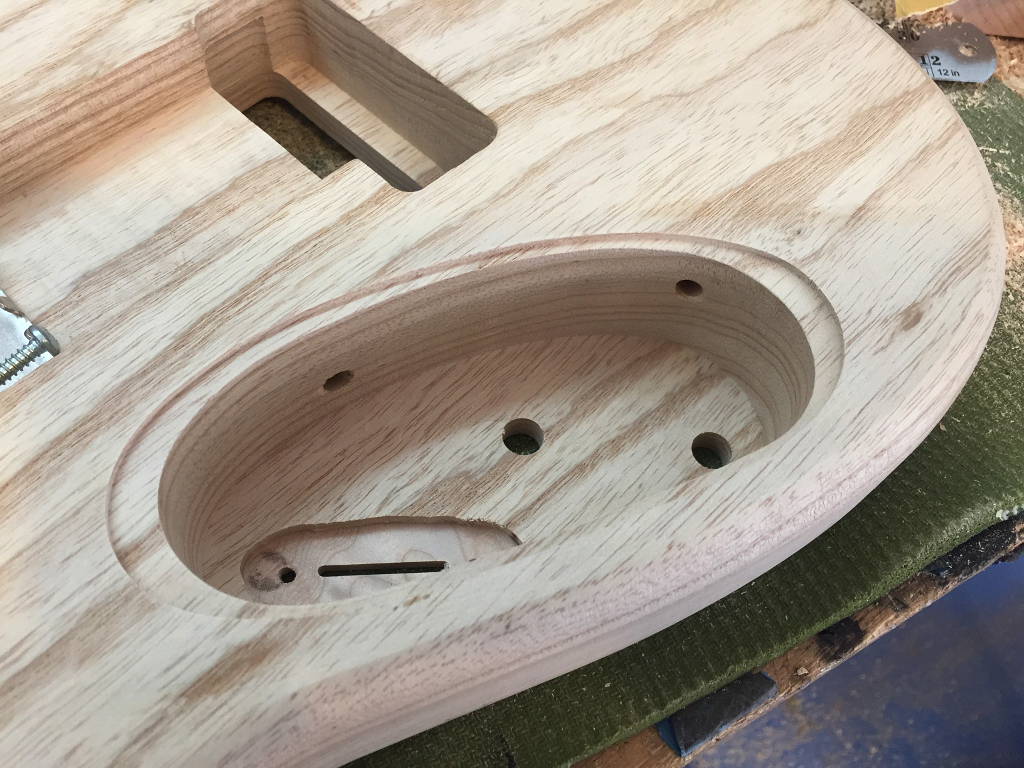
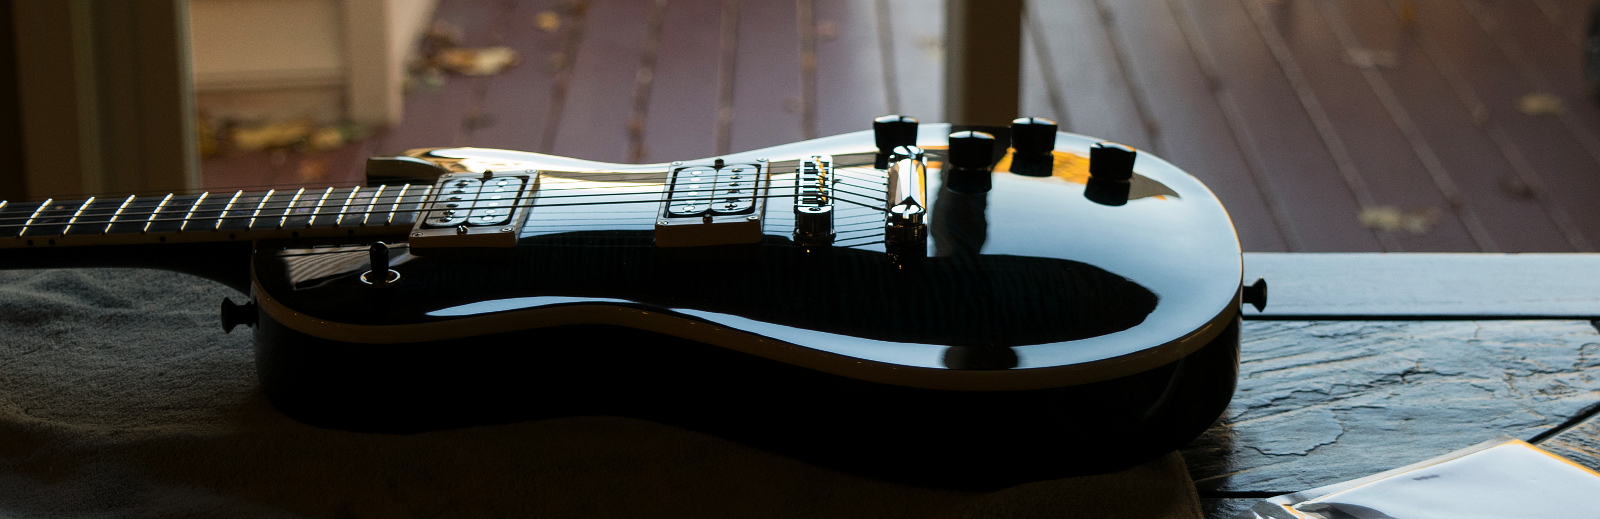
That concludes the build part of the project.


Next Page

Body home stretch

Recent Posts

  • Strat Porn
  • Getting closer…
  • Fret slots and tuner holes
  • More progress on the double-Strat build.
  • Mikes Custom Strat

Recent Comments

    Archives

    • March 2018
    • January 2018
    • December 2017
    • September 2015

    Categories

    • Uncategorized

    Meta

    • Log in
    • Entries feed
    • Comments feed
    • WordPress.org
    © Powered by Wordpress