I use a hack-saw to cut the rods off flush. There are certainly faster ways, but I’ve found that cutting carbon fiber will dull almost any cutting tool almost instantly. I can afford a new hacksaw blade pretty easily. A new bandsaw blade is another story…
Once cut I sand it down flush with the headstock.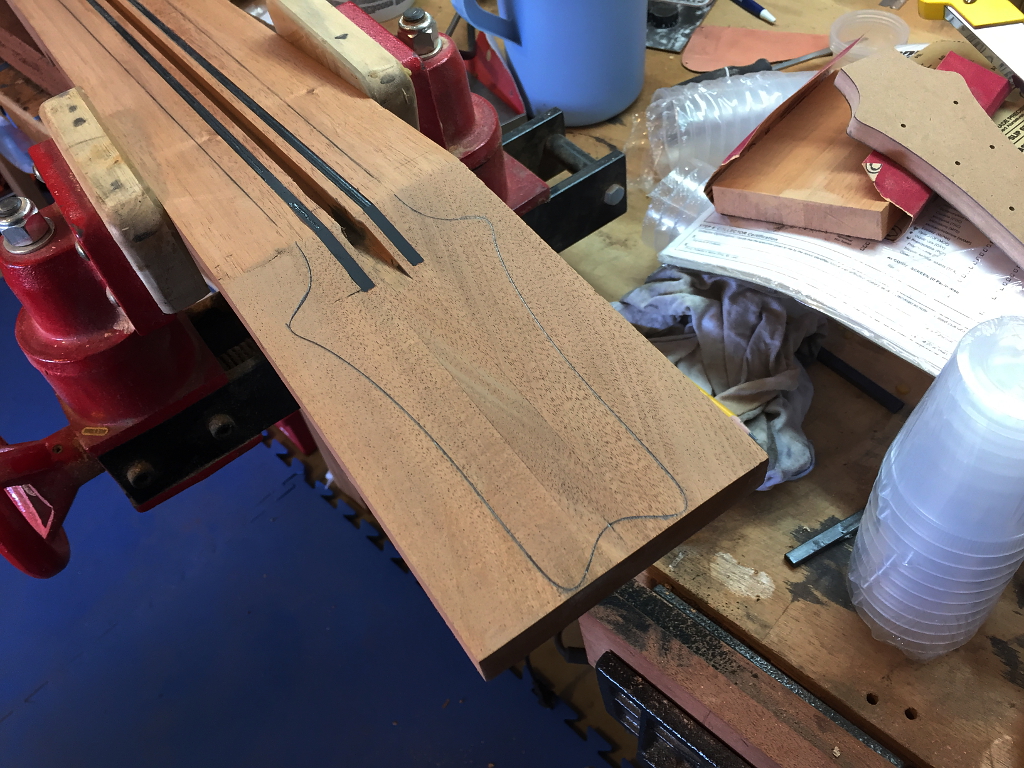
Now you might be wondering where in that stack of boards you saw on the previous page one could find the body of the guitar, which is certainly a lot wider than those narrow boards.
The construction method of this guitar is called “neck-through-body”. This means that the neck isn’t bolted onto or glued into the body. Its part of the body and goes all the way through to the other end. Many, myself included (obviously since this is how I build them), feel that this is a superior design because the neck, nut, and bridge of the guitar are all in the same piece of wood. With a traditional bolt-on or set neck, there is a big joint in between the bridge and the neck since they are in two separate pieces of wood that are bolted or glued together.
Neck-though design makes for a stiffer, more stable neck, that transmits vibrations more readily, and therefore yields a guitar that is more resonant and with greater sustain.
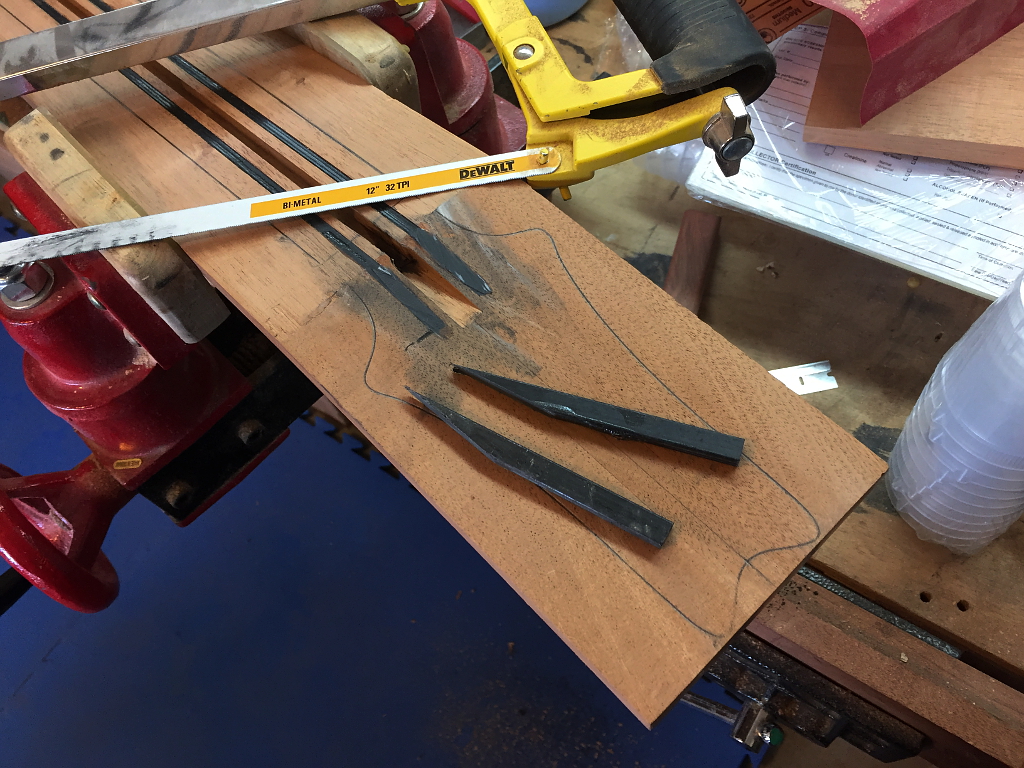
So this skinny board shown below is the “body”, as you’ll see. First it gets the same flattening and squaring treatment as the neck boards.
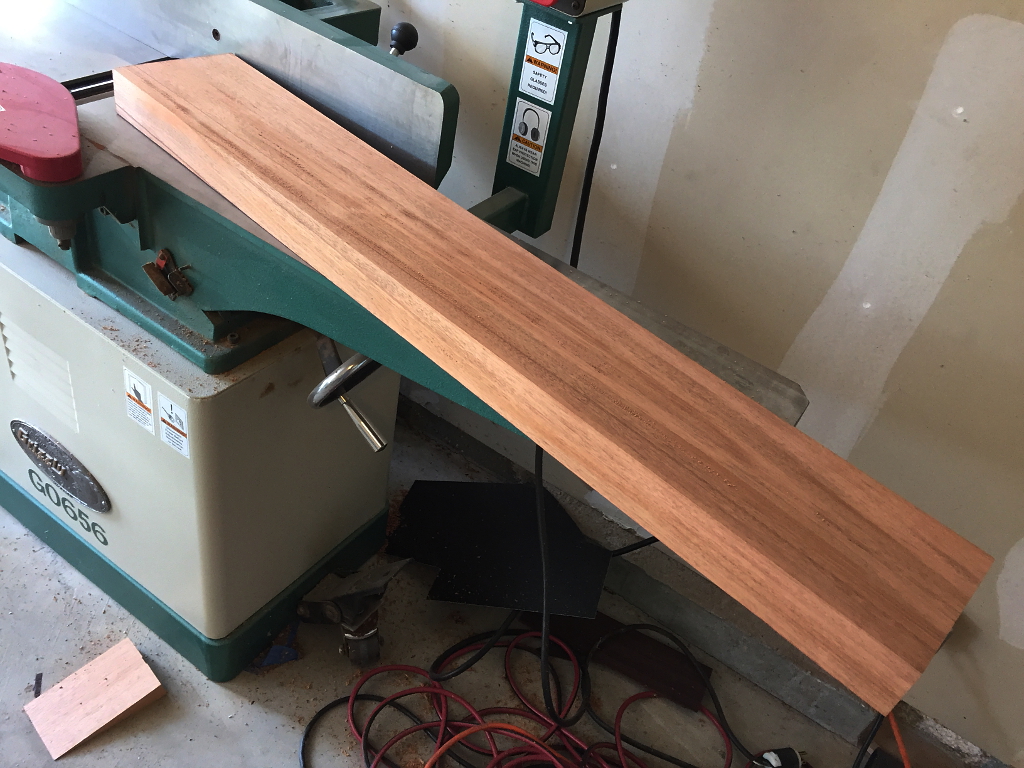
Then the “wings” are traced out. See where this is going?
The sides of the neck blank (and the mating faces of the wings) are trued and flatted to perfection using a hand plane. This plane, and its mates, are the pride of my tool collection. This is a Lie-Nielsen 5 1/2 Jack plane. It can cut shavings so thin you can see through them and leave a surface as smooth and flat as a pane of glass
To make the glue-up more manageable I cut off most of the excess wood from the neck at this point.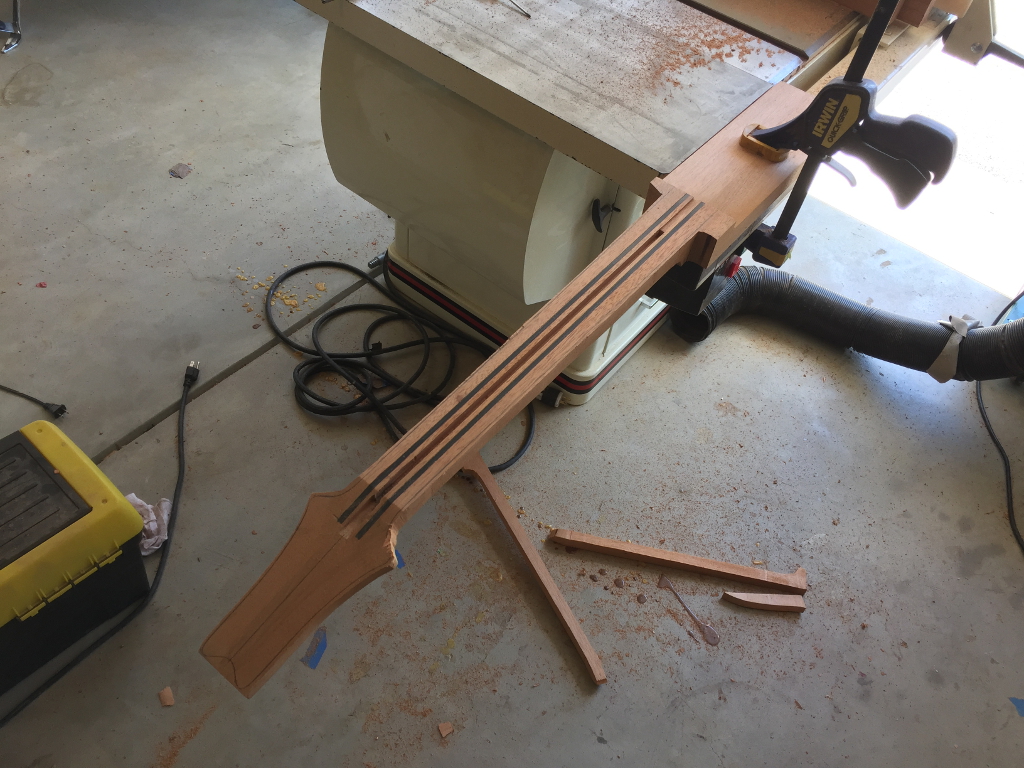
And then glue the wings onto the sides of the neck blank.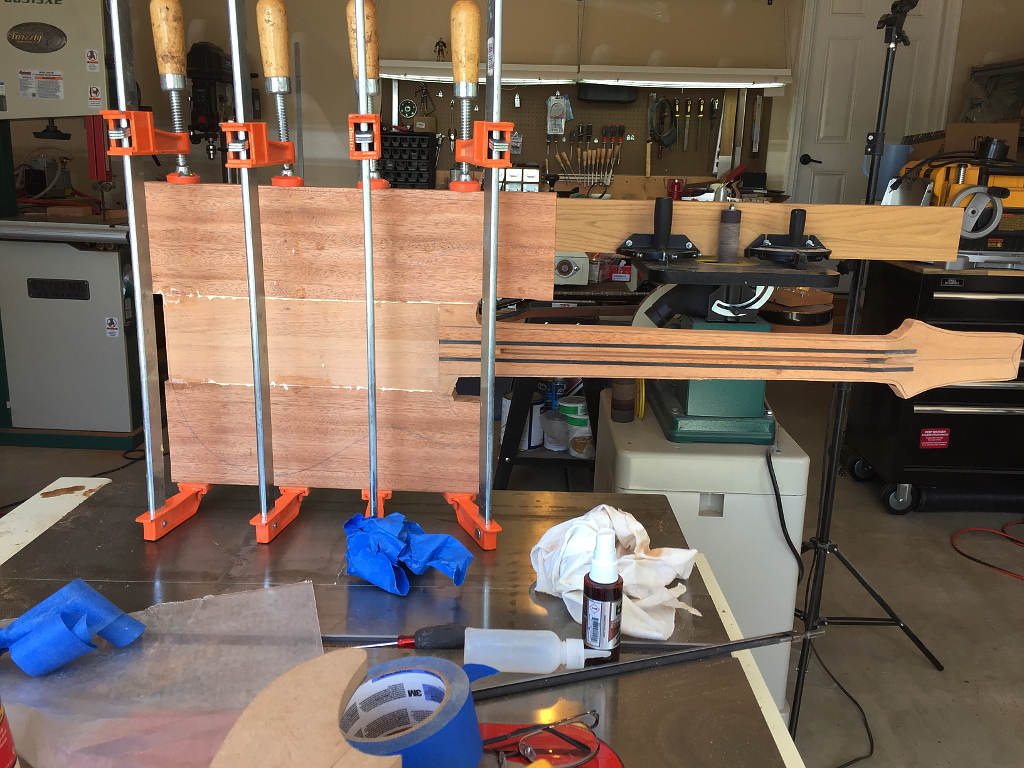
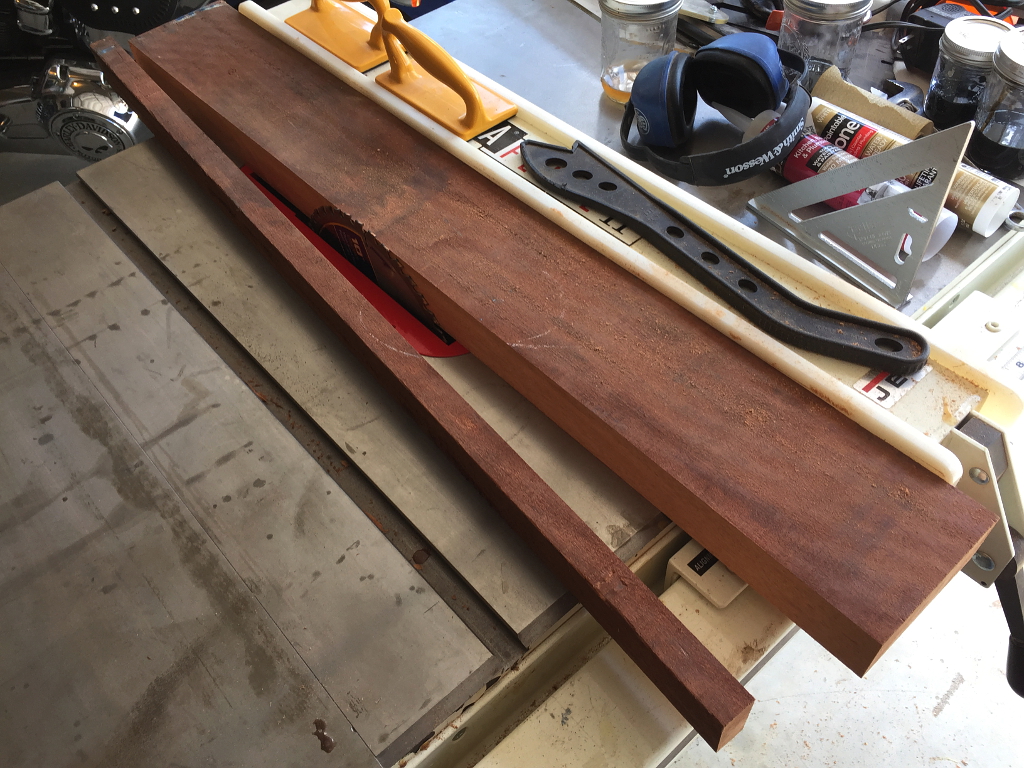
While that dries we can get to work on the top. I’ve cut a slab off that big piece of maple and now I’ll “resaw” and bookmatch it.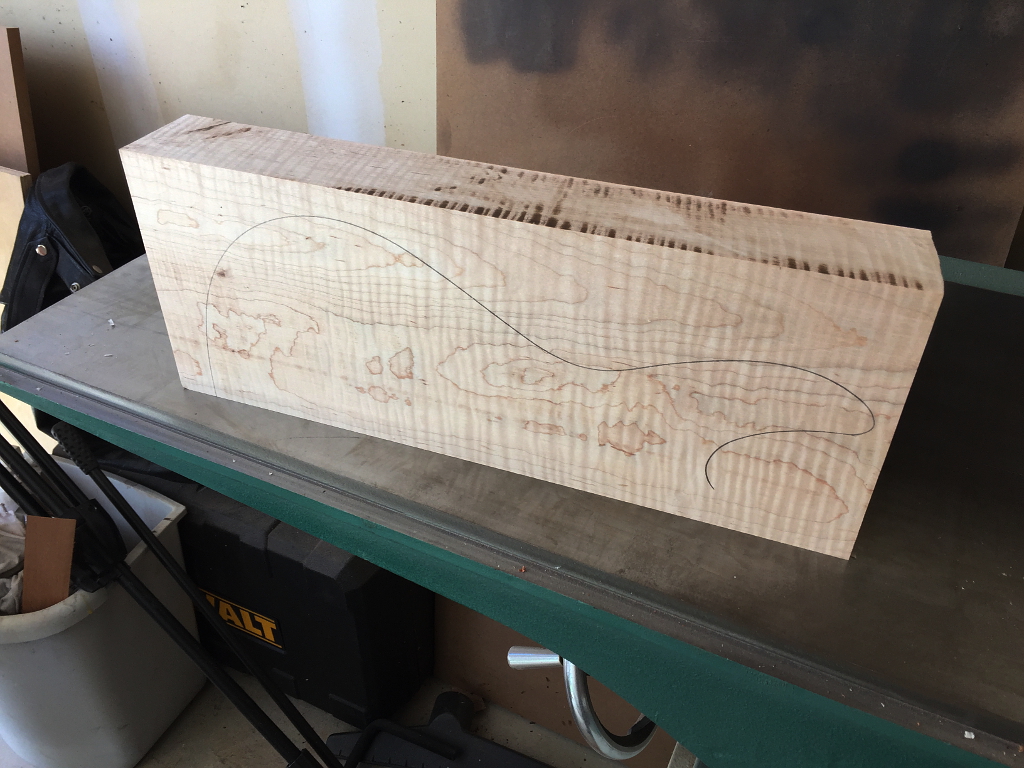
To bookmatch I use a resaw blade and split the board lengthwise on the bandsaw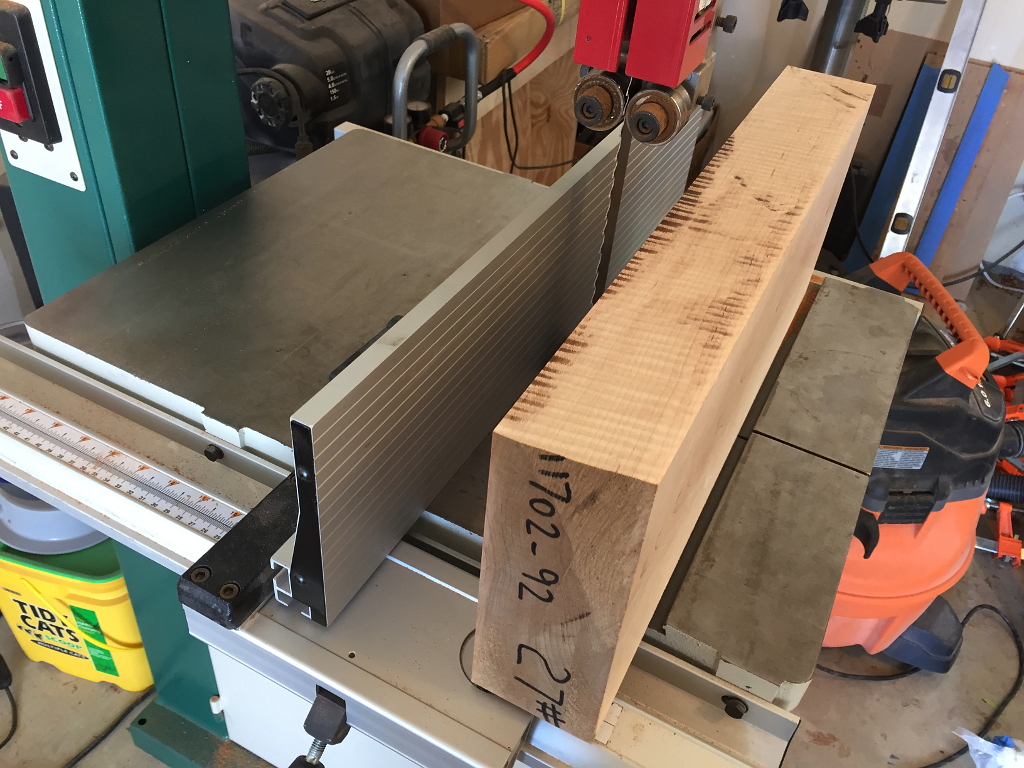
then open it up like a book giving us somewhat mirror images on each piece, although this is never perfect and changes with any sanding. Close is good enough here 🙂
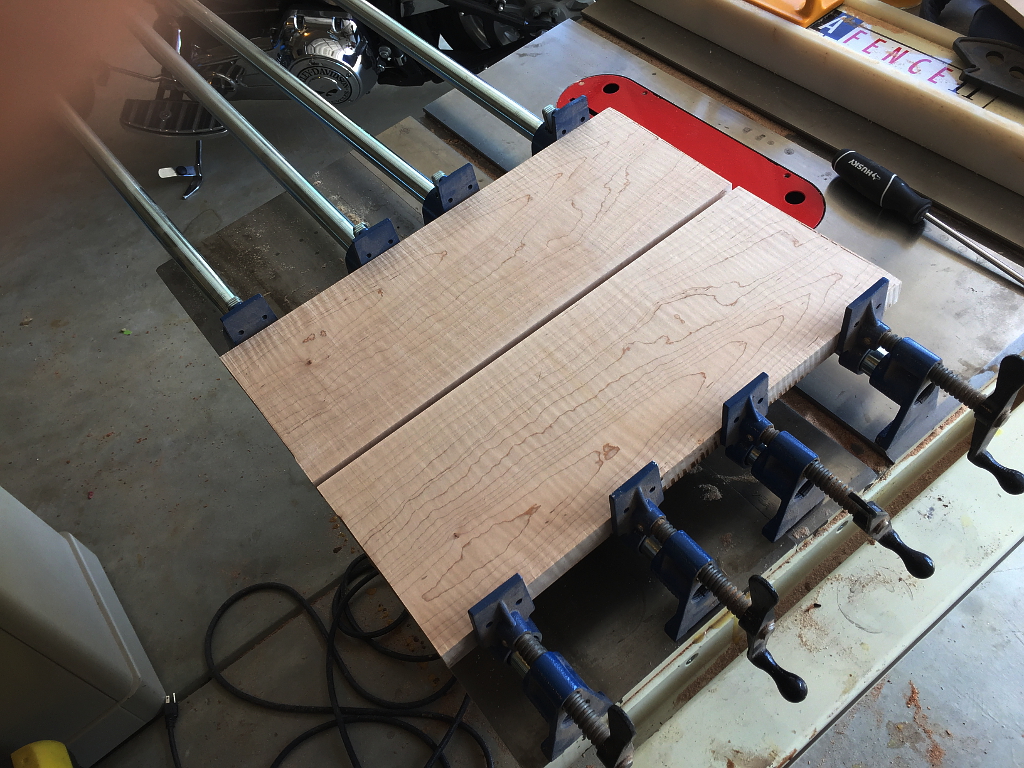
the “spine” end of the book is jointed, glued, and clamped…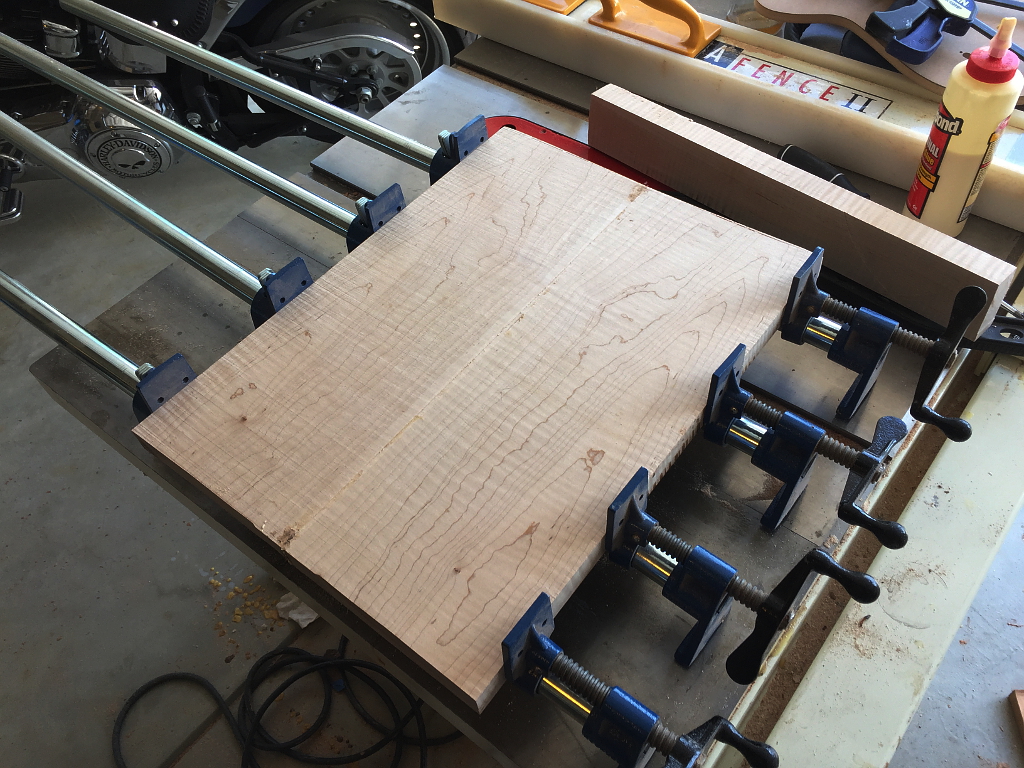
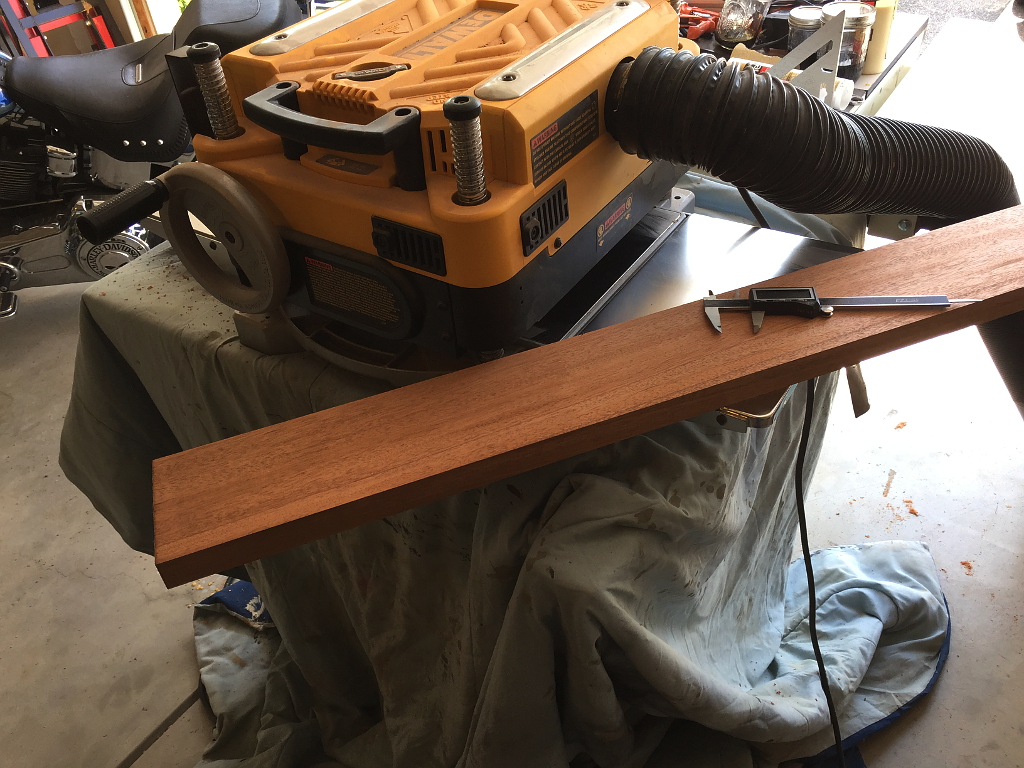
Now, while that is drying I’ll prepare the fretboard. Using the bandsaw and resaw blade again I take a slice off the ebony board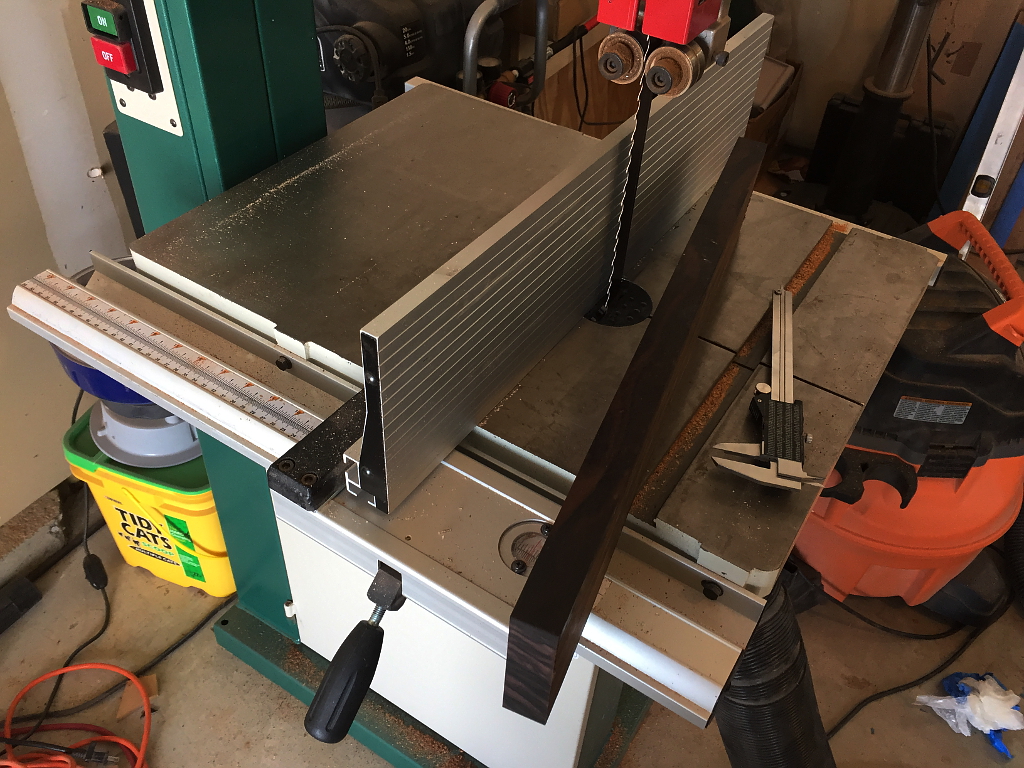
I start out with a slice about 0.3″ thick
flatten one edge and one face just like all the other boards,
Cut it to a consistent width end to end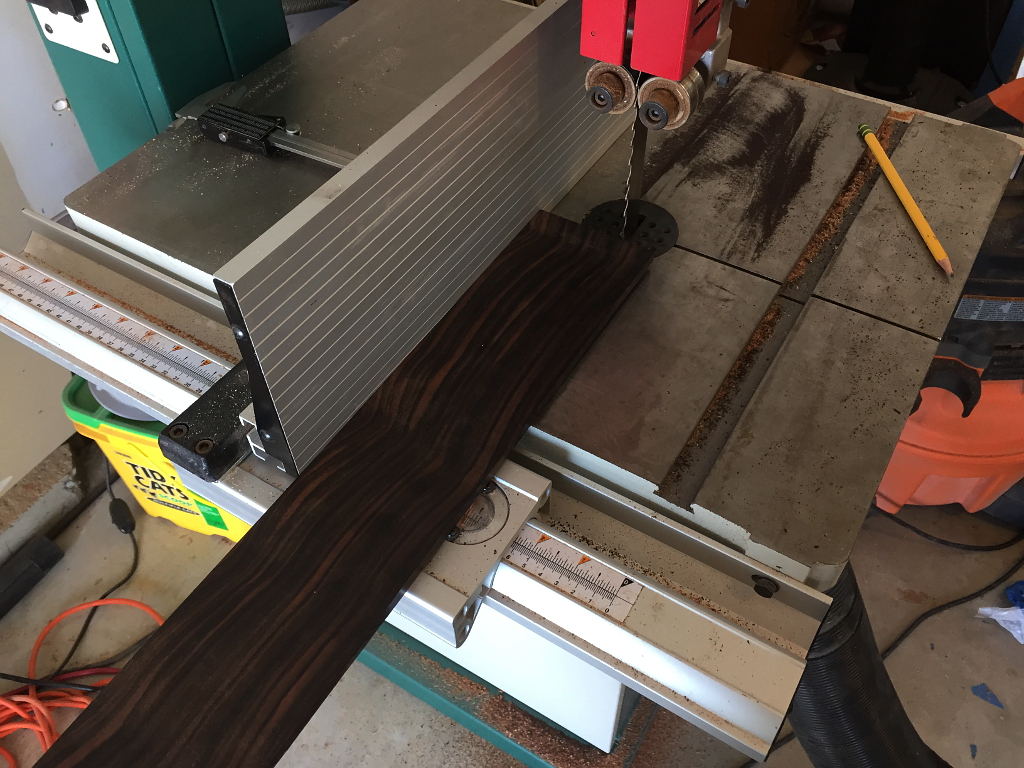
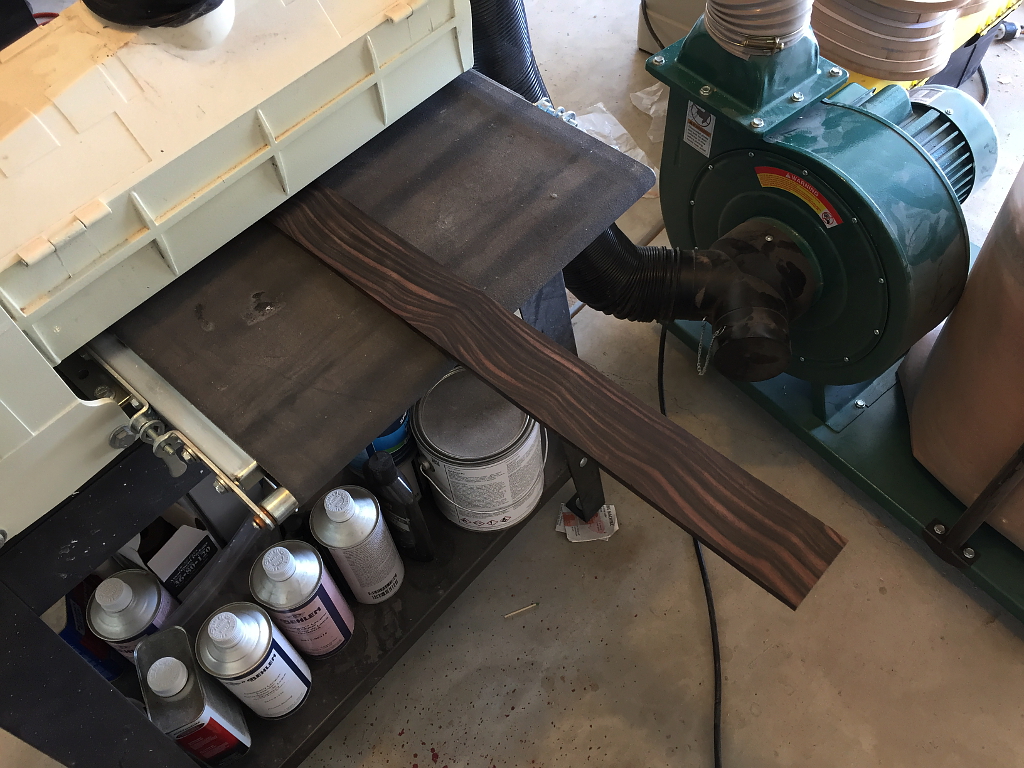
Run it through the drum sander making both sides flat and smooth, and the thickness constant end to end. I have it down to 0.26″ at this point. We’ll pause at this point and return to the body.
This is out of clamps now and can be roughly cut to shape…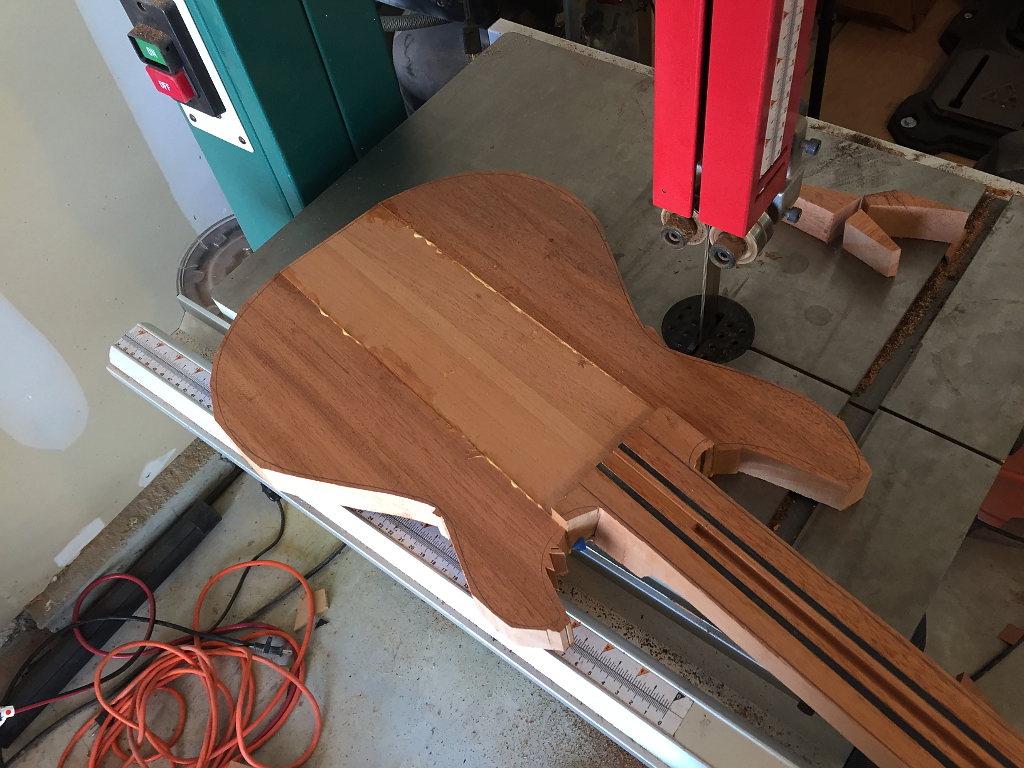
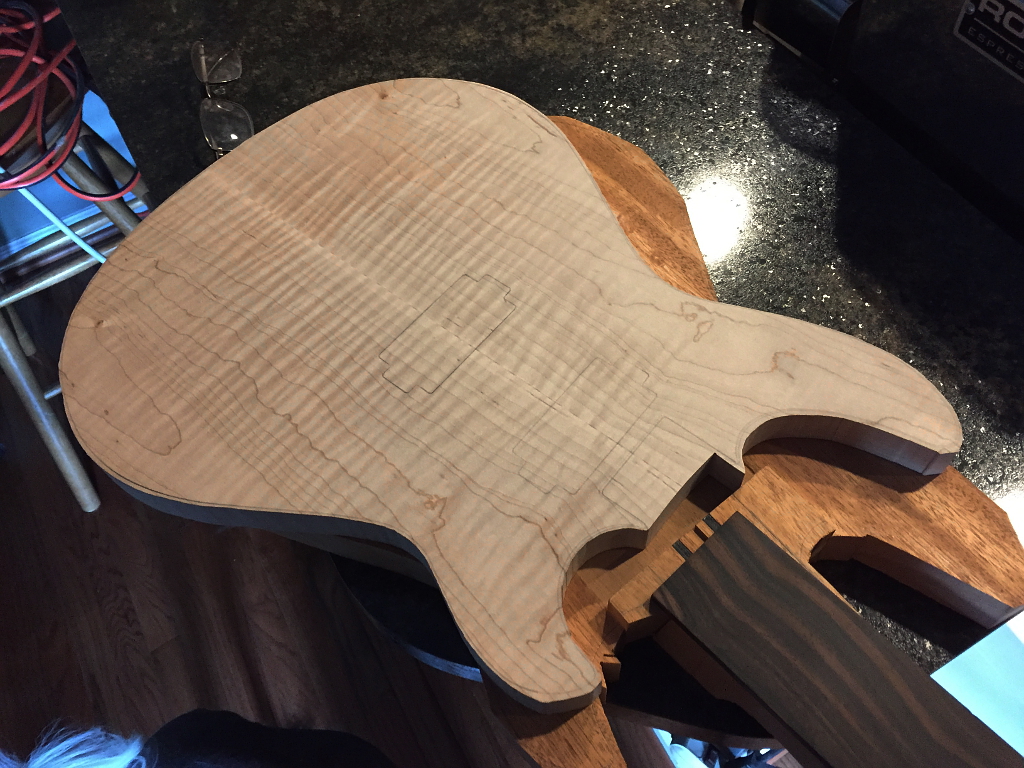
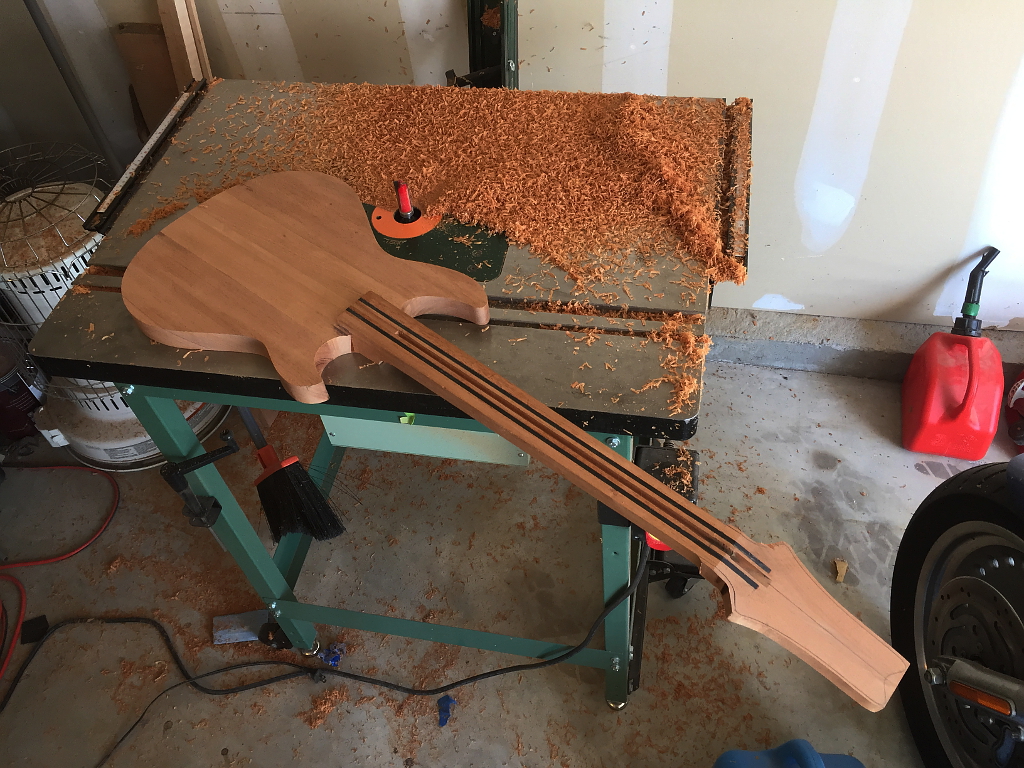
Quick look at where we are on all parts at this point. Top bookmatched, body wings glued to the neck and rough cut, fretboard blank prepped.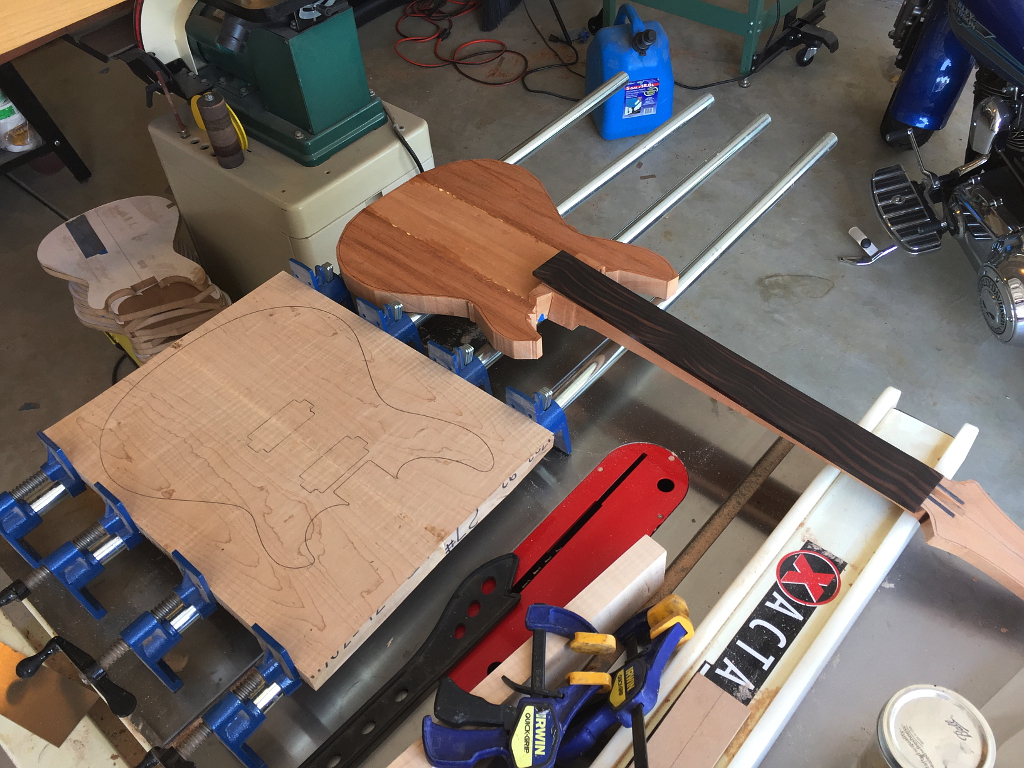
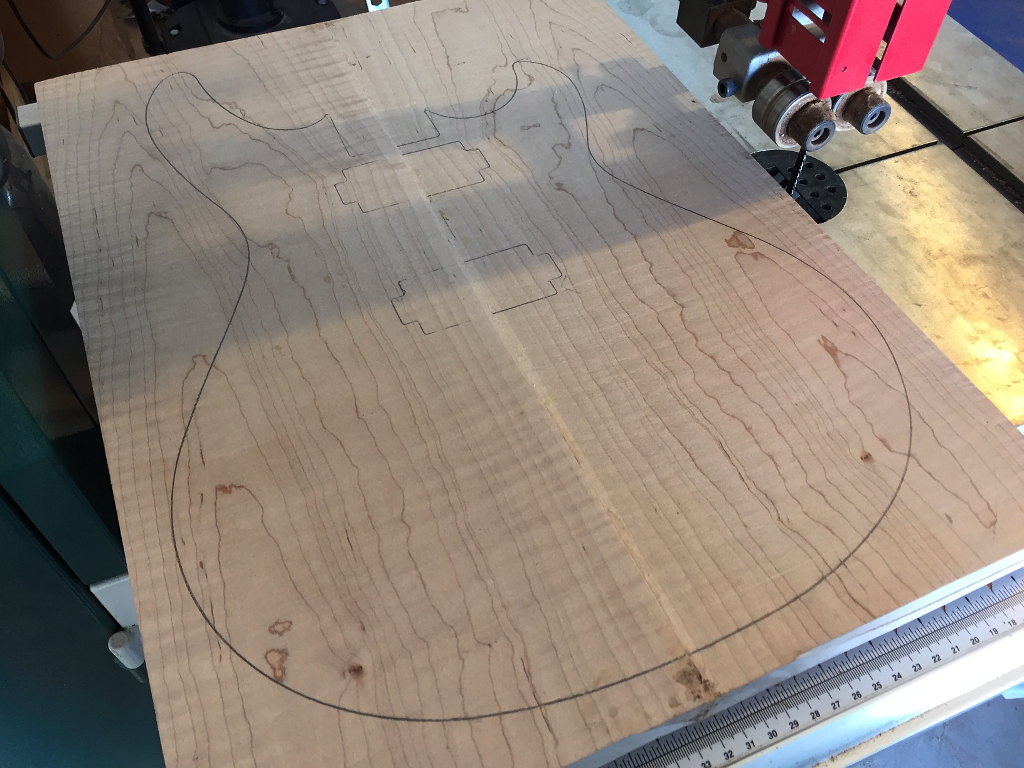
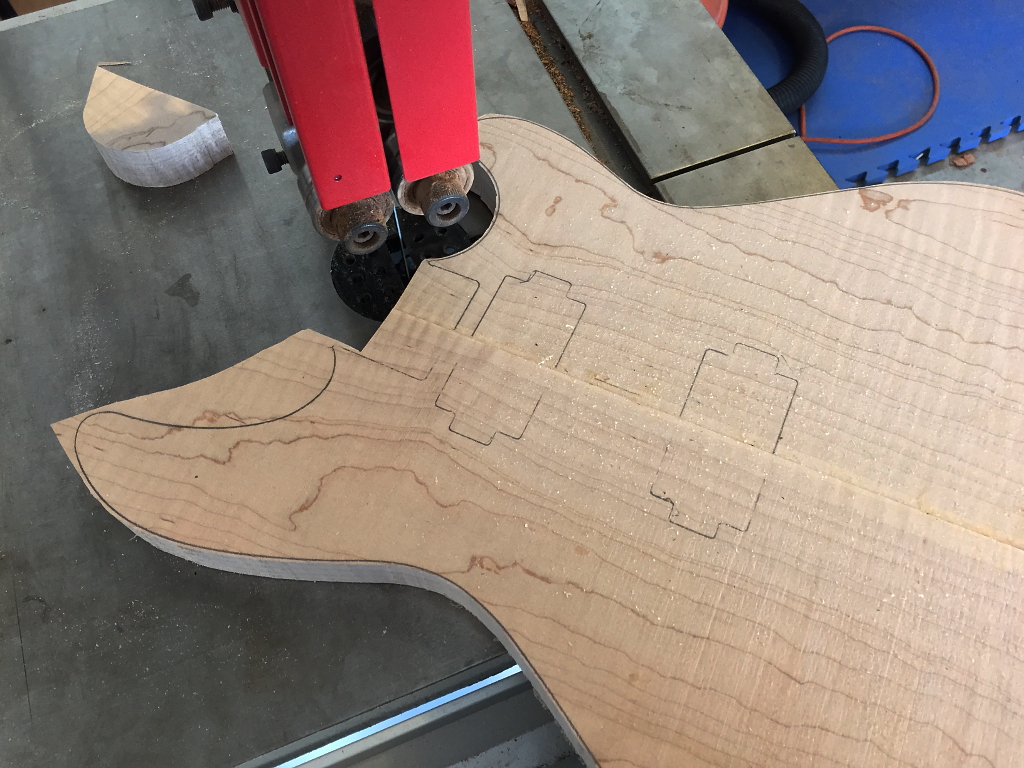
Now we’ll rough cut out the top…
Get it nice and flat and reduce the thickness to where we want it. Started about 1″ thick, but I’ll bring it down to about 0.85″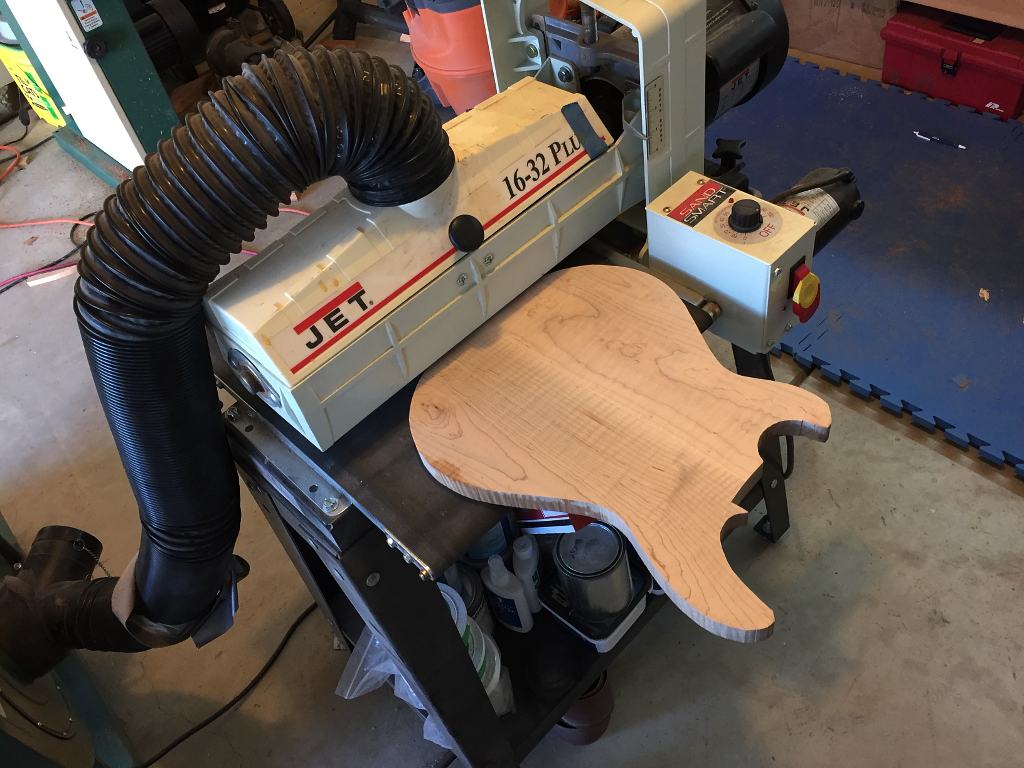
Starting to see that good looking flame top
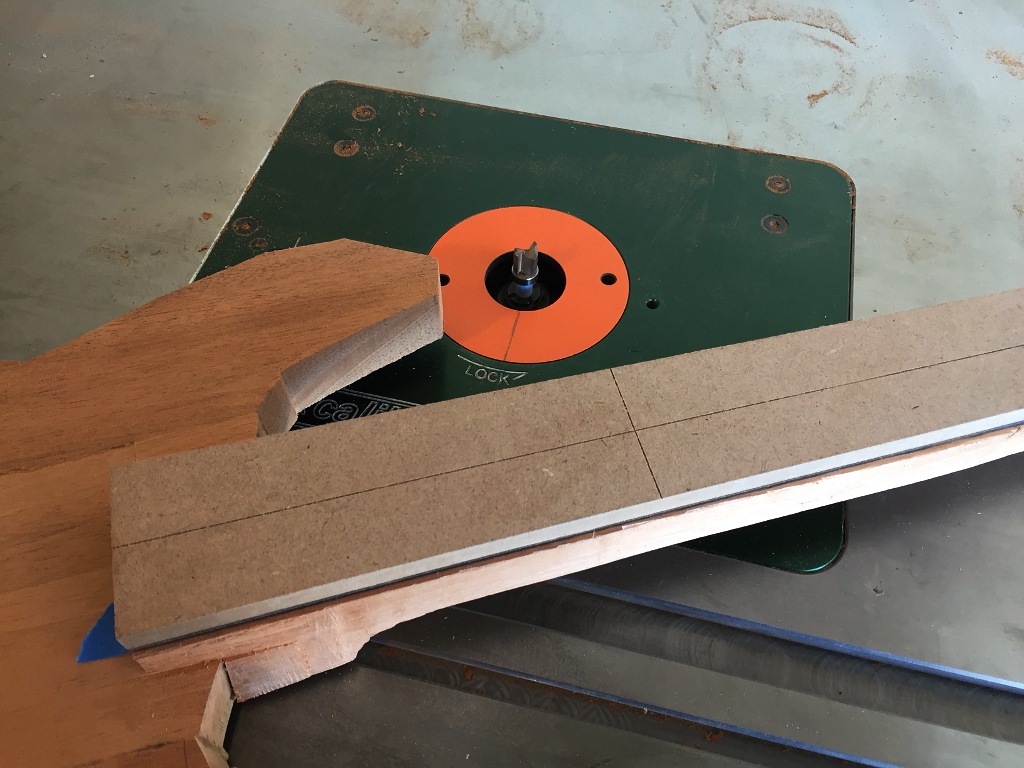
Now we can get the body and neck down to nearly final dimensions. Here I have the neck template attached to the neck and I’m preparing to route it on the router table…
then sand the body joints smooth
attach the body routing template to the bottom of the body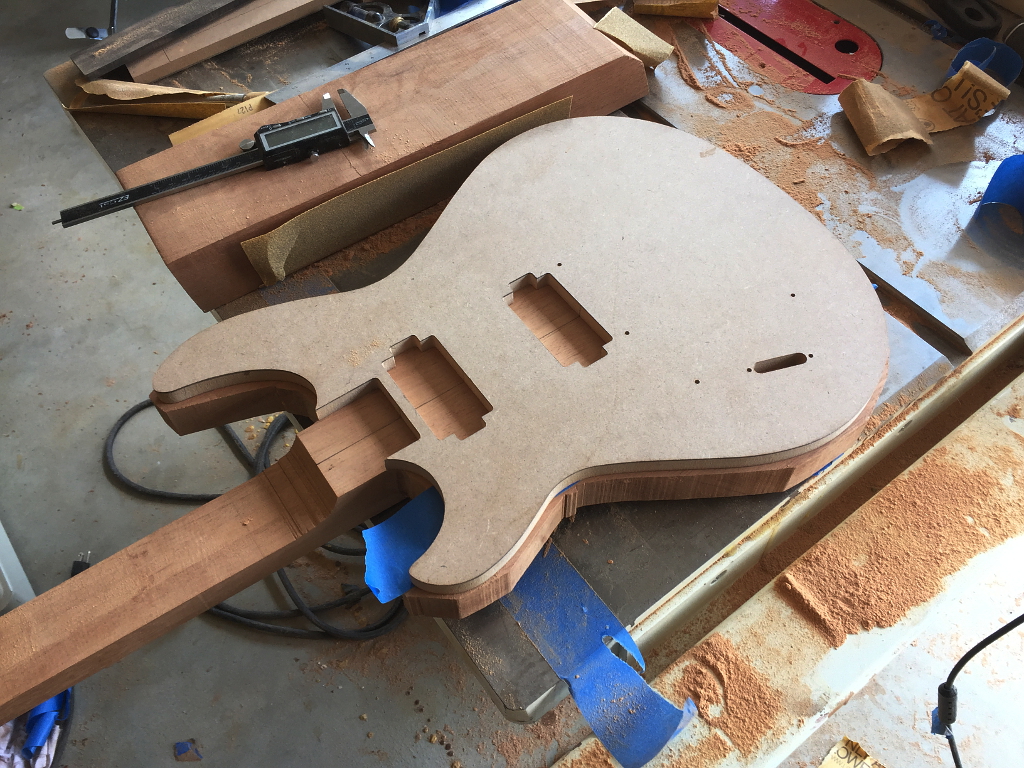
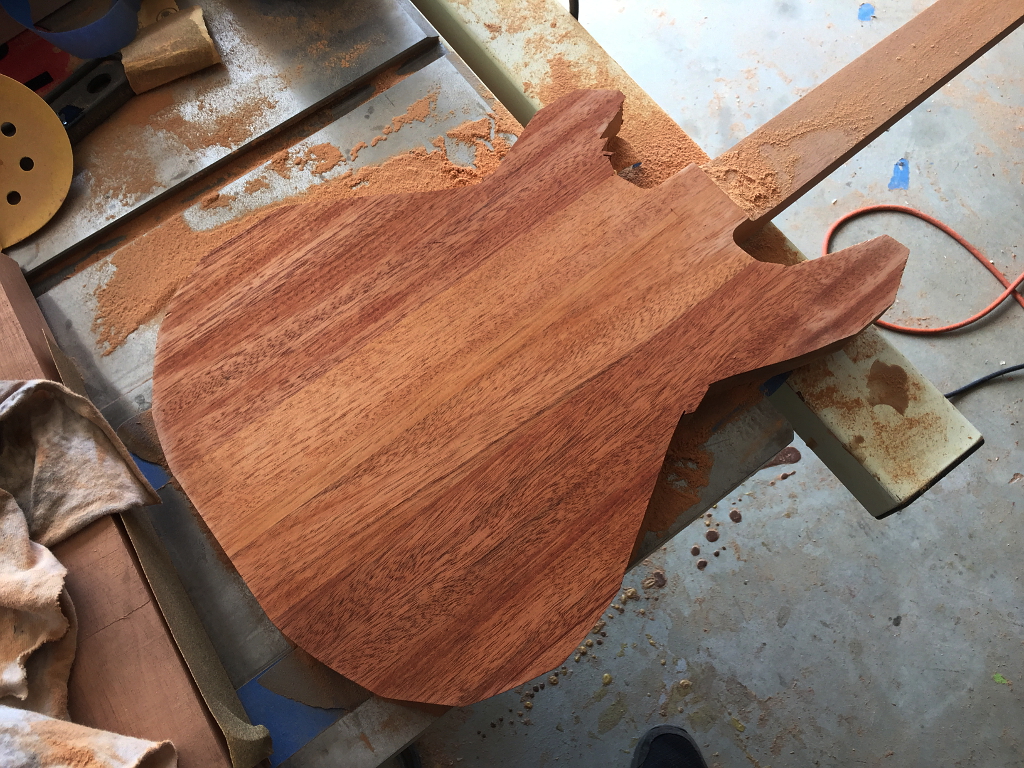
Flip it over and route it on the router table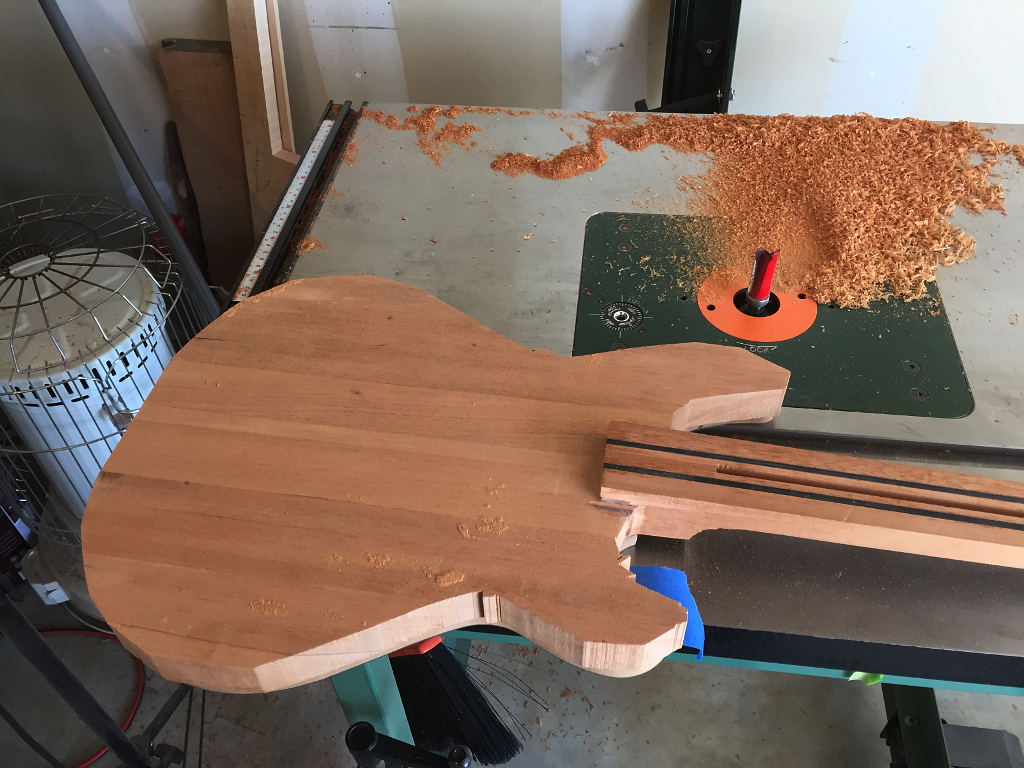
Looking good
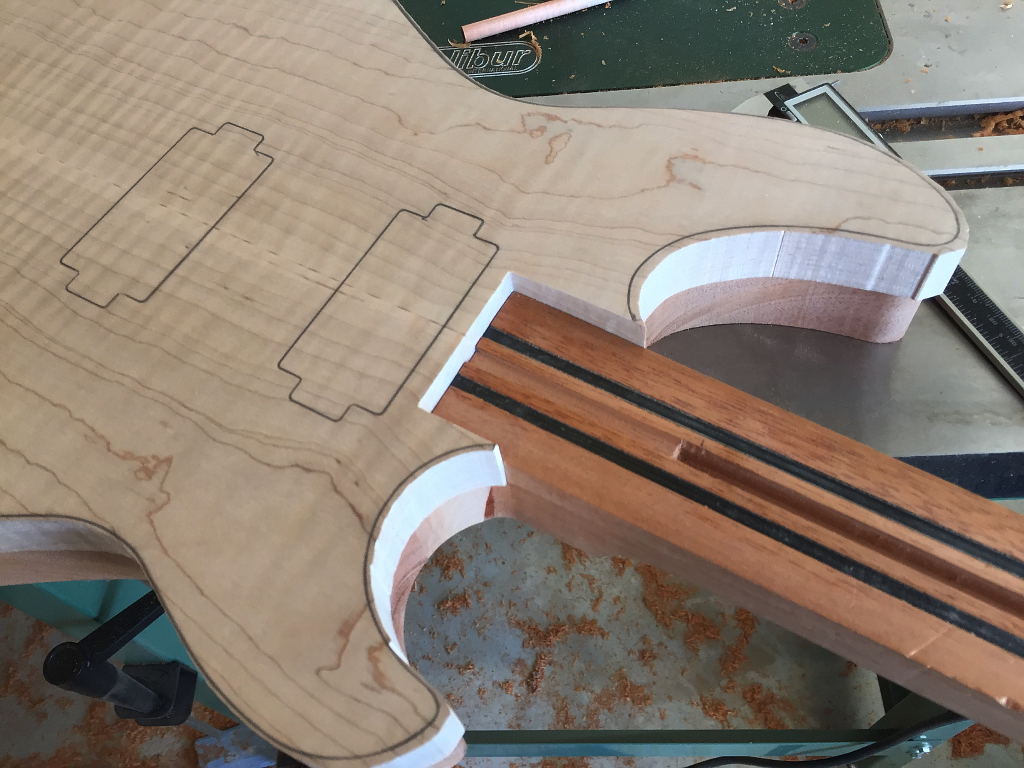
Next I prepare the top. Particularly where the top fits around the fretboard notch of the neck…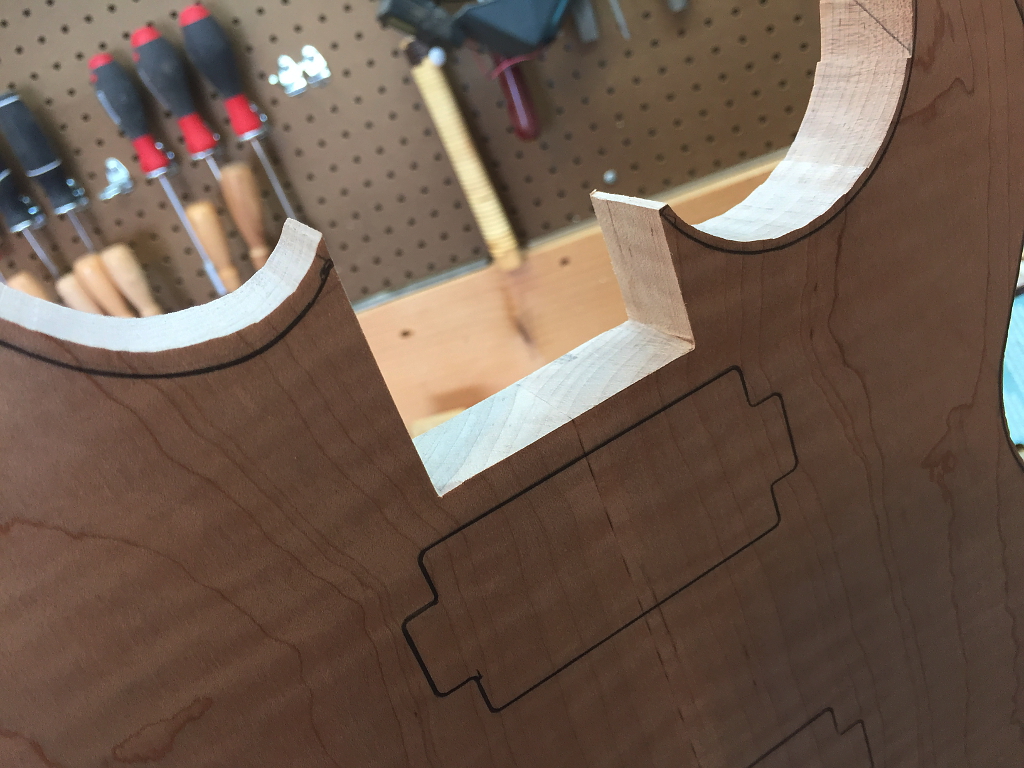
I have to make sure that not only do I have a good fit at the neck, but the top of the mahogany and the bottom of the maple must fit together perfectly. Any ripples, bows, changes in shape or curve will keep these pieces from gluing up well. This big, flat joint has to be perfect for both sonic and visual reasons. A big glue layer in between will deaden sound and vibration, and since the joint will be visible around the entire edge of the guitar, a big fat glue line would look terrible.
So with a combination of planing, scraping, and sanding I work on that joint until the top drops on perfectly and sits flat everywhere.
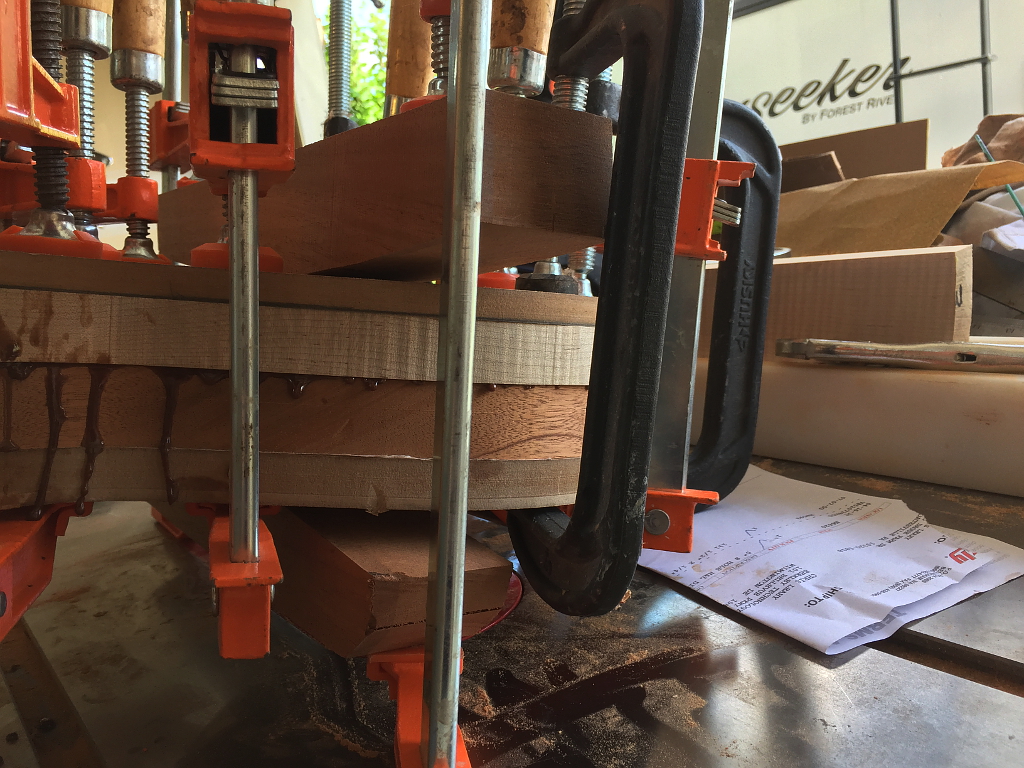
then I mix up another batch of Urea Formaldehyde glue and cover the mahogany with it, drop on the top, and then clamp the living shit out of it… 
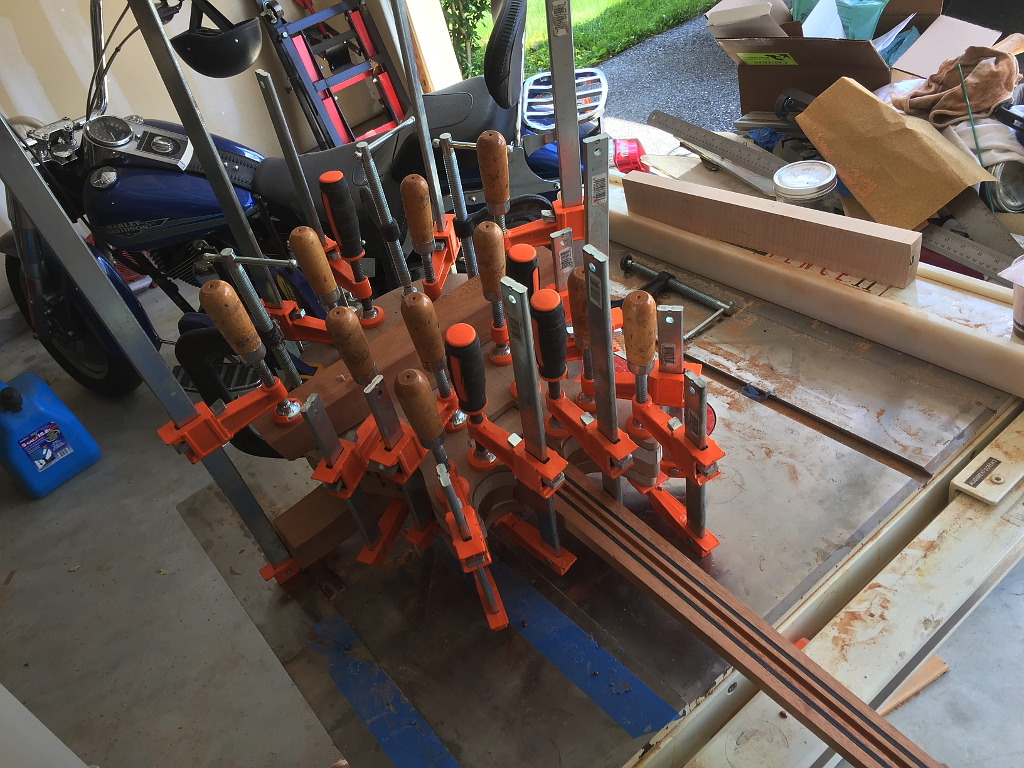
I use body shaped cauls on top and bottom to distribute the clamping pressure and also to avoid denting the guitar with the clamps.