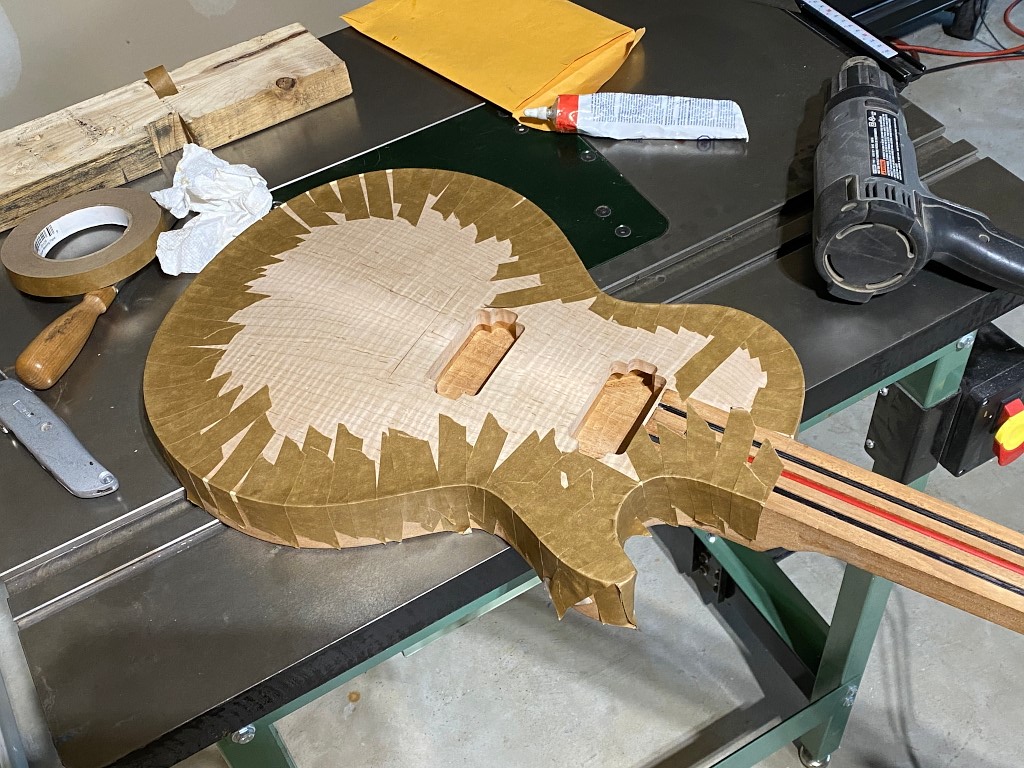
OK, now its binding time. I hate binding time. Its a pain. Binding goes around the body at the top edge. As you can see, if we just wrap it around it’ll stick out, so we have to cut a channel around the body for the binding to sit in.
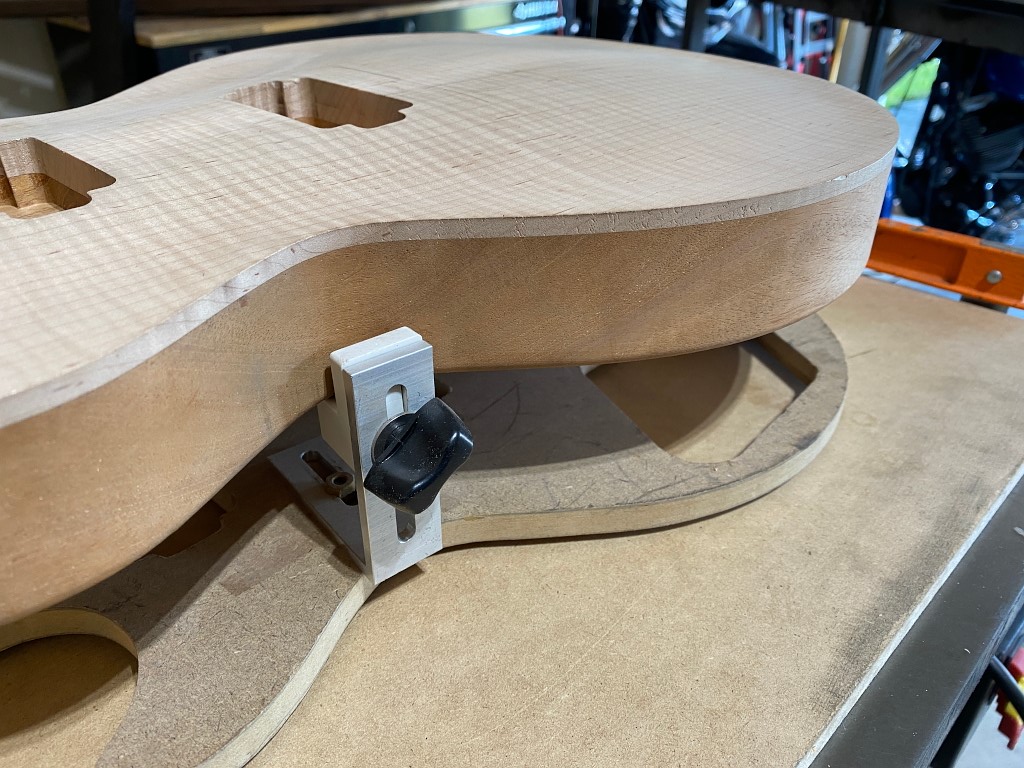
I have a “jig” for this that consists of a little platform that elevates the guitar a bit, and a small router with a special bit designed to make the cut.

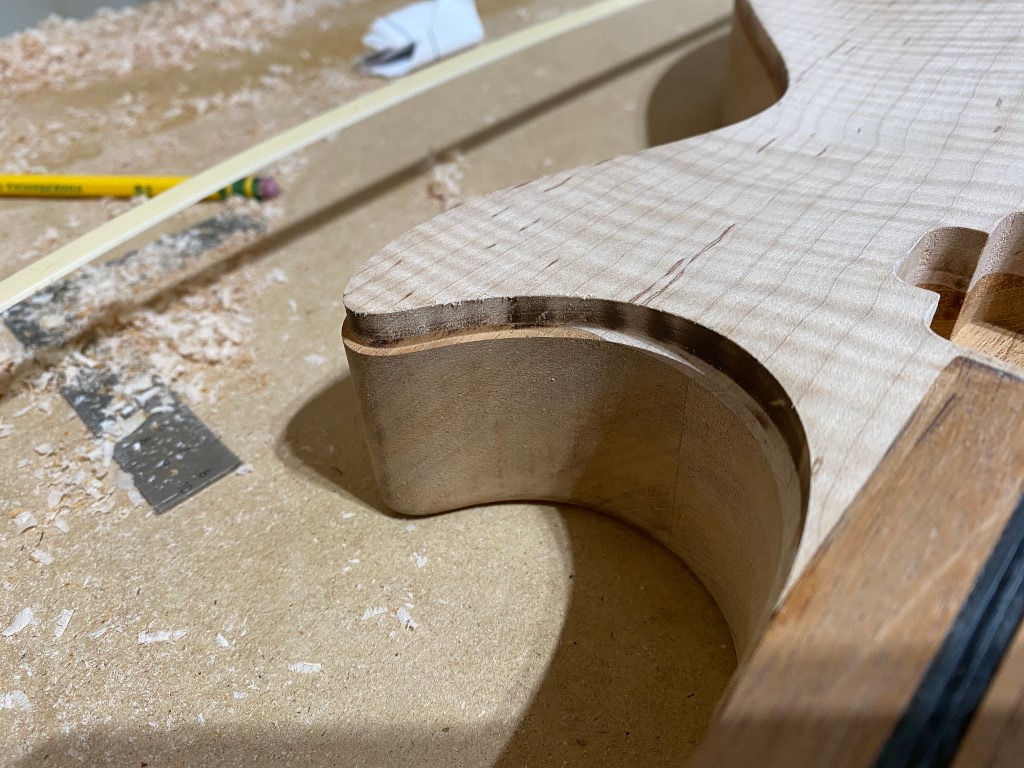
Run the body along the router all the way around, and this is the result. A groove roughly the same depth as the thickness of the binding…

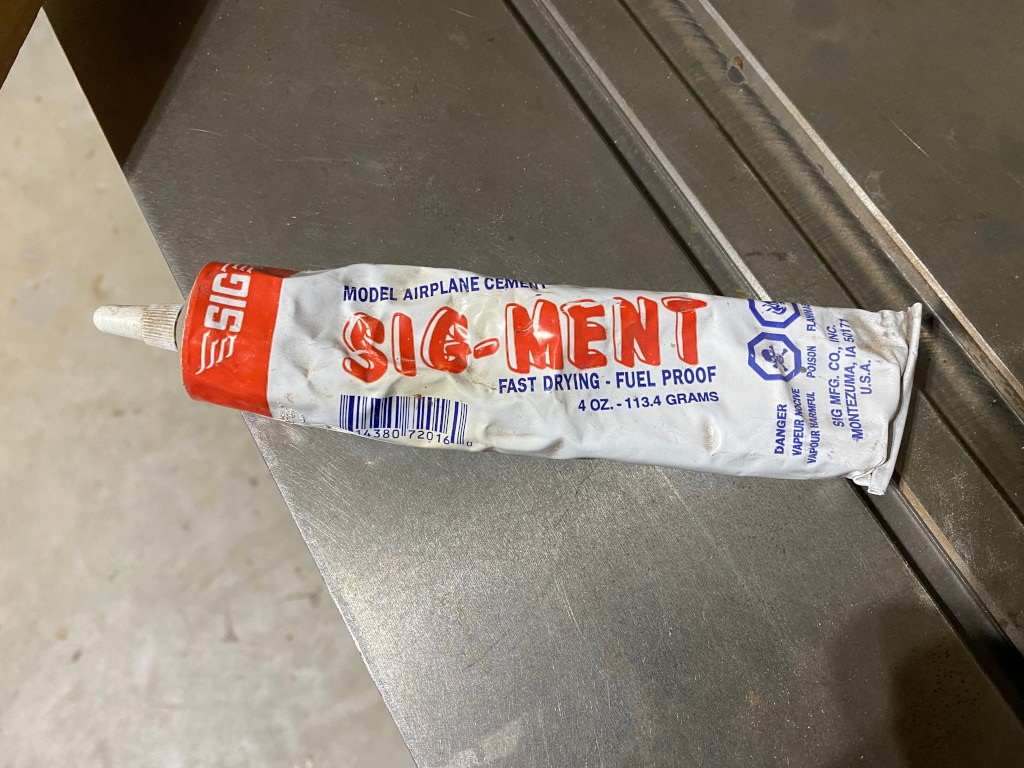
This is the glue I use to attach the binding. it does a great job and leaves no mess. It” also melt your brain if you breath it too much, so use in well ventilated area. Well, unless you want your brain melted.
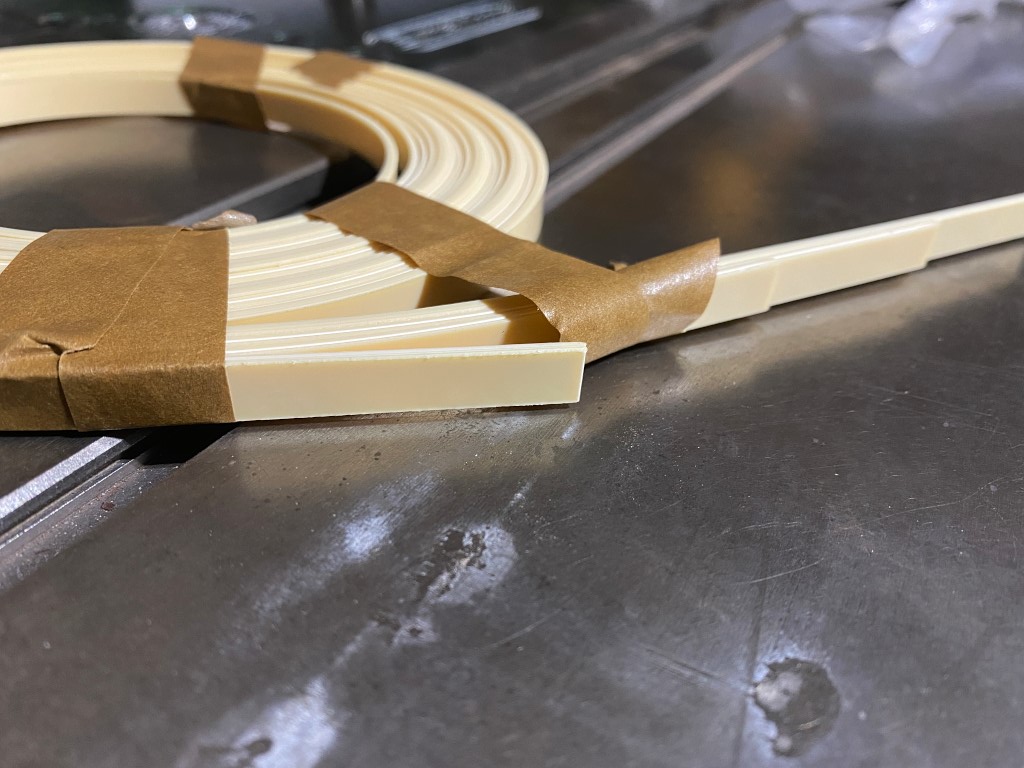
This is my binding. Its just cream-colored ABS plastic strips.
Apply the glue into the groove and pull the binding tightly into the groove around the body and hold securely in place with tape until the glue sets.
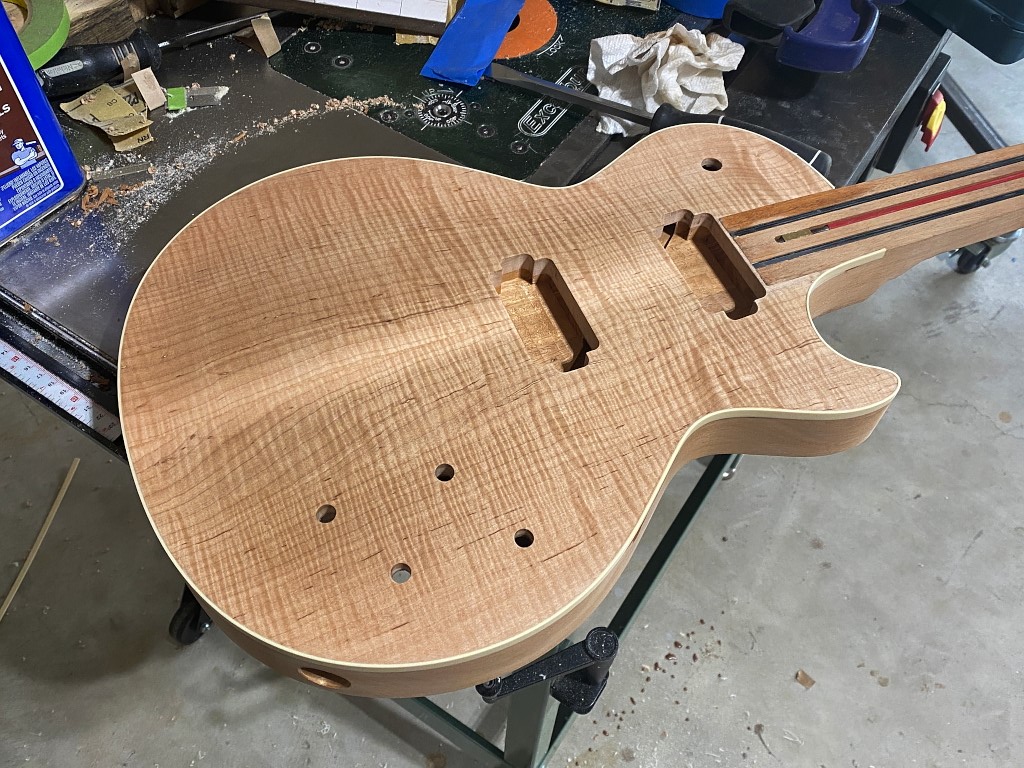
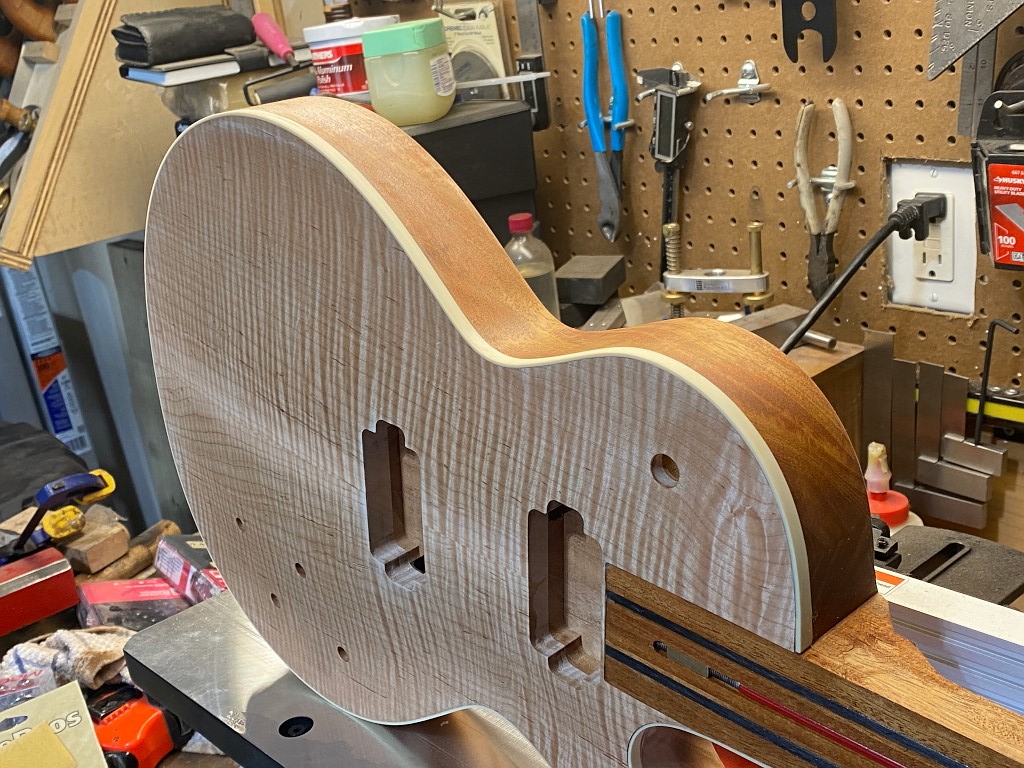
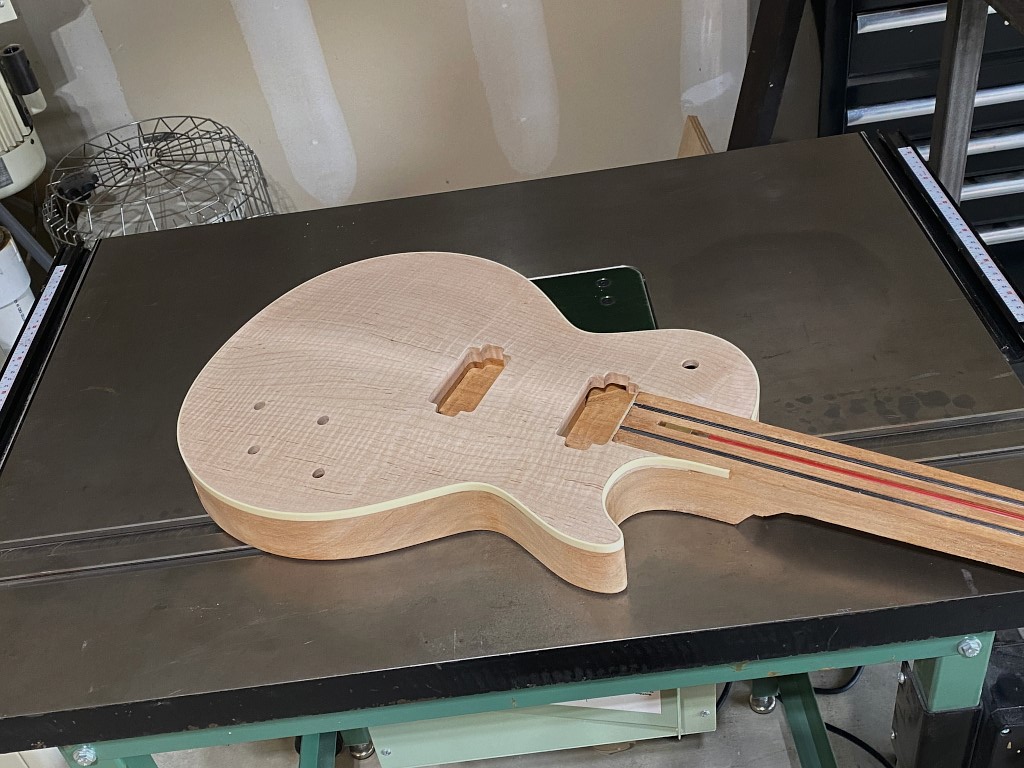
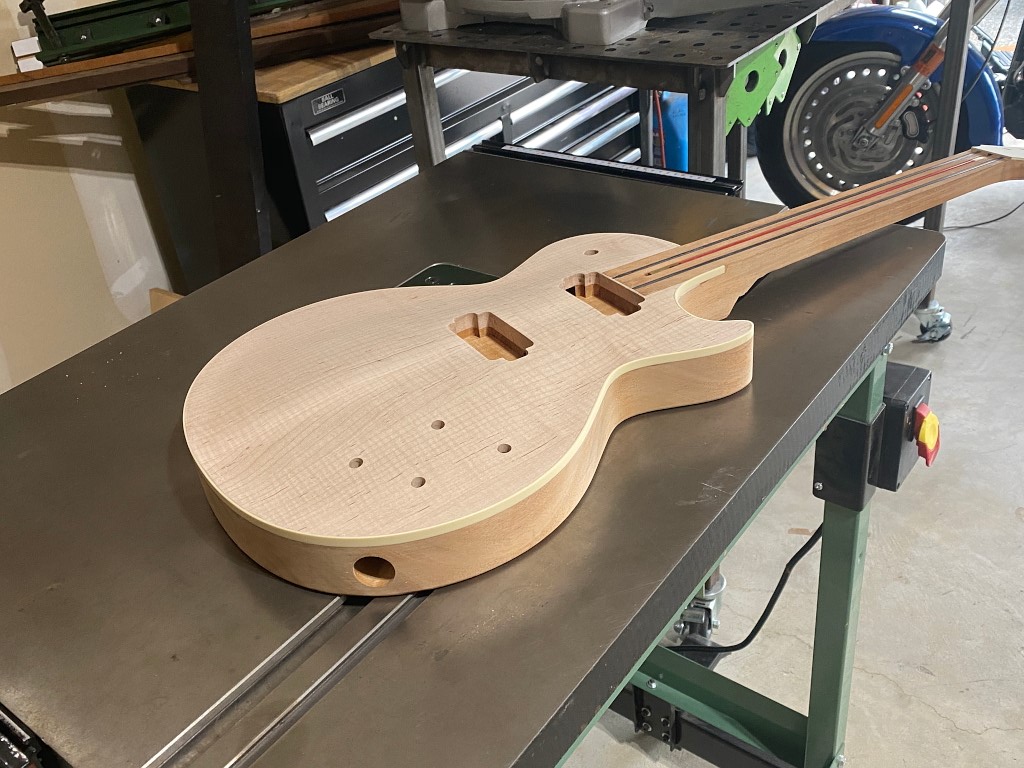
Next day the tape can be removed, and the binding is sanded and scraped using razor blades until its fully flush with the top edge and sides. At this point I also drilled the holes for controls. A 1/2″ hole for the toggle switch, and four 3/8″ holes for volume and tone controls. I like to wipe a little naphtha on the guitar to bring out a more finished look. Naphtha is great for this because unlike water, it wont swell the wood and it evaporates 100% leaving no residue.
Fretboard time!
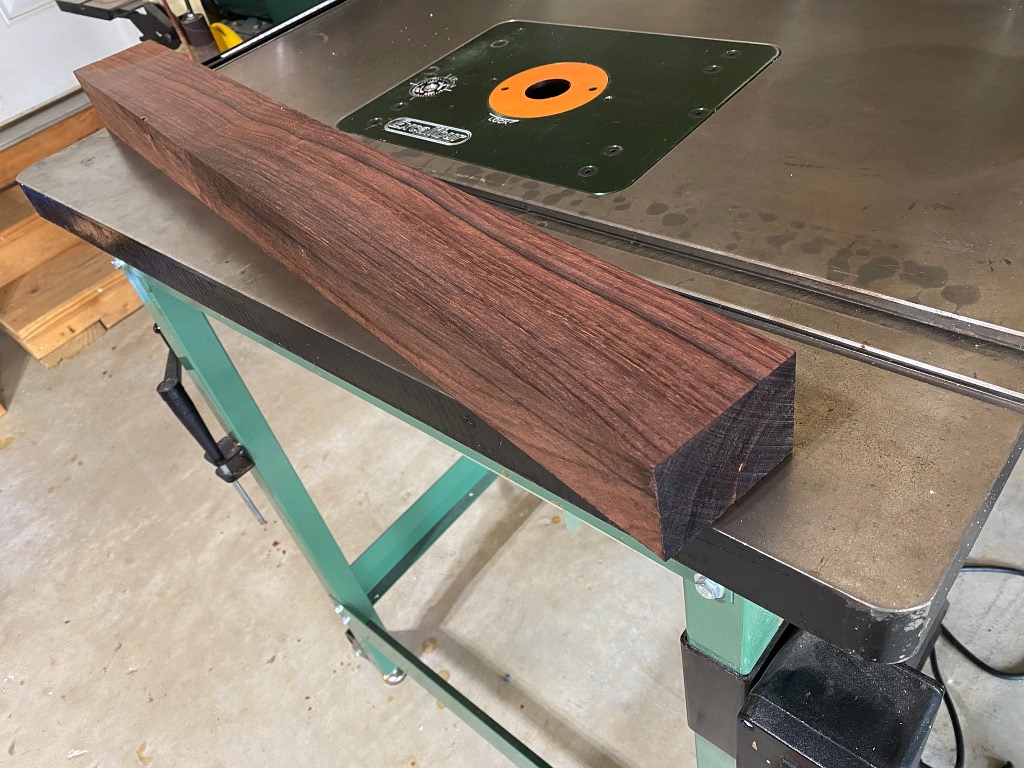
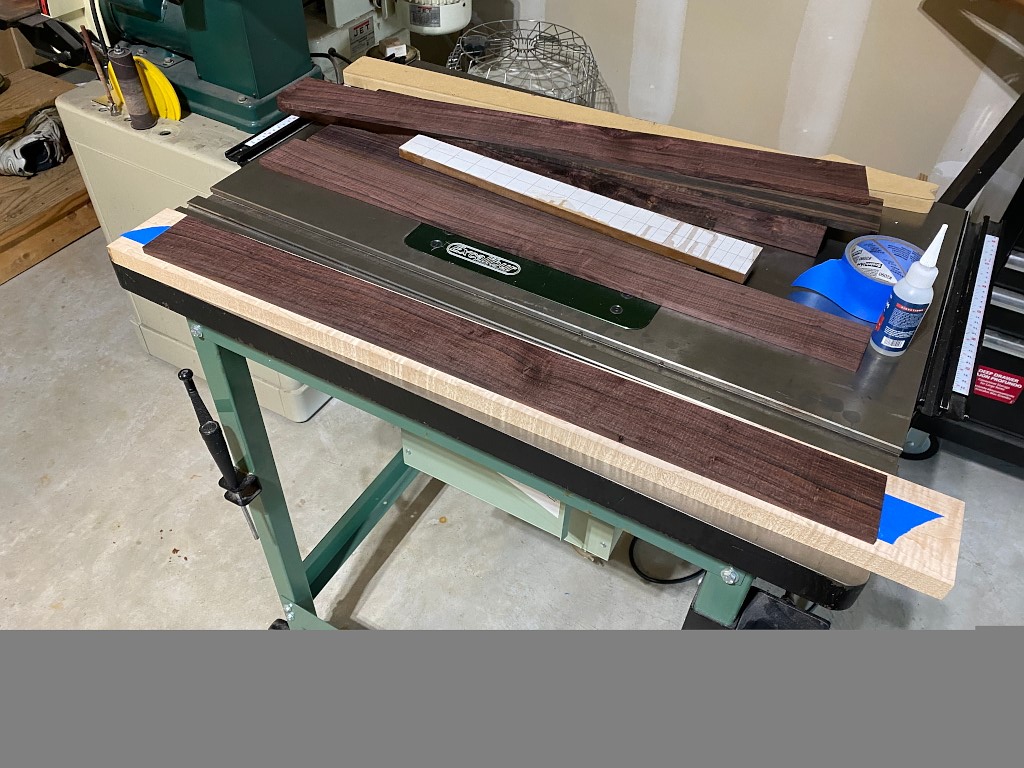
So a quick visit to Hearne Hardwoods and I snag a nice piece of cocobolo.
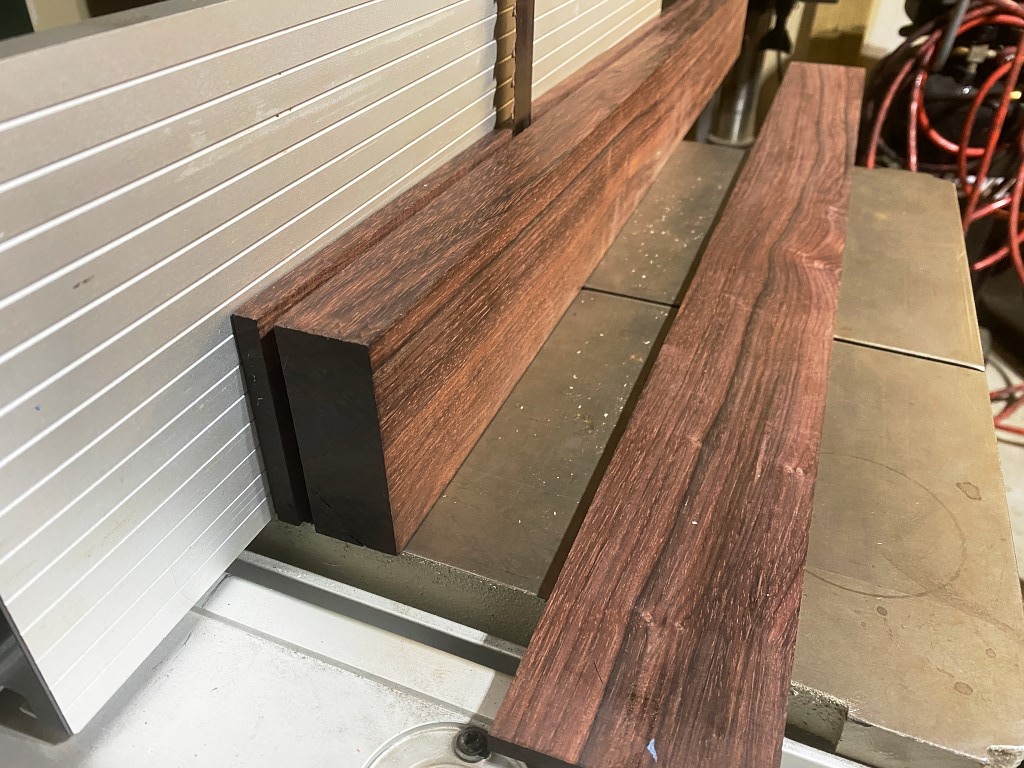
I throw this on the band saw and slice off a few…
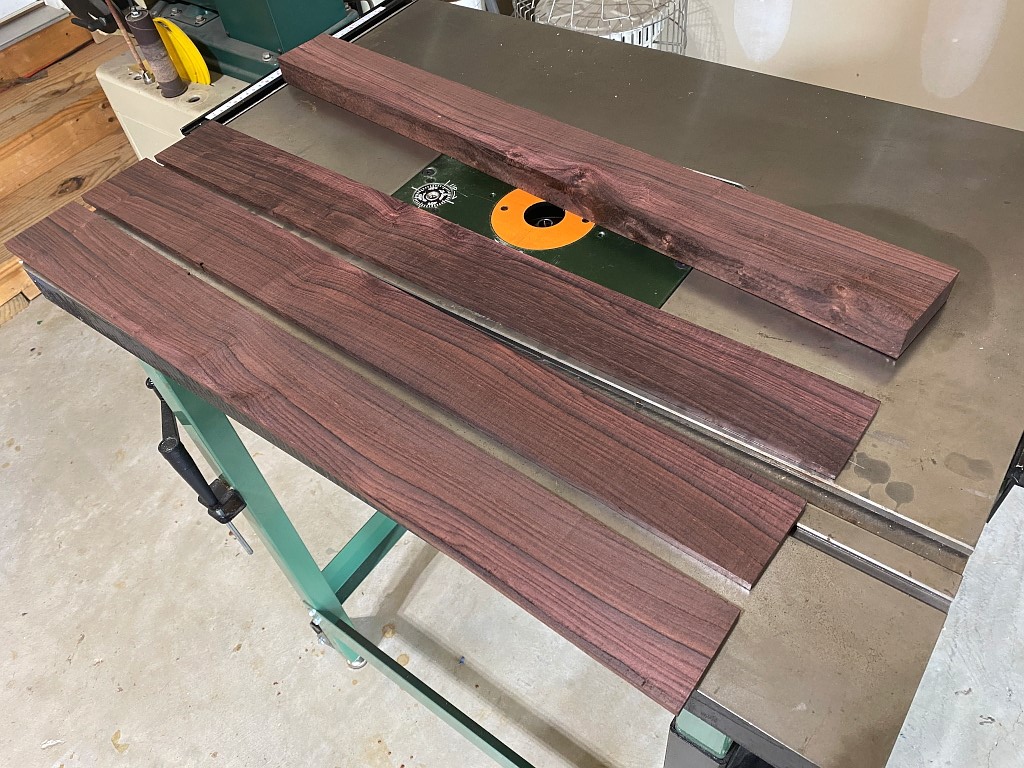
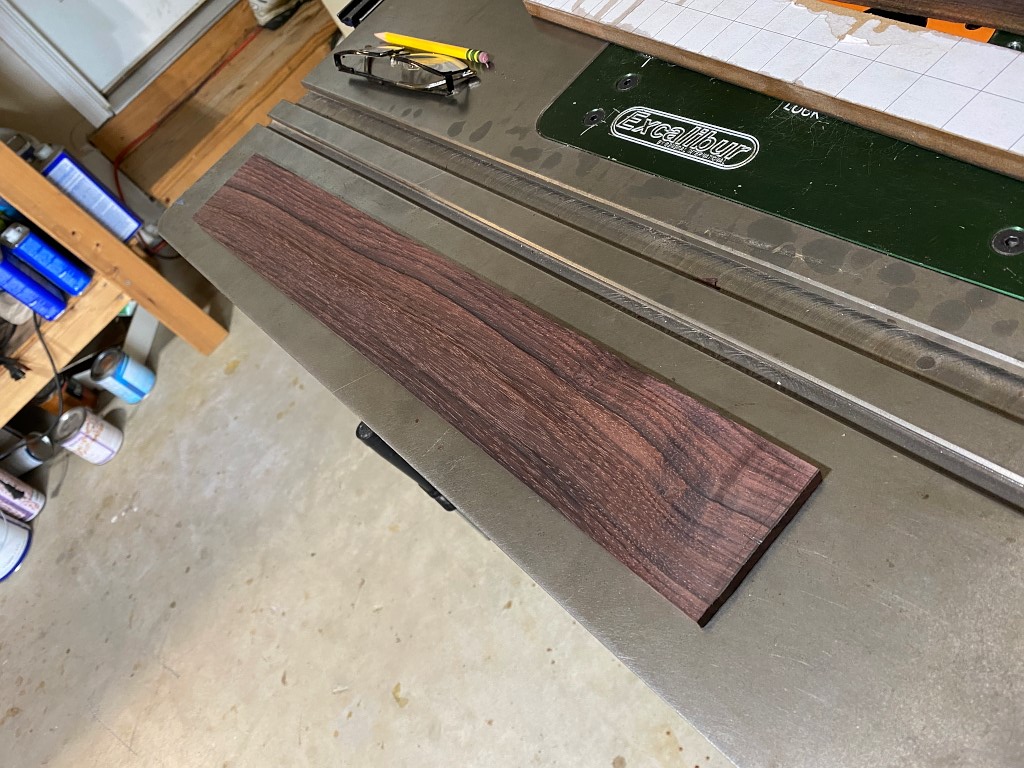
I flatten one on the jointer and then attach it to another board in order to pass it through my planer, and I plane it down to just a hair over 0.25″
Then cut the length down to the approximate length, leaving maybe 1/4″ extra just in case 🙂
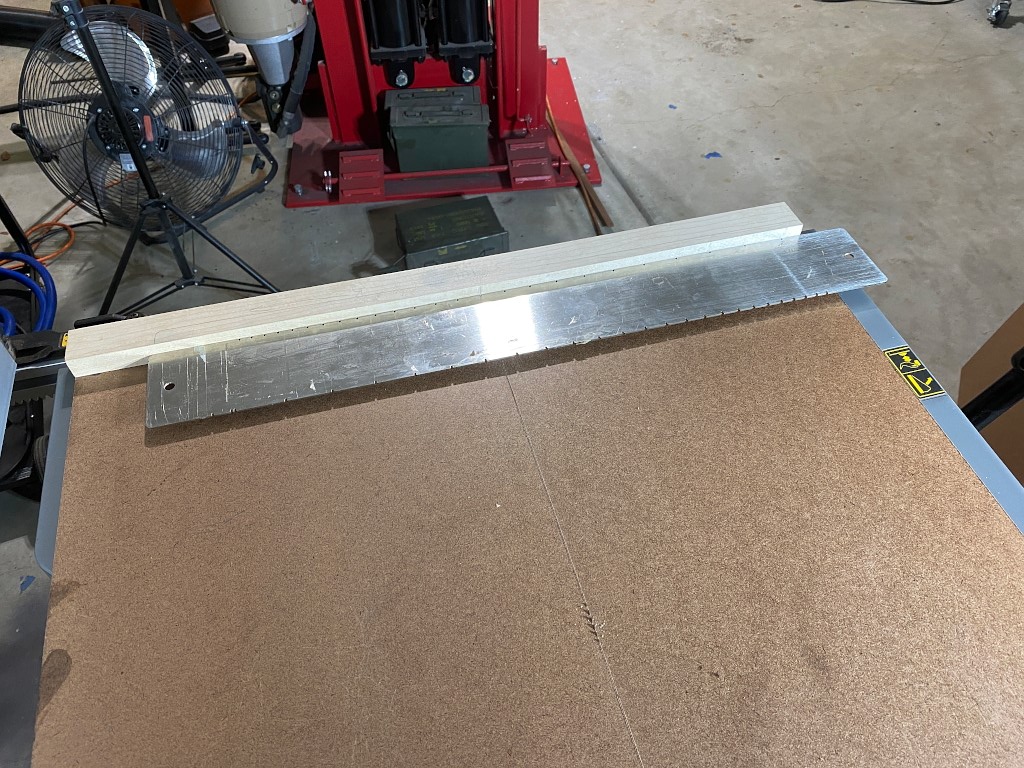
I attach it to my slotting template which you see here. The fretboard is actually underneath it. This jig is sitting on my table saw. It allows me to cut the fret slots to the exact depth, and perfectly straight, with perfect spacing. Ive done this 100% by hand using a slotting saw. Trust me, this is a far better method 😉
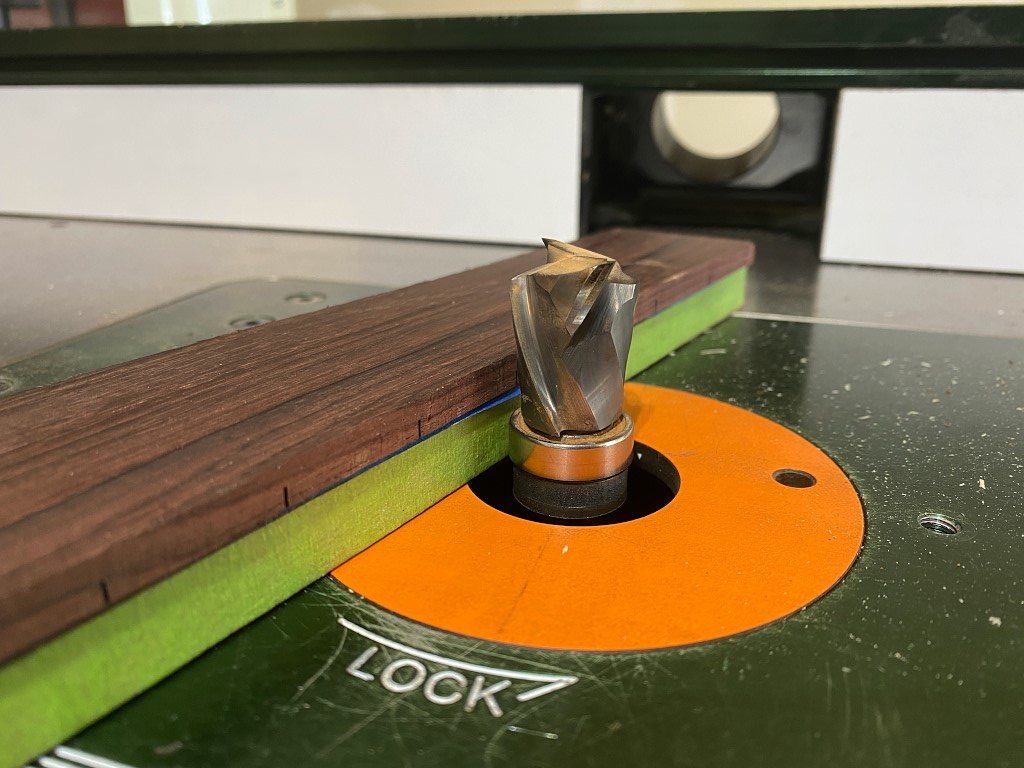
Then I attach the slotted board to my fretboard/neck template and route it to final shape.
Thar she blows!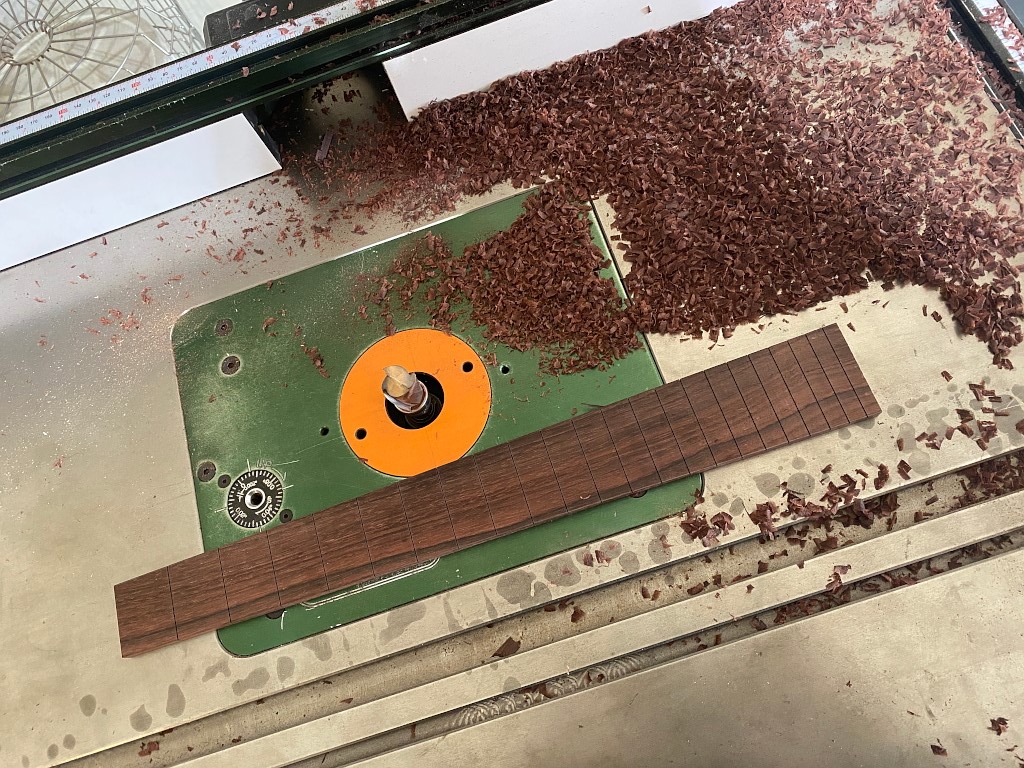
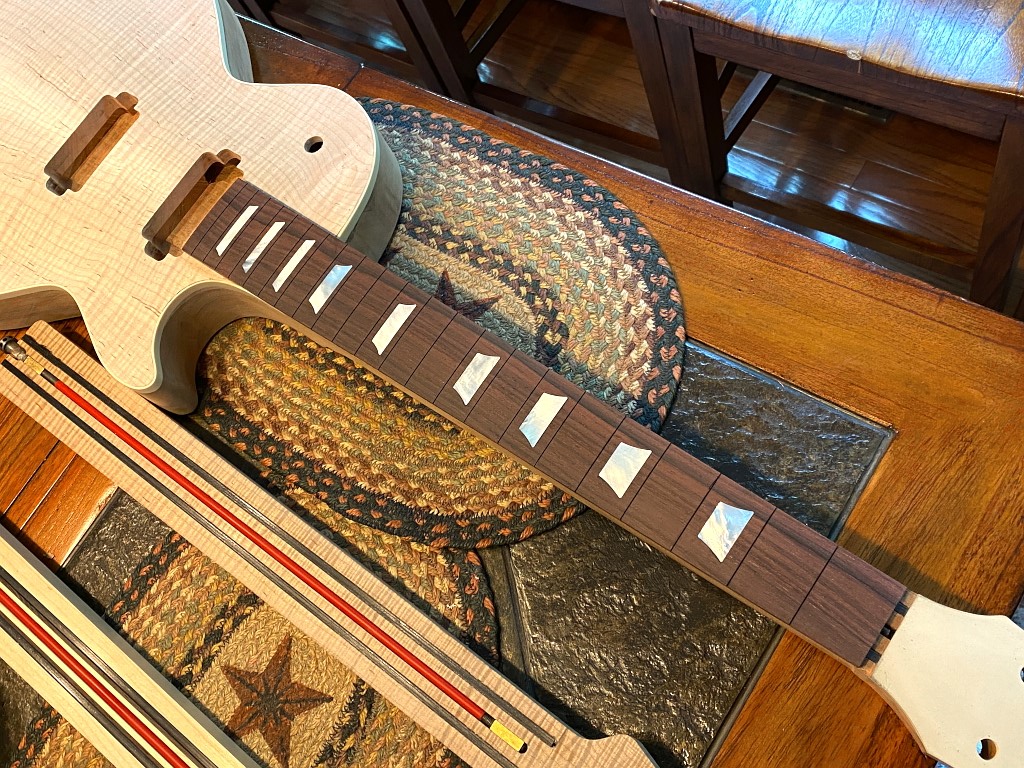
Lot of work yet to do with the fretboard, but a quick mock-up on the guitar gives an advance look at how we are doing…

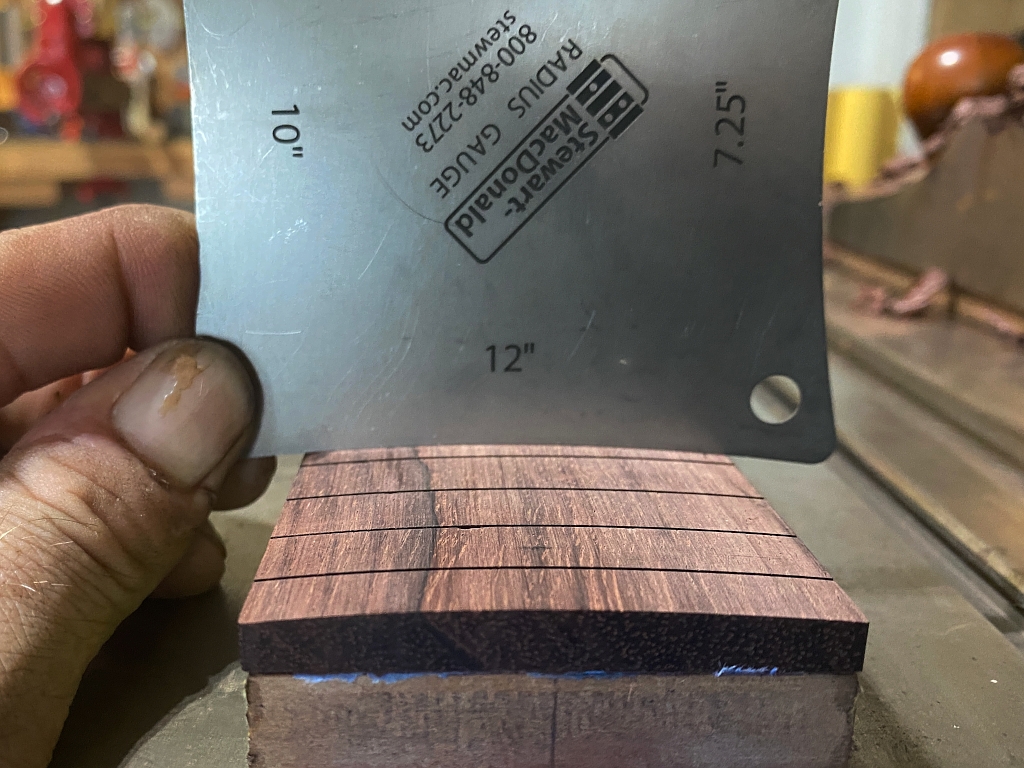
OK, here comes that “lot of work” I mentioned. First of all, any guitar player knows that fretboards arent flat. This board is currently is flat as a…well…itself. A board 🙂
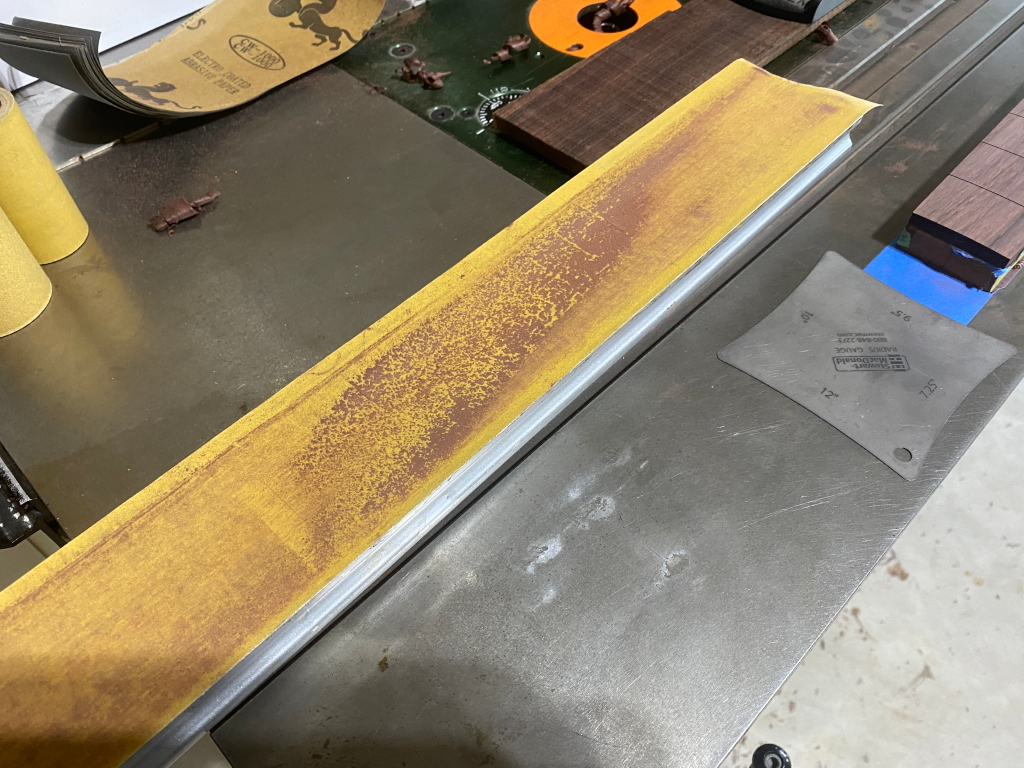
So we have to add a “radius”. Typically on a Les Paul style build the common radius is 12″. I use 2 tools to do this. First, using a hand plane and a radius gauge I shave it into roughly the right curve

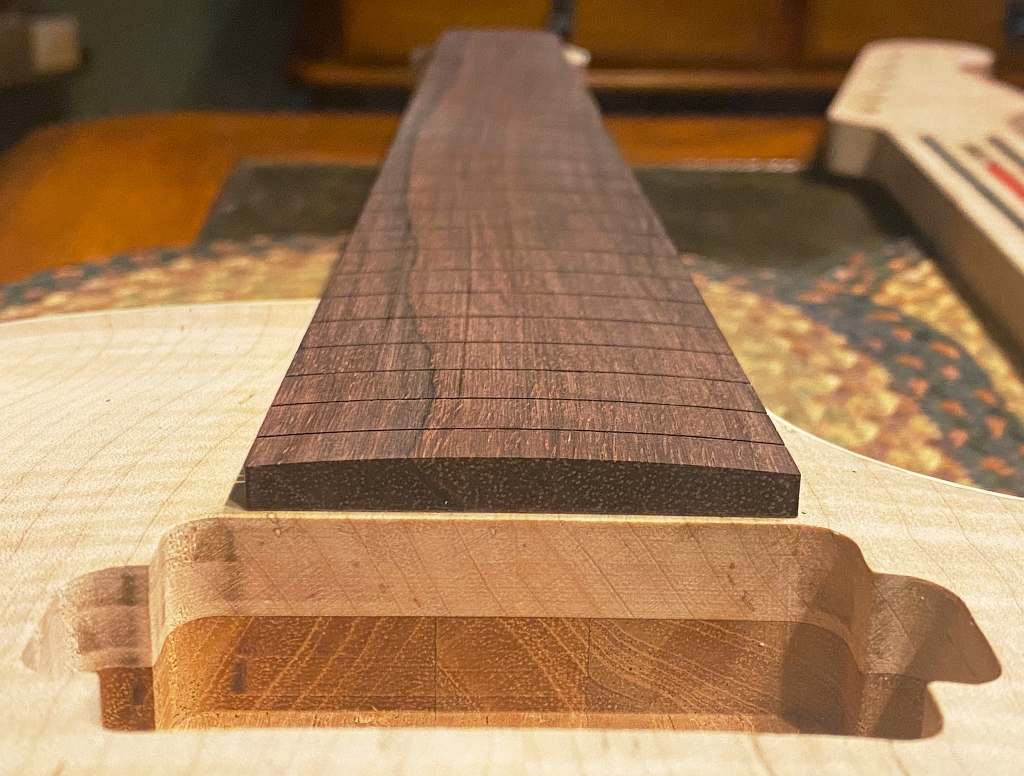
Then I refine the shape using a radiused sanding beam. ITs an aluminum beam with a 12″ radius. Simple. I sand it smooth.
Perfecto!
The next step is a gigantic pain in the ass. Really. Wish I didnt need to do this but:
1. This is what a Les Paul fretboard looks like
2. It looks really nice 🙂
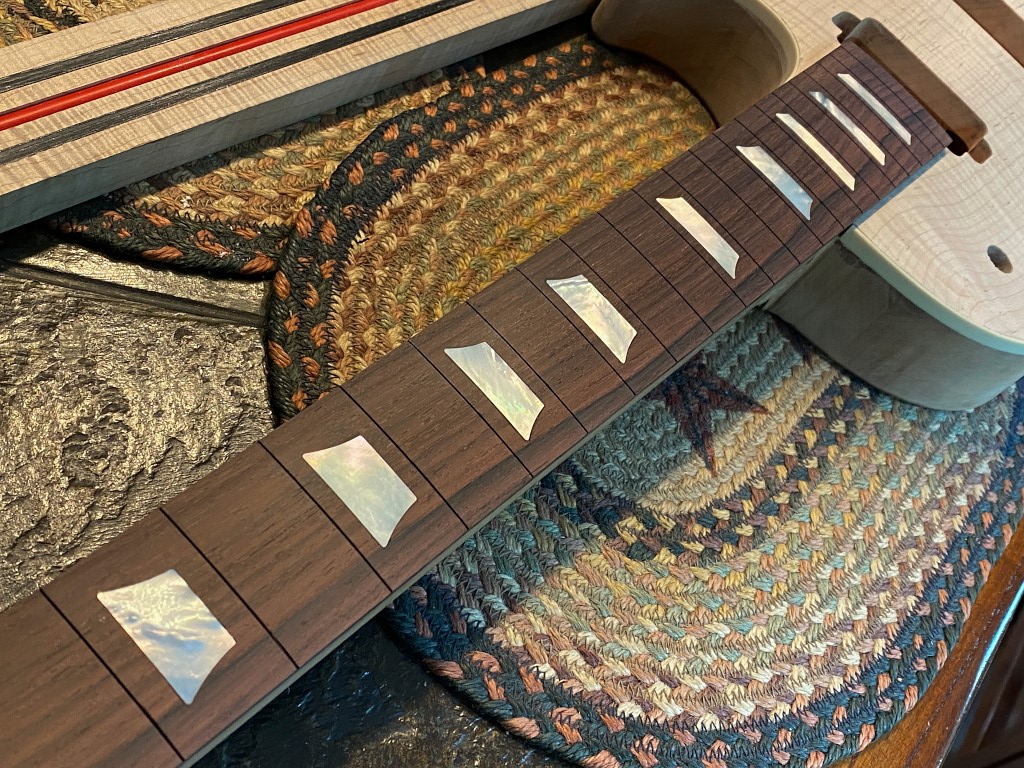
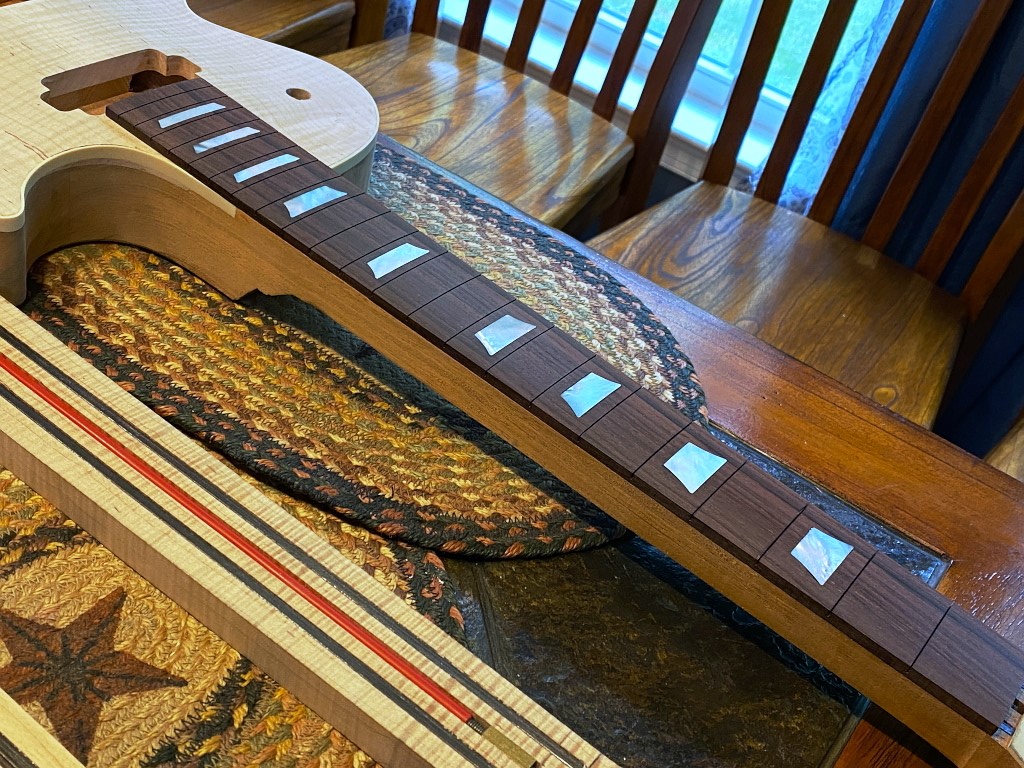
Of course I’m referring to the inlays. Gibson uses cheap, plastic inlays even on their most ludicrously expensive models. I actually use real mother-of-pearl. Therefore I’m cooler than Gibson.
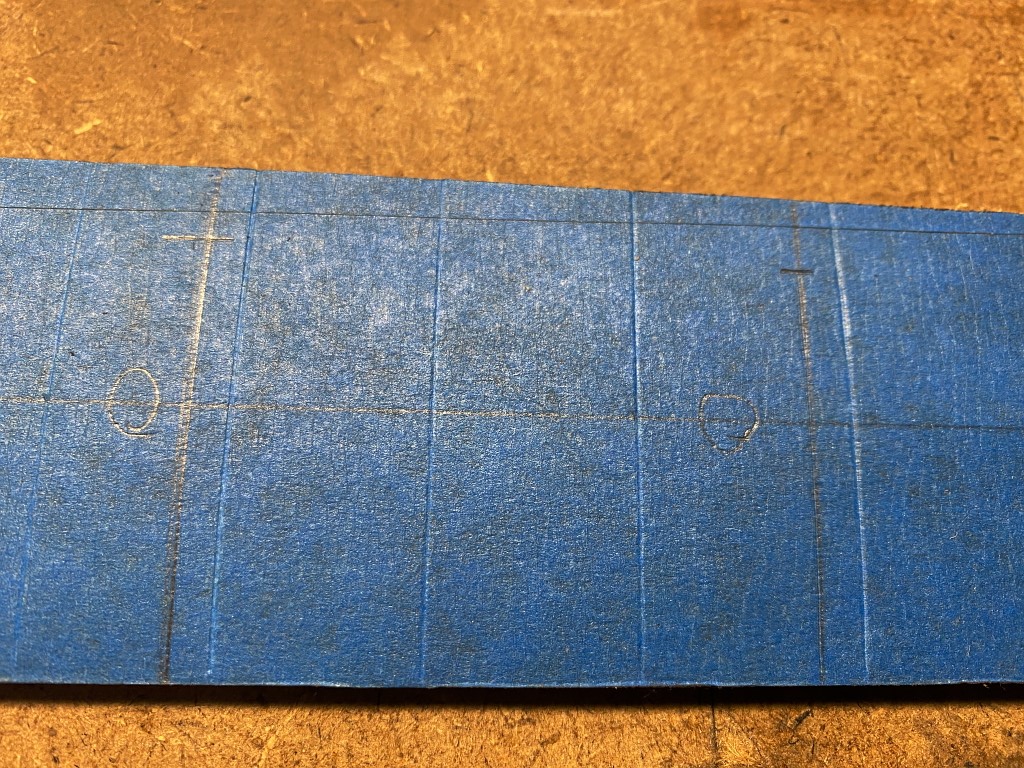
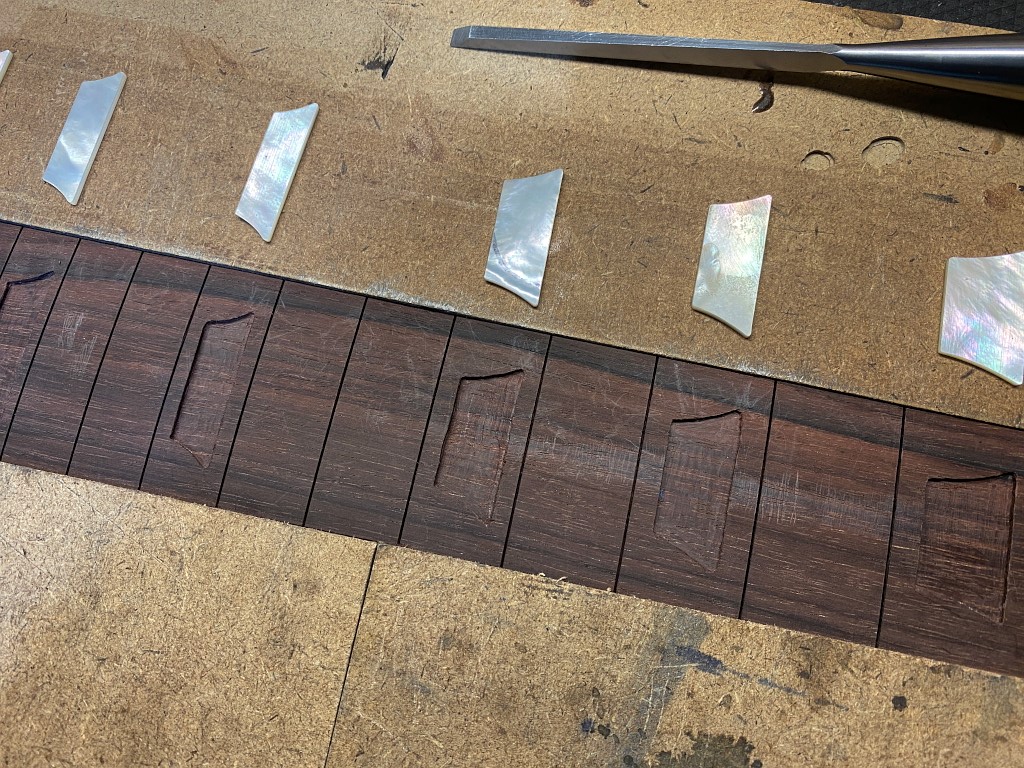
First step is location the exact position for each inlay. Eyeballing this wont do. Every fret is a different size, and there are 4 different sizes of these inlays as well, so I make a separate calculation for each inlay and determine the exact position.
Then I use a teeny drop of CA glue to hold each inlay in place and I cut around it using a scalpel.
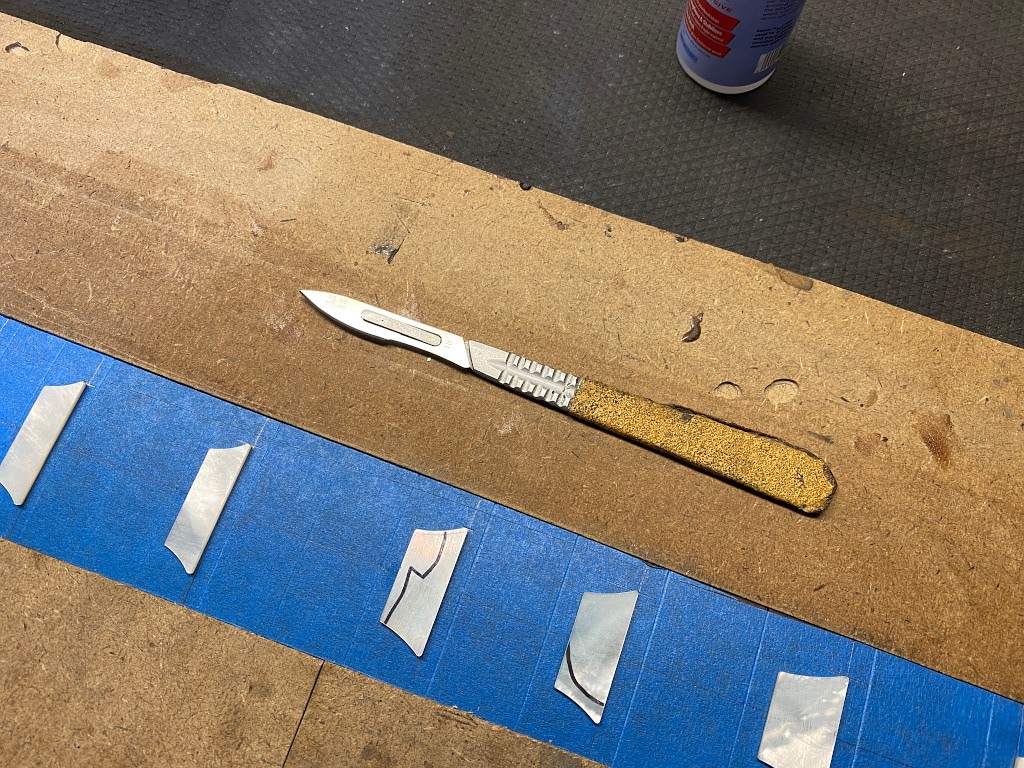
I pull off the inlay and peel off the tape where it sat.
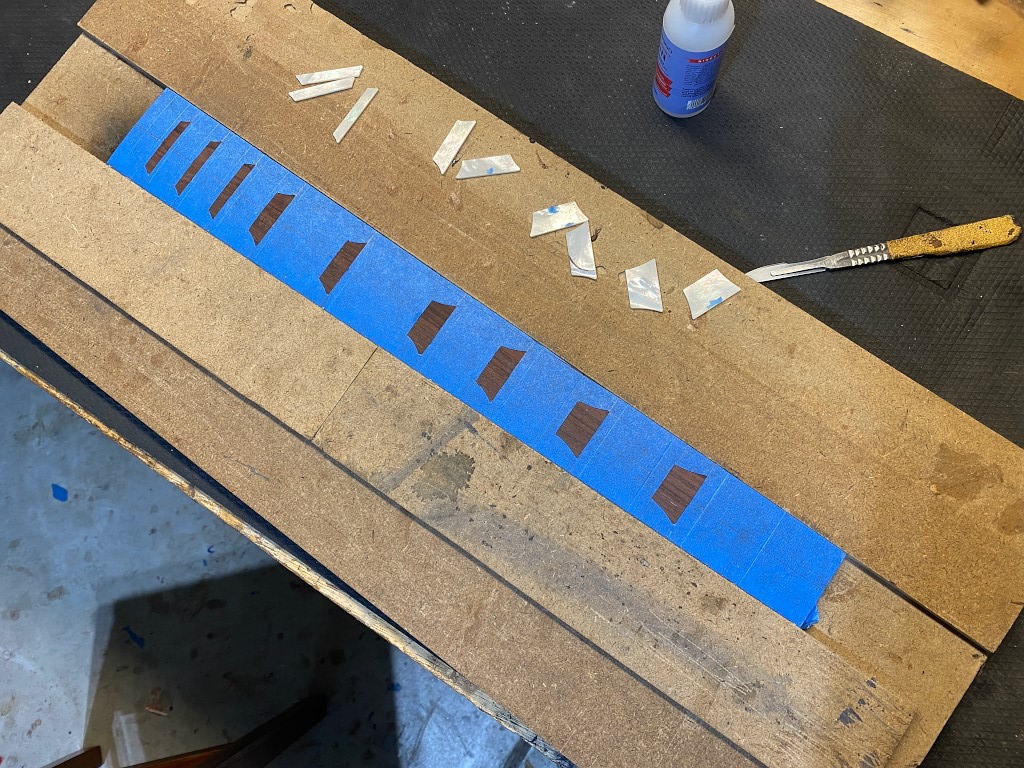
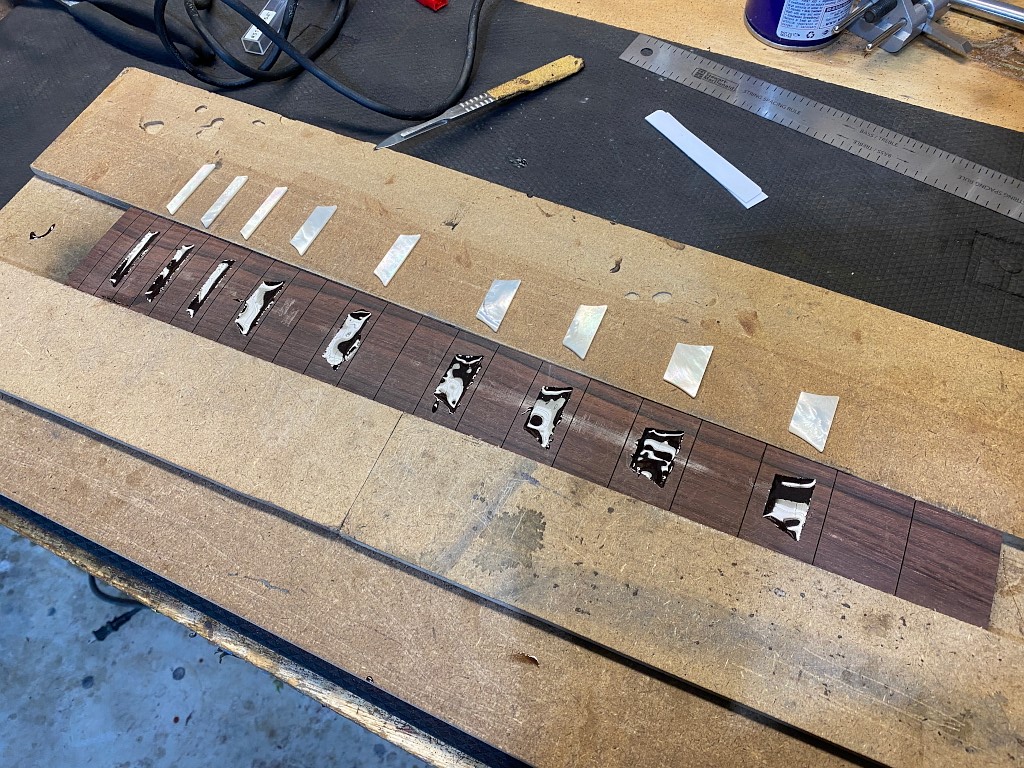
Then I sue a dremel and base to route out the pocket. I have the fretboard wedged between two pieces of 1/4″ MDF and the base sits on that so that the dremel cuts a nice flat bottomed cavity in the curved fretboard
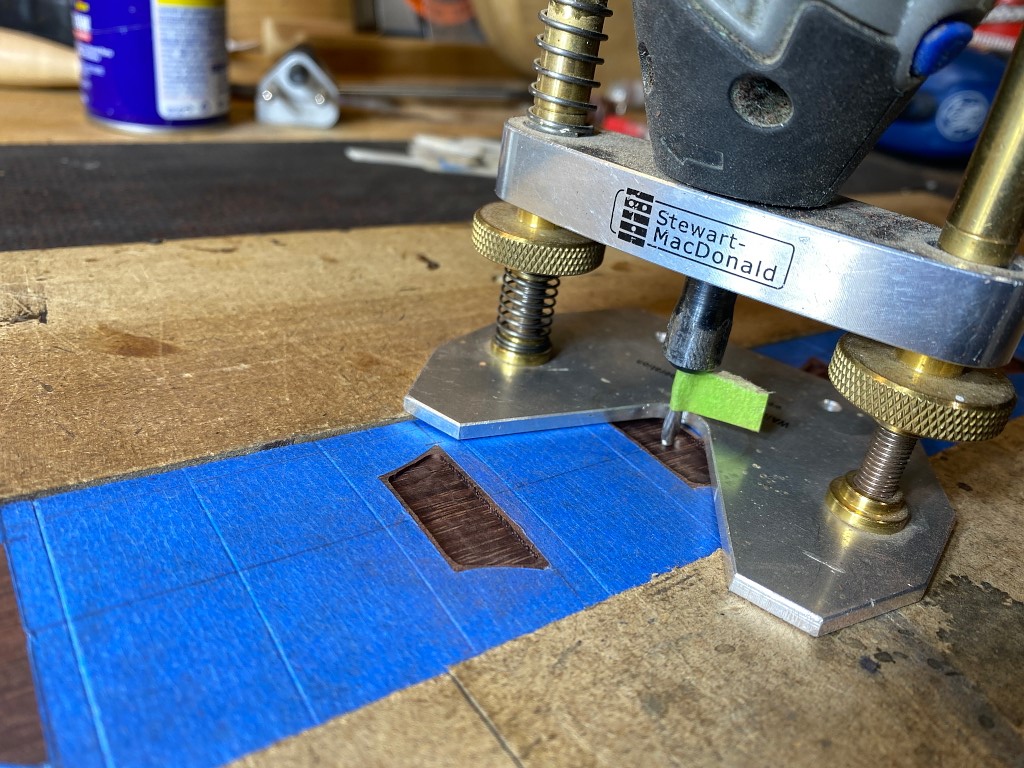
Then I use a chisel to clean up the corners and try to get as clean a fit as possible. By the time I get through this step I usually have a gigantic kink in my neck and I’m swearing at everything. I guess I should have said pain in the neck as opposed to pain in the ass.
Once everything fits to my satisfaction I mix up some epoxy. I also add some of the dust I created sanding the radius on the board. This tints the clear epoxy to the same hue as the fretboard. This isnt exact. The epoxy will be darker in color, and the hope is there aren’t any huge gaps around the inlay where a lot of epoxy will be exposed, but Id rather it had a similar hue even if its darker, rather than clear or black.
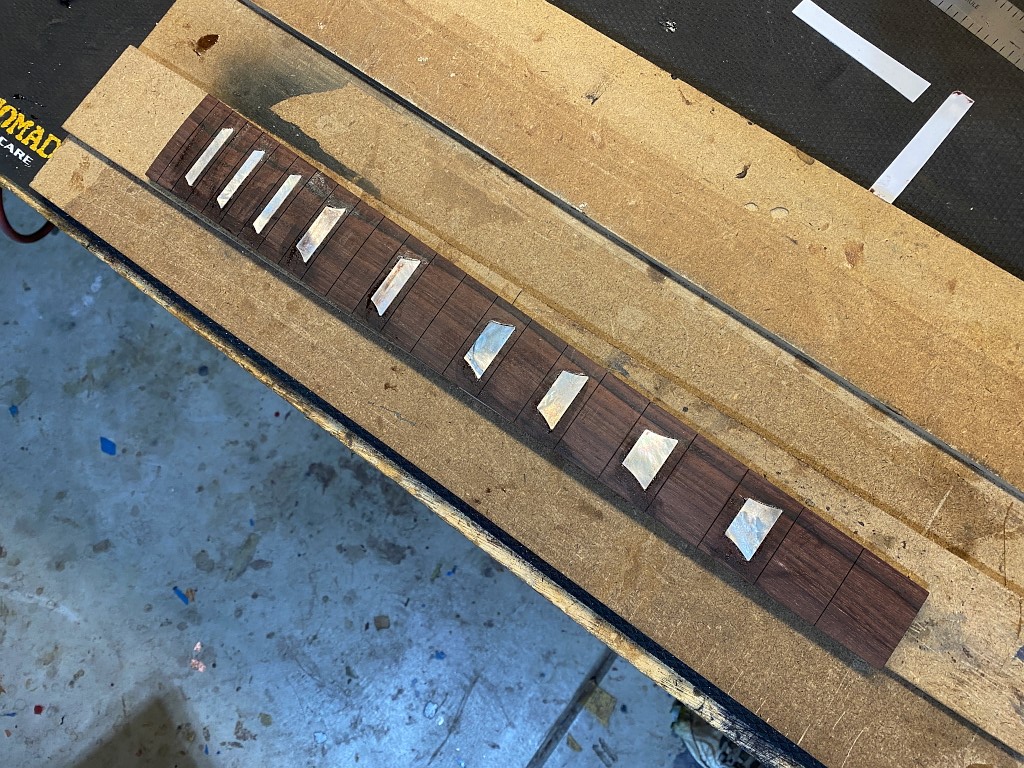
Epoxy dried. Looks ugly. The inlays are close to flush in the center, but stick up somewhat as you move out toward the edges since the inlays are flat but the board is curved.
Using the same sanding beam, I sand the inlays down flush with the board surface…
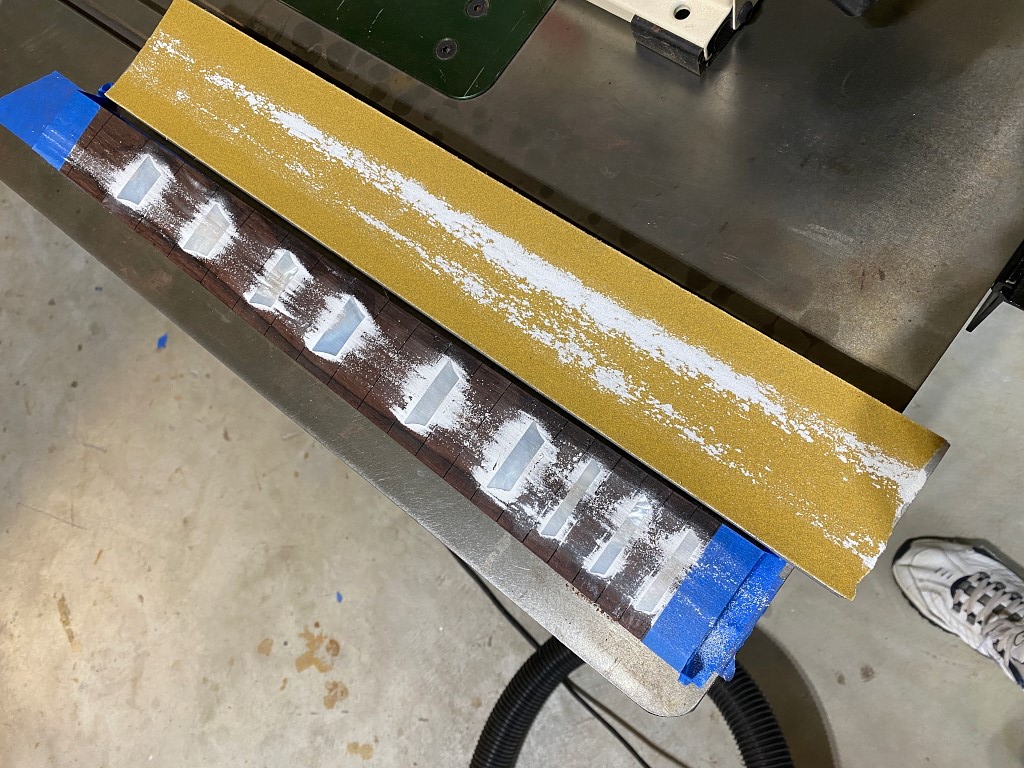
That looks sweet 🙂